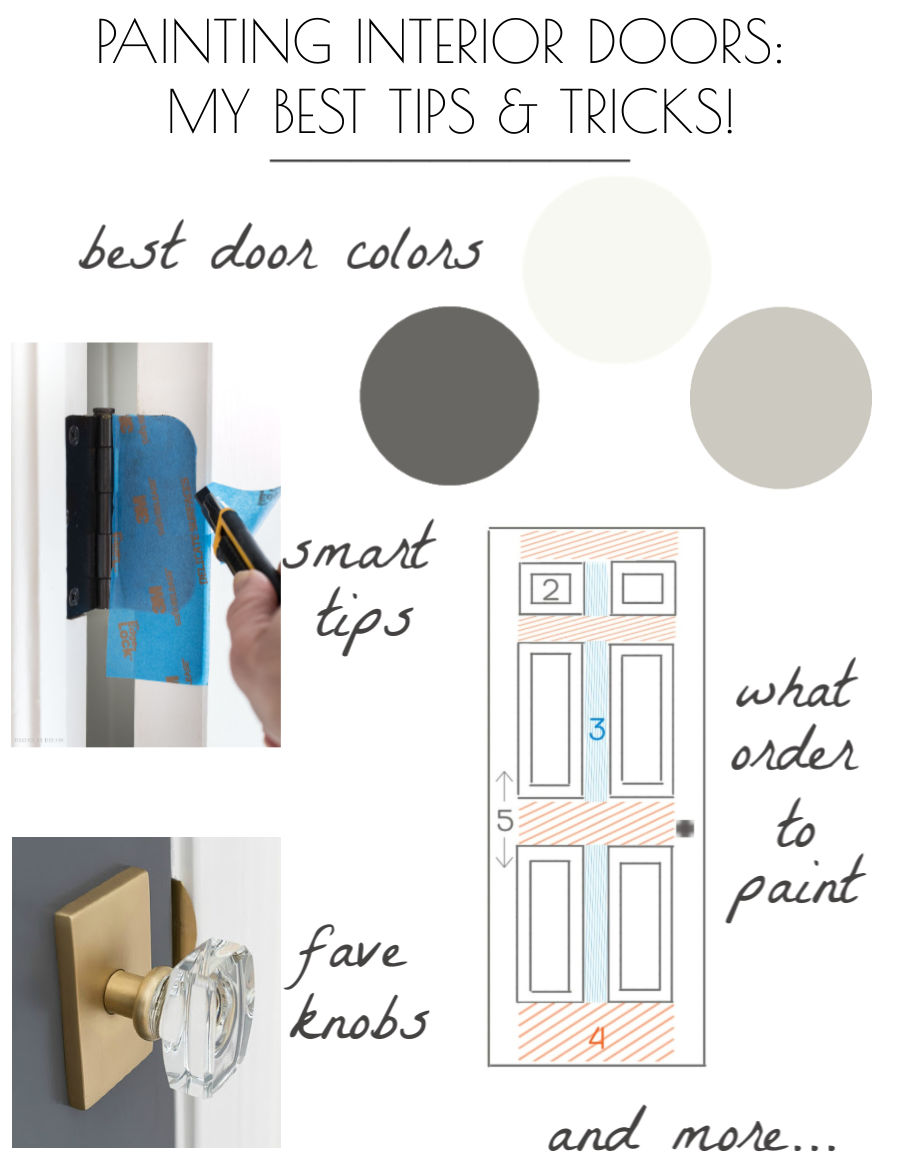
Want to know how paint a door like a pro? Painting interior doors with my simple step by step tips is a breeze and will get you the professional finish you’re looking for!
The last two houses we’ve lived in have been older homes with doors that were yellowed and not in great shape so as I make over each space, I also paint the doors. It’s pretty amazing what a difference a fresh coat of paint makes, especially if you’re changing out the hardware too!
Years ago, a professional painter gave me tips on how to paint a door, including the order for painting paneled interior doors and the results are so much better than when I used to just paint a door from the top to the bottom. I’ve also experimented with different painting tools and methods over the years and figured out what works best so today I’m sharing my how-to for painting interior doors like a pro! (affiliate links included in post – full disclosure statement available {here})
1. Choose an Interior Door Paint Color
If you’re painting your door white and have white trim around it, I recommend using the same paint color and finish as the trim. Some of my favorite whites for trimwork and doors are Benjamin Moore’s Cloud White and Benjamin Moore Simply White in either semi-gloss or satin.
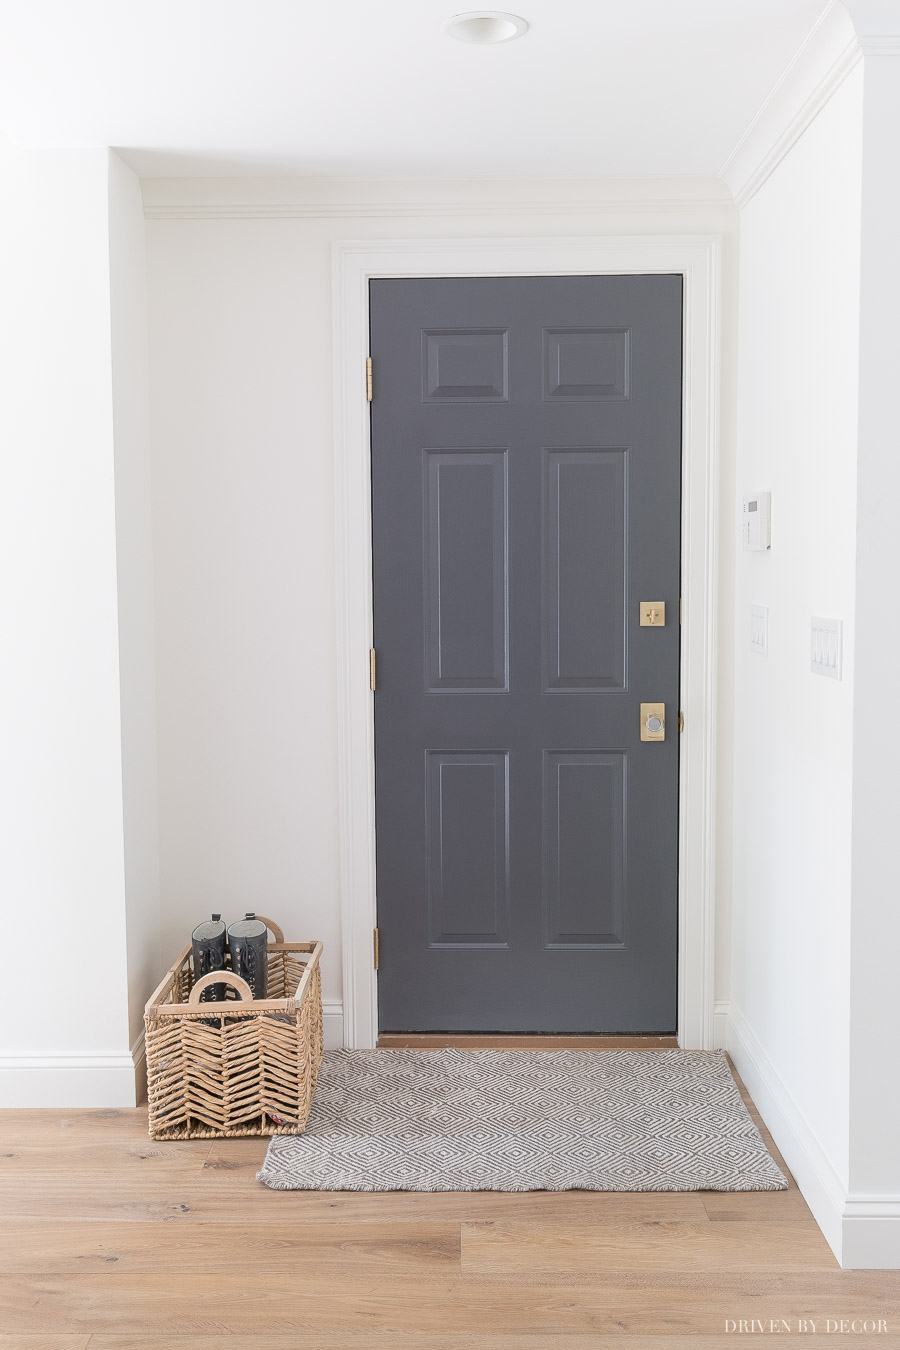
You might also want to consider painting your doors a color other than white – interior doors in dark black or gray are a beautiful choice! I painted the door from our kitchen to the garage in our previous home a dark gray (Benjamin Moore Charcoal Slate) and loved it:
While there are an endless number of door colors you could choose to paint your front door, sticking with white or a gray for the interior is always going to be a win. These are my six favorite paint colors for interior doors:
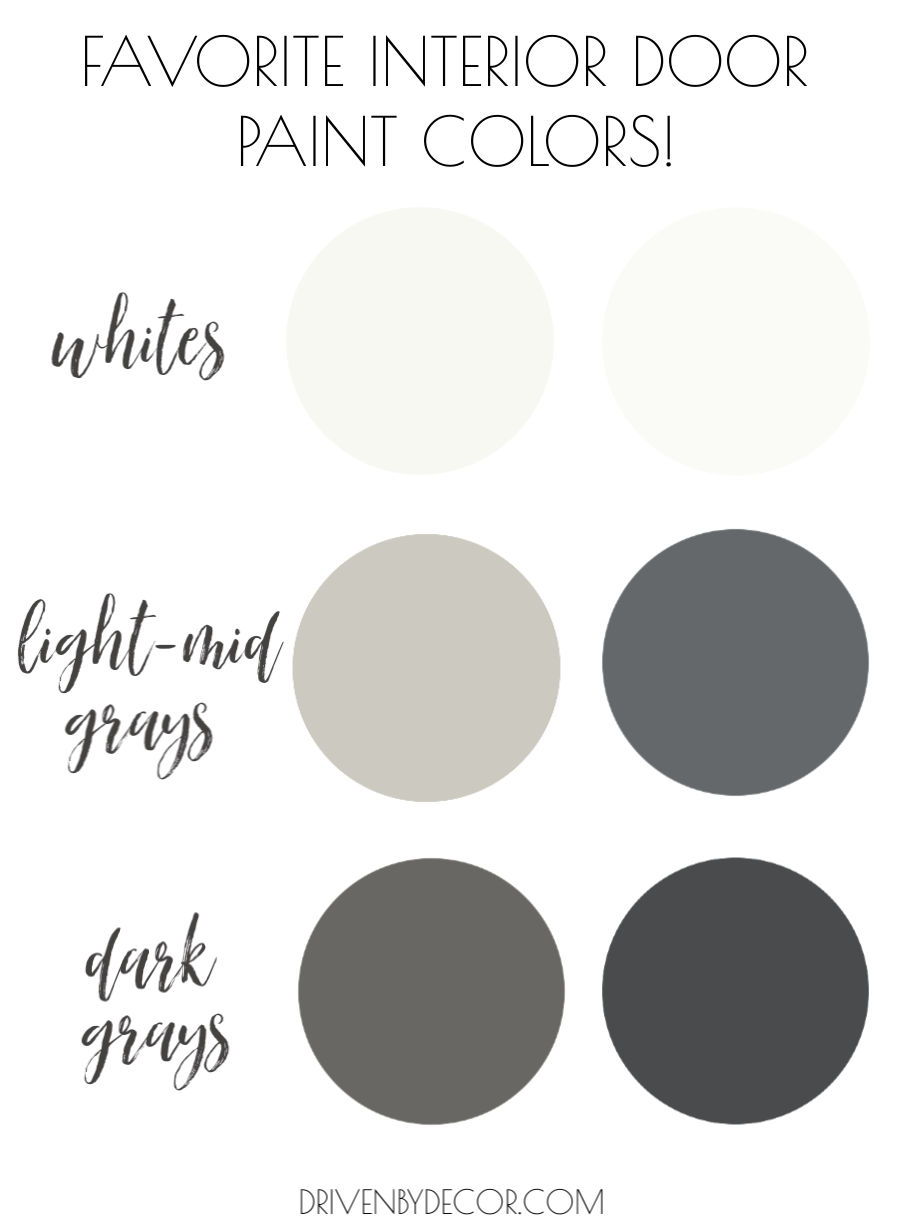
Whites: Benjamin Moore Dove White | Benjamin Moore Simply White
Light – Mid Tone Grays: Sherwin-Williams Repose Gray | Benjamin Moore Charcoal Slate
Dark Grays: Benjamin Moore Kendall Charcoal | Benjamin Moore Wrought Iron
2. Gather Your Painting Tools
Other than your paint, there are just a few things you’ll need to knock out your door painting job including:
Wood filler if it’s an old door with nicks ({this filler} is my favorite – it doesn’t dry out as quickly as filler in a regular container) and a putty knife
Sandpaper – I use 150 grit and 220 grit
Canvas or plastic drop cloth to protect your floor (I use {these} that you can wash and reuse)
Roll of painter’s tape such as {this one}
Retractable razor such as {this one}
Paintbrush – {this 2″ angled brush} is my favorite – it works with both oil and latex paints
4″ woven rollers with ¼″ nap such as {these rollers} or 4″ foam rollers such as {these rollers} – both work well
Roller handle for 4″ rollers + mini roller tray such as {this}
3. Prep Your Door for Painting
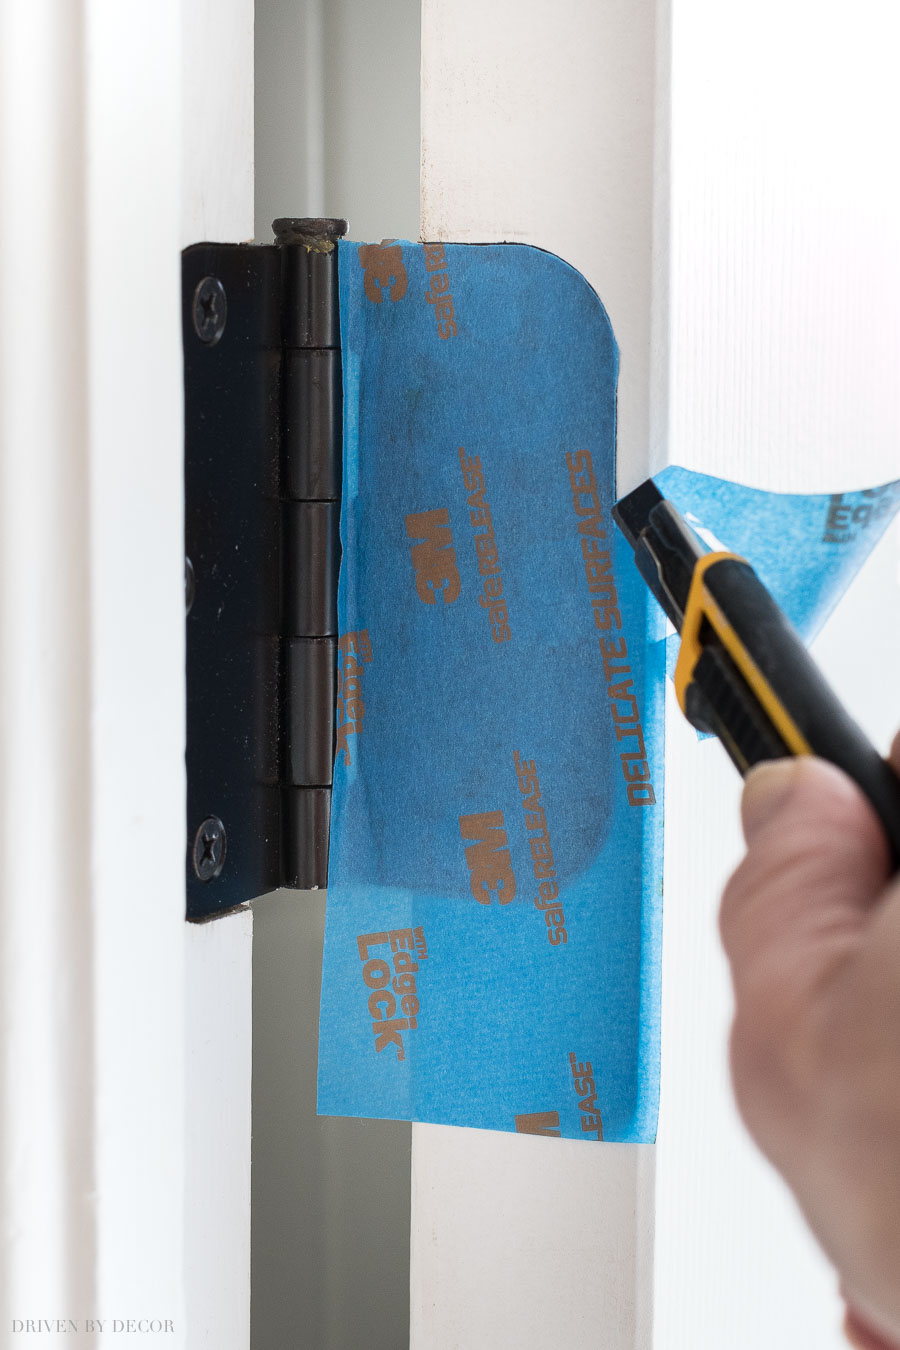
The success of any paint job always starts with good prep work. You can either paint your doors in place or take them down and paint them on sawhorses. If your door already has knobs on it, I recommend removing them – it’s easier than painting around them. If you want to leave the knobs on, cover your knobs and your hinges with painter’s tape.
For the door hinges, I use a utility knife to gently trace the outside of the hinge, cutting the tape as I go:
If you’re repainting an older door, the first step is to fill in any gouges or imperfections with wood filler and sand those areas until smooth (I use 150 grit for this) and then lightly sand the entire door with fine grit (220) sandpaper. Use a cloth to remove most of the sanding dust and then go back over the entire door with a tack cloth to get the rest of it. Note: If your door was previously painted prior to the ’80s, it could be lead paint which you wouldn’t want to sand without appropriate precautions so be sure to test for lead paint if that’s a possibility.
The next step is to prime your doors if needed. You will need to prime if:
- You are working with a new, unprimed door
- You are using a standard latex paint on a door that was previously painted with an oil-based paint. How do you know if your door was previously painted with oil-based or latex paint? Put rubbing alcohol on a rag (I use a dark rag if it’s white paint so it’s easier to see) and rub it on your door – if paint comes off on your rag it’s latex, if not it’s oil-based.
You don’t need to prime if:
- You are working with new, pre-primed doors
- You are using latex paint on a door that was previously painted with latex paint
- You are using Benjamin Moore Advance paint over a previously painted door – this paint can be used over either latex or oil-based paint and is awesome for not leaving roller or brush marks so it’s my go-to paint for trim and doors.
Priming is ideally done in the same order (edges first, etc. as I’ll describe for painting below).
3. Paint Your Paneled Door in This Order
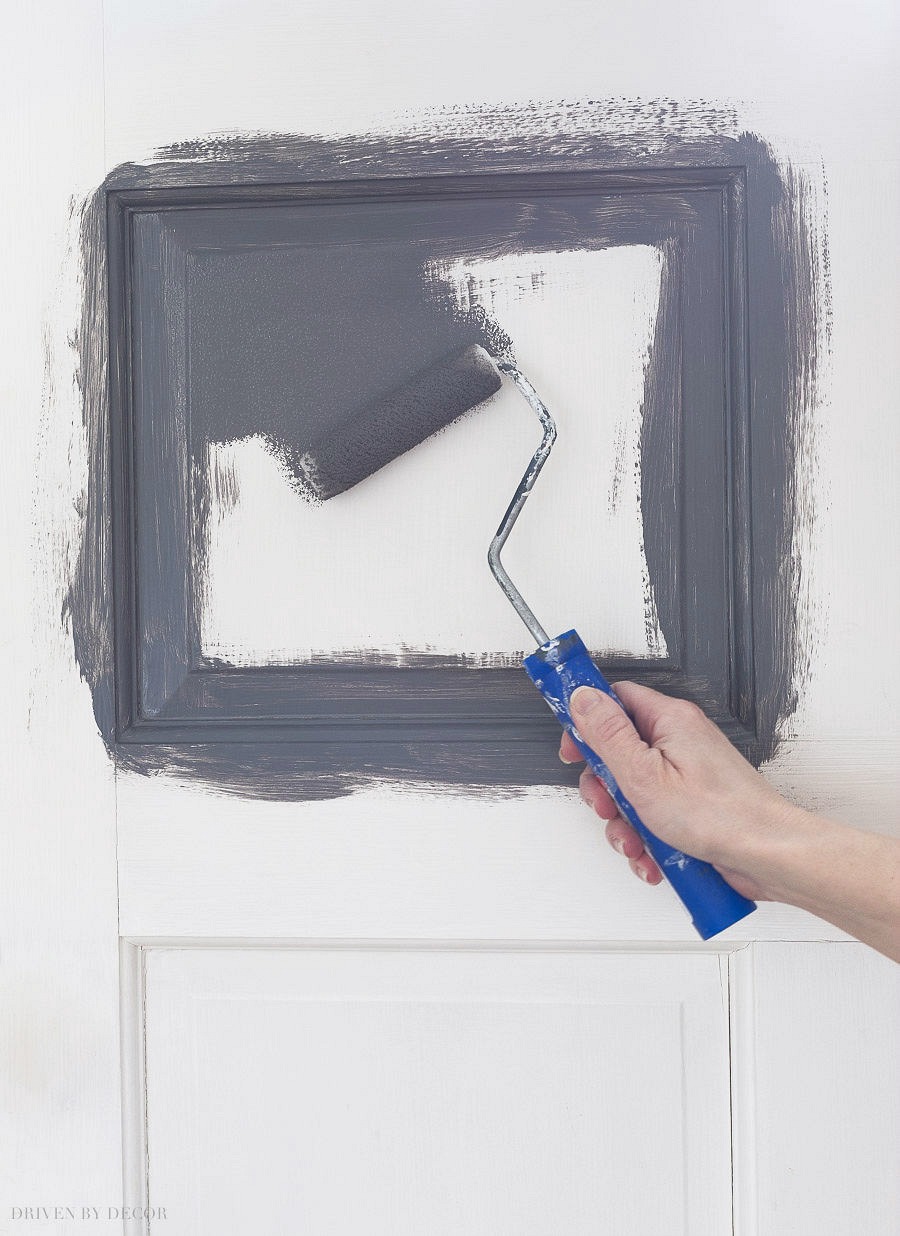
Now it’s time to paint! Many people have success painting doors using just a brush, but I like to use a combination of a brush and a small roller because it gets the job done faster and results in a much smoother finish. Rather than simply painting the door from top to the bottom, you can get the best paint job by painting paneled doors in a certain order. For a standard 6-panel door, this is the order to go in:
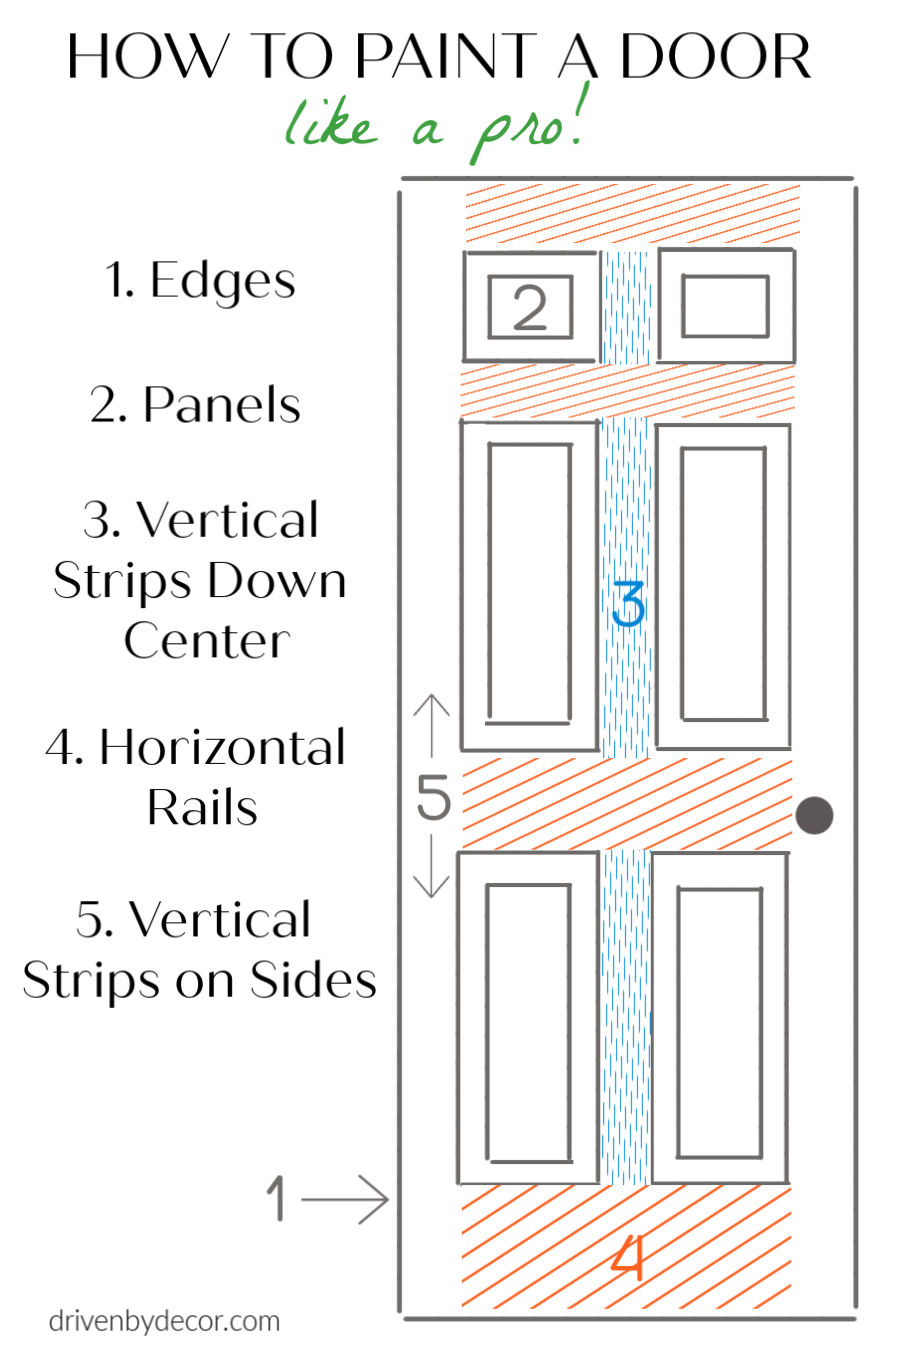
1. Start by painting the edges of the door with either the brush or roller
2. Next, paint the door panels. I like to use a 1 ½″ brush to paint the recessed molding areas followed by a 4″ roller for the flat surfaces in the middle.
Make sure to feather the edges of the molding you’re brushing – you don’t want any hard edges.
3. Then paint the three vertical strips down the center with the 4″ roller.
4. Next, paint the four horizontal rails with the 4″ roller.
5. Finally, paint the two vertical strips on the sides with the 4″ roller
4. Sand & Recoat
Once you’re done, allow the paint to dry (if you’re using Benjamin Moore Advance note that it has a longer than typical dry time), give your door a quick, very light sanding with with 320 grit sandpaper, remove the sanding residue with a tack cloth, and then apply a second coat of paint.
If you’re using sawhorses and painting one side at a time, allow the paint to dry at least 24 hours before flipping the door over on the sawhorses and repeating for the second side. Cover your sawhorses with a cloth to prevent the newly painted door from sticking to them (and make sure that the cloth you use is smooth with no texture to it, or you could end up with a textured pattern in your door once it comes of the sawhorses). Once your second side is dry, simply rehang your doors and reinstall your door hardware. Done!
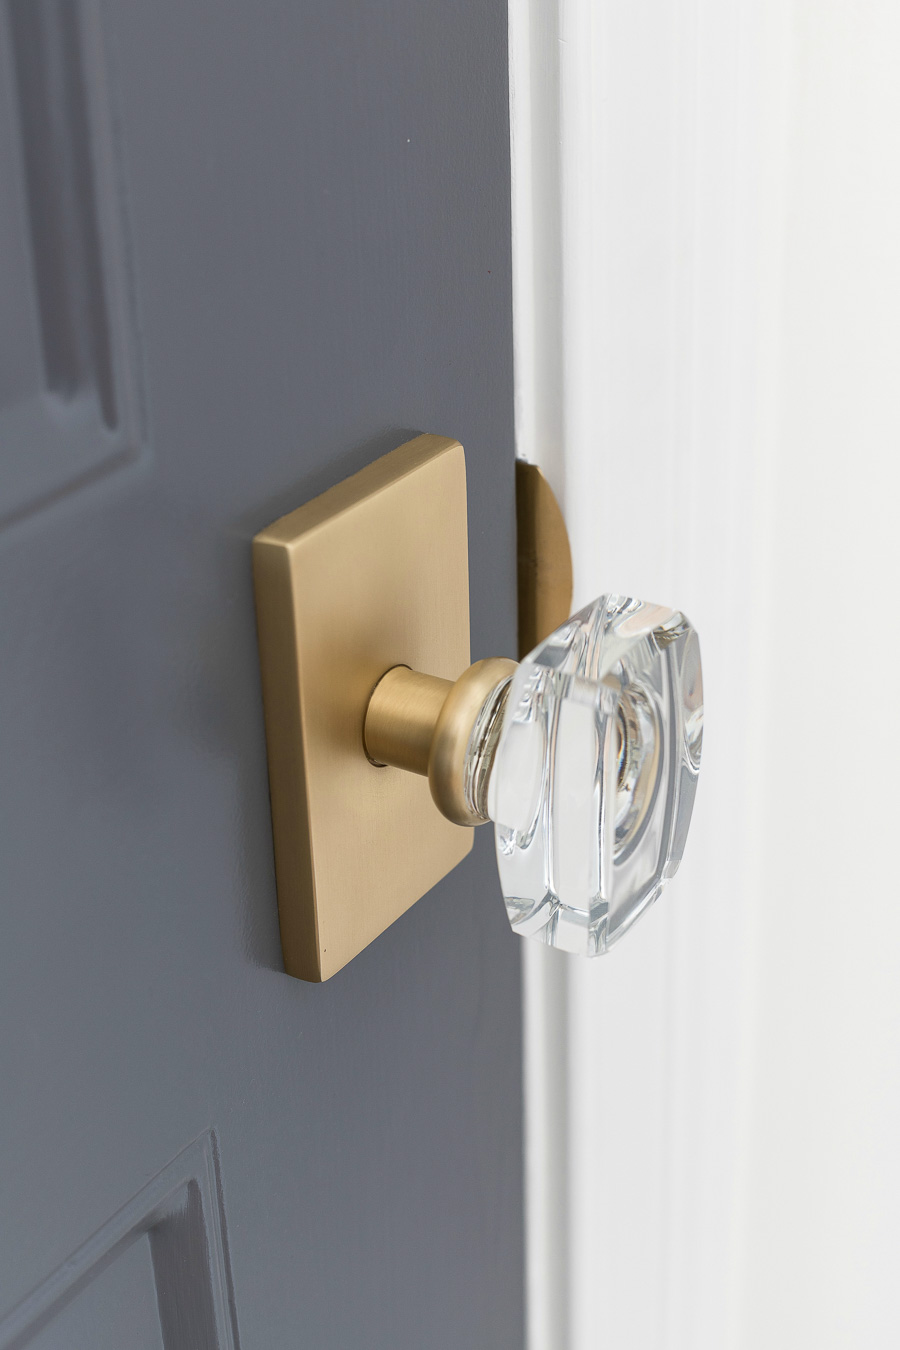
(Our brass + crystal door hardware can be found {here})
I know talking about painting doors isn’t the most exciting DIY project ever 🙂 but I hope you’ve found a tip or two to help on your next door painting project! Let me know if you guys have any questions! And if you want to make sure you can find this post easily in the future, Pin the image below:
XO,


Smart Hands says
Fantastic walkthrough! As a professional painter, I really appreciate the level of detail you’ve shared here, especially the tip on painting paneled doors in a specific order, which so many homeowners overlook.
One extra pro tip I’d love to add: always check the door for moisture content before painting, especially in humid climates or after recent cleaning. A moisture meter can help confirm it’s fully dry. Painting over even slightly damp wood can lead to peeling or bubbling down the line. Also, using a paint conditioner like Floetrol (for latex) or Penetrol (for oil-based paints) helps extend drying time and reduce brush marks for that ultra-smooth, professional finish.
Thanks again for the great guide, bookmarking this for clients who like to tackle DIYs before calling in a pro!
TOM GERAGHTY says
Thank you. I have 8 doors to paint and I am dreading it!
Valerie Mohr says
Hi there. I used a foam roller as suggested with BM Advance paint in black and I’m getting tons of tiny bubbles. HELP! This is only coat one. I have 14 doors to do. How do you not get bubbles?
Kris Jarrett says
Hi Valerie,
If you still have the packaging from your roller, read the back and make sure they don’t recommend that you dampen the foam roller before painting (some that I’ve used do and it seems to help with the mini bubbles). Usually those mini bubbles you see will go away as the paint dries but if they don’t, I’d lightly sand once the paint is dry and for the remaining coats, switch to a woven roller with 1/4″ nap which is my preferred roller.
Melissa V says
This was very helpful! I want to paint the bedroom doors leaving the inside white and painting the outside, hallway-facing grey. Is this acceptable? Or should the door be all one color?