Tired of your dirty grout giving you the stink eye? Today I’m sharing how to clean your floor tile grout to get it looking like new! I’ve tested the top grout cleaning methods, from baking soda paste to oxygenated bleach, bottled grout cleaners, and steam cleaning. We’ll walk through each cleaning method and I’ll share what works and what doesn’t. Let’s dive in… (post includes affiliate links; full disclosure statement available {here})
Cleaning Preparation: The Right Tools
Before jumping into the various methods of cleaning floor tile grout, it’s important to have the right cleaning tools and protective gear. First off, you’ll need a good pair of chemical-resistant rubber gloves, such as {these}, to protect your hands from the potential irritation of cleaners. Also, use eye protection such as {these no-fog goggles} to shield your eyes from any splashes or fumes that may arise during the cleaning process.
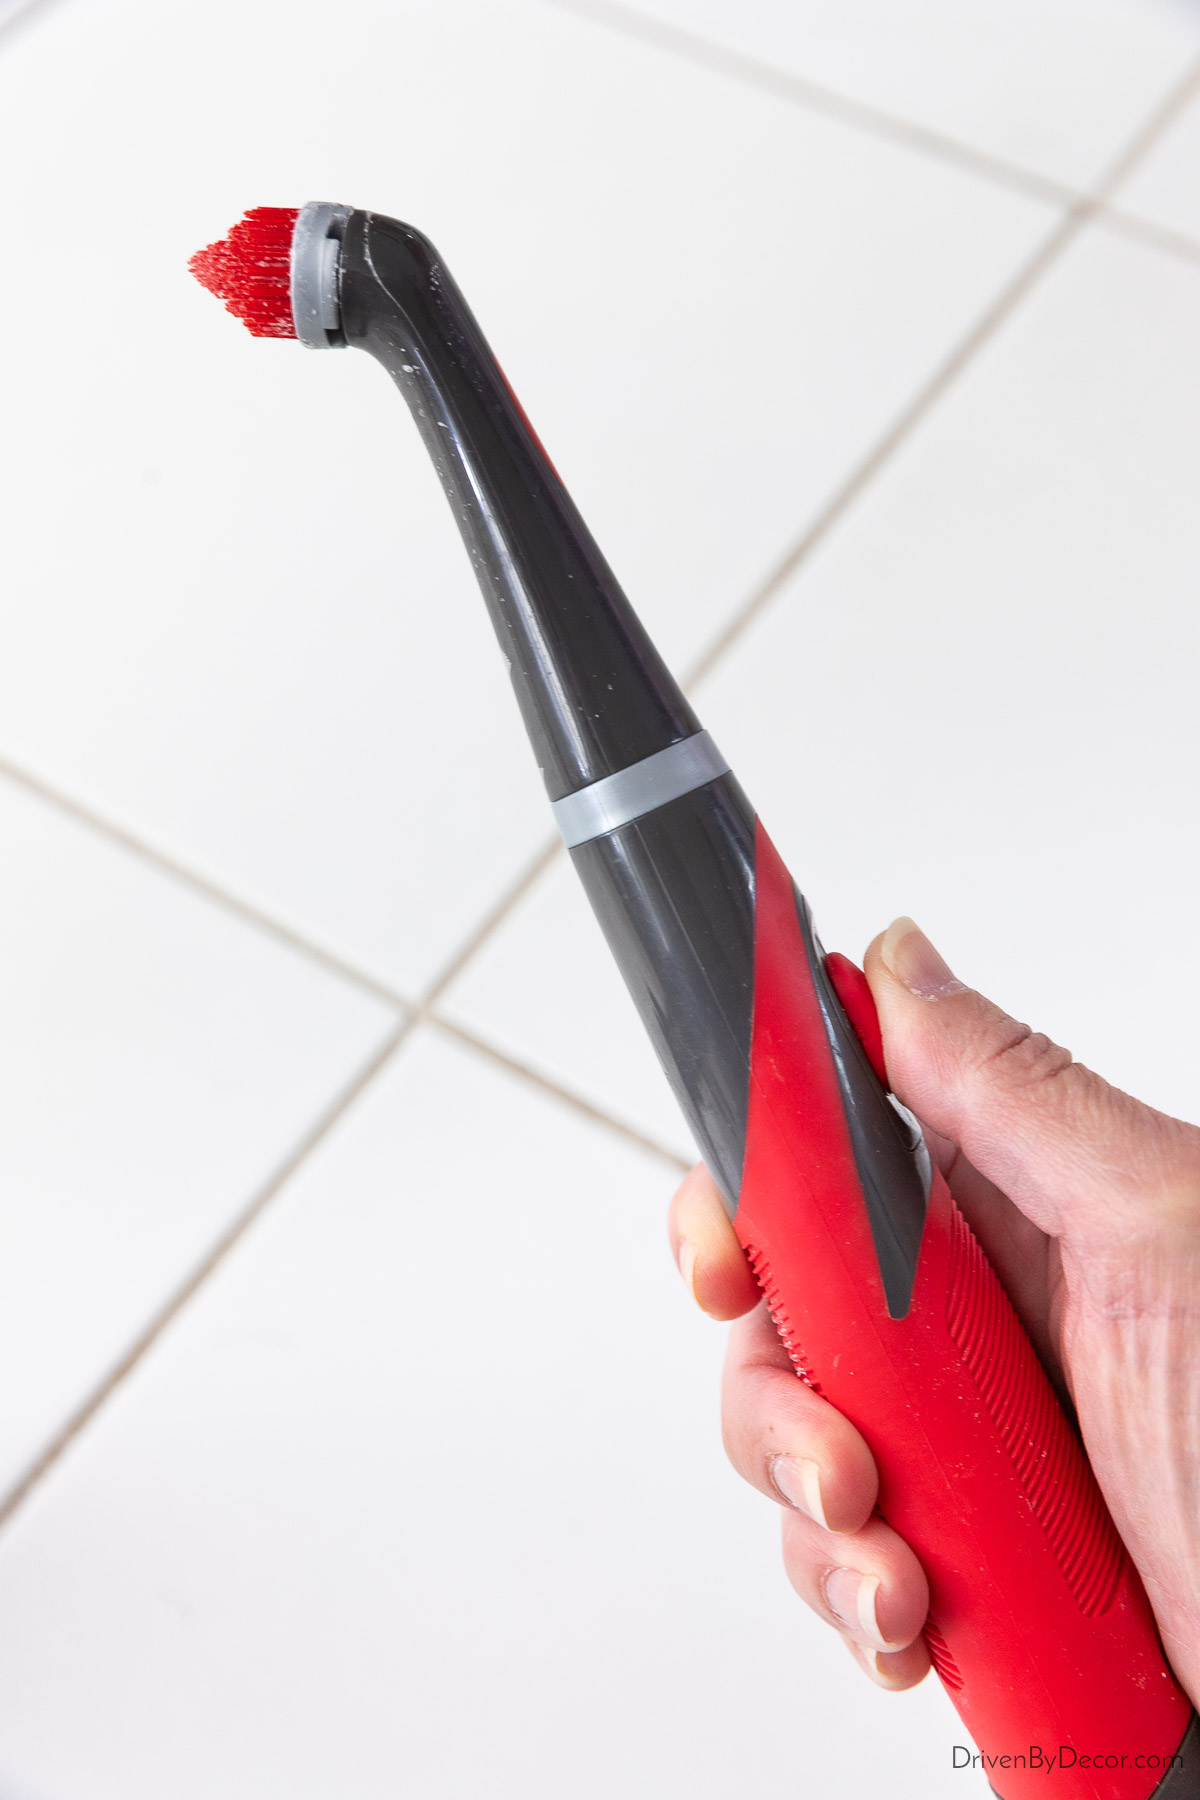
Next, you’ll need a good grout brush. My favorite is {this Rubbermaid spin brush} that’s battery operated (I freaking love it!). Its spinning action does the hard work for you! It comes with a multipurpose scrub head that’s great for cleaning small spaces throughout your home. The one I linked also comes with a grout scrubber head, which is awesome for cleaning grout lines, especially when you’re doing a deep clean:
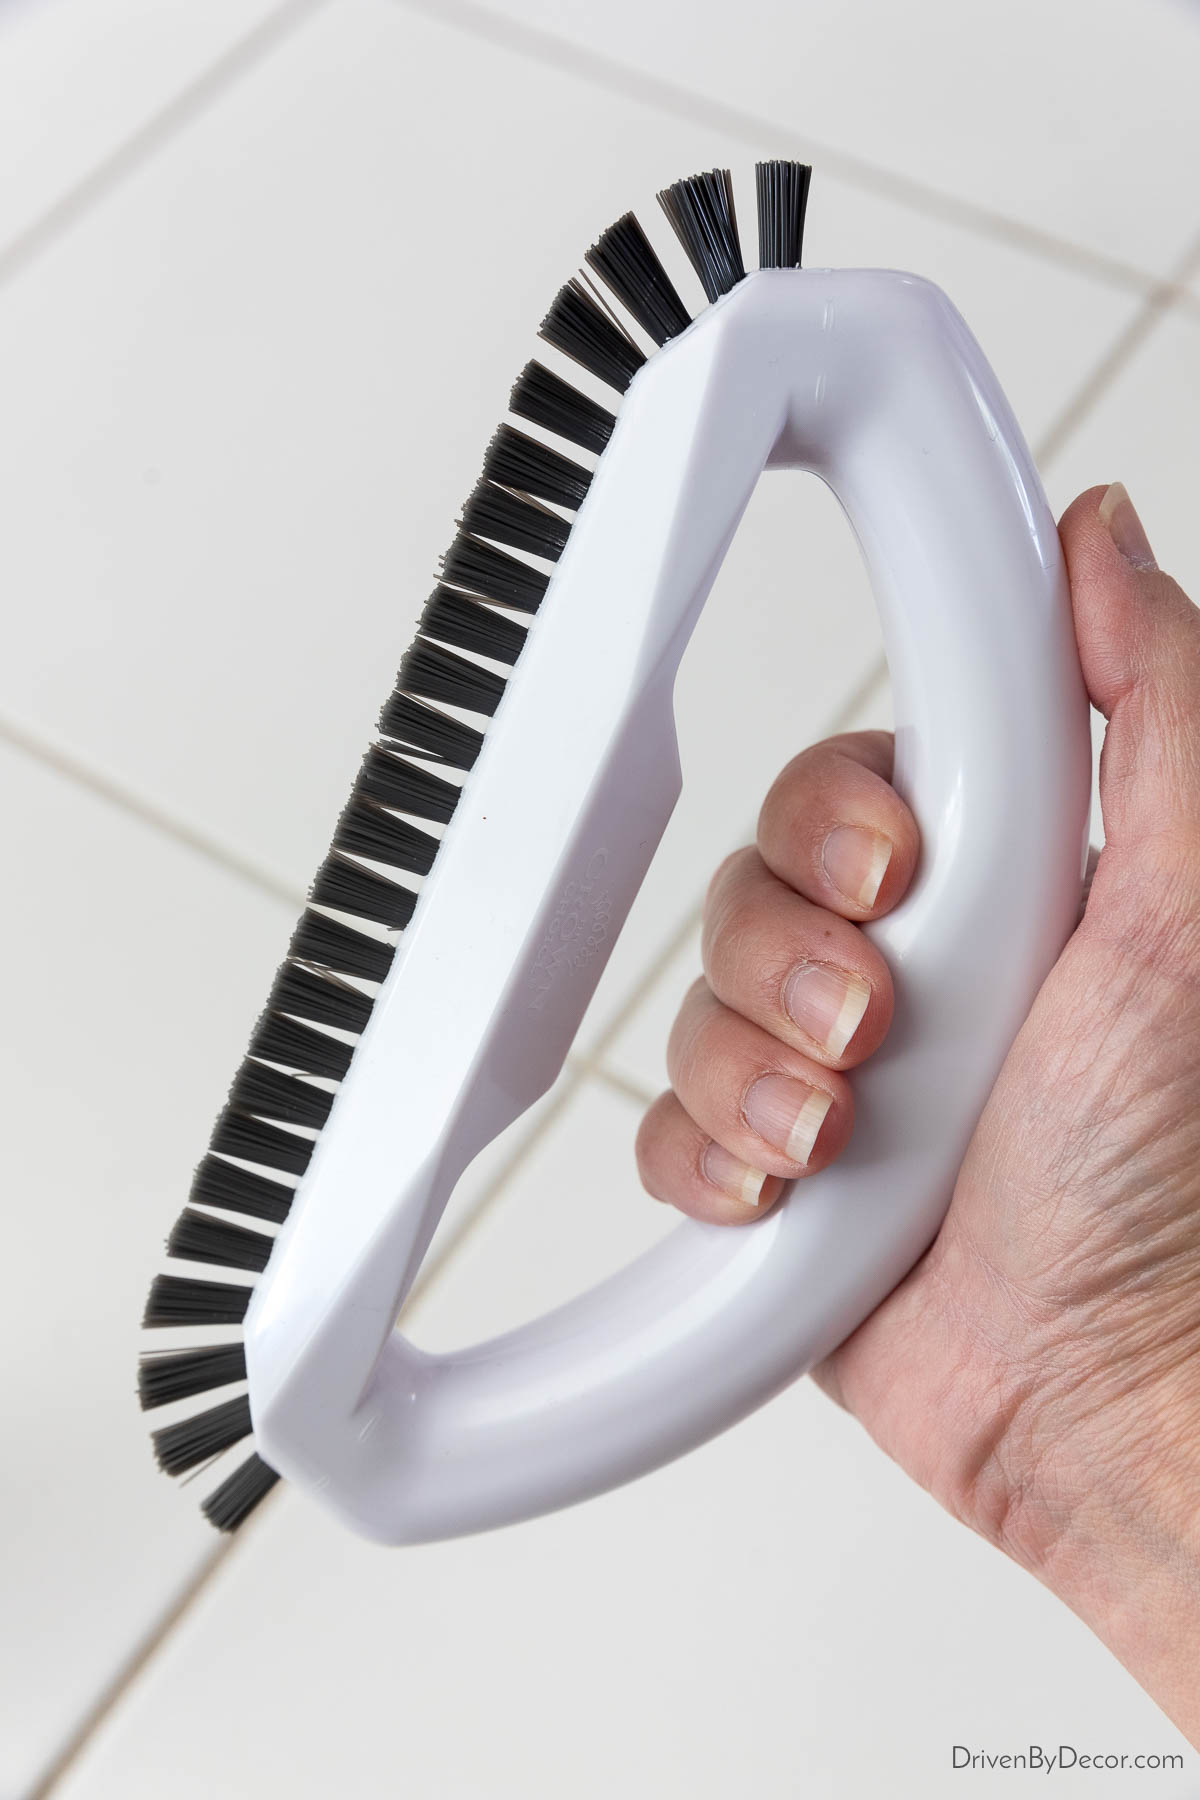
If you’re doing a quick cleaning of a large amount of grout, {this grout cleaner brush} is another great tool. The bristle design makes it easy to clean grout in corners and along edges:
Note: When using any new cleaning method, test a small, inconspicuous area of grout before applying a cleaner to the entire floor. This will help ensure that the cleaner doesn’t cause any damage or discoloration to your grout.
See my post on the best cleaning tools for the other cleaning tools in our home that I consider must-haves!
Best Grout Cleaners
Read on for all the details of my grout cleaner testing, including important information about application and what to do AFTER you deep clean your grout. But if you just want the quick and dirty answers, here are the winners:
Best Bottled Grout Cleaner: Zep Grout Cleaner & Brightener
Best Homemade Grout Cleaner: Baking soda + hydrogen peroxide + mild dish soap (read on for the formula)
Best Marble/Natural Stone Cleaner: Granite Gold Grout Cleaner
What NOT to Use To Clean Floor Tile Grout
As important as what works best, is what NOT to routinely use on your grout. Grout that’s unsealed or in poor shape shouldn’t be routinely cleaned with any highly acidic products or bleach because they can corrode your grout over time. This includes toilet bowl cleaner (don’t believe Tik Tok – lol!), some commercial grout cleaners, and even white vinegar.
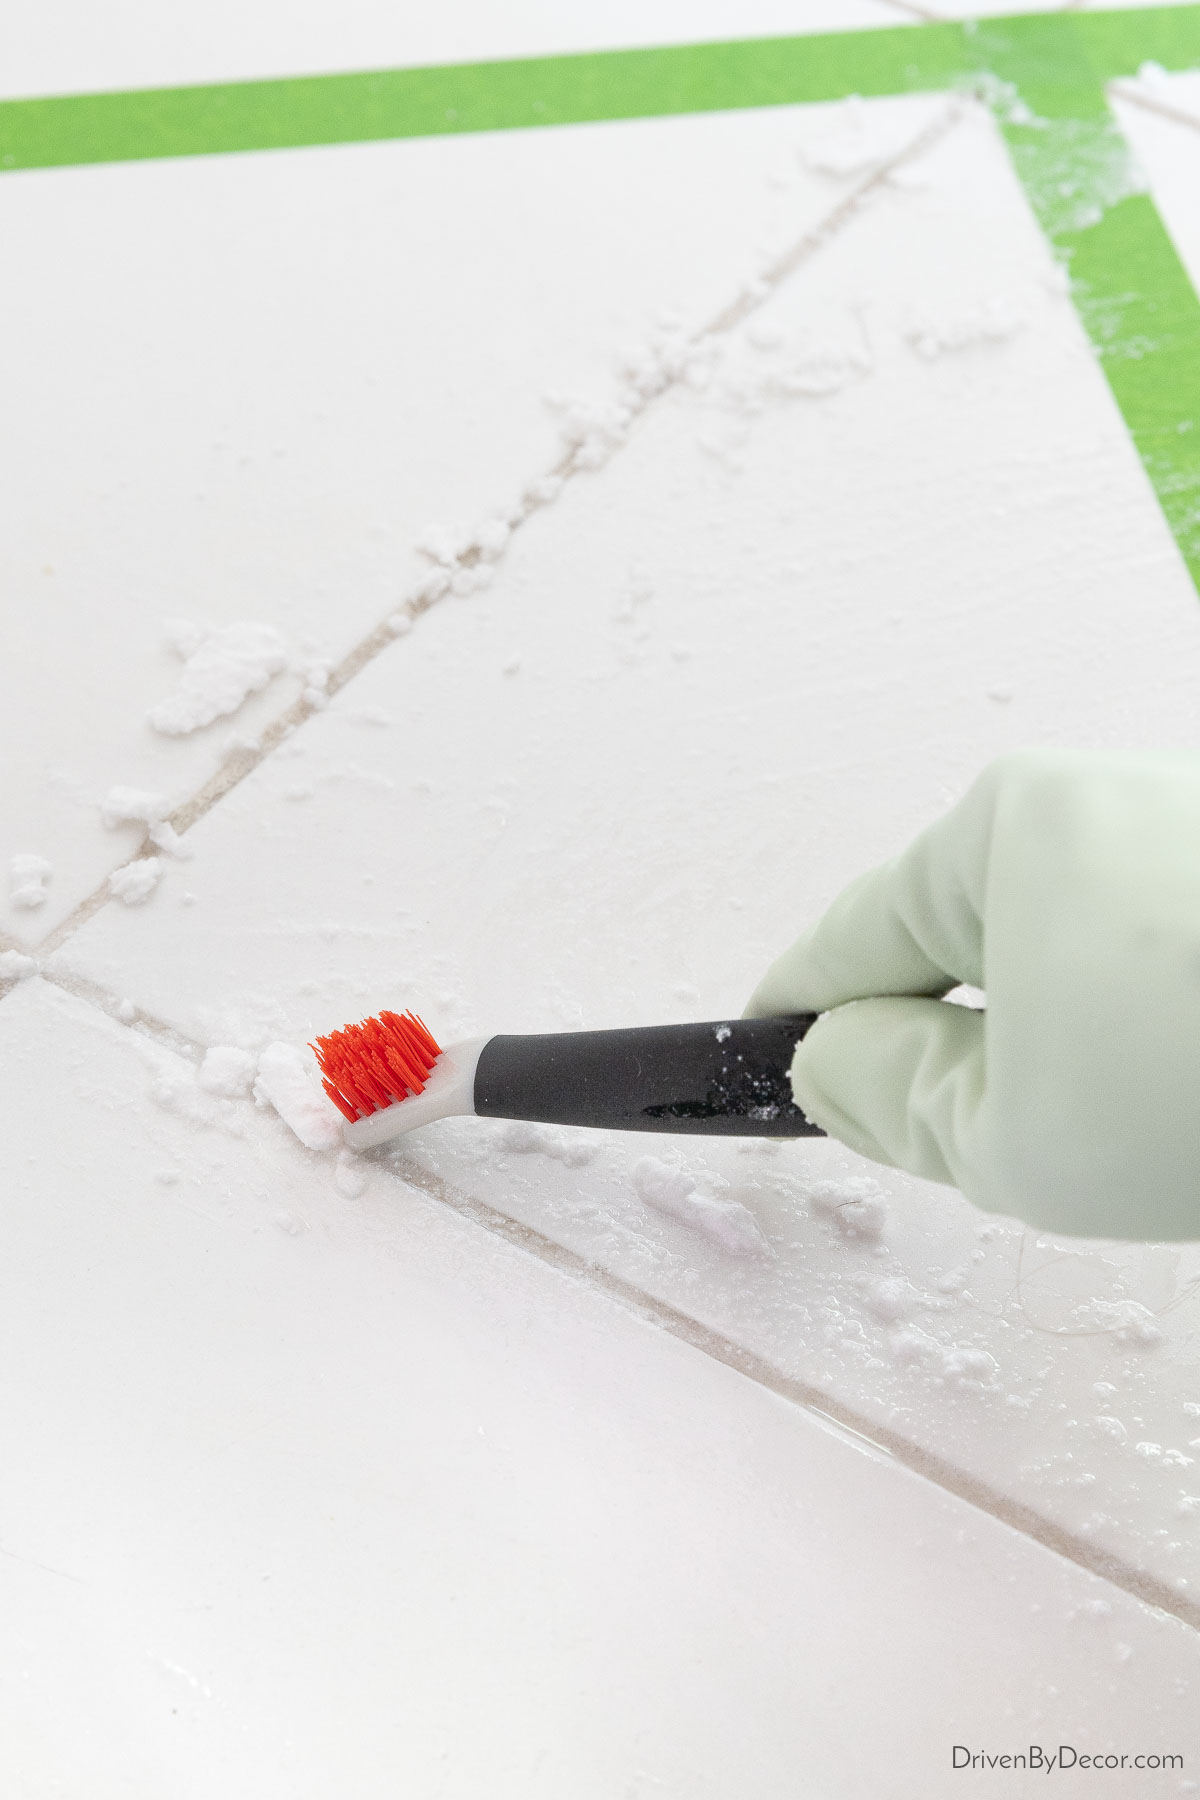
Another thing I wouldn’t recommend after my testing is using a paste of OxiClean and water on your grout. I wanted to test it because oxygenated bleach is a gentler alternative to chlorine bleach. I followed the application instructions for cleaning grout on the packaging and found that it formed a paste that dried quickly, clumping and adhering to the grout so firmly in places that I had use the scraper side of one of my small brushes to get it off:
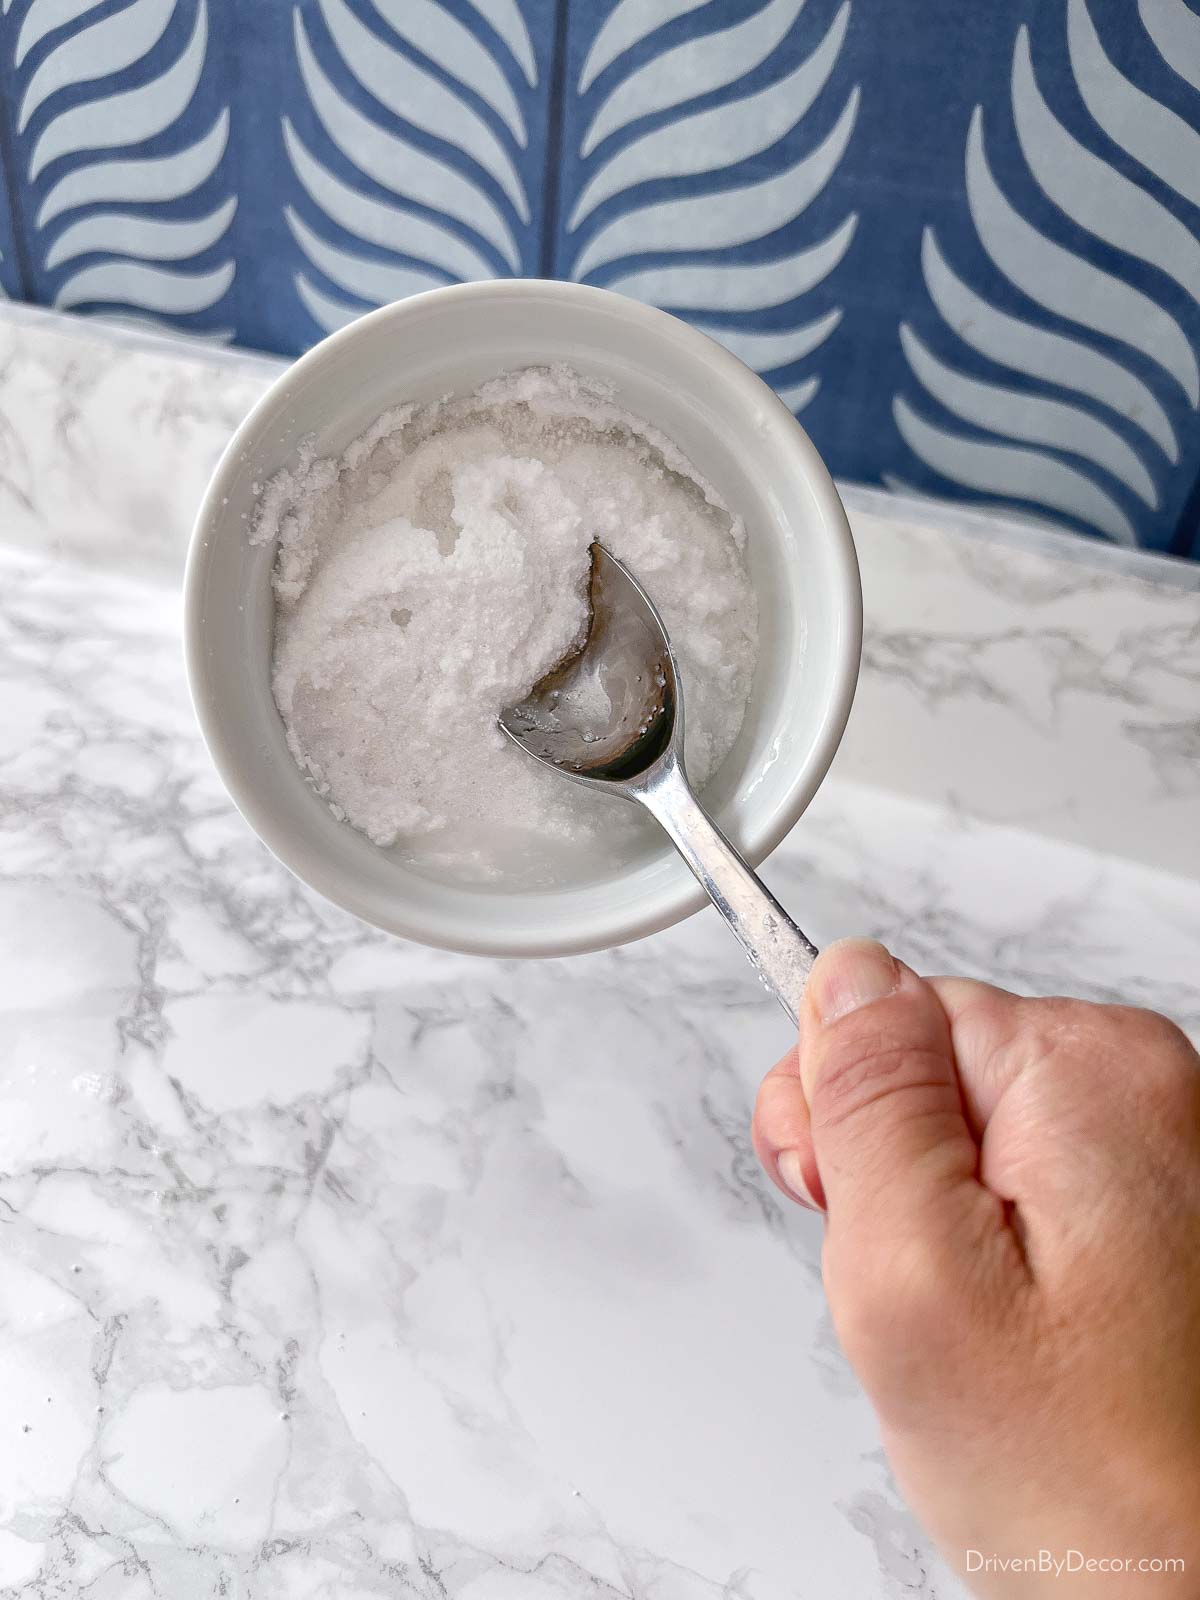
When I went to rinse my bowl of OxiClean paste out, I couldn’t even remove my spoon from the bowl since it had dried so rock hard:
Let’s also talk about what not to use if you’re specifically cleaning grout around natural stone tile like marble? You NEVER want to use any acidic cleaners or bleach (not even a one-time use!) because they can etch and permanently damage the surface of your tile. You also need to be careful not to use anything at all abrasive since natural stone tile can be more easily scratched than porcelain or ceramic tile. I’ll share more specifics about what you CAN use on grout around natural stone later in this post.
Now that you’re armed with the right tools and know what NOT to clean with, let’s get going! Start by sweeping or vacuuming your floor to remove loose dirt, hair, etc. Then let’s tackle that grout…
Testing Grout Cleaners
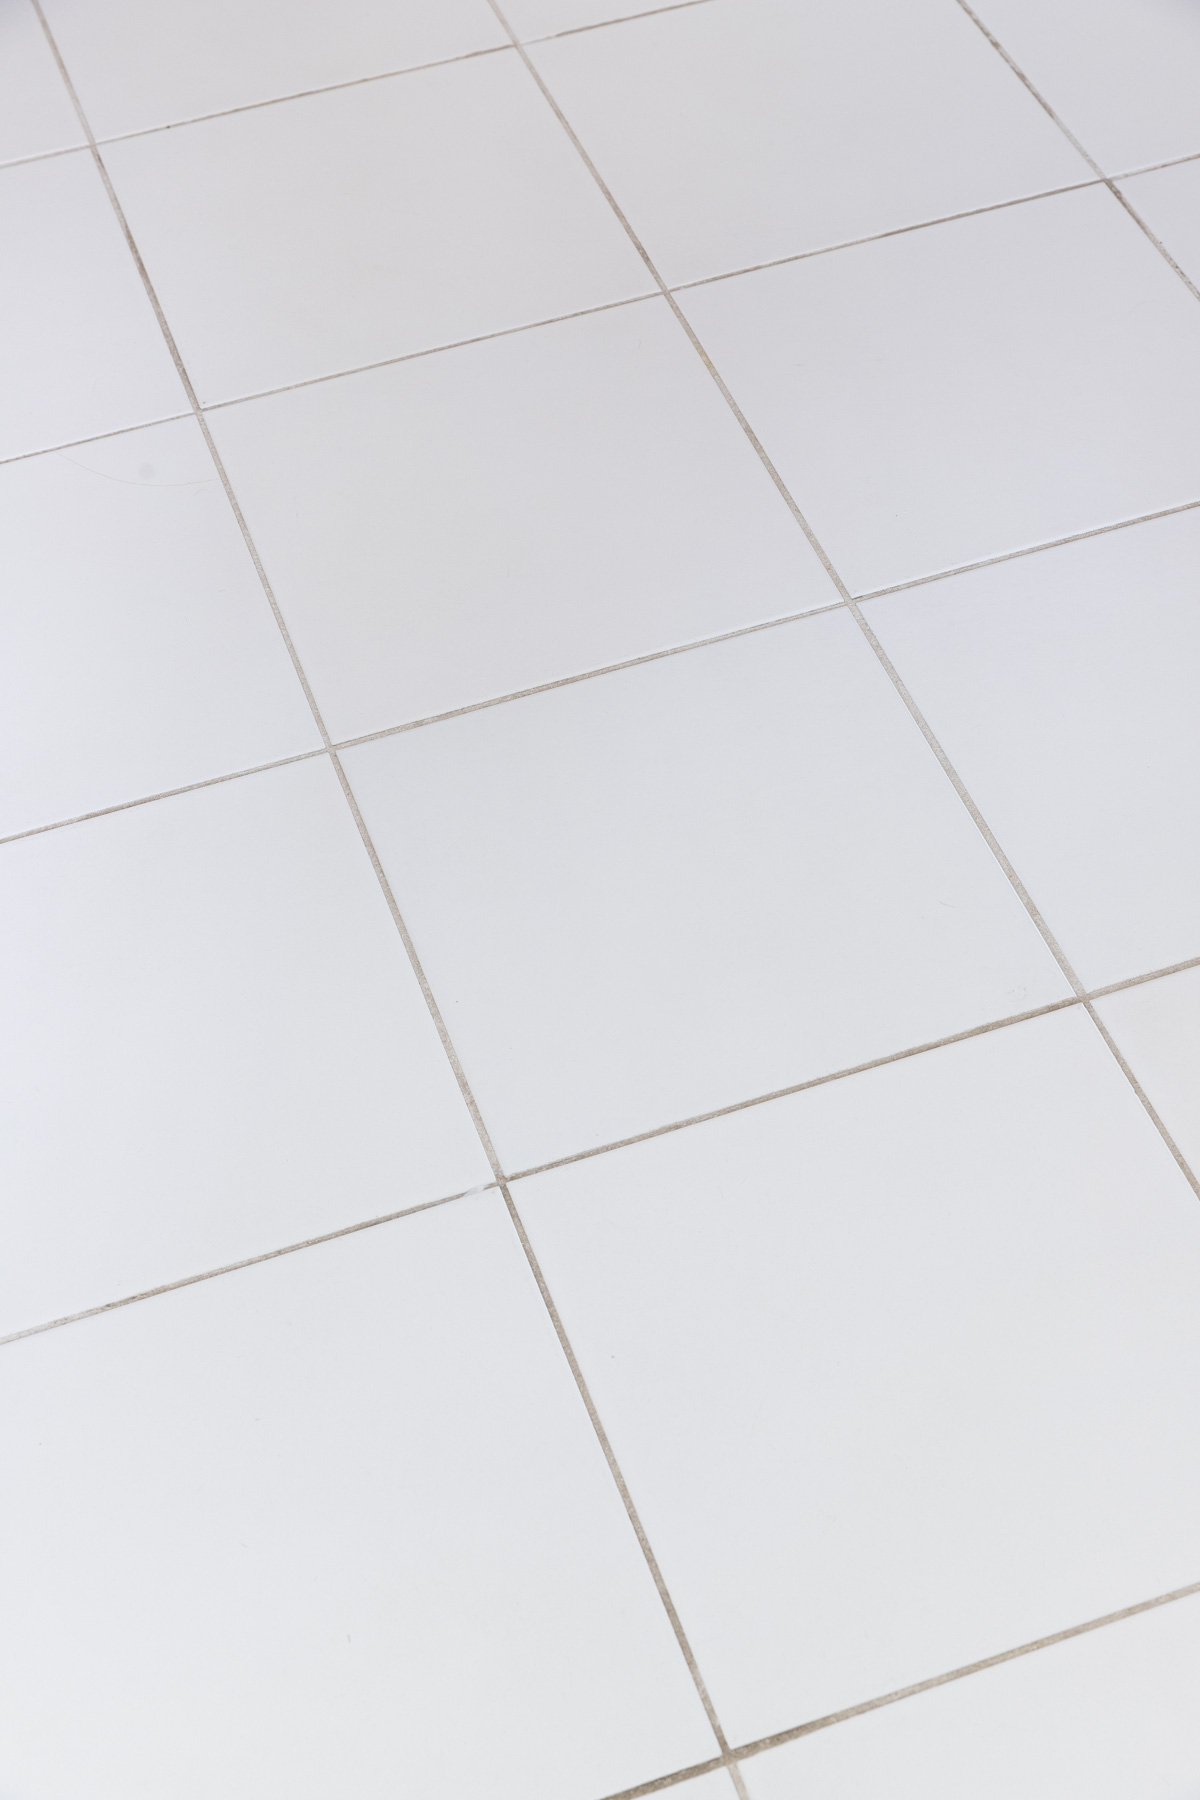
To test various grout cleaners and determine which worked best, I test-cleaned numerous areas of stained grout around the floor tile in our oh-so-lovely primary bathroom. The grout was like this when we bought our house, and I’ve never deep cleaned it because we knew we’d be tearing it out soon to remodel this space. I thought the grout may originally have been white, but honestly I wasn’t sure:
Method 1: Bottled Grout Cleaners
To find the best bottled grout cleaner, I scoured online reviews and got input from thousands of Driven by Decor Instagram followers. I tested the three top rated and recommended products. The best of the best was Zep Grout Cleaner & Brightener, which can be used on both white and colored grout. It’s formulated to remove stains from grout lines without the need for heavy scrubbing. It’s a clear liquid that you simply apply to your grout lines,
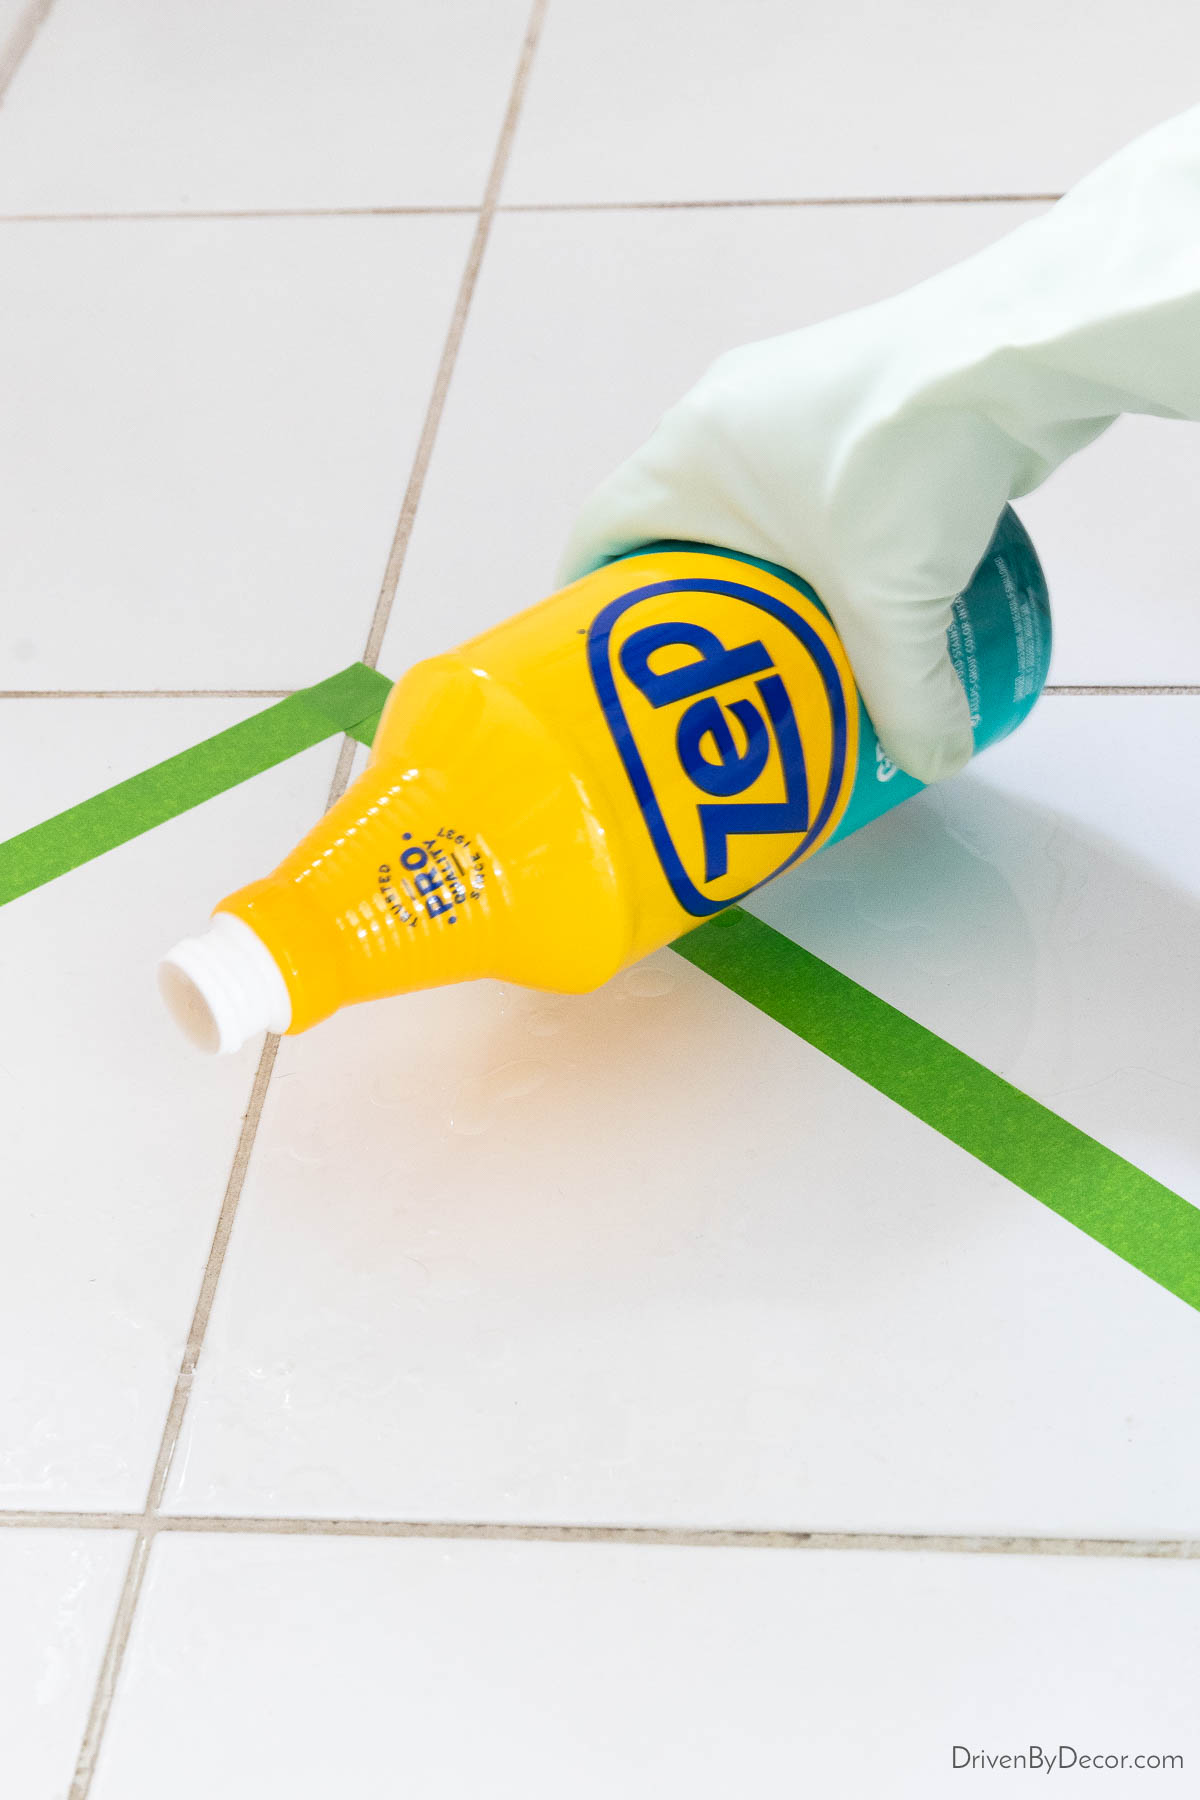
allow 2-3 minutes for it to penetrate, scrub, and then rinse thoroughly.
Pros & Cons of Zep Grout Cleaner
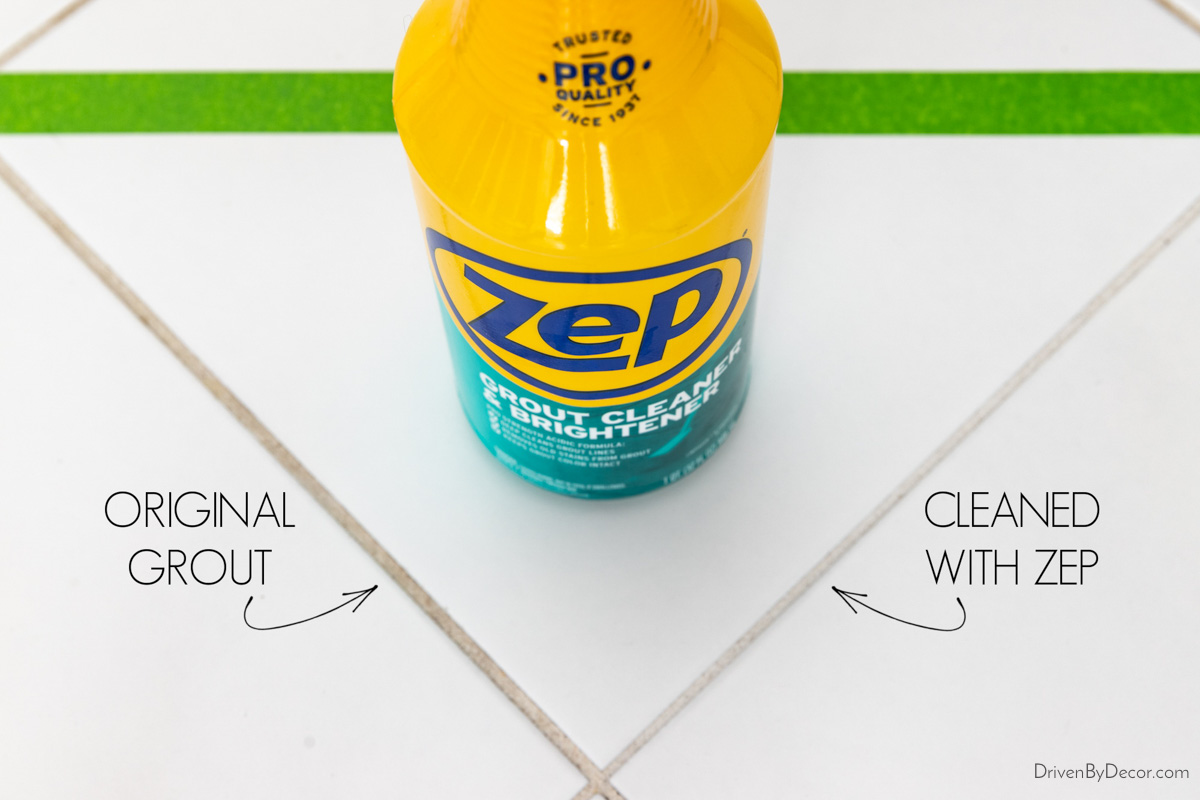
Zep worked like a champ! It cleaned my grout extremely well without having to do much scrubbing. And yes, I discovered that my grout IS actually white under all of that dirt:
A negative of Zep Grout Cleaner & Brightener is that it’s a clear liquid similar to water. While it works really well on floor grout, it wouldn’t work as well on shower wall tile because it would run down the wall without “sticking” to the grout. Also, instead of being sold in a spray bottle, Zep comes in a bottle with a small pour opening at the top. This made it difficult to apply precisely where I wanted it and would make it almost impossible to apply to grout on tile walls.
It’s also important to note that it’s an acidic cleaner and, as mentioned earlier, it’s not a good idea to repeatedly use acidic cleaners on grout. If you have grout that’s badly stained like mine, Zep Grout Cleaner & Brightener is a great cleaner to use to deep clean it. But once you’ve restored it to its original color, I’d recommend maintaining your now-clean grout with a milder cleaning method such as the baking soda paste or steam cleaner discussed below.
Method 2: Homemade Cleaners
There are several methods for cleaning grout that utilize simple ingredients found in most kitchens: baking soda and vinegar. In combination with other household staples, they can make surprisingly powerful grout cleaners. And it has the advantage of being a natural option with no harsh chemicals.
I tried several combinations and the most effective was a combination of baking soda, hydrogen peroxide, and dish detergent. Baking soda is a mild abrasive, loosening dirt on your grout without scratching your tile. Hydrogen peroxide cleans and brightens, and the dish detergent removes any greasy grime.
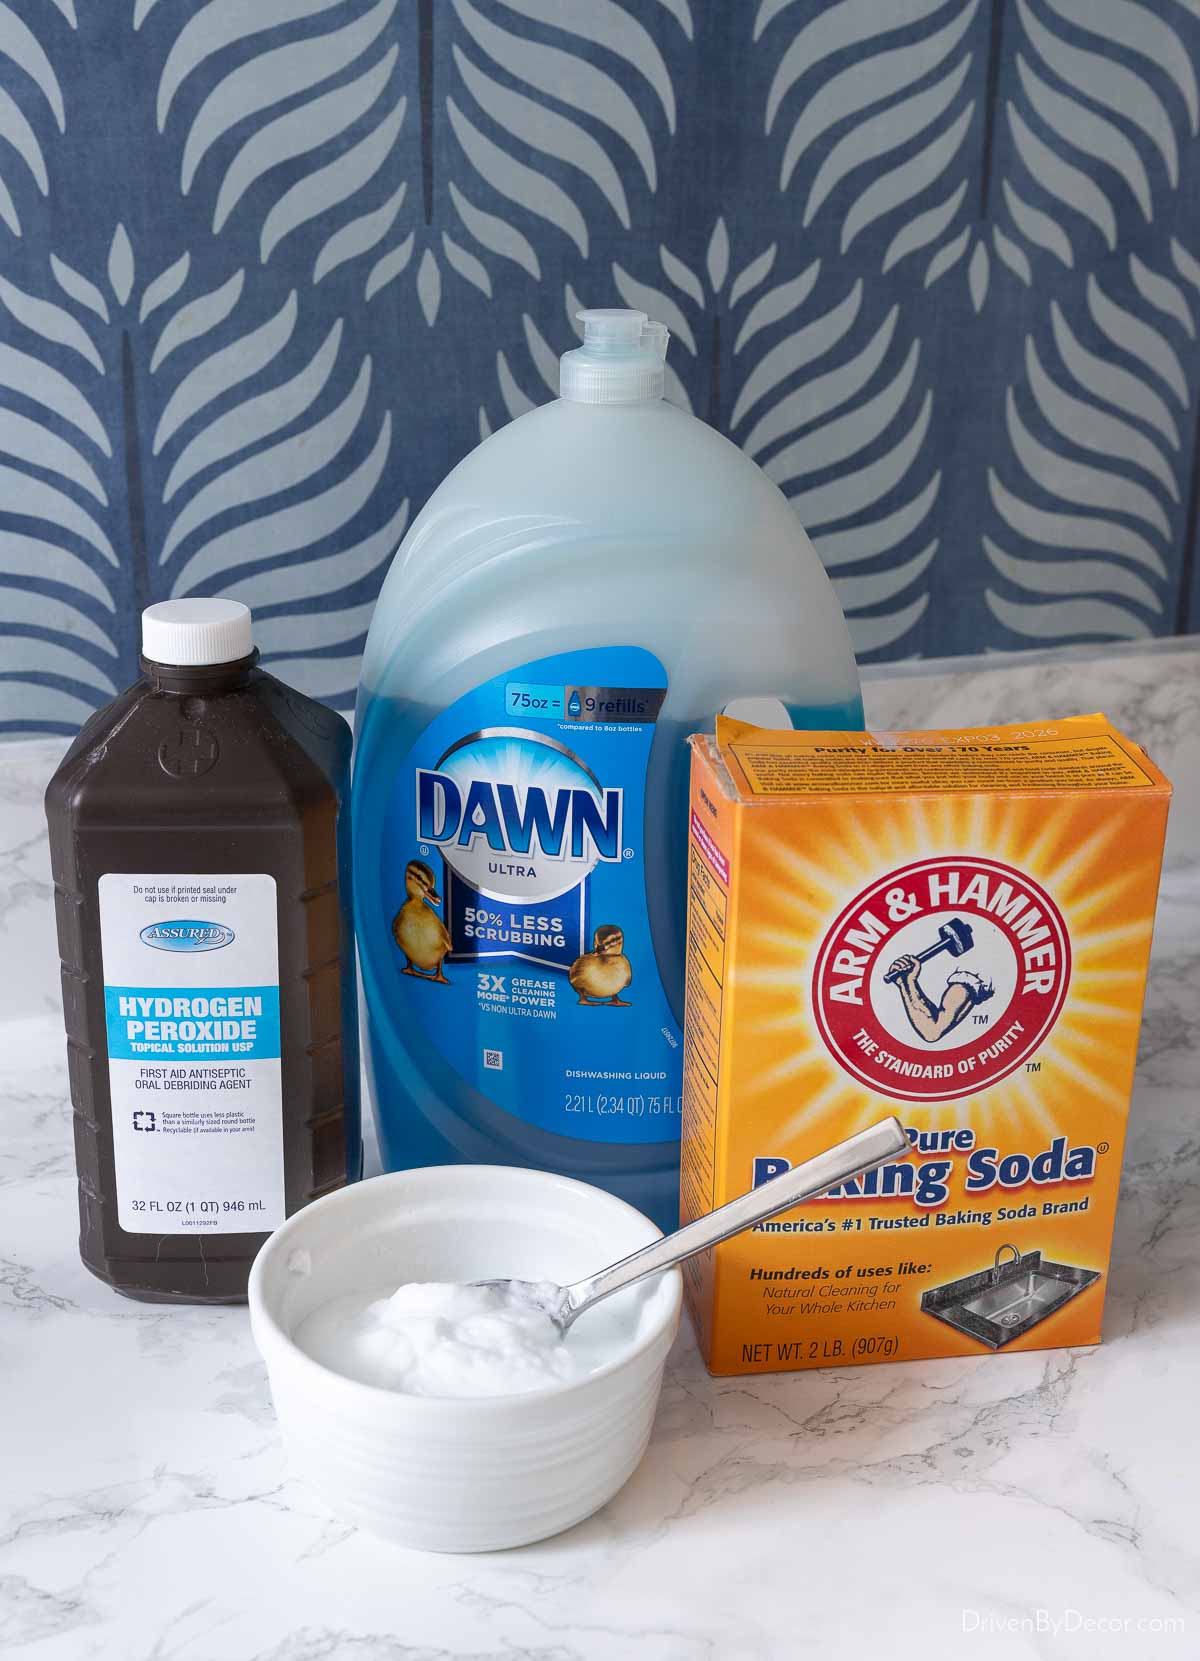
A common cleaning formula is two parts baking soda, one part hydrogen peroxide, and just a small amount of liquid dish soap. I actually prefer to use a little less hydrogen peroxide than this formula so it’s not as liquidy, but instead has more of a toothpaste consistency that’s easy to apply and work into the grout lines.
After mixing the three ingredients in a small bowl to form a thick, spreadable paste, apply the paste to your grout lines. Let it sit for about five minutes to penetrate the grout. Then scrub, working it in with your brush to break up the accumulated dirt and grime:
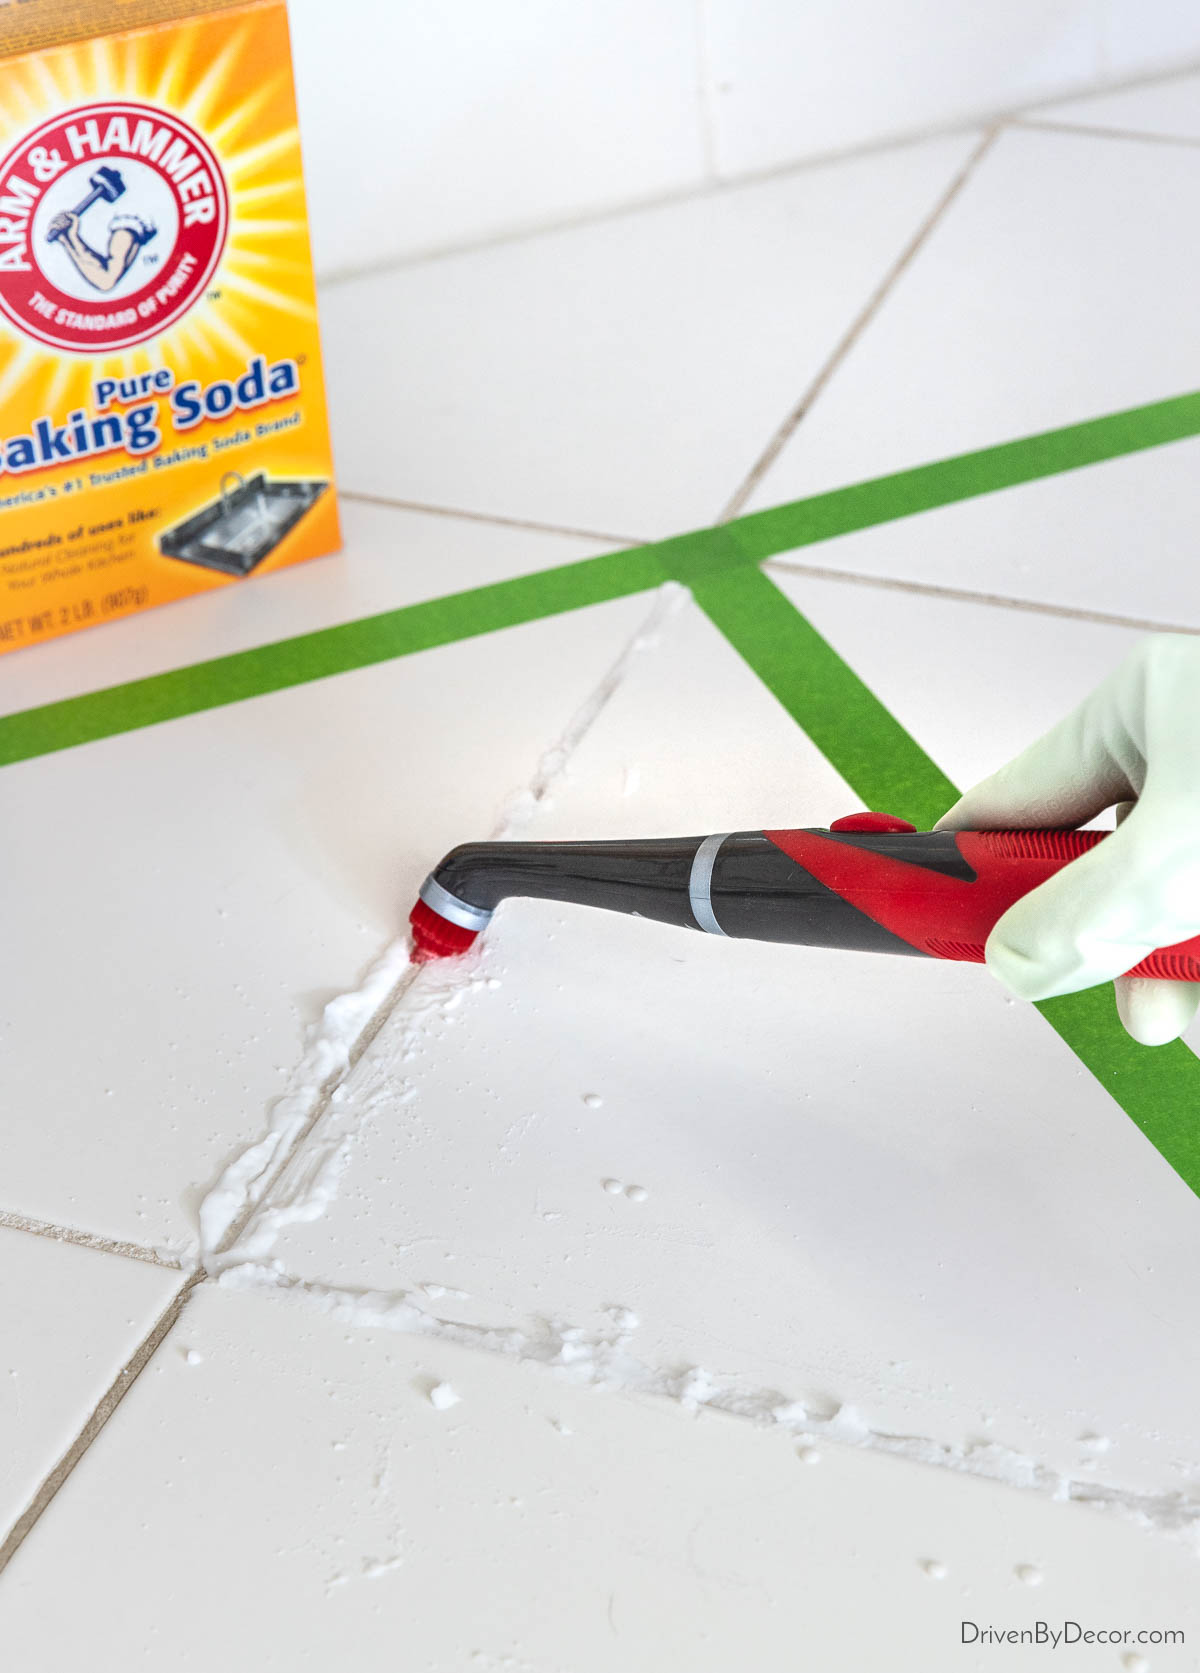
Once clean, use a sponge and a bucket of warm water to rinse the paste off.
Pros & Cons of Baking Soda Paste
Wow! I was actually so surprised by how well this baking soda paste method performed! It cleaned and brightened my grout just as much as the Zep cleaner did.
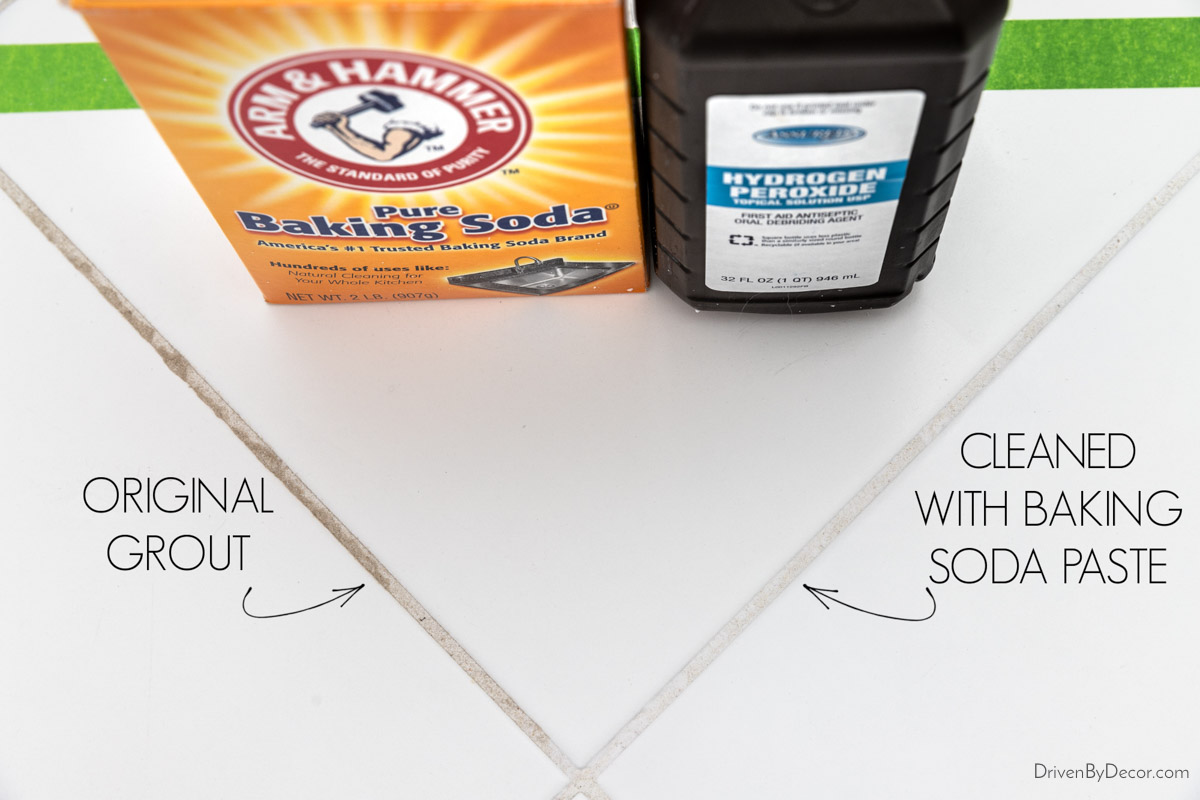
It did require a bit more scrubbing than the Zep cleaner, but I love that it’s a much more natural cleaning solution.
Method 3: Marble-Safe Grout Cleaner
Grout surrounding marble tile requires a cleaner that’s specifically designed for cleaning around this more delicate surface. Having had a marble tile shower, I’ll tell you that it’s key to KEEP it clean instead of letting it go until the grout is stained. After the last person showers, squeegee the walls and floor (I recommend {this squeegee}) and give the tile a quick wipe-down with a towel. It only takes 1-2 minutes and is SO worth it for keeping both your grout and tile in great shape.
When you do give it a thorough clean, you want a cleaner that’s mild, non-abrasive and pH balanced. If your grout isn’t stained, you probably need nothing more than a mild dish soap (such as {this soap} that I use) and warm water. If it’s on the dirtier side, there are several bottled sprays that are safe for natural stone. The two that I found to be the most highly rated are Granite Gold Grout Cleaner Spray and Stonetech Heavy Duty Tile & Grout Cleaner. Of the two, {this Granite Gold Grout Cleaner} worked the best for me.
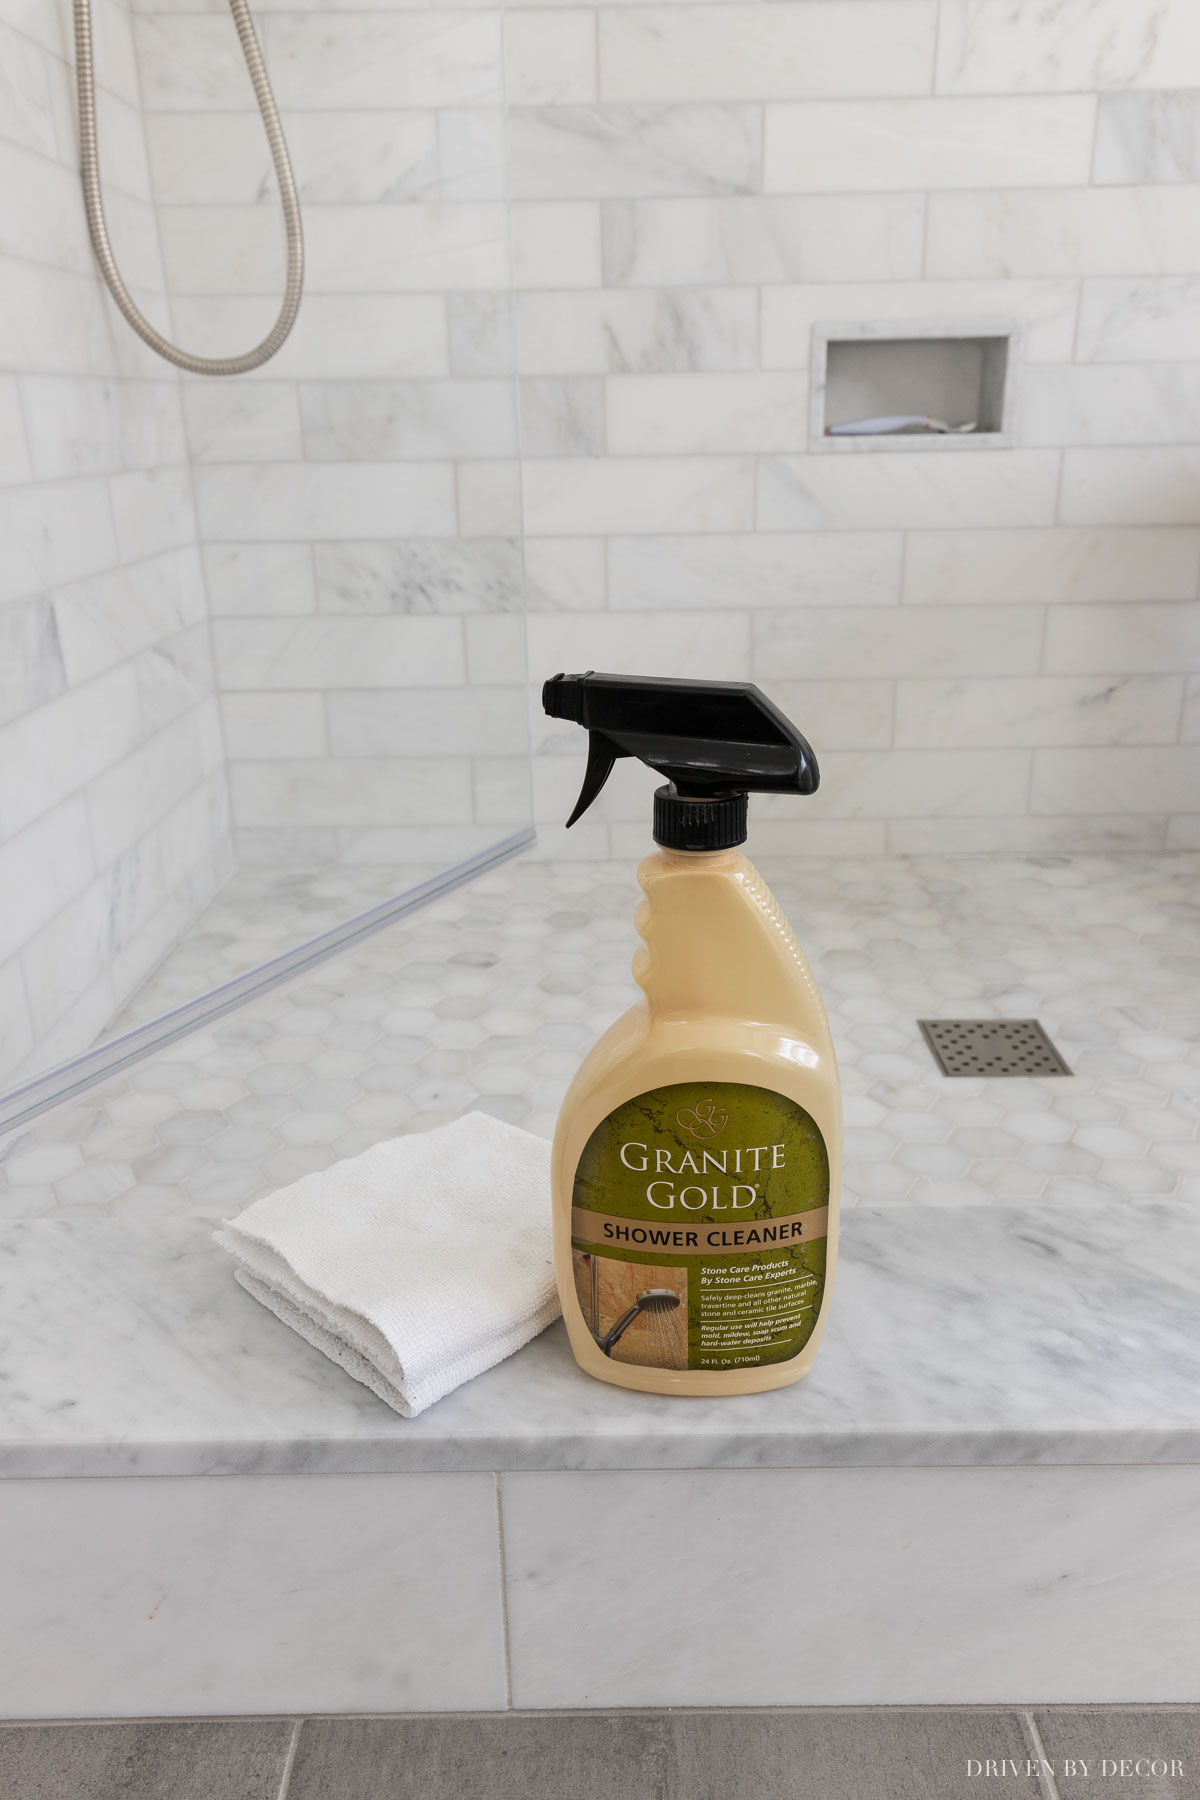
I also love {this shower cleaner} for cleaning the actual marble that’s made by the same brand:
Method 4: Steam Cleaning
I also wanted to test out steam cleaning because not only is it a natural way to clean your grout, but it sanitizes too. I steam cleaned our grout using {this Bissell steam cleaner} with this grout brush attachment that’s specifically made to scrub grout while you’re steaming it:
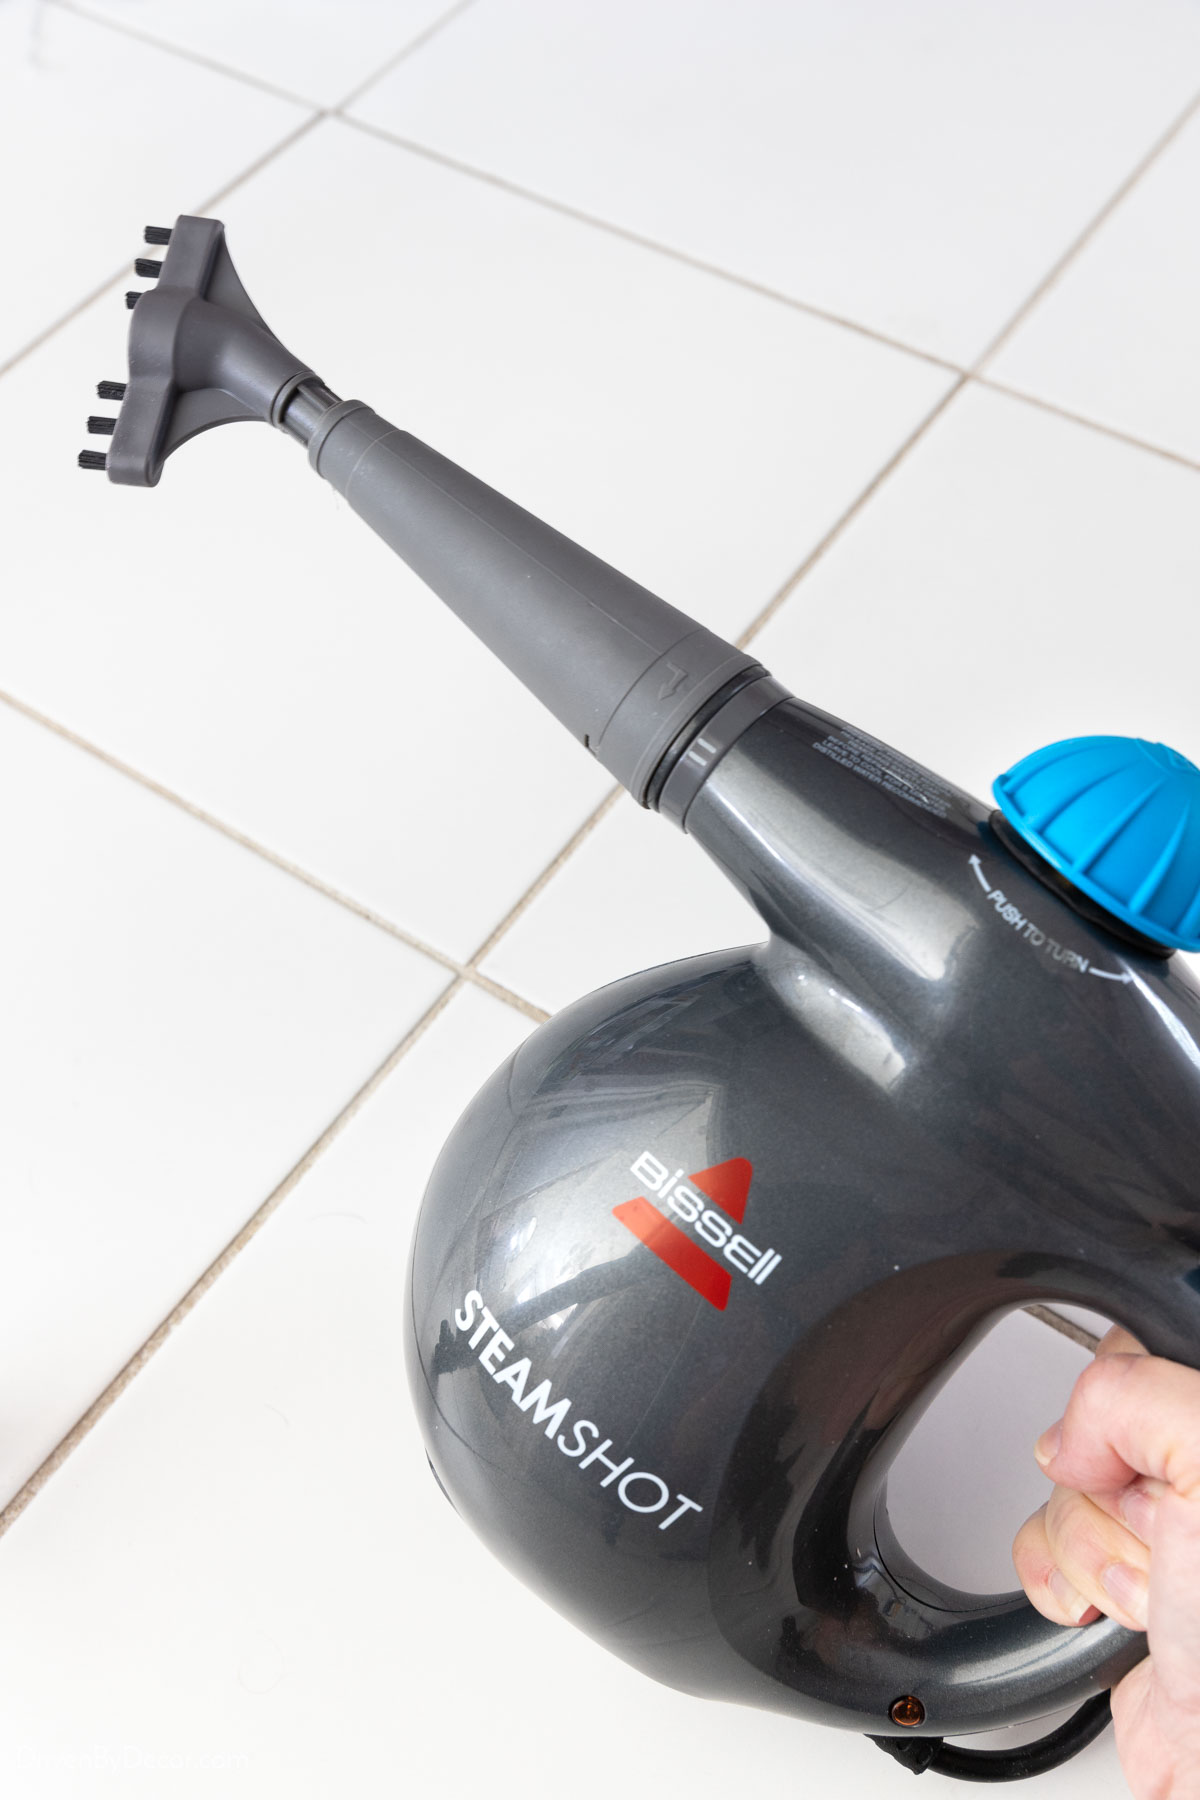
You simply add water through the top, close the top, wait until it heats up, and then guide the nozzle along the grout lines.
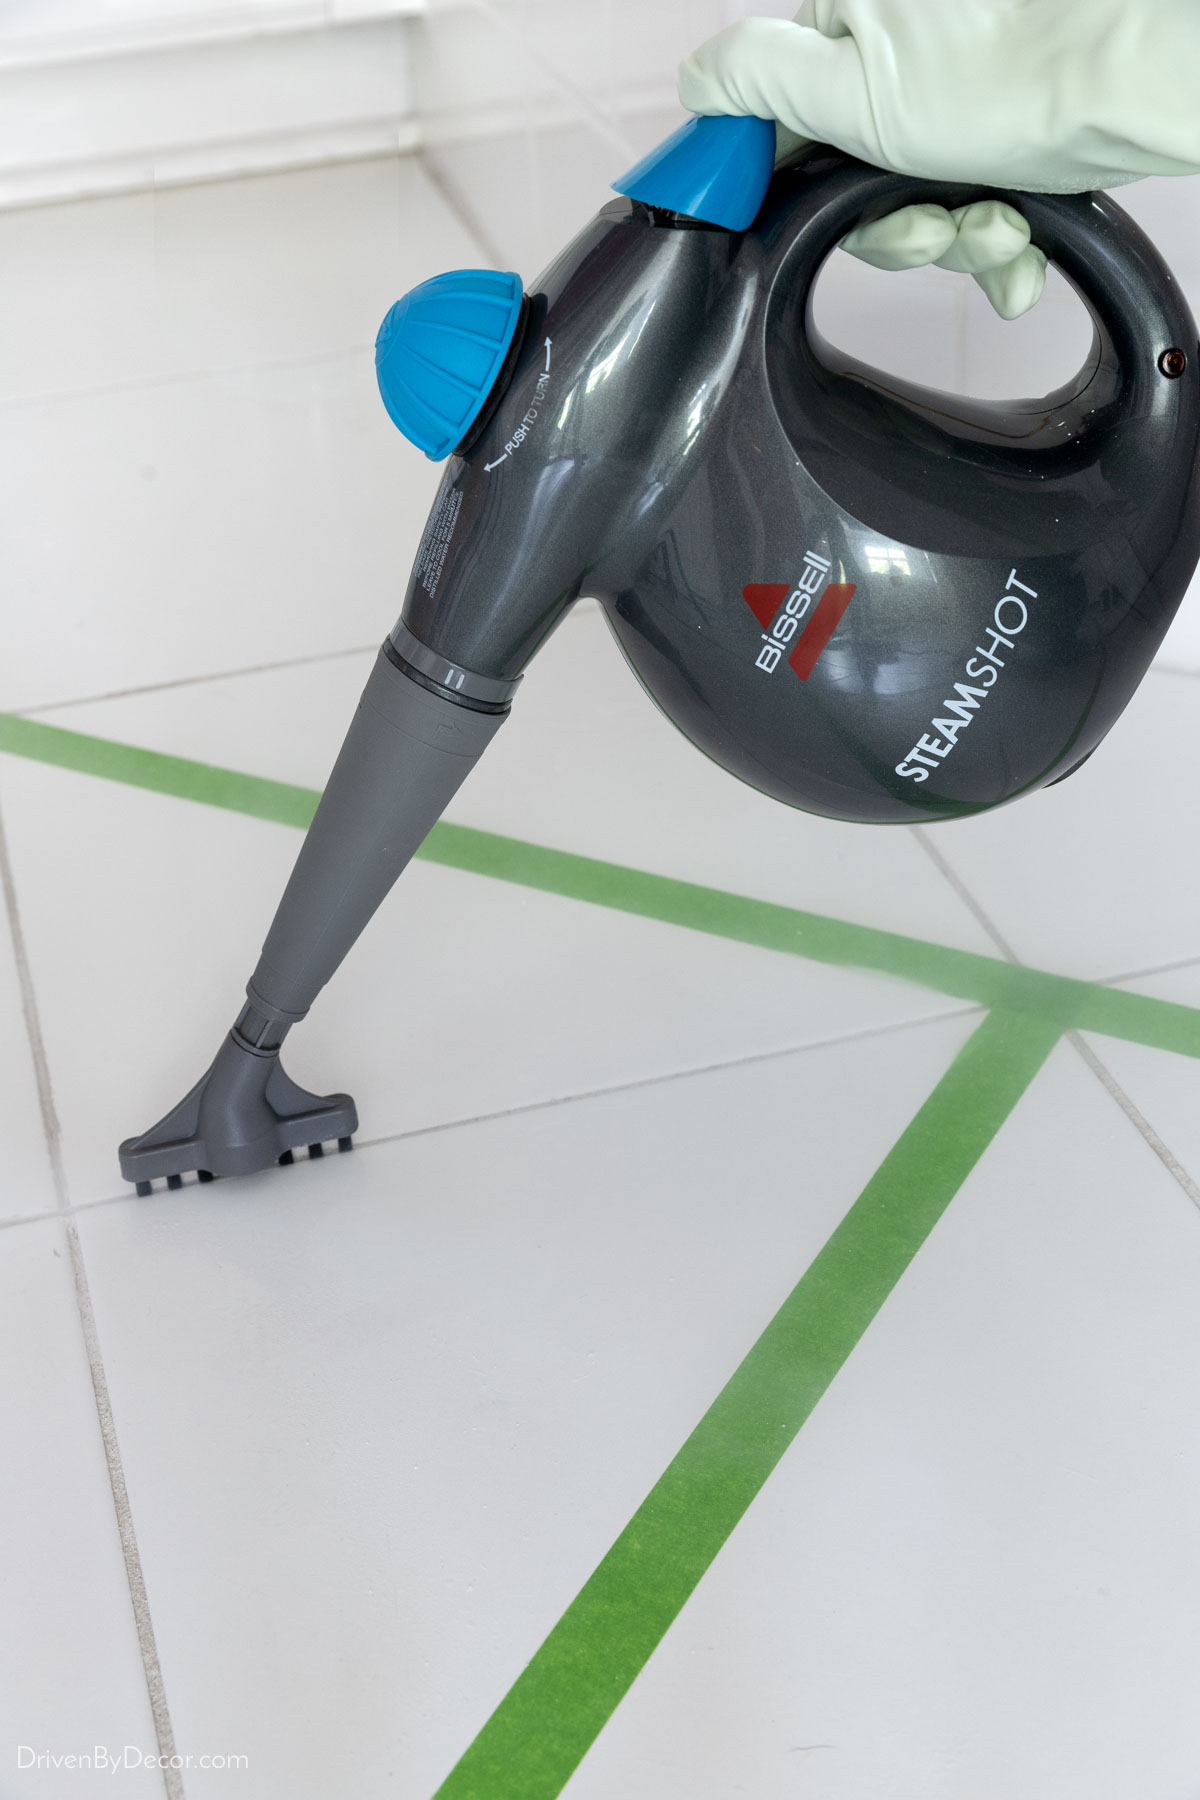
Steam cleaning required very little effort for dirt and grime to be lifted away. It cleaned well, but not quite as well as the Zep or baking soda paste.
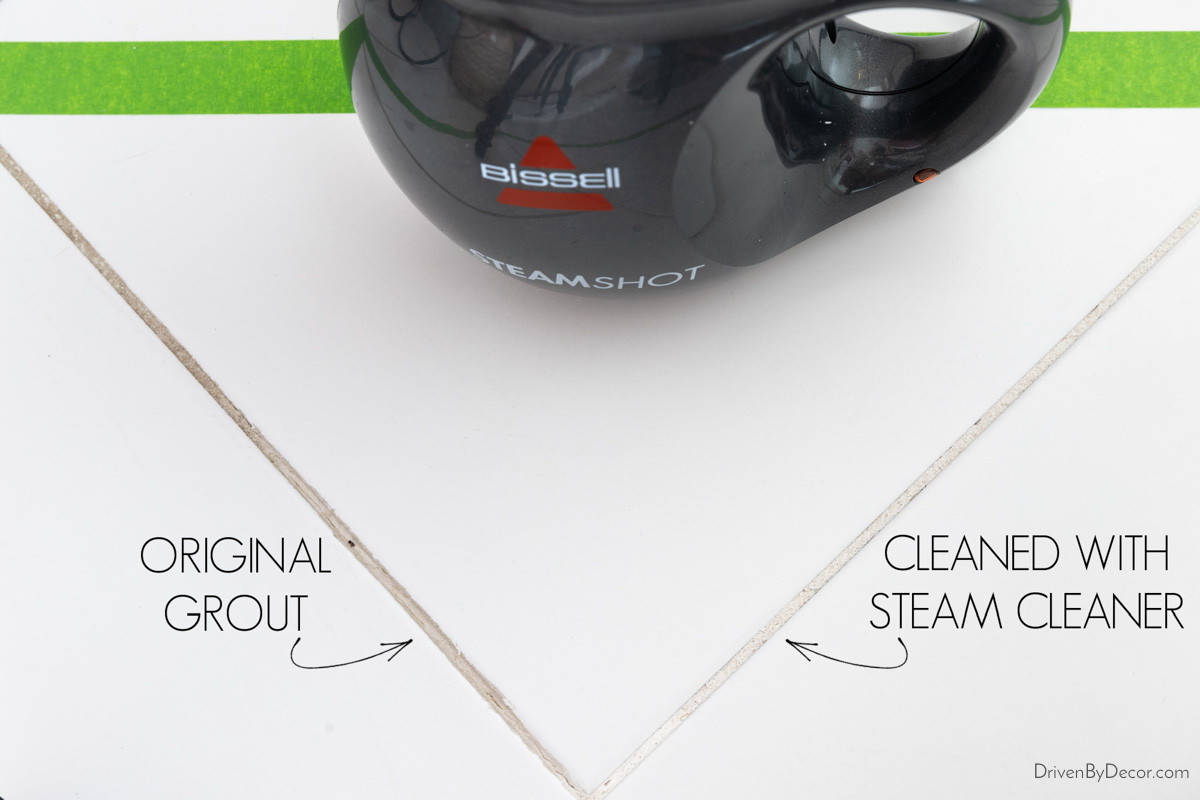
It’s the quickest of any of the methods, making it easy to clean large areas of tile in a short amount of time. Another big plus is that it’s a completely chemical-free method, making it a safe and eco-friendly option for those who prefer to avoid harsh cleaning agents. And you can use the Bissell SteamShot to clean SO MANY THINGS (I love mine!).
Grout Colorant
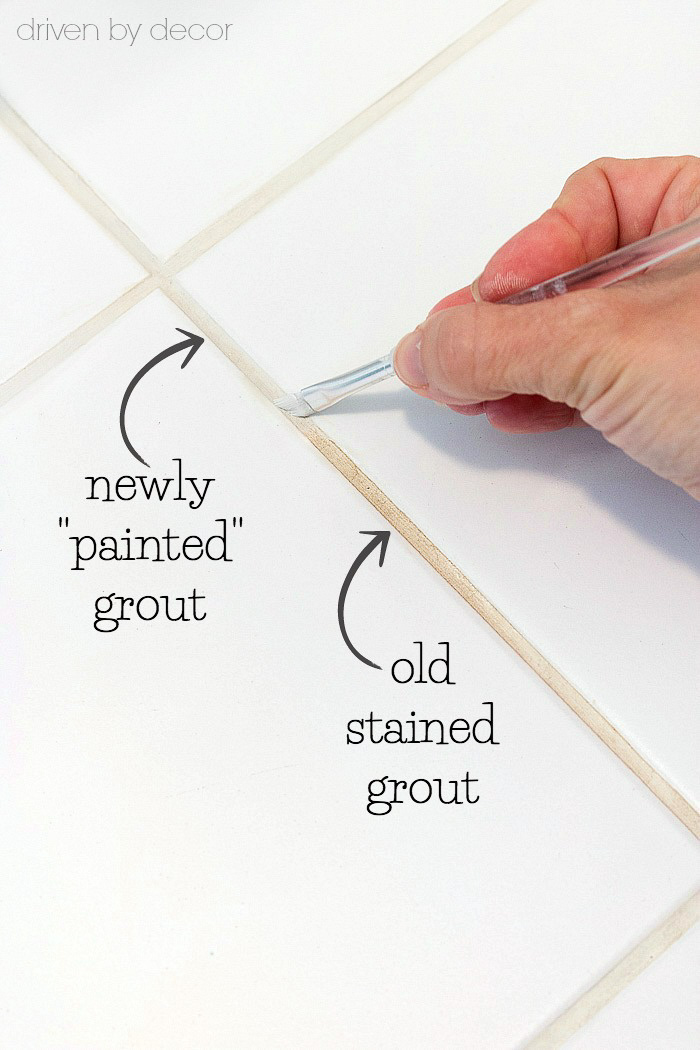
What if, after cleaning your grout, you still can’t restore it to its original color? A grout colorant is the answer! You can use a bottled grout paint and sealant like {this grout refresh colorant} that you apply with a toothbrush or paintbrush:
or a grout pen like {this grout restorer pen} that works similarly to a paint pen:
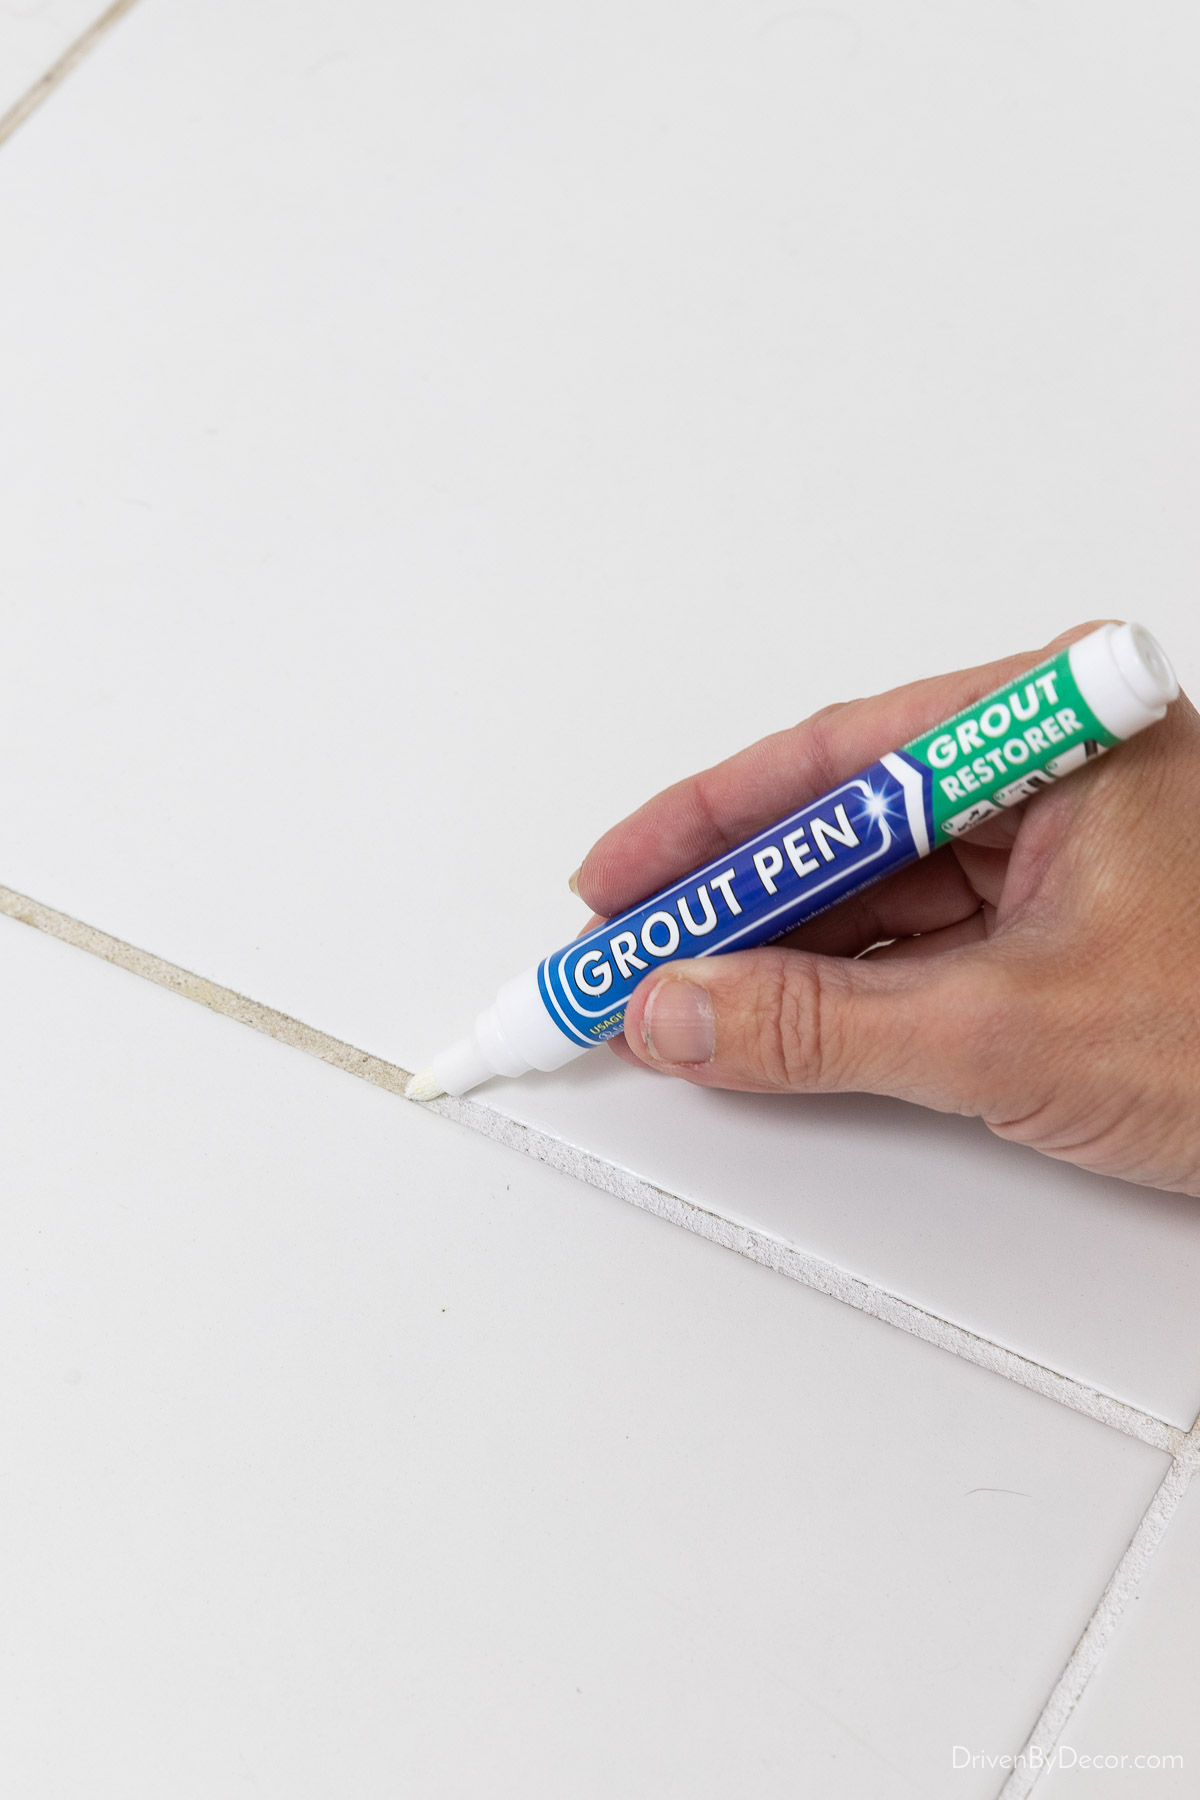
Get more details in my post on how to whiten grout.
Sealing Your Grout
With your grout now sparkling clean, it’s important to protect it with a grout sealer. Sealers act as a protective barrier, preventing dirt and liquids from penetrating the grout and causing stains. Before applying the sealer, it’s important to ensure that your grout is clean and completely dry. Follow the manufacturer’s instructions for application and allow sufficient time for the sealer to cure.
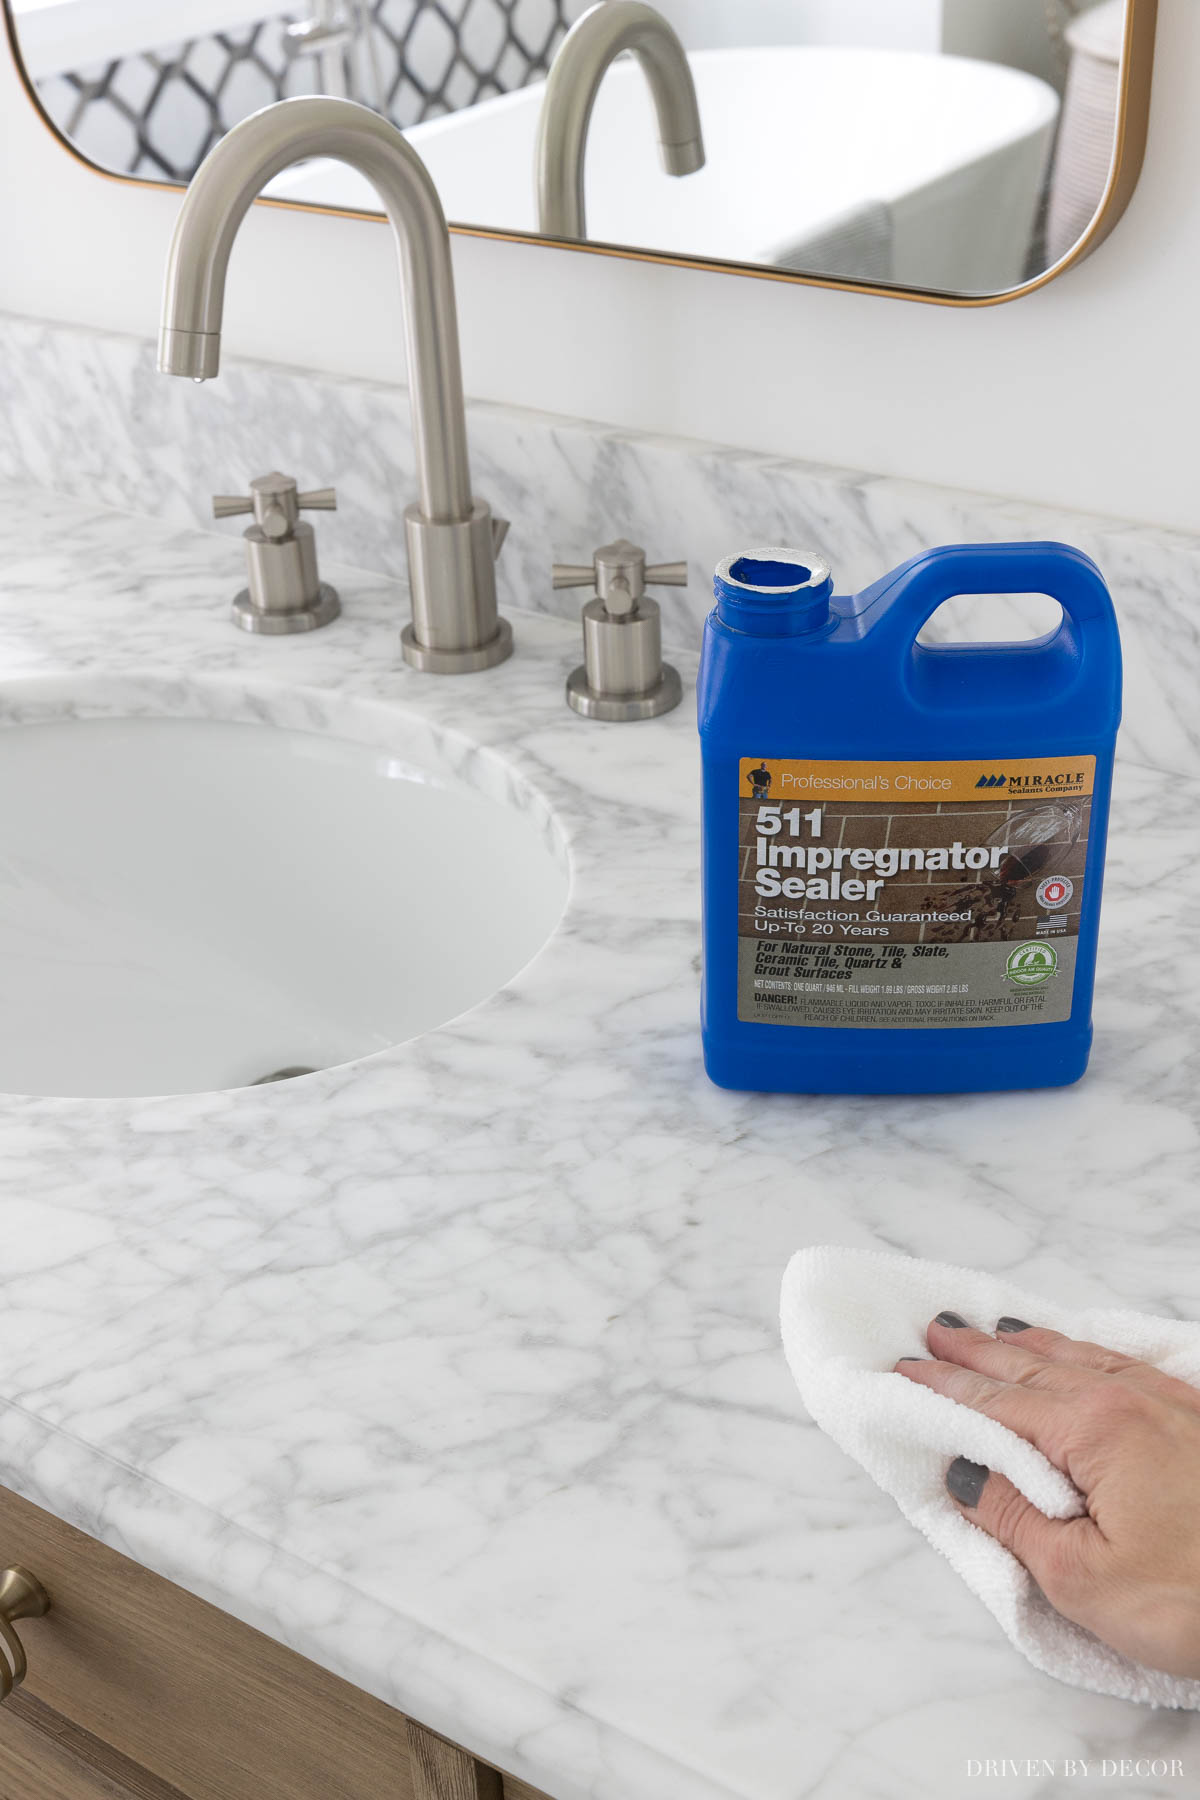
I’ve always used {this impregnator sealer} that was recommended by my tile guys. Impregnator sealers penetrate below the surface to protect it throughout but are breathable and don’t trap the moisture inside. It’s great for sealing sanded grout and natural stone too. You simply wipe it on, wait 3-5 minutes, and then wipe the excess off:
For high-traffic areas, it’s recommended that you reseal your grout every 6 months, while for lower-traffic areas, you can go 1-2 years between resealing.
For unsanded grout, some say sealing is unnecessary, while others still recommend it. I’ve used this same 511 impregnator sealer on my unsanded grout with good results in the past (after doing a test patch to make sure it didn’t alter the color), but do so at your own risk since it’s not specifically indicated for that on the bottle.
And with that we’re done talking about how to clean floor tile grout! That was a long one – I hope you found it helpful! Let me know how my recommendations work out for you next time you’re cleaning 🙌🏻.


