Looking for tips on hydrangea care? We had LOADS of hydrangea bushes in our previous home and I always got tons of questions about their care. So today I’m sharing all the tips you asked for including tips on pruning, changing hydrangea colors, preventing deer from eating them, and more! (post includes affiliate links – full disclosure statement available {here})
Pruning Hydrangeas
The most common questions I get about hydrangea care are when’s the best time & how much can I prune off. How aggressive you can get with your pruning depends upon whether you have a variety of hydrangea that (1) flowers on old “wood” (stems from the previous year), (2) flowers on new wood (new growth from the current season), or (3) flowers on a combination of new and old wood (Endless Summer hydrangeas).
For hydrangeas that flower on old wood like these pink and blue mophead hydrangeas in our backyard,
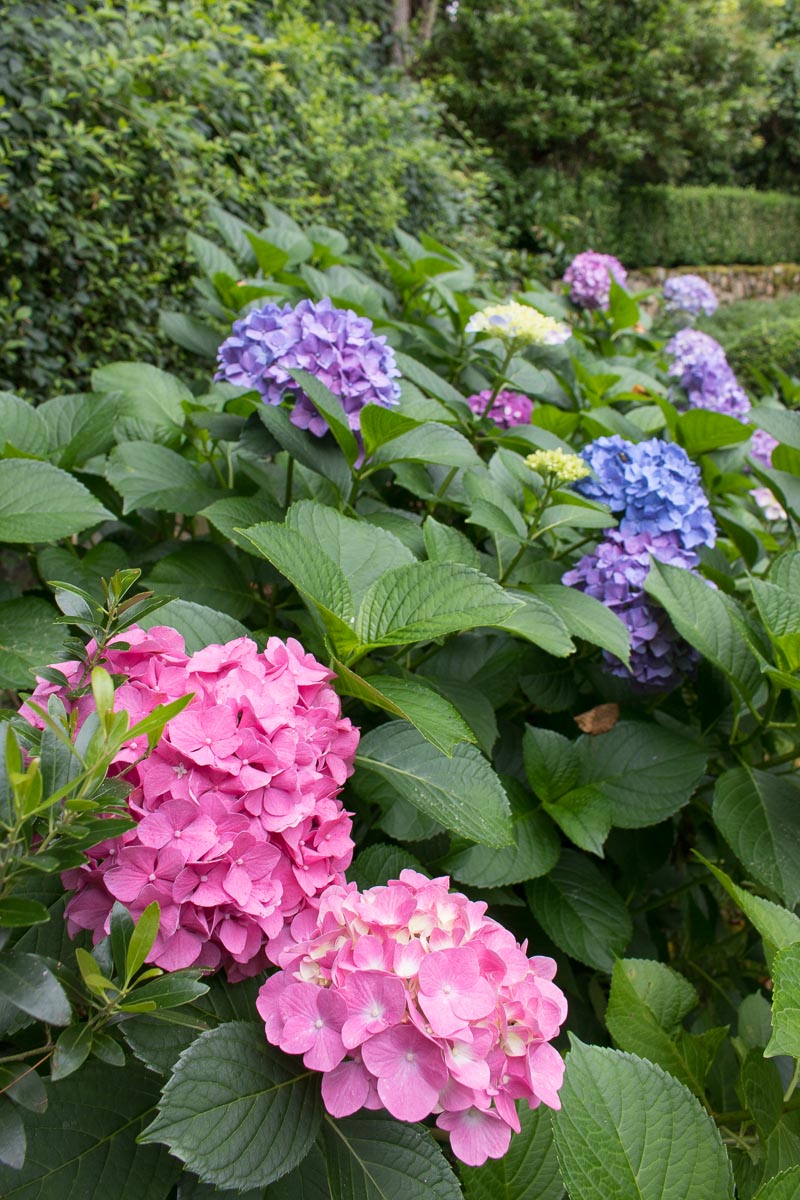
it’s ok to prune off dead stems or blooms at any time if you prune close to the bloom. But any more significant pruning should be done in the summer after your hydrangeas have flowered. Why is this so important? Starting in late summer/early fall, the buds for next year’s blooms start to form so if you prune at that time, you’ll be cutting off those precious buds. The following spring you’ll end up with a big green leafy but bloomless hydrangea bush!
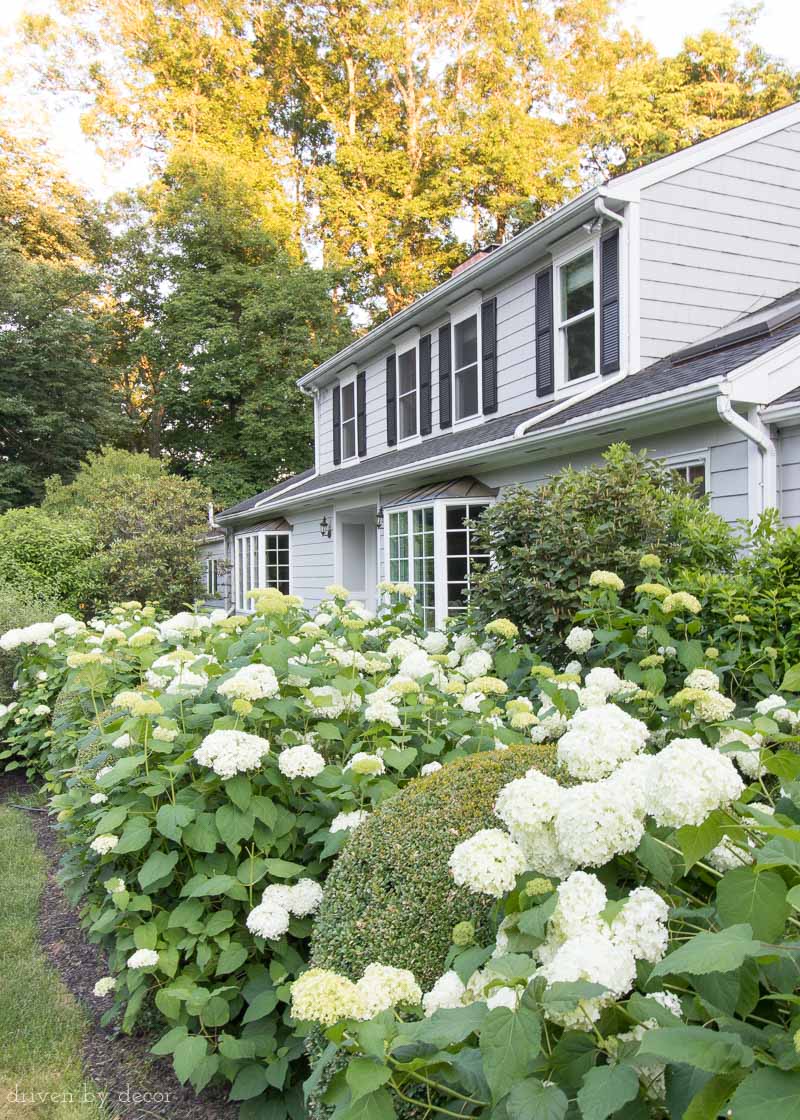
For hydrangeas that flower on new wood like Limelight hydrangeas or the Annabelle hydrangeas along the front walkway of our house, the entire bush can be cut to just a few feet from the ground in the fall or late winter/early spring (before spring growth begins) and they’ll still grow and bloom just fine the following summer. It’s ideal to do the pruning in late winter/early spring (since pruning can instigate new growth which you don’t want going into winter) but most will do fine with fall pruning. We always pruned ours down in the fall since they grow so large by the end of the summer that they start taking over our front walkway and they consistently bloomed like crazy the following year. Can you believe that we cut these hydrangeas down to only a foot above the ground the fall before this?
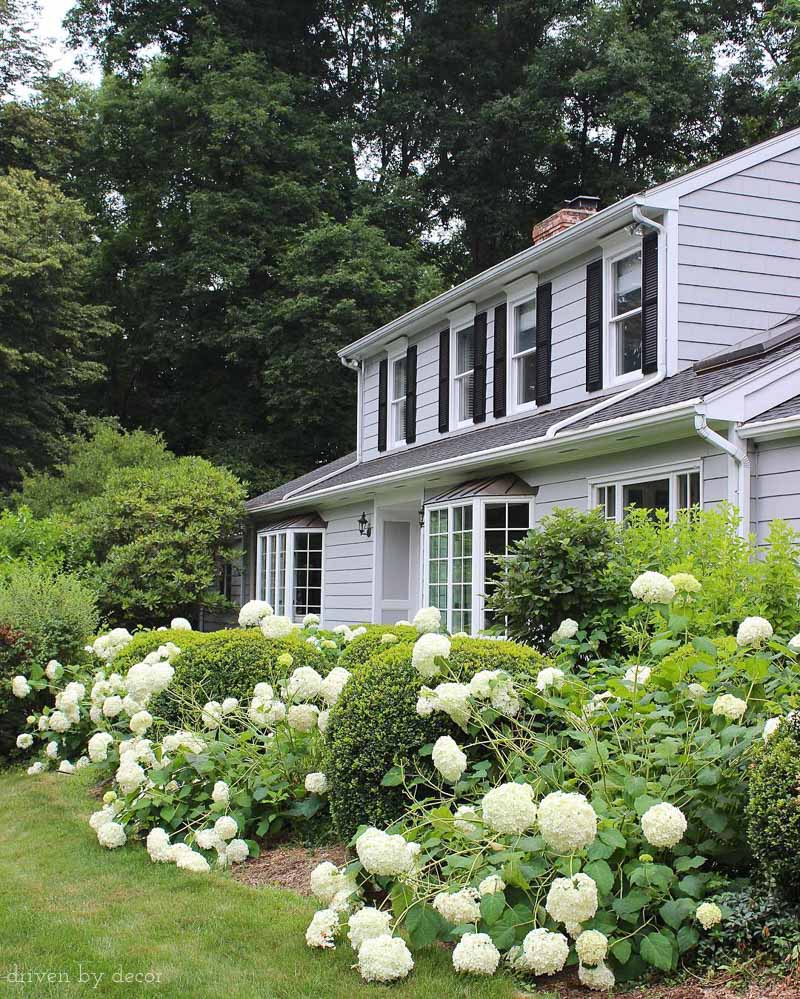
One of the negatives of Annabelle hydrangeas compared to some other types is that they have thinner stems and tend to be a lot more floppy. One little tip to pass on that we figured out by trial and error is to actually prune them to only about 2-3 feet from the ground instead of super close to it. While they grow back fine either way, we’ve found that leaving some of the old growth serves as a support for the new growth in the spring and summer so they’re not nearly so floppy. You can see the difference in how much more upright they were the following year when we left a few feet of old growth when pruning the year before:
For hydrangeas that flower on a combination of new and old wood (Endless Summer hydrangeas), to maximize your blooms you’d want to prune them the same as I described for my mophead hydrangeas. If you prune them in the fall or spring instead, you’ll still get blooms from the flowers that bloom on the new growth but you won’t get as many because you will have pruned off some of the buds on the old growth that would have flowered.
What should you prune with for the best hydrangea care? My gardener (aka my husband) swears by {these pruners}. They have longer blades to get the job done quickly and telescoping handles that are super helpful for pruning taller hydrangea bushes.
Fertilizing Hydrangeas
An important aspect of good hydrangea care is fertilizing. Generally it’s best to fertilize your hydrangeas in the spring before they start growing and leafing out and then again during the peak growing season (depends on the climate but usually July). The instructions on many fertilizers recommend more frequent fertilization but I tend to err on under-fertilizing vs. over fertilizing. You definitely don’t want to fertilize them within 1-2 months of the frost date for the zone you live in. Fertilizing that late in the season encourages new growth that won’t survive through winter in most climates.
The fertilizer that I’ve used with the most success is Jack’s Blossom Booster (available {here}) – my hydrangeas have done extremely well with it!
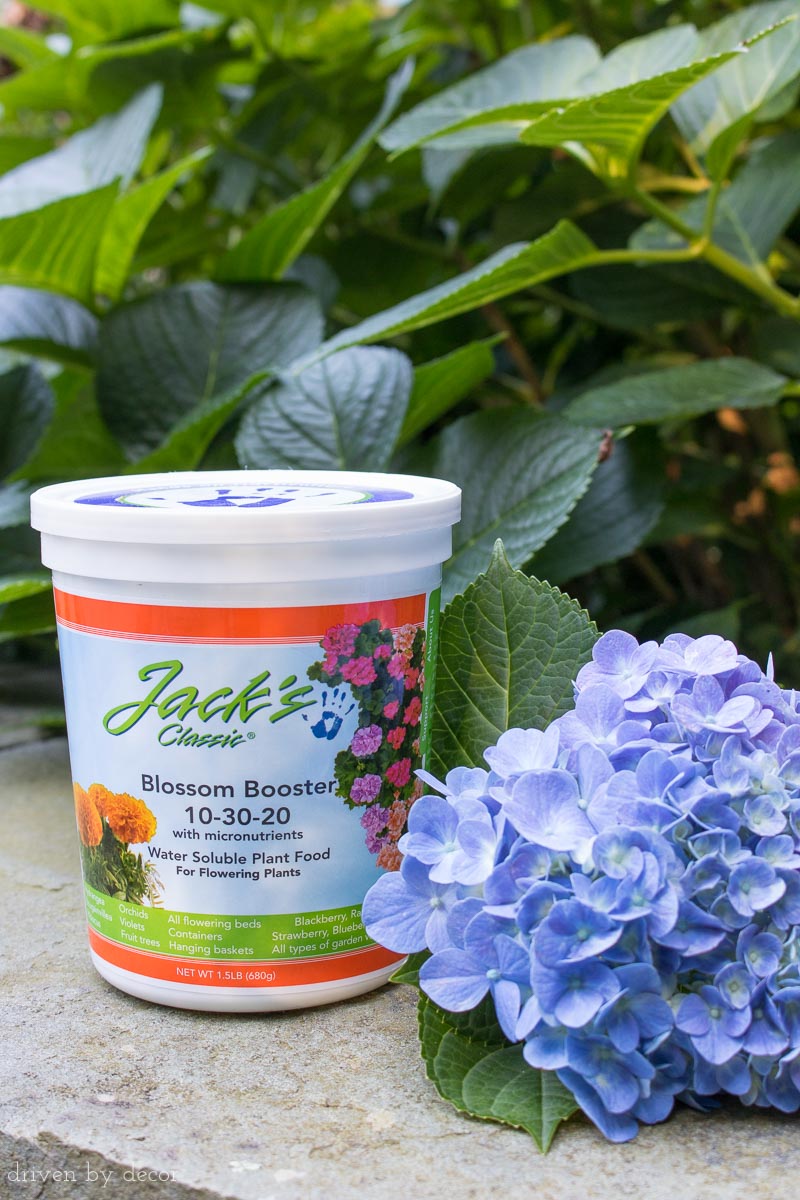
It’s important to not dump the fertilizer at the trunk of your hydrangea – instead spread it over the “drip line” of the hydrangea (the area under the branches that encompasses the entire width of the bush). Be sure to water your fertilizer in or apply it right before rain is predicted.
Changing the Color of Hydrangeas
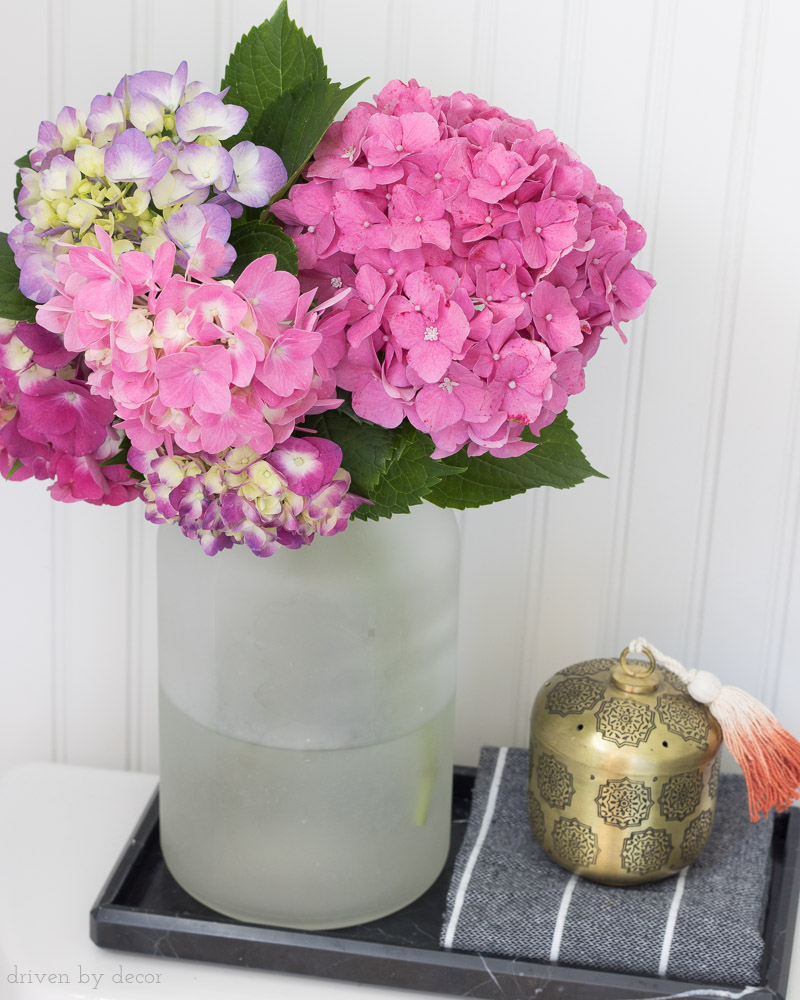
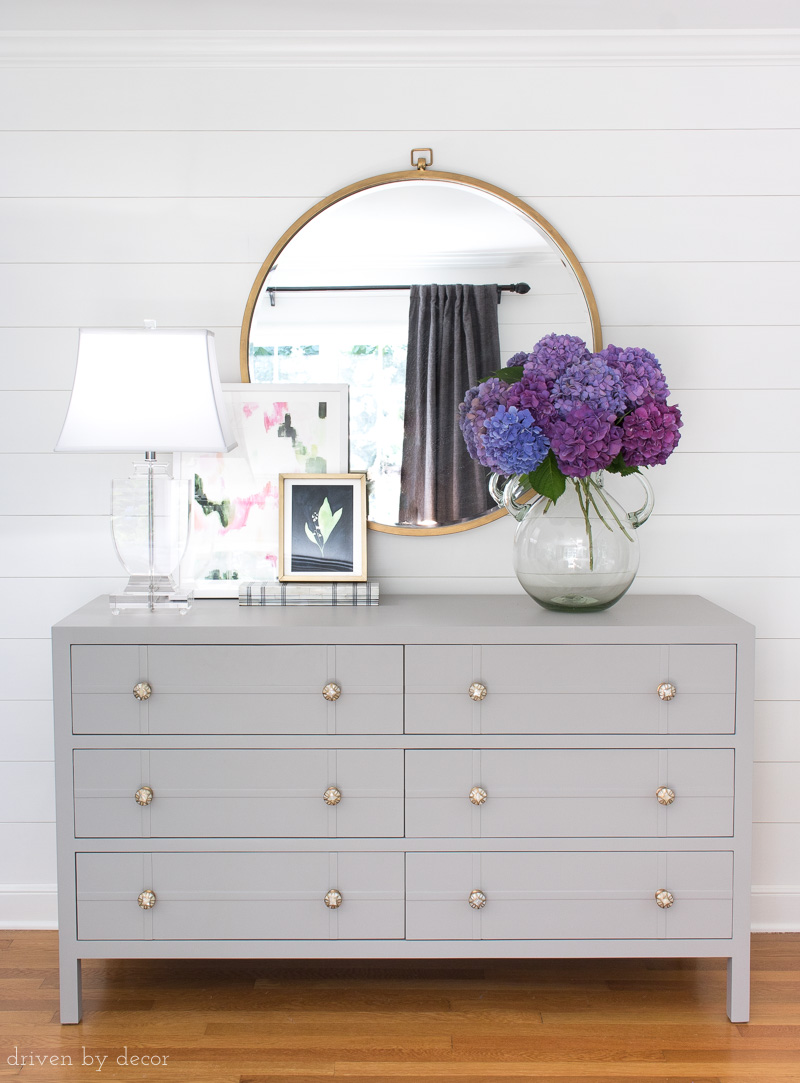
The color of a hydrangea’s blooms depends upon the pH of the soil they’re growing in (unless they’re white, in which case they’ll always be white!). When the pH level in the soil is higher, you’ll get pink blooms and when pH levels are lower, you’ll get blue blooms. The pH can change from year to year depending upon things like the type of fertilizer or mulch that you’re using. Some years every single hydrangea in our backyard were a pale blue/purple but other years we got some gorgeous pinks:
 along with some seriously stunning deep purples:
Did you know that there’s actually a way to tweak Mother Nature’s plan and get the color blooms that you prefer? If you want pink blooms you can raise the pH by sprinkling garden lime such as {this} near the base of the plant or using a product such as “Color Me Pink” available {here}. If you want blue or purple blooms, you can lower the pH by applying a soil acidifier such as {this}, aluminum sulfate (available {here}), or “Color Me Blue” available {here}. I’ve also heard that coffee grounds can do the trick! The key is to apply them early in the growing season and re-apply throughout the growing seasons but water them in well and don’t go overboard because too much can harm your plants.
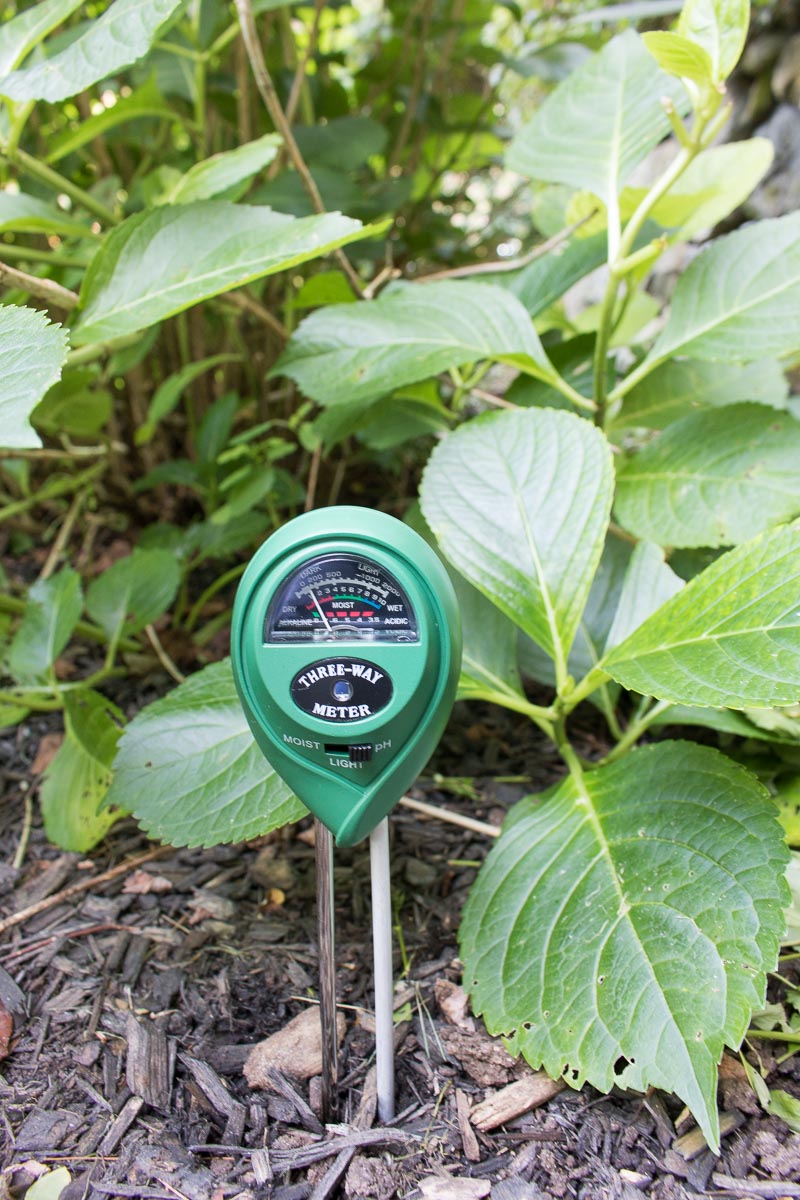
If you want to monitor your soil’s pH during the growing season you can use a probe like {this one} I have that gives readings on both the pH of the soil and the moisture content:
How To Keep Deer from Eating Your Hydrangeas
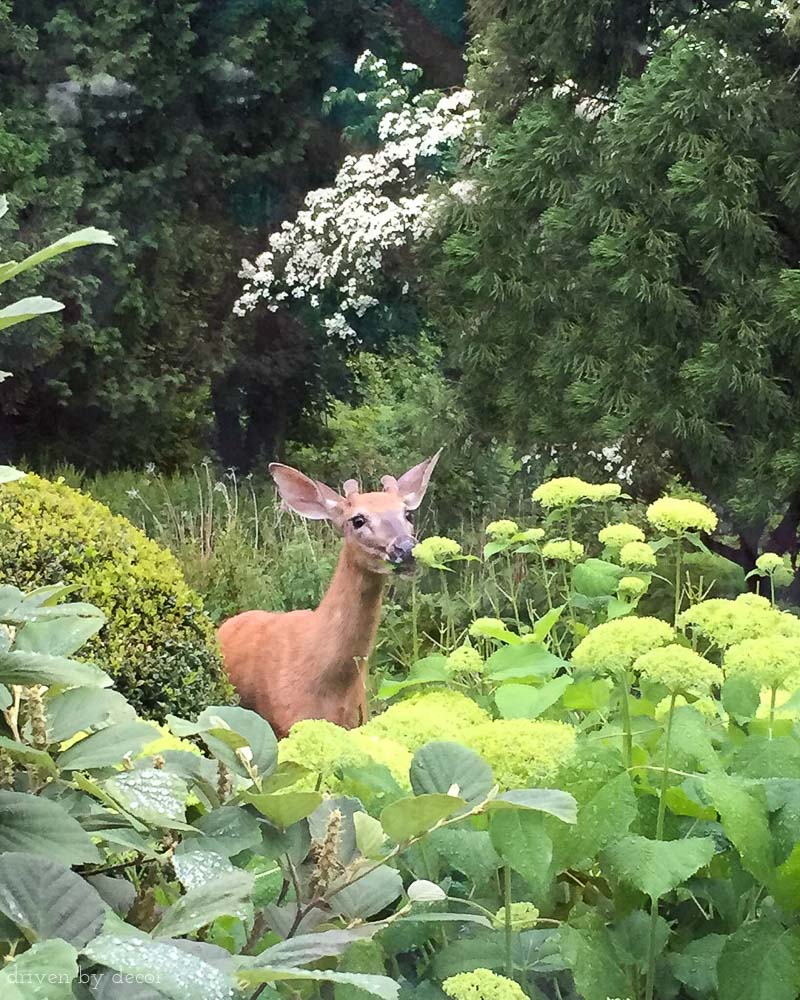
You can put all of my hydrangea care tips into use but they won’t do you any good if you have critters eating them! We had lots of deer that wandered through our yard and they LOVED to eat my hydrangeas, especially right after they’ve just started to bloom. My daughter took this pic of one of the culprits outside of our front window one day when I had neglected to spray my hydrangeas recently:
I’ve tried a few different things to keep them away but the one that works best for me is Bobbex in a ready-to-use pump sprayer (available {here}). It is truly the most disgusting smelling stuff ever but it does the job! I spray mine early on in the season before my hydrangeas start blooming and then once a month throughout the growing season. Between our front and backyard we have a ton of hydrangea bushes but it only takes me about 15-20 minutes to spray them all. You can read more about using Bobbex along with other tips for repelling deer in {this post}.
How To Make Cut Hydrangea Blooms Last
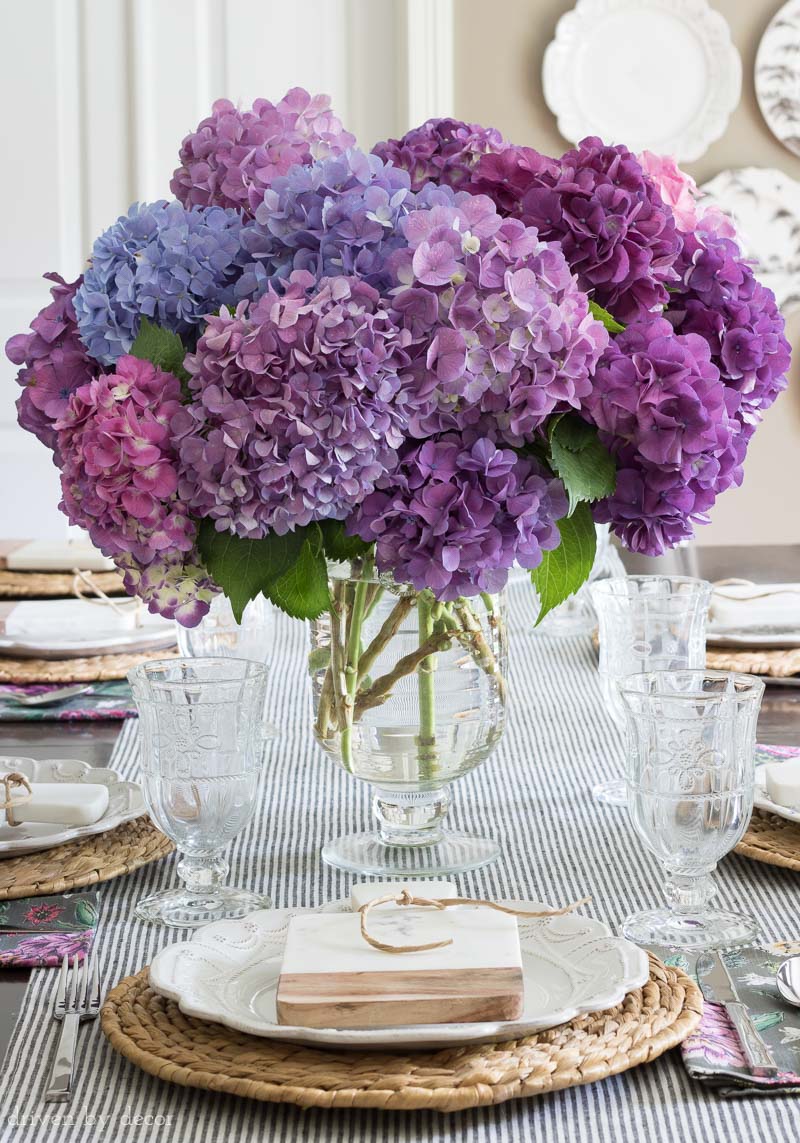
It’s so disappointing to have a beautiful bouquet of hydrangeas that starts wilting just a few days after you put it together. Here’s what I do that helps keep my cut hydrangea blooms last (sometimes for two weeks or more!):
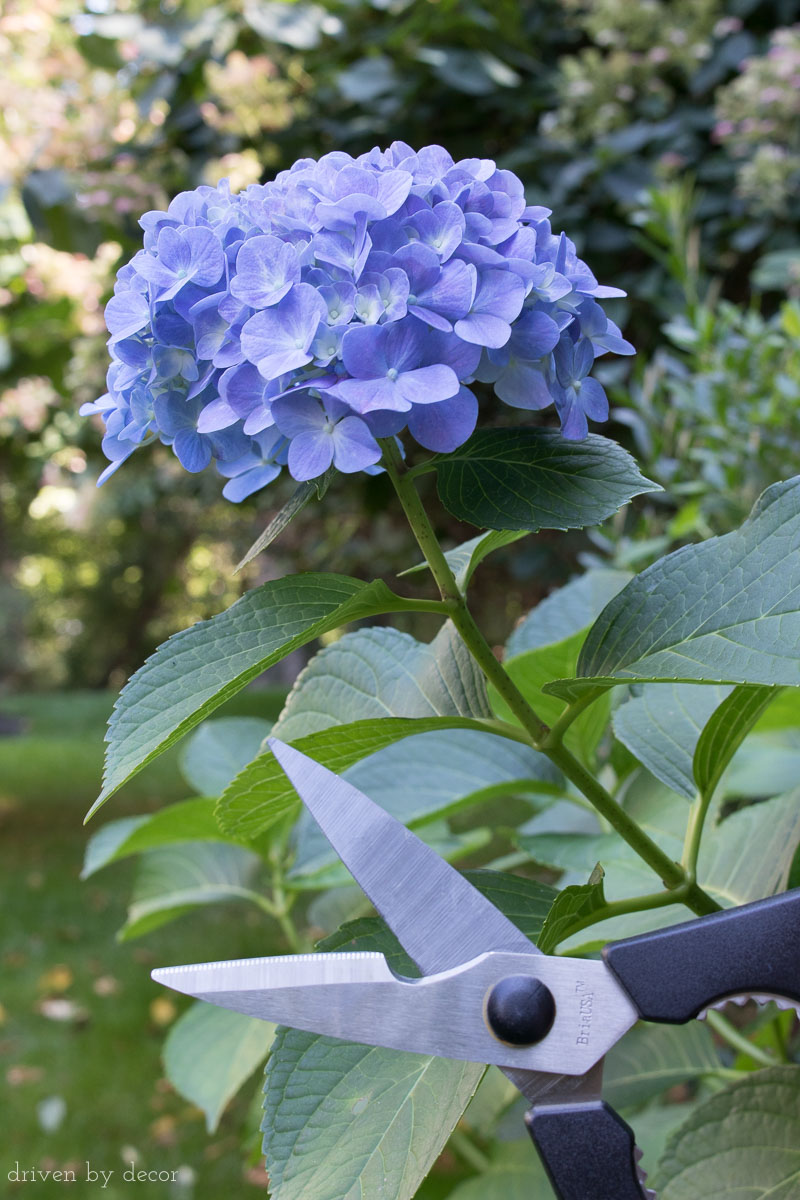
- Clip your blooms in the morning and cut the stems on the diagonal. A lot of gardeners recommend using a knife but I’ve always found that to be difficult and awkward. Instead of using typical garden pruners, I like using {these kitchen scissors} – by cutting the stems near at the base of the scissors where there’s a semicircle, it acts like a guillotine and gives a clean cut without crimping the stem. And the two blades pull apart so you can throw them in the dishwasher for easy cleaning.

- Remove any leaves that will be below the water line of your vase – this helps keep away rot and bacteria.
- Use a vase that has been washed in warm, soapy water (not just quickly rinsed out from its last use).
- Add a packet of flower preservative to the water if you have it or, if you want to go all out, dip each stem in boiling water for 30 seconds and then in Alum powder (available in the spice aisle at grocery stores) before putting them in your vase.
- Change the vase water every other day.
How To Revive Wilting Hydrangeas
While most of my hydrangeas do well using the tips I outlined above, I sometimes get an outlier or two that unexpectedly wilts just a few days after being cut. There are several different ways to revive wilted hydrangeas like dipping their tips in boiling water or submerging the whole bloom in cool water overnight but the trick that works just as well for me and is easier is to simply recut the stem (on the diagonal again) and put it in a glass or small vase of very warm water (I use the hottest water that I can get from the tap) for several hours. This will typically perk up your bloom by the end of the day at which time he can rejoin his friends in the bouquet!
And finally, I’m wrapping up my hydrangea care tips by answering the question I get the most…
Why Didn’t My Hydrangeas Bloom this Year?
It is SUCH a bummer when hydrangea season rolls around and your bushes start to grow and get big and leafy but…. there are no blooms. Here are a few of the reasons it can happen:
- Pruning at the wrong time. If you have hydrangeas like mopheads that grow on old wood and you pruned them too late in the season the year before, you probably inadvertently removed the buds that had started to develop for the following year.
- Using too much fertilizer. Some fertilizer is a good thing but too much is not! Don’t over do it.
- Frost damage. A late frost can damage developing buds so that they never bloom. In cold climates, before winter you can try mounding up mulch or straw about a foot high around the base of the bushes to protect and insulate the developing flower buds.
- Too much shade/not enough sun. Hydrangeas need a certain amount of sunlight to bloom so if yours isn’t getting several sunny hours a day, that could be the problem – you might need to try a different spot in your yard.
If you want to save the link to this post so it’s easy to find when spring rolls around, I created a Pinnable image at the end of this post! If you want other tips on getting your outdoor spaces spring-ready check out this post:
Simple Outdoor Decorating Ideas (click HERE)
XO,


