Each of our last three homes has been a fixer-upper that we put a LOT of work into. Much of that work has been to make our home more beautiful, comfortable, and organized. But equally important is working to make our home function well for the way that our family lives.
Some of the functional changes we’ve made have been major, time-consuming ones, such as completely renovating our fireplace and surround in our current home so we could mount our TV at a comfortable viewing height. Others have thankfully been more simple, including installing a Caséta by Lutron smart lighting system in our last two homes. Not only has our smart lighting system given us peace of mind and added convenience, but it has also solved multiple functional problems in both homes.
Today I’m sharing five of those problems (several are likely ones you face in your home too!) and the simple solution to each one. Let’s kick things off with problem #1… (post is written in partnership with Lutron; for more information, see my full disclosure statement {here})
Problem #1: A Light Switch That’s in a Less-than-Ideal Spot
Light switches in less-than-ideal locations have been a common issue in every house we’ve lived in. For example, in our Connecticut home, the light that illuminated the staircase to our second floor was controlled only by a switch at the top of the stairs 🤷♀️. With no switch at the bottom of the stairs, you had to feel your way up the dark stairs at night. Having an electrician rewire our home to add a switch at the bottom would have been expensive and involved cutting into walls, patching the drywall, and repainting. Luckily, there was a much simpler solution using our Caséta by Lutron smart lighting system!
First, we swapped out the switch at the top of the stairs that controlled the stair lights with a Caséta by Lutron Smart Dimmer Switch:
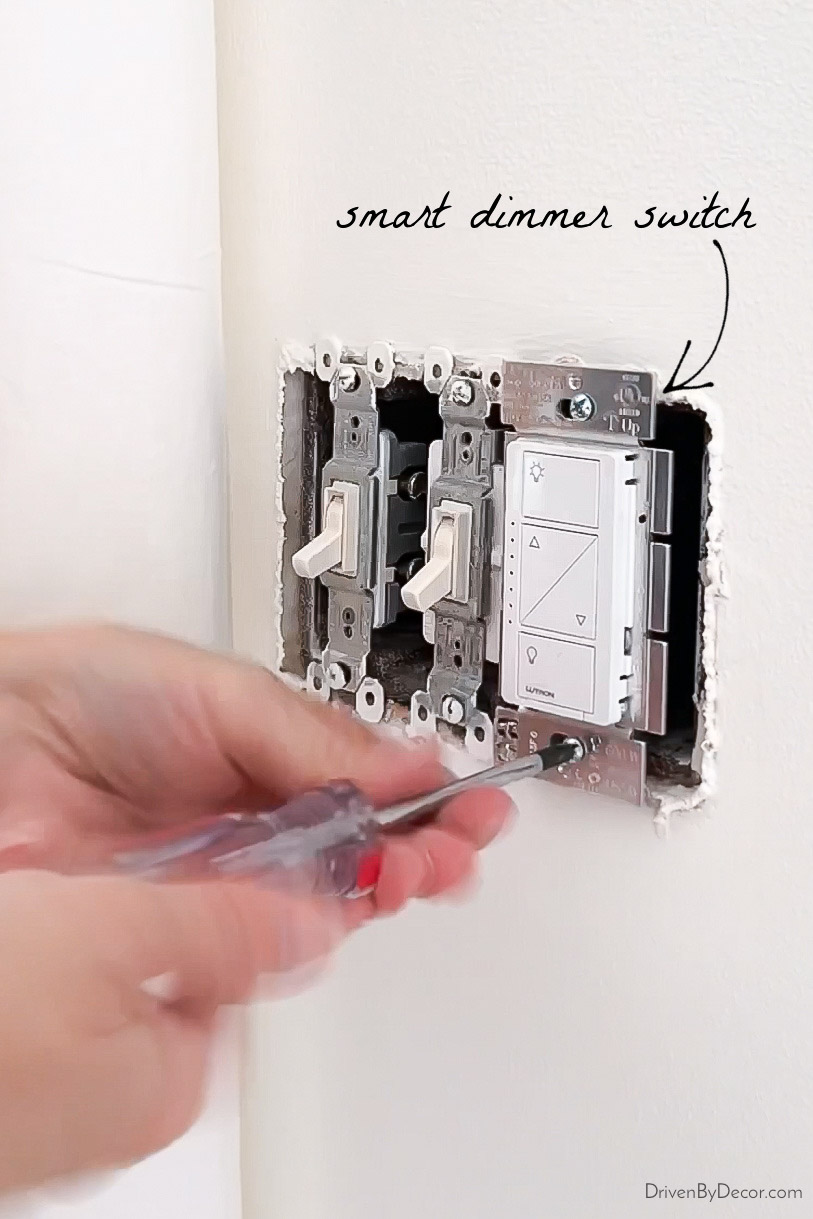
Jeff and I aren’t comfortable with most electrical work, but Lutron’s online wiring wizard {HERE} makes it a simple DIY. It asks you questions about the wires attached to your current switch and the wires on your new dimmer:
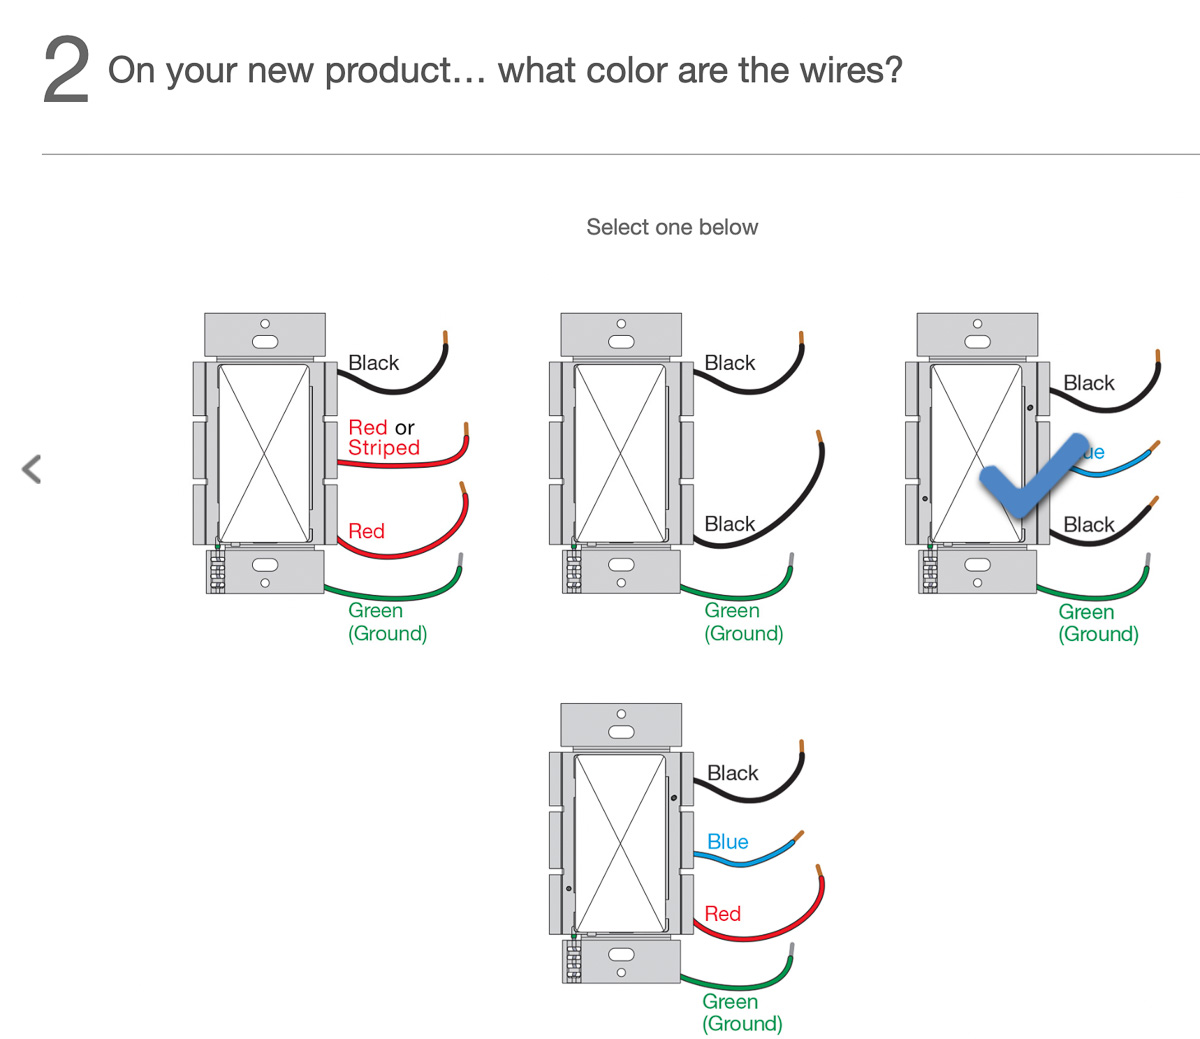
And then guides you through installation step by step based on your answers! After installing our smart dimmer switch, we wirelessly paired it to Lutron’s Pico Smart Remote (again, easy!). The stair lights could now be controlled by our newly installed smart dimmer switch AND by our Pico remote.
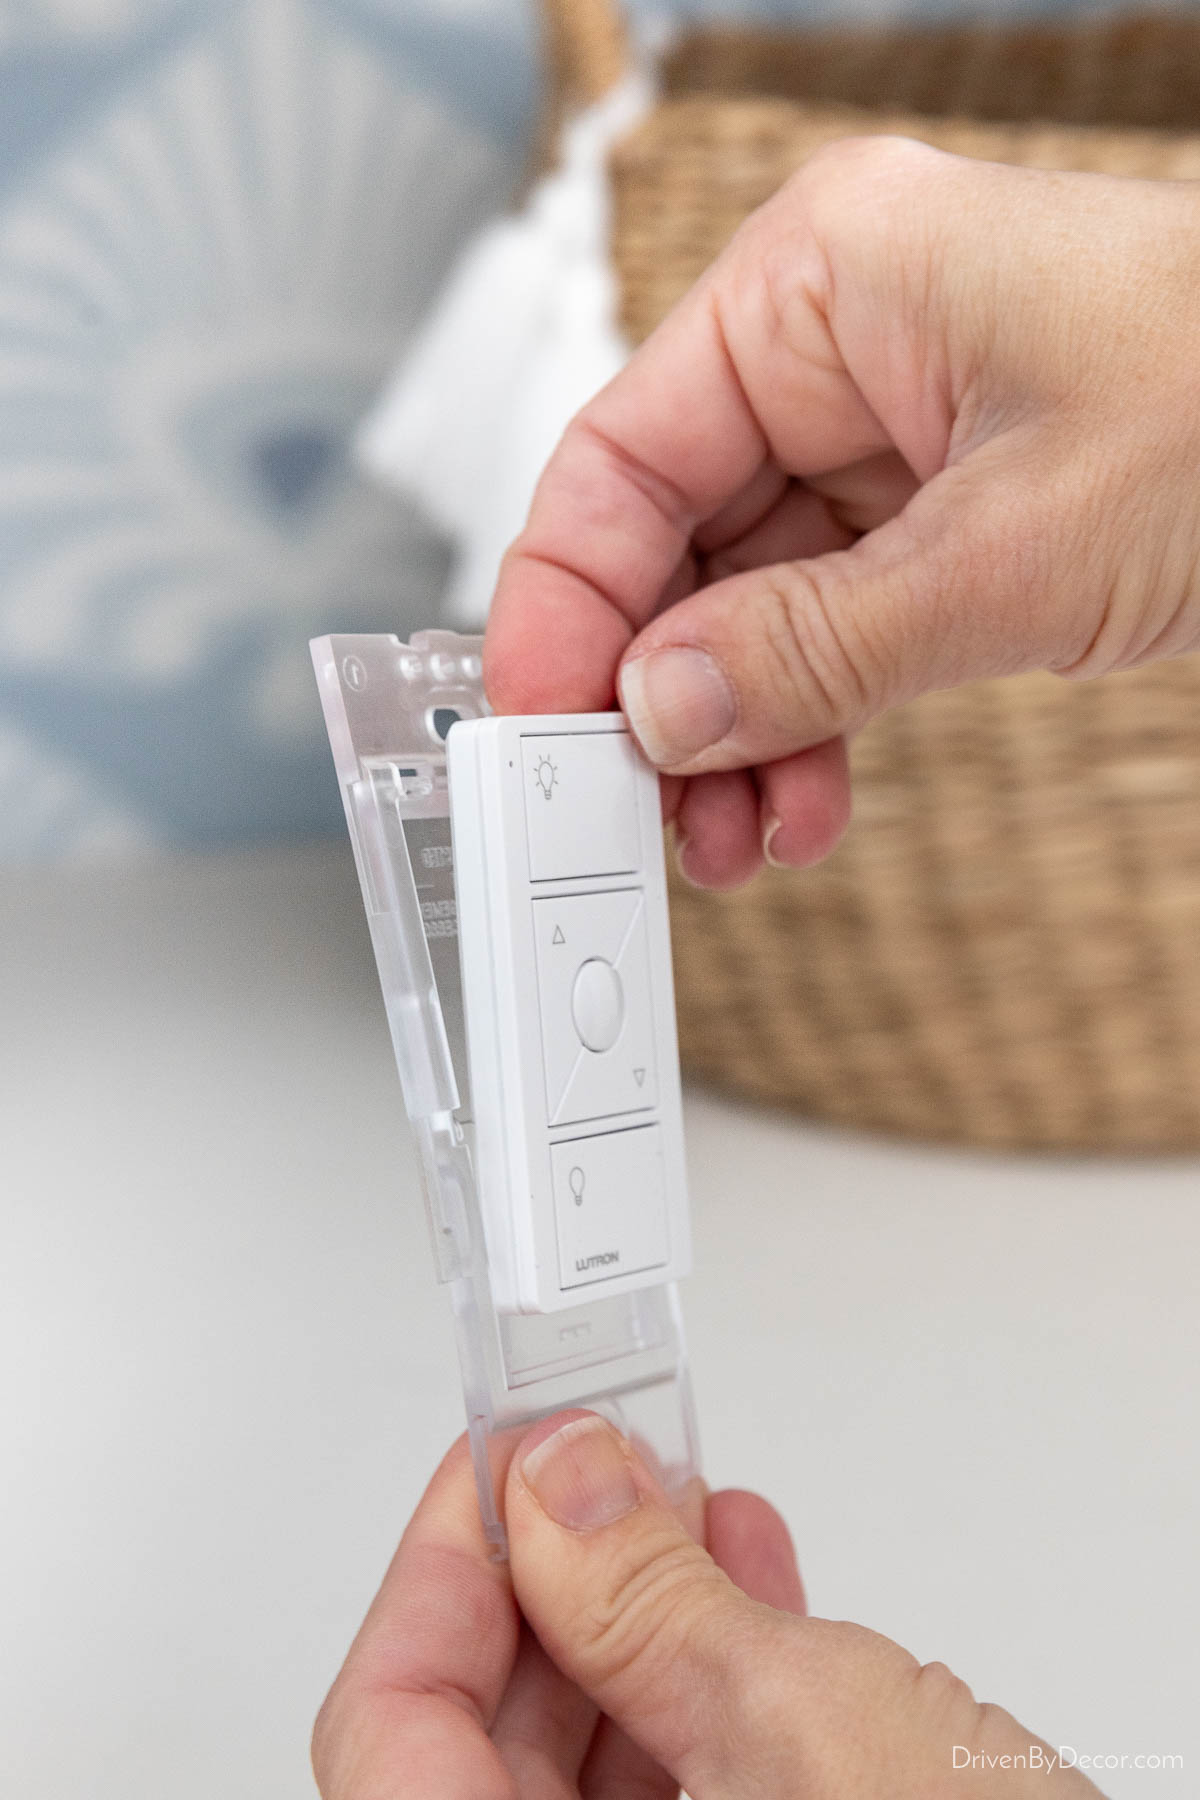
Pico Smart Remotes can be placed ANYWHERE for wireless light control, including the option to mount them on the surface of the wall so they function just like switches. To do this, you simply slide your Pico remote onto this clear wall plate bracket:
and mount it on the surface of the wall with a pair of screws:
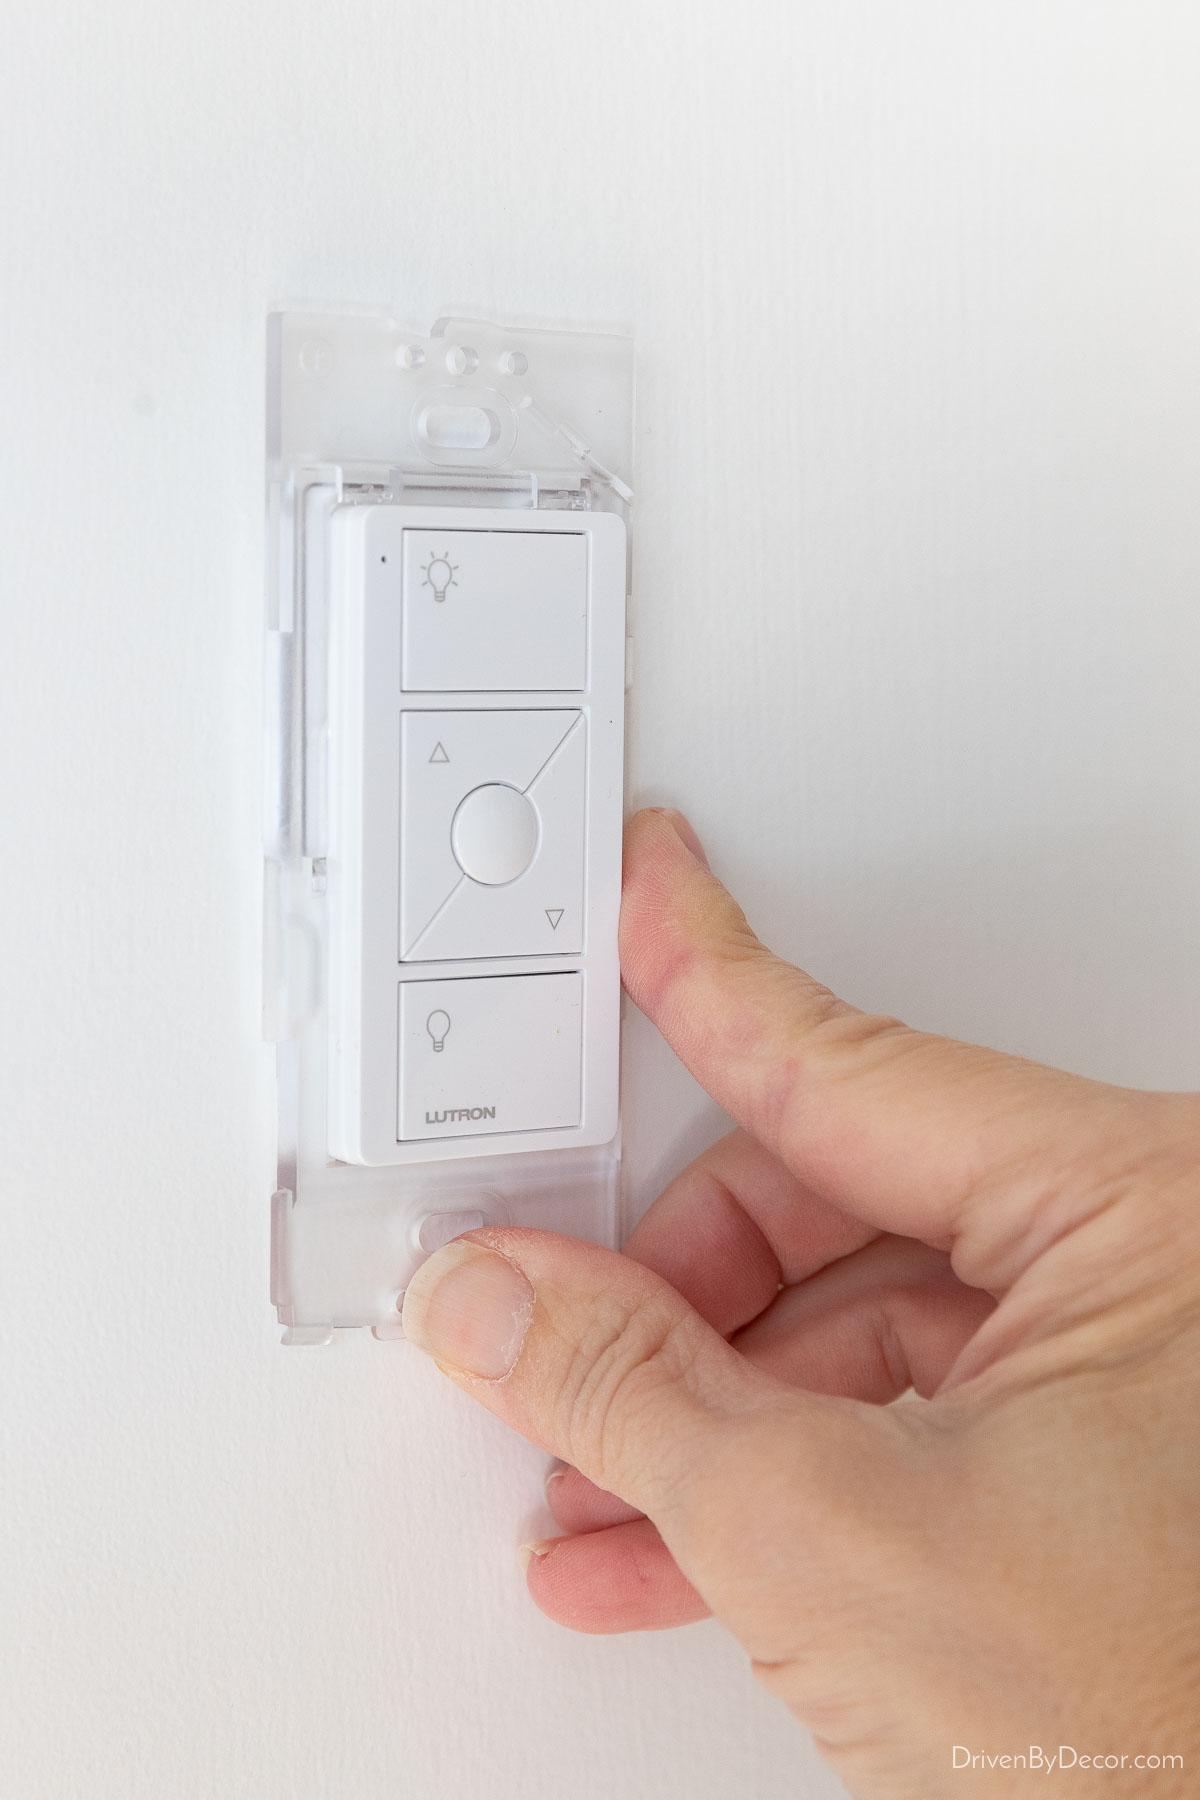
Then you can cover it with a switch plate and it will look and function just like a switch!
We wall-mounted our Pico Smart Remote at the bottom of the stairs right next to an existing switch, and then covered the Pico remote and existing switch with a double switch plate, so you’d never know it was wireless. We were so excited to finally have a switch at the bottom of the stairs that we could use to light the staircase before climbing the stairs at night!
We’ve used this same simple trick several times, and it always works like a charm! And if you wish a certain lamp in your home could be turned on by a light switch, you can make that happen too! Simply plug your lamp into {this Caséta by Lutron Lamp Dimming Smart Plug}:
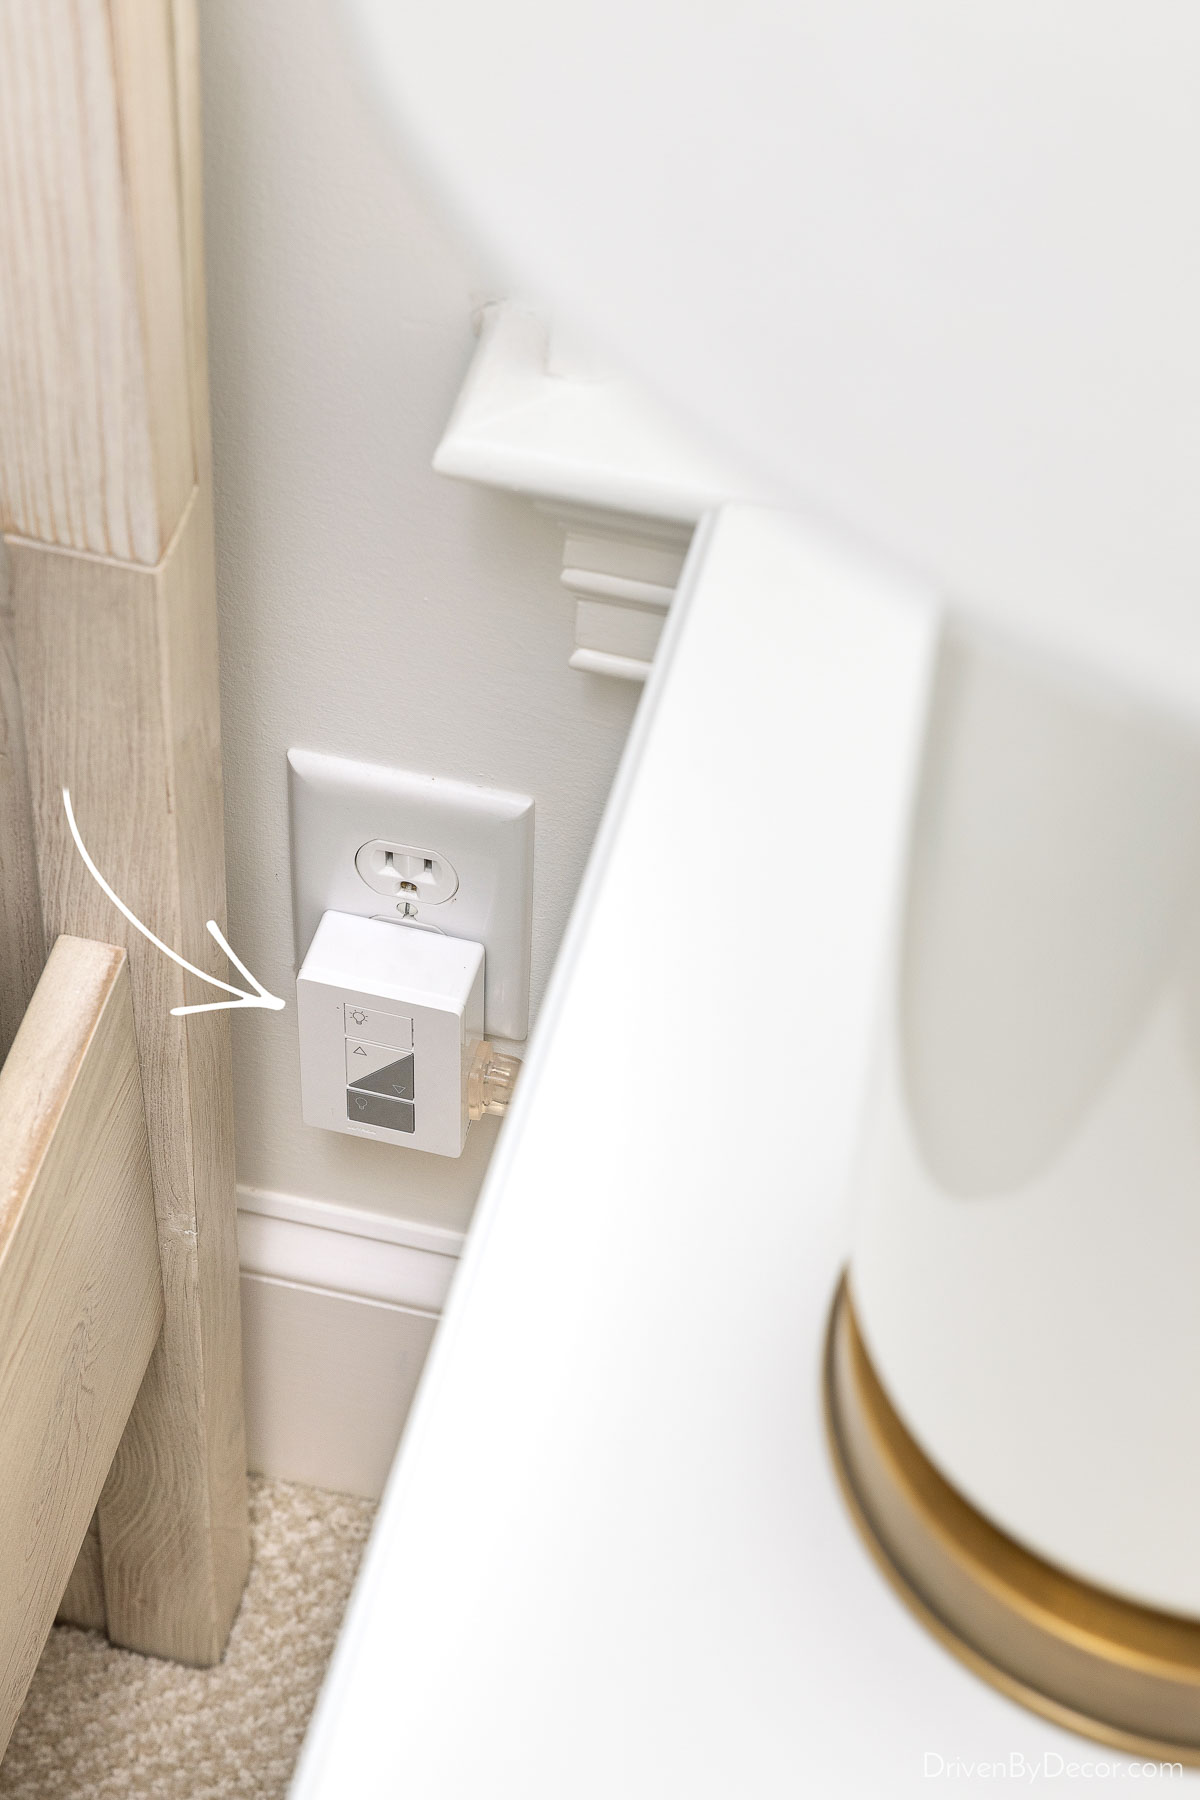
and wirelessly pair it with a Pico Smart Remote. Now you can control that lamp with your Pico remote that can be placed anywhere, whether that be on a tabletop pedestal or wall-mounted to function as a wall switch.
Problem #2: You-Know-Who ALWAYS Leaves That Certain Light On
Maybe it’s your kids’ bathroom light or maybe it’s your walk-in closet light. There’s ALWAYS at least one space in your home where the lights are constantly left on. One solution would be to swap out your light switch for a vacancy detector switch BUT… often that doesn’t work out so well due to the location of the switch. For example, the light to our walk-in closet is on the bathroom wall outside the closet, so a vacancy detector switch would keep the closet light on the entire time we’re going in and out of our bathroom, even if we hadn’t stepped foot in our closet.
What’s a much better solution? Caséta by Lutron’s Smart Motion Sensor:
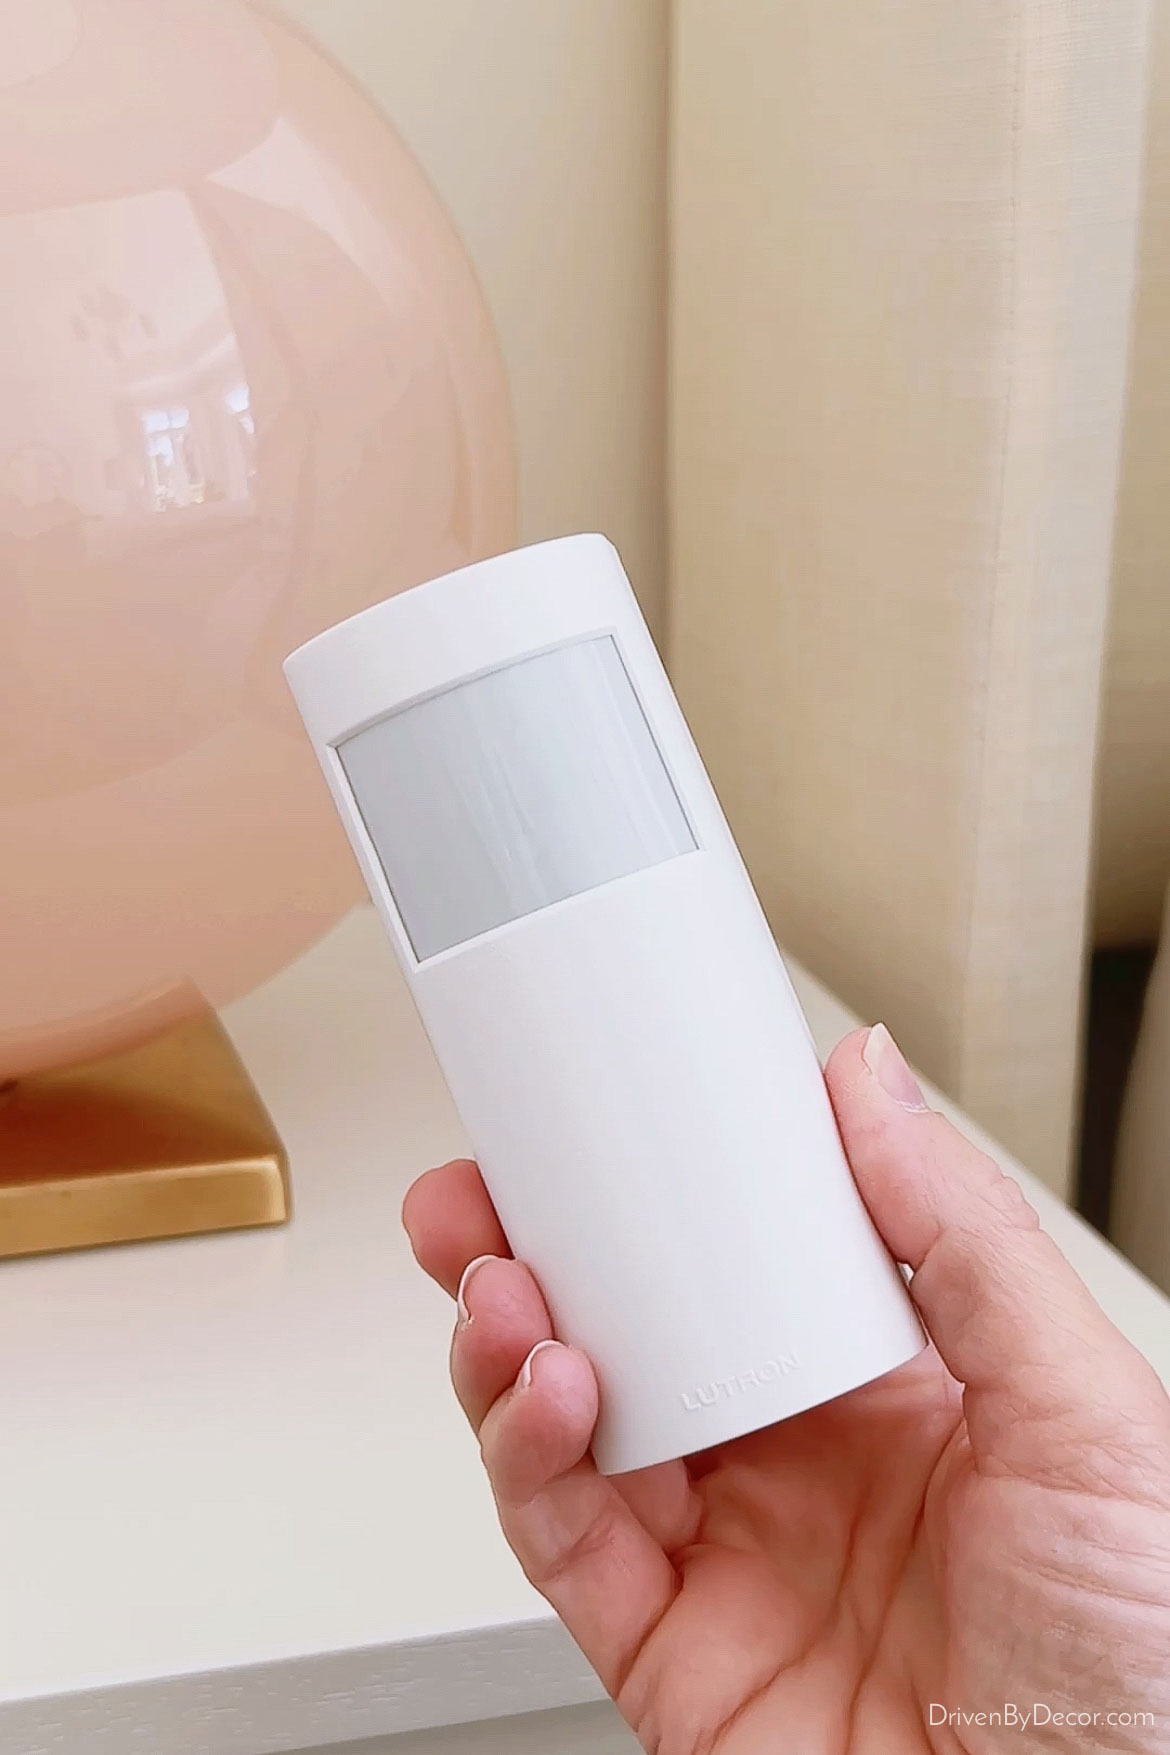
As with problem #1, you simply swap out your standard light switch with a Caséta by Lutron Smart Dimmer Switch. Then you pair it with {this Caséta by Lutron Smart Motion Sensor}. Since the sensor is wireless, it can be placed ANYWHERE including freestanding on a flat surface:
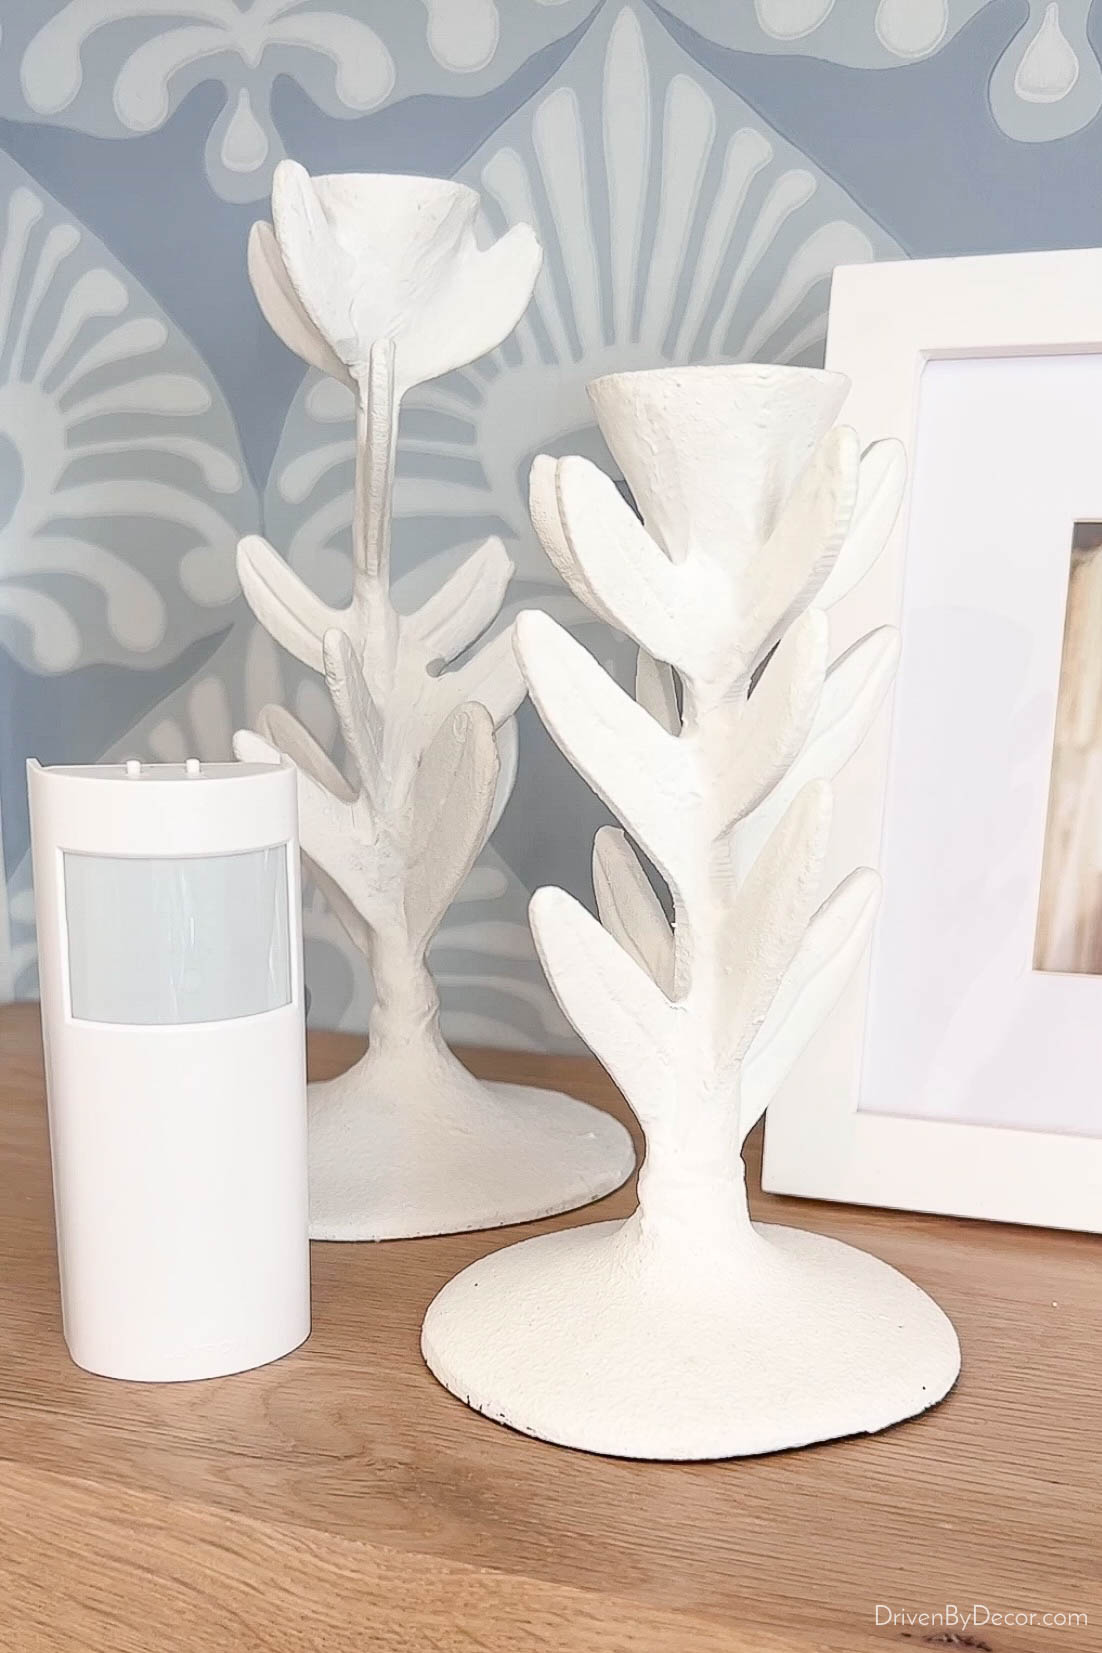
or mounted on the wall. For our walk-in closet, I mounted it above the door INSIDE the closet so it can detect when the room is occupied and when it’s vacant with high accuracy.
Now if no motion has been sensed in our closet for five minutes (you can choose other time intervals too), the lights in our closet automatically turn off. I also have it programmed to turn the lights ON when I enter the closet, which is so nice when my hands are full:
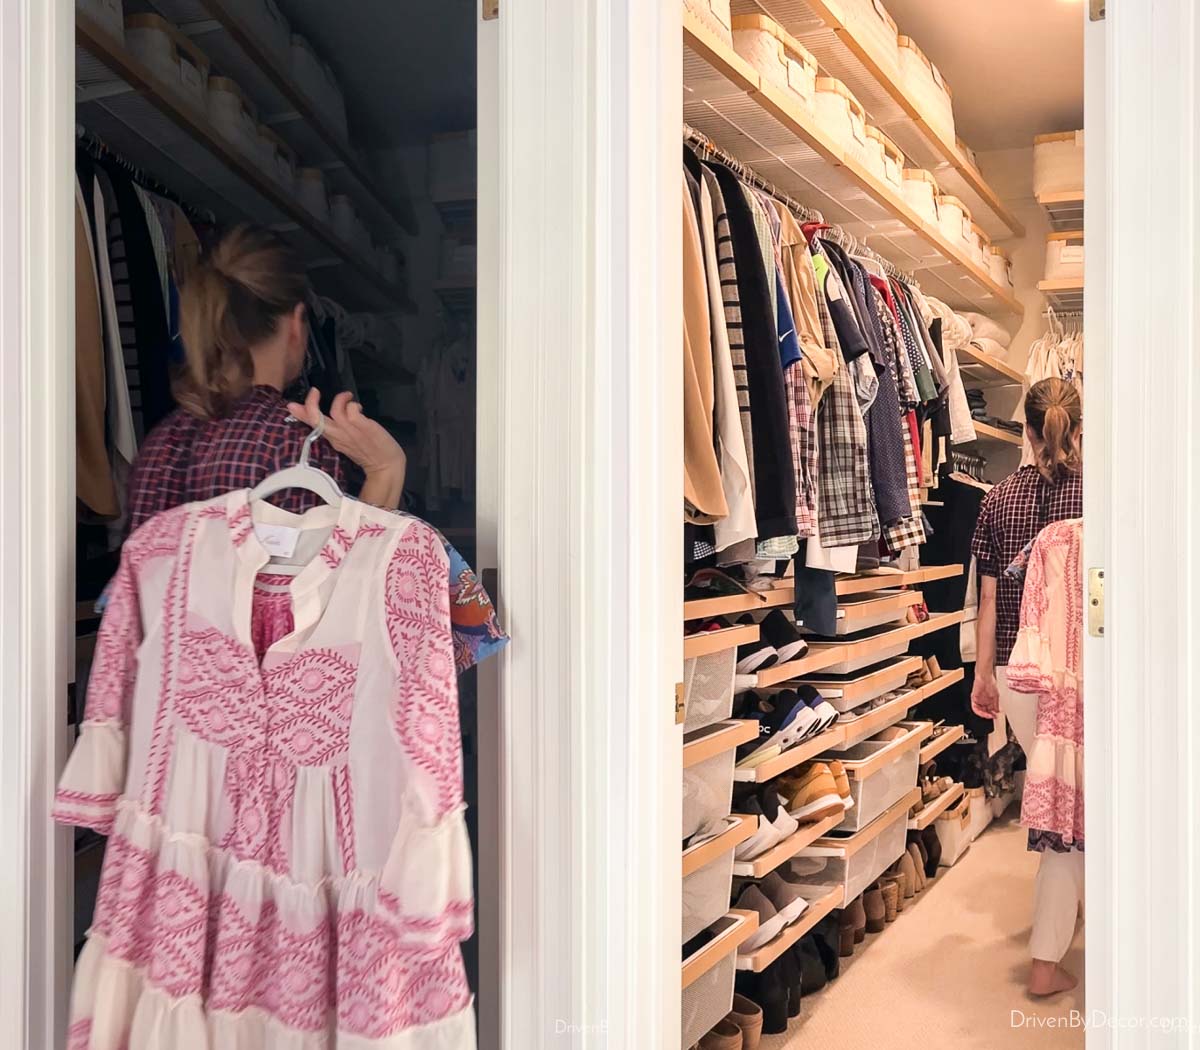
I have the exact same set-up using a Caséta by Lutron Smart Motion Sensor in our laundry room too:
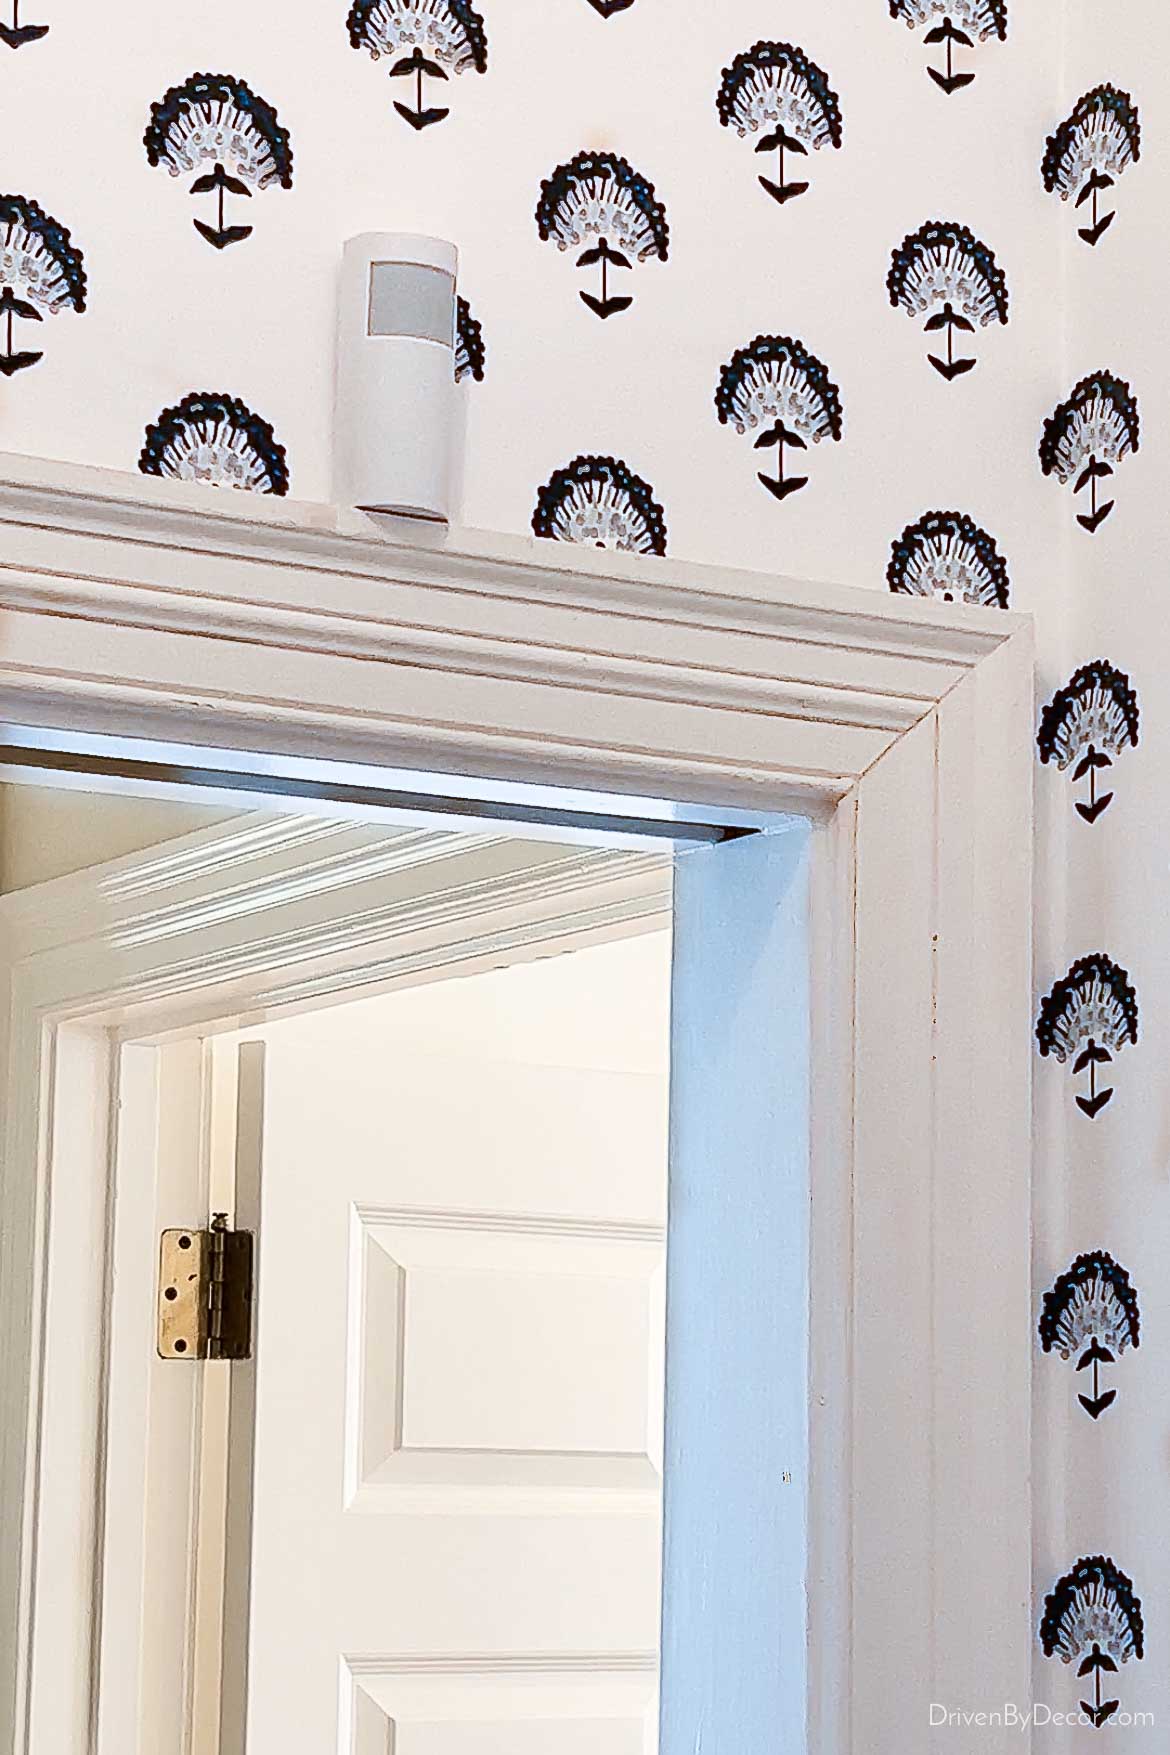
It detects motion from anyone entering the house through the door from our garage into the laundry room. We added it three years ago, and have never had to walk into a dark house at night since!
Problem #3: You Have a LOT of Lightbulbs so Buying All of Those Smart Bulbs Costs a Fortune
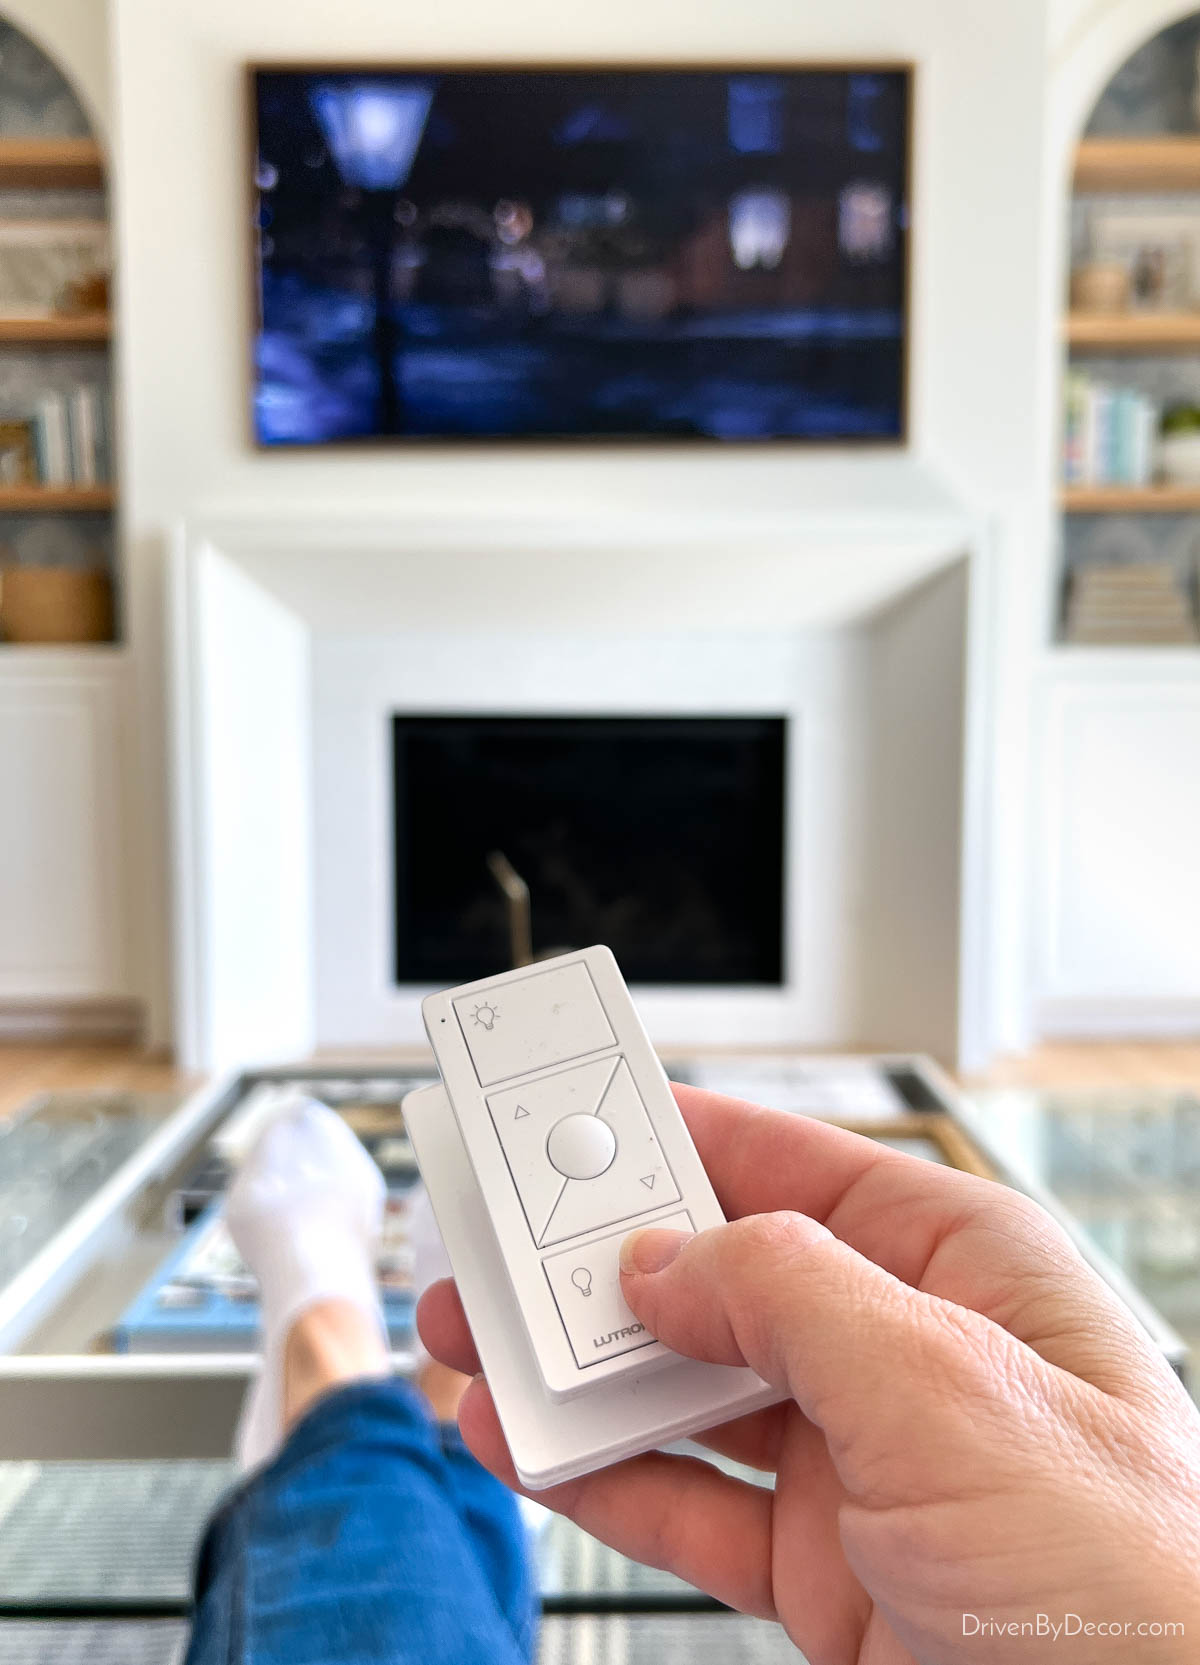
I absolutely love the convenience of having smart lighting! My favorite lazy girl hack is being able to dim the lights in our family room with my voice or Pico Smart Remote without ever leaving our couch:
When deciding on a smart lighting system, it’s tempting to go for what seems like the simple solution of replacing your regular light bulbs with smart light bulbs. But doing it this way, the cost of smart lighting can really add up! Smart bulbs cost much more than regular light bulbs, and you have to reinvest even more money in new smart bulbs every time they burn out.
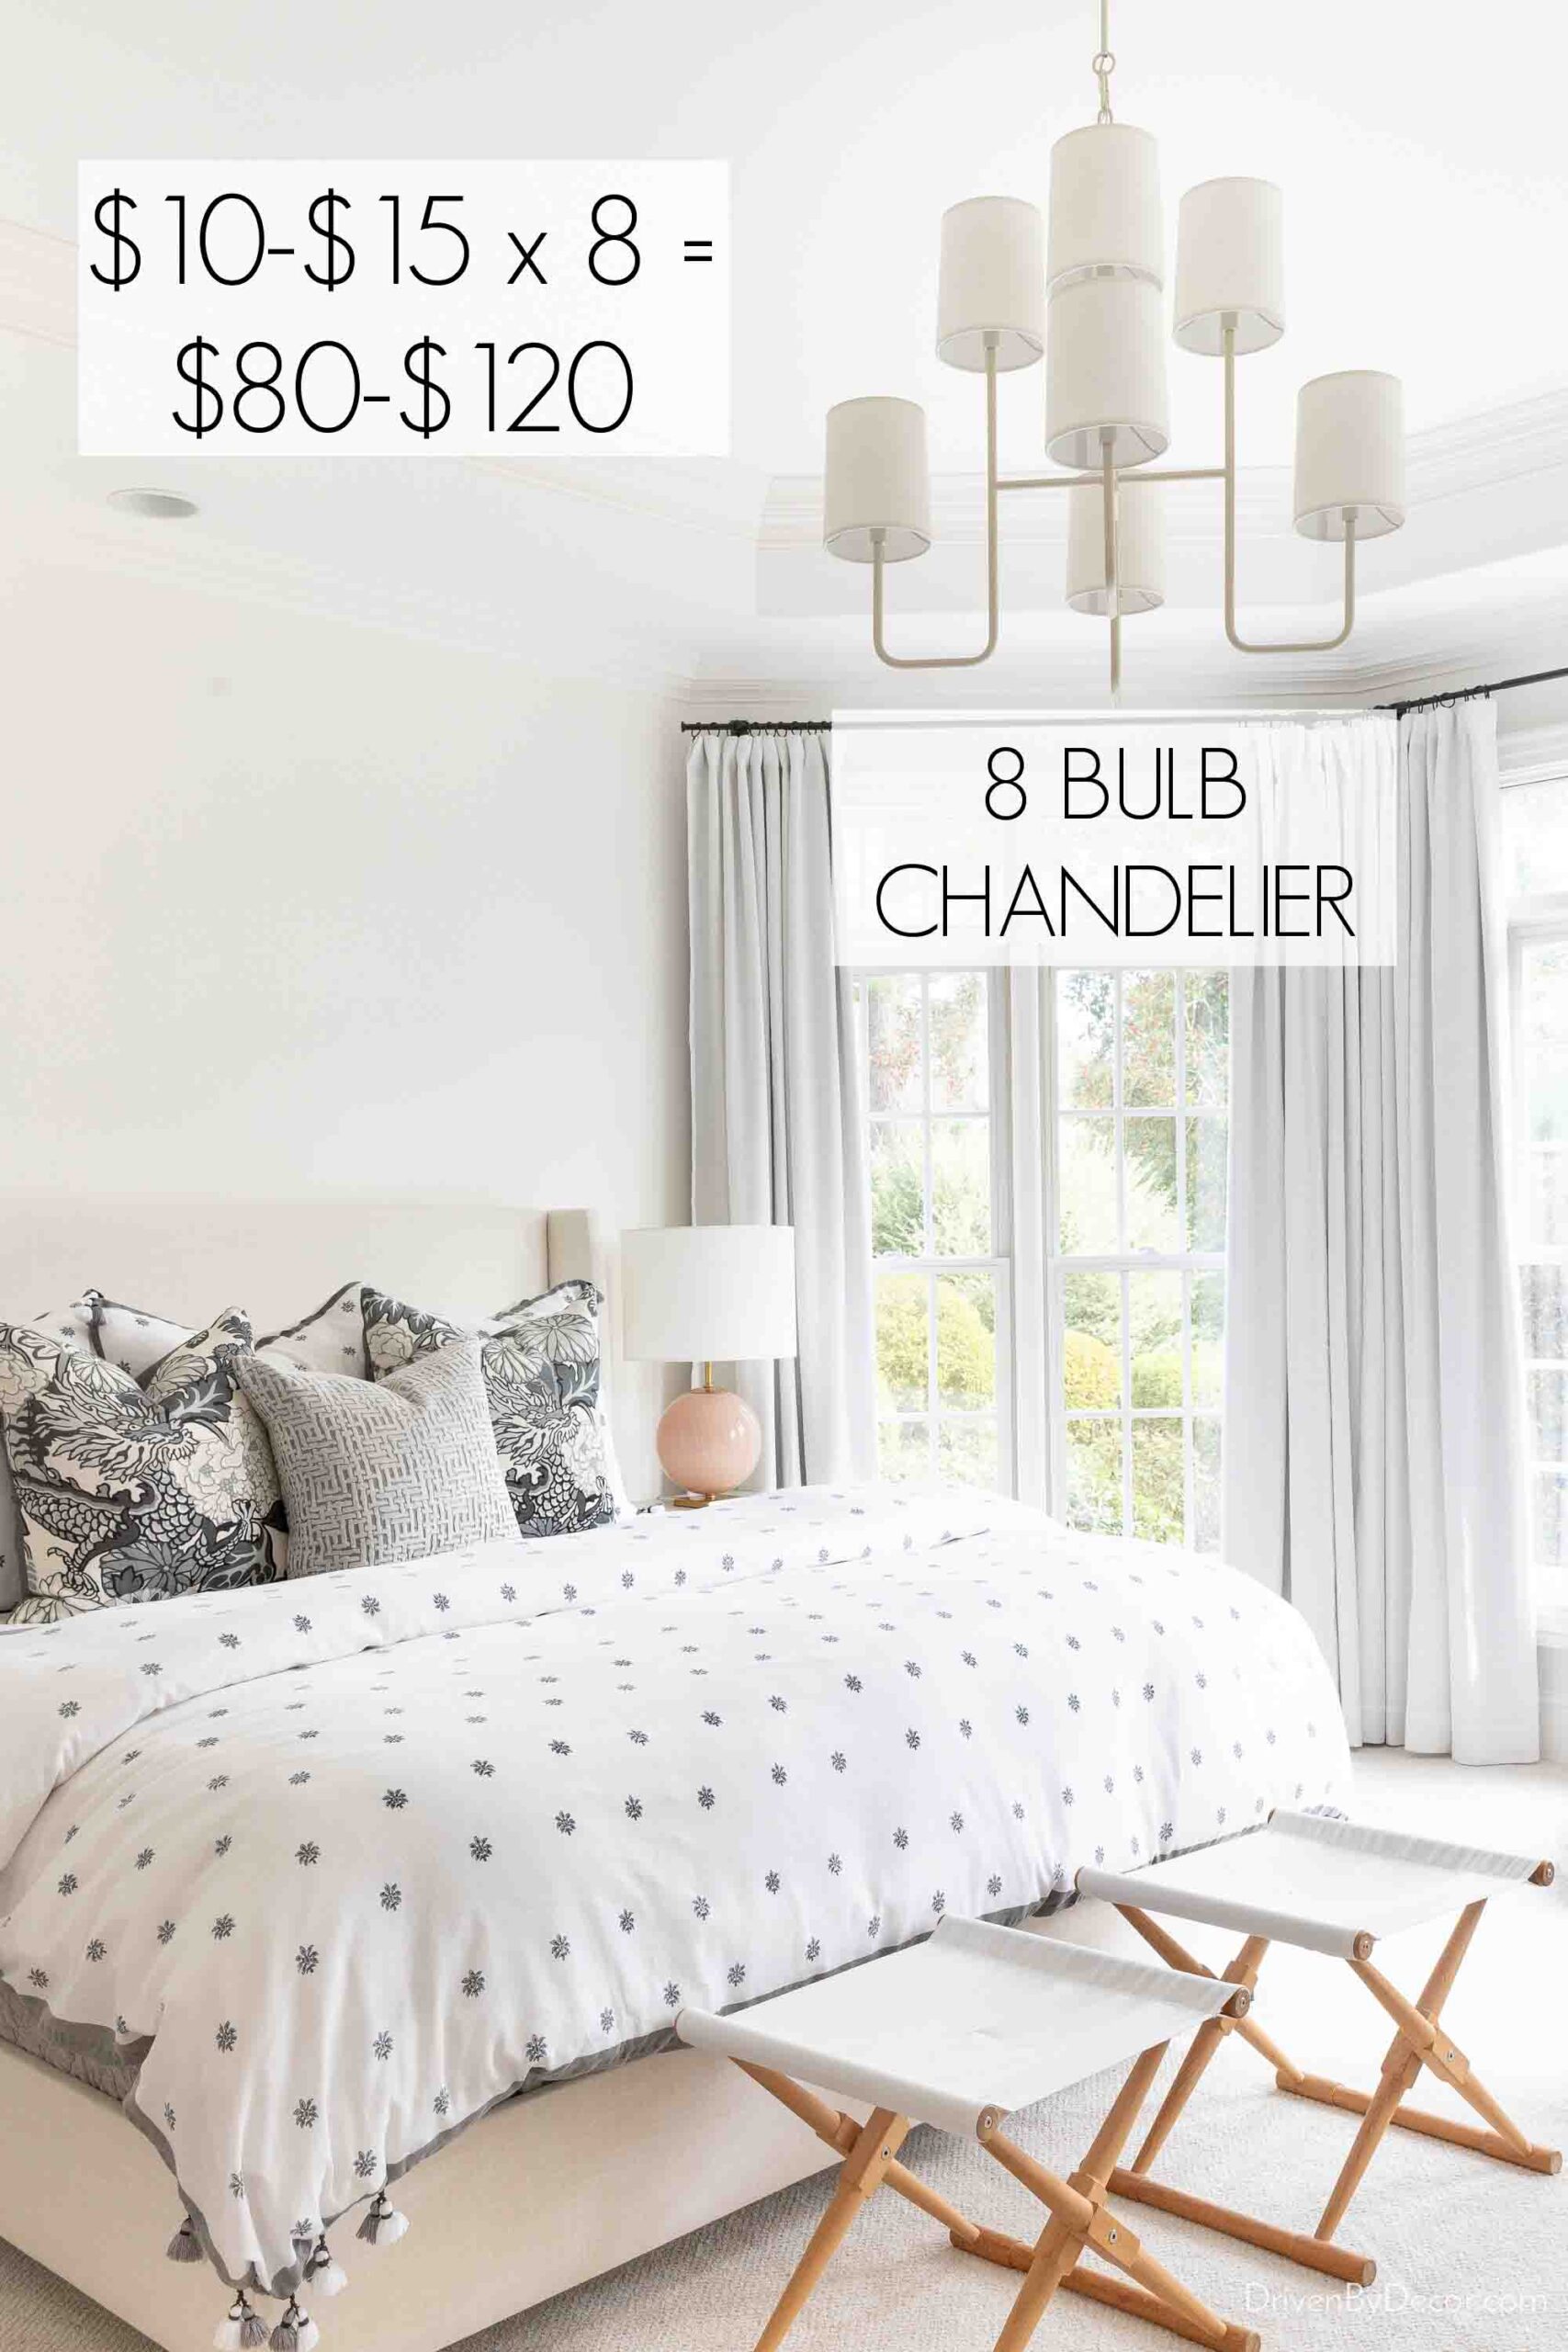
For example, if you have a light fixture like this one over our bed that has eight bulbs, at $10-$15 per smart bulb, you’re talking about spending $80-$120 total to swap them out for smart lighting of a single fixture:
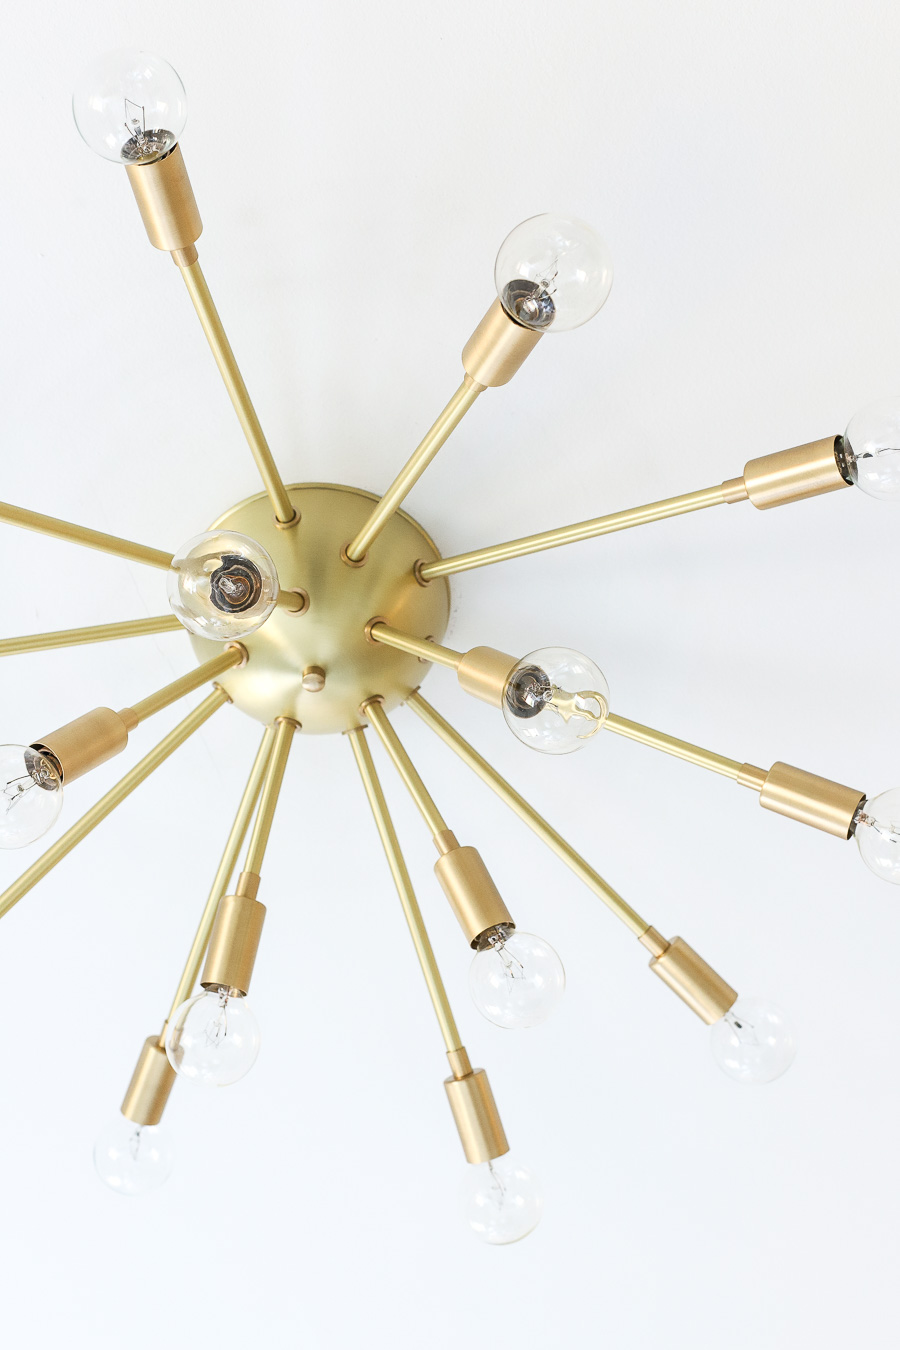
And then you’ll be paying that much AGAIN down the road when they burn out. Can you even imagine how much you’d spend on smart lightbulbs for this 15-bulb sputnik fixture we had in Connecticut? 😳
With Caséta by Lutron, you don’t need smart lightbulbs because the smart is in the switch! Changing out a single light switch with a Caséta by Lutron Smart Dimmer Switch makes all of the lightbulbs connected to it smart, saving you money in the long run. Also, I’m super picky about the lightbulbs I use in our home, so being able to use the exact style of bulbs I want (instead of the limited options offered as smart bulbs) is huge!
Problem #4: You Hate the Hassle of Setting Light Timers Every Time You Go Away
Once you’ve installed a few Caséta by Lutron smart switches in your home, you have a built-in extra perk! Instead of having to run around your house setting timers on lights to give your house a lived-in look when you go on vacation, you can let your Caséta by Lutron system do the work for you!
Through the Lutron app on your phone, simply activate the Smart Away feature that randomly turns lights on and off when you’re not home to make your house appear lived-in:
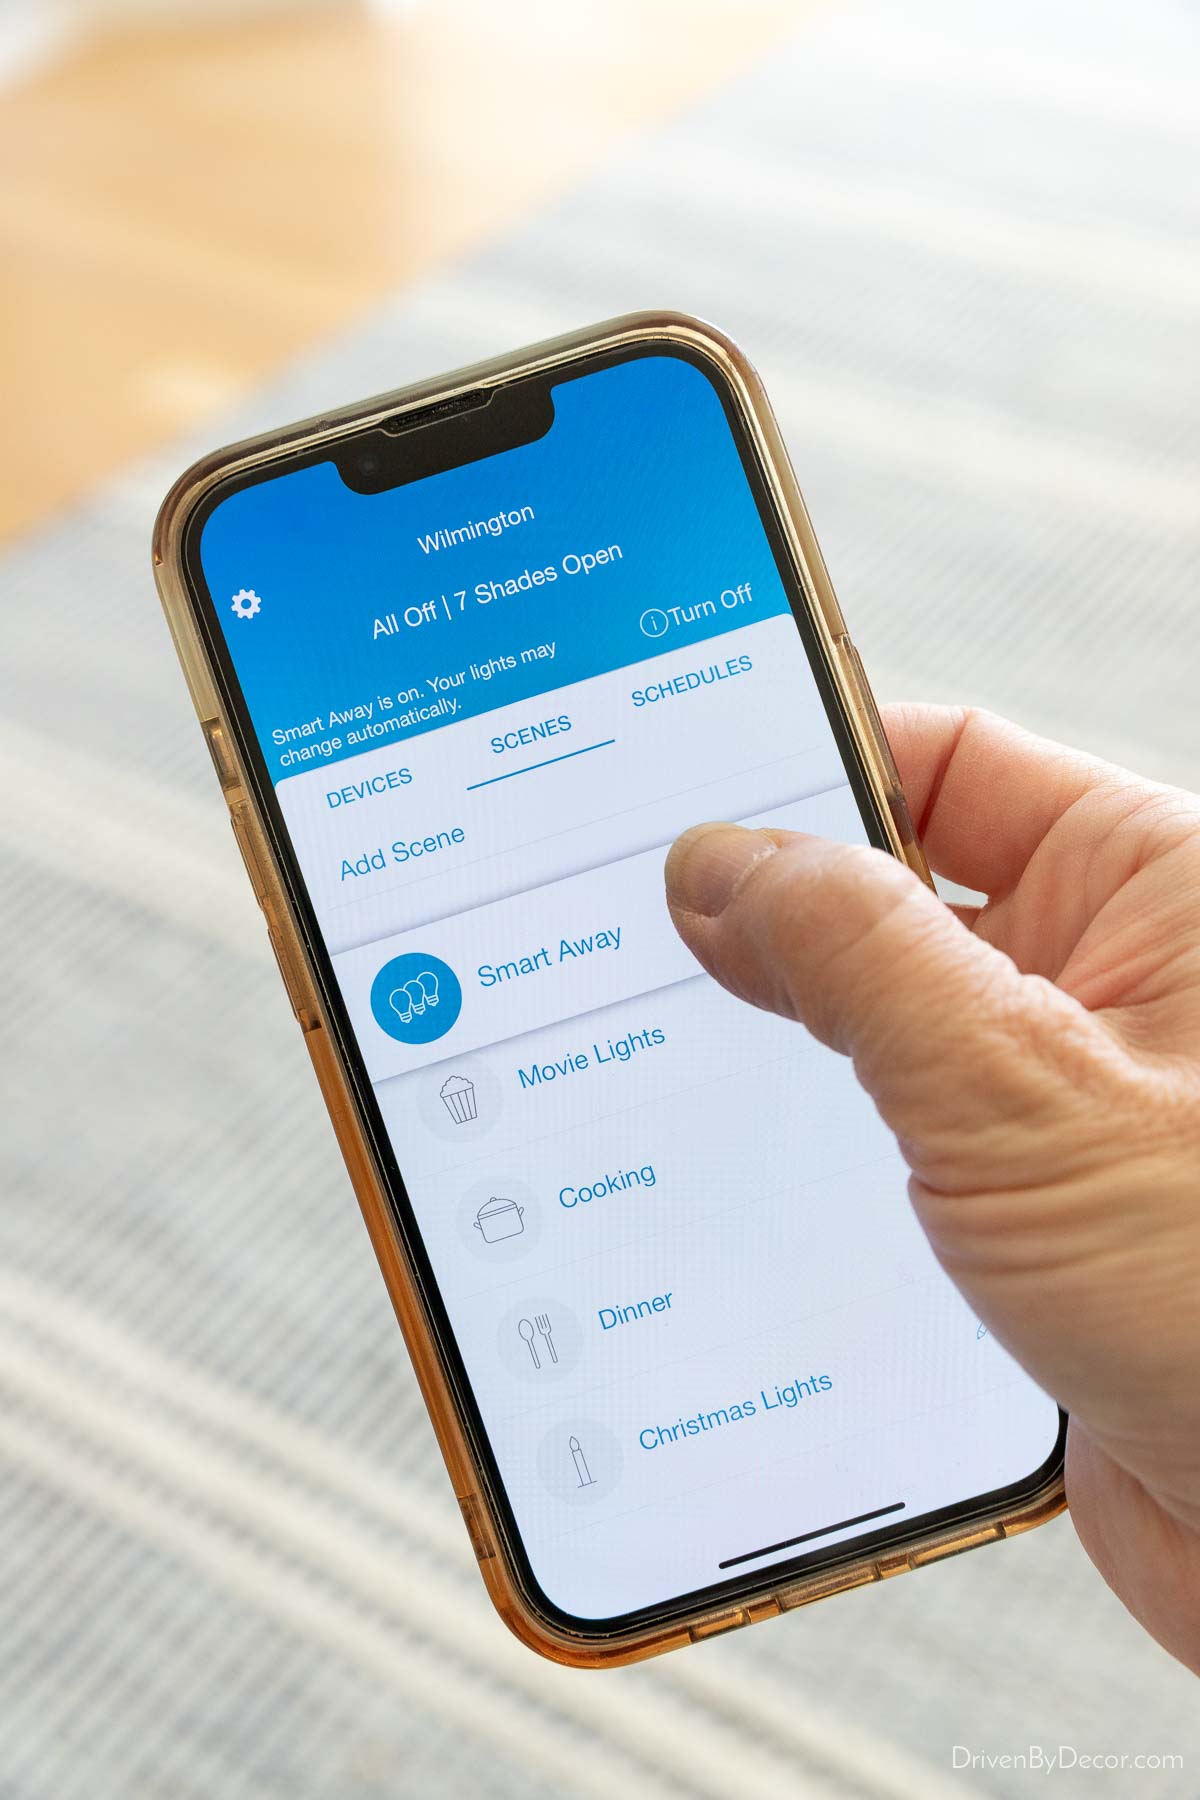
You have control over which lights to include and the start and end times (so lights aren’t going on in the middle of the night). It’s SO easy and such a timesaver during the last-minute rush to get out the door on a trip. And you can activate the Smart Away feature and make changes to it from anywhere, whether it’s before you leave the house, at the airport, or once you’re on vacation.
Problem #5: The Sun is Fading Your Hardwoods & Upholstered Furniture
If certain rooms in your home get a lot of sun, you’ve probably found that fading of your hardwood floors and upholstered furniture becomes a problem:
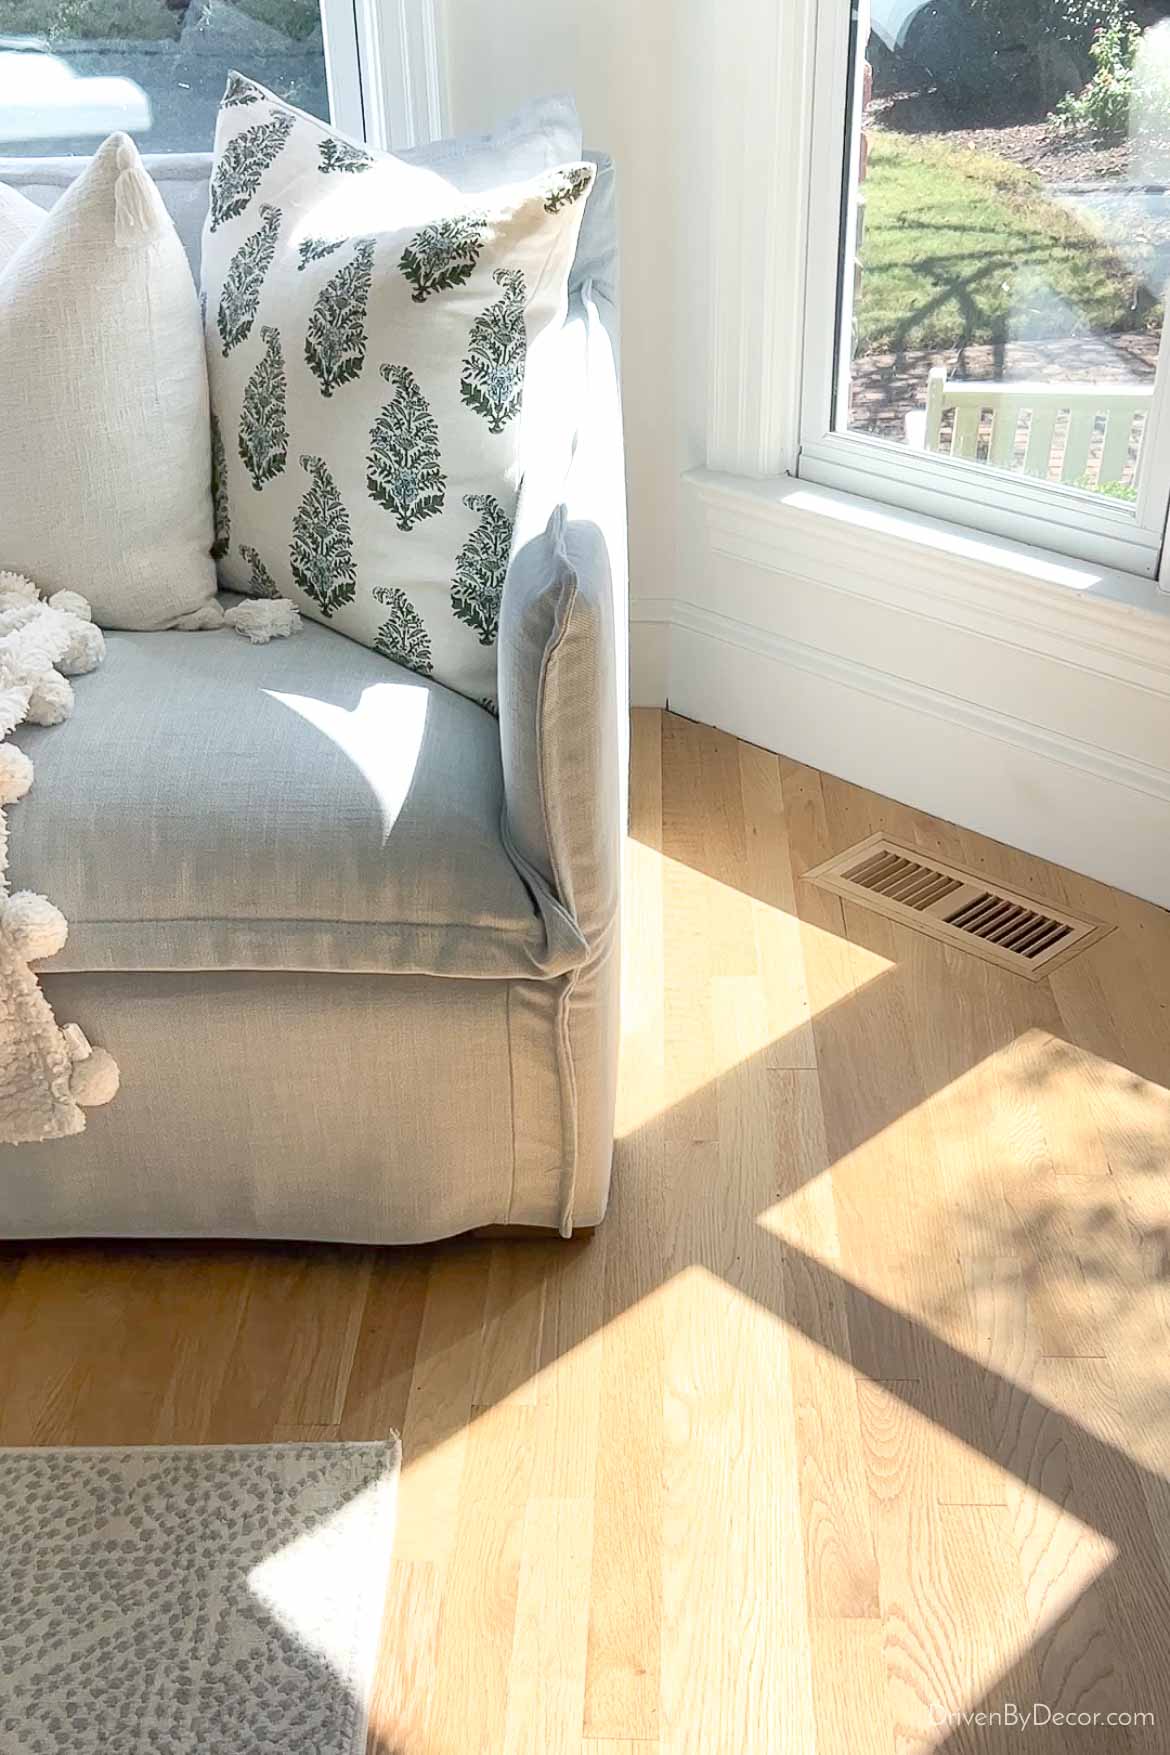
Shades or blinds definitely help, but as the sun moves around your house, you have to adjust them constantly throughout the day in order to block the direct sunlight causing fading while maximizing indirect natural light.
The solution? Serena Smart Shades and Smart Blinds that connect to the Caséta by Lutron system. We chose Serena Smart Roller Shades for our sunroom to fix this exact problem. I measured and installed them myself (I used {this helpful video} and they have excellent US-based phone support if you have questions or need help):
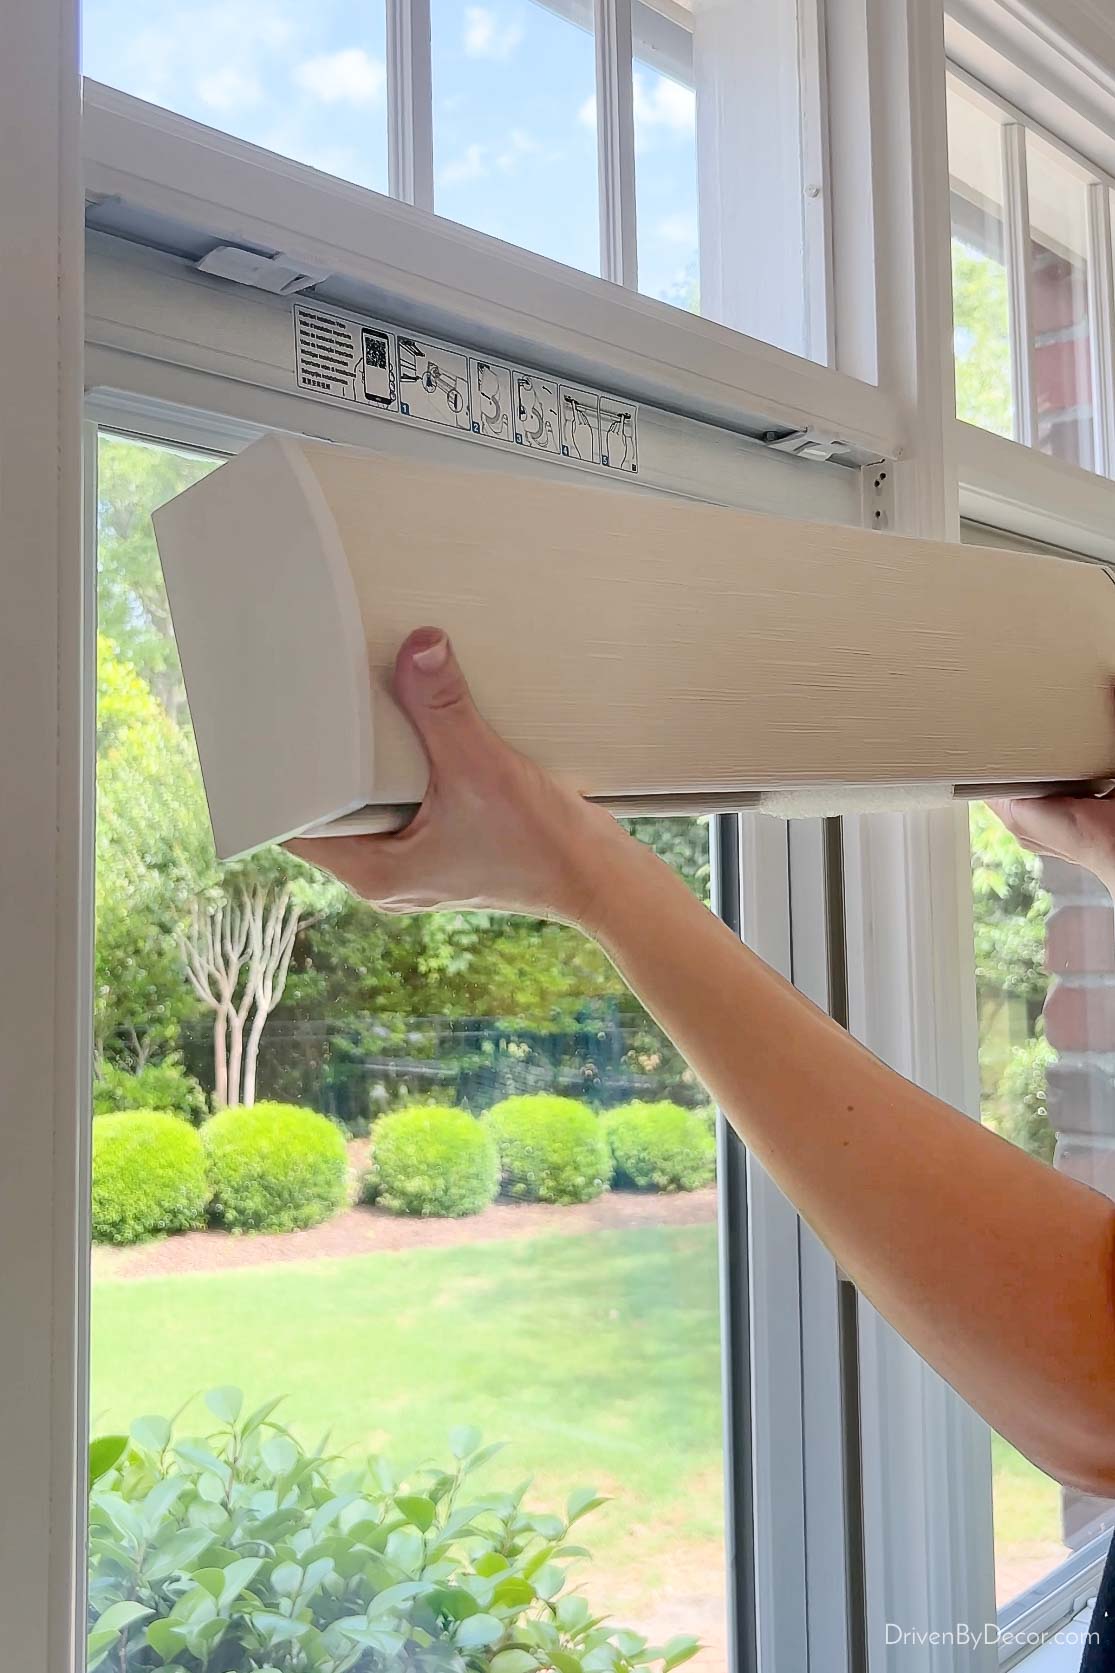
but if you prefer, you can find a pro to do it for you {here}.
Once installed, I used the Lutron app to create a schedule that moves certain shades up and down throughout the day to block the direct sun while also allowing as much indirect natural light in as possible. And best of all, I scheduled the times for my shades to move in relation to sunset and sunrise so I was able to truly set it and forget it.
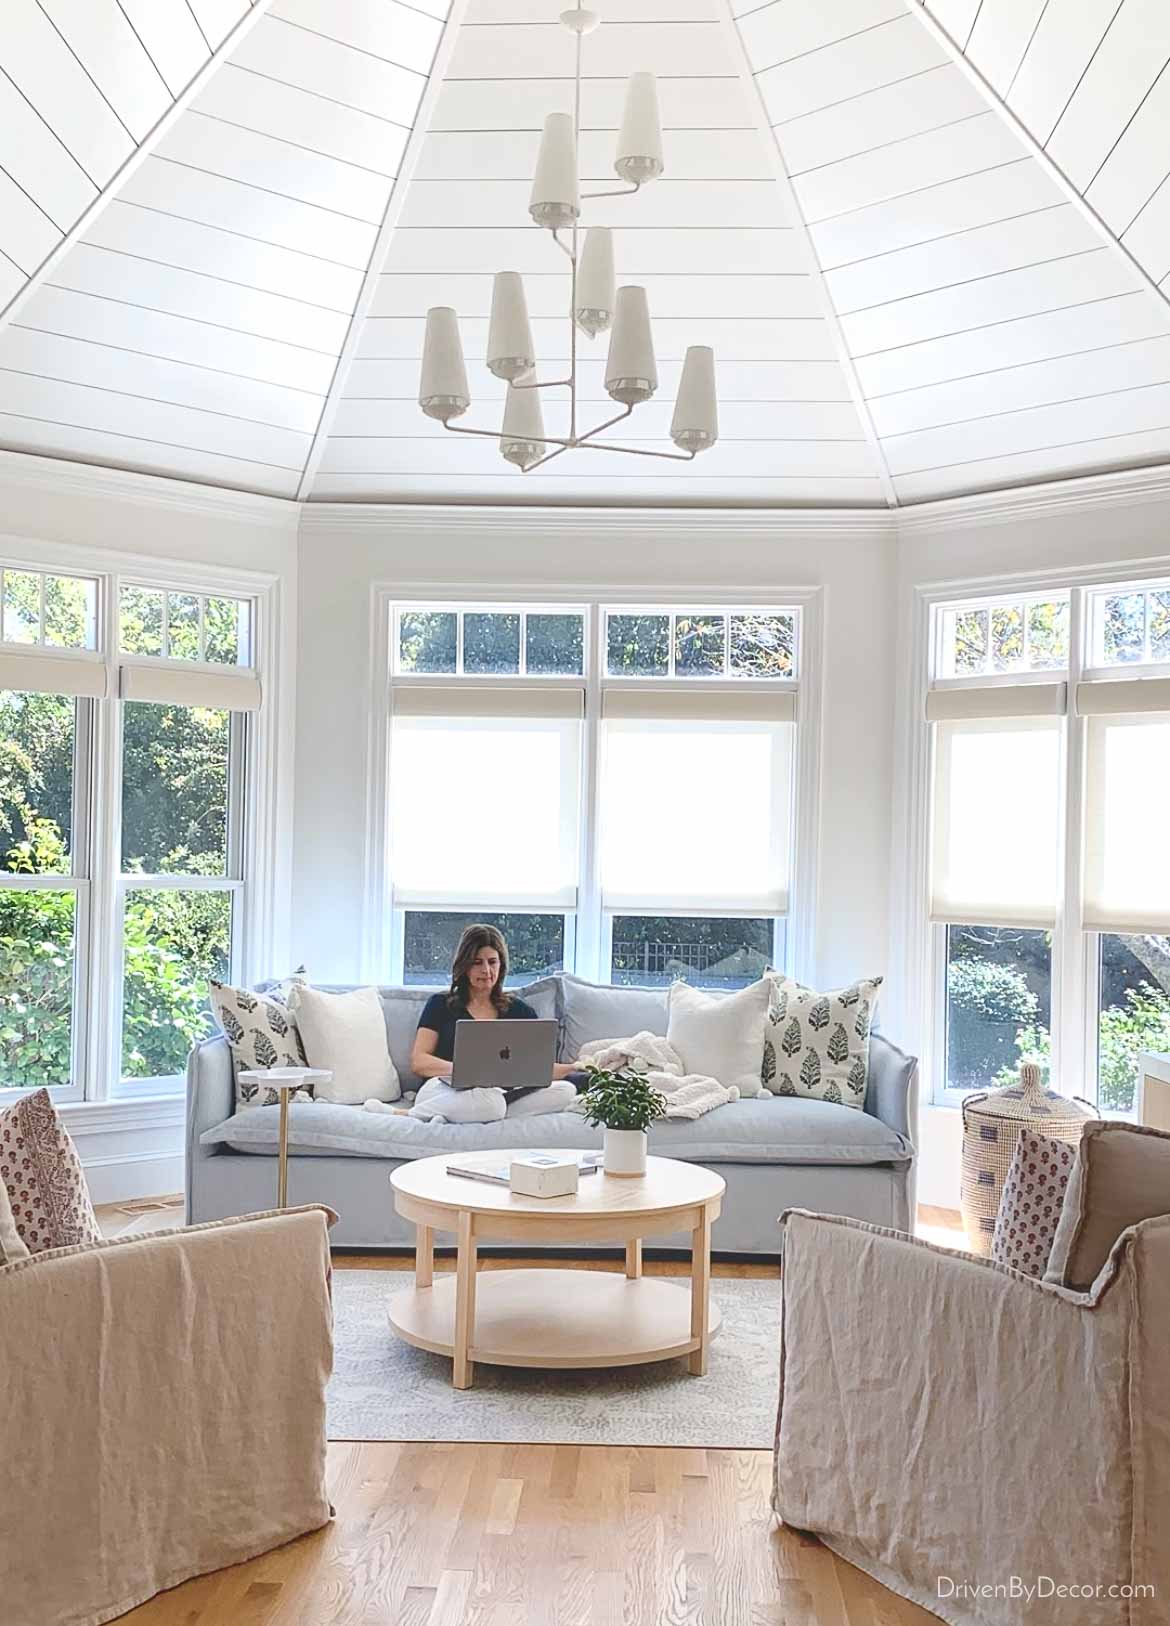
There’s no reprogramming with daylight savings time or changes in the position of the sun as the days get shorter or longer. It’s pretty amazing! You’ll definitely want to check out {this Instagram Reel} of my shades in action throughout the day if you missed it!
Along with absolutely loving the function of our Serena Smart Roller Shades, they look beautiful in our space too. They have over hundreds of fabrics to choose from and you can order up to ten free fabric samples {here} to see them in person. From these final contenders, I chose Harbor Sand:

I love that the shades roll up into a small valence that’s wrapped in the same fabric (you get this by choosing the fabric-wrapped fascia option when ordering), so are totally unobtrusive.
There are also several light filtering options to choose from. I ordered translucent privacy shades for our sunroom and on our glass front doors and blackout shades in my girls’ room to completely block the light:
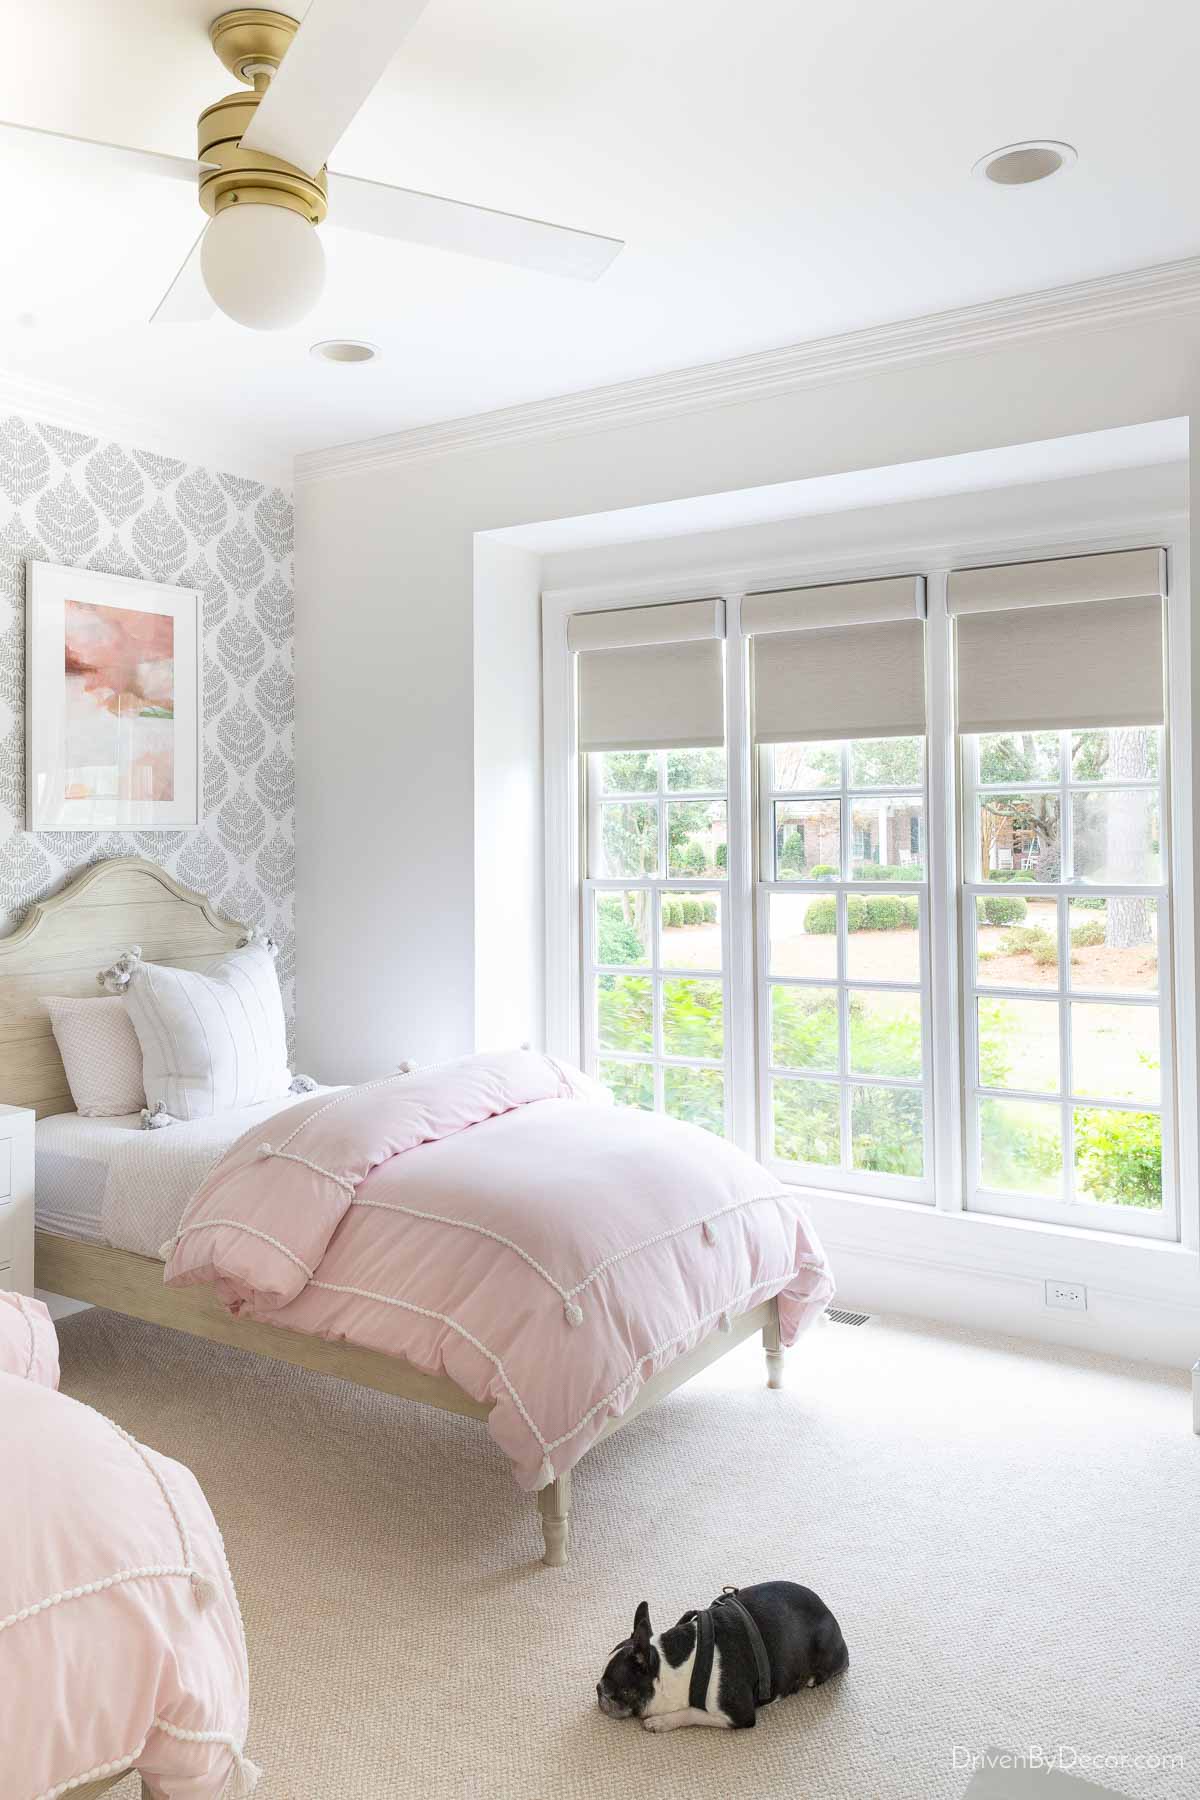
If you prefer blinds over roller shades, there are Serena Smart Wood Blinds options too! They’re pretty cool because in addition to being able to program them to go up and down, you can program the slats to tilt at certain times of the day to redirect the sunlight!
How to Get Started
One of the things I love about the Caséta by Lutron smart lighting system is that you don’t have to invest in a huge, expensive system. To get started, all that you need is a starter kit (go {here} and click “Where to Buy” to find both online and local options) that includes a Smart Hub:
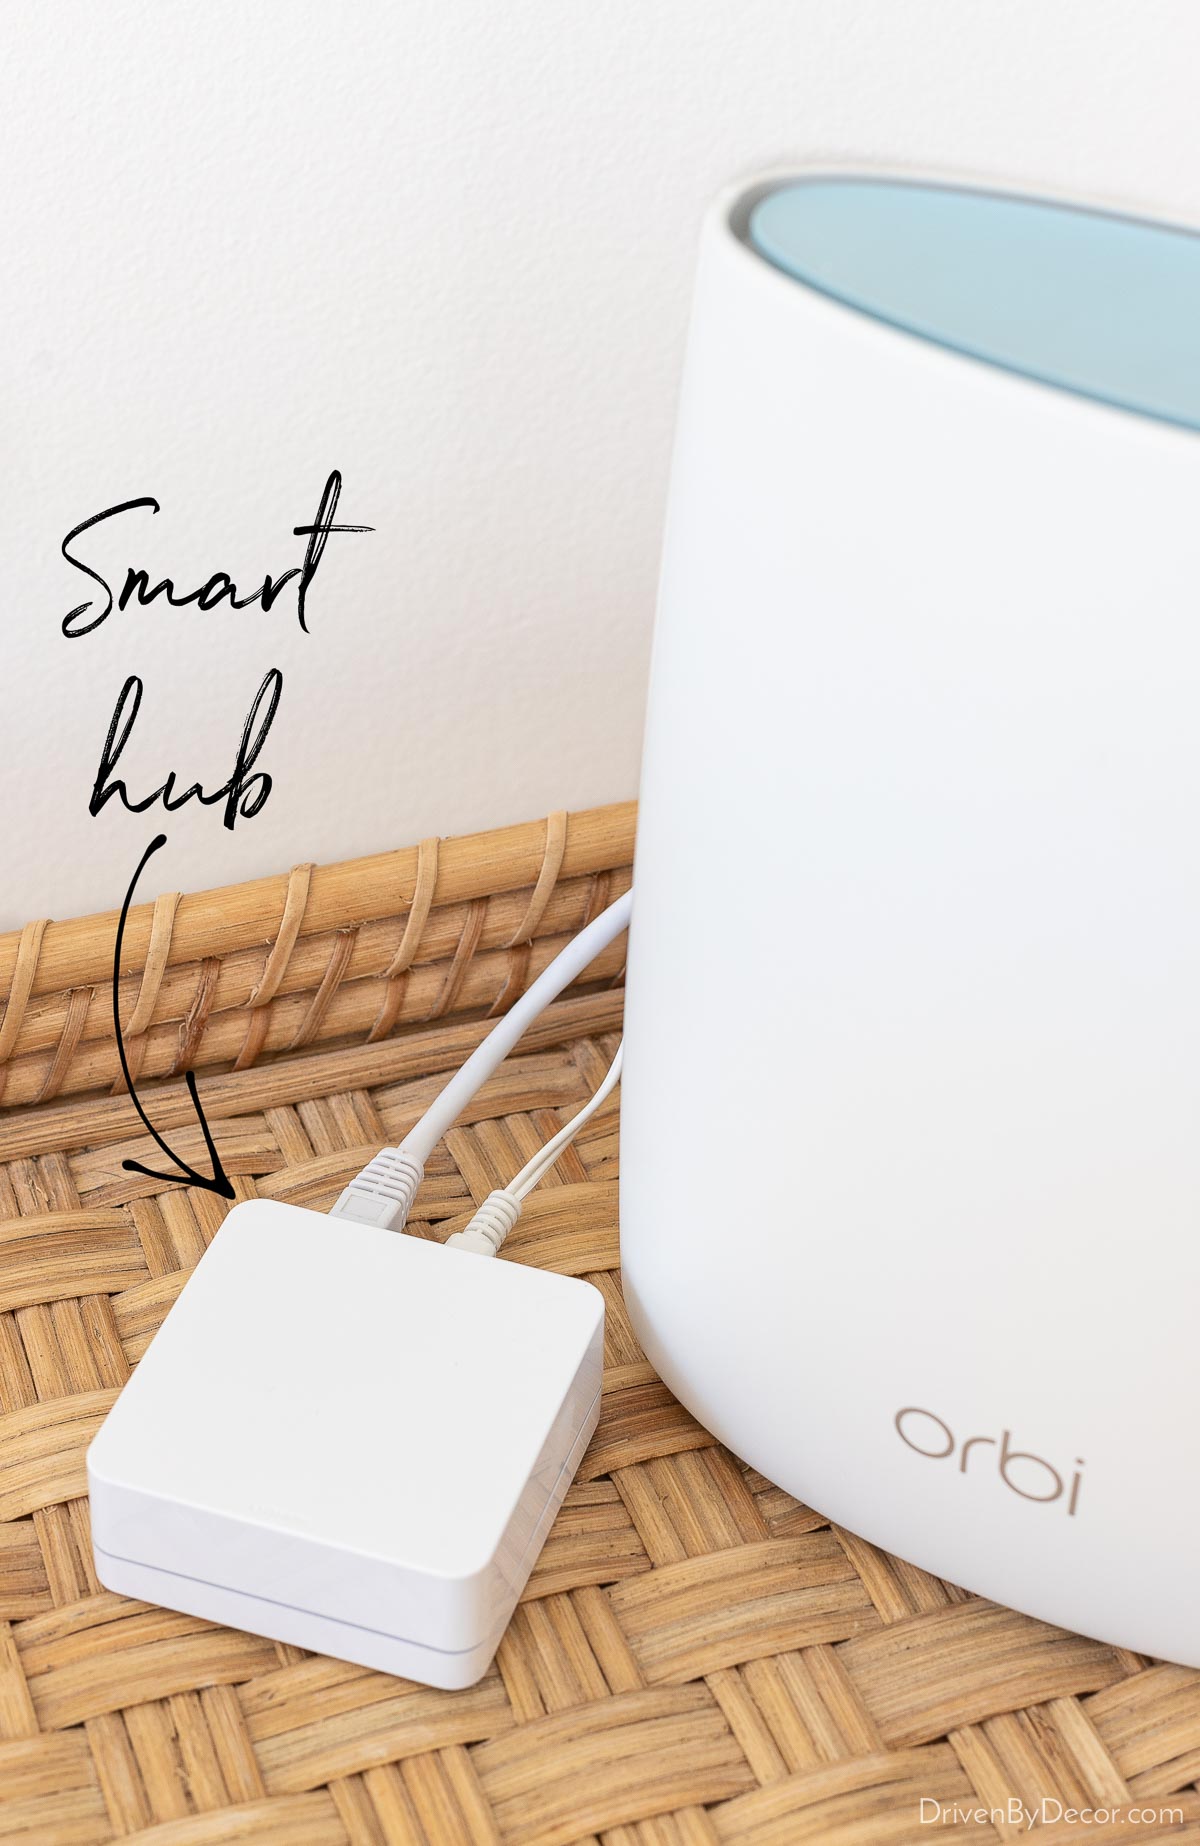
The Smart Hub is the brains behind the scenes, and it only takes one of them for wireless control of all of your Caséta devices. Using a Smart Hub instead of your Wi-Fi ensures your Wi-Fi stays running fast and gives super-fast, ultra-reliable lighting control.
Once you’ve downloaded the Lutron app and have your Smart Hub set up, you can start adding Caséta by Lutron Smart Dimmer Switches, motion sensors, outdoor smart plugs, and all of the other Caséta smart lighting options at your own pace. And when you’re ready to go next-level, you can integrate Serena Smart Shades! Warning: Once you start building your system, you’ll find that the added convenience is addicting!
Thanks as always for stopping by the blog and hope you all enjoy the rest of your weekend!


