I would choose a decorating or DIY project over cooking dinner any day of the week so you might not think that I’d care much about small kitchen appliances. But I actually have several that I swear by – anything that makes cooking easier or more fun is golden in my book! Ready to check out my five small appliance must-haves?!… (post includes affiliate links; full disclosure statement available {here}).
1. Ninja Foodi 5-in-1 Indoor Grill + Air Fryer
My Ninja Foodi 5-in-1 has been the best thing to ever happen to my dinner “menu” (you know, the options you offer your family when you’re trying to figure out what the heck to make for dinner). The functions include indoor grilling and air frying (the two functions I use the most) plus roasting, baking, and dehydrating. Using the Ninja Foodi is as simple as selecting one of the five functions, the cooking temperature, and then the time to cook.
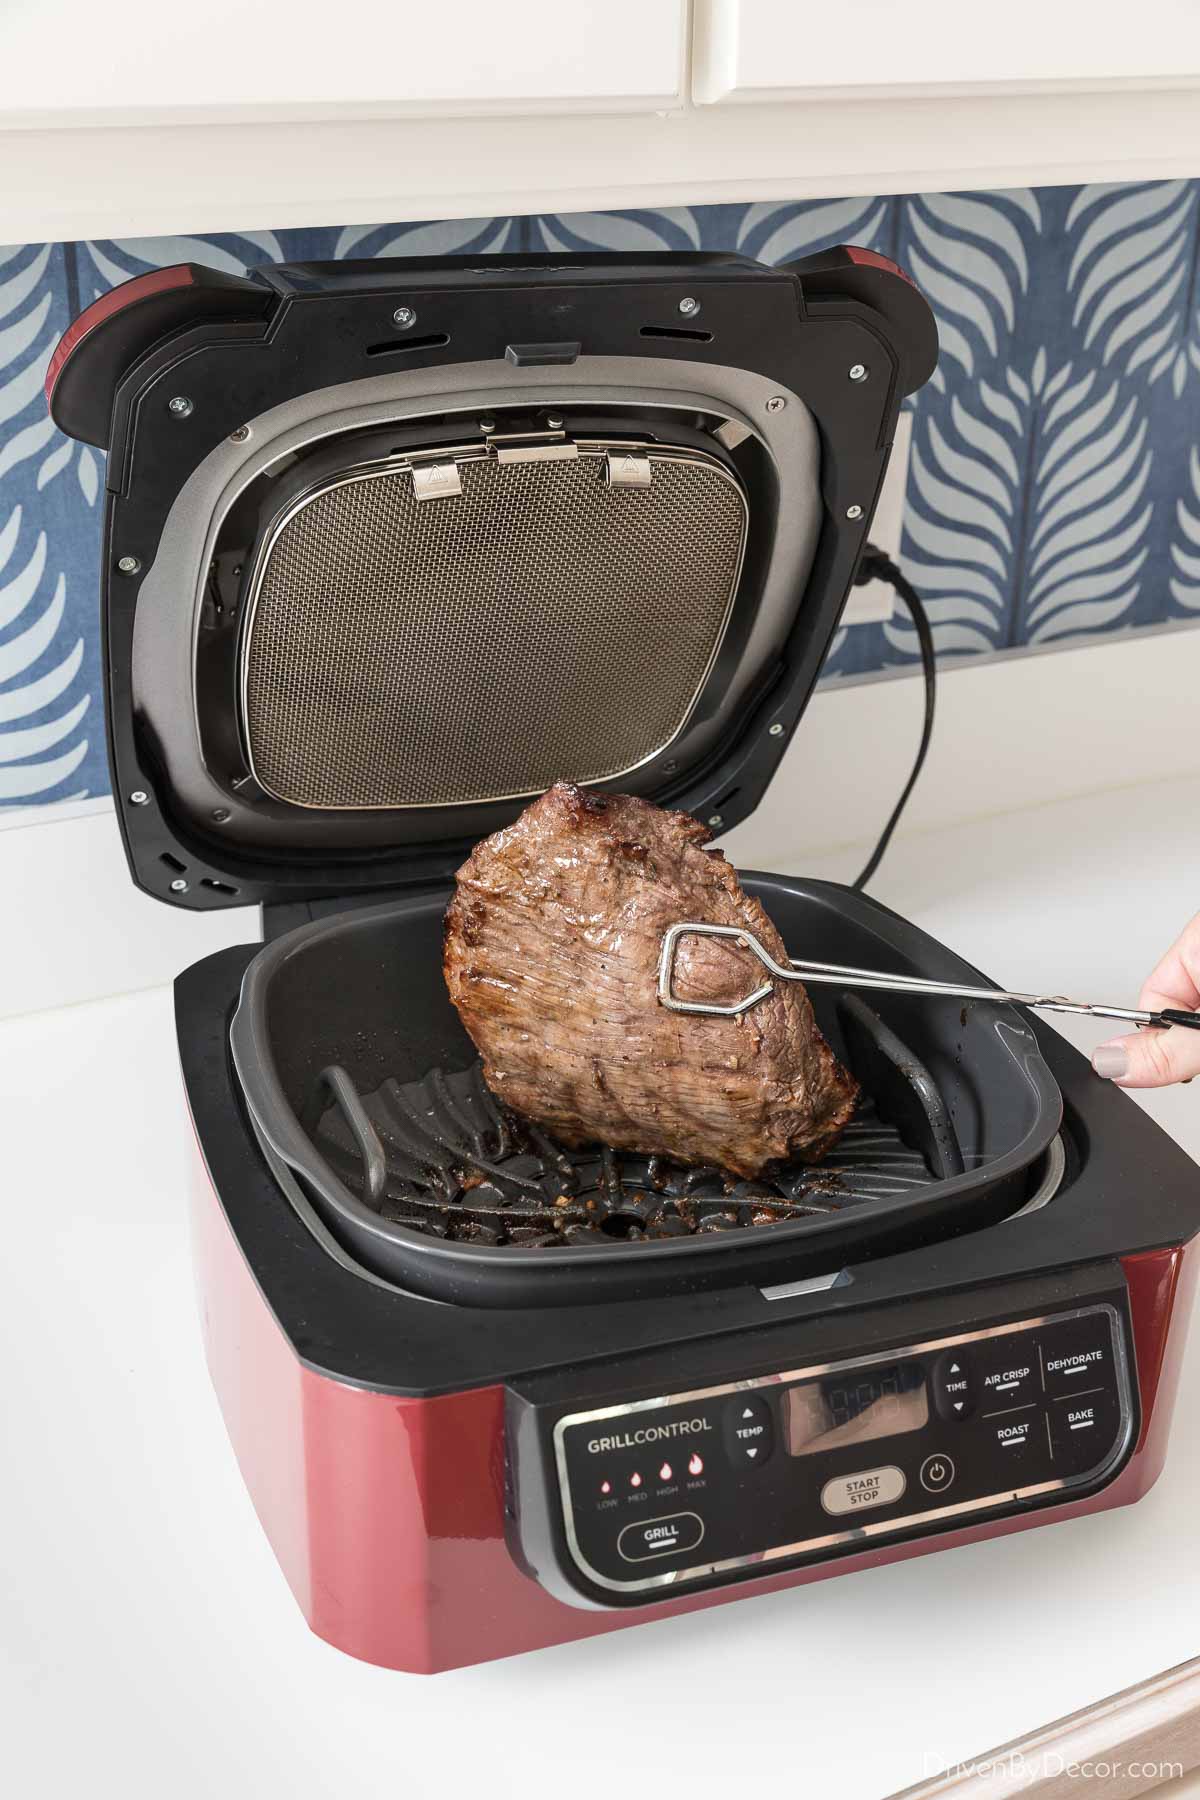
The indoor grilling feature is amazing! It’s smoke free, sears meat just like on an outdoor grill, keeps meat much juicier than baking or pan frying it, and is so nice to have when it’s cold or rainy and no fun to grill outdoors. I’ve used it for everything from chicken, salmon, and steak (I love marinating a large flank steak like this one, grilling it, and slicing it to eat as-is or as a salad topper):
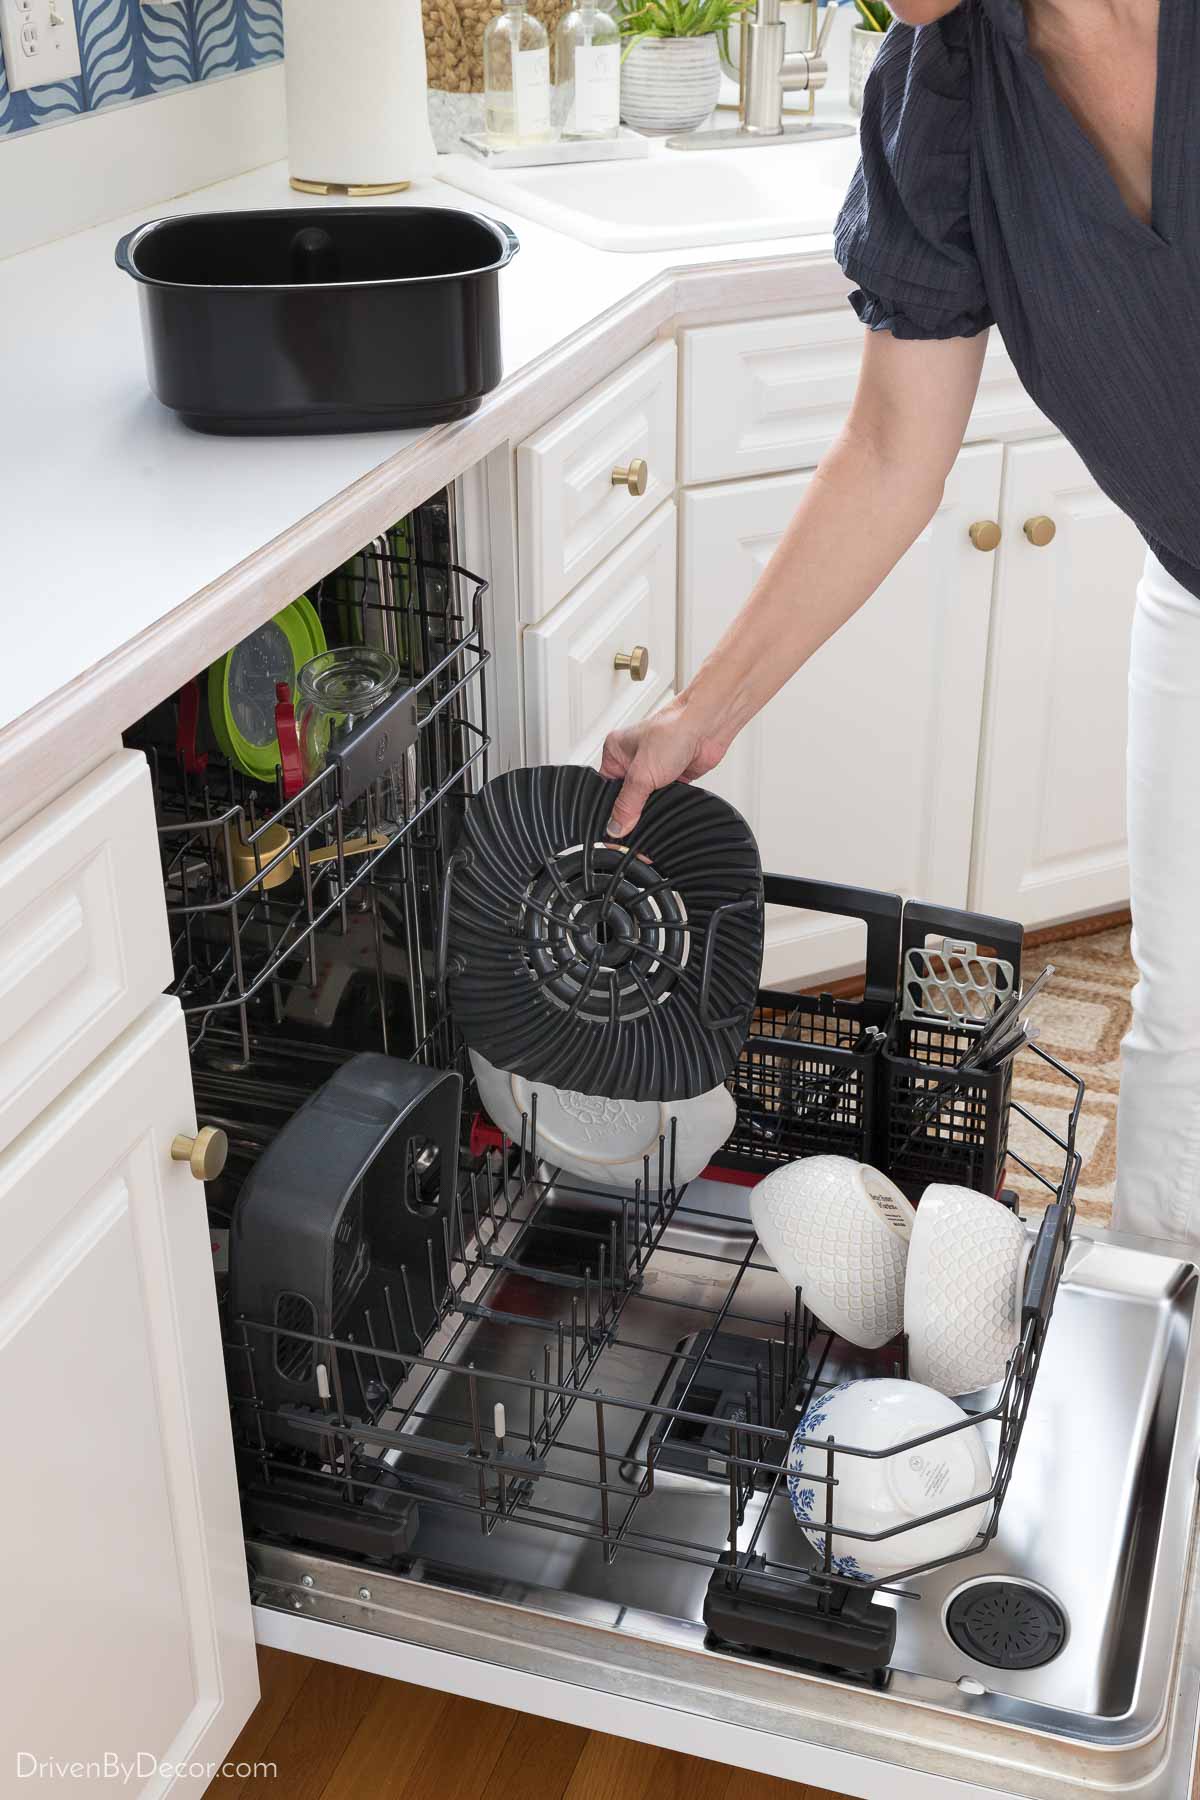
to vegetables like asparagus and corn on the cob. And best of all, clean-up is a breeze (a must for any small appliance I’m going to use a lot) – all of the Ninja Foodi accessories can be thrown in the dishwasher for cleaning:
I love the air fryer feature too! If you’re not familiar with air frying, it mimics the results of deep frying in oil (your food is nice and crispy) but with hot air and little to no oil. You can use it to make your own “fried” food (like french fries from sliced potatoes) or for heating up frozen chicken wings, tater tots, etc. My favorite super simple thing to air fry is frozen sweet potato tots – so yummy!
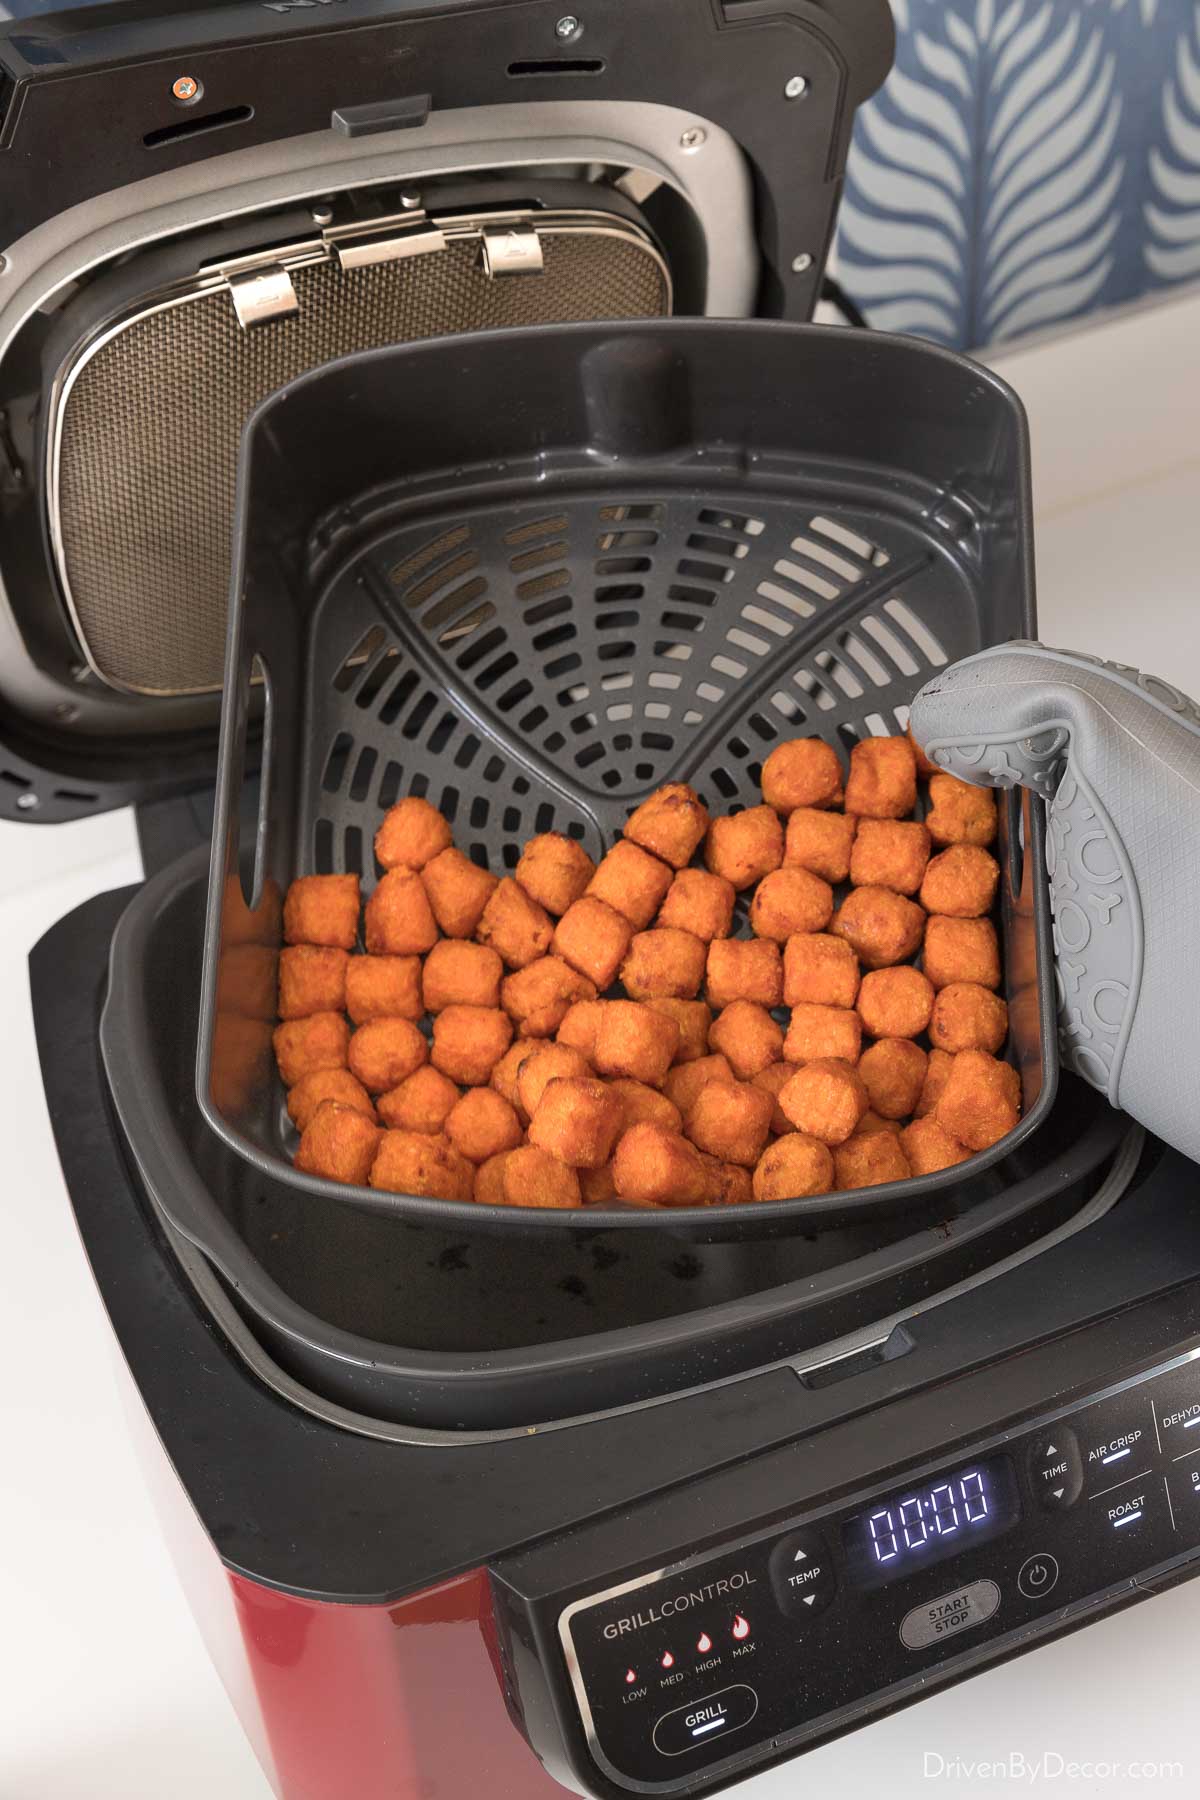
And my Ninja Foodi not only pre-heats much faster than my oven but it takes less time to air fry food than it does to bake it.
You can snag my Ninja Foodi 5 in 1 {here} (where it has over 27,000 glowing reviews!) and {here}. You can also sometimes find certified refurbished Ninja Foodi 5 in 1 grills highly discounted on eBay {HERE}. Buying refurbished products scares a lot of people off but all of eBay’s certified refurbished products are guaranteed to operate like-new, come with new accessories & manuals, and have hassle-free 30 day returns. Just look for “certified refurbished” on eBay the listing instead of “seller refurbished” to make sure it carries this guarantee.
2. Hand Blender
When we renovated the kitchen in our previous home, I took everything out of our cabinets and drawers to store in large bins. When our reno was finished, I wanted to keep my new kitchen cabinets less cluttered so kept several things I rarely used in one of the storage bins in the basement where I could grab them when needed. When we moved years later, I realized I never once used several things in that bin, including our blender.
The reason why is that we have a Cuisinart hand blender that is so much easier to store and clean than a typical blender so I always reached for it instead. If you’re not familiar with hand blenders, they’re basically a blender on a stick with a sharp blender-like blade on the bottom:
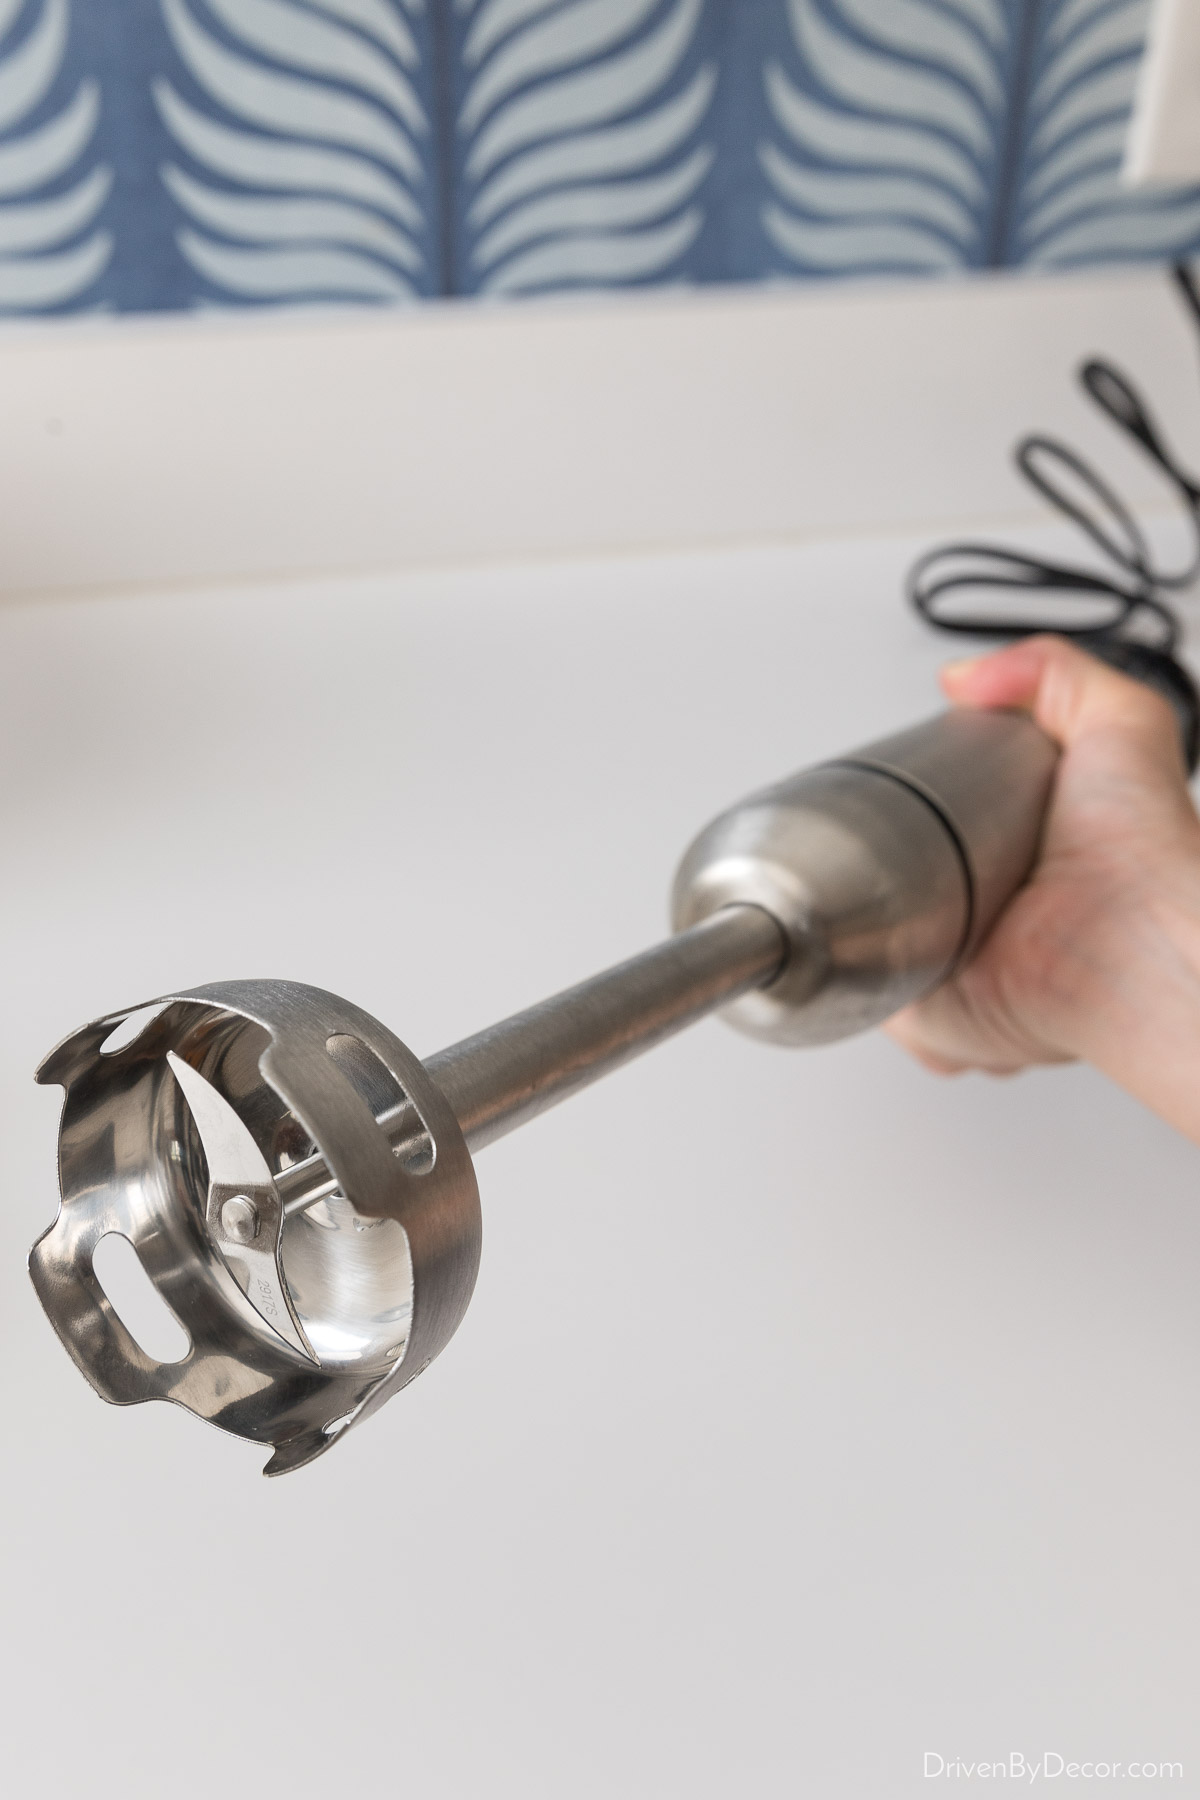
I use this baby to do everything from chopping nuts to blending soups and sauces (instead of having to ladle into a typical blender, you can blend right in the pot), and making hummus too! It’s as simple as throwing my hummus ingredients in a bowl:
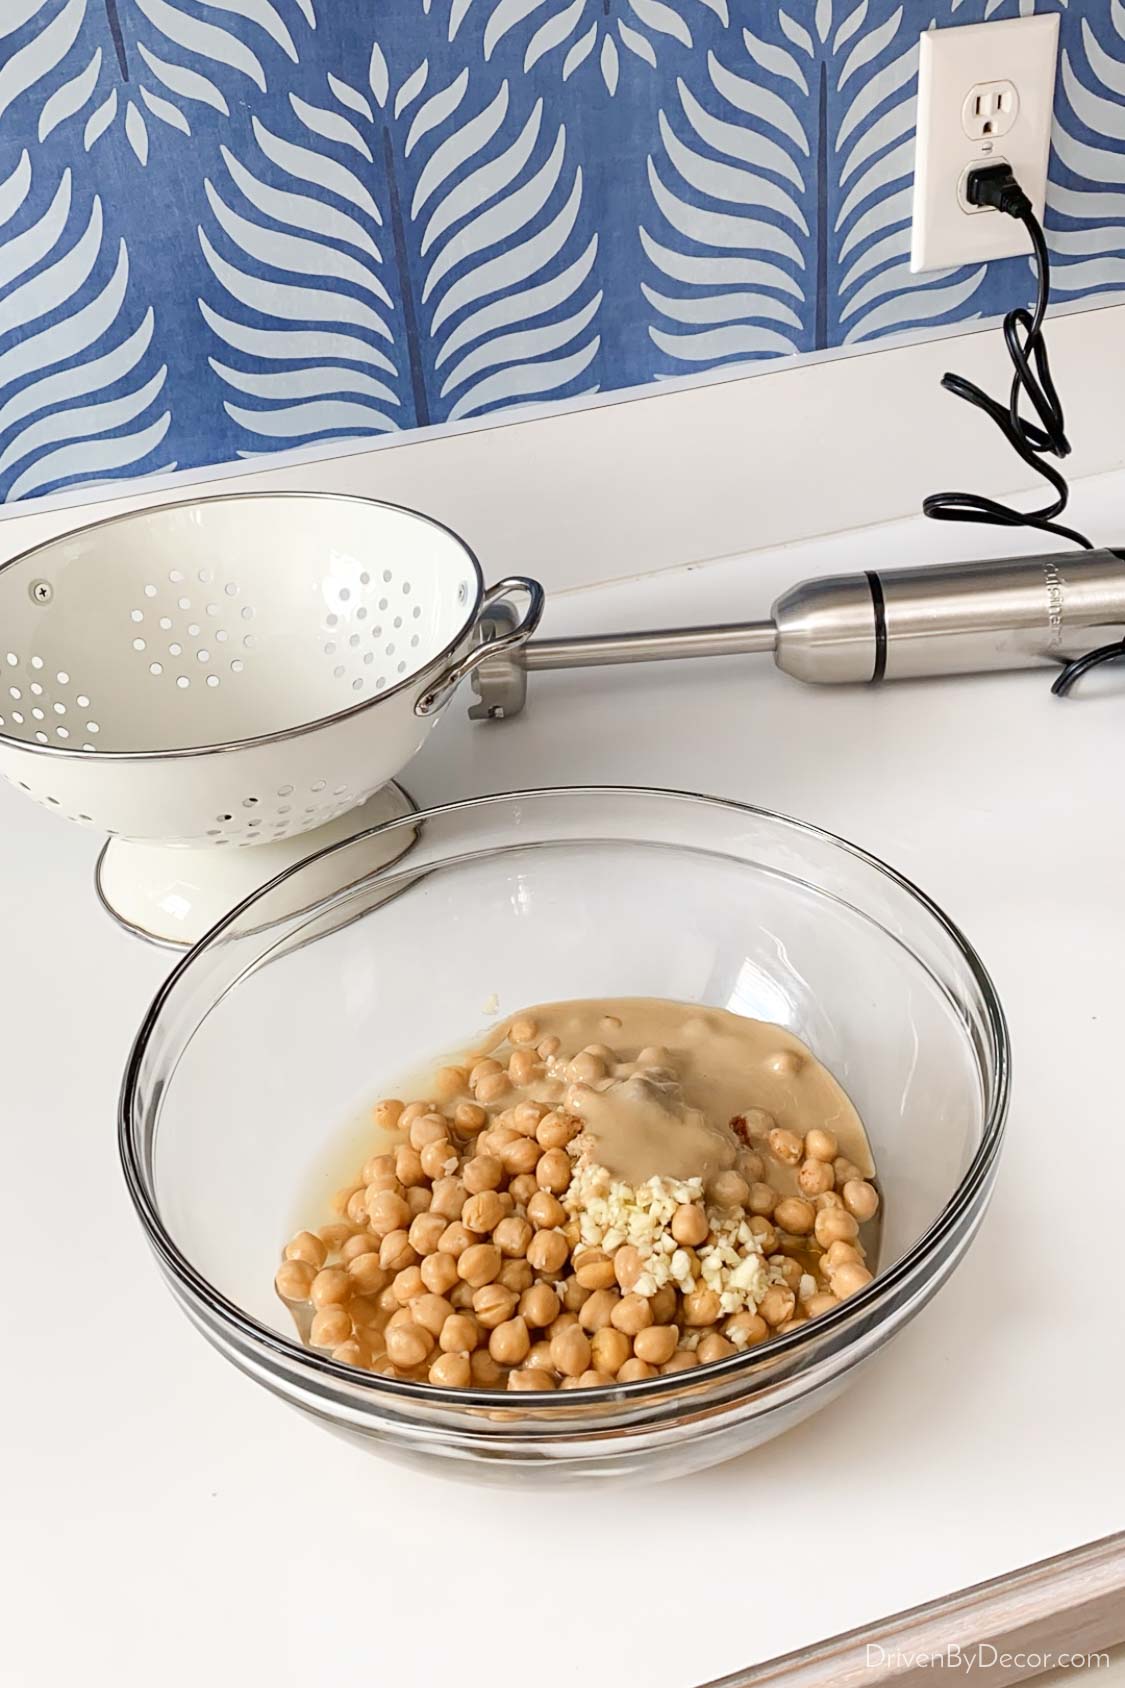
And blending with my hand blender, increasing the speed from low to high until it’s done (which takes just a few minutes):
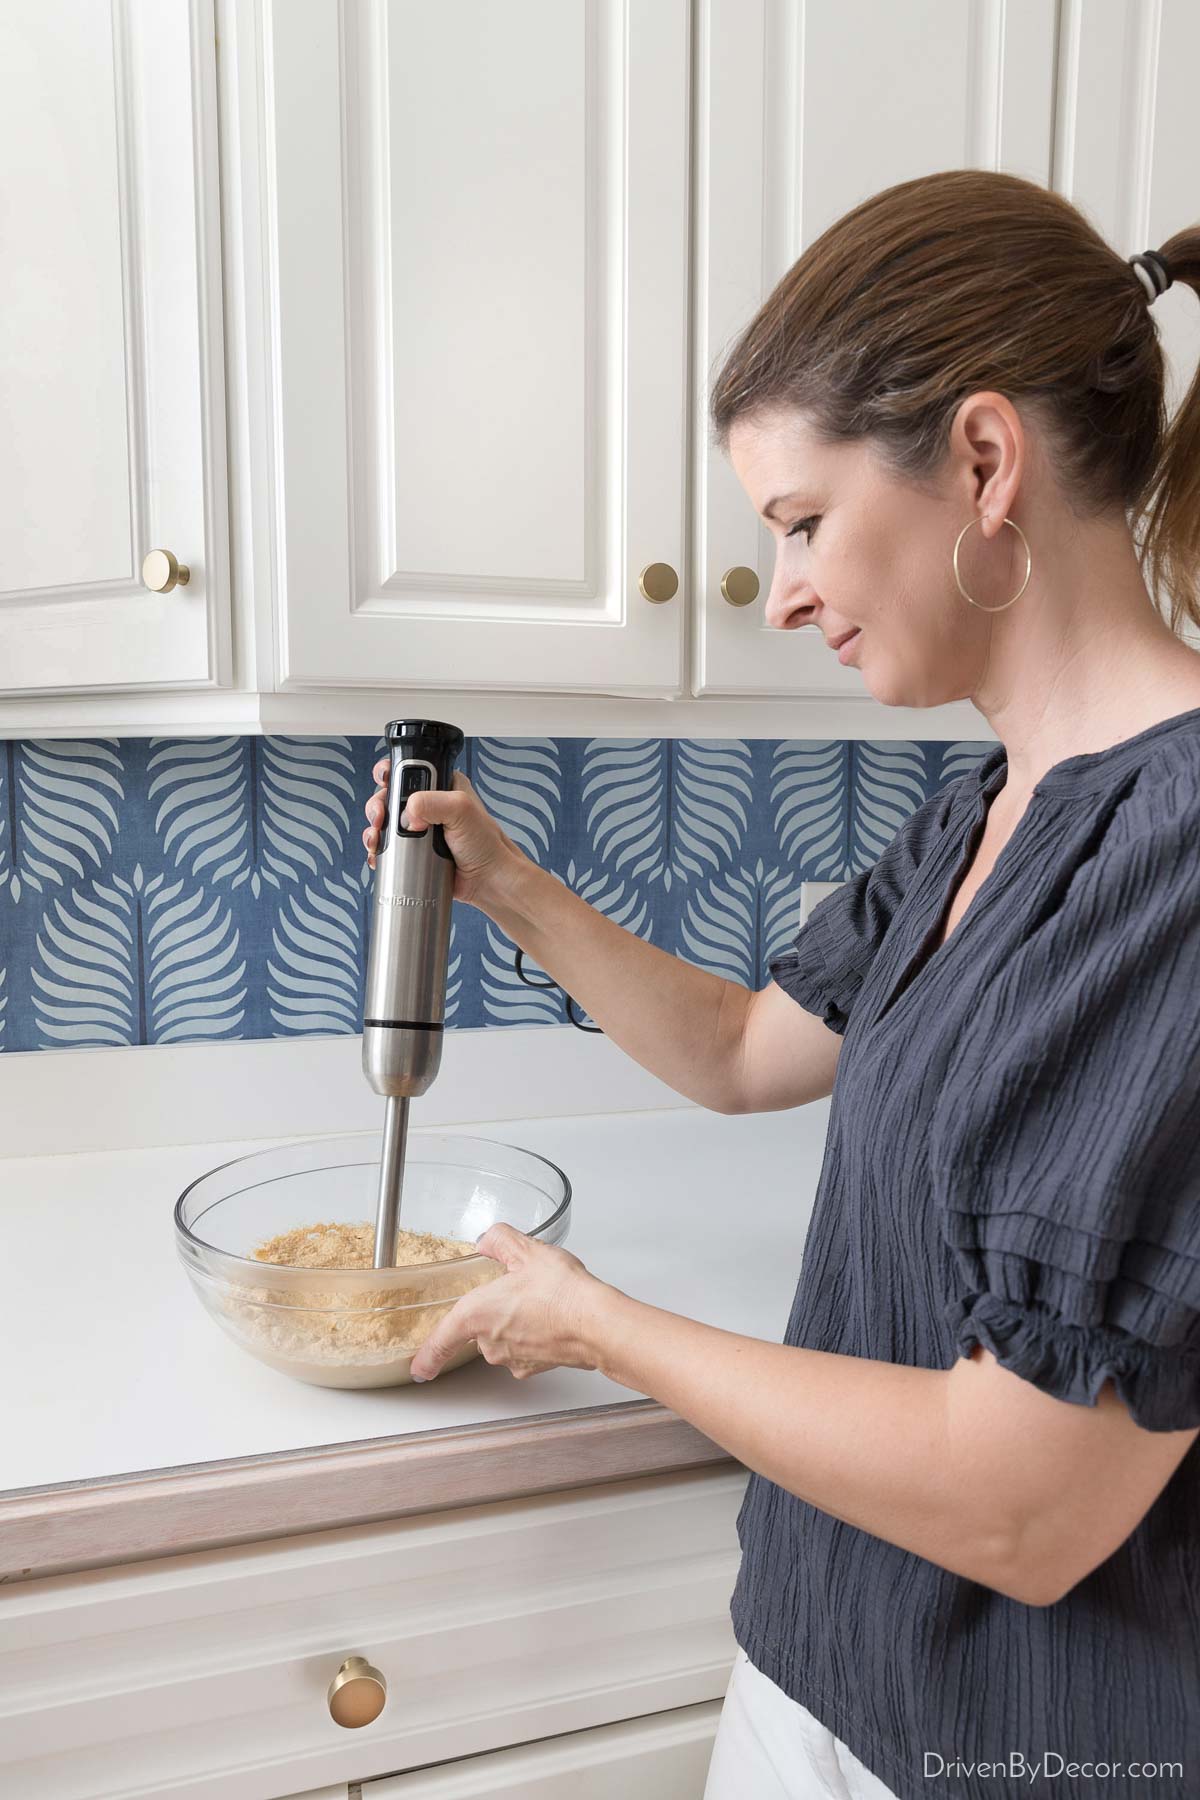
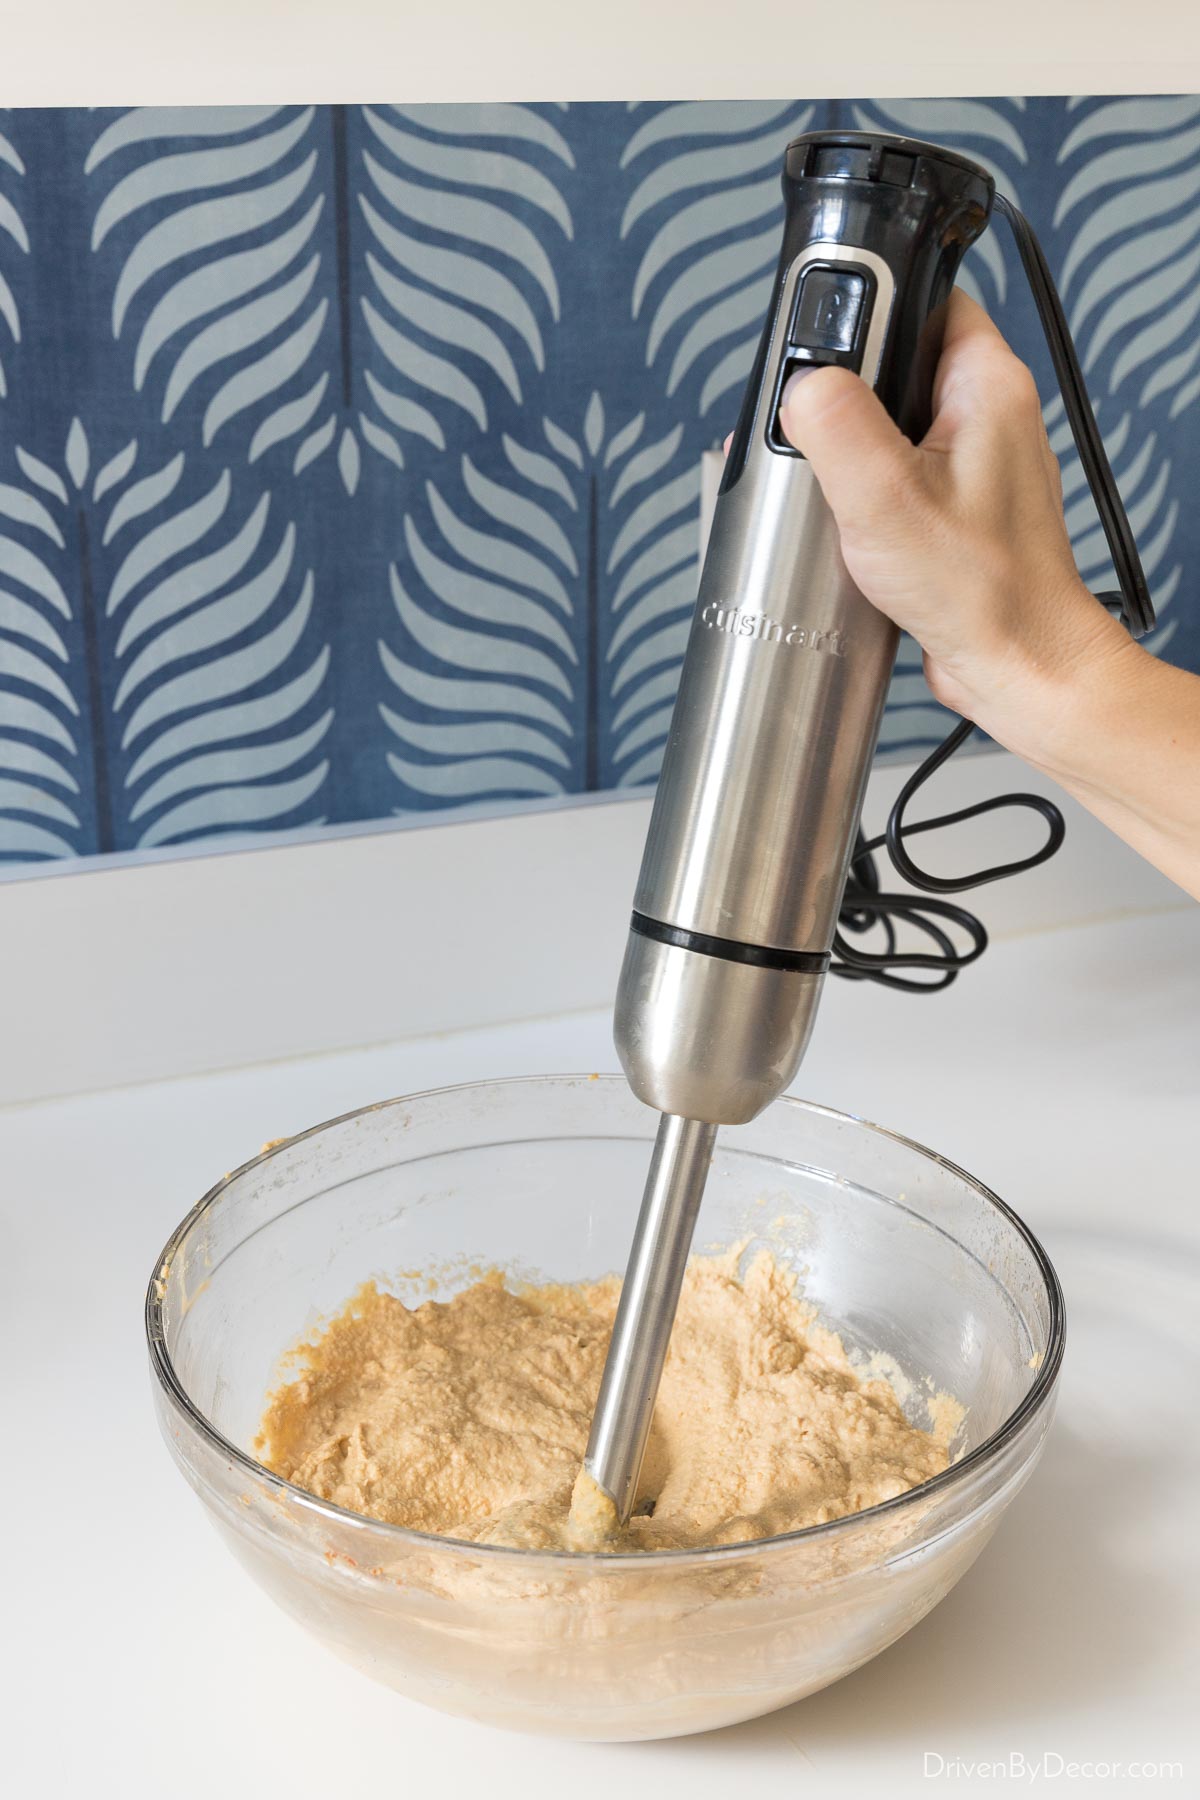
When I’m done, I simply pop off the detachable bottom part of the hand blender and throw it into the dish washer. Hummus with pita bread is one of my long-time go-to’s for lunch:
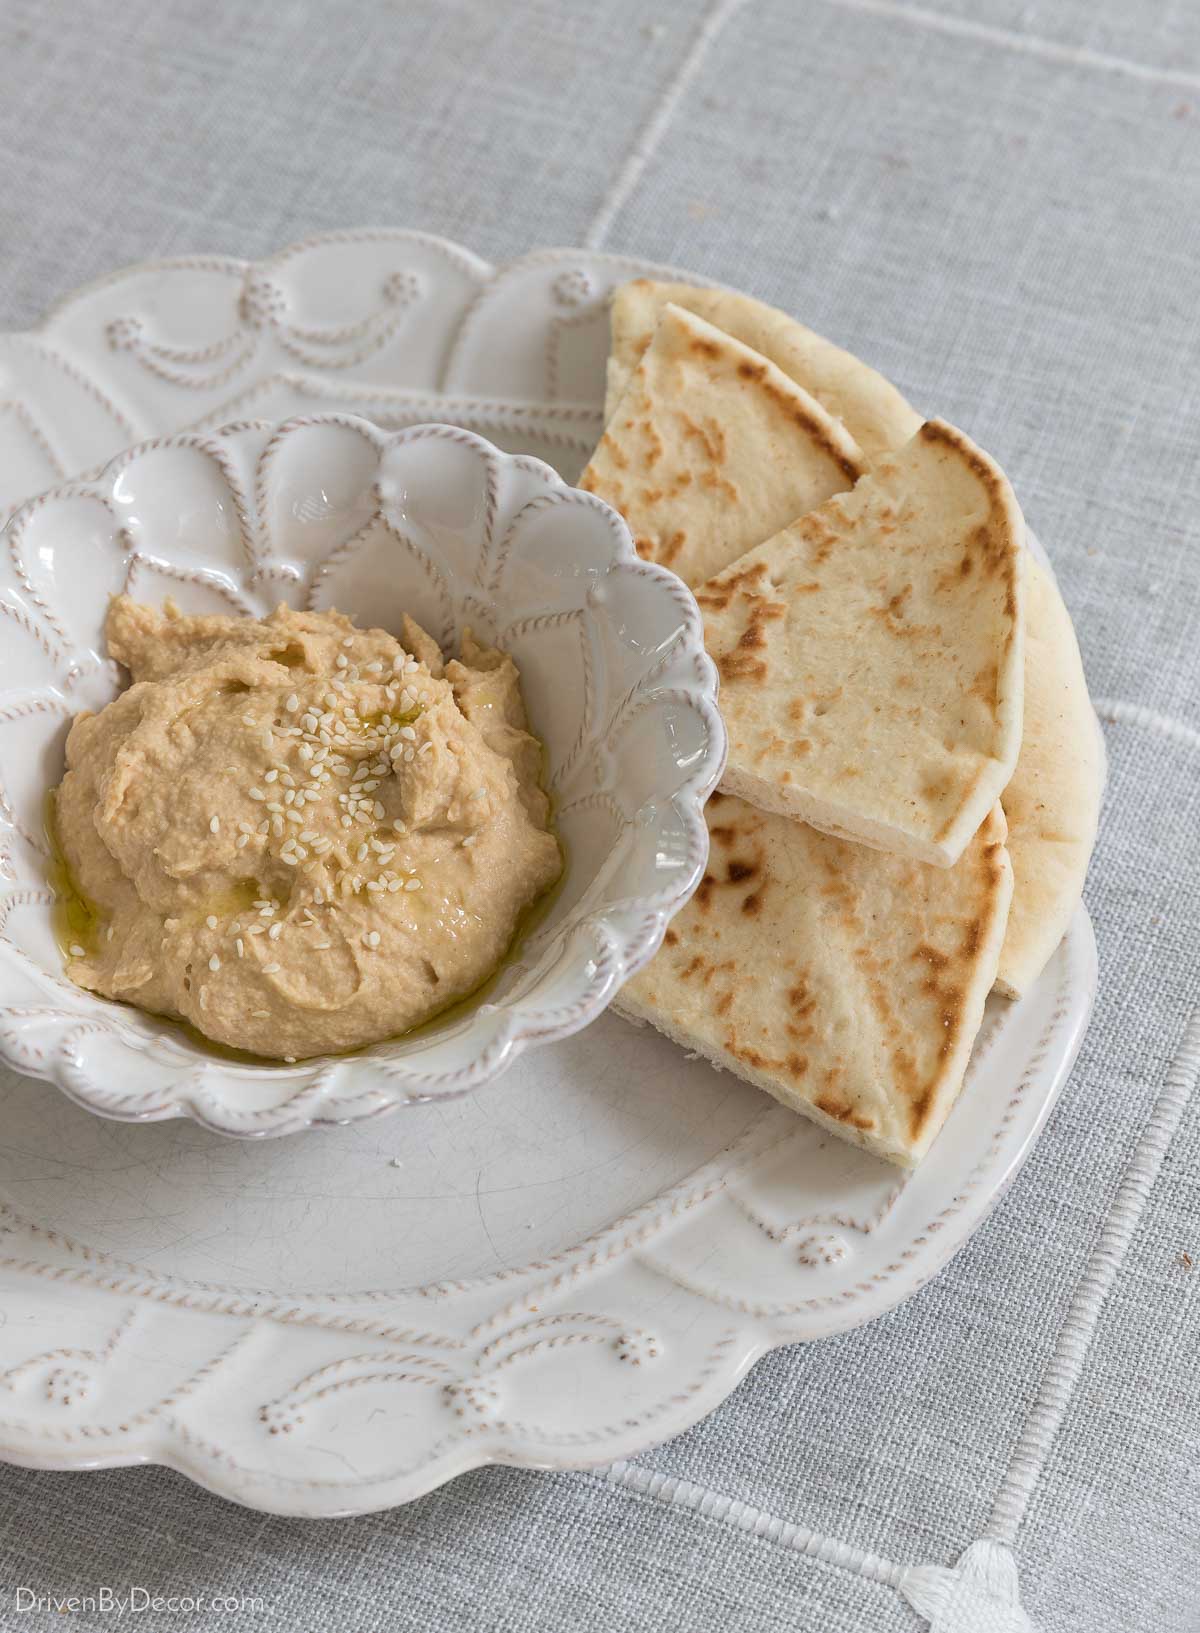
I also love rolling up hummus plus cut-up tomato and cucumber in a tortilla or Flatout wrap – yum!
You can find the newer version of my Cuisinart hand blender {here} and find it for less as certified refurbished on eBay {HERE}.
3. Cuisinart Ice Cream/Frozen Yogurt Maker
I’ve had my Cuisinart ice cream maker for years and while I don’t use it as frequently as my Ninja Foodi and hand blender, I LOVE having it. It’s super easy to make amazing ice cream and the best part is that you can totally customize the ice cream flavor and add-ins (I’m a sucker for vanilla with chopped Reese’s peanut butter cups!). Last week I wanted to try something new so I made pumpkin pie ice cream with real pumpkin, molasses, brown sugar and other goodies – SO GOOD!
You simply mix your ice cream ingredients:
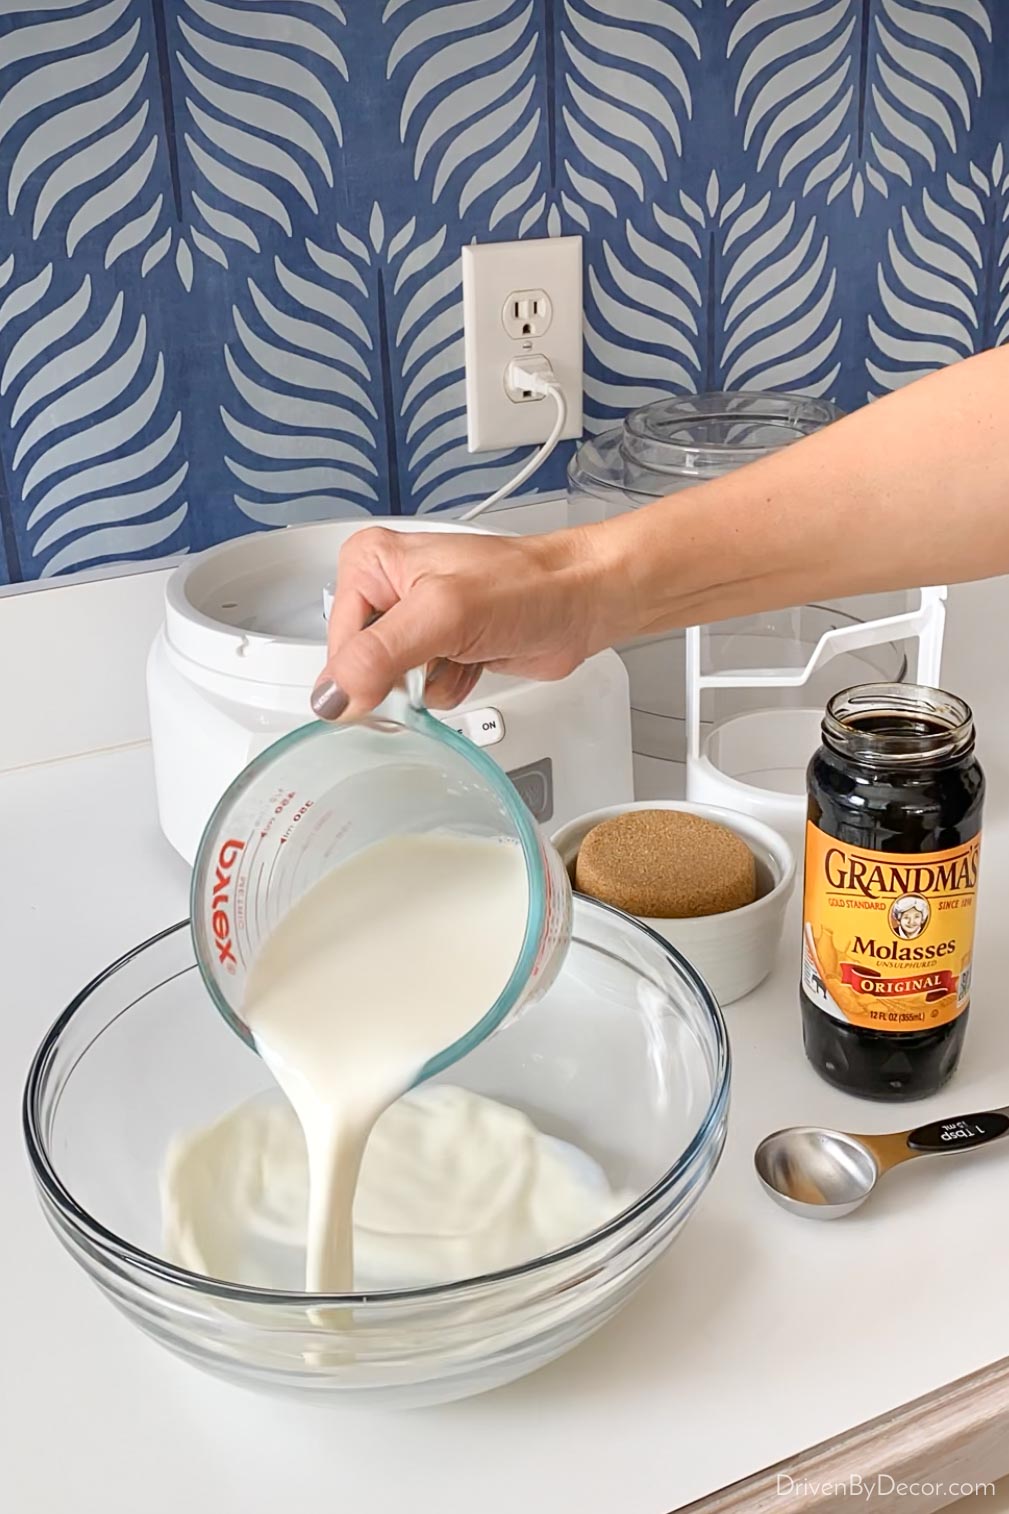
Then place the freezer bowl (which you freeze in your freezer before using), mixing paddle, and lid on top of the ice cream maker. Next, simply turn on the ice cream maker and pour your mixed ingredients in the top through the ingredients spout:
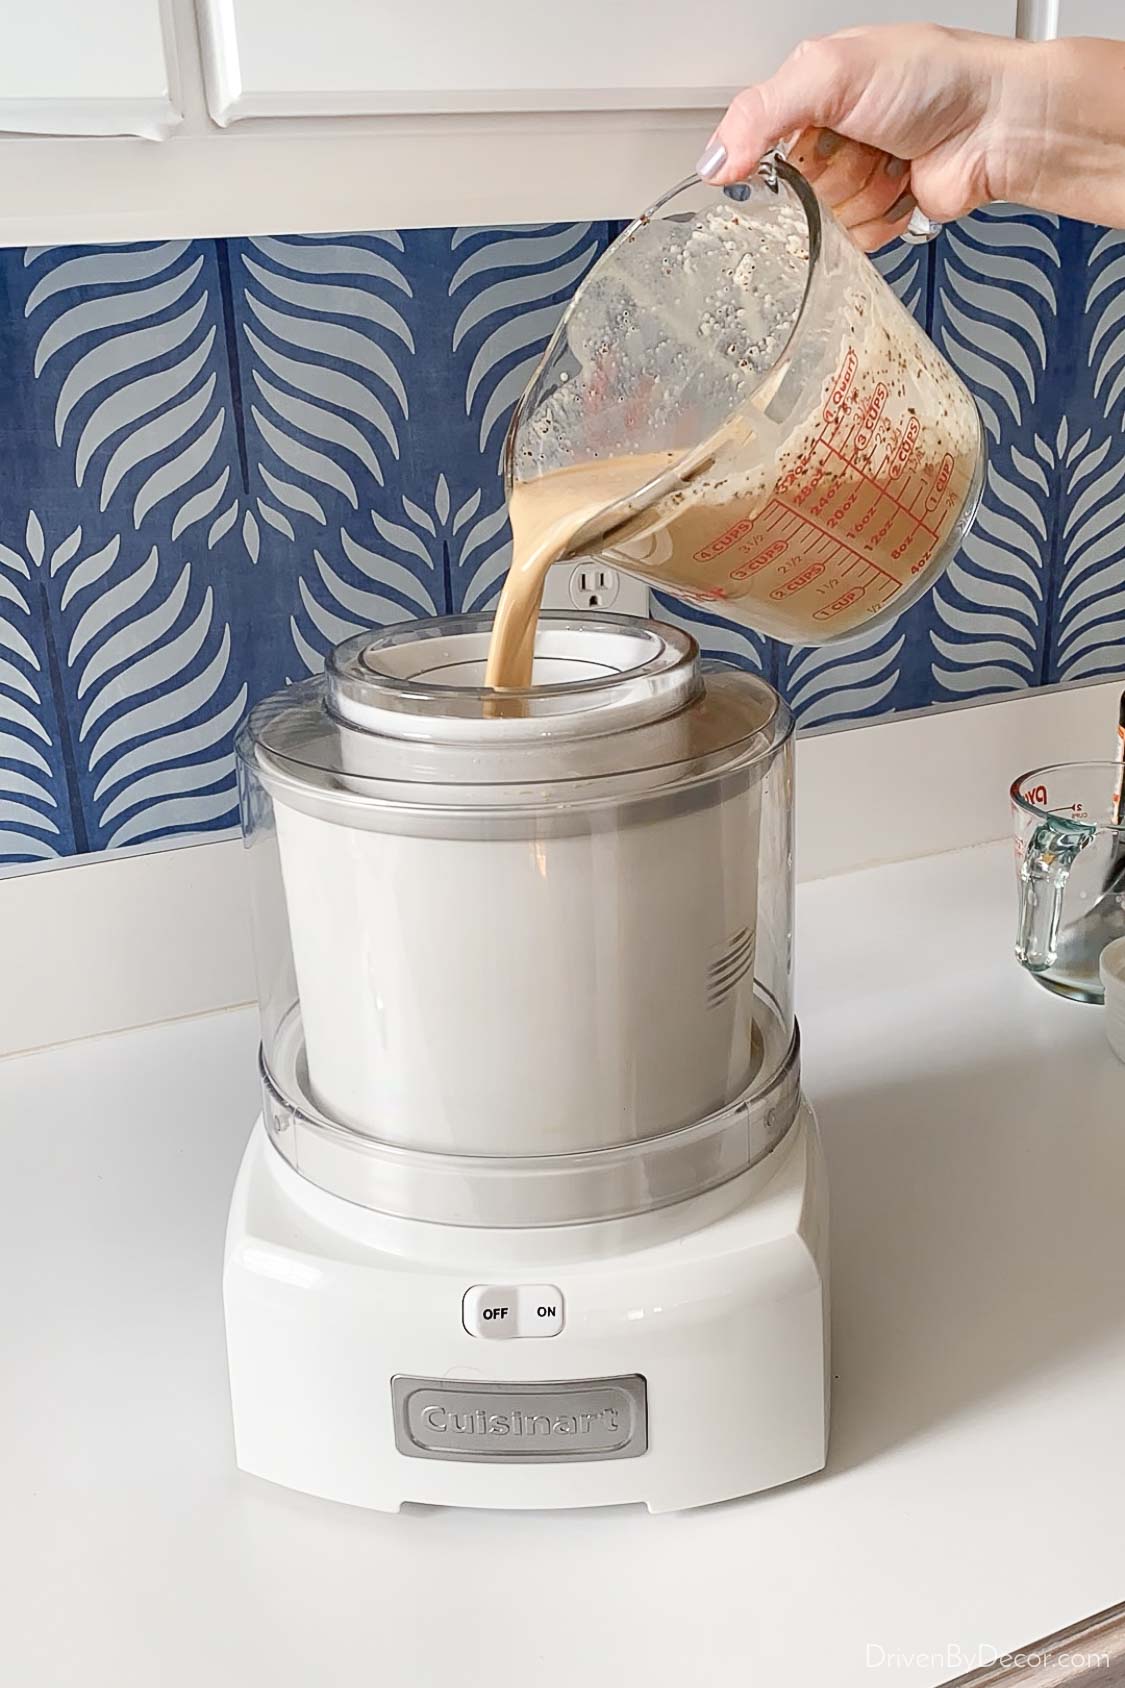
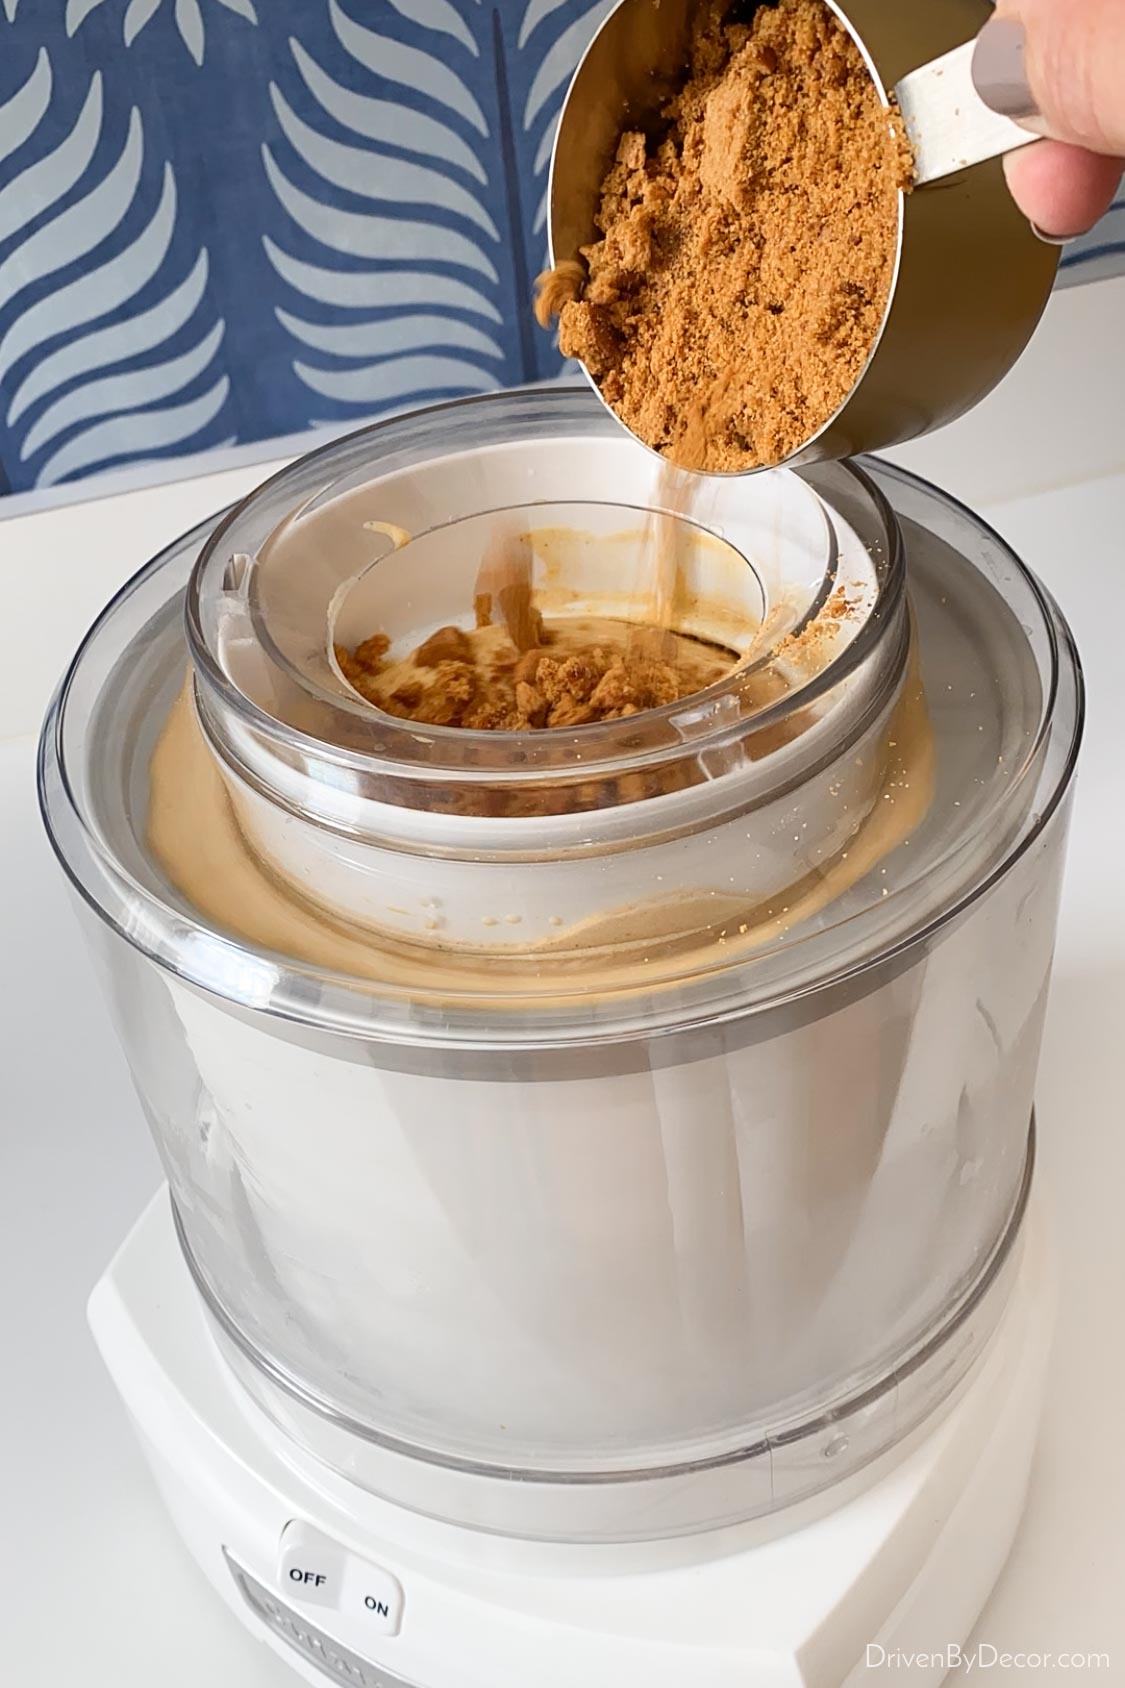
Then just let your ice cream maker do its thing for about 20 minutes! If you want to add mix-ins, you do that through the top spout about 5 minutes before it’s done (in this case I added crumbled ginger snaps):
When your ice cream is done, the consistency is similar to soft serve. You can down a bowl of ice cream right then and there or put it in a freezer safe container:
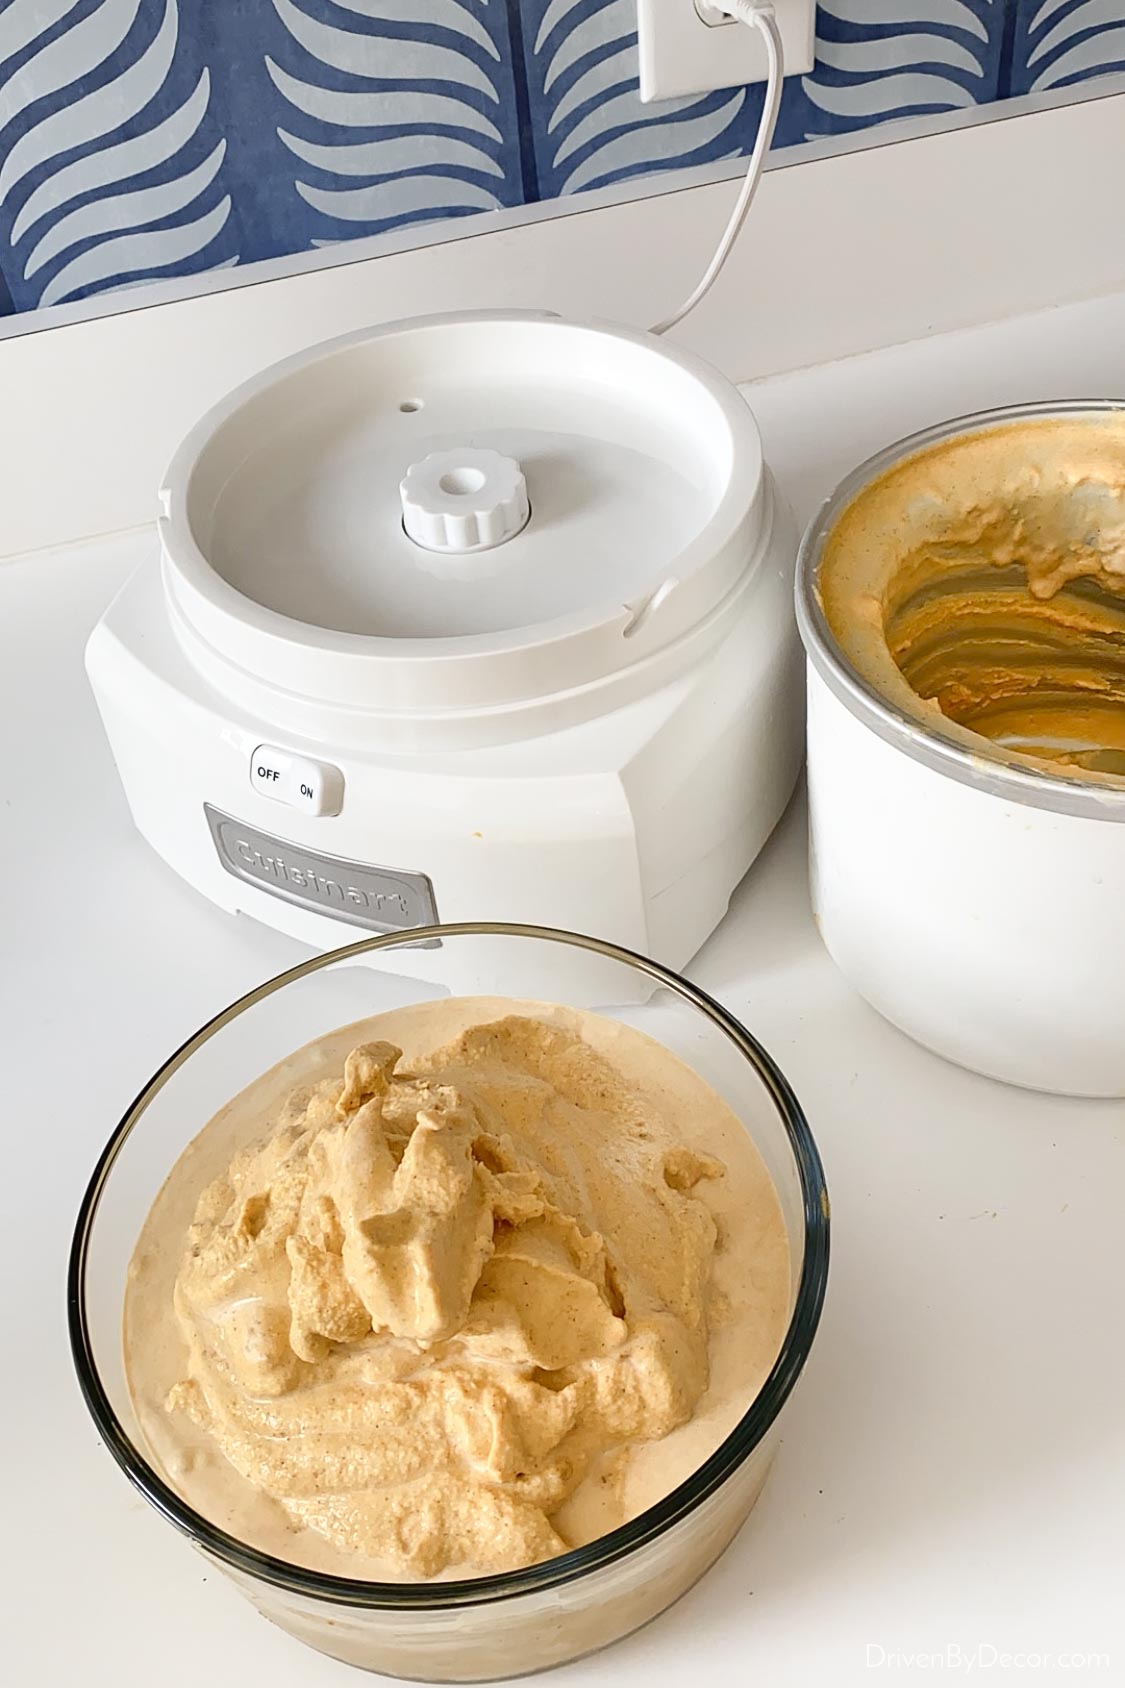
and throw it in the freezer for a few hours where it will harden to the consistency of typical scooped ice cream. It’s heavenly!
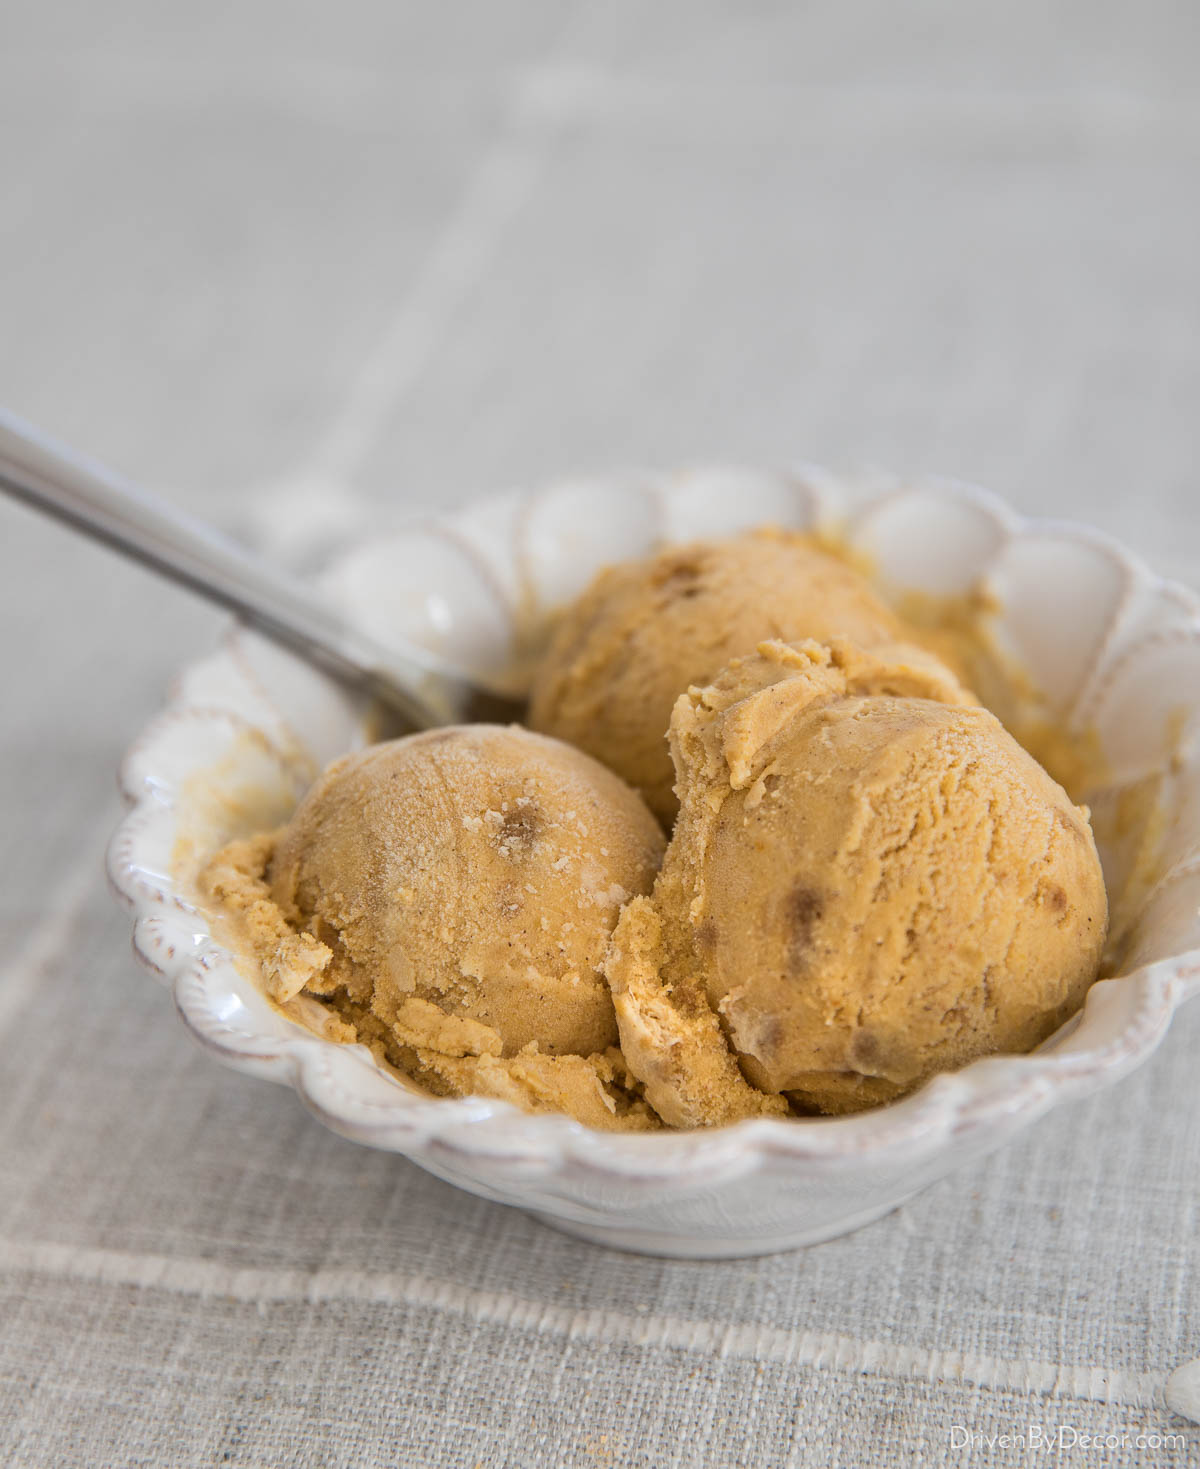
You can find my ice cream maker {HERE} (click around on the different colors because sometimes certain colors cost less than others!) and as certified refurbished on eBay {HERE}). I haven’t ever tried making frozen yogurt with mine but there are lots of great recipes for that too.
4. Breakfast Sandwich Maker
I bought this breakfast sandwich maker for Jeff a few years ago and he uses it at least a couple times a week to make himself (and me too if I’m up – he’s a super early bird!) the yummiest breakfast sandwiches. There are lots of options for what type of breakfast sandwich to make, but we typically go with a pretty simple version.
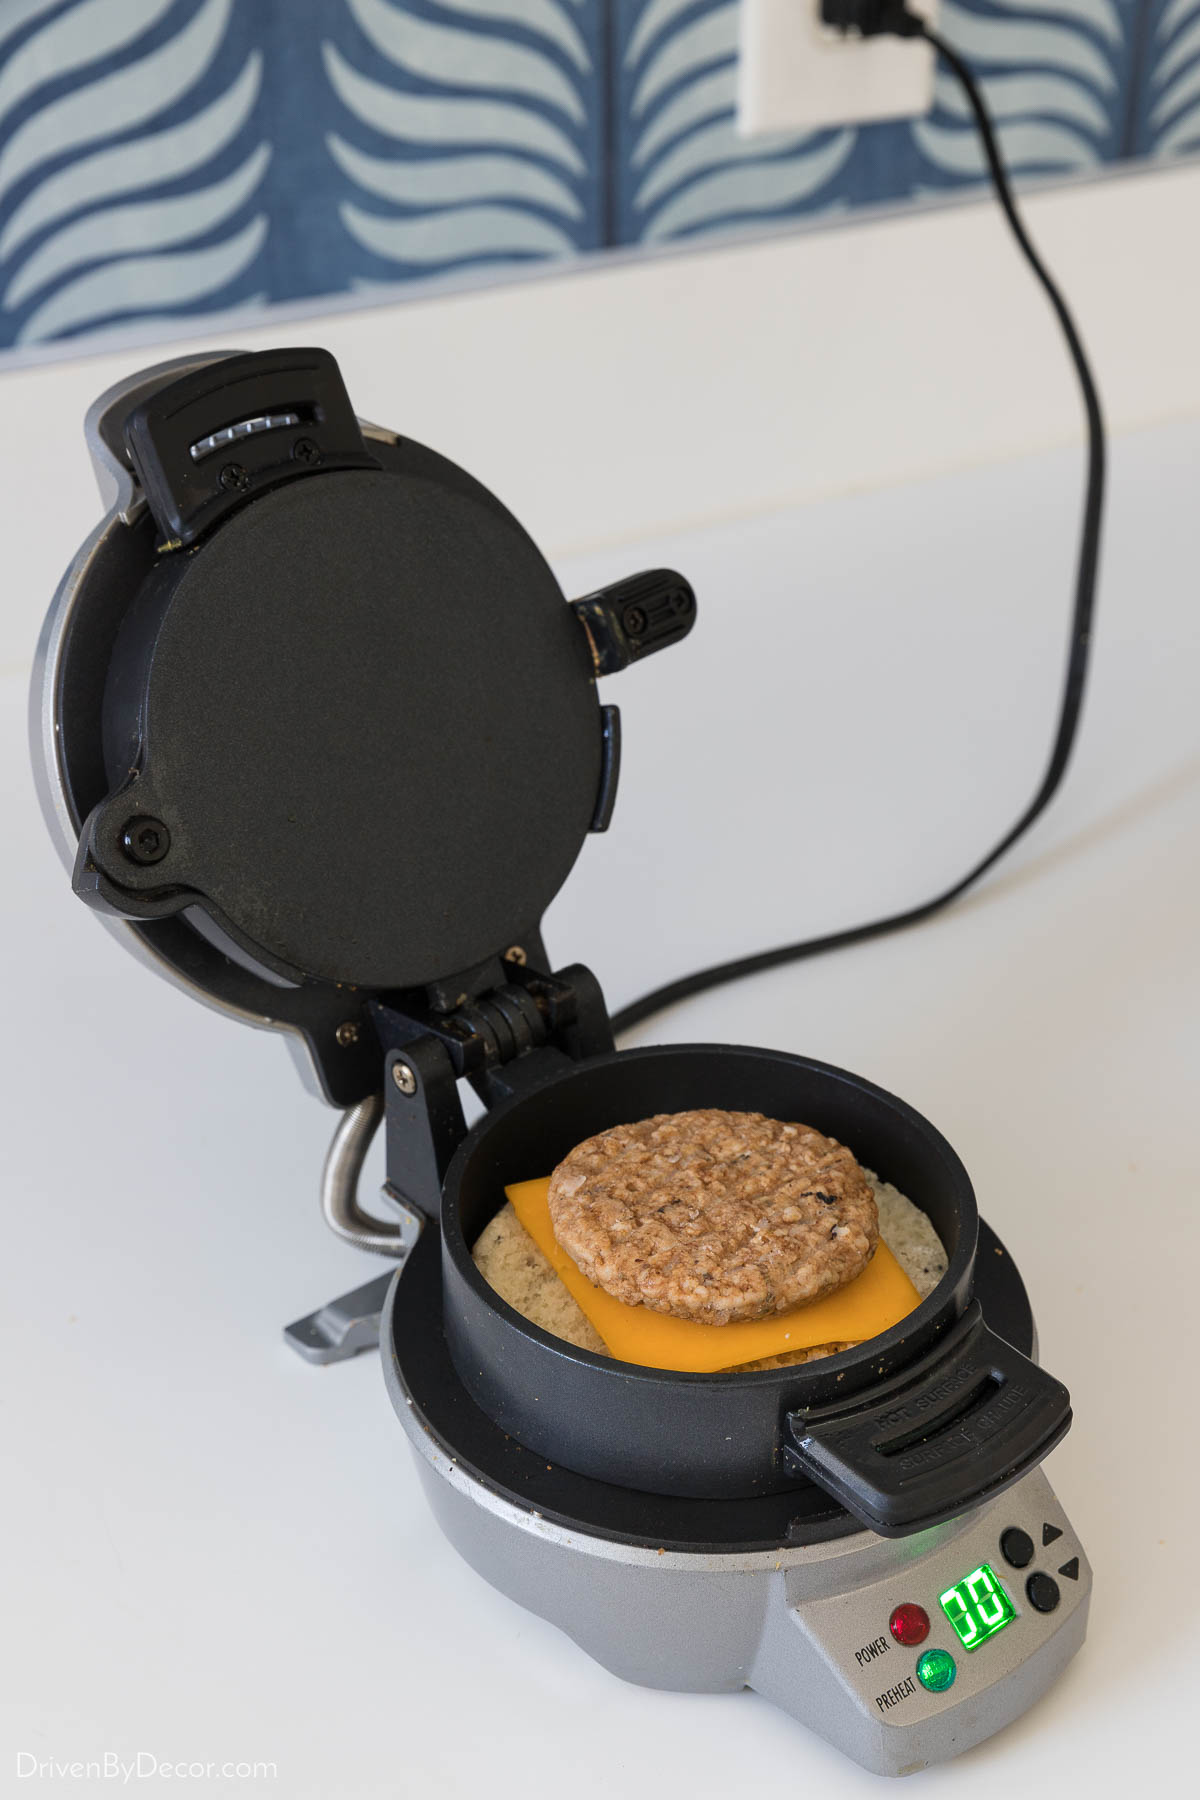
You just pre-heat the sandwich maker and then open it up with just the bottom ring flipped down. We place half of an english muffin topped with cheese and a breakfast meat on top:
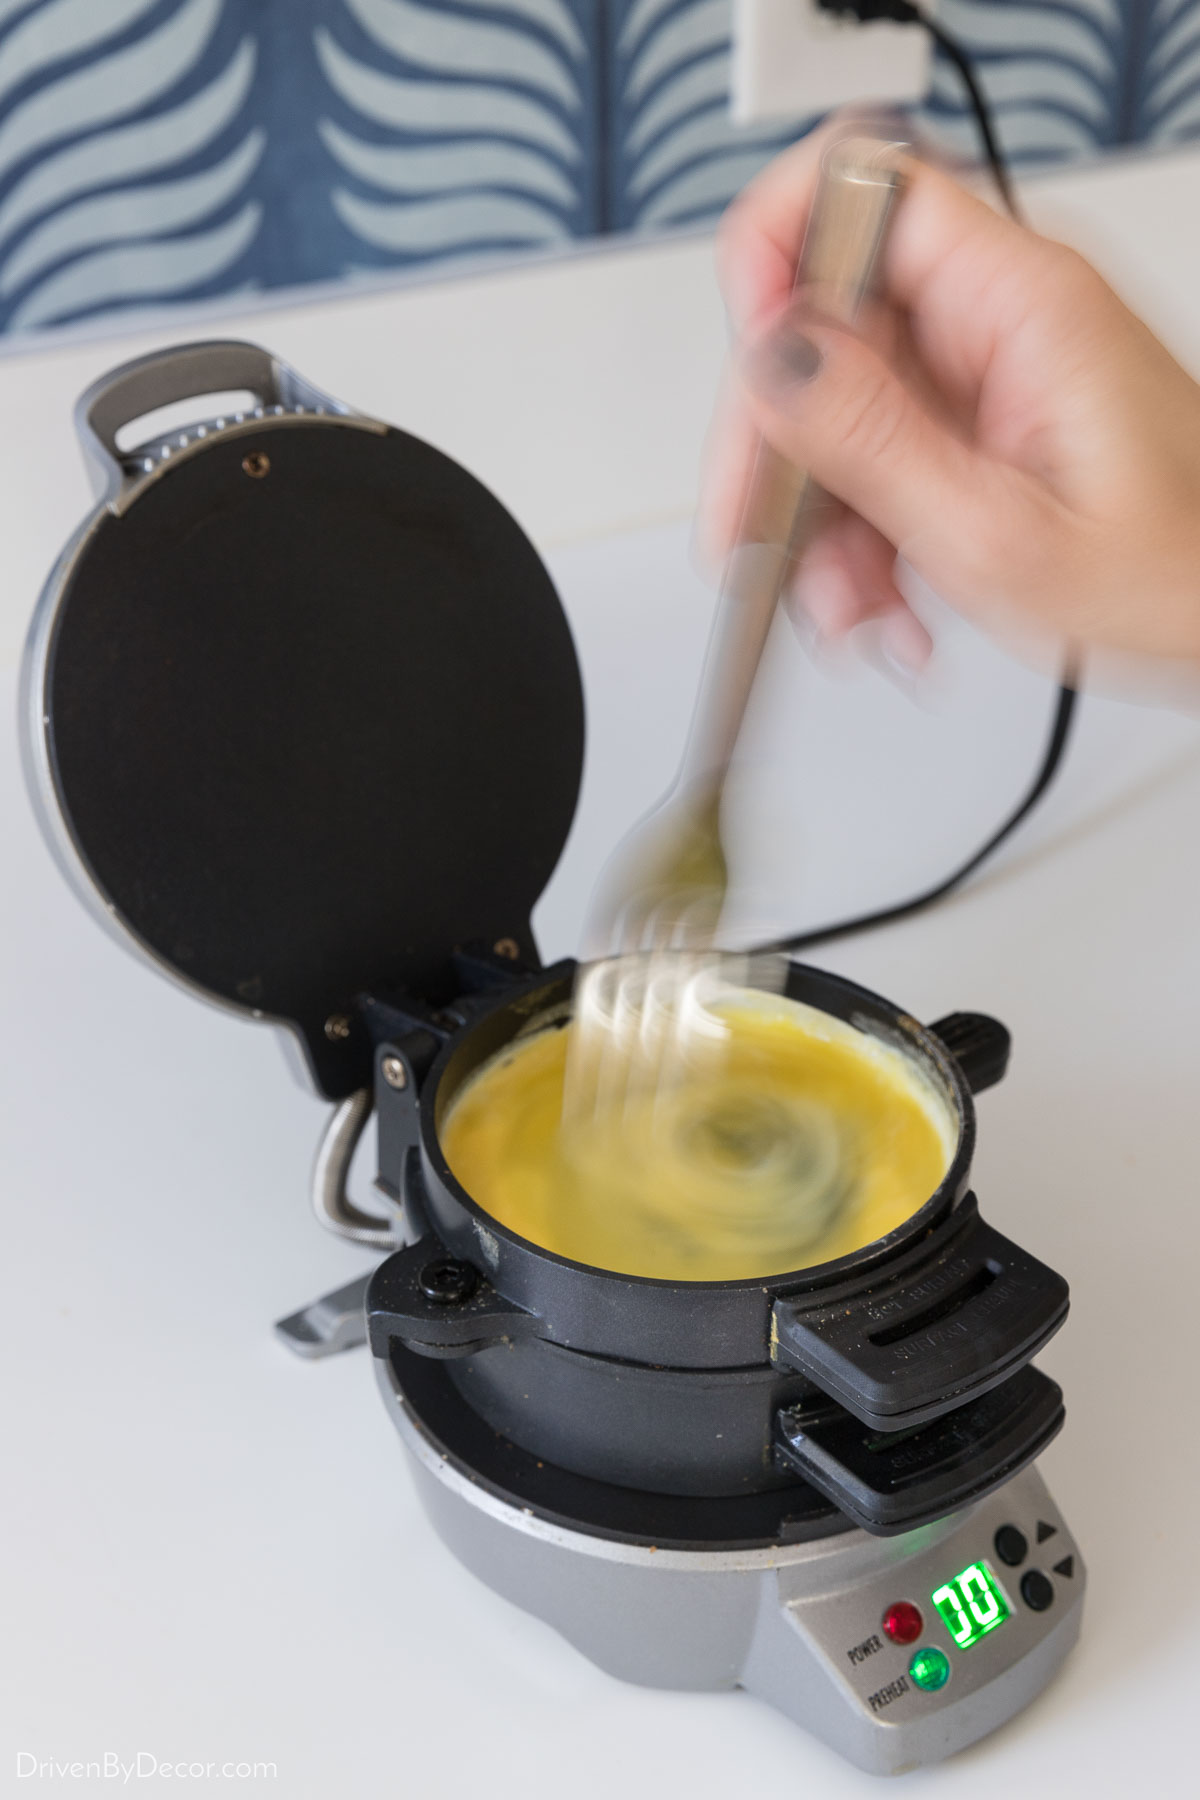
Then flip down the smooth disk and top ring and crack an egg in it (you can cook as-is or scramble it like we do),
top it with the other half of the English muffin and close the sandwich maker to cook. Set the timer for 4-5 minutes and once it beeps that it’s done, you simply slide out the middle plate,
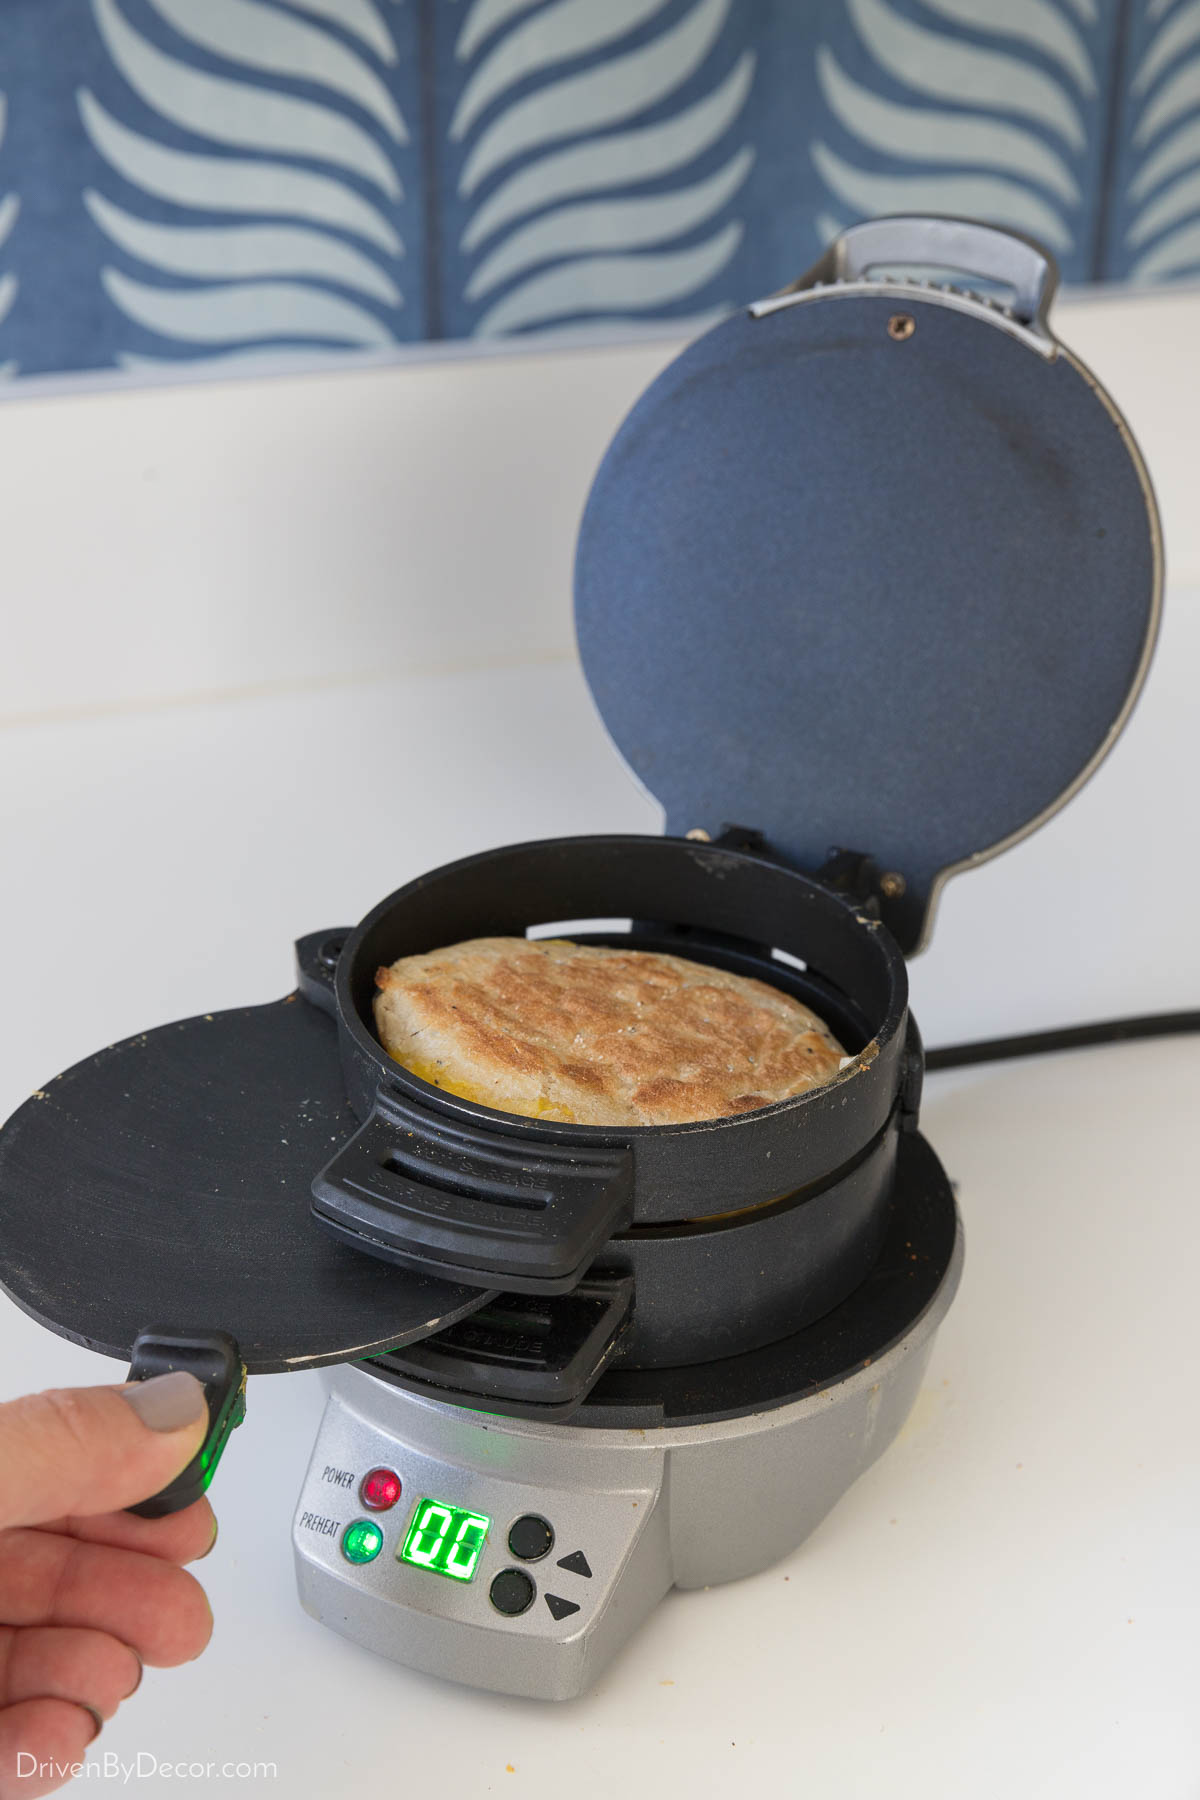
lift up the cooking rings and voila!
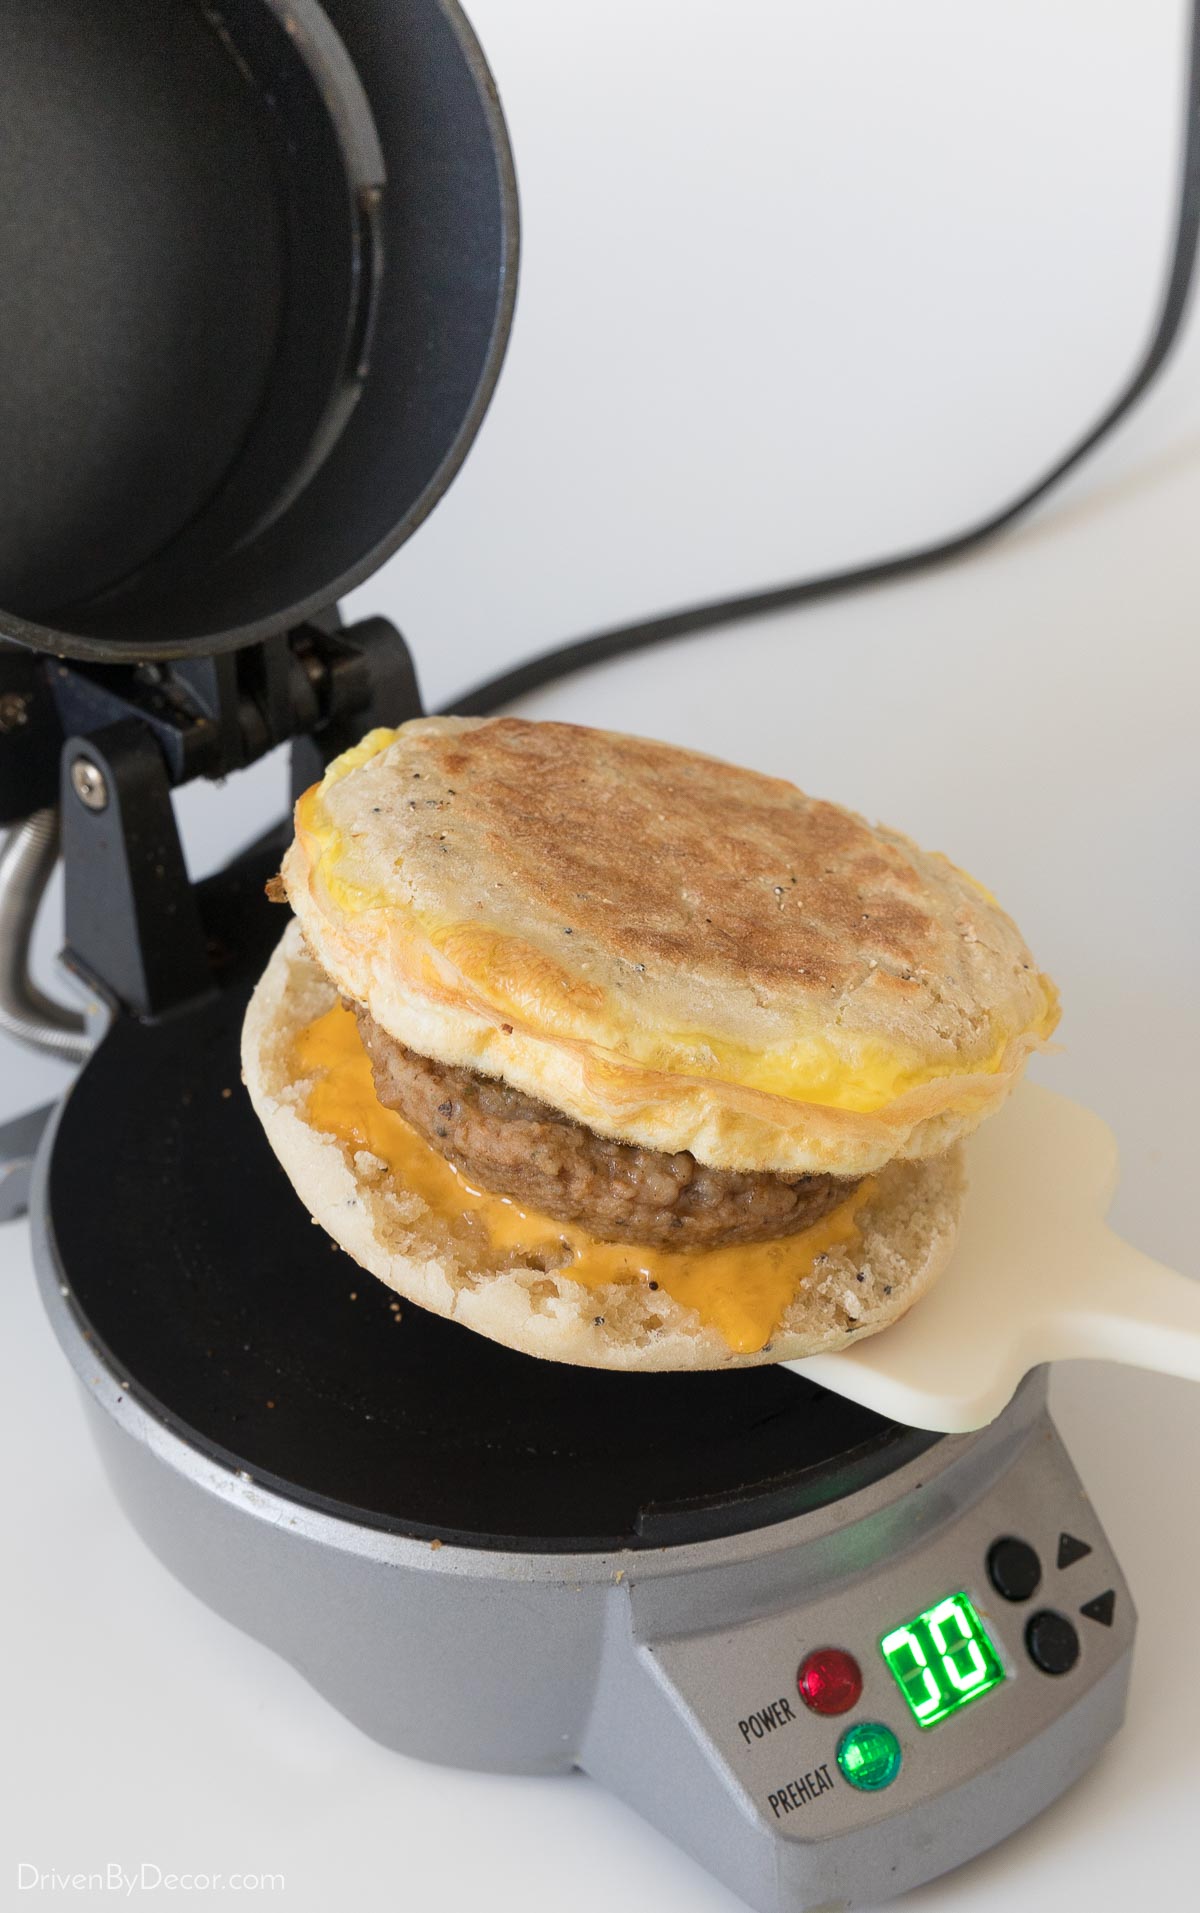
So delicious! You can use any type of bread (croissant, bagel, etc.), make a vegetarian breakfast sandwich by using spinach, mozzarella, and red pepper, or even use it to make grilled cheese or mini pizzas. We have a single breakfast sandwich maker that you can find {HERE} and they also offer a dual maker to make two at a time {HERE}.
5. Pasta & Noodle Maker
Ever since I took a cooking class in high school (Do they even do that anymore? It was so fun!) and we made our own pasta, I’ve wanted to do it again some day. You know, that “some day” when you have all the time in the world that never comes? 😂 I had seen pasta machines that make it easy to create your own pasta from scratch but didn’t want to store an appliance that large. When I saw they now sell more compact units, I was all in (our family LOVES pasta) and ended up buying {this compact pasta maker}.
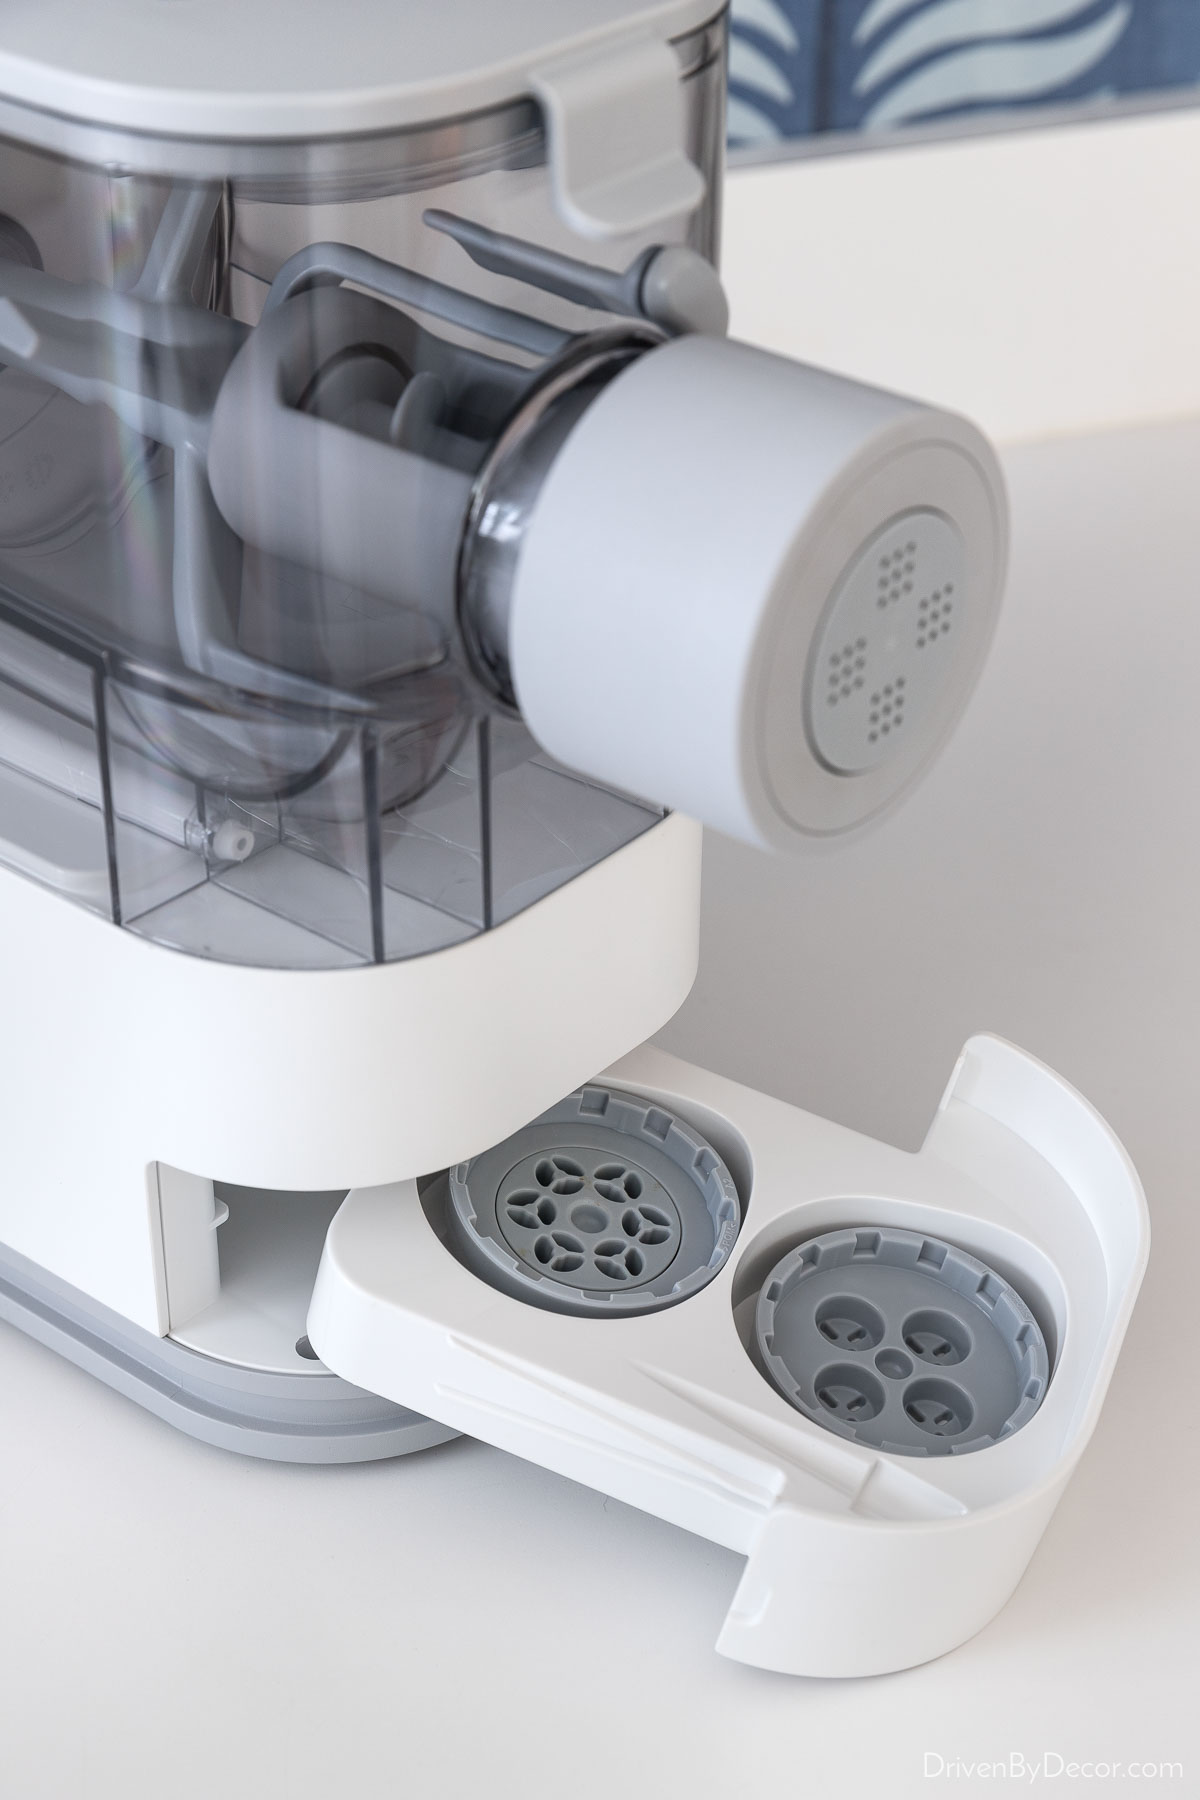
My pasta maker includes three disks for shaping pasta into spaghetti, fettuccine, or penne and a little storage drawer in the front to keep them in:
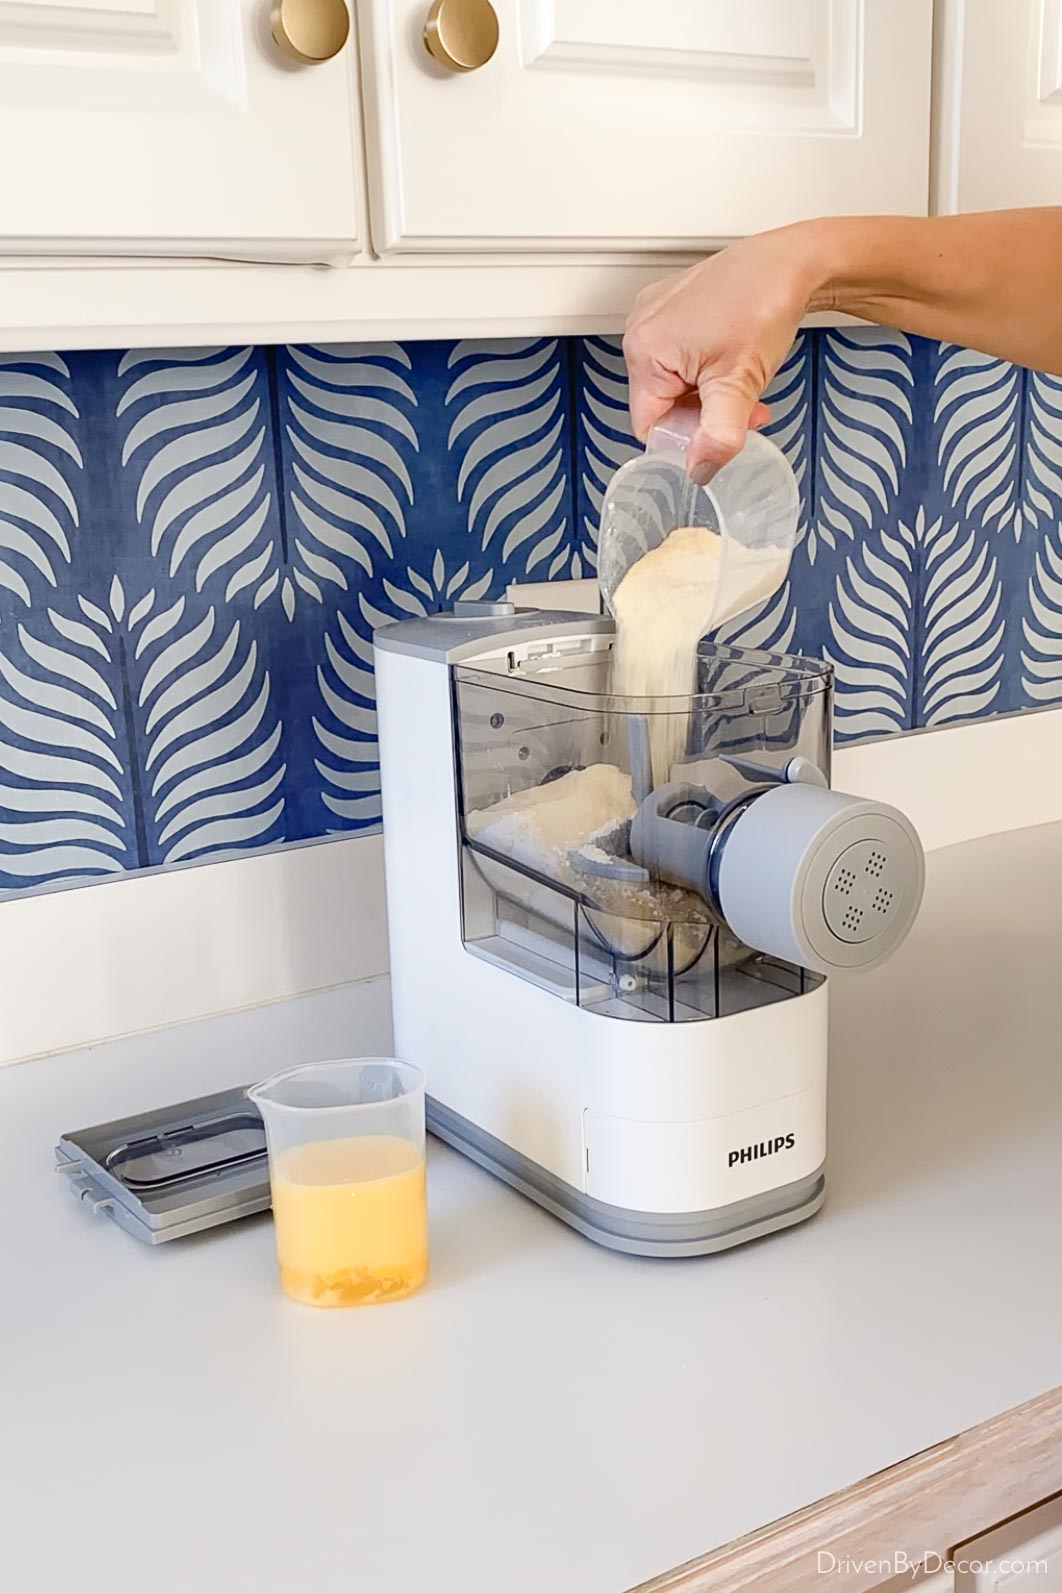
Using the pasta maker couldn’t be easier! You pour your dry ingredients (I used a mix of semolina flour and all purpose flour) into the mixing chamber,
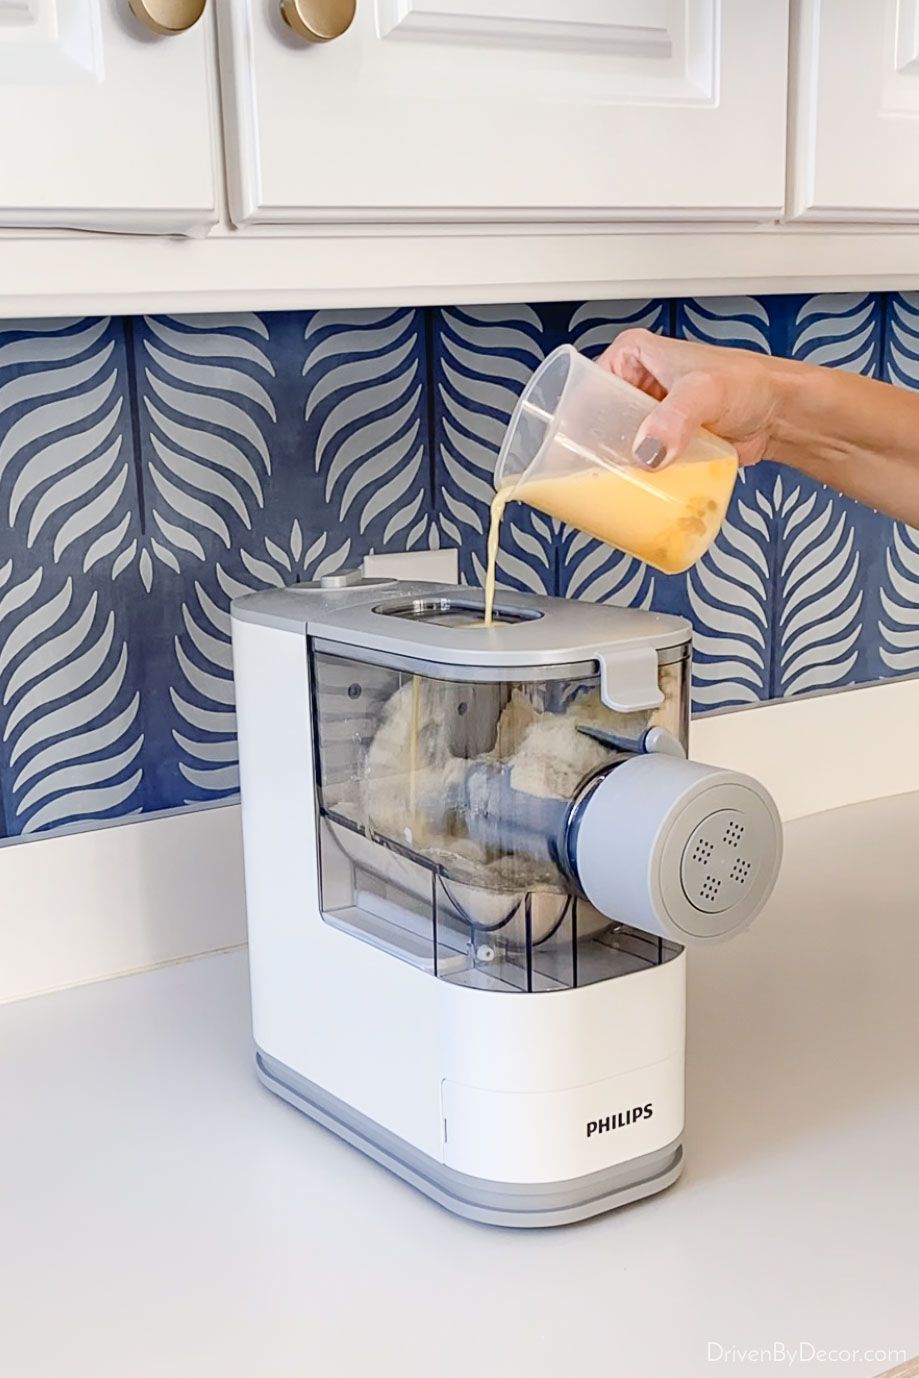
turn it on and slowly pour the wet ingredients (egg+ water) through the slot in the lid:
Then just sit back while it automatically kneads the dough and shapes the pasta! There is something SO super satisfying about watching the pasta come out 😂:
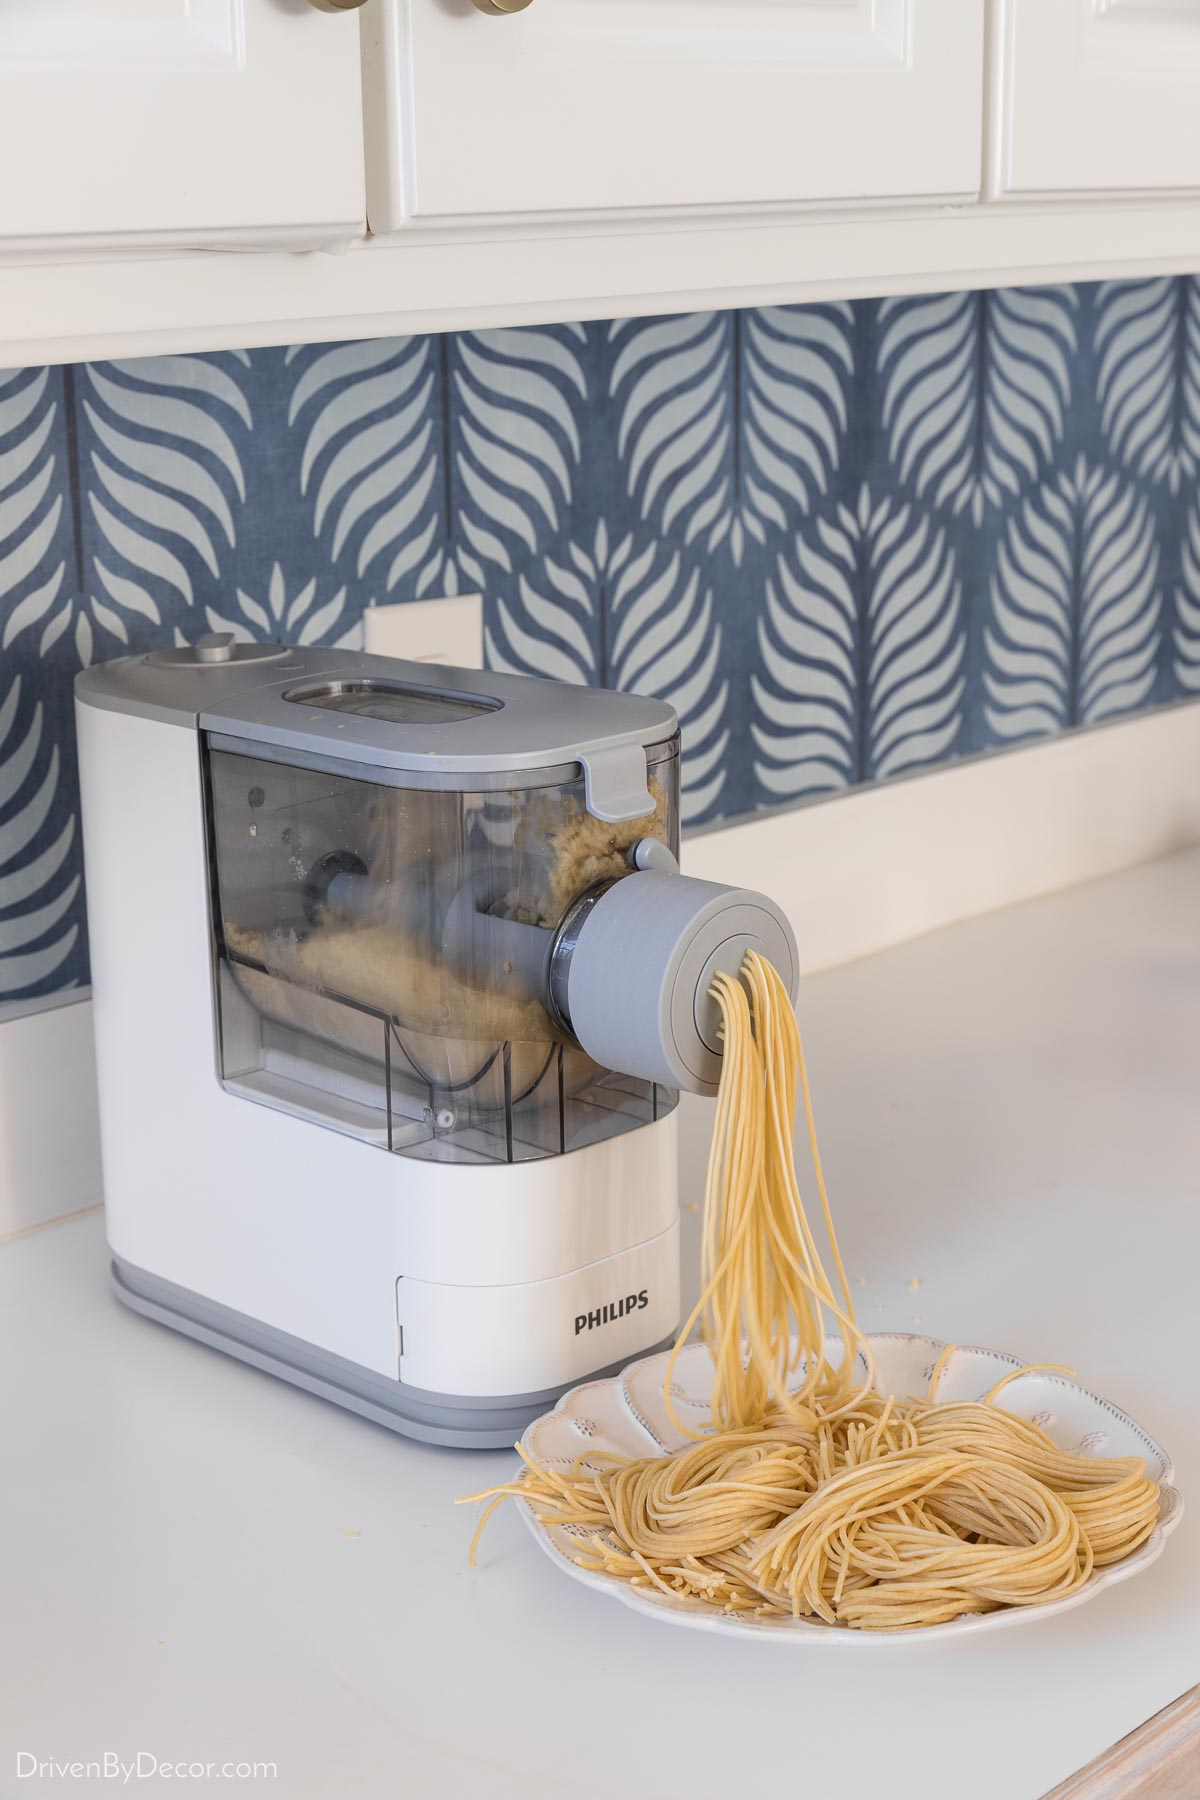
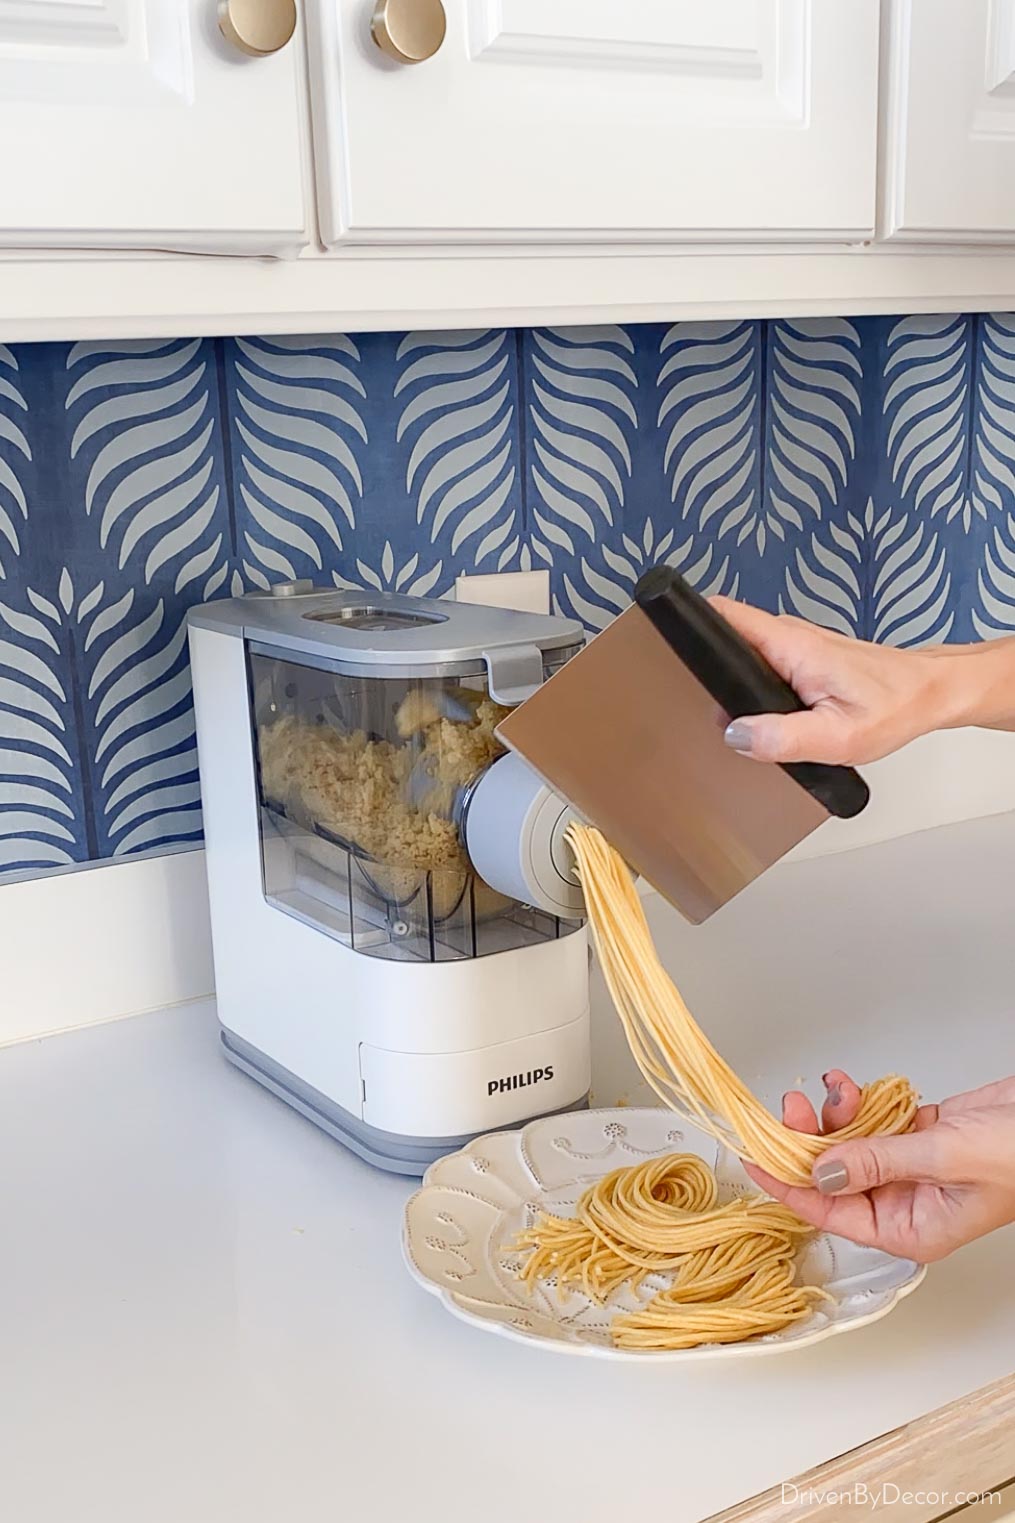
You can cut the pasta after it’s all done or as it’s extruded from your machine:
It takes less than 20 minutes to make a full batch of pasta so if you throw a pot of water on the stove to boil after you’ve added your ingredients to the pasta maker, they’ll both be ready to go at about the same time. A full batch makes this much pasta which for us is 3 generous servings:
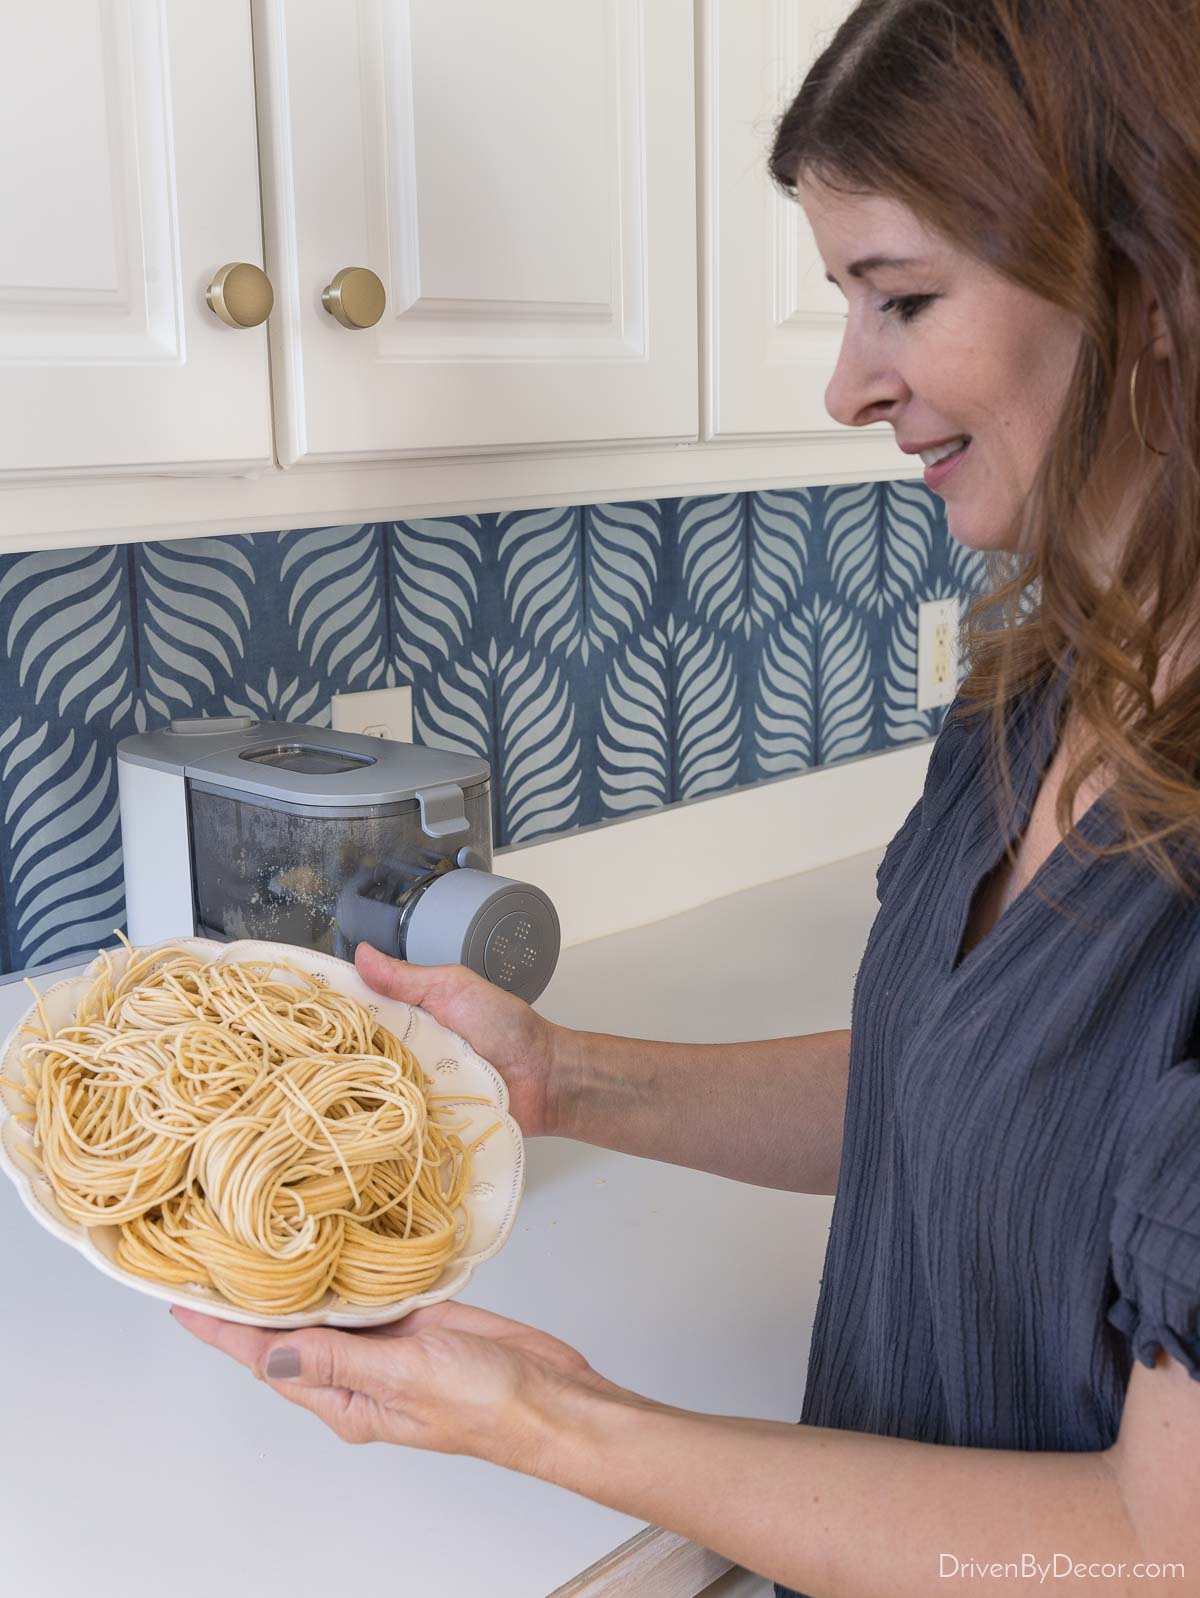
The pasta is delicious! I love that you can customize the type of flour used (including gluten free options) and I can’t wait to try the other noodle options. I also love that all of the detachable parts are dishwasher safe so clean-up is easy. Definitely a win! The one tip I’ll share from reviews I read before using it are to be exacting in your ingredient measurements – I double checked mine on our kitchen scale before adding and got perfect pasta! You can buy my compact pasta maker {HERE}.
I hope you find a new small kitchen appliance (or other product) that you love! Are there any other small kitchen appliances that you wouldn’t want to do without?


