Along with all of the huge changes we made in our kitchen remodel, we made some smaller ones in our adjoining breakfast nook area! The layout of our entire house, including our kitchen is a bit unusual because it’s an old house that’s been added onto several times, all before we bought it. One of those additions is our kitchen breakfast nook that adjoins the main part of our kitchen – do you see that short wall to the left with our ancient thermostat? That used to be the back of the house so we’re lucky that someone had the vision to bust through and add on this additional space!
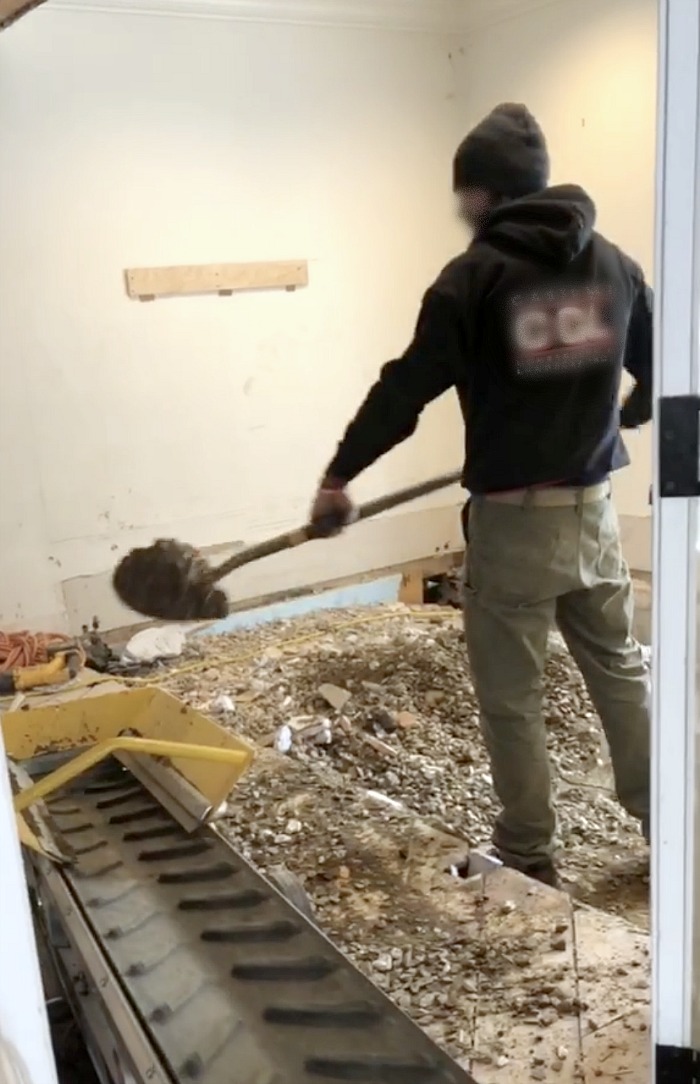
What we weren’t so lucky about is that the flooring of our breakfast nook was never totally even with the flooring of the main area of the kitchen – there was an unlevel row of tile right where the two spaces met that was notorious for causing people to trip. As part of our kitchen renovation we wanted to make the floor of the two spaces 100% even with each other. The domino effect of that wish led to an excavation crew jackhammering out the concrete slab of our breakfast nook and loading the rubble onto a conveyer belt (he’s shoveling right about where our kitchen table goes!):
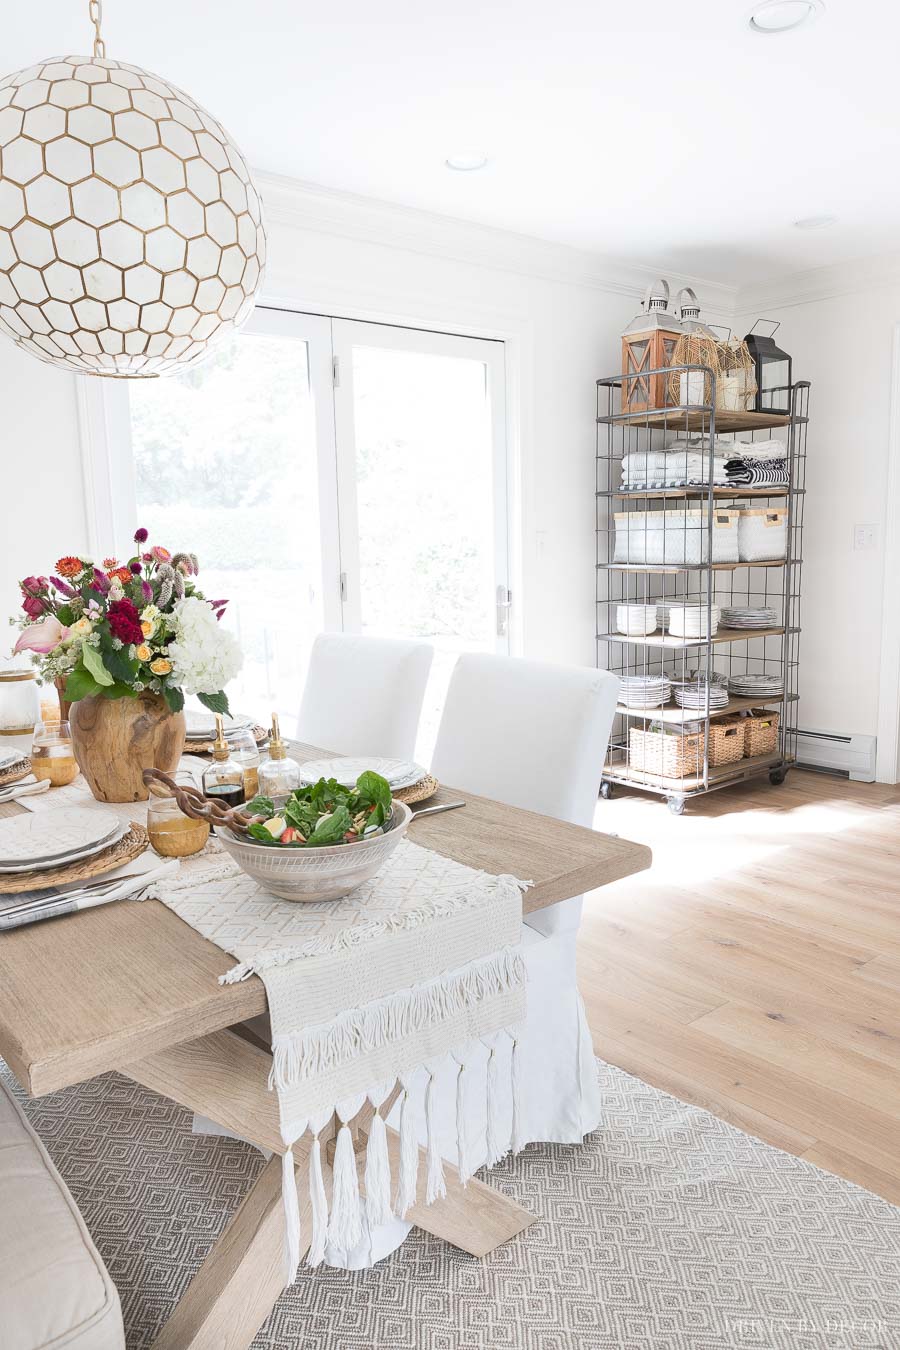
Looking back I’m not sure quite how we made it through our crazy reno but we somehow muddled through and this same view six months later now looks like this:
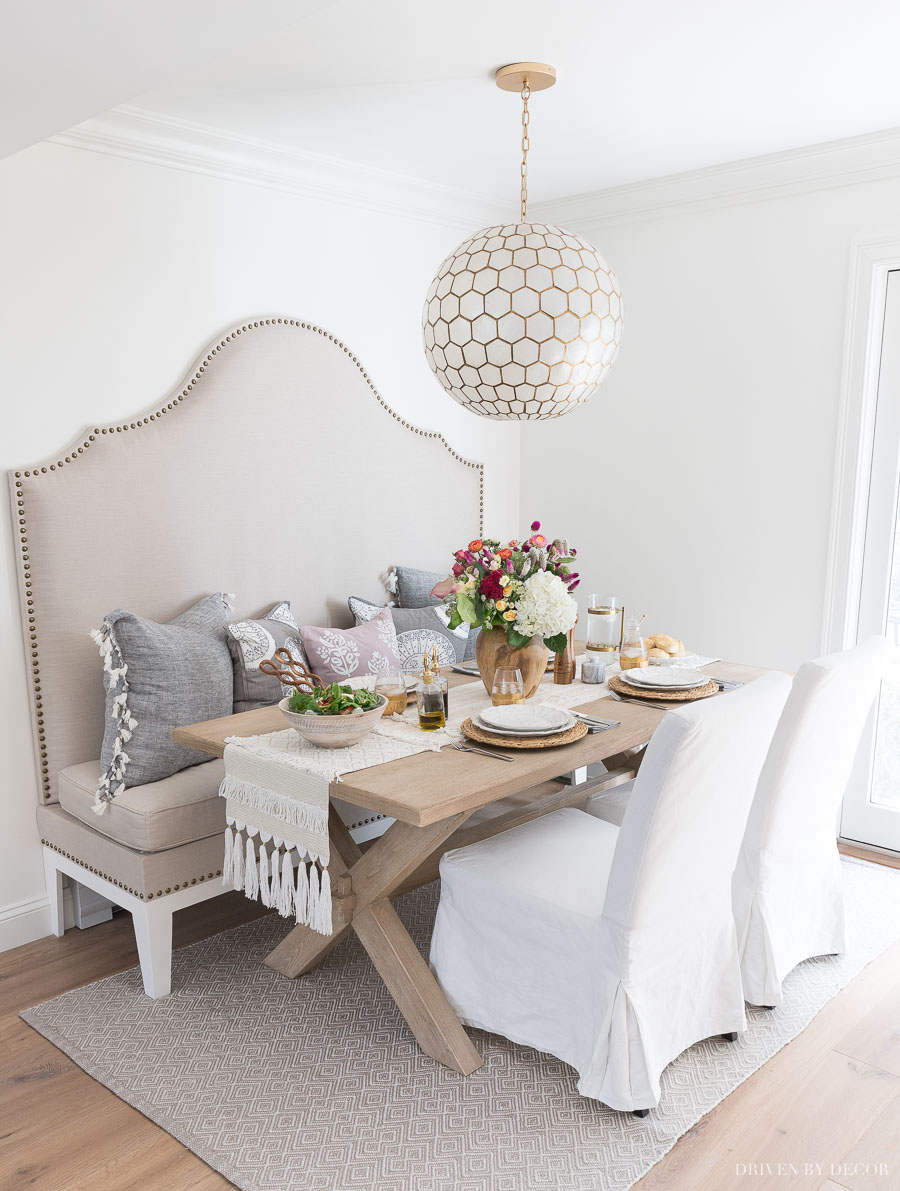
Our floors are now not only level but instead of the red saltillo tile that was previously in this space, we have engineered hardwoods (see my post on our Hallmark wood floors for details!) that run throughout the main area of the kitchen into our breakfast nook (with no spots to trip on!).
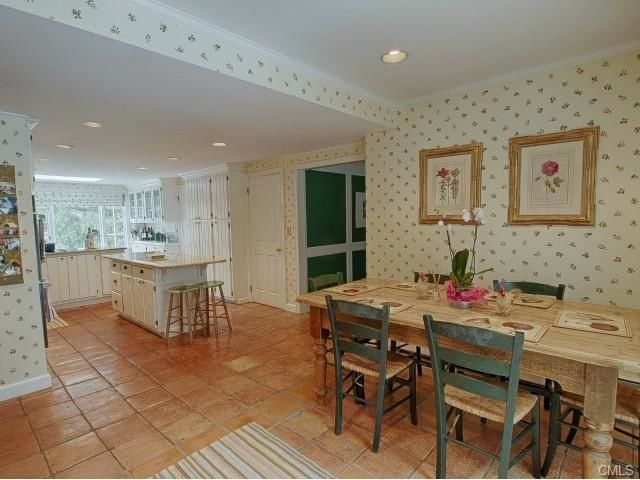
In case you happened to have forgotten what the old tile looked like, this is a “before” pic of both our kitchen and breakfast nook when we bought our house:
We did a little table switch up too! The old table seemed a bit too chunky with the new, more streamlined feel of the space so we sold our previous office desk (my last remaining piece of mahogany furniture – woo hoo!) and moved our old kitchen table into our home office where it fit right in.
I took a long time looking for a new kitchen table since it needed to be a trestle table to work with our banquette and I also wanted to keep the price reasonable – I ended up choosing {this wood trestle table} which works beautifully! I waxed the top of the table as a way to protect the finish without darkening the color of it (see my post on how to protect a wood table for those details):
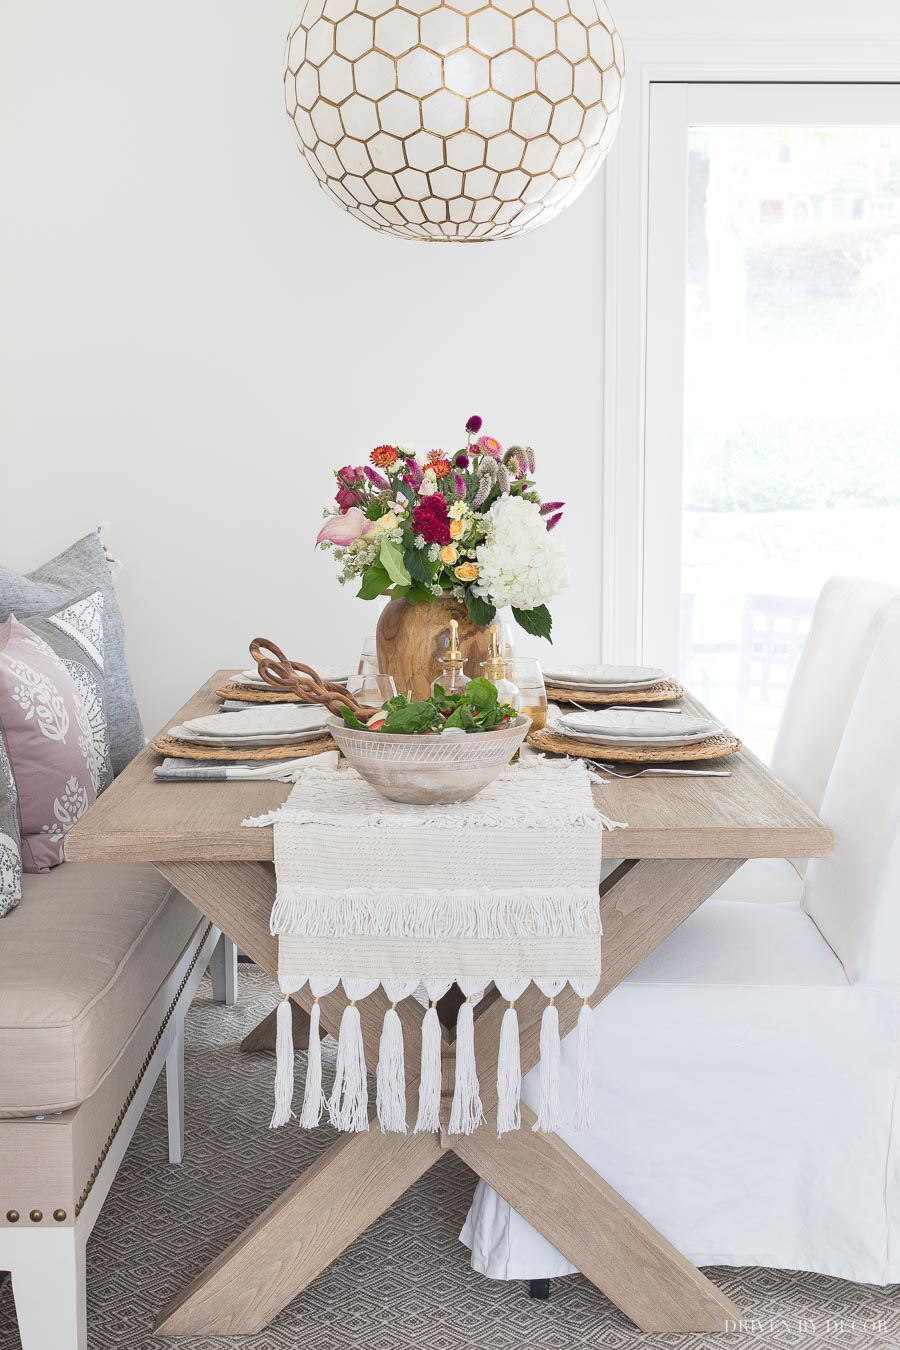
We previously didn’t have a rug under our kitchen table but now that we have wood flooring, it was a little too much “wood on wood” for me. I had fallen so in love with the rug we have by our kitchen sink that I bought it in a larger size for under our kitchen table (I found it {here}). I love the pattern and since it’s an indoor/outdoor rug, it’s super easy to clean when there are stains or spills.
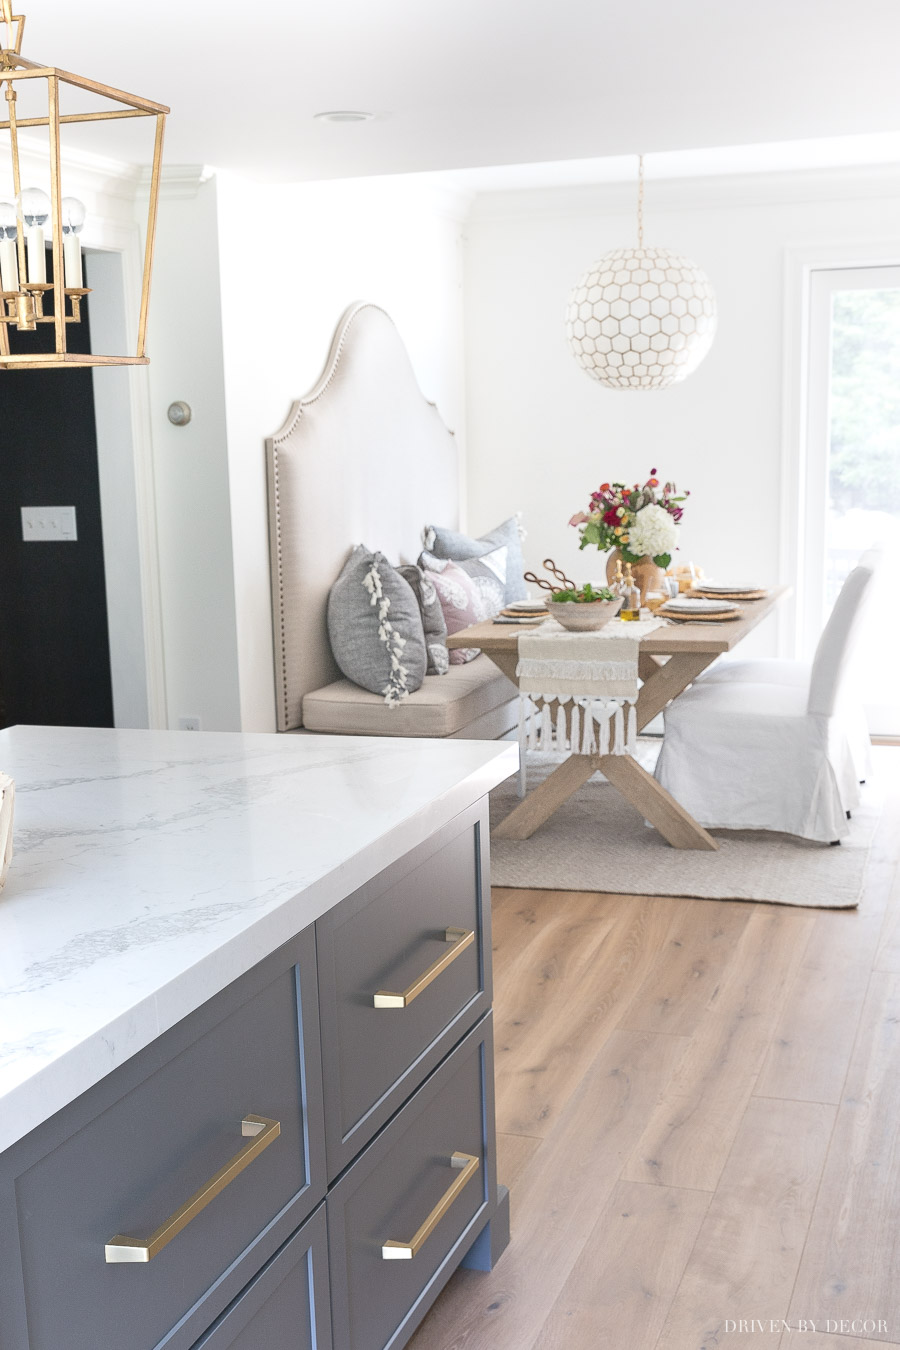
We also added new lighting to our breakfast nook! We previously had only recessed can lighting in this space but during the renovation I had our electrician wire it for a light fixture over the kitchen table. I chose {this capiz honeycomb pendant} c/o Serena & Lily (mine is the 22.5″ D version) and love the look of it and how the gold honeycombs tie in some of our gold accents (including {these gold pendants over our island}, {these pulls} on our cabinet doors, and {these pulls on our cabinet drawers}) in the main area of our kitchen.
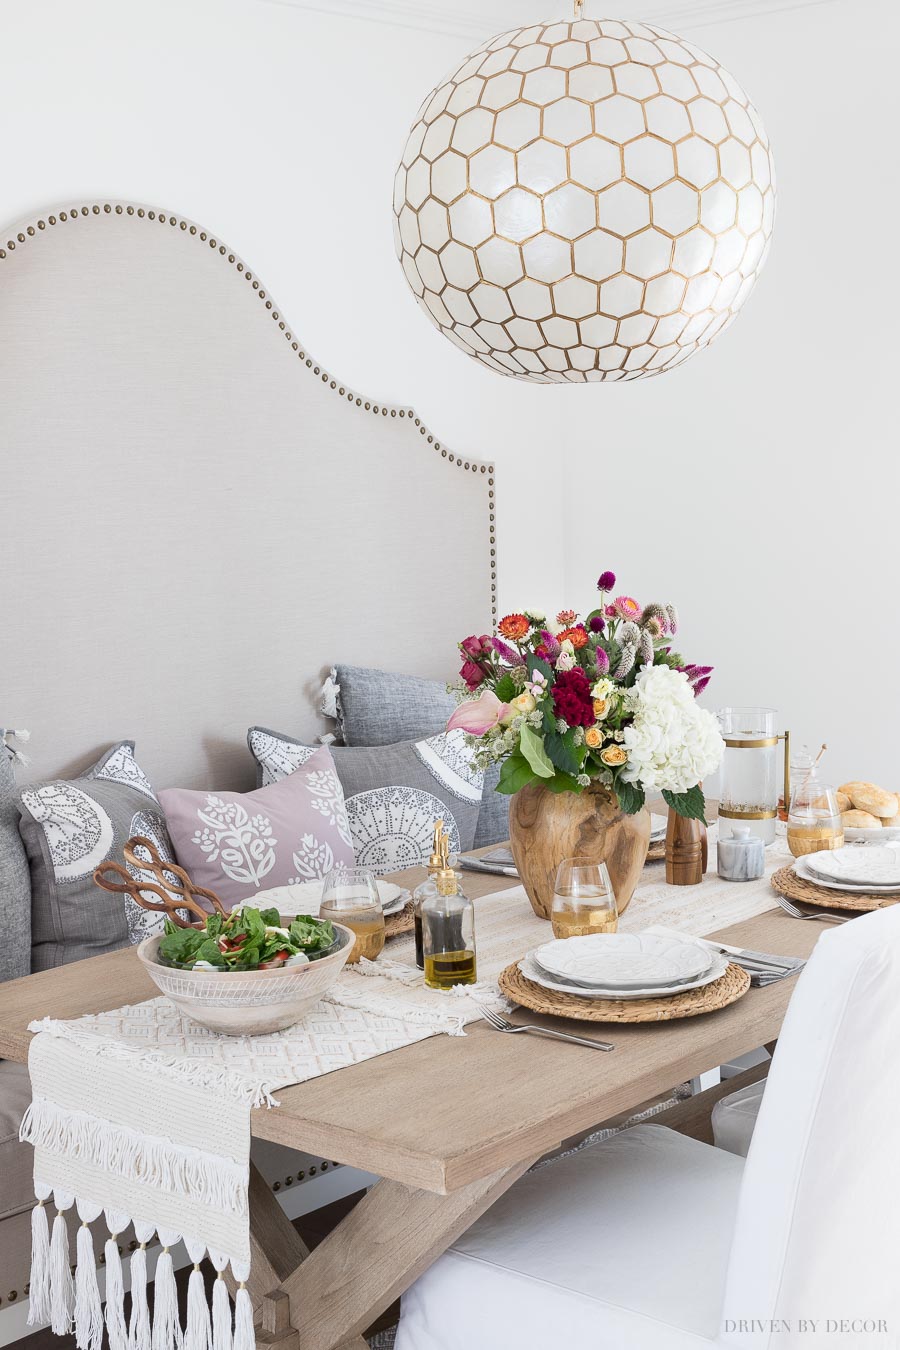
I kept our DIY banquette seating (no way am I changing out that baby after all the work that went into it!) and cozied it up with some new pillows:
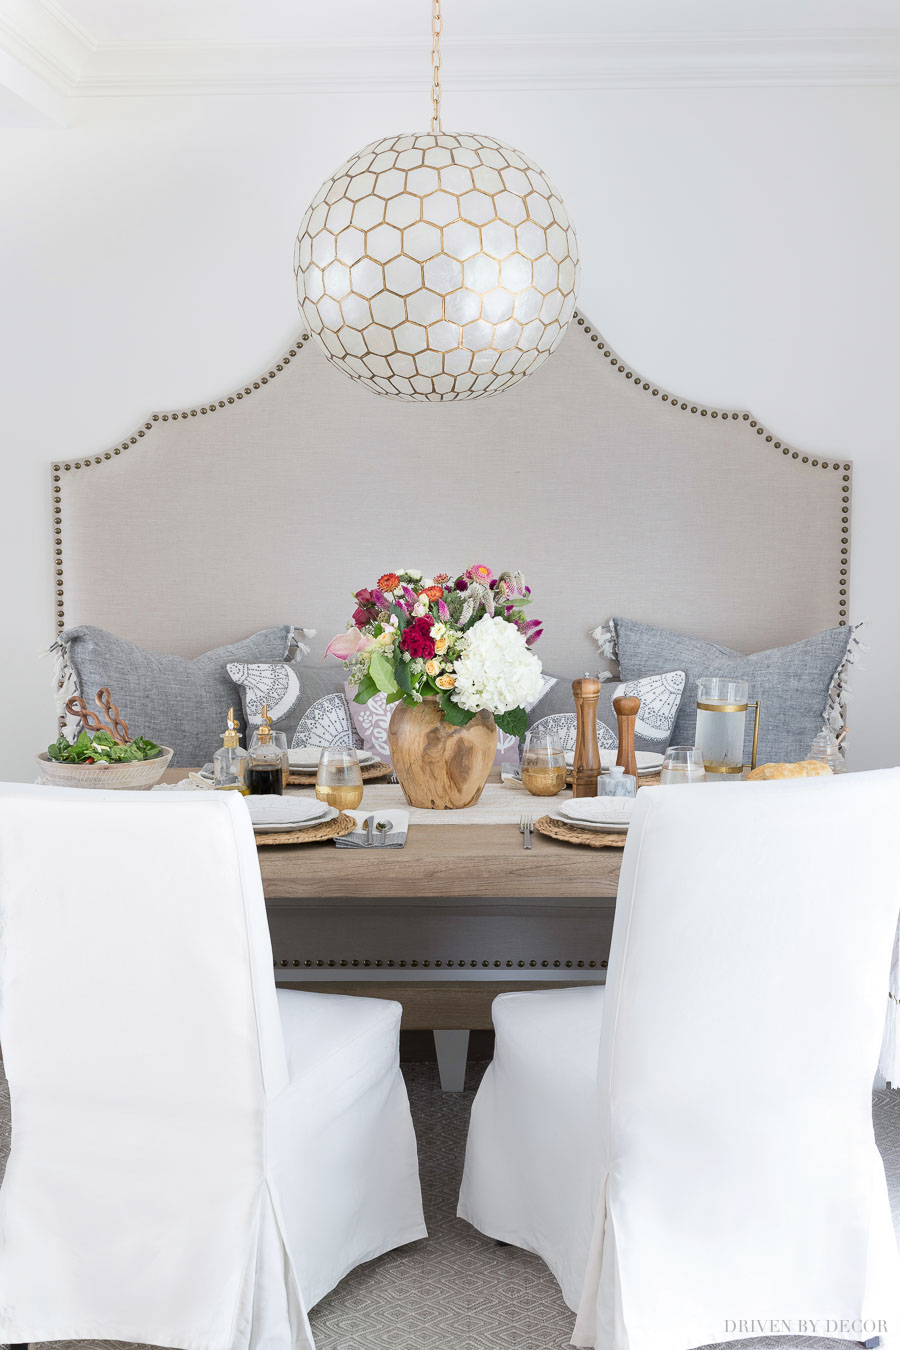
And speaking of our chairs, we have two of IKEA’s HENRIKSDAL chairs with long white slipcovers opposite the bench. Unfortunately IKEA doesn’t carry these chairs anymore but they’re very similar to {these slipcovered dining chairs}.
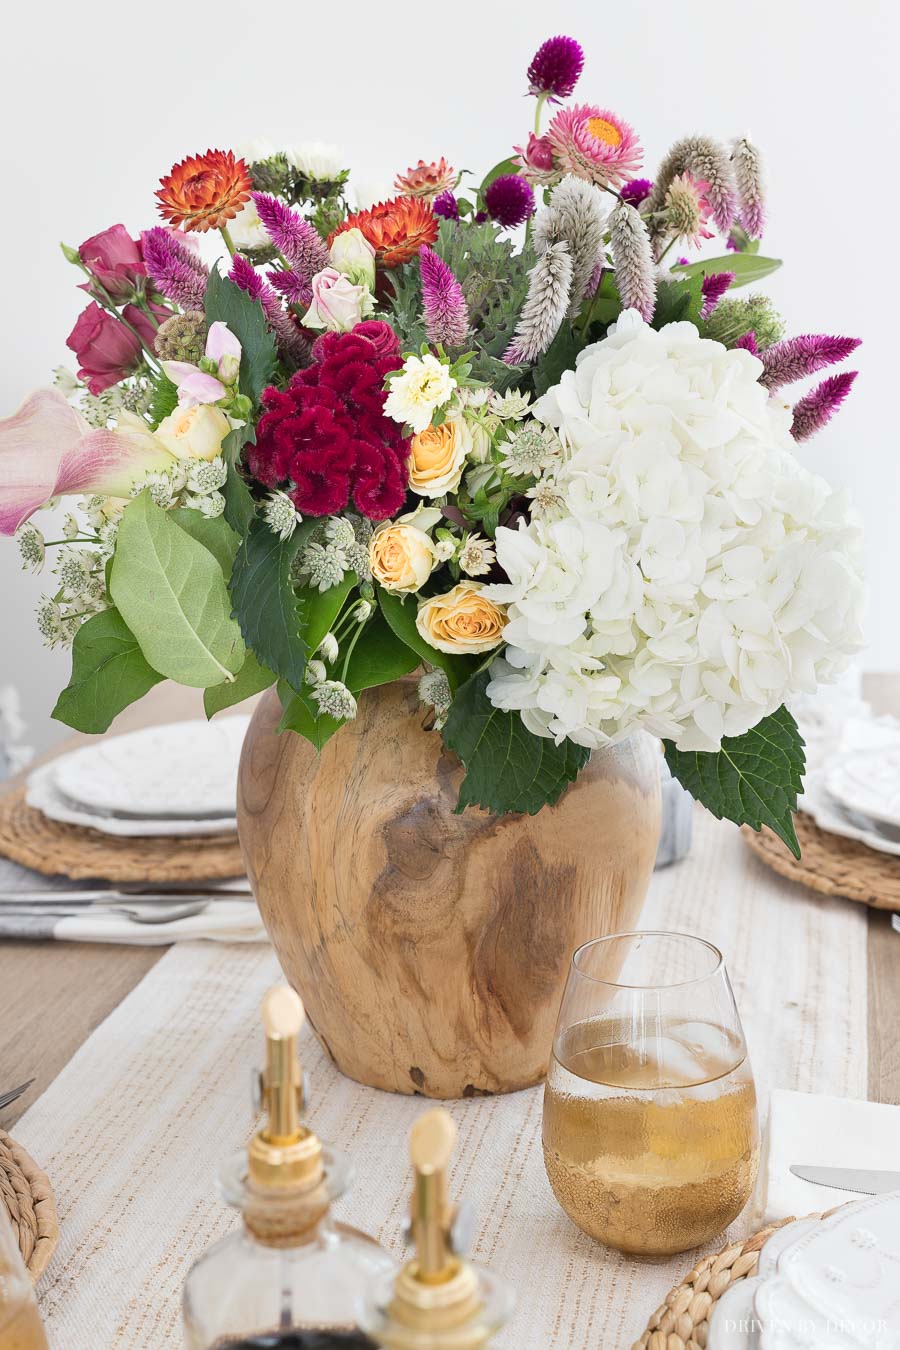
I added a few new accessories to our table too including a wood vase with flowers (these flowers are real but I’ll replace them with faux once they die), and a neutral textured table runner:
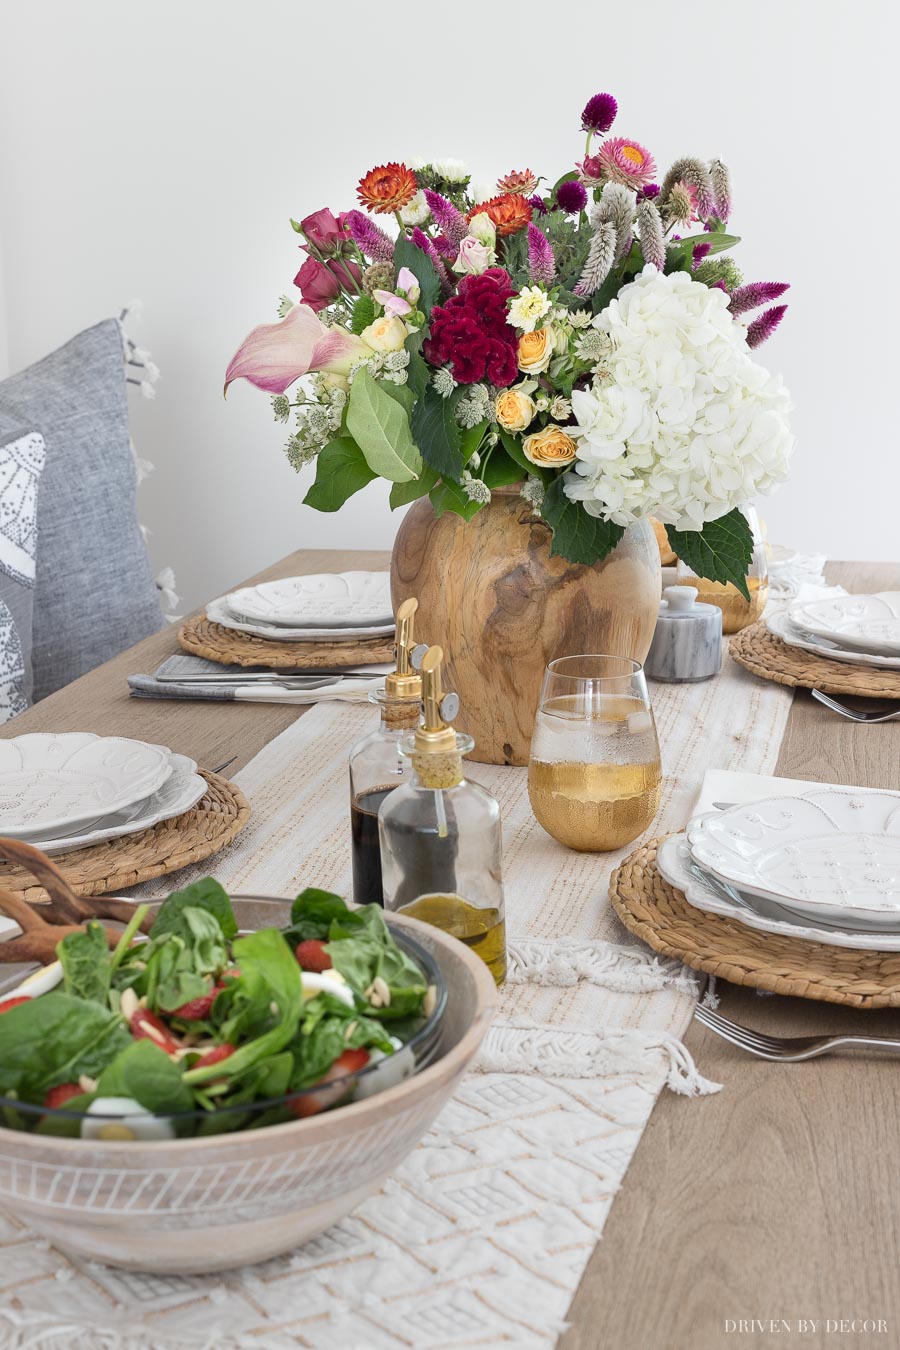
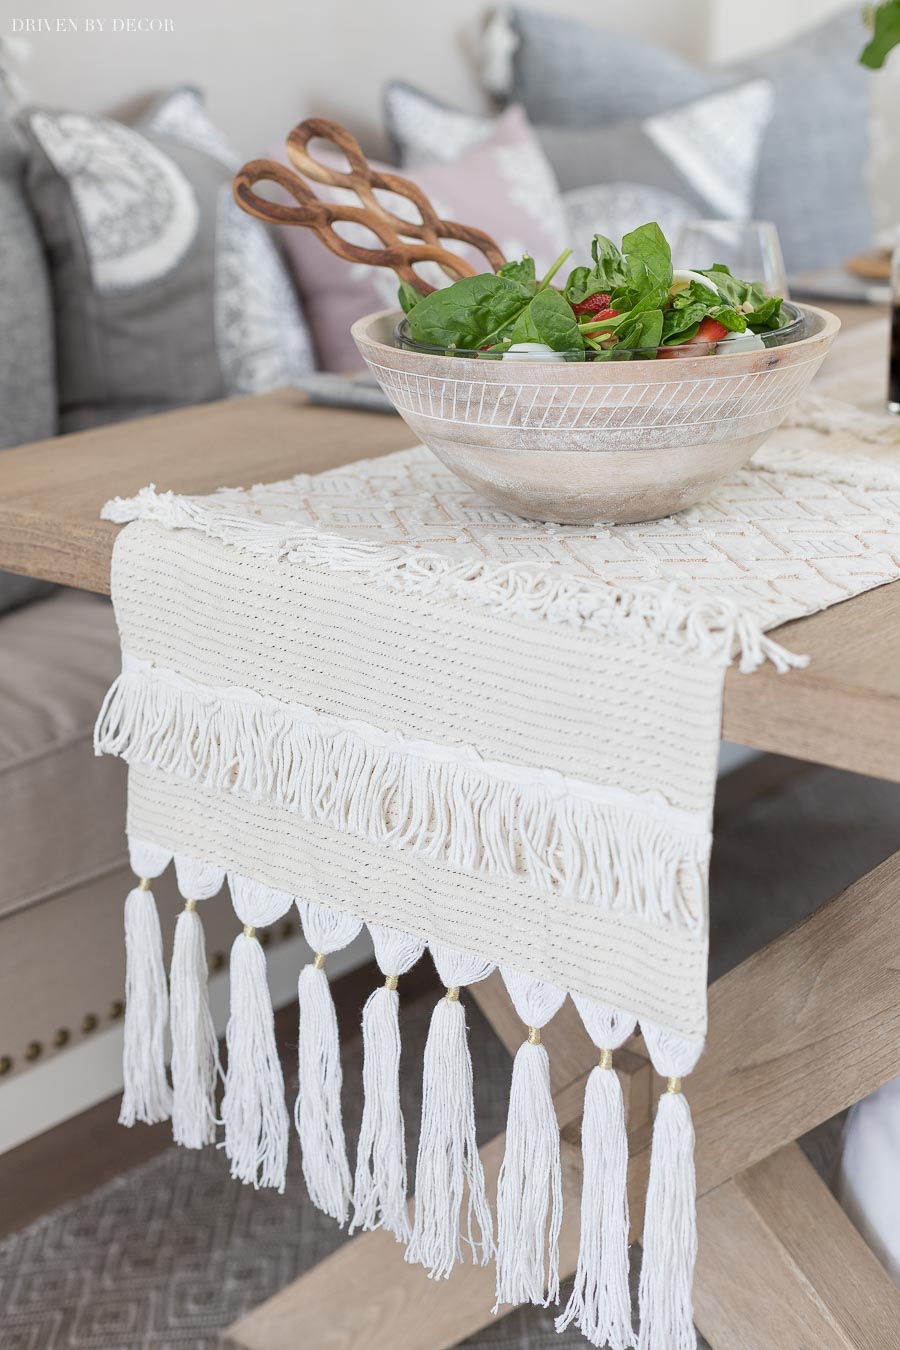
My woven chargers are thrifted but they’re super similar to {these hyacinth placemats}. I love them because their texture makes every tablesetting prettier! My plates are {these Juliska plates} that I scored at their local warehouse sale:

And at the far end of the table is {this glass + brass pitcher} (it’s supposedly a “martini pitcher” but I think it’s a gorgeous water pitcher) and {this honey jar with wood dipper}. We LOVE honey and biscuits!

At the other end of our kitchen, I kept it pretty much the same with our rolling baker’s rack that’s home to the lanterns we use on our patio, extra tablecloths and outdoor throws, some storage bins, and extra dinnerware. I got this rolling rack at the RH Outlet but recently found a very similar, less expensive version {here}.
And one last thing to share with you – our new door hardware (and new door color too)! The door to our garage is off of the kitchen and I decided to paint it to match our kitchen island to help keep the space cohesive:
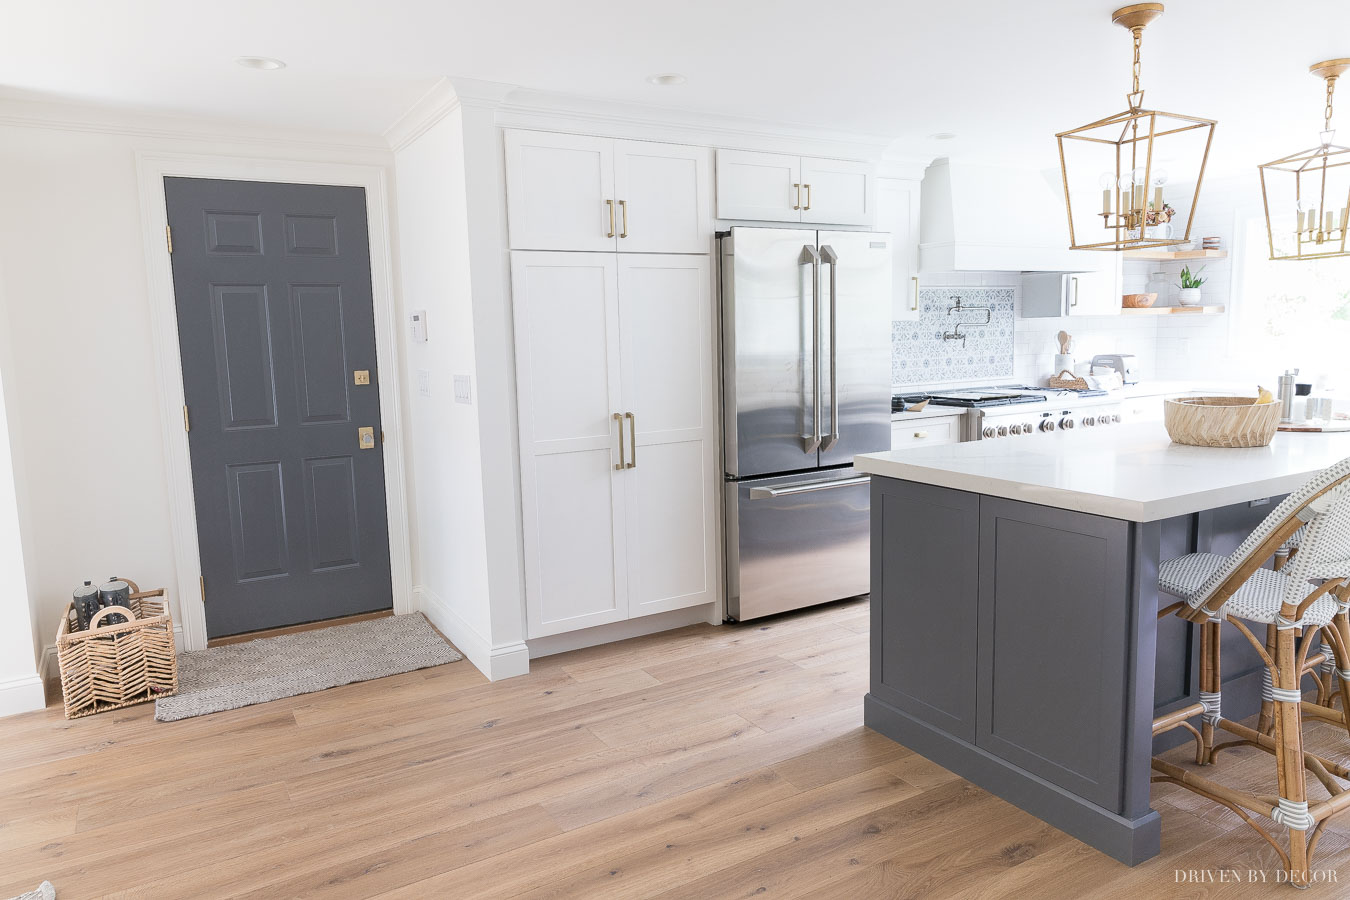
I actually first tried to color match paint to a sample of my kitchen island (which is “Moonstone” – a color option in MasterBrand’s Diamond line of cabinets) and the match was horrible so then I just snagged some dark gray color strips from various brands and Benjamin Moore’s Charcoal Slate looked like a close match so I gave it a try – it was almost a perfect match!
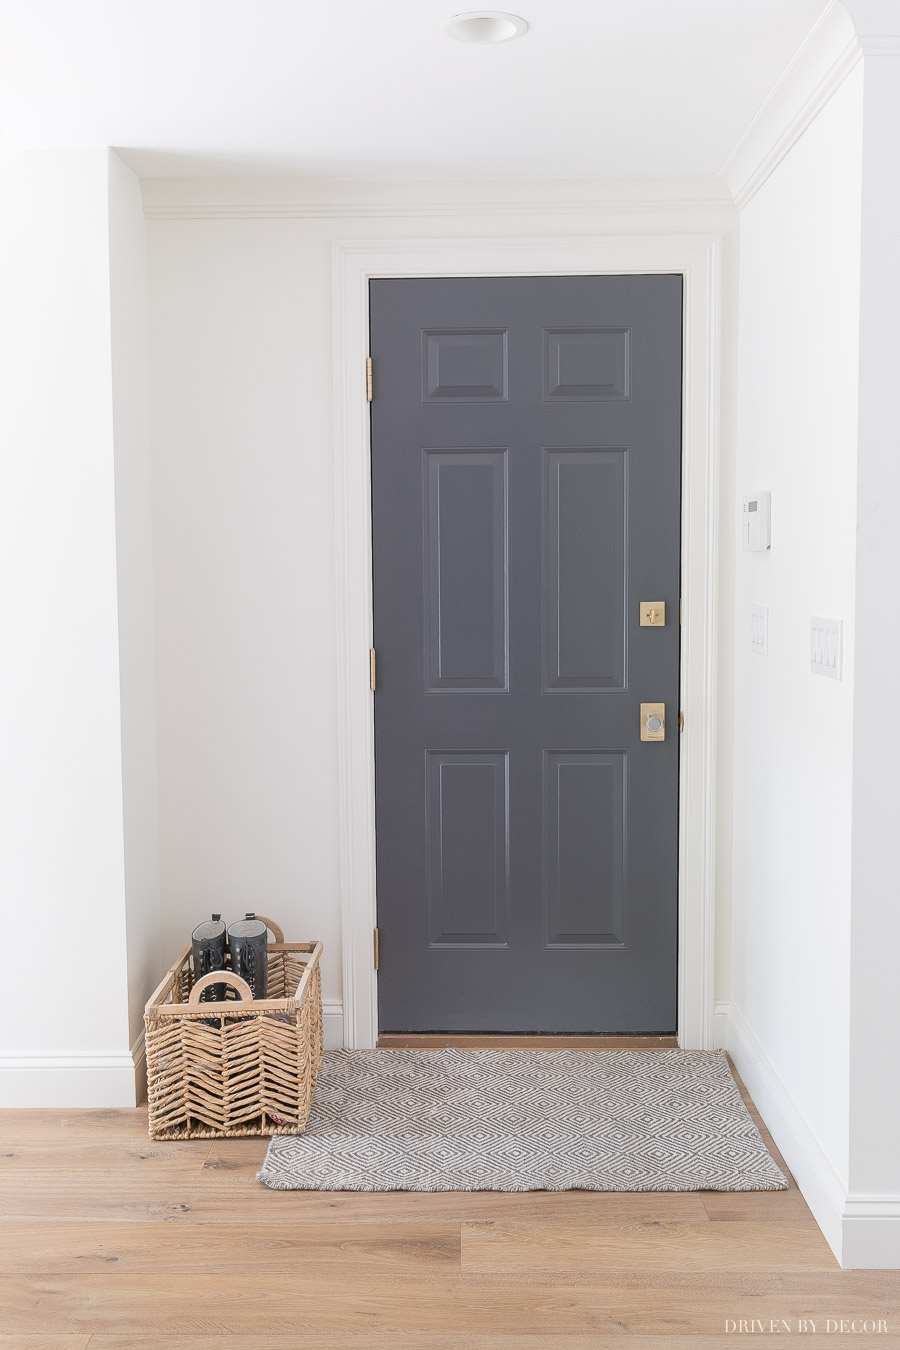
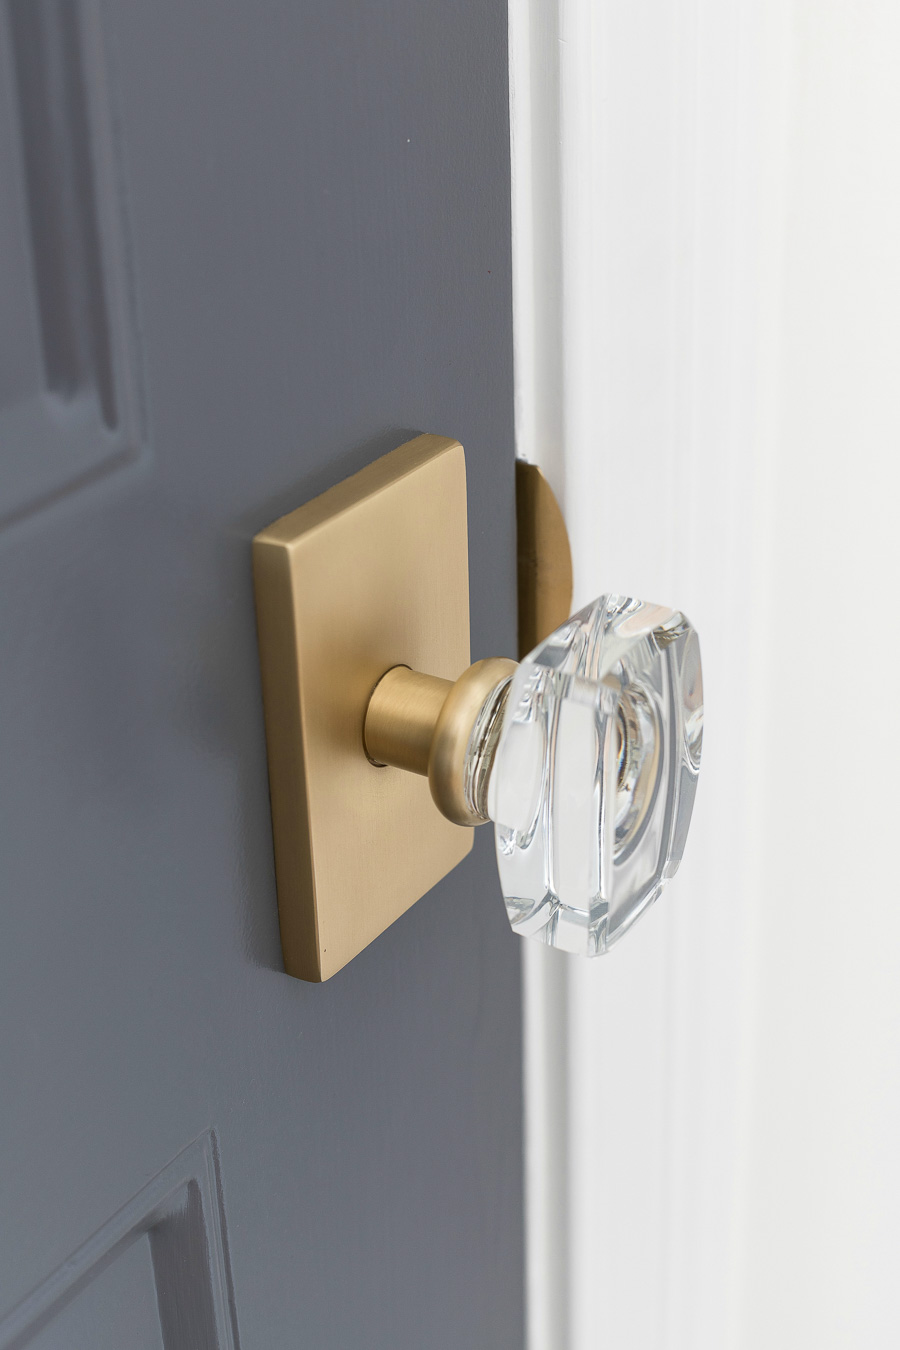
Once I added our new hardware (it’s Emtek’s modern rectangle rosette + modern crystal Windsor knob in Satin Brass available {here} c/o Emtek), I knew it was a gray + gold match made in heaven – love!!!! It’s truly the perfect mix of modern and traditional:
And it looks just as beautiful on my white doors too – this beautiful pair is on my closet doors across from our rolling baker’s rack:
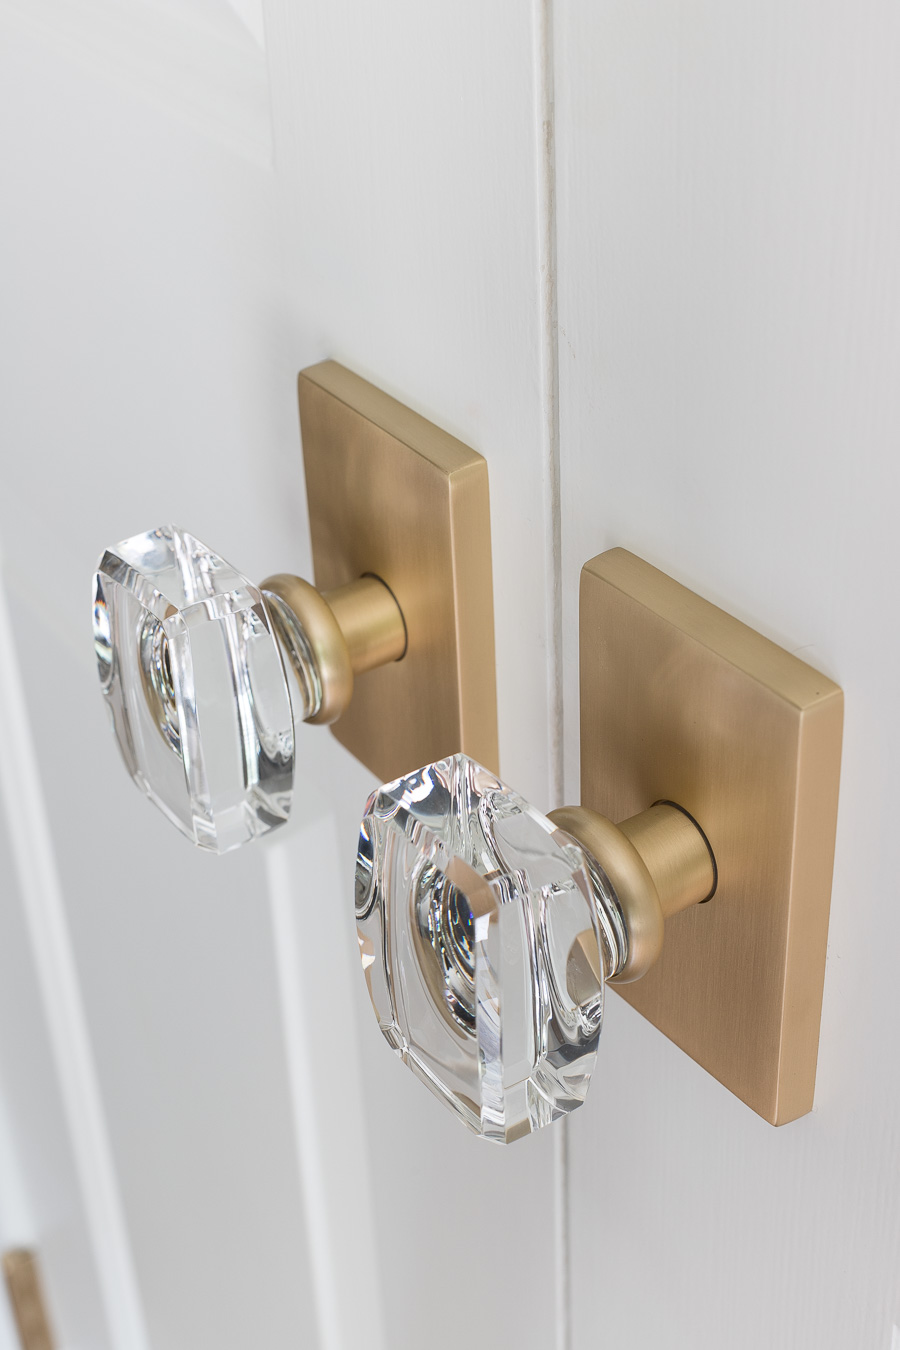
I slowly changed out the door hardware throughout our first floor (which was previously a mishmash of different door knob styles) to this beautiful crystal and brass combination. Couldn’t love it more! That’s a wrap!! Thanks so much for coming over to the blog to let me show you around!
XO,


