Want to know the A to Z of using Annie Sloan Chalk Paint? I’m sharing my best tips for using chalk paint including the best brush for chalk paint, how to use chalk paint wax and more!
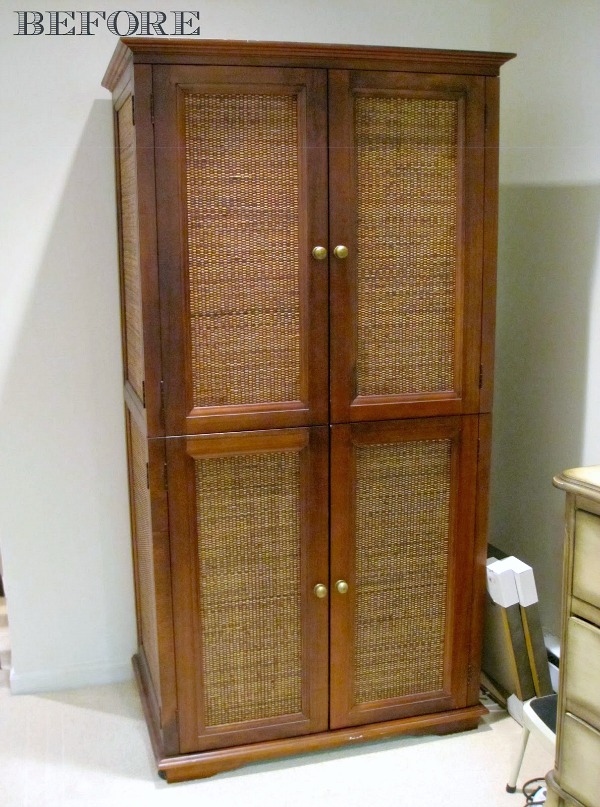
The best way to share how to use chalk paint is to walk you through one of my chalk paint projects! I had been looking for a small gray kitchen table for months without finding what I wanted but then stumbled upon a cream desk that was the perfect size and a great price so I decided to use chalk paint to turn it into the kitchen table of my dreams! The best thing about using Annie Sloan Chalk Paint is requires NO prep work. No sanding. No priming. Nada. Ready to get the details on how to use Annie Sloan Chalk Paint yourself? (post includes affiliate links; full disclosure statement available {here})
How to Use Annie Sloan Chalk Paint
I chose “French Linen”, a dark gray, as my paint color (you can find a local stockist of Annie Sloan Chalk Paint {here}). Using a natural bristle brush, I applied the first coat and quickly saw that it wasn’t going to come anywhere close to covering the old cream color. But no worries because the paint dries super quickly so not long after I was done painting the first coat, it was ready for a second coat. There’s a night and day difference after two coats – you can see the difference here:
Want to save this post?


How to Use Chalk Paint Wax


Next, use a rag to wipe off any sanded bits of paint, wait about 10 ten minutes and buff with a rag. After 24 hours, finish it off with a second thin coat of wax, making sure that you cover the distressed areas well. Finally, go over the table one final time with a rag to smooth out the wax and wipe off any excess. The next day, use a rag to buff the wax to a nice shine – done!:

Best Brush for Chalk Paint & Wax
 Using Annie Sloan Chalk Paint, it’s now one of the most gorgeous pieces in our home:
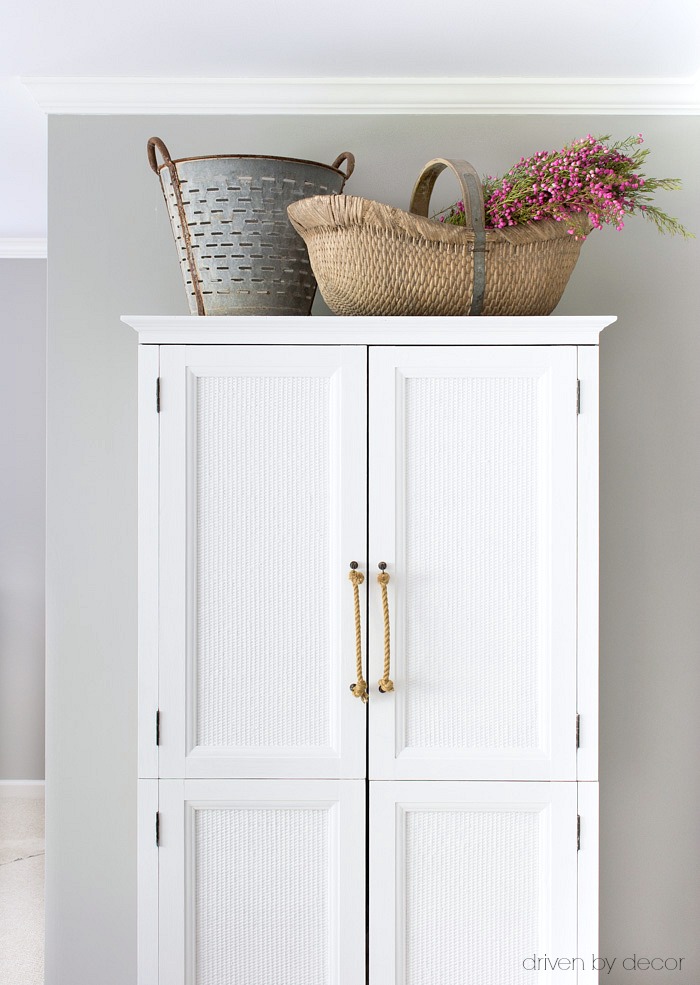 You can see more of it in my tour of our guest bedroom {here}.
One last piece of advice for using Annie Sloan Chalk paint is to have fun! The beauty of painted furniture is that it doesn’t have to be perfect. Having some imperfections is part of a painted furniture piece’s inherent beauty so have fun with your project and don’t sweat it if the final result isn’t totally perfect – it shouldn’t be.


Stacy Fine says
I’ve paint a few pieces, and wouldn’t think if using any other paint. Like you no prep work, and I love them eayccc. I find it so relaxing, and painting furniture like this helps with my anxiety. The pieces I’ve painted are not perfect, but I love them that way, and the imperfections add character. Also, I’ve saved a lot of money making my home nice and crazy. I’m in the process of redecorating one room at a time, and I’m so thankful to any other tips you can send my way. Thank you for taking to share.
Alison says
It’s nice to know that you can get tips and hints when undertaking on a project
Mary says
We are painting a dark brown faux woodgrain shelf unit white. We just finished the 3rd coat and it still isn’t fully covered. And we have brush marks, even though we are using a high quality expensive brush. We have used an entire quart so far. Any advice? Help please! Thank you!
Mary says
We are painting a dark brown faux woodgrain shelf unit white. We just finished the 3rd coat and it still isn’t fully covered. And we have brush marks, even though we are using a high quality expensive brush. We have used an entire quart so far. Any advice? Does rolling it on ever work? Help please! Thank you!
Maria Gilbertson says
Can I use a small roller for painting my dresser with chalk paint
Kathy says
I have a large two door metal office cabinet w some dents. Will the paint cover the dents where u dont see tgem?
Nancy J Flemming says
I am thinking yes if you use one of the textured techniques like rustic or textured finish even colour distressed finish should help camoflague the dent. I learned these in an Annie Sloan Chalk paint workshop. Also you might tap out the dent by holding a block of metal on the inside against dent and gently tapping from the outside with a hammer (like the autobody mechanics do). Good luck with your project.