I love coming up with new decorating ideas every Christmas but I have a few traditions that I repeat year after year, including the Christmas swag on our front door. When we first moved in, I clipped some evergreen branches from the tree in our front yard, berry branches from the back yard, looped on a trio of bells and a bow and the tradition was born! I not only love that I’m able to put it together using branches foraged from our own yard, but also that it’s easy to make (simple Christmas decor is my favorite!) AND budget friendly.
Let me show you how it’s done so you can make a Christmas swag for your own front door too! (post includes affiliate links – see my full disclosure statement {here}).
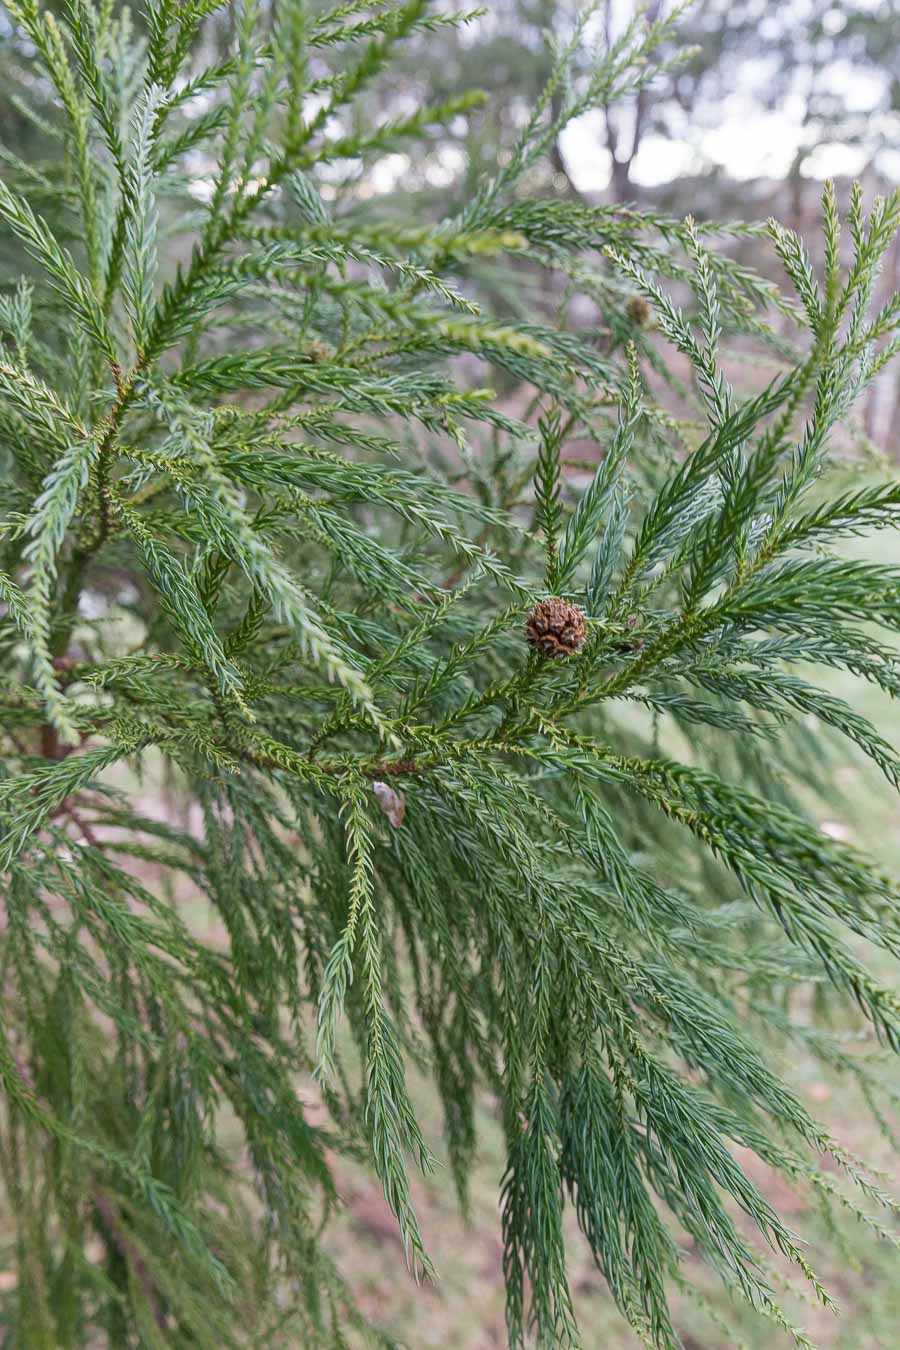
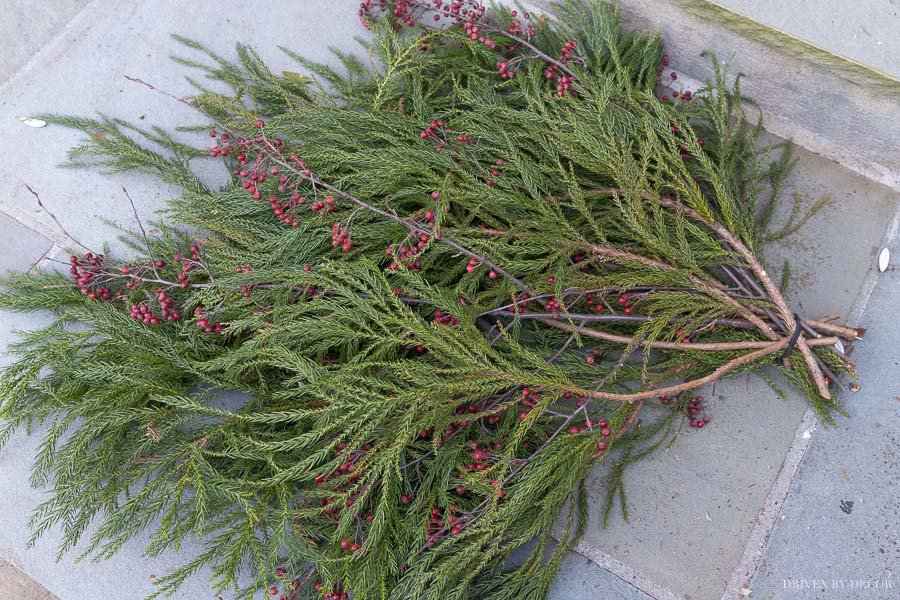
1. Gather Greenery & Berry Branches
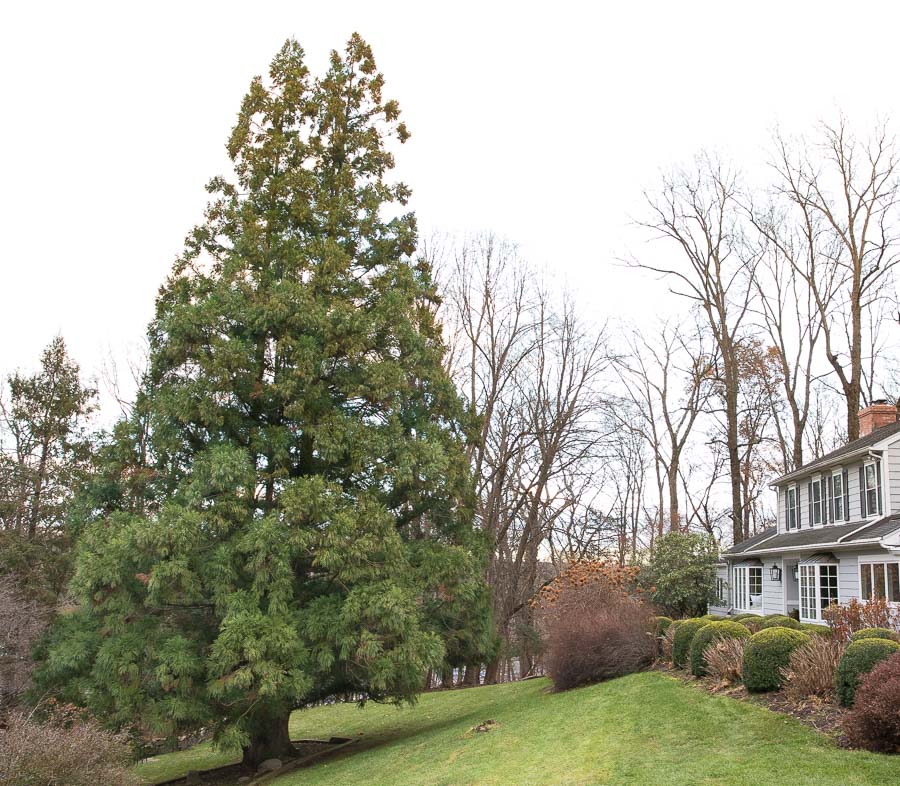
Our house had the mother of all Christmas trees smack in the middle of our front yard that was perfect for the job:
2. Layer Your Greenery and Berry Branches
The rest is simple! Layer your greenery and berry branches (I put the berry branches near the front with one thin layer of greenery over at least some of them) and cut the ends of the branches so that they’re even:
Tie your branches together with either rubber bands or a hairband (hairbands tend to hold up better over time!)
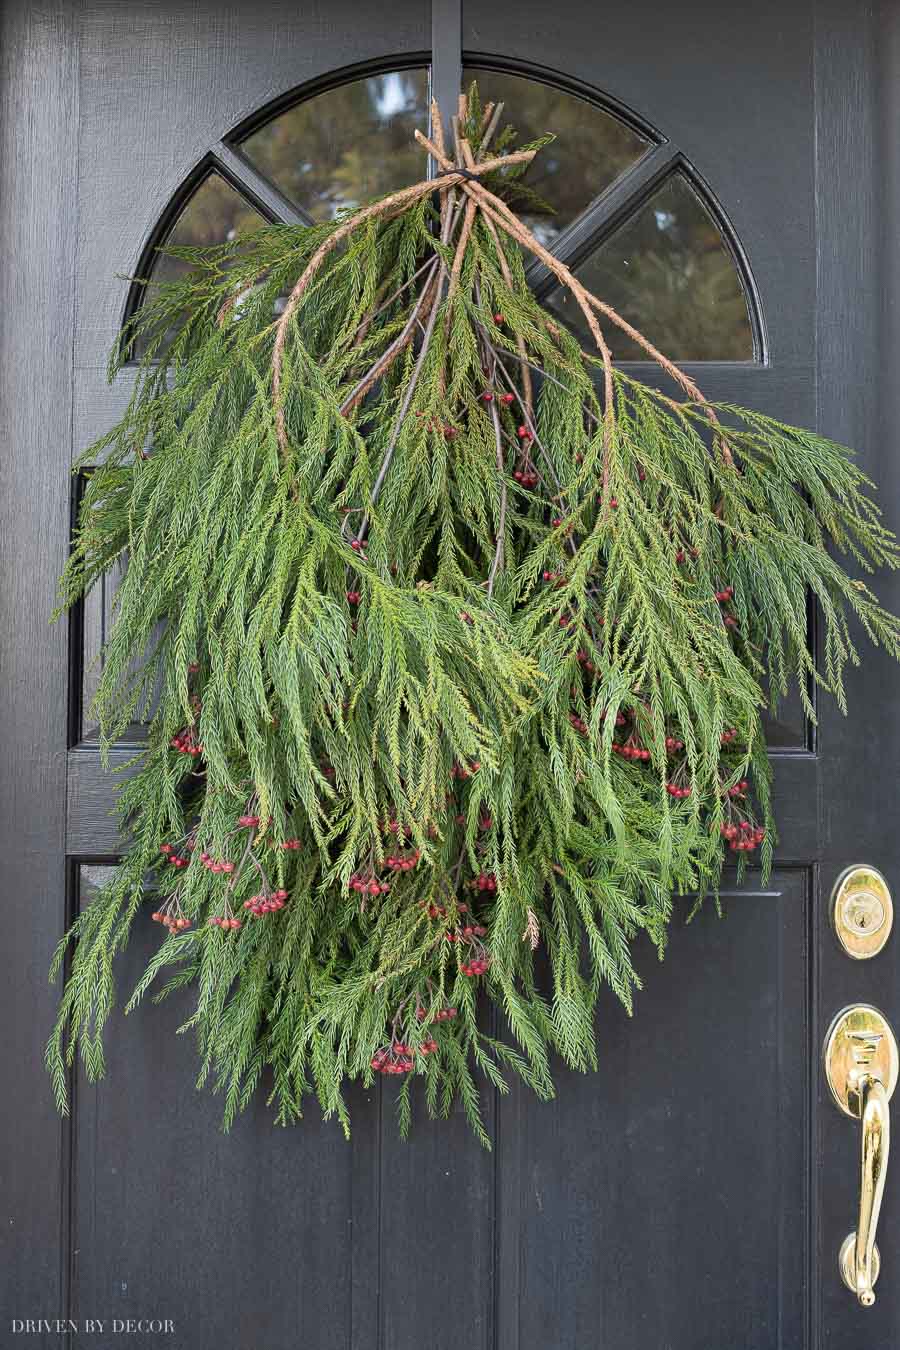
3. Hang Your Christmas Swag from a Wreath Hanger
Pick your Christmas swag up from the banded end with about half of the branches on one side and half on the other side and hang it from your front door on a simple wreath hanger such as {this one}:
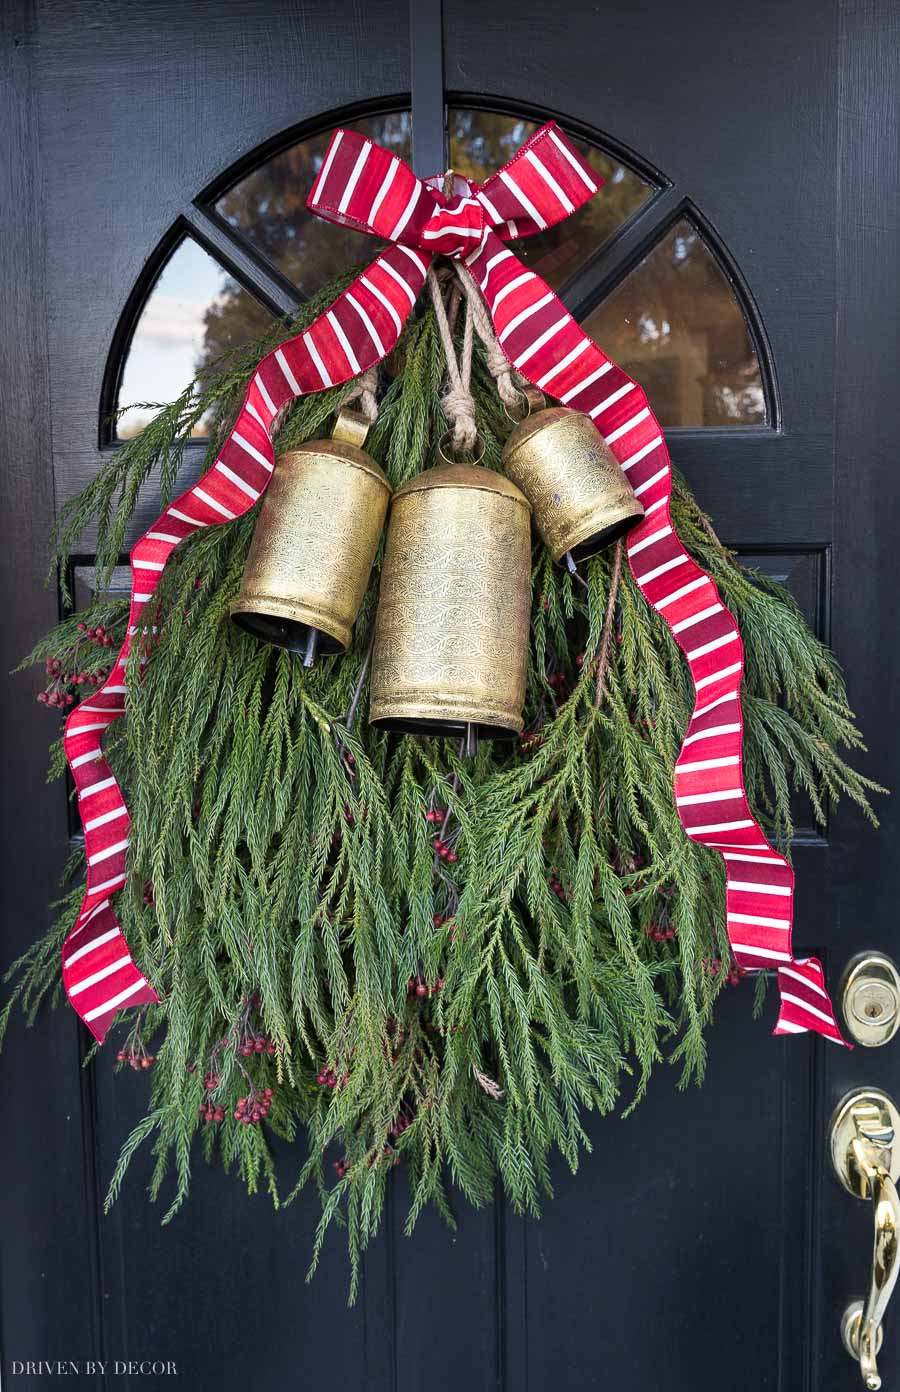
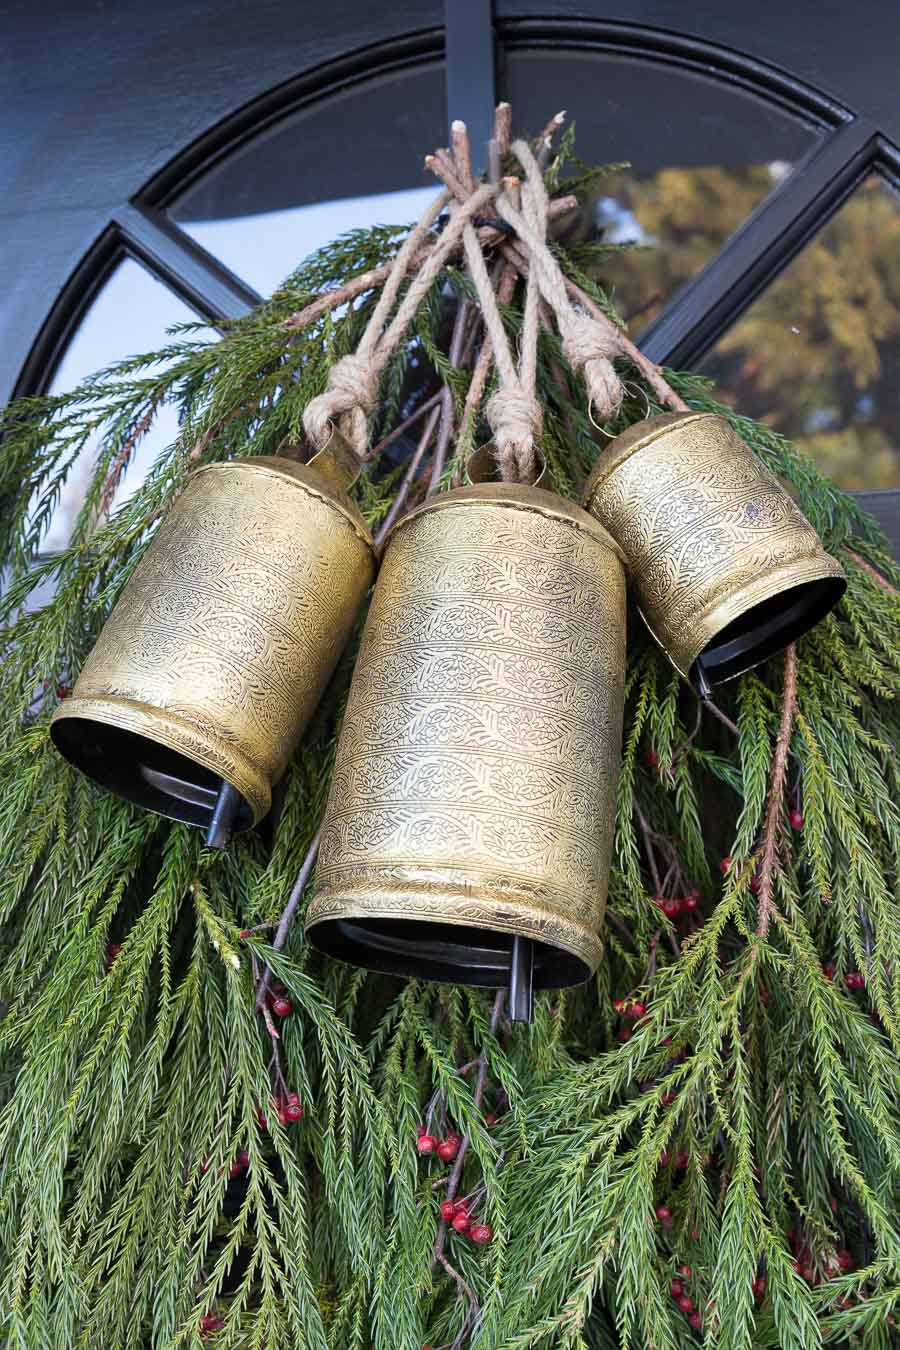
4. Layer on Bells (Or Whatever Else You Come Up With!)
Next I layer on a trio of bells to really make my door dec shine – I bought mine {here} (the 10″, 8″, 6″ cylinder bronze option) and reuse them year after year (two other sources for my bells are {here} and {here}. My bells came hung on a rope loop so it was pretty simple to layer them on – I just loop them over the top of the greenery branch ends:
5. Tie a Bow on It!
The last step is to tie a bow around the top of your swag with wire-edged ribbon where it hides the hair bands holding it together. I’ve found that 2 ½″ wide ribbon works best! You need a longer length of ribbon than you would expect (at least three yards!) so that you have long ribbon tails that cascade down the sides of the swag:
Want to save this post?
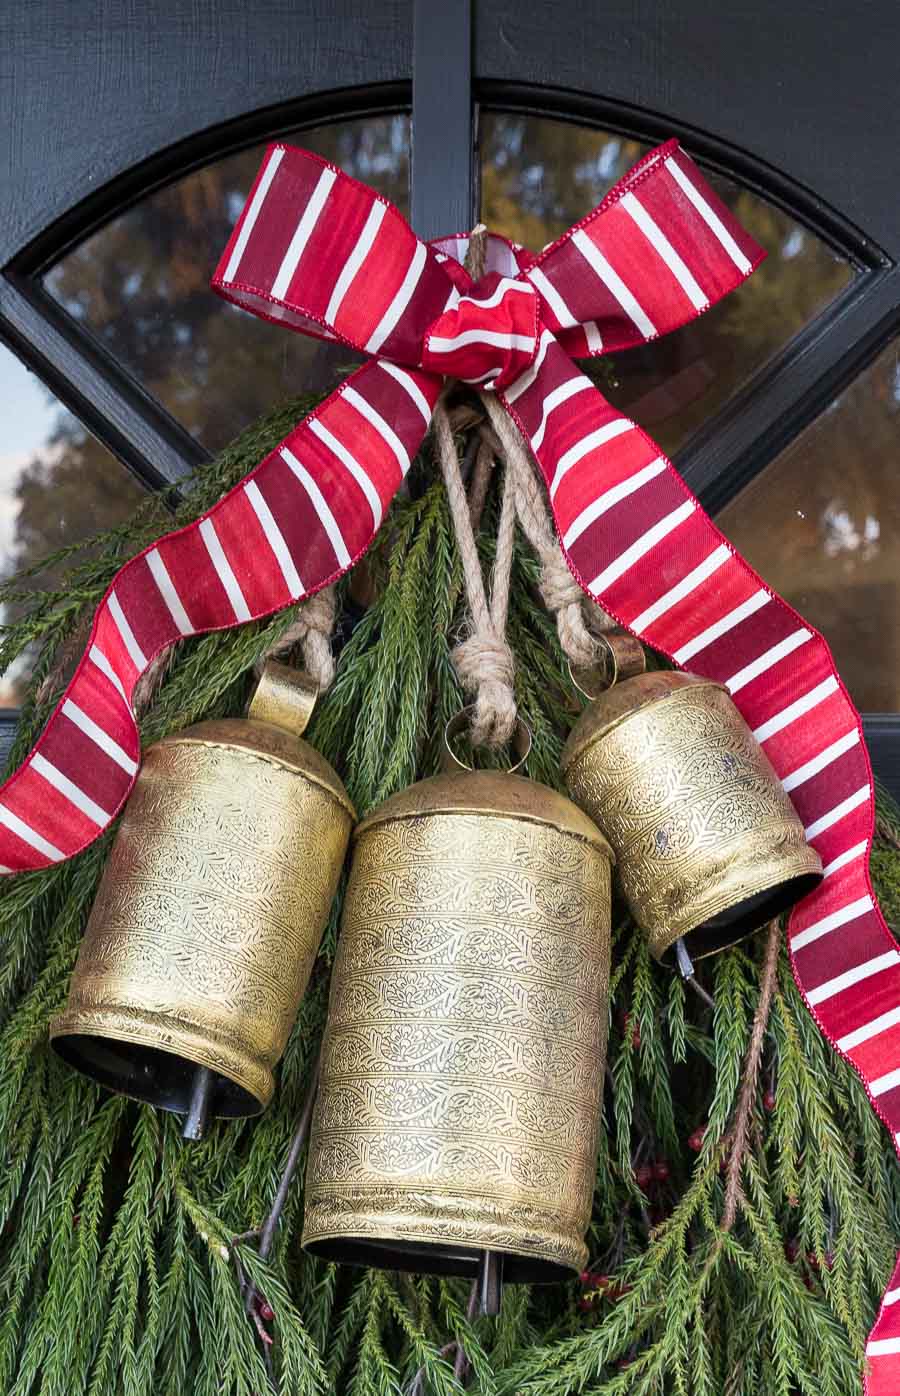
The wire-edged ribbon not only allows you to shape your bow so that it’s nice and full but you can also create little ripples in the ribbon tails to get that cascading look. My exact ribbon is no longer available but a few ribbons that would work well for this are {this red plaid check ribbon}, {this gorgeous ticking stripe ribbon}, and {this red, white, & black plaid ribbon}. You’ll have plenty left over to wrap presents with!
Then just take a step back, trim your Christmas swag up a little if it needs it, and that’s it, you’re done! The whole thing takes less than half an hour to make – I’ve actually found that I like how it turns out best if I don’t fuss too much over it since the beauty of it is how natural it looks. Every year since I started making a Christmas door swag back in 2013, it’s gotten a little more “large and in charge”. If I lived in this house another ten years, my Christmas swags might eventually start taking over the entire door 🙂
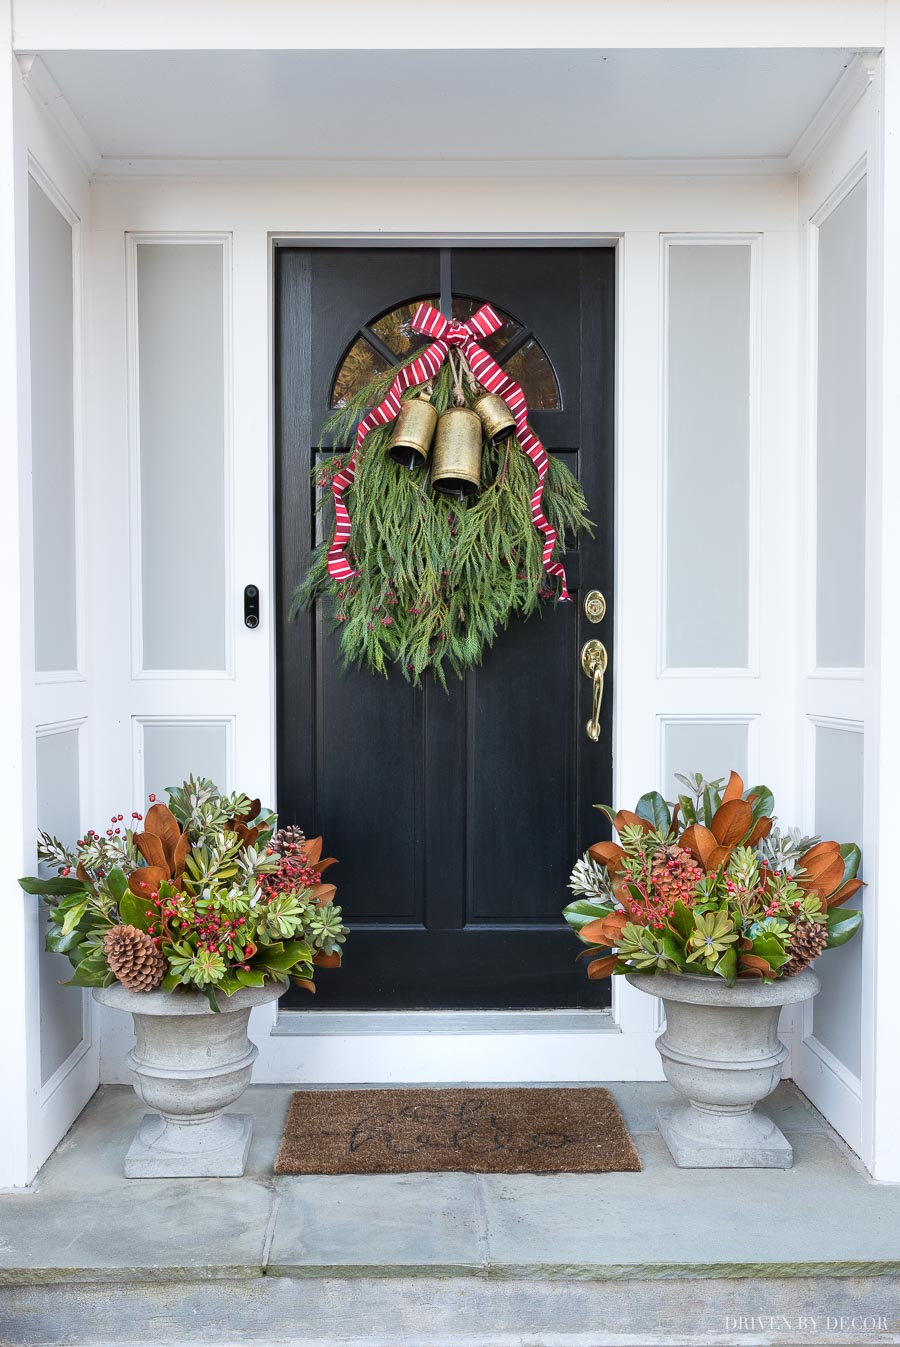
And while we’re hanging around our front porch, I’ll go ahead and show you what I did with my planters too:
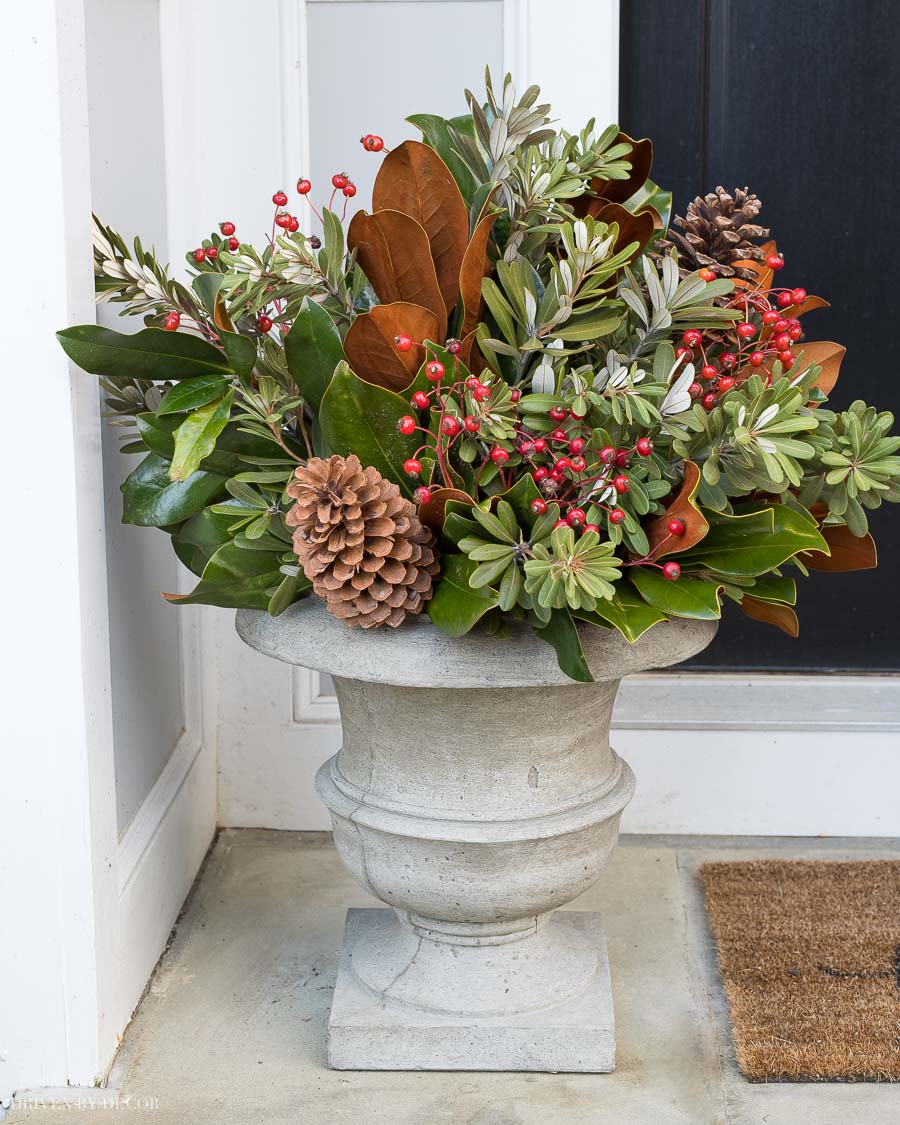
They actually turned out better than I expected considering that I simply bought a few bundles of greenery that I thought looked pretty and totally winged it from there! Here’s exactly what I did:
- Filled each planter with soil
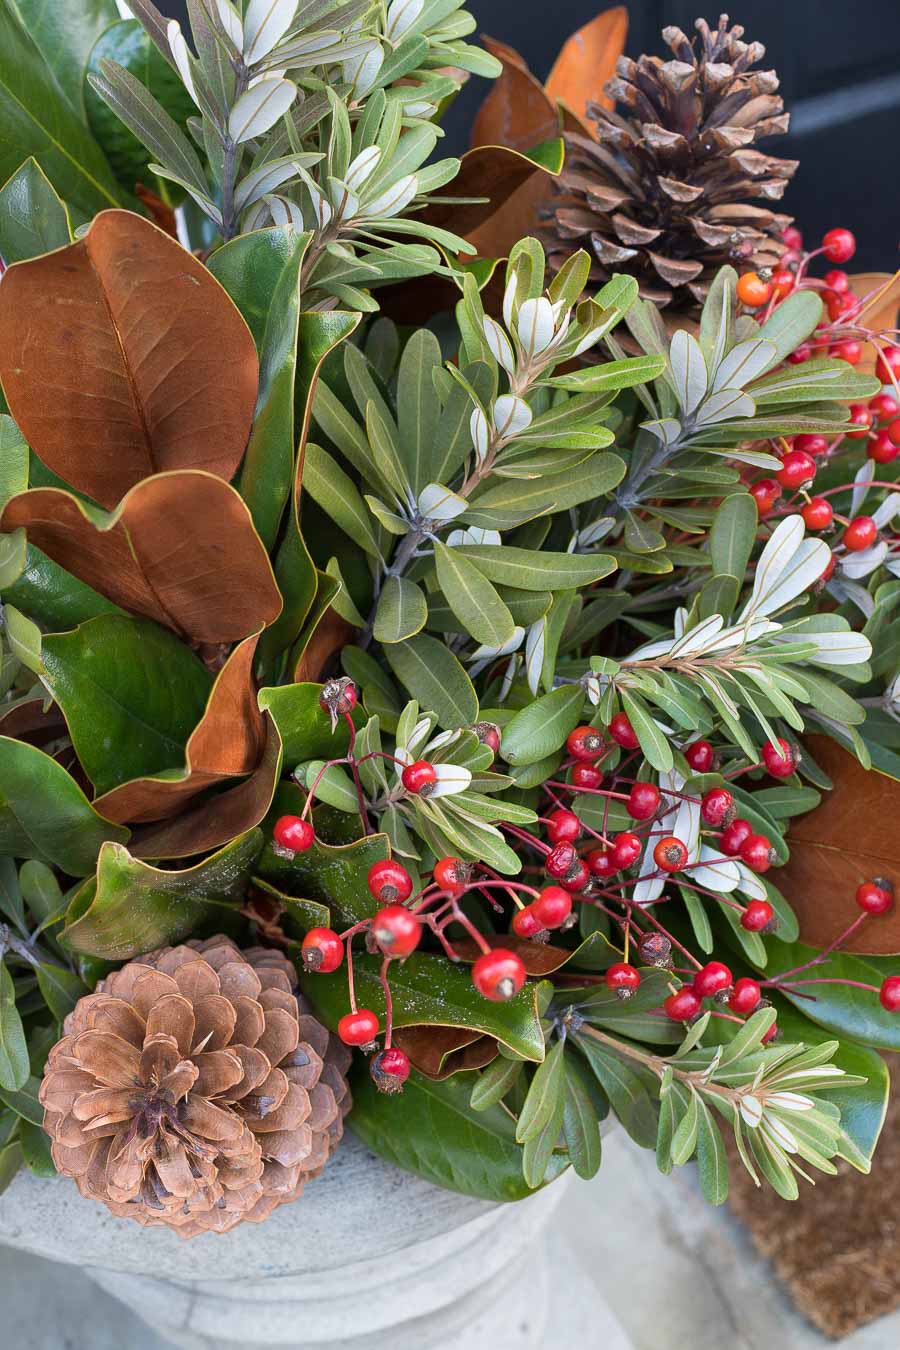
- Distributed 5-6 short magnolia branch bundles throughout the planter
- Filled in the empty spaces with the integrifolia (leafy greenery) – you could also use boxwood branches or other greenery for this
- Distributed 3 rose hips stems (the berries) throughout each planter
- Finished each planter off with two pinecones on sticks stuck into the soil. I had these from past Christmas seasons – you can buy them this way or hot glue a wood skewer or dowel onto a pinecone for a quick and easy DIY.
I’m loving this festive mix!
The great thing about using magnolia branches and integrifolia is that even when they die, they dry looking very much like they do when alive (at least in cold weather climates like ours) so my planters looked nice all winter long.
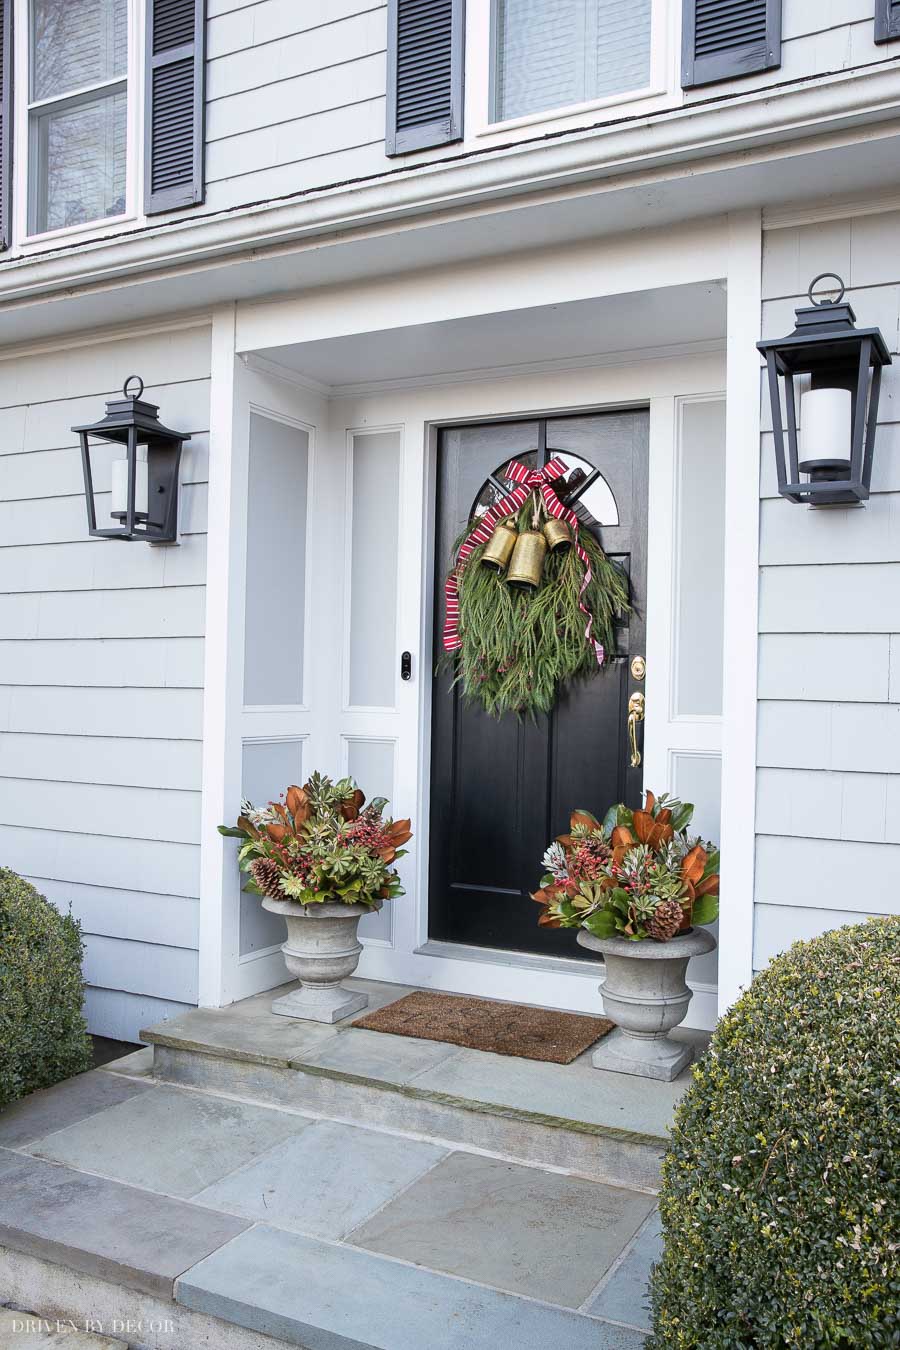
Porch sources: Black lantern sconces | Planters | “oh hello” doormat
I hope you enjoyed my tutorial! If you make your own Christmas swag for your front door, I’d love to see it – share and tag me (@drivenbydecor) on Instagram!


Brittany says
Hey Kris! How long do the branches usually last after you cut them? I am in love with this swag and want to recreate it!
Also does it ever leave any residue on the door? We have a wood door! Thank you for sharing your tutorial!
brenda says
quite lovely and informative.
merry christmas and happy new year.
Kris Jarrett says
Thanks Brenda! Happy new year to you too!
Karen Bunch says
I’ve always loved your swag and the bells. How fortunate to have such a beautiful evergreen right in your backyard. Can you believe Christmas is only 10 days away. What happened to November?!
I wish you and your family a wonderful Christmas. I always look forward to your posts.
Karen
Kris Jarrett says
I can’t believe how fast Christmas came and went this year! Hope it was a good one for you and your family!
Gail Storti says
Just beautiful Kris! It is perfect for Christmas but could go well into winter. Years ago I used to make my own garland, then I started buying it and then I bought artificial ones. I used for several years but it never was as pretty as the fresh ones. I also love to use magnolia leaves in arrangements. Great job! Happy holidays!
Kris Jarrett says
Gail I always struggle with fresh vs. faux too – faux is so easy but I love the look of fresh! Happy new year!