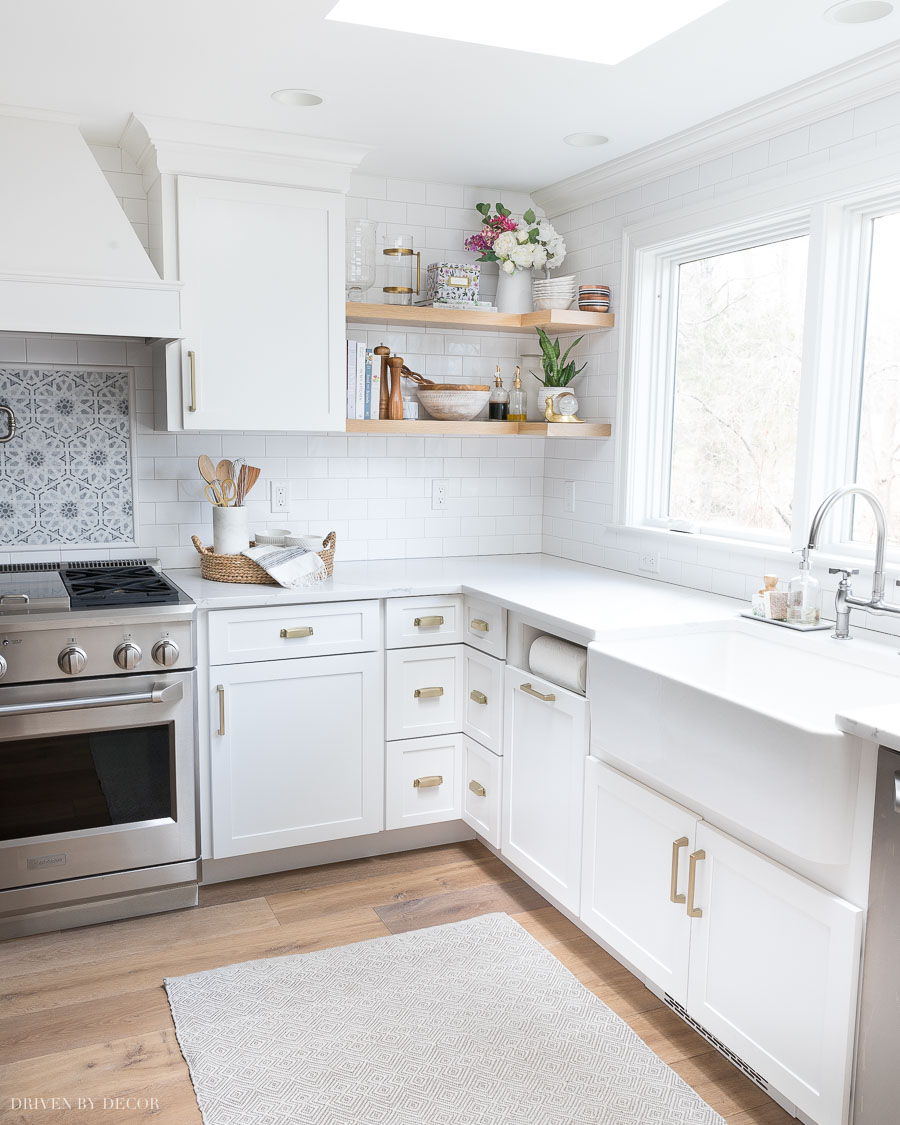
The remodel of the kitchen in our previous home included white oak floating corner shelves (that I loved!). Ever since my post on our kitchen remodel before and after, I’ve gotten so many questions about how to re-create the same floating shelf look so today I’m sharing all those details.
Our shelves were created with thick white oak boards so I’ll start by sharing the step by step of what we did (they were a team project with our contractor, Reszoly Builders). And read on to the end of the post where I share a source for buying super similar floating shelves pre-made if you’d prefer not to DIY! (post includes commissionable links; for more information, see my full disclosure statement {here})
Let’s get to it with the step by step of how to create our floating wood shelves as a DIY…
1. Source White Oak Boards
The first step was to find a local source for thick white oak boards, which most typical hardware stores don’t carry. The key is to look for a place that specializes in raw lumber products because not only will they carry the oak boards but they’ll typically also cut and plane them to the size you want.
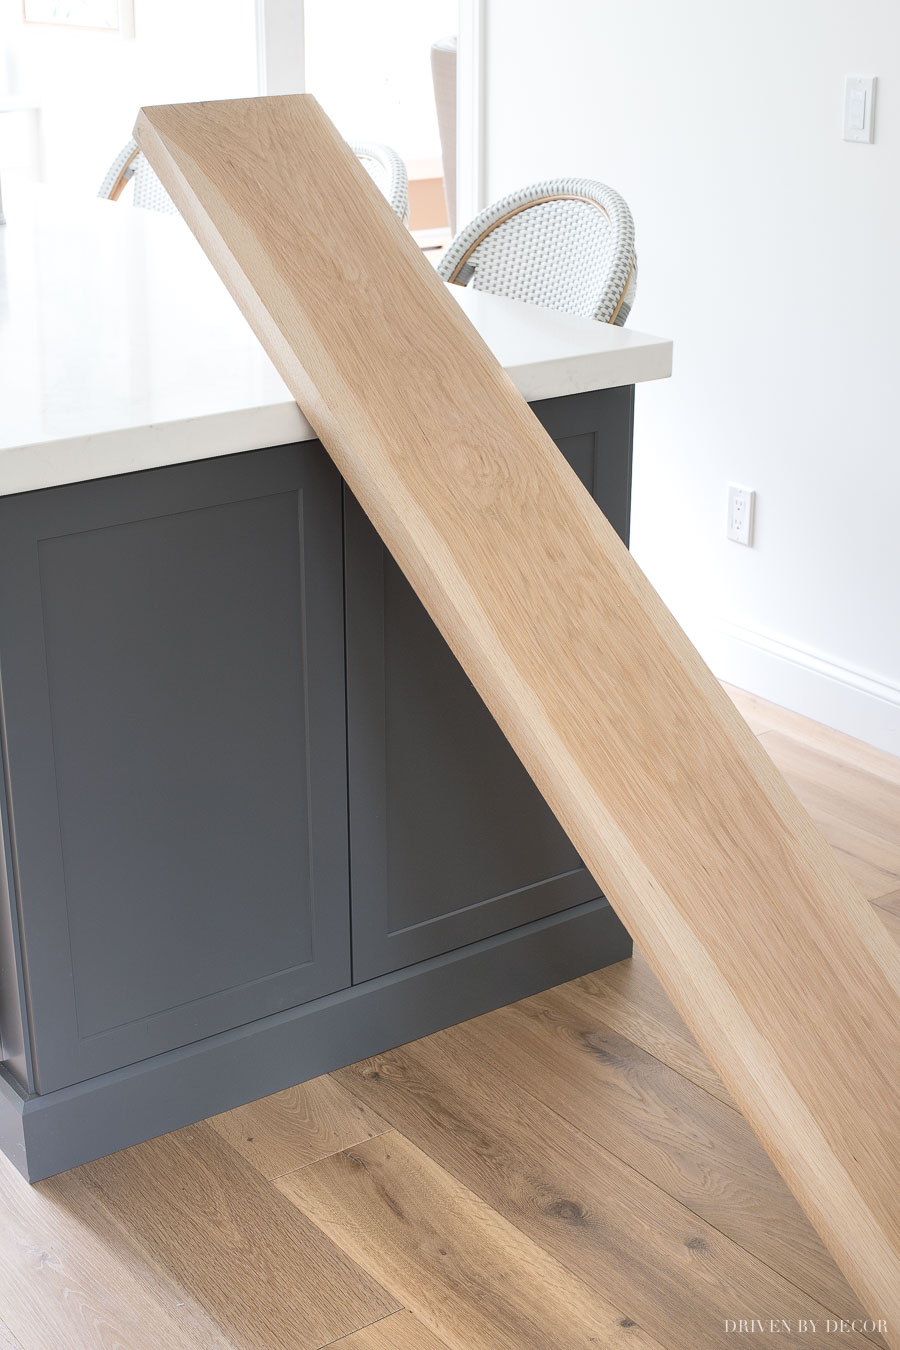
I got mine from Kellogg Hardwood Lumber in Bethel, CT. I bought two raw white oak boards that were both planed to be 1 ¾″ thick (the maximum thickness they were able to get from a 2″ thick board) and ripped (cut along its length) to be 10″ deep. This is what each board looked like when I brought them home – isn’t the wood itself beautiful?!
2. Install Floating Shelf Brackets
I did a ton of searching and reading of reviews to figure out which shelf brackets would work best for our floating corner shelves and ended up going with black steel brackets similar to {these} (our exact brackets are no longer avalailable).
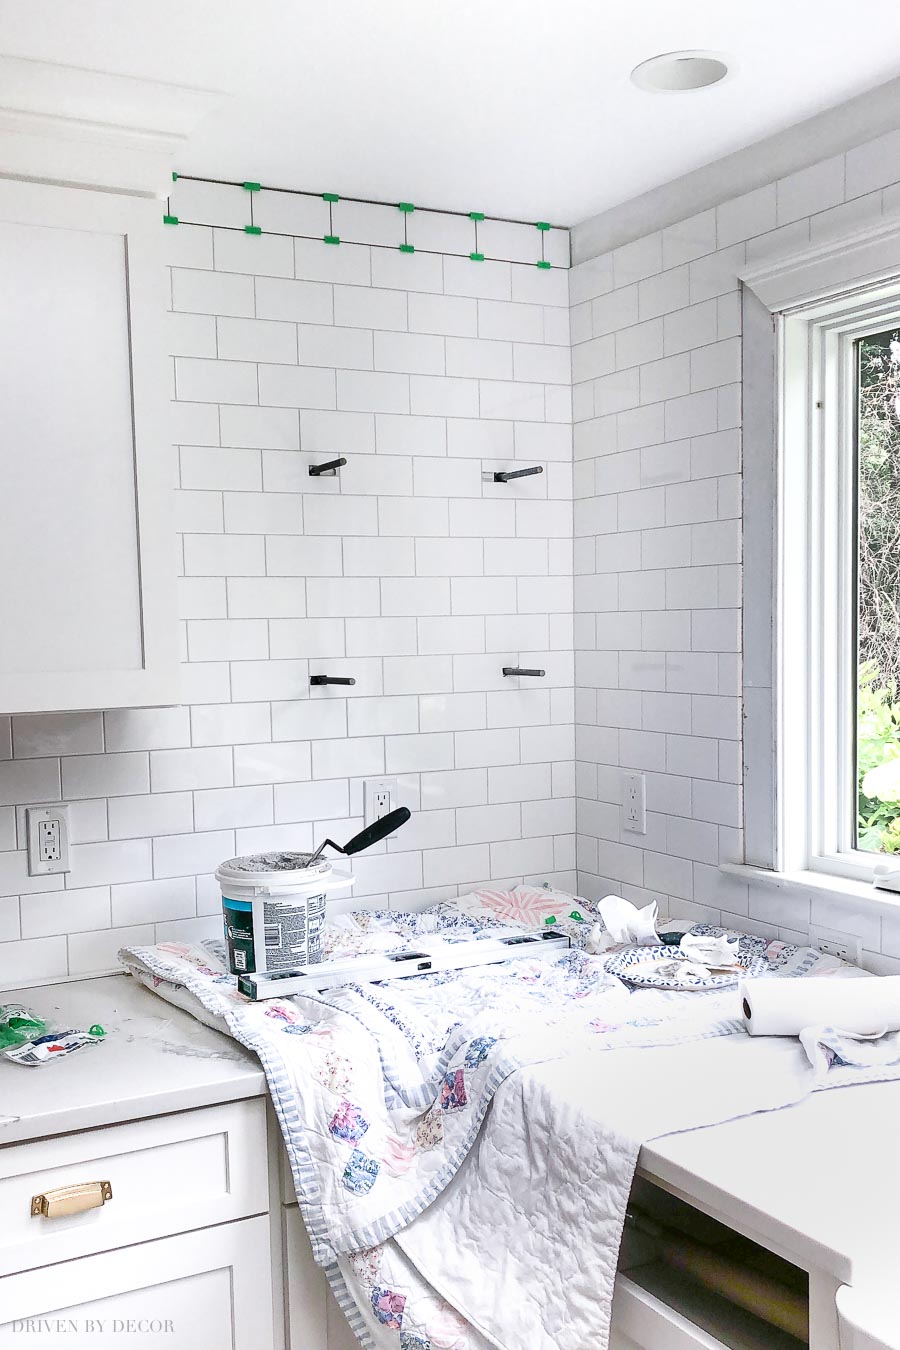
The brackets can be installed with the base in a vertical or horizontal position – my contractor installed them in the vertical position over studs to provide maximum stability. As far as the height that we placed the brackets, the bottom pair was positioned so that the bottom of the first shelf would line up with the bottom of my upper cabinet:
The top pair of brackets was placed exactly 15″ up from the bottom set since that’s the height I chose for my second shelf. To keep the base of the brackets from showing after installation of the shelves, my contractor traced the outline of them on the wall in the spots they were to be hung and notched out the drywall so that the brackets were slightly recessed once installed. This is what they looked like after installation (FYI, in case you’re wondering, the white shelf below was just a test shelf that I talk more about later):
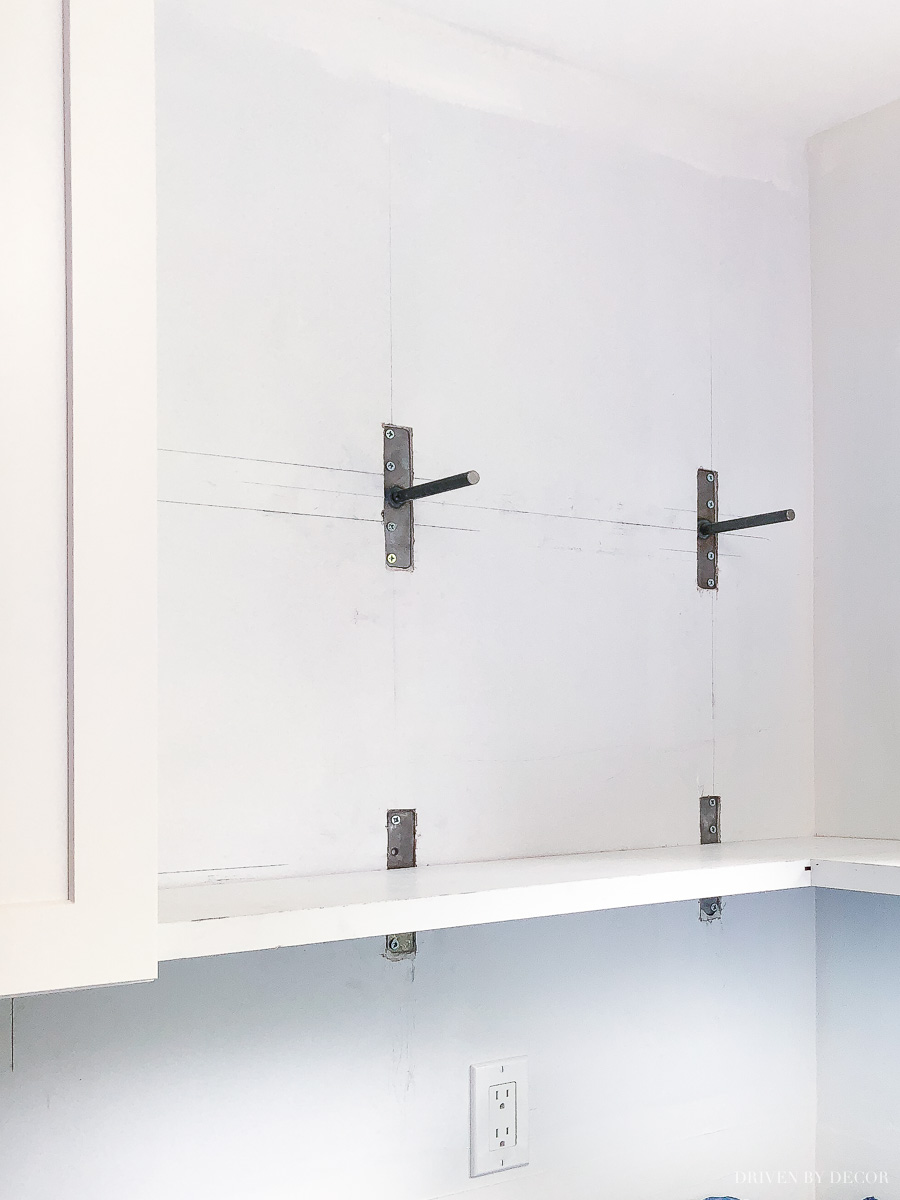
Note: You could also choose to hang the brackets so the base is horizontal instead of vertical (the brackets come with anchors for spots where they’re not going into studs).
3. Tile or Putty Over the Brackets
Once the brackets were in place, our wall was tiled. The four tiles that went over the brackets were notched out and then laid as usual (the notches were done horizontally so they will be hidden by the shelves):
If the walls where your shelf will hang are going to be painted instead of tiled, simply spackle over the base of the bracket, sand it smooth with the rest of the wall and paint it the same color as the wall.
4. Join Two Oak Board Pieces to Create the “L” Shape
Now that my brackets were hung and the wall was tiled, it was time to create the corner shelf. Since the white oak wasn’t exactly cheap, my contractor built a test corner shelf with leftover construction lumber to make sure he had the sizing and hole placement correct and he then used that test shelf as a template for creating the white oak corner shelf.
Creating the corner shelf involved joining together one long length of white oak (in my case, a 36″ long piece that spanned from the end of the cabinet to the wall) with a shorter piece (mine was 9″) to create the “L” shape. In the area where the two oak board pieces were to be joined, two large holes were drilled in each piece that line up with one another – then wood dowels and wood glue were used to join the pieces together after which they were clamped until dry.
Unfortunately I didn’t take a pic of this step but you can get a good idea of the hole size and placement by looking at the test piece in the bottom right of the pic below that was used as a trial piece. Then two holes for hanging the shelves were drilled on the back of each shelf at a position where they would line up exactly with the stem of the floating shelf brackets. Since all of these holes need to be drilled at exactly 90 degrees for everything to be level, creating them with a drill press is the best way to go. Second best would be using a clamp and drill guide like {this one}.
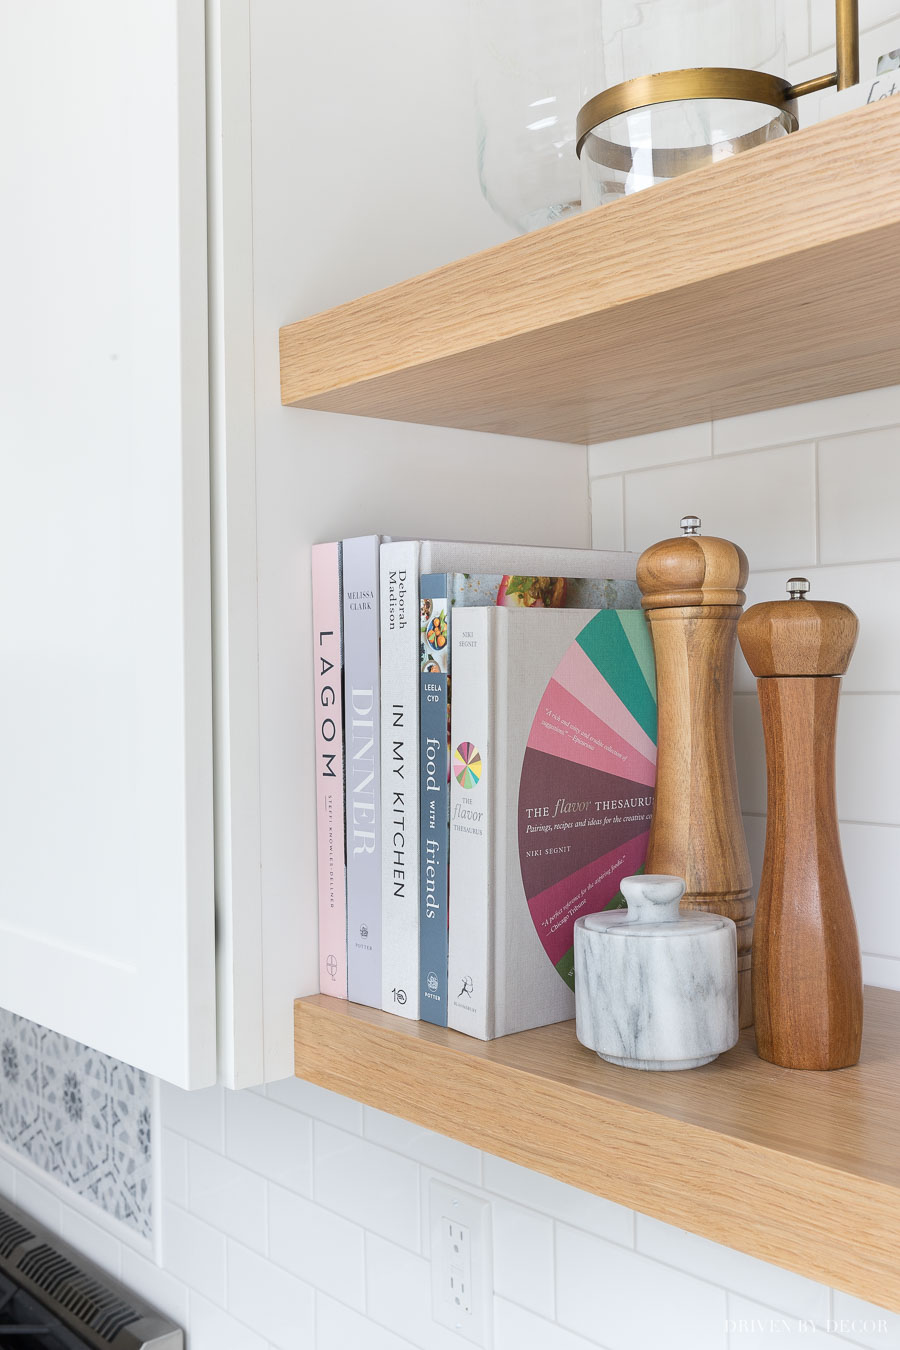
5. Sand & Stain Your Corner Shelves
Once dry, the wood shelves were sanded so that the spot where the two pieces were joined together in the L shape was a totally smooth transition. If you want a completely natural look to your wood shelves, your next step would be to apply a few coats of a protective finish. I actually wanted mine to have a slightly gray washed look so I played around with different stain concoctions on some test pieces of white oak to create the exact stain I wanted.
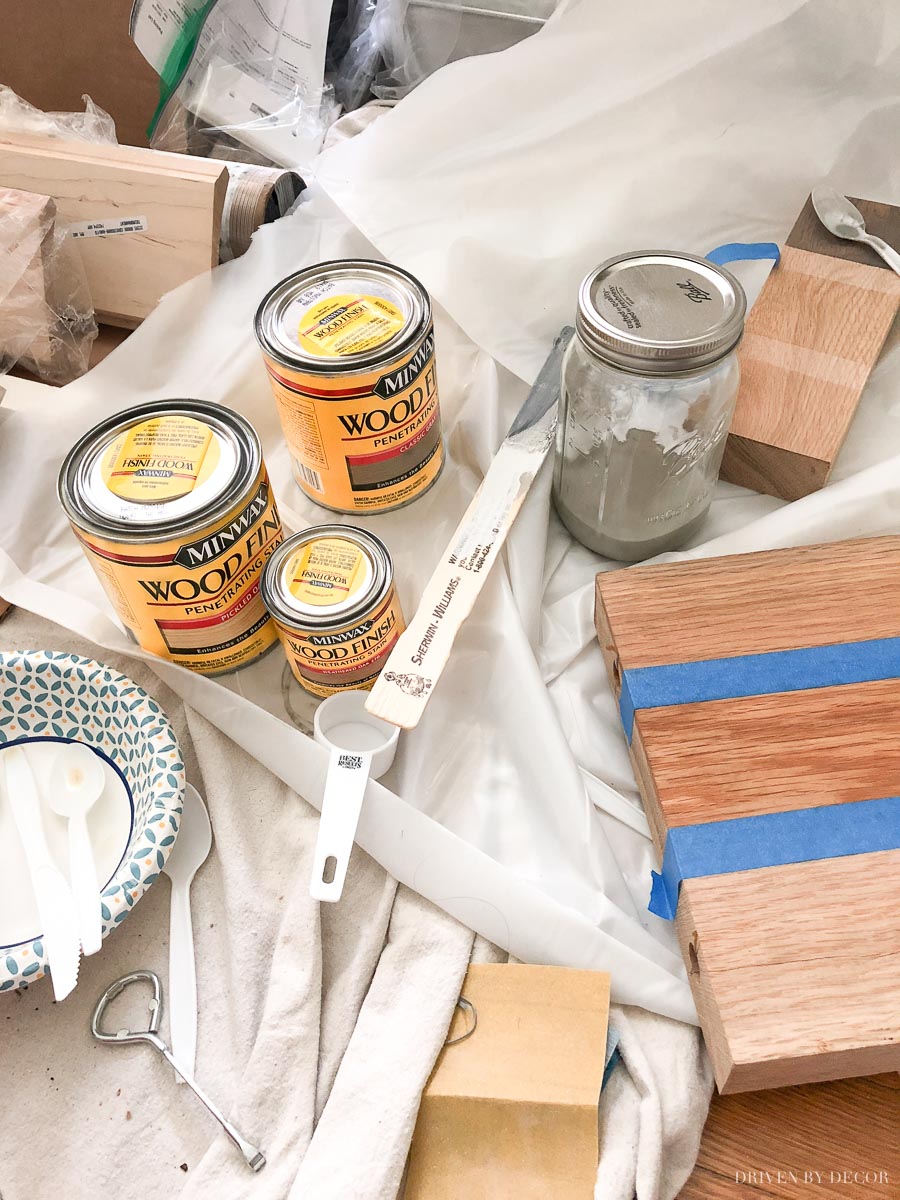
I wish I had a specific stain formula to share with you, but I kept adding a little more of this and that until I got it just right. What I can tell you is that it was a combination of Minwax Natural, Classic Gray, and Pickled Oak stains.
After staining, I coated both sides and the front edge of both shelves with two coats of matte Polycrylic (available {here}), letting it dry well between coats. I love Polycrylic as a protective top coat because it doesn’t yellow like other top coats often do. Here’s a close up of what the final finish looks like:
For another stain formula option, check out my post on our hardwood floor refinishing – I love the finish we achieved on our white oak floors!
6. Slide Your Shelf Onto Your Brackets & Secure It
Once my corner shelves were completely dry, they were installed by simply sliding them onto the brackets. Then for extra security and to keep my shelves 100% level, my contractor drilled an anchoring screw (shown on the right about ⅓ down in the pic below) through the inside of my upper cabinet into the middle of each shelf about 1 ½″ in from the front edge of the shelf:
And… we’re done!
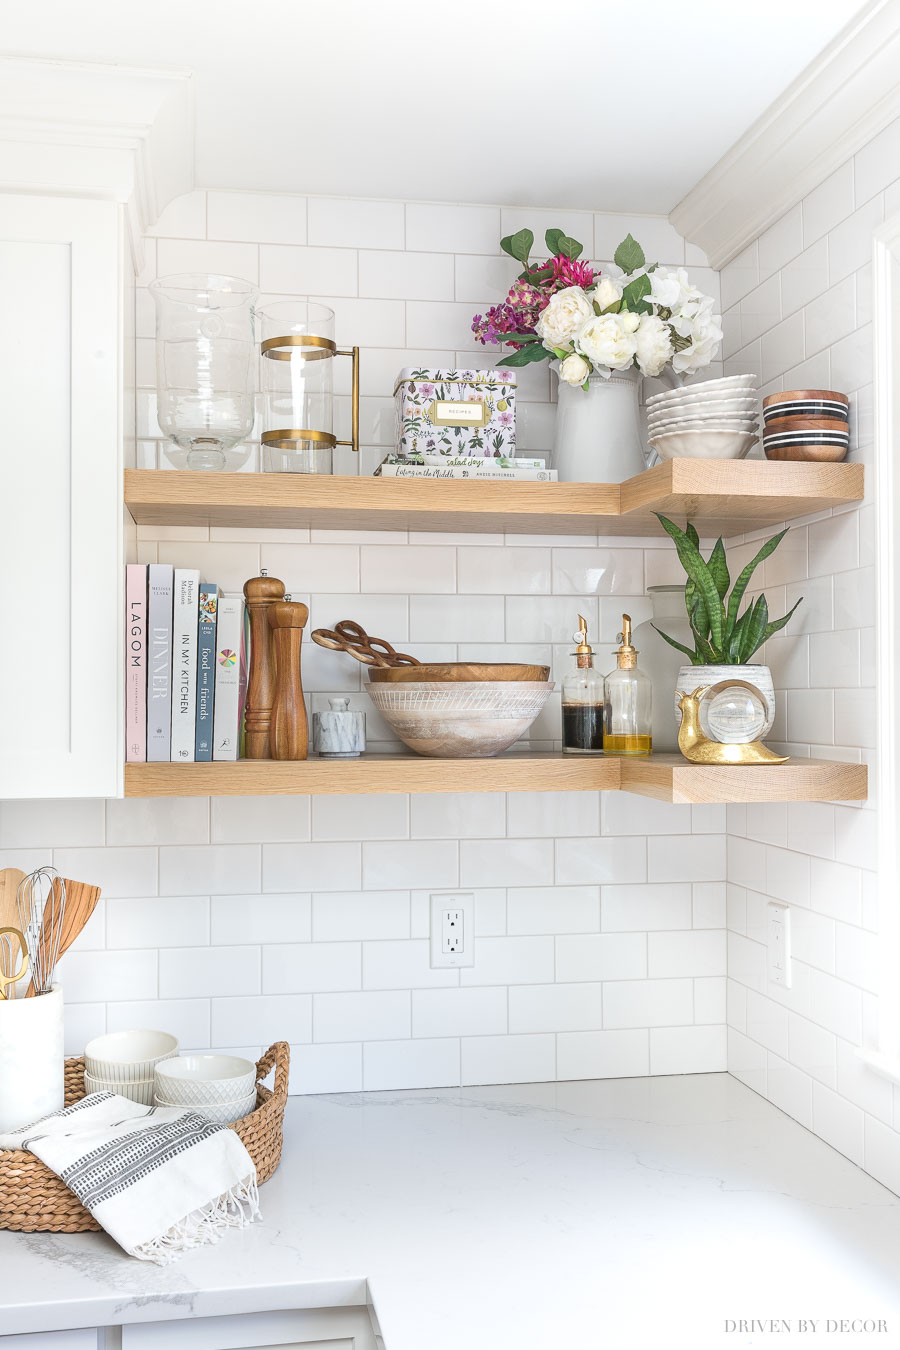
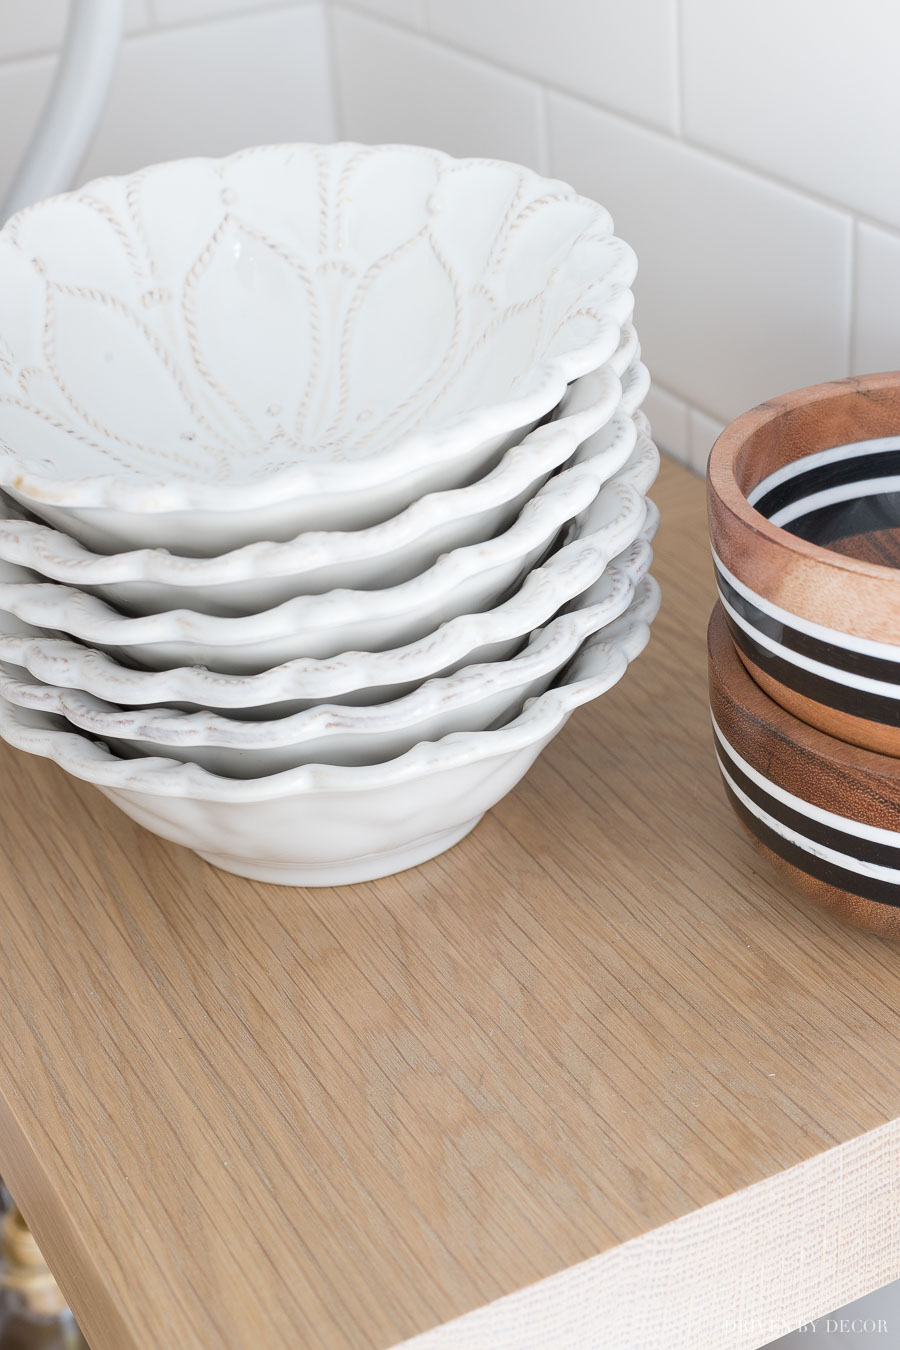
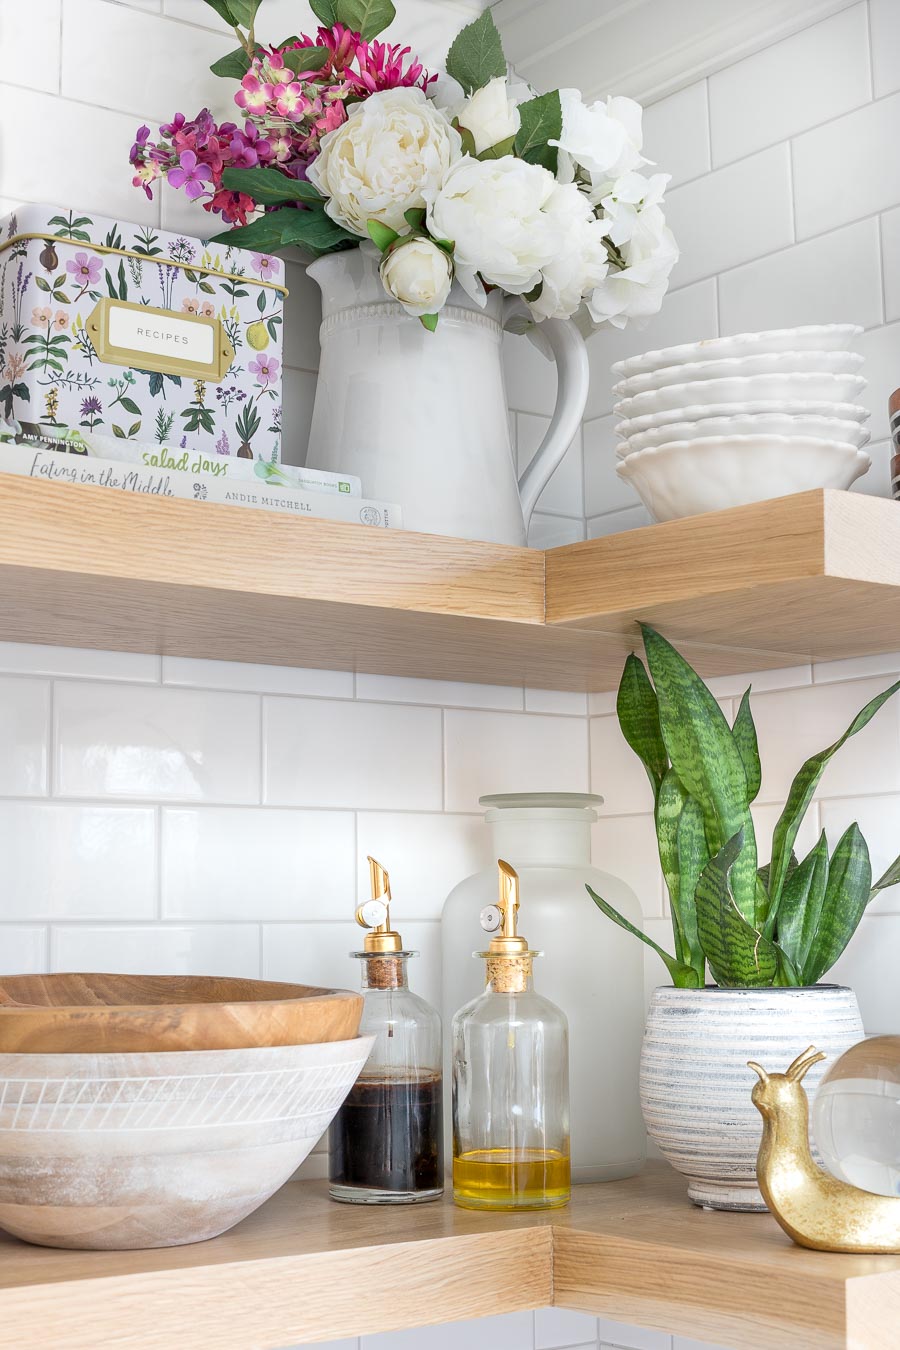
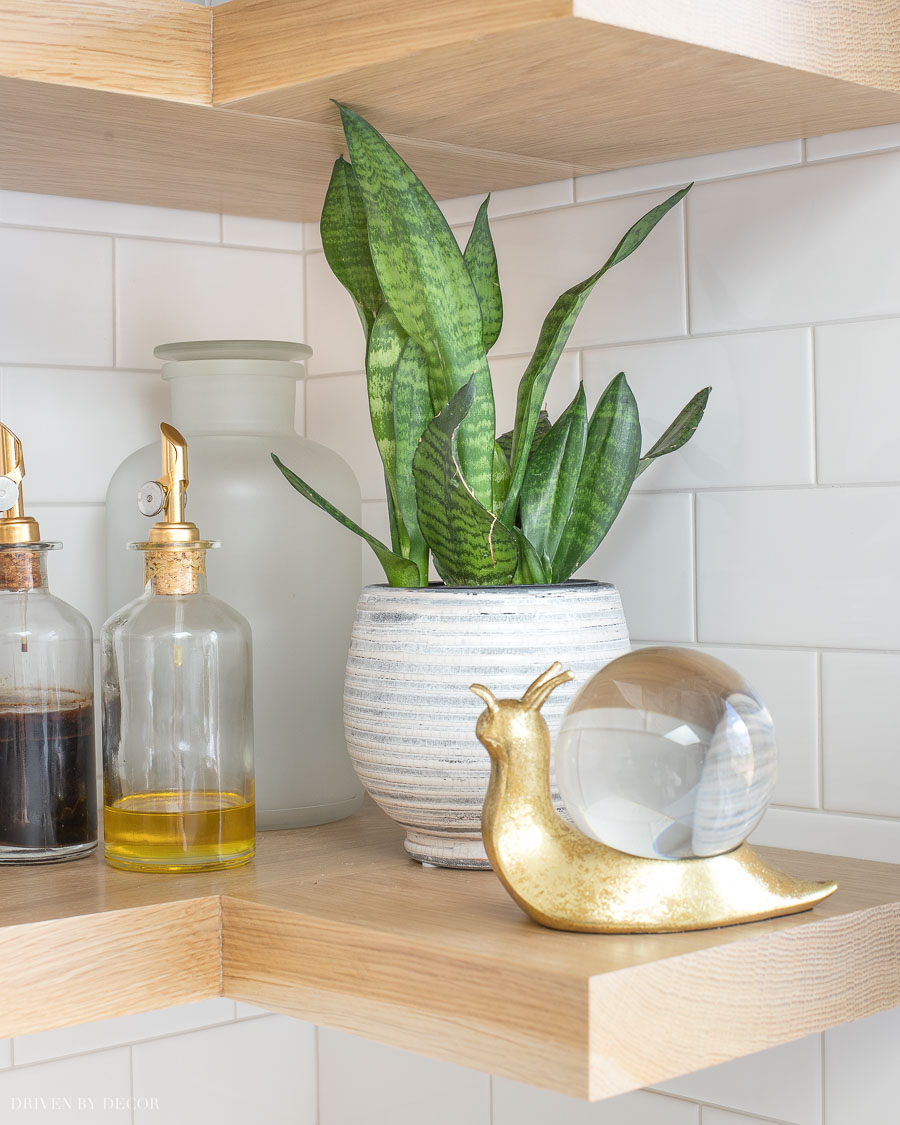
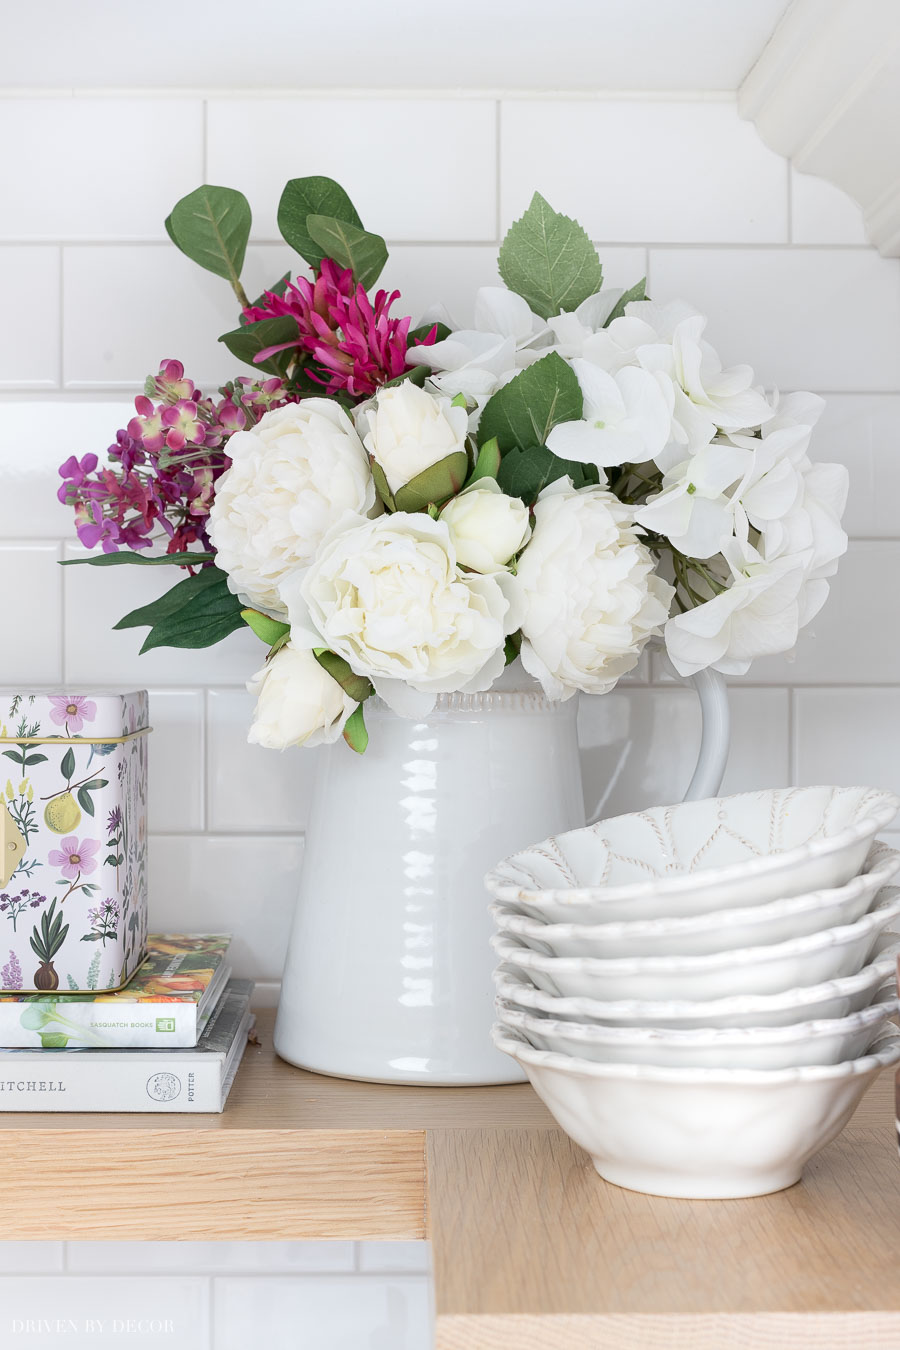
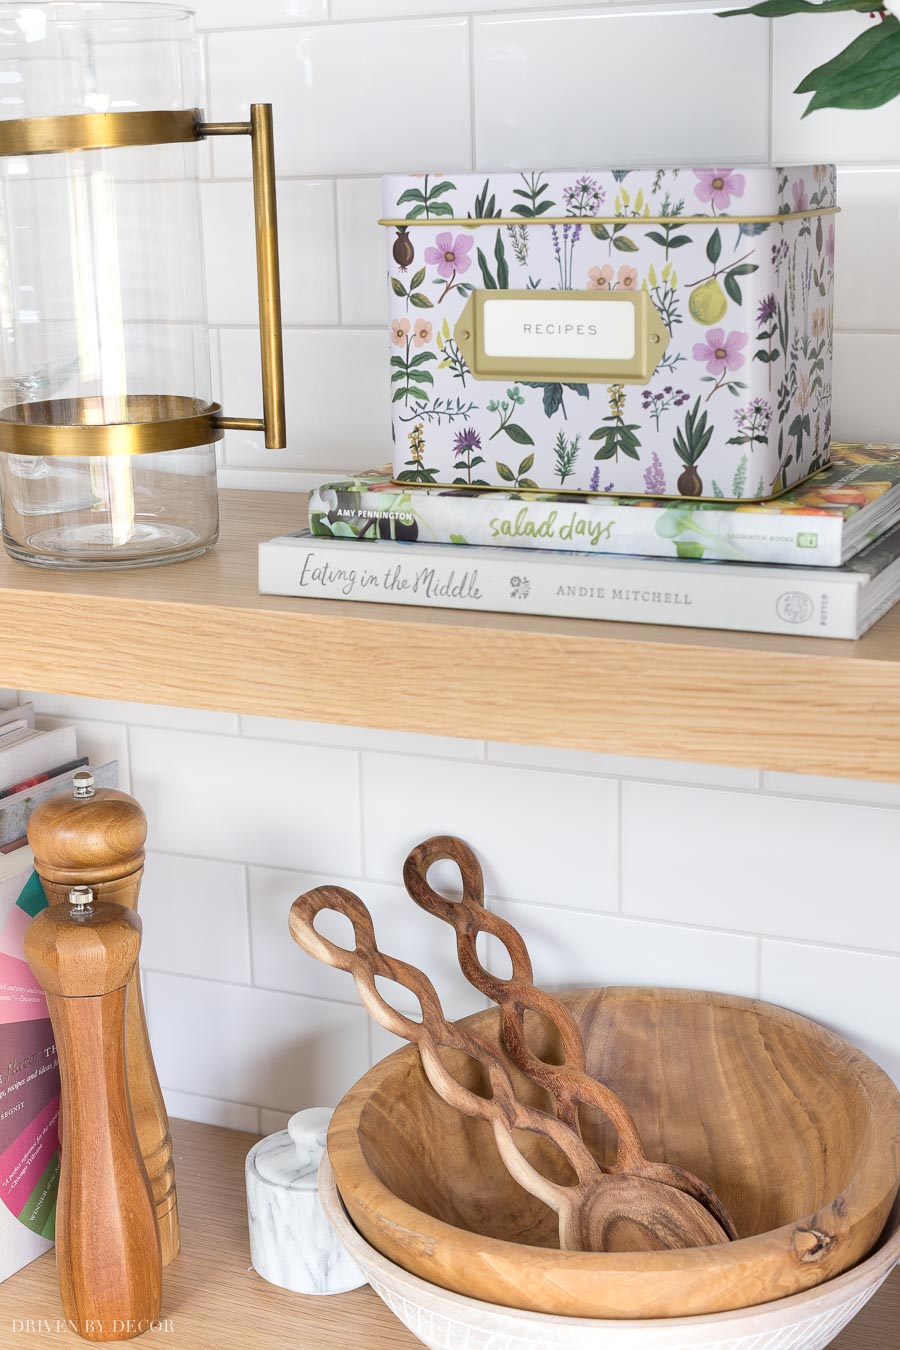
Sources – On Counter: Round braided tray | Marble & wood utensil holder | Blk/Wht hand towel On Shelves: Glass hurricane vase | Brass accent pitcher | Patterned recipe tin | White ceramic pitcher | Marble salt cellar | Spiral wood salad servers | Glass oil & vinegar bottles | Decorative snail
Want to Buy Instead of DIY?
At the time that we installed our floating corner shelves, there were no shops out there that made anything like them. But now, you can get custom cut-to-size floating oak shelves {here} that are basically identical to mine (and they are giving my readers 25% off through this link!). They are completely customizable in size, thickness, wood type, and stain.
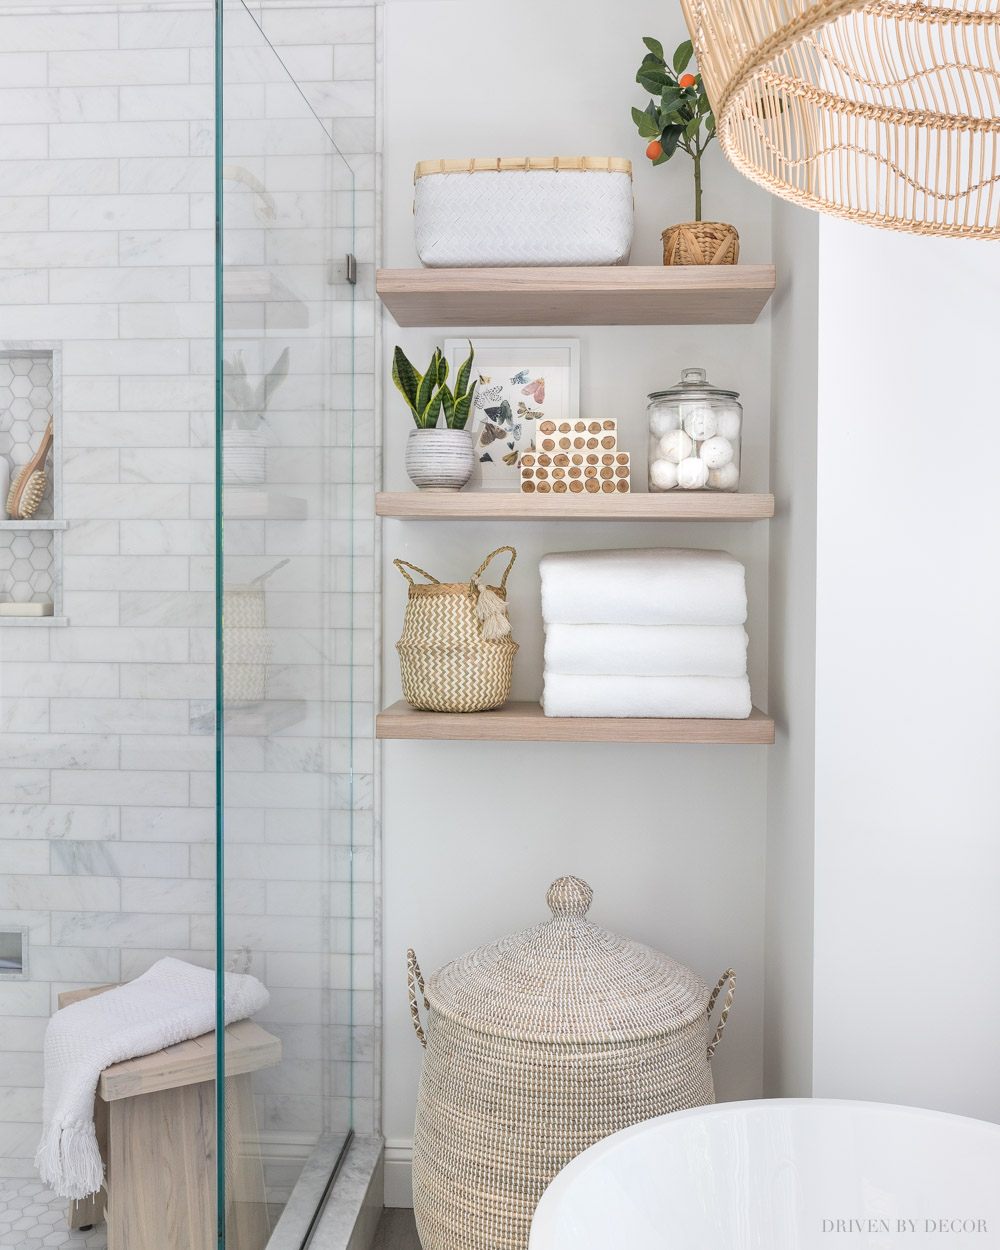
I got the floating shelves in our bathroom from them and love them (you can read all about them and the specifics of the shelving I chose in my post on our bathroom floating shelves:
To create corner shelves from what UltraShelf offers, you would need to buy two shelves to create one corner shelf – one that runs along the long wall and a second one that butts up against it on the shorter wall. Their shelves come complete with brackets and everything you need to hang them.
Do I Like Having Open Shelving in Our Kitchen?
With both my kitchen and bathroom shelves, I love how the natural wood warms up the space and also love being able to change up the look of the rooms with what I choose to place on our shelves. I get a lot of questions about whether I feel my open corner shelving is wasted space and I actually don’t feel that way at all! Other than the small snake plant on the bottom shelf and my super cute decorative brass snail (available {here}),
everything on my open shelves is something I use and would choose to have in my kitchen whether or not I had open shelving. Even this ceramic pitcher that holds faux flowers on the top shelf is something that I clean out and use for parties:
As far as dust goes, things like my brass & glass pitcher and my wood bowls do get dusty over time but it takes less than a minute to give them a quick soapy rinse before putting them to use.
What do you guys think about open shelving? This is the first house I’ve had it in and I would absolutely love to have it again in a future home (I do like also having some typical upper cabinets to hide the uglies!). I hope this post helped for those of you who have had questions about our corner shelving but if you need any more info or details on anything, just ask me in the comments!
Thanks for stopping by and enjoy your week!


Joe says
I’ am also putting up corner shelves between a cabinet and the kitchen wall. I’m wondering why a floating shelf bracket is necessary. Why not just attach the shelf from the left cabinet wall to the kitchen wall on the right side of the shelf? (Perhaps drilling a hole in the right side of shelf for a short 1/4″ wood or metal rod that would also go into the right wall. I was searching to see if anyone has done that – seems logical to use side support since there are two sides to support the shelf.
deedee says
can u please share how tall your ceiling in kitchen is?
lina says
What is the length of your shelf? I am remodeling our kitchen and thinking to put open shelves in the corner. Right now they are 27 inches long from the cabinet to the wall, and from the wall to the other cabinet (L shape), it’s 33 inches long. I believe we’re going to do 9-12 depth (haven’t decided yet). I am concerned that a corner of 27 one way… and 33 the other way is too much. I only really want to put cookbooks, etc. Would love to know how long yours are as this helps me visualize what it could look like in mine. Beautiful kitchen! 🙂
Kris Jarrett says
Mine was 36″ measured in one direction and 19″ measured in the other 🙂