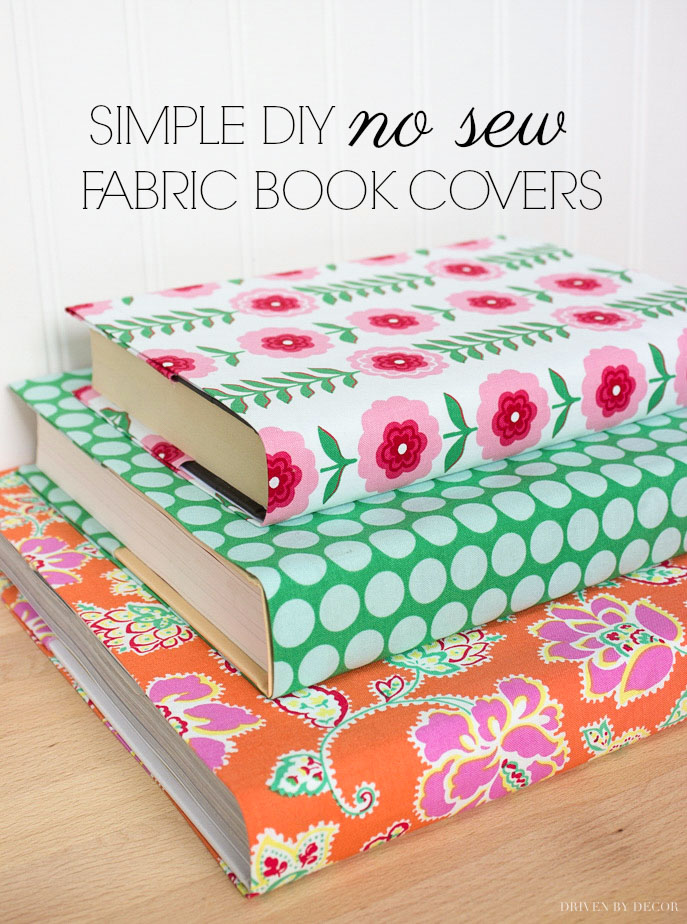
Hate sewing as much as I do? I’m sharing how to make fabric book covers without any sewing!
Sewing is definitely not my thing so Stitch Witchery and a good steam iron are two of my favorite partners in crafting crime. Today I’m sharing how to use some favorite fabrics to create your own fabric book covers without sewing, turning the ugliest of books into the perfect decorative accessories. (post includes affiliate links – full disclosure statement available {here})
Since I’m guilty of being fickle and changing things up in my home more than I probably should, I made covers that are removable so that you can change them out with the seasons and the design of your space. No sewing and no messy glue! You can use them to protect school books too (if you prefer to buy them, the best source I found is {here}).
Here’s how I made my own:
Supplies for Making Fabric Book Covers
The first thing you need to make fabric book covers is obviously the fabric. It’s the perfect thing for a fabric remnant that’s not big enough for making a pillow but you love enough to put on display. Medium weight fabrics work best (you want a fabric that’s heavy enough that you can’t see through it but also isn’t too bulky). You’ll also need a pair of sharp fabric scissors like {these}, a tape measure, {this} ⅝″ roll of Stitch Witchery, and an iron.
Step 1. Cut and Iron Your Fabric Piece
Measure height of your book and the “wrap-around” width of it from edge to edge with the book closed (19″ in this case):
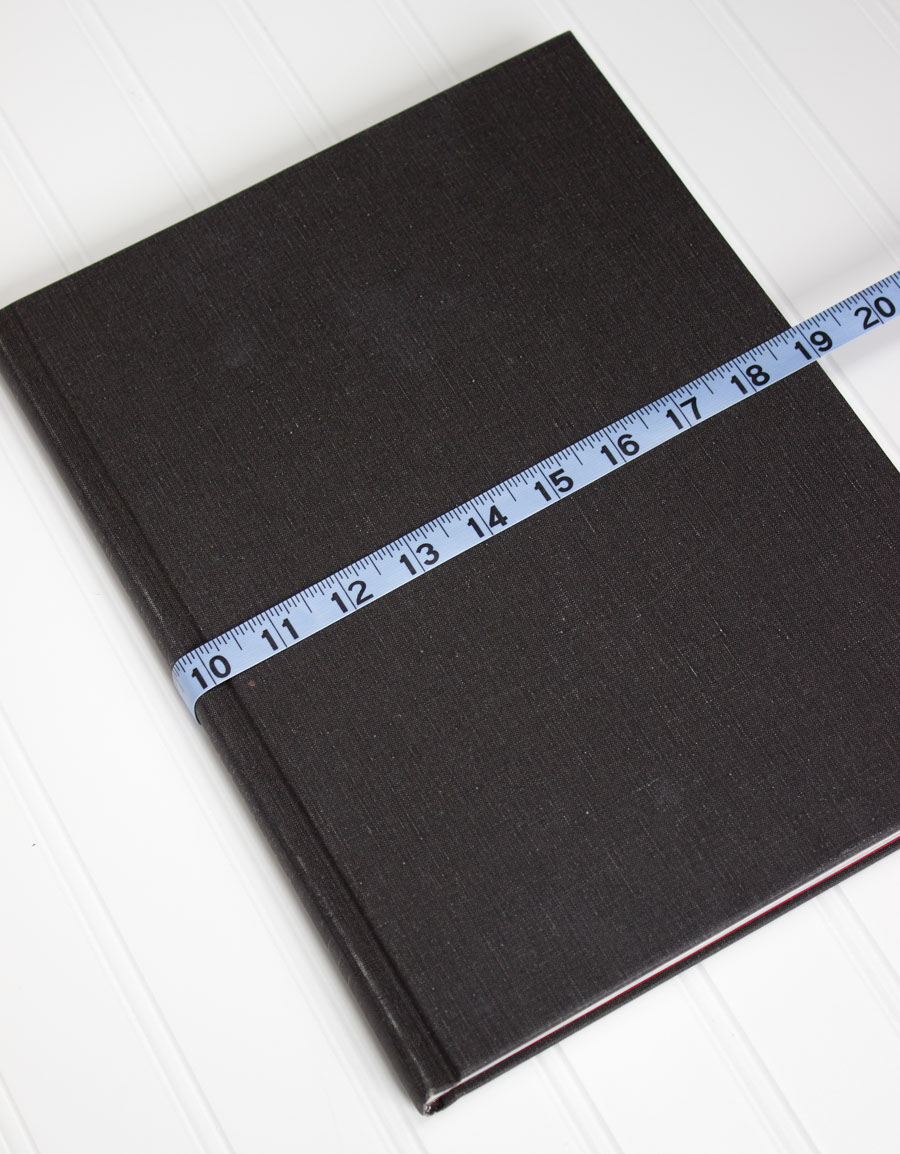
Next, cut a piece of fabric that’s 1 ½” taller than your height measurement and 8” wider than your width measurement. If you have wrinkles in your fabric, iron them out.
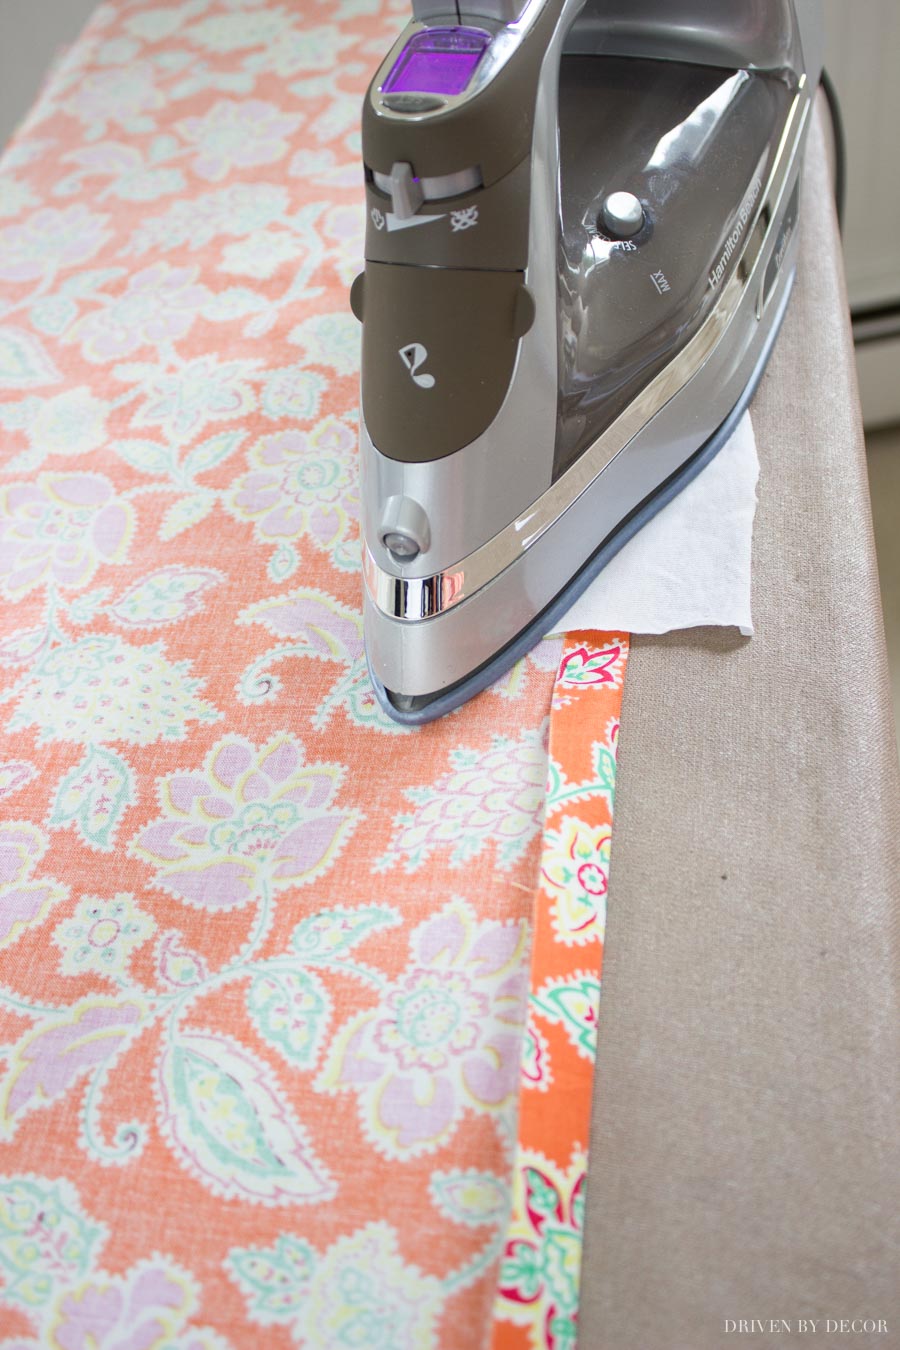
Step 2. Fold & Iron The Long Edges
Lay your fabric out on an ironing board with the unfinished side facing up. Iron a ¾” fold along the entire length of both the top and bottom edges of the fabric:
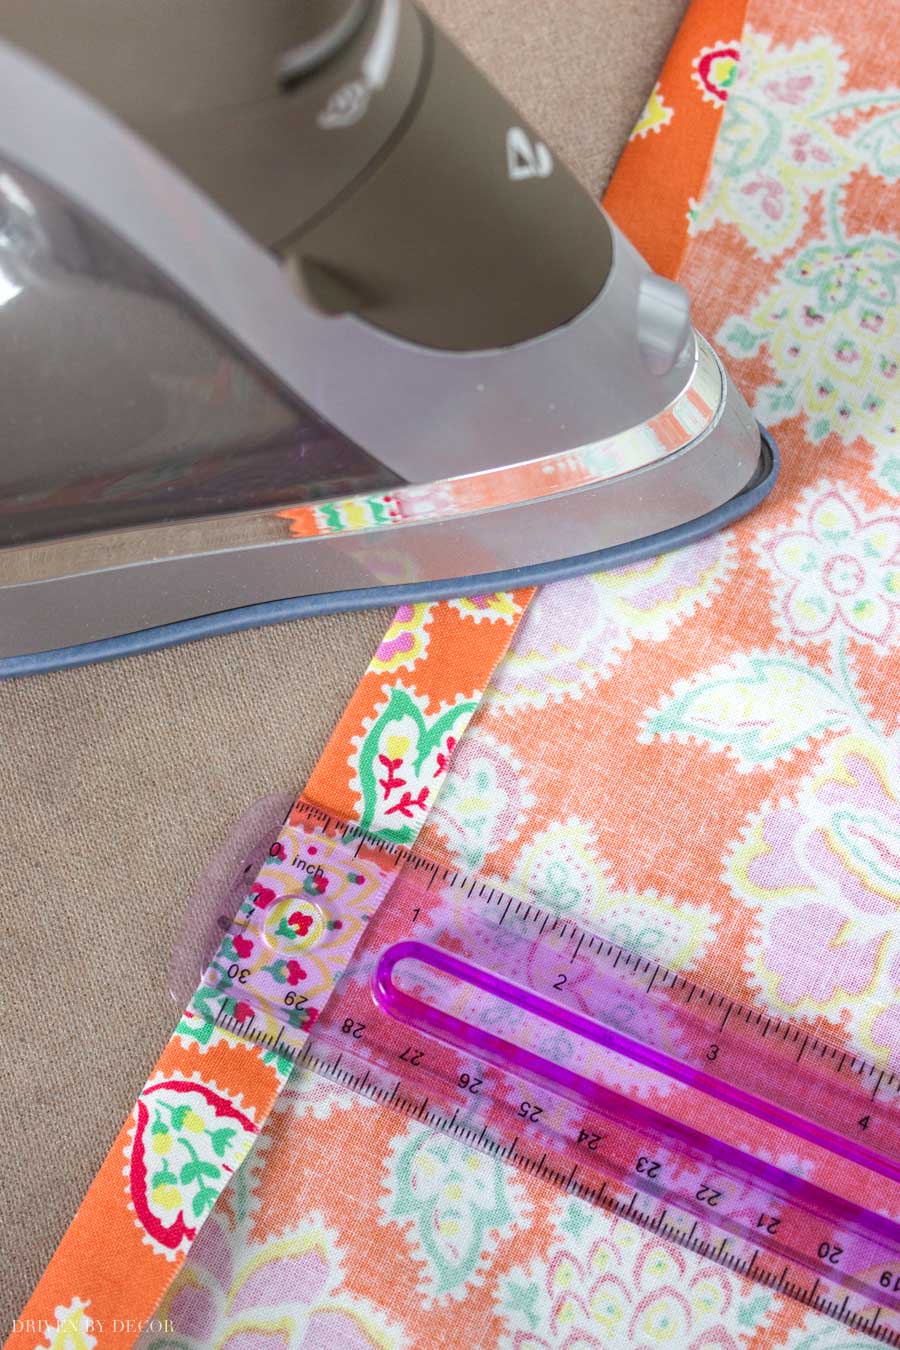
Once you’re done ironing, your piece of fabric will look like this:

Step 3. Bond the Edges
Next, take a length of the Stitch Witchery and place it under one of the fabric folds that you just created starting 4” in from each end (so your Stitch Witchery piece should be 8″ shorter than the fabric length):
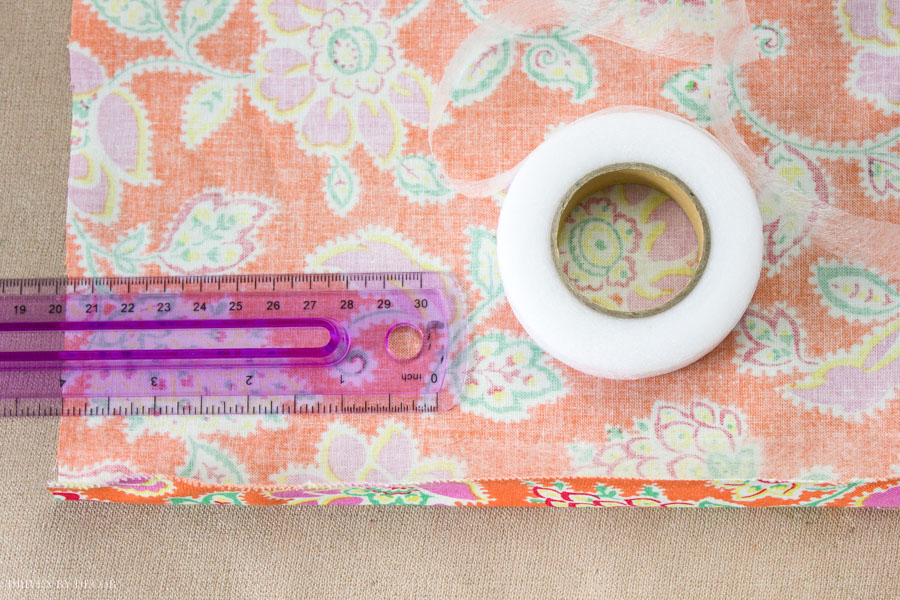
To activate the Stitch Witchery adhesive, place a damp cloth on top of the fold with the Stitch Witchery tucked inside and press with an iron on the “wool” setting for about 20 seconds. Continue bonding the fold down the length of the fabric piece and then repeat on along the length of the second folded edge.
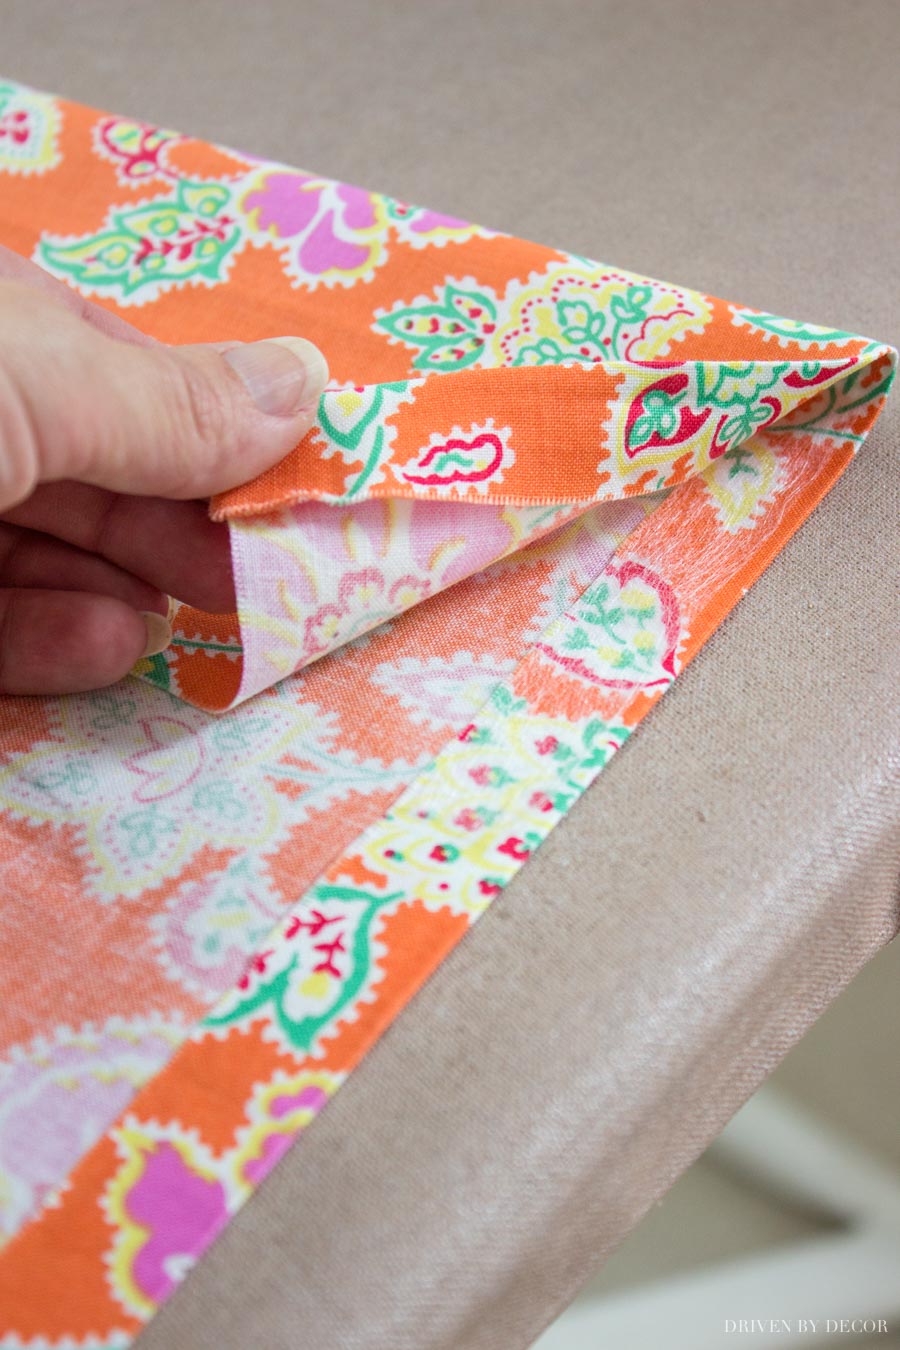
Step 4. Create The Book End “Pockets”
The last step is to create pockets that the book cover can fit into on both ends to keep it in place. To do this, fold your fabric over 4″ from the end and place a 4″ piece of Stitch Witchery inside the t0p of the fold (it’s hard to see the Stitch Witchery but if you look closely you can see a white gauzy area where it’s placed). Bond the fabric using an iron and damp cloth as described above.
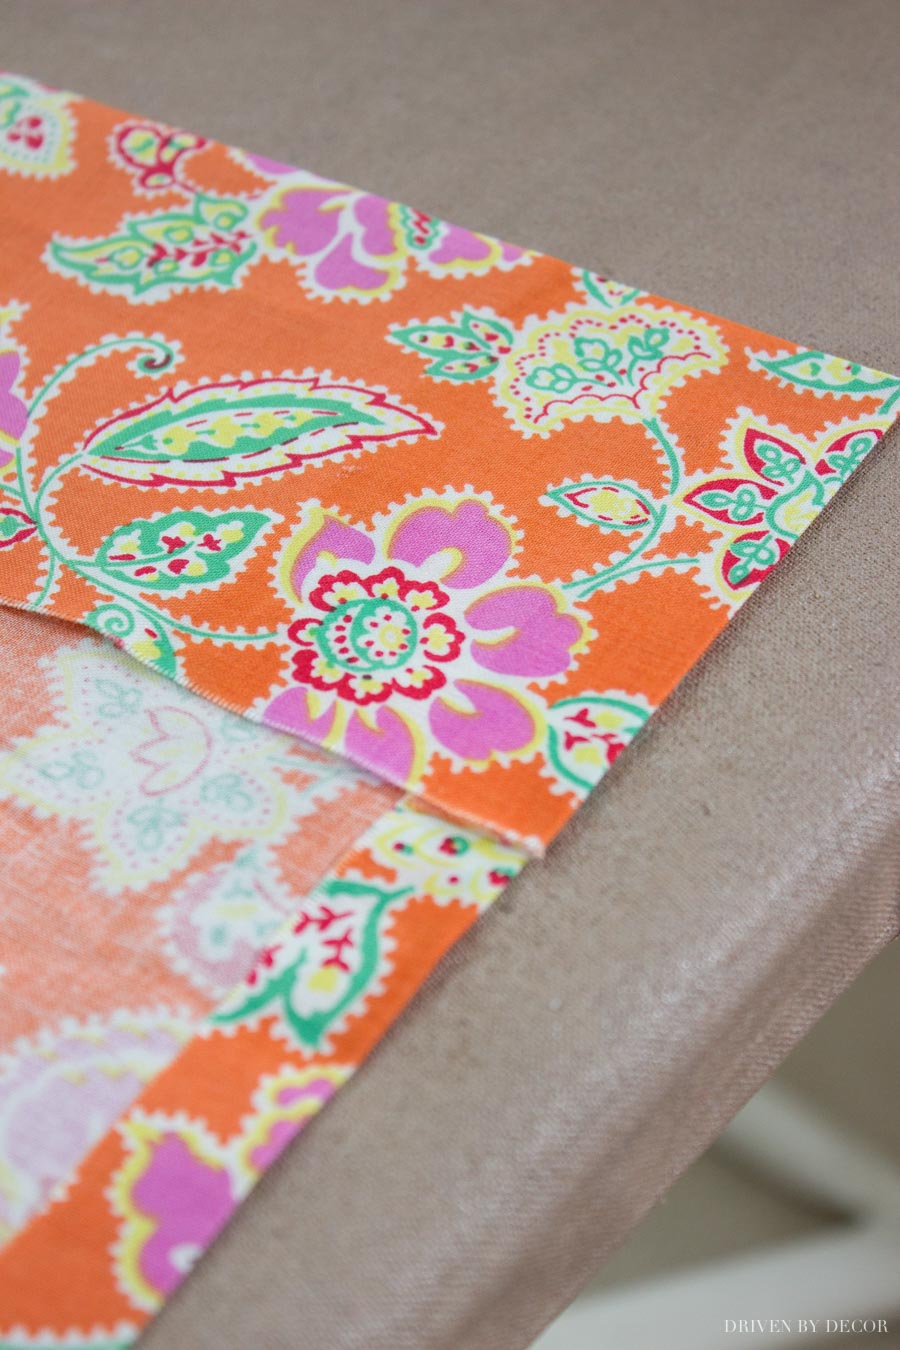
Repeat this with three other 4″ Stitch Witchery pieces – one for the top of the fold and one for the bottom of the fold on each end of the book cover. The finished ends of your book cover will look like this when you’re done:
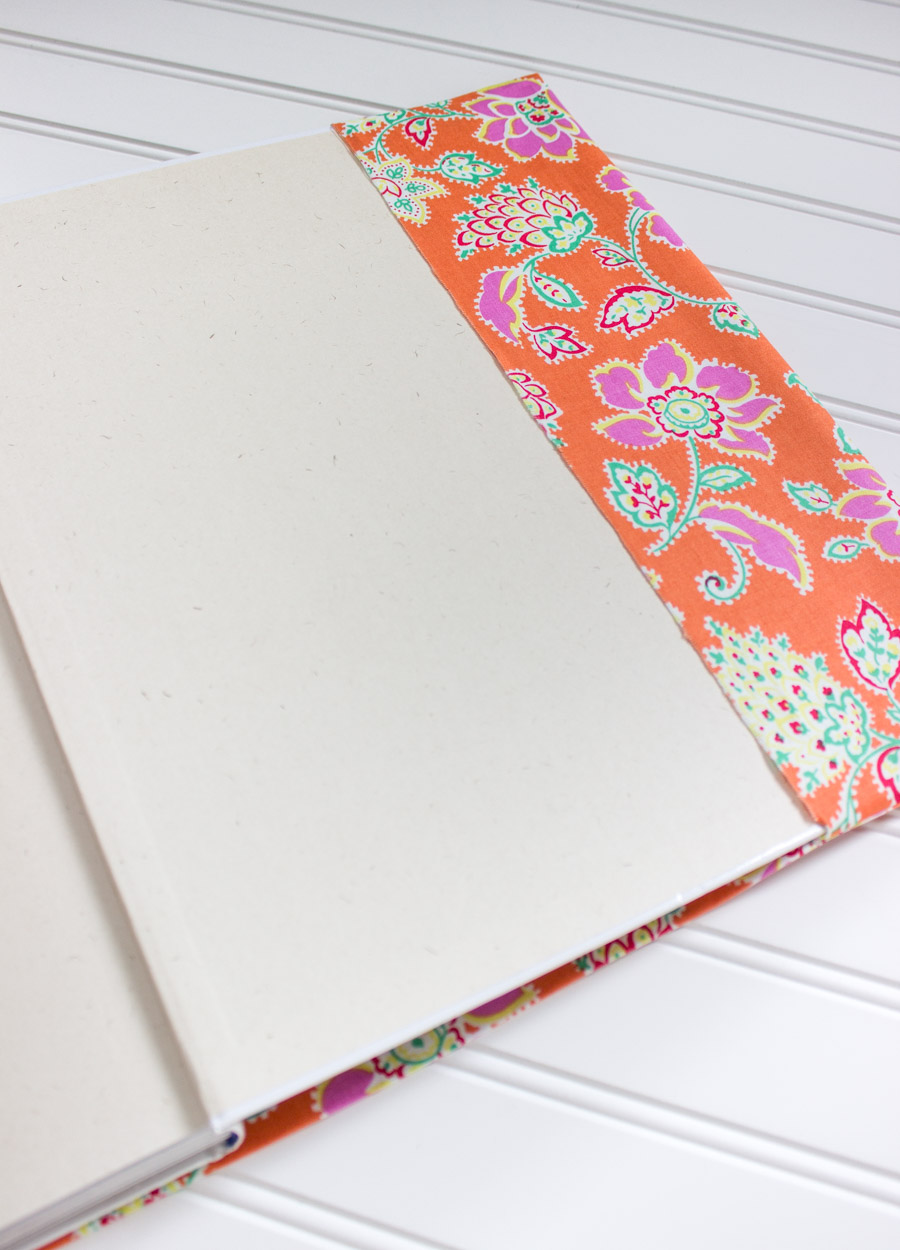
Place the ends of your book into your beautiful new fabric cover – you’re done!
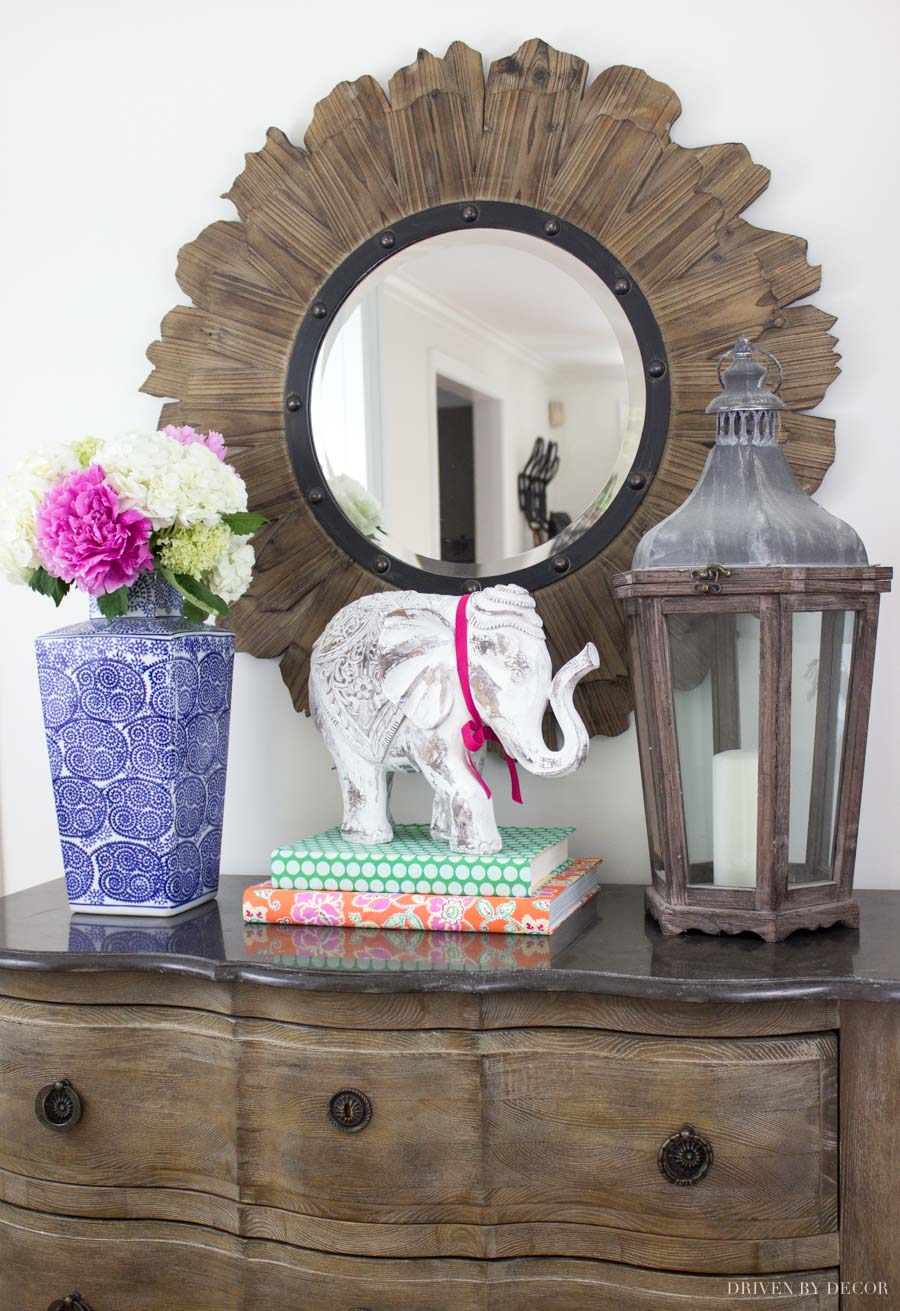
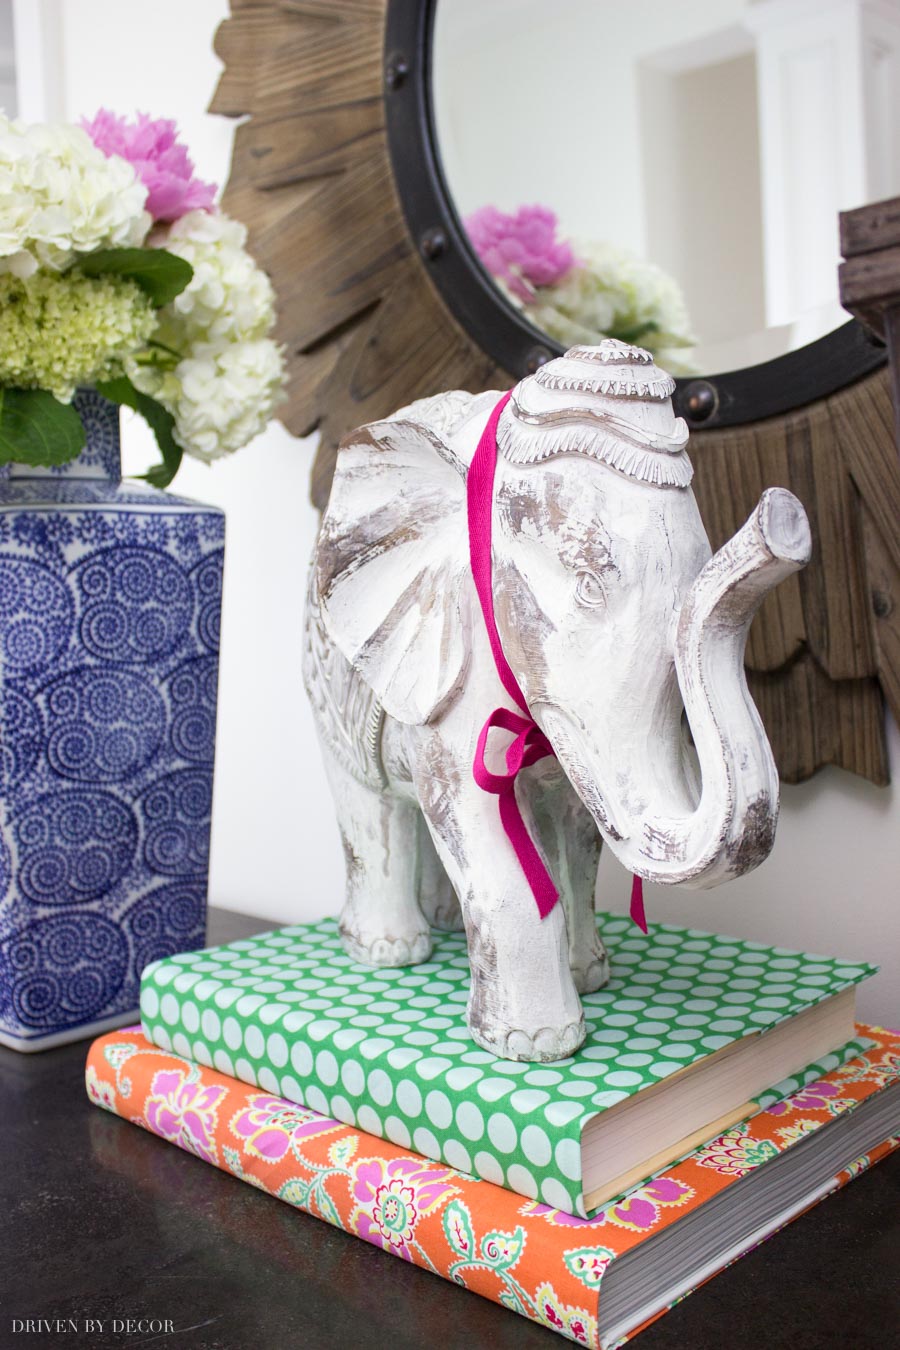
Now all that’s left is to figure out where you’re going to use them! One of my favorite spots for mine is stacked on the entry console in our foyer – I’m loving the colors and patterns to liven the space up for summer:
If you’re working on dressing up your entryway, I have several other ideas to share too! Check out my post on entryway decor ideas!
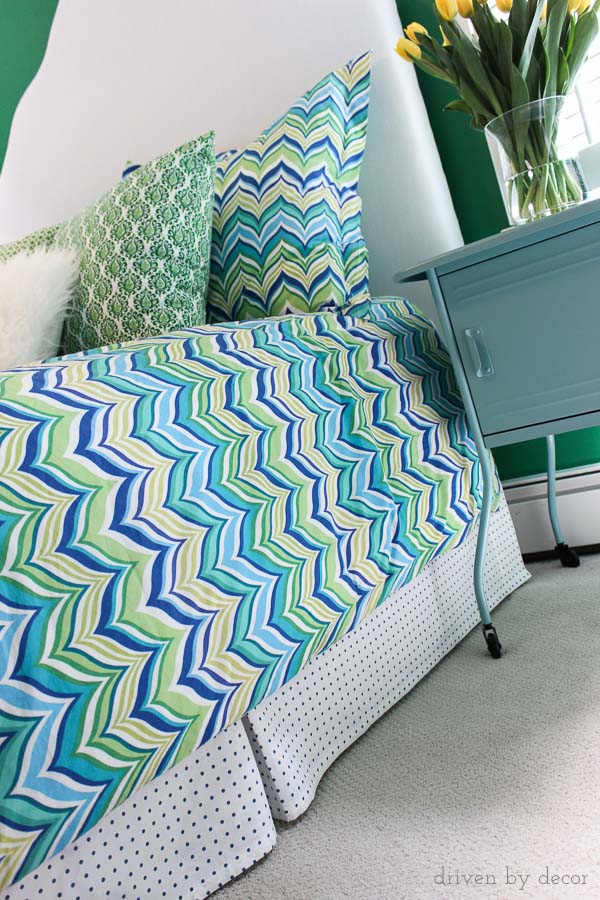
Once you’ve used Stitch Witchery for this project, you’ll be hooked! Since I don’t like to sew, I’ve used it for all kinds of things – check out my post on my no-sew DIY bed skirt:
and creating a fabric pocket for my DIY framed cork board:

Thanks for stopping by,


Sandee says
I’m curious too as the previous poster asked , would these fabric covers work for books that are being in use / opened daily instead of the decorative use you have ? Brilliant idea btw!
Tamara says
I plan on making some fabric covers for some sketch books I have coming in!
They’re plain and I’m hoping to be able to have more customization options, as I can’t really find some cheap fabric book covers I like.
Do you think these will do well if they’d be out an about? I’m a college student and the covers would be touched regularly!
Aluti says
how can you make it without fabric
Holly says
In the 1960s we made book covers from supermarket brown paper bags (we didn’t pay for the bags and plastic wasn’t used). We drew wrote our friends names on them, hearts, cheat notes and of course boyfriends names.
sharon says
Can’t wait to make a few book covers for family friends and myself
Abby says
Thanks for a great tutorial! Made my life easier!
Carol @ CAD INTERIORS says
With my minimal sewing ability, I’ll try a project that involves pretty fabric and no sewing any day! Great mix of fabrics on your books. 🙂
Kris Jarrett says
Thanks Carol! It’s a super easy project that’s perfect for non-sewers like us!
cassie @ primitive & proper says
i LOVE these! so fun and colorful!
Kris Jarrett says
Thanks Cassie – it was a fun project to work on!