A shelf above the TV is a great solution for decorating that blank space in a simple, do-able way! I share all the details on how to do it in this post!
Sometimes I do little house projects that are so simple, they hardly seem “blog-worthy” but the quick and simple projects often seem to be the ones that you guys love best so I’m going to share away with a quickie project that I just did for my mom! She had been wanting to decorate the blank space above their TV for a while now and asked for my help while we were recently visiting them. Today I’m sharing the details of adding a shelf above her TV and exactly how we did it. (post includes affiliate links; full disclosure statement available {here})
If you’ve seen my family room makeover, you know that I took kind of a “go big or go home” approach to decorating the TV wall in our own home:
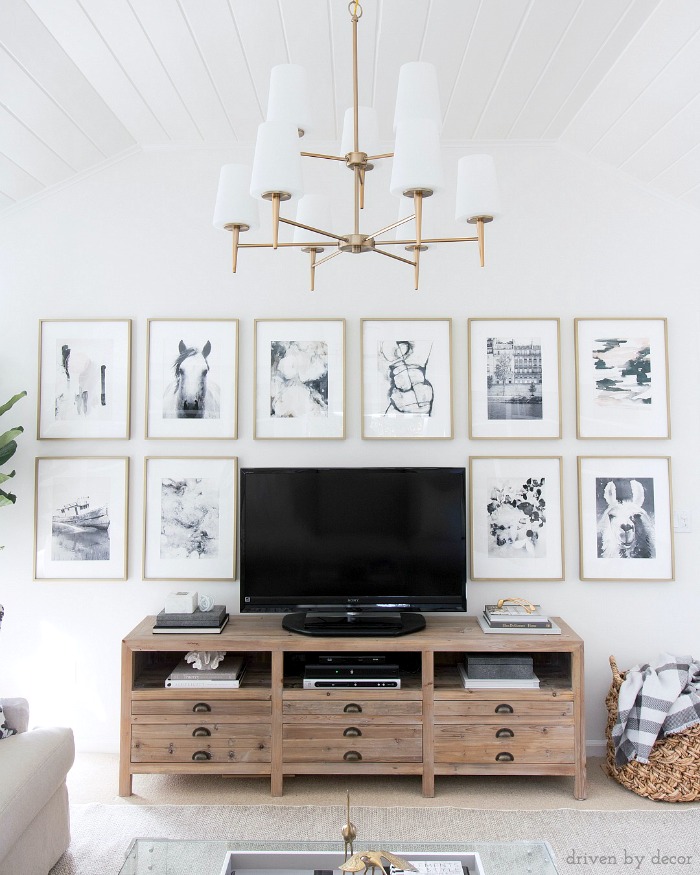
Scroll & Click/Tap to Shop Our Family Room:
But the situation with my parents’ TV is totally different than mine because theirs is on a much smaller wall and sits on a media console that’s almost two feet shorter than mine. A simpler solution that didn’t overwhelm their TV and stand was definitely in order! Here’s a visual of where things started
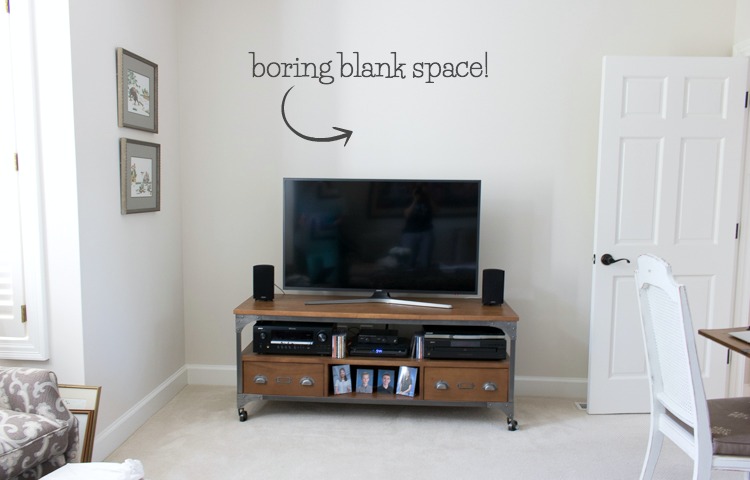
Note: their media console is no longer available. Here are some other options I love (Scroll & Click/Tap to Shop):
The door to the right leads out to the hall and is pretty much always left open so the TV stand is centered between the open door and the corner. My mom had collected and framed several art prints from their travels over the years that she wanted to display in this spot so we already had all of the art we needed and just had to decide on a way to display it. We talked about several options but decided to go with a super simple approach of a shelf above the TV. We did it using {this} single 48″ black ledge shelf (which also comes in other lengths and colors, including white and two wood tones).
A few quick tips about choosing and hanging ledge shelves above a TV:
- A good width for a single ledge shelf above a TV is one that’s longer than the TV but shorter than the TV stand it’s sitting on. Ours was about 4″ longer than the TV which was workable but a few inches longer would have been ideal.
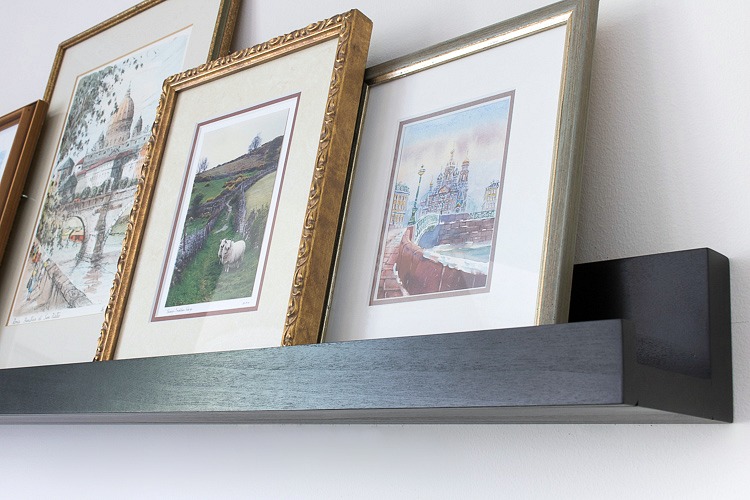
- Pay attention to the depth of the ledge shelf because it varies a lot from shelf to shelf! Make sure there’s enough depth to accommodate overlapping frames or whatever it is you plan to display.
- Hang your ledge shelf low enough to your TV that it doesn’t appear to be floating on its own in no-man’s-land but high enough that you’re taking up a chunk of that bare space you’re trying to decorate/fill. The method I use for determining the best shelf height is super scientific…
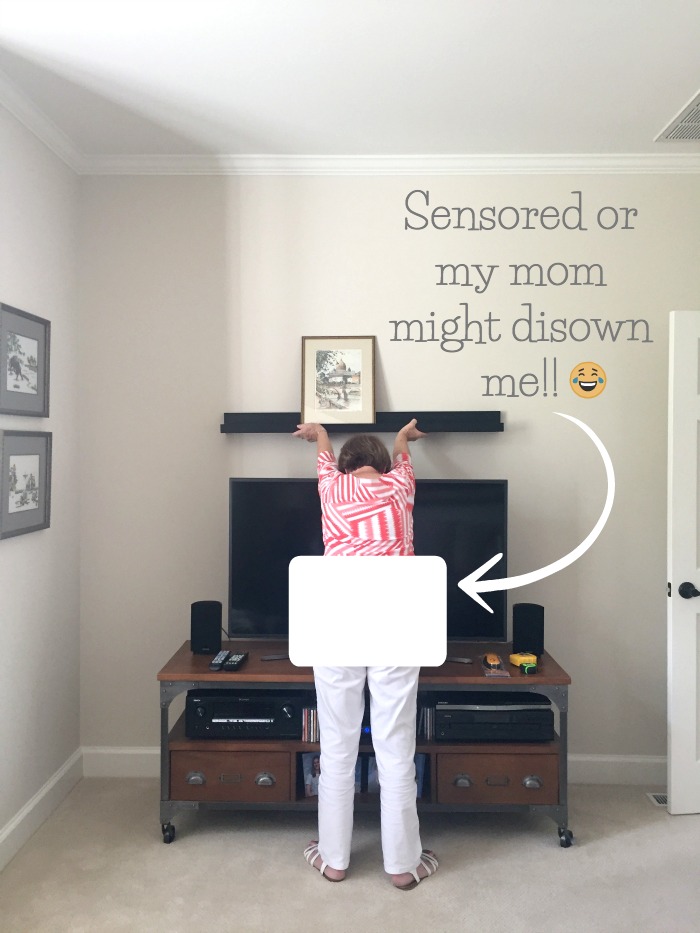
Yep, my mom held the shelf up while I stood back and eyeballed the right height, took a quick iPhone pic to make sure she agreed, and then marked the height on the wall with some blue painter’s tape. Like I said… very scientific stuff here! (our ledge shelf ended up about 8″ above the TV in case you were wondering)
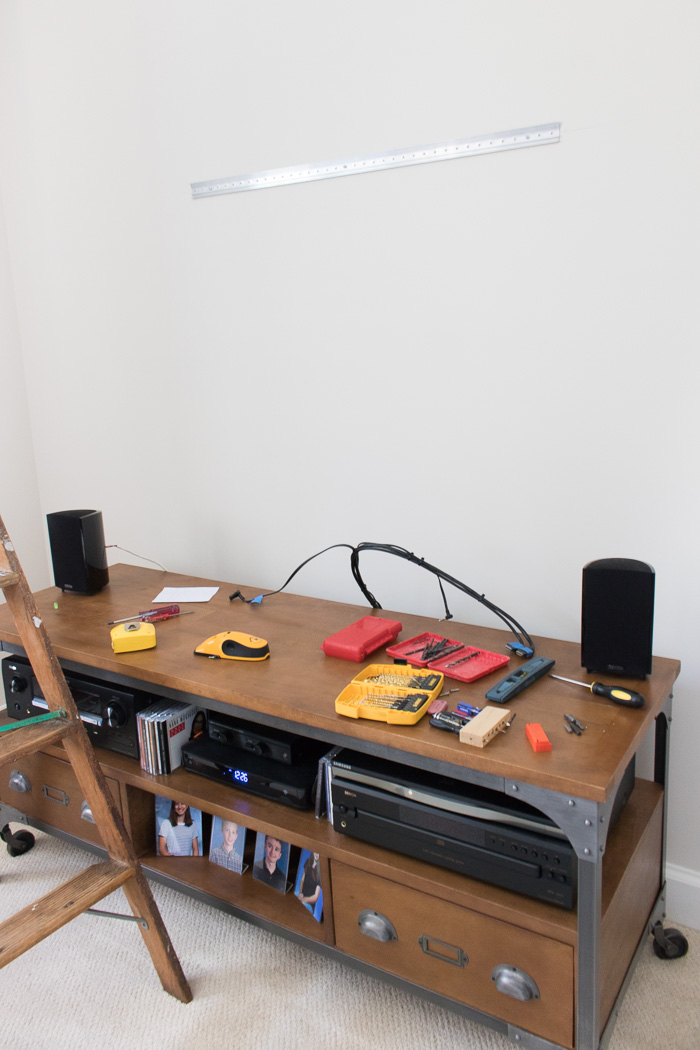
After figuring out our shelf height, we moved the TV out of the way, got out a few tools, and went to work! Our ledge shelf went up by simply attaching a metal strip to the wall (finding two studs is key!) that a matching metal strip on the back of the ledge shelf slides on top of, securing the shelf to the wall.
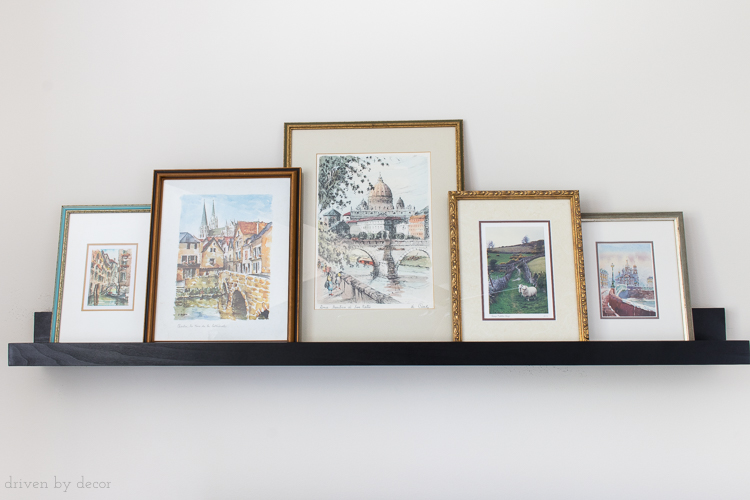
Once the ledge shelf was hung above the TV, I played around with different arrangements of the framed prints that my mom had collected, chose five that I thought looked nice together, and arranged them on the ledge shelf. We also found a better display area for her grandkid photos and added one of {these baskets} to the bottom of her console. That bare wall quickly went from this:
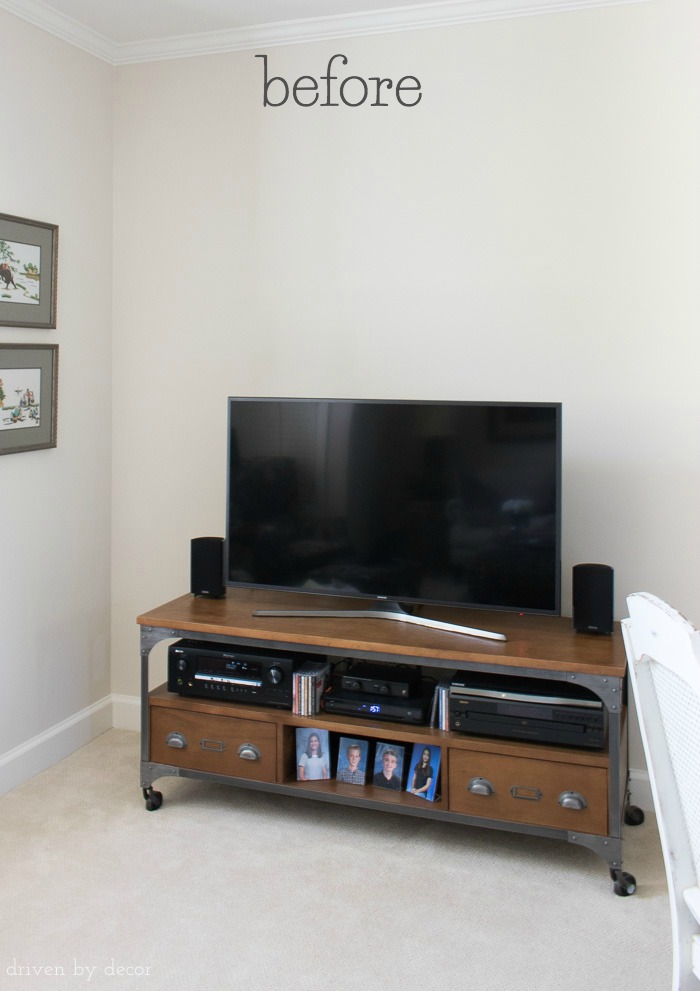
to this:
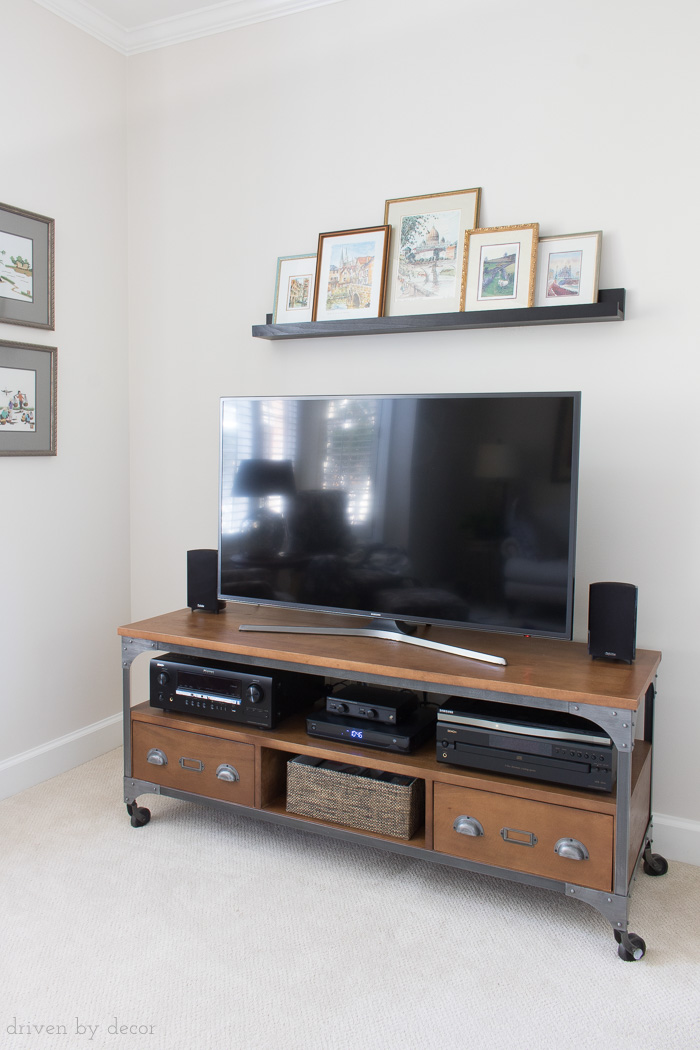
Super simple but nice, right?! Looking from the side you can see how the pictures are nestled securely inside so there’s no chance of these babies falling on the TV:
And even though the frames on each print are totally different, I think they all work well together. Overlapping the frames a bit rather than just leaning them all against the wall side by side is key for a more interesting, collected look!
That’s all for this quick project but I have another project I can’t wait to share with you all next week – my painted tile floors (Update: Check out my painted tile floor {here})! Enjoy your weekend everyone!


