Is your pantry a mess? These six pantry organization ideas will get it whipped into shape in no time!
If you have your fair share of expired food lurking in the back of your pantry or you just want to get your pantry more organized and functional, this post’s for you! To catch up anyone who’s new here, our old kitchen had a teeny pantry that led me to figure out some great ways to organize it and keep it organized so everything was easy to find. We did a down-to-the-studs massive kitchen renovation about two years ago (check out our kitchen remodel before and after if you missed it) and while my pantry got a major upgrade, I still use the same six organizing ideas.
Today I’m sharing those six ideas with you! (post includes commissionable links; for more information, see my full disclosure statement {here})
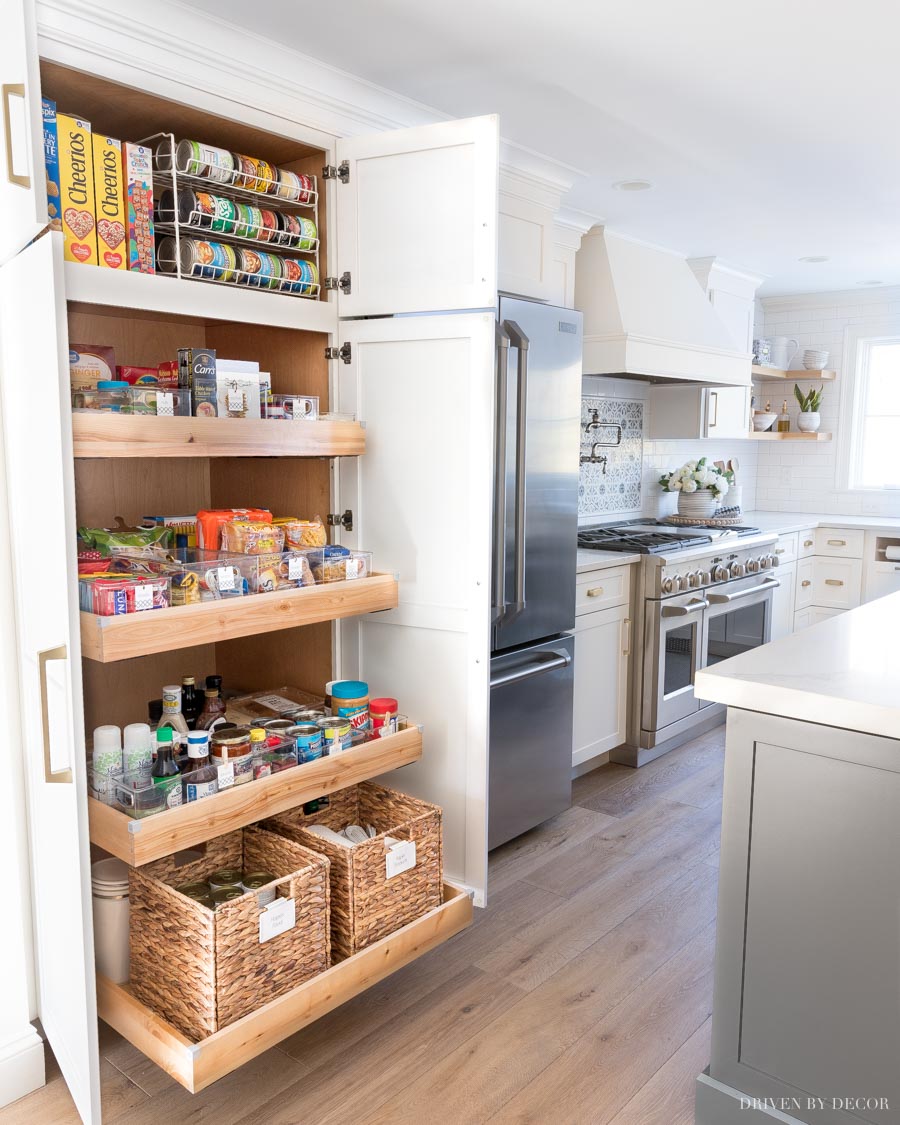
1. Group Similar Foods Together in Bins
My #1 tip for getting your pantry organized and keeping it organized is to use bins to group certain types of food together such as sauces, crackers, pasta, snacks, etc. It’s especially helpful for things in plastics bags and wrappers like chip bags and snack bars that can’t stay upright on their own. Clear bins are ideal because you can see everything inside of them:
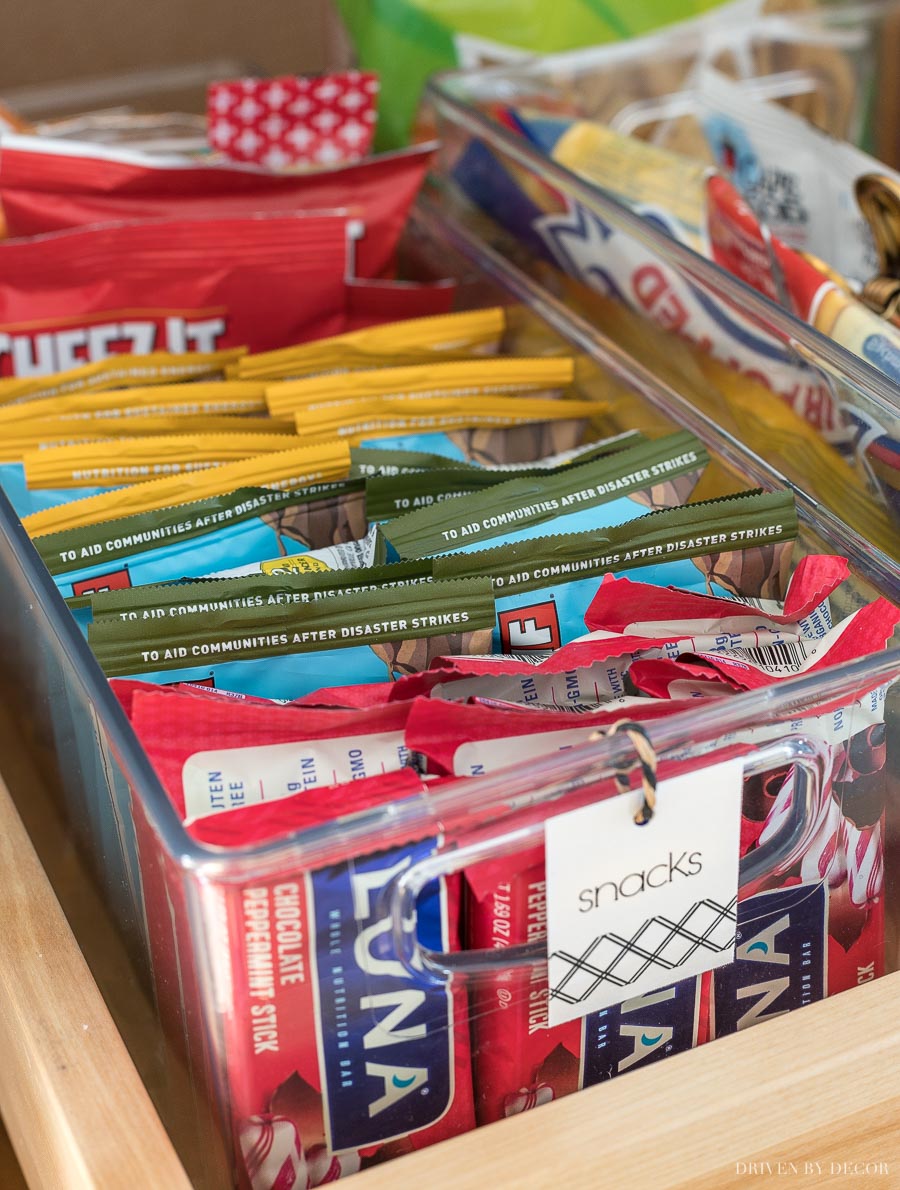
Choose the size of bin that you expect that group of food to typically take up in your pantry. I’ve found that for most things, deep bins that are 5-6″ high work best.
I have several different sizes in my pantry including two of {these medium bins} for “sauces” bin and the bin behind it, four of {these large deep bins} for “baking”, “nuts”, “rice & pasta”, and smaller “snacks”, three of {these x-large bins} for “breads”, “crackers” & larger “snacks”, one of {these medium handled bins} for “spreads” bin, one of {these large handled bins} for “soups” (I have the handles turned to the back for my handled bins).
If you have pull-out drawers like me and find that some of your bins shift around with repeated opening and closing of the drawers, a piece of non-skid shelf liner like {this} under the bin will help keep them in place (a remnant from a non-skid rug pad works too!).
2. Take Advantage of Vertical Space with Tall Baskets
I recently added a pair of {these 12″ square woven baskets} to the bottom shelf of our pantry and it gives me a good bit of extra space to stack things that would otherwise fall over when pulling the shelf in and out:
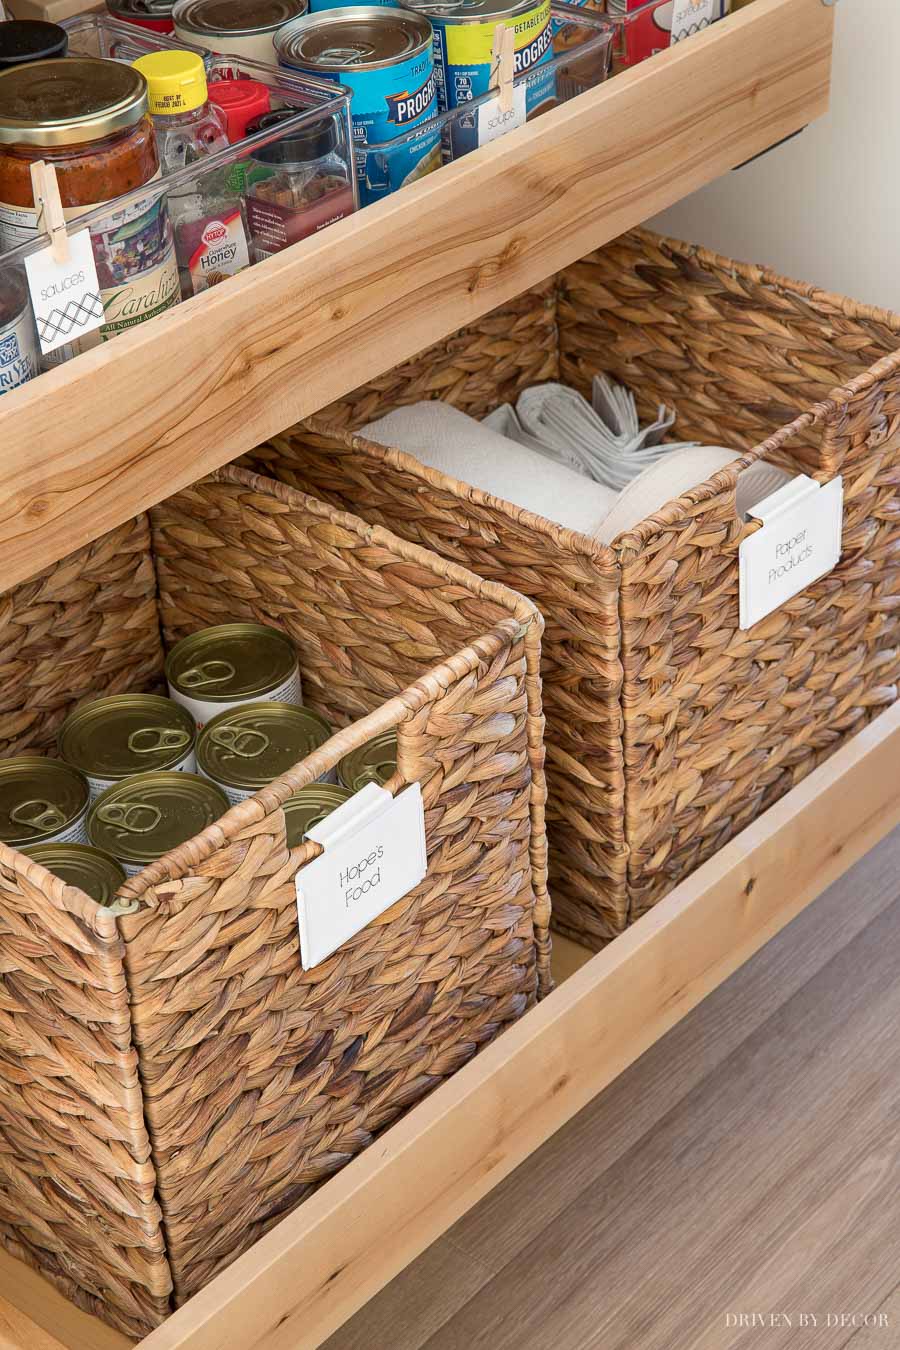
The basket on the left holds canned dog food and the basket on the right holds garbage bags, napkins, paper plates, and a few other things. The baskets are completely foldable which is great for if you ever need to store them.
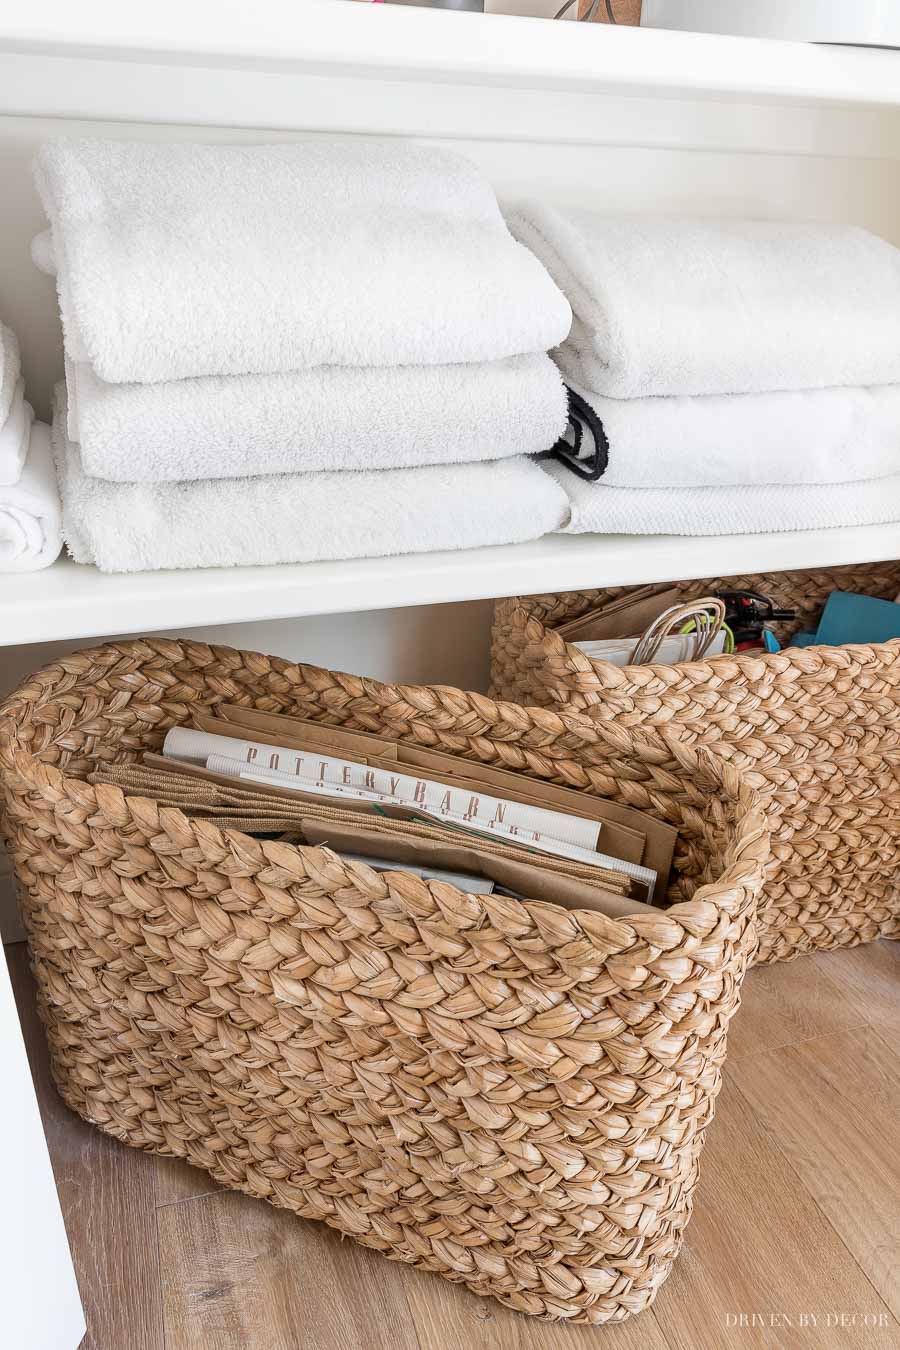
And for those of you who have shallow pantries with fixed shelves, {these Beachcomber console baskets} are awesome for tall storage. I use a pair of them in the bottom of our kitchen closet to store our paper shopping bags and reusable grocery bags:
3. Make Everything Easy to See with Lazy Susan Turntables
Lazy Susan turntables like {this one} that I have in our pantry work great for making everything easy to see and access since you can give them a quick spin to see what’s in back instead of having to dig around and lift bottles up one by one to get what you need:
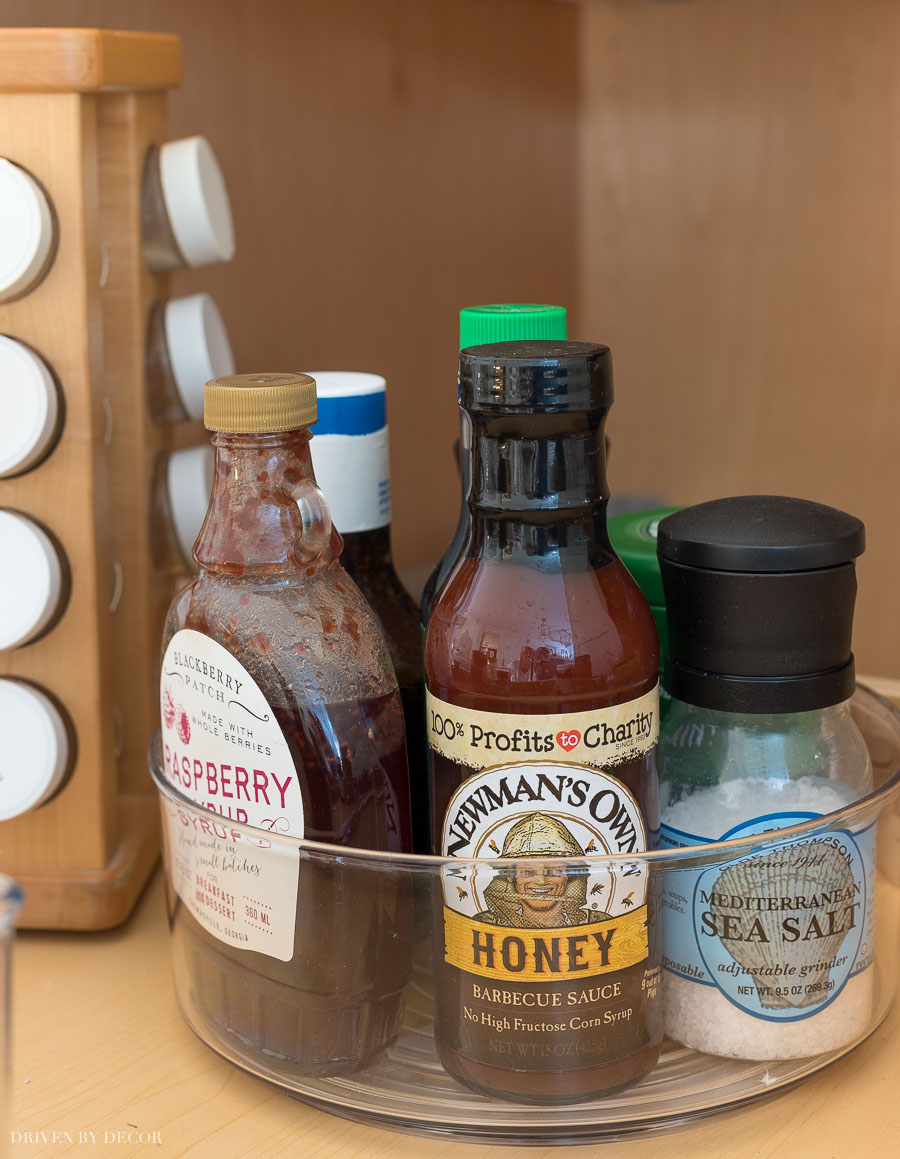
They’re not as necessary for pantries with pull-out shelves since you can see to the back more easily but in our previous pantry with fixed shelves, they were invaluable! I like turntables with 3-4″ sides so nothing falls off when you spin them. And unless you’re using them for small things like snack bars, I like the nondivided spinners (some are divided into sections inside) because you can fit more in them.
Using lazy Susans is one of the home organization ideas you can use outside of the kitchen too! They’re useful under bathroom and kitchen sinks, in your refrigerator, and in your laundry room.
If you keep your spices in your pantry, consider a spinnable organizer for that too! While I keep a few of my most commonly used spices in small containers by my stove, I store my larger bottles in a revolving spice rack at the back of one of my pantry shelves (I took it out to photograph so you could see it better!):
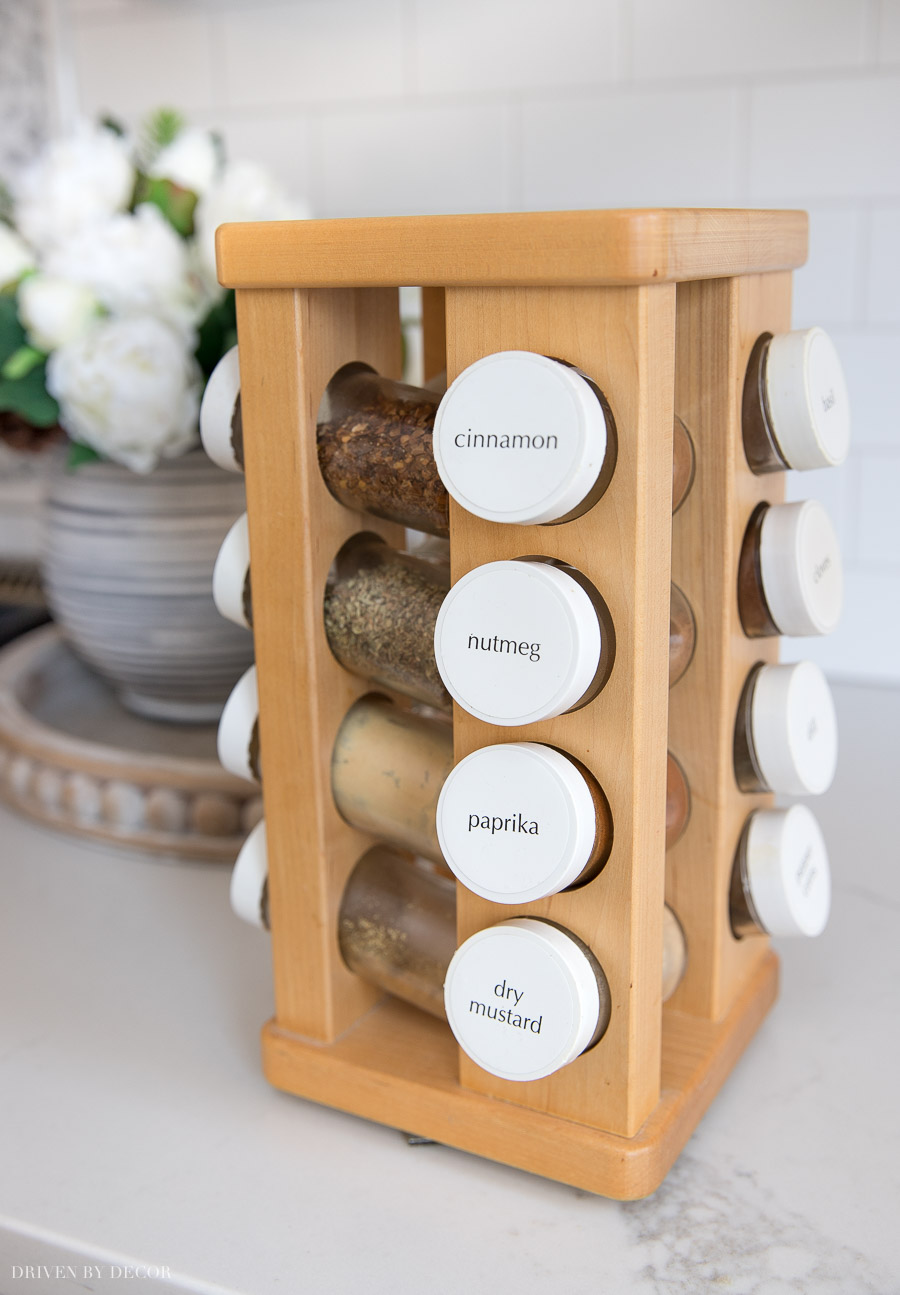
I don’t have a link to this exact one because I’ve had it forever (it was actually a wedding gift!) but {this revolving spice rack} looks identical.
4. Create Extra Storage Space Under-Shelf & Back-of-Door Storage
The design of the pull-out shelves in our current pantry doesn’t allow me to use any clever under shelf storage tricks but in our old house with typical fixed wood shelves in our pantry, {these under-shelf baskets} were awesome:
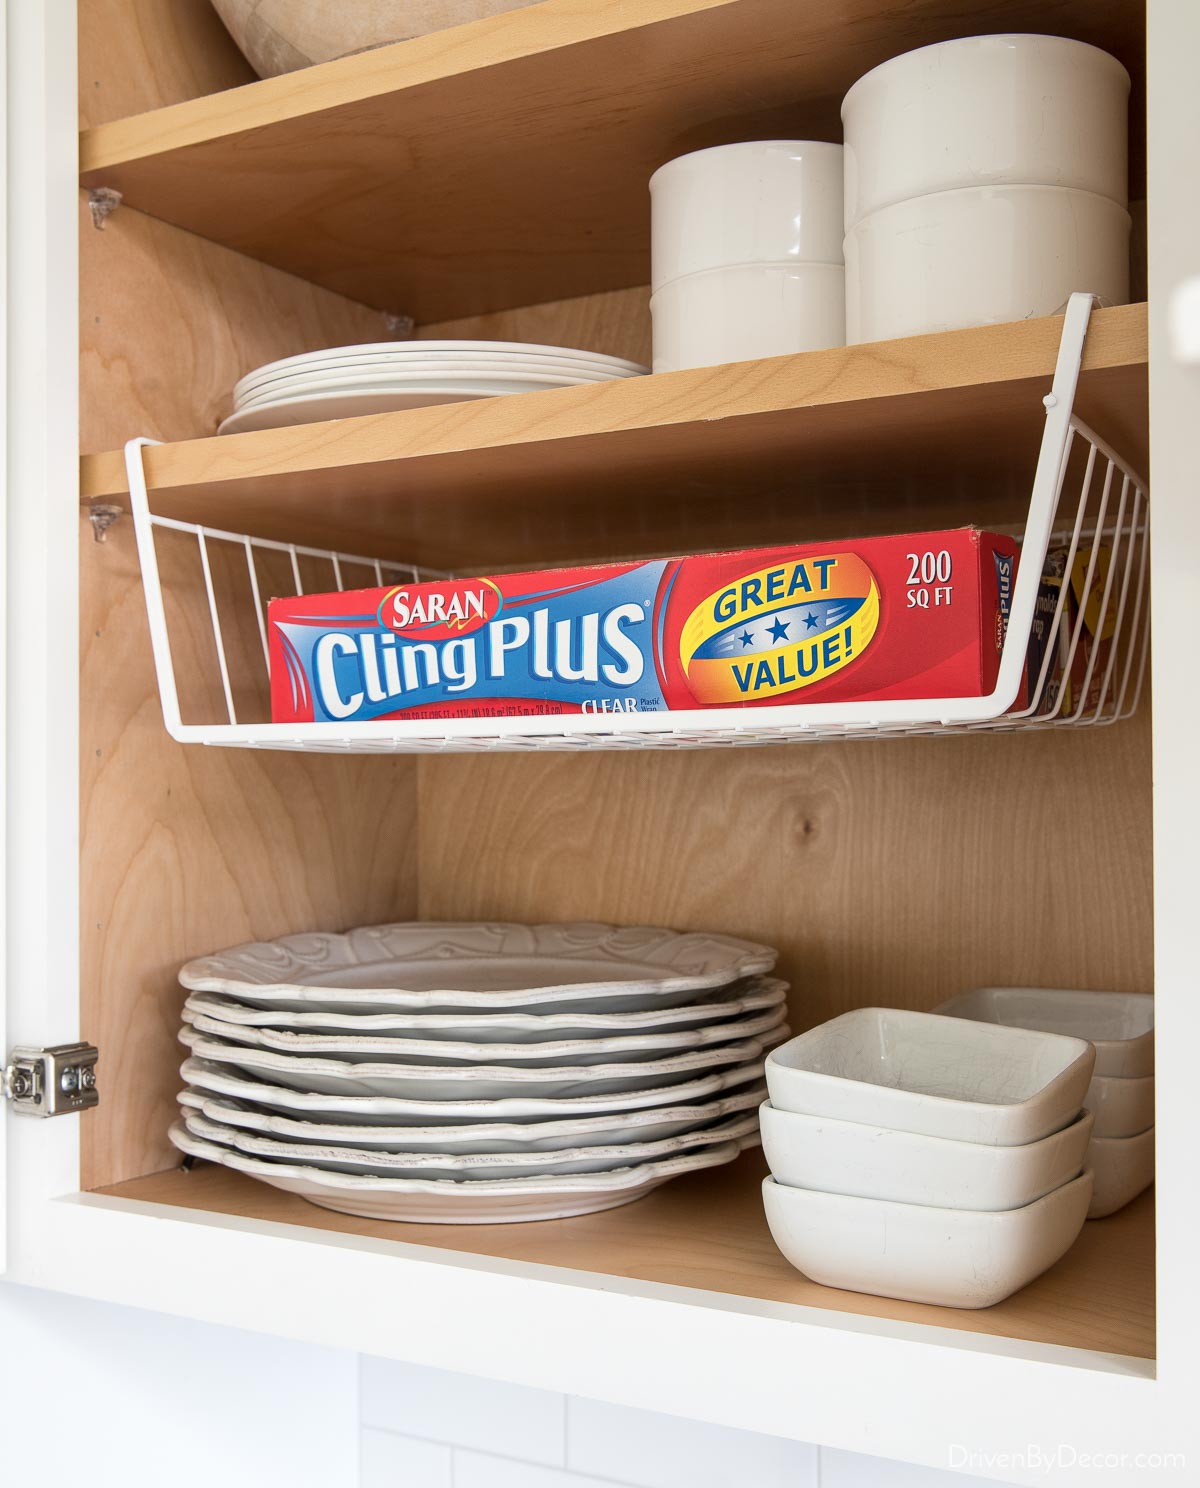
I had one that held my wraps and foils and another that held my loaves of bread and bagels. You can also use them in your cupboards or refrigerator and they’re great for linen closets too!
And if you have enough space behind your pantry door to allow for it, one of {these door racks} can give you a TON of extra space. In our previous house, I actually used our old behind-the-door VHS tape storage rack on the back of our pantry door (I’m totally dating myself here!) and it worked great too.
5. Rack Up Your Cans!
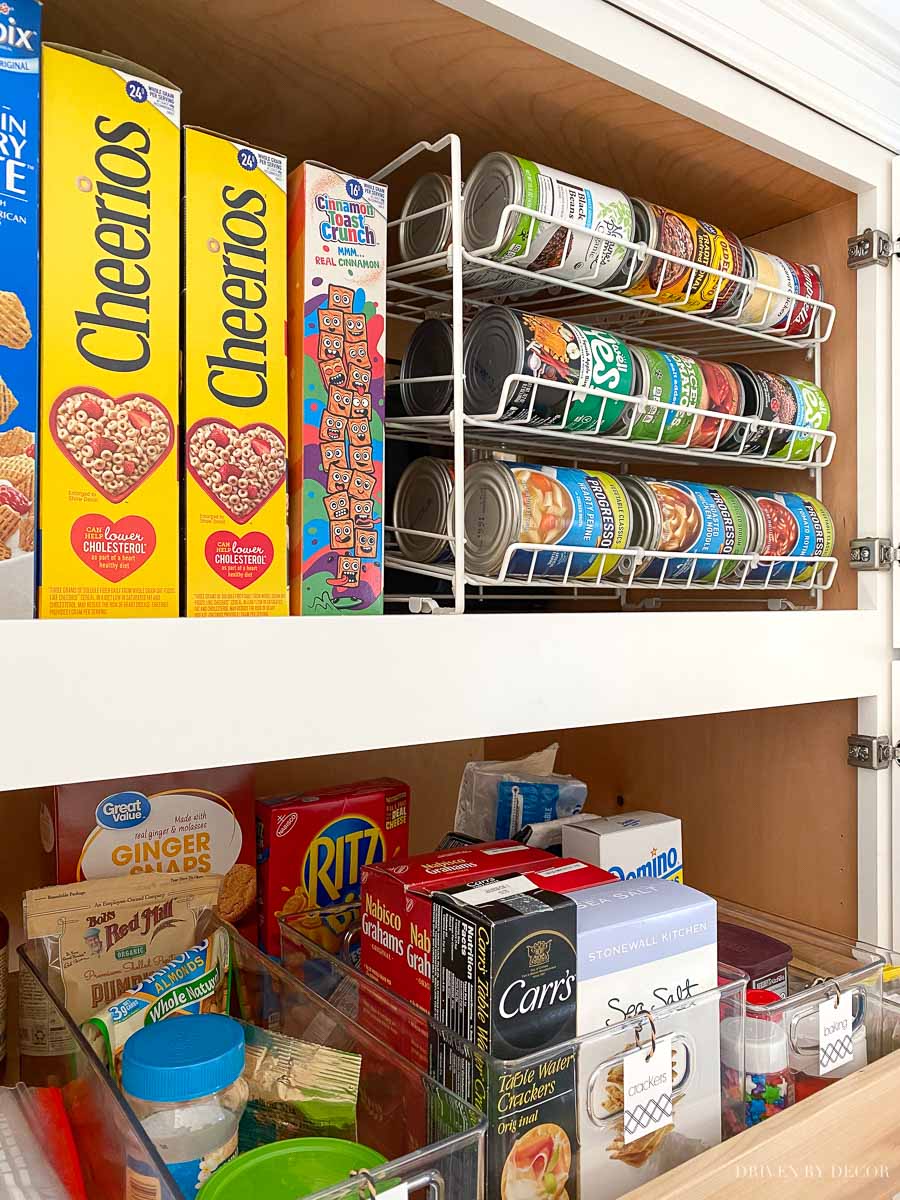
If you keep a lot of canned goods in your pantry, a great way to store them so you can pack a lot in yet keep them easy to access is with a can rack organizer such as {this one} in our pantry:
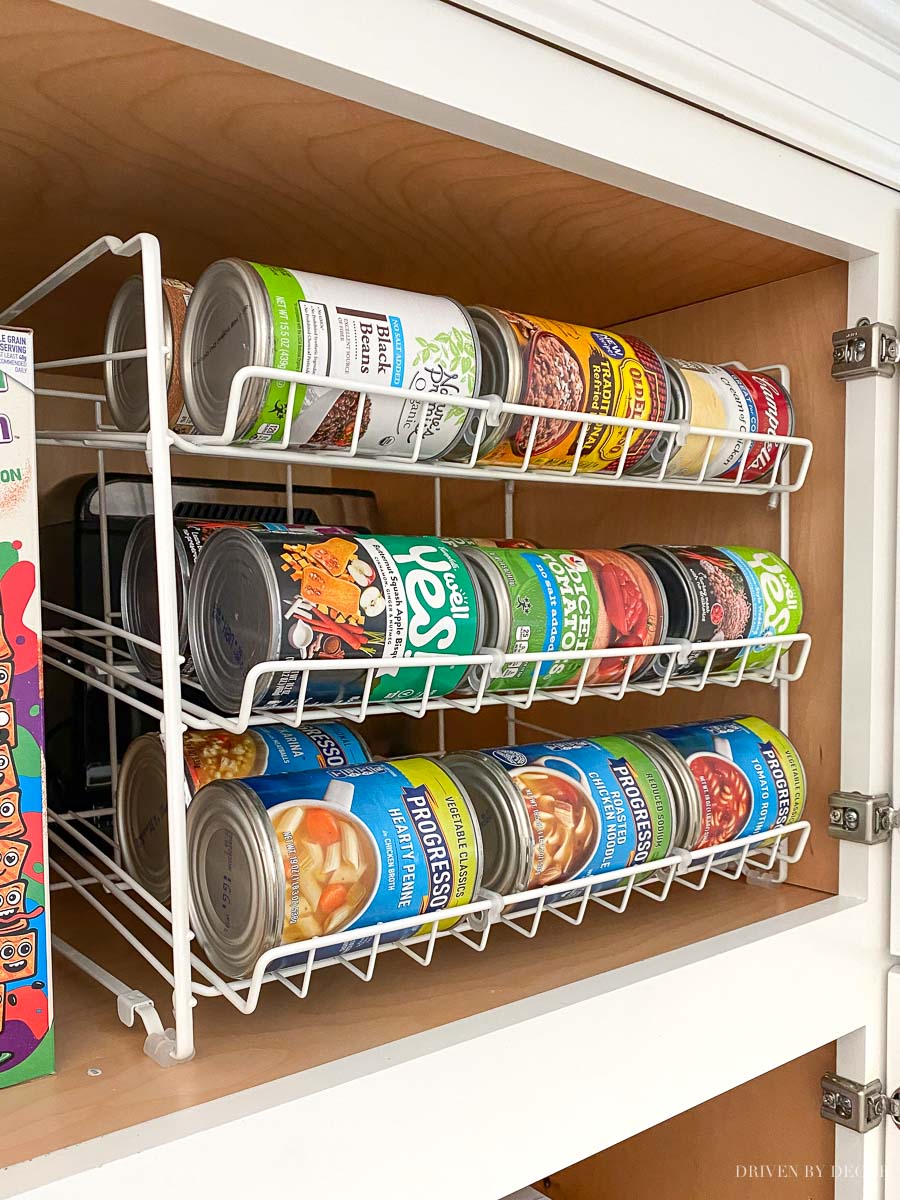
There’s room for a TON of cans – you can fit nine of the larger cans like the Progresso soup size on each row (27 total cans on the rack) or twelve smaller cans like Campbells (36 total cans on the rack). If you don’t have that many cans, you can just use two of the shelves for cans and remove the dividers from the third shelf to store something else.
I have mine in our cabinet above the main pantry cabinet and even that high up I can still reach all three shelves on the rack:
6. Keep it All Organized with Labels!
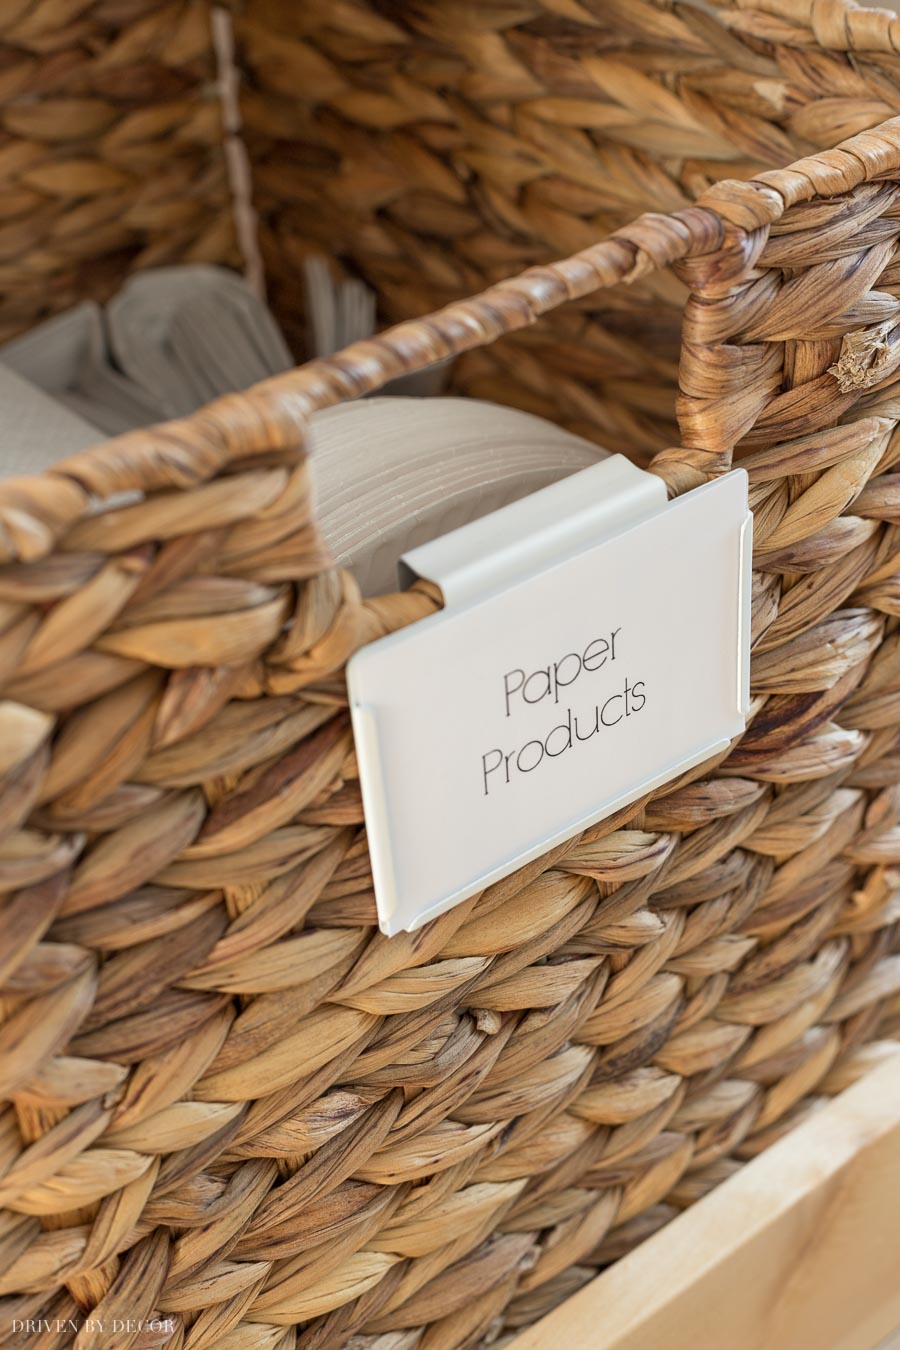
Now that you’ve organized your pantry, you want to KEEP it organized right?! Labels will help! I never used labels in our pantry until I went on a pantry organization spree following our kitchen remodel (I used to think they were kind of excessive and un-necessary). But I’ve completely changed my tune after having them for a few years now – it helps keep my family from messing it up within a few days of me whipping it into shape because everything has a clear home.
I have {these bin clip label holders} on my two woven baskets:
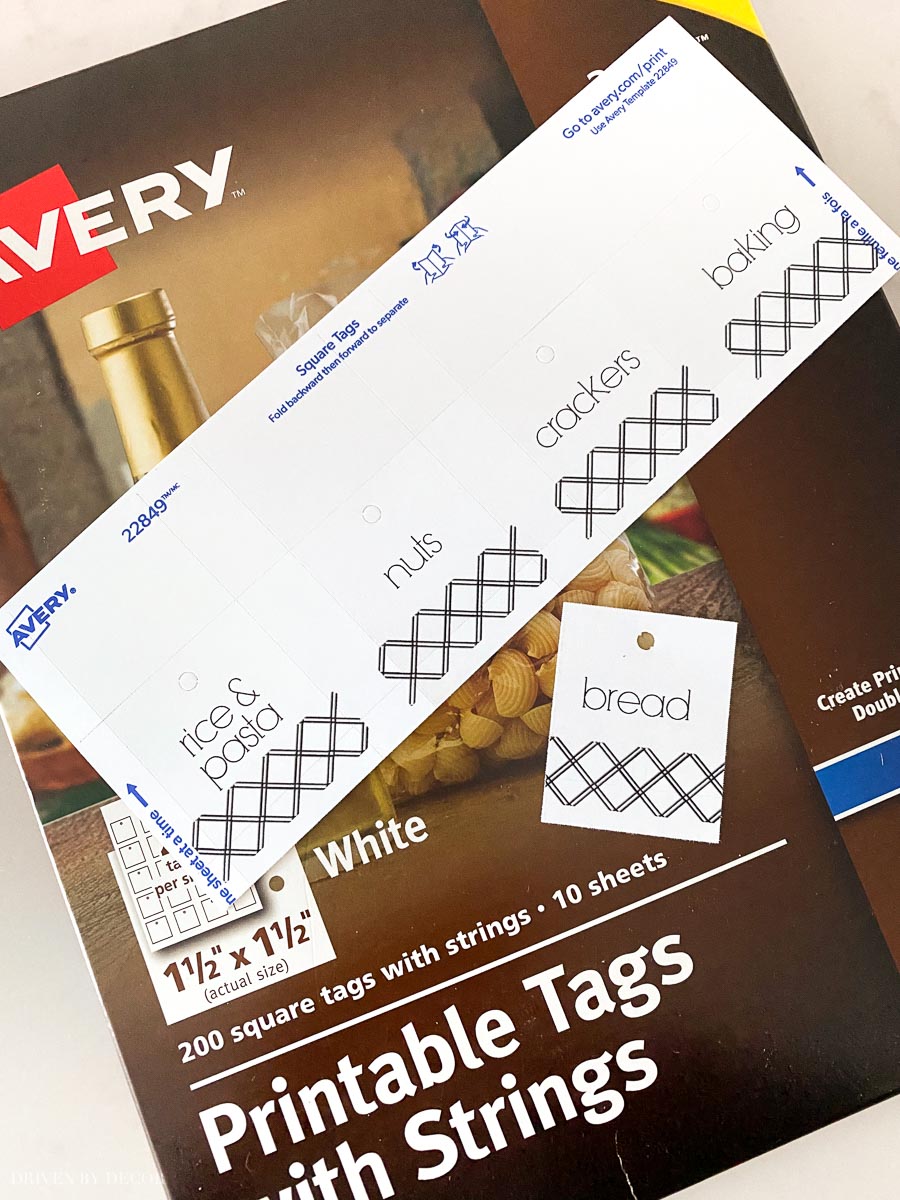
And printed out these smaller tags for my bins:
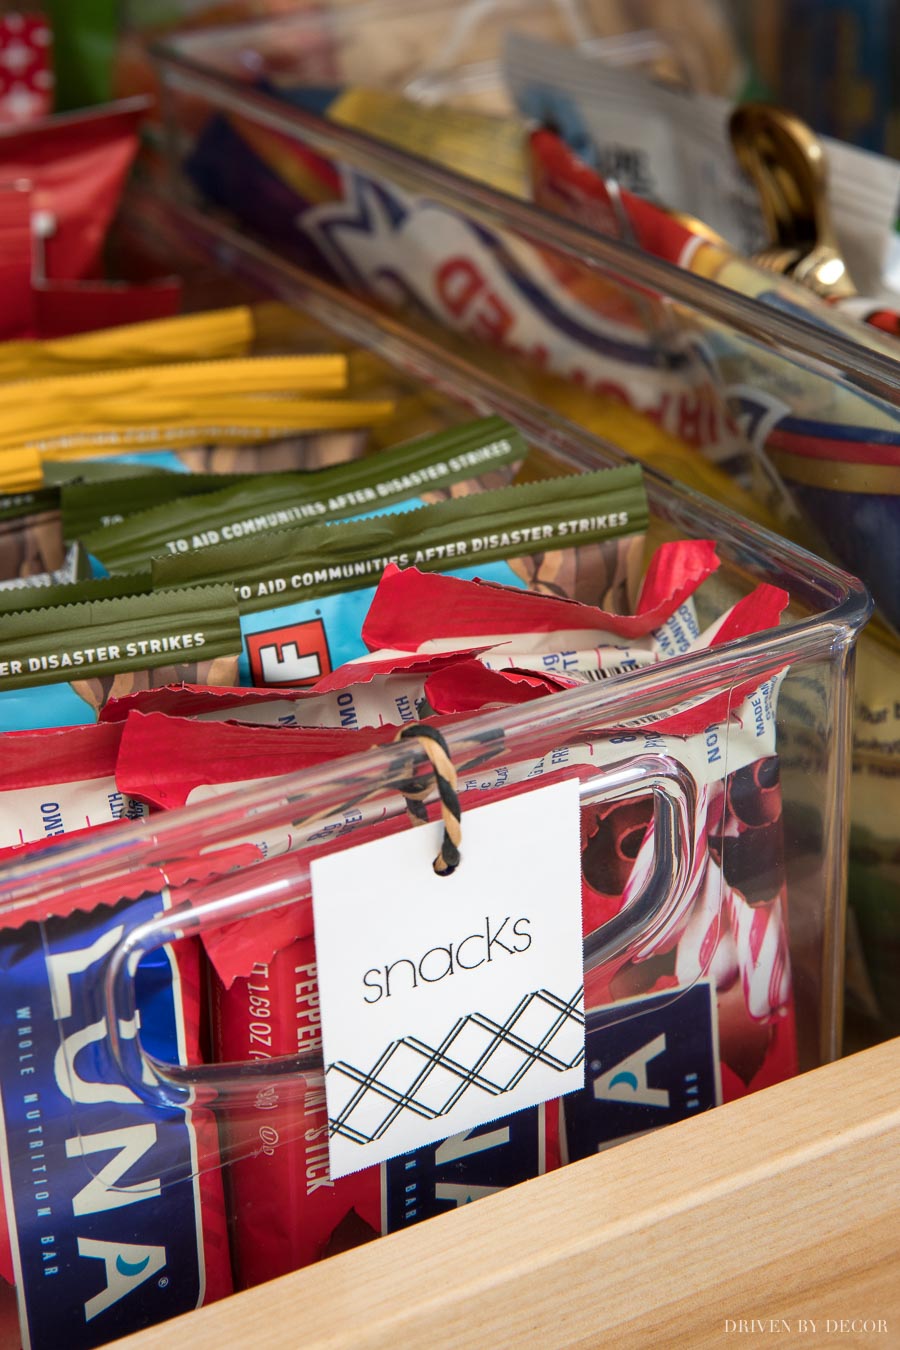
Most of my bins have handles that I just tied the tags onto but for those that don’t, I used some of {these small clothespins} to clip them on:
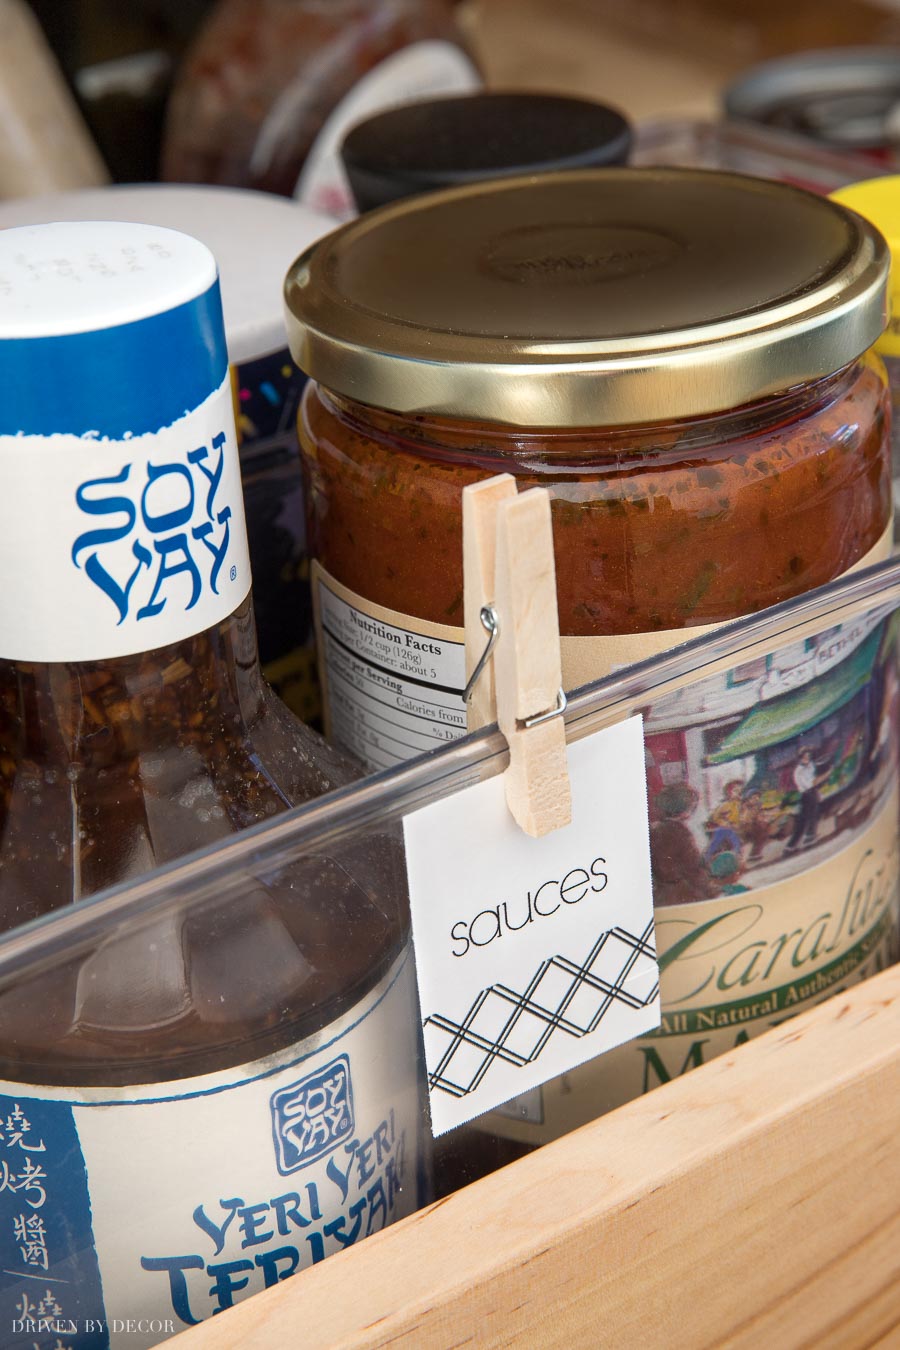
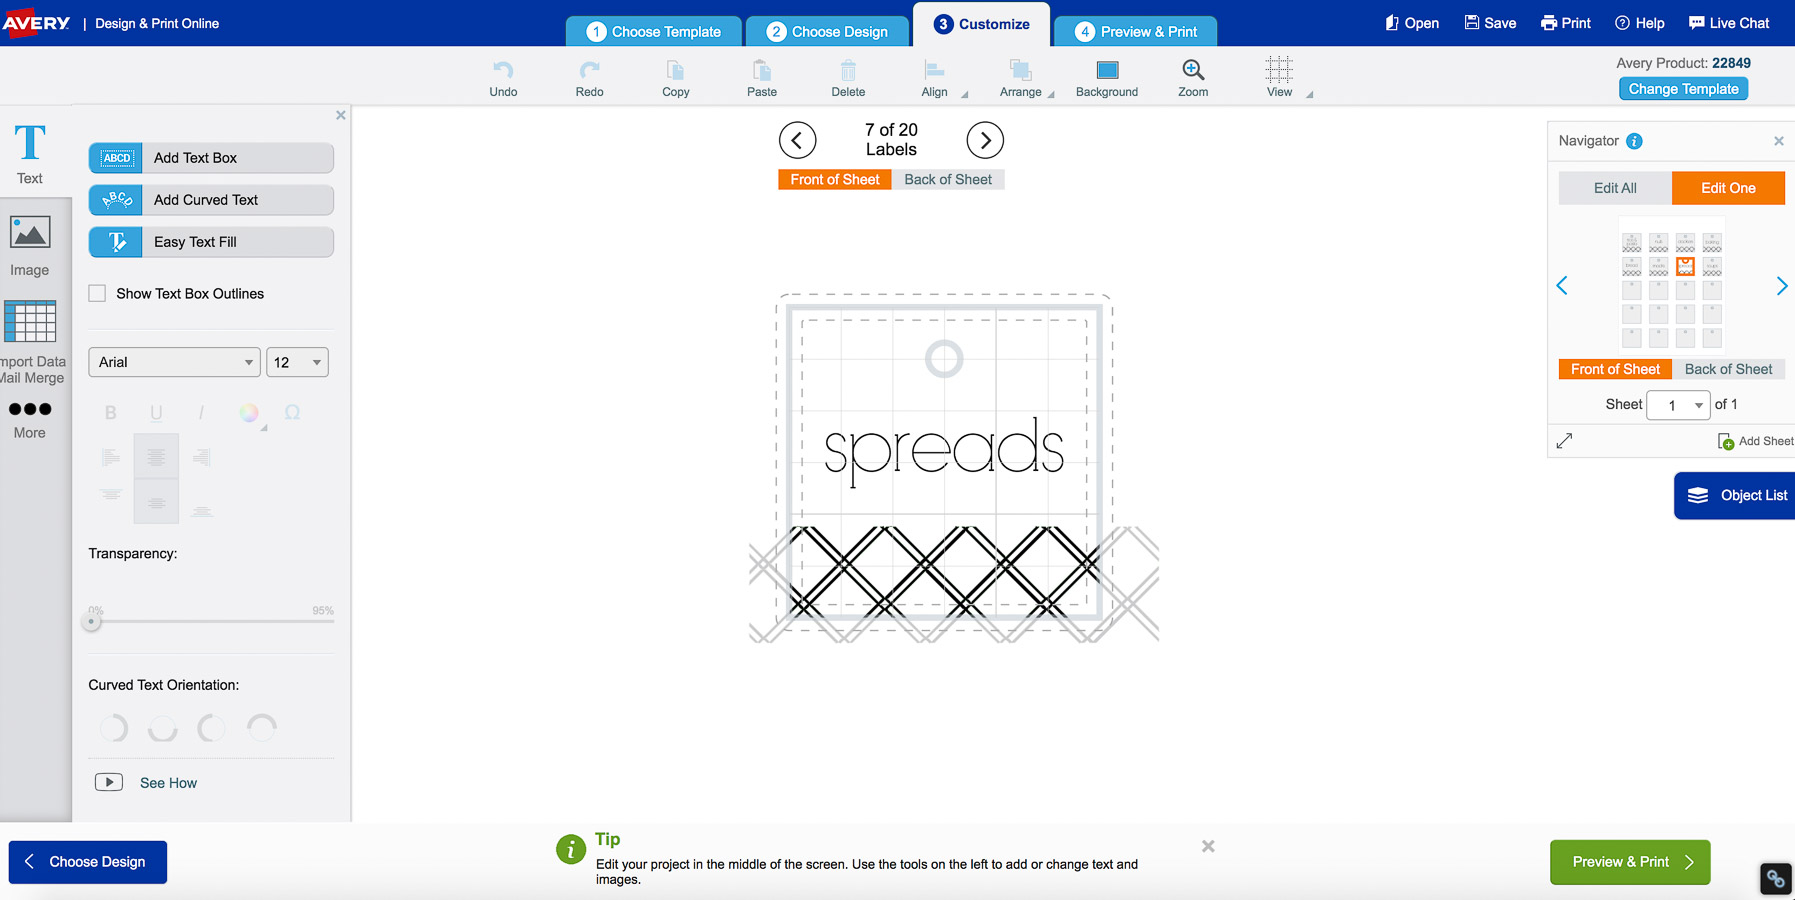
I created them using {these Avery printable tags} that allow you to completely customize them and even choose different designs (like the little lattice design on the bottom of mine) by using their online templates:
You simply go to Avery templates {here}, type in the template number and get designing!
That wraps up my pantry organization tips – I hope you found a tip or two that sparks a little organization in your own home! If you want to see how I organized the rest of my kitchen, check out my post on kitchen cabinet storage ideas where you can peek behind into all of my cabinet doors and drawers! Also check out my post on kitchen drawer organizers.
I have several other organization posts in the works so if you don’t already subscribe to be notified of new posts by email now’s a good time to do that. It’s only 1-2 posts per week and you can unsubscribe at any time! CLICK {HERE} TO SUBSCRIBE!
Thanks as always for stopping by!


