Wondering you should use for sealing butcher block countertops? I tried both Waterlox and mineral oil and am sharing what worked best for me!
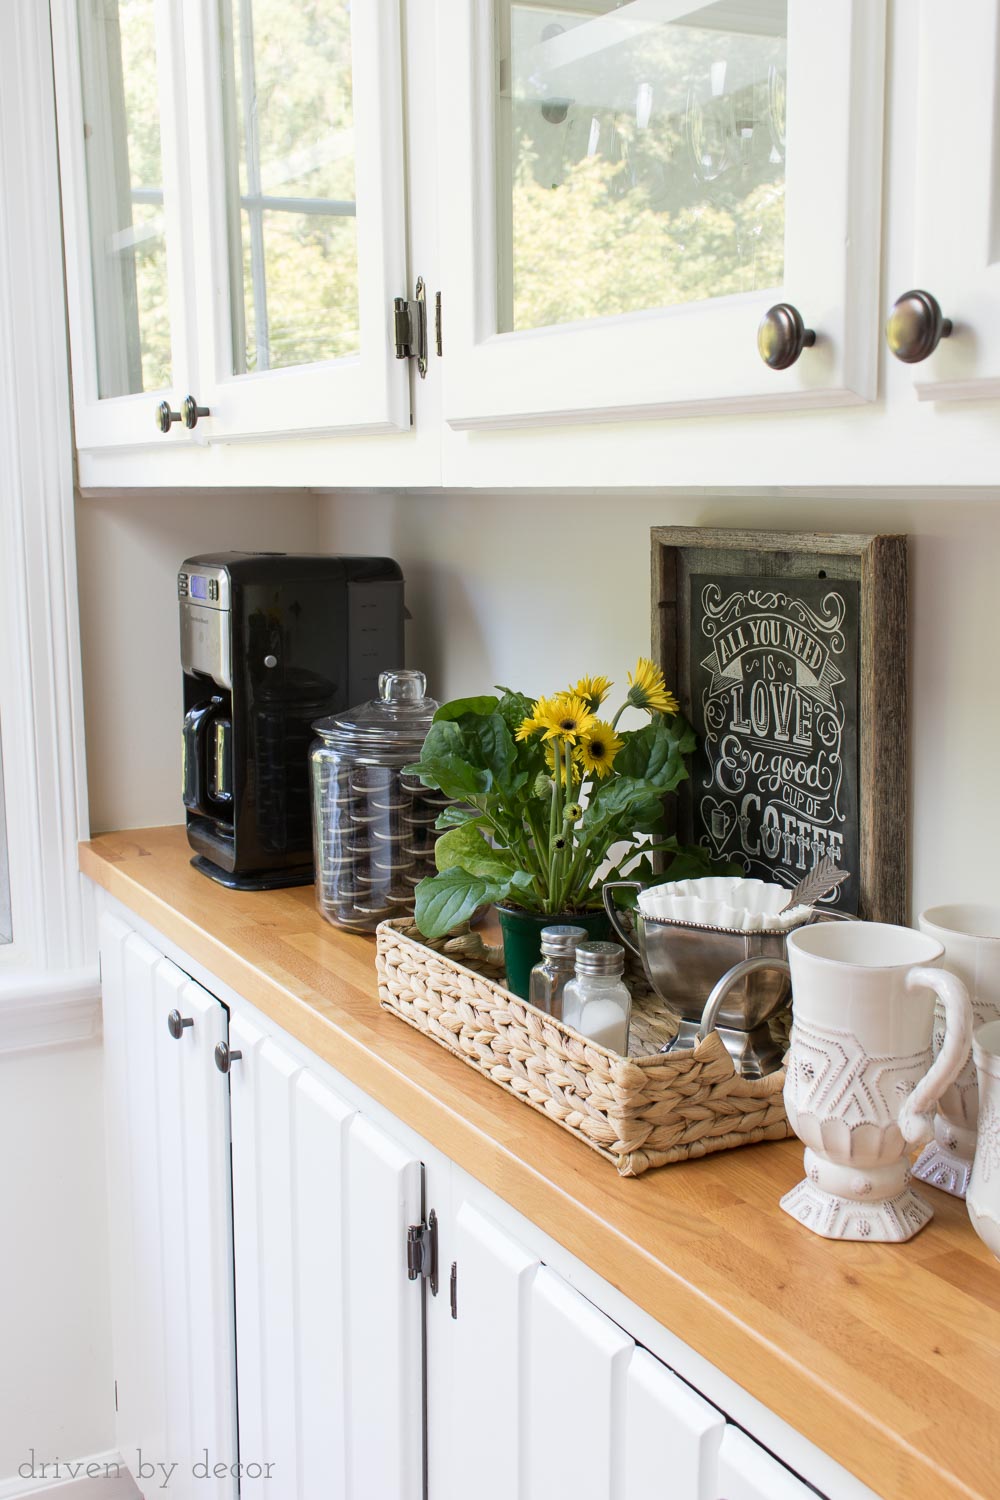
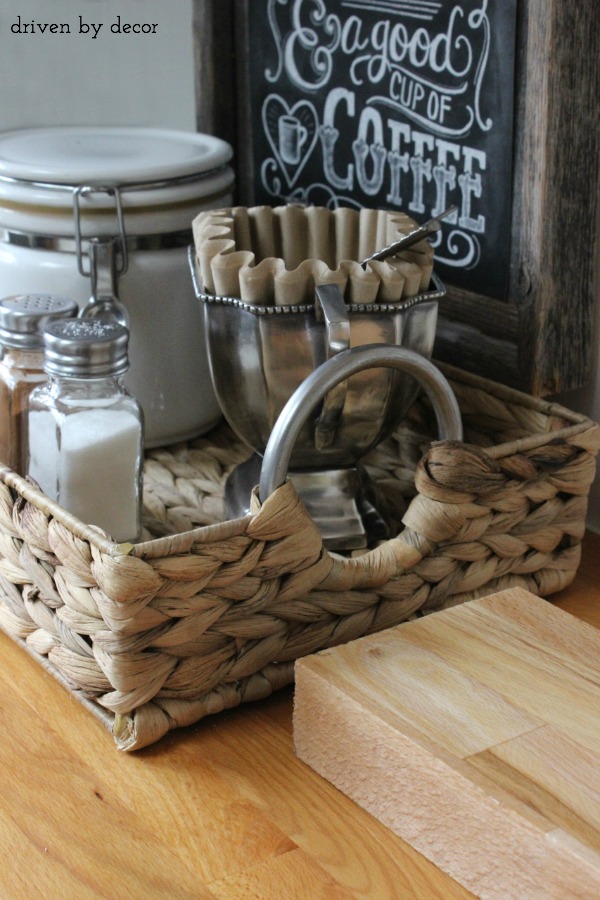
After sharing our new coffee station last week, several of you had questions about what we used to seal our new butcher block countertops so I’m going to fill you in on those details today. (post includes affiliate links – full disclosure statement available {here}). As you known, we only have them in a small area at the far end of our kitchen where we ripped out the old, ugly tiled countertop:
Scroll & Click/Tap to Shop the Look!

Once installed, it’s important to treat or seal the butcher block to keep it from drying out and staining. There are a lot of options for products to treat butcher block, but one of the simplest and least expensive is mineral oil. And that’s what I went with for the first several months.
Sealing Butcher Block Countertops with Mineral Oil
To seal butcher block with mineral oil, you simply apply the mineral oil generously, let it soak in, and wipe off the excess. You need to do it fairly regularly at first but then only about once a month after you’ve gotten through several applications. But here’s the problem that I found with mineral oil. Any paper that you lay down on it will absorb the oil from the butcher block and stain the paper. Even if it’s been weeks since you oiled it. I’d love to say that our kitchen is always neat as can be with no random school papers strewn about but…not so much. After several papers got ruined by laying them down in the wrong place, I knew that mineral oil wasn’t going to work for us.
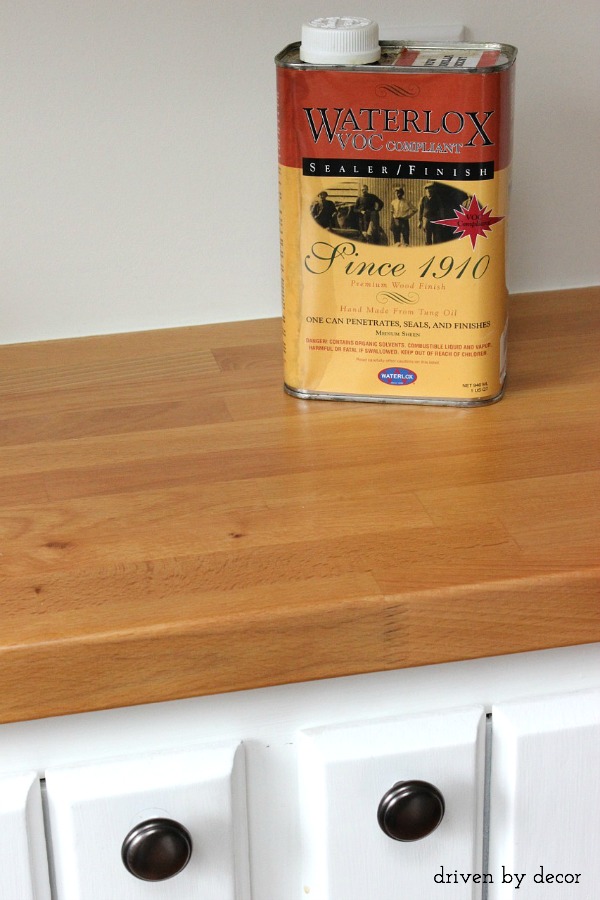
Sealing Butcher Block Countertops with Waterlox
So after a lot of research into other options, I ended up trying Waterlox and I’m so glad I did – I love it! It’s a blend of Tung oil and resin with a water-resistant finish that’s also food safe. The company has great instructions on application of Waterlox on their website that are a must-read before using it, but the main steps are to sand the butcher block, clean it with mineral spirits, and then apply 3-5 coats of Waterlox with 24 hour dry time between coats.
Want to save this post?
Waterlox comes in three different sheens but it’s recommended that you start with Waterlox Original Sealer/Finish (available {here}) for the first coats and just do the last coat in either the satin or high-gloss finish if you want a different sheen. I’m not a big fan of shiny countertops so after three coats of the Sealer/Finish, I applied a coat of the Waterlox Satin (available {here}) which is less glossy. The color of the butcher block definitely changes depending upon the treatment that you choose with the Waterlox making the butcher block a deeper, just slightly more orangey color than the mineral oil.
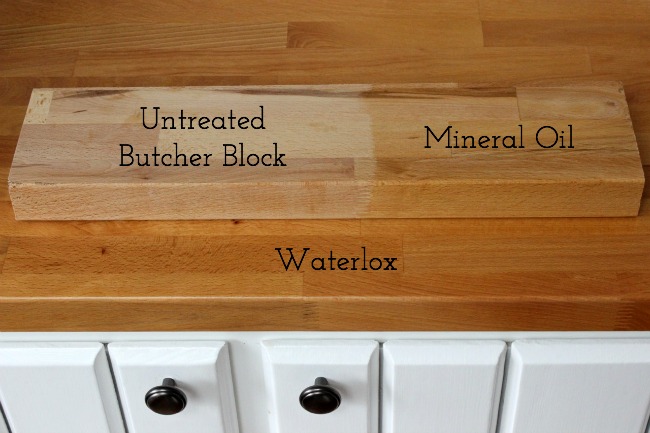
You can see the difference even more clearly looking at this angle – the countertop was sealed with Waterlox and the board on top of it was treated with mineral oil:
Honestly, I prefer the lighter look of the oiled countertop to the darker Waterloxed countertop but with all of the other advantages of Waterlox (no more oil spots on stray kitchen papers, no more monthly maintenance, and better water resistance) it was the way to go for us.
If you’re thinking about using Waterlox too, be sure to read {this info on care and cleaning of Waterlox} so you are aware of what products you should and should not use on Waterloxed countertops.
So that’s my long-winded answer to your short question about our countertops. Butcher block countertops aren’t for everyone and we only have them in this one spot with granite in the rest of the kitchen but I love them and honestly wouldn’t hesitate to use them throughout a kitchen. How about you?


Michele says
Hello Kirs,
Thanks for your write up on the butcher block countertops. My husband was thinking of doing a butcher block on our island in the kitchen. My fear is that the sink is in the island, and it gets used like an industrial kitchen every day. I worry that the water splashing from dishes is going to be troublesome on the butcher block. He hasn’t done it yet because I am on the fence. My old house had beautiful granite counters. They just aren’t in the budget at this time. What do you think about the butcher block around a sink? Thanks