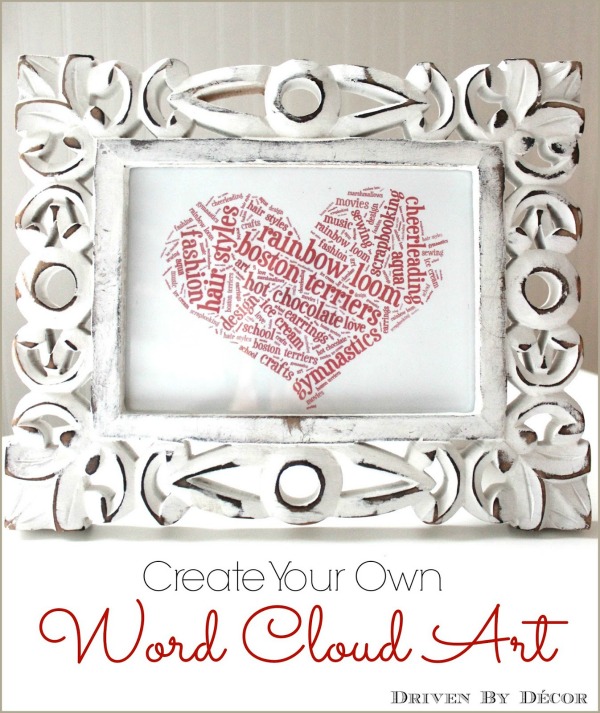
Have you ever heard of a word cloud? Not me. At least not until my youngest daughter told me that she worked on word clouds at school and found this website called Tagxedo where you can create your own personalized word cloud. She showed me the ropes and we’ve created word cloud after word cloud, including this one where we took some of the things my daughters loves most, made them into a word cloud heart, and framed it for her room:

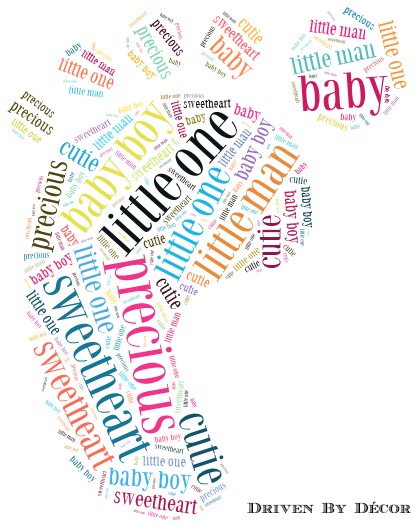
There are endless options for what you can create – like this little footprint for a baby boy’s room:
this fun high heel (made from the words of my “Best of Driven by Decor” blog post):

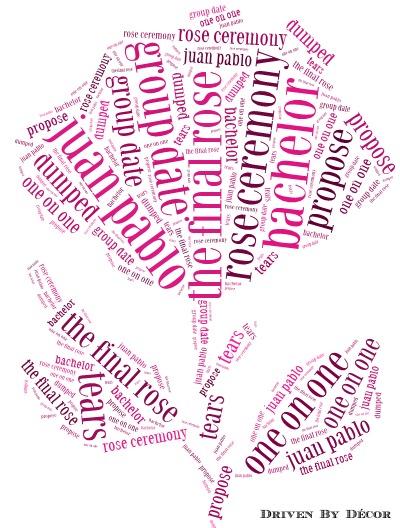
Or how about a “final rose” word cloud in honor of The Bachelor (um, not that I watch that kind of mindless trash TV or anything….):
Ready to create you own personalized word cloud art (for free!)? With my daughter’s help, I’ve created an easy tutorial to show you how:
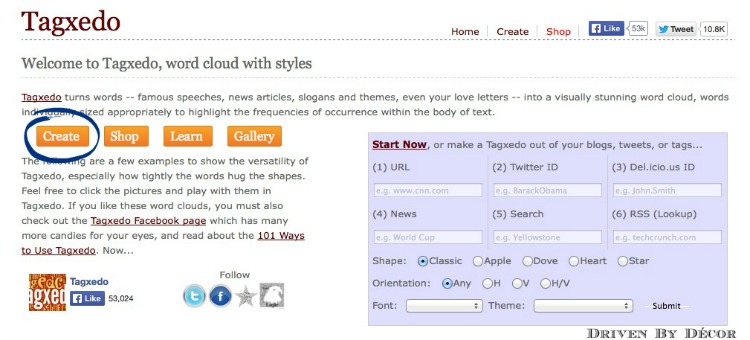
1. Start by going to Tagxedo’s website {here} – you must be on a desktop or laptop and be using a browser other than Google Chrome. Once on the Tagxedo website, click the “Create” button:
Want to save this post?
If you don’t have Silverlight installed on your computer, you may be prompted by a pop-up window to download and install it, as Tagxedo requires it to run. After installation you might need to reboot your computer.
2. Next, choose a shape by clicking on the arrow to the right of “Shape” and selecting the one you want:

3. Next, click the arrow to the right of “Theme” and choose a color combination – it changes the colors of both the text and the background. You can also click on the circular arrow if you prefer to scroll through your color options one at a time.

4. Next, click on “Load” – this is where you’ll enter the words that you want in your word cloud. If you want to use all of the words on a particular webpage for your word cloud, type the URL of the page to the right of “Webpage”. Otherwise, you can enter the words that you want to use in the box to the right of “Enter Text”. Put a space between each of the words. If you have any two-word text items, use a tilde symbol between the words (for example, if you want to use “Boston terrier” in your word cloud, type “Boston~terrier”). When you are done, press “Submit”.

5. Click the arrow to the right of “Font” to change your font to the one you want to use:

6. If you love how it looks, you’re done! But if you want to see other layout options where the words are in different positions, click the circular arrow to the right of “Layout” as many times as needed until it’s what you’re looking for. You can also click the circular arrow to the right of “Color” if you want to switch around which words are which colors.

7. Another option is to change the orientation of the words by clicking the arrow to the right of “Orientation” and selecting the best option for you. I prefer the default orientation but the horizontal orientation has a nice look too:

At any time while making your word cloud, if you make a mistake or want to go back to a previous version, click “History” and select the thumbnail image that you want to revert to.
8. Congratulations, you’ve finished your word cloud! Now click on “Save” and save your image as a JPG or PNG file. Or you can click the Print tab to print it. Your word cloud will print out in about an 8 x 10 size. If you want a different size, save your image, paste it in a document where you can resize it, and print.

Thanks go out to my youngest daughter for sharing this how-to with me so that I could then share it with you. Hope you have as much fun with it as we have!


Sheryll And Critters. says
I can’t do this, but gosh, I sure wish I could.
This does remind me of the old typewriter art………very lovely. I wish I had he technology to do this…….. so very beautiful.
Lyn Hughes says
How fun!
Kris @ Driven by Décor says
My girls have been so entertained by it and I’m sure yours will too. Hope you have fun with it!
Becky {This Is Happiness} says
Never heard of it, but super cute. Will be checking it out!!
Stacey says
This is very cool! I will have to try this with my 4 year old!
Ralinn bsirious says
I’ve never heard of this. I just made my first one. Thanks to you and your daughter. I want that cool frame of yours. Do share where we can find one.
Kris @ Driven by Décor says
So impressed that you already tried it out! Thanks for the compliment on the frame – I’ve had it for years but I think it was originally from HomeGoods.
Carrie @ Cosy Carolina Interiors says
How fun! I can’t wait to give it a try. 🙂
Lisa @ Shine Your Light says
So fun, I will definitely be making one for Valentines Day (and St. Paddy’s Day, Easter, 4th of July!)!! Love it for inexpensive holiday art!!
Elizabeth @ The Little Black Door says
What a cool thing! Thanks to you, and your daughter, for introducing me to this!
Lisa @ Texas Decor says
I’ve never heard of a word cloud either, but this sure is a great idea! You could create countless things, so fun!
therelishedroost says
So Much Fun! Thanks for sharing!!
Vel Criste says
OMG, I will be addicted for sure too! Thank you for sharing this wonderful resource Kris! Love it!
Simply LKJ says
Thanks for sharing. I used to use Wordle, but it isn’t that user friendly!
pam {simple details} says
Ha! When I read the title I thought, oh my gosh Kris is so high tech I don’t even know what she’s talking about! 🙂 Tell your daughter I LOVE this idea, and thanks for sharing it!
thistlewoodfarm says
This is amazing. Seriously. Thank you so much for sharing and what a great teacher’s gift!!!!!
Happy day to you friend!
karianne
jeanette says
ok so this is brilliant Kris…..i’m SO hoping i’ll get organized and do this , this wknd….would make GREAT Valentine’s gifts for my kids……thx so much for sharing!!!