Looking for a fun and easy DIY for the holidays? I’ll show you the step by step of how to make a star anise wreath!
Several years ago I bought a large star anise wreath for our front door and loved how it looked. But what I loved even more was how amazing it smelled (if you’re not familiar with star anise, it smells like licorice!).
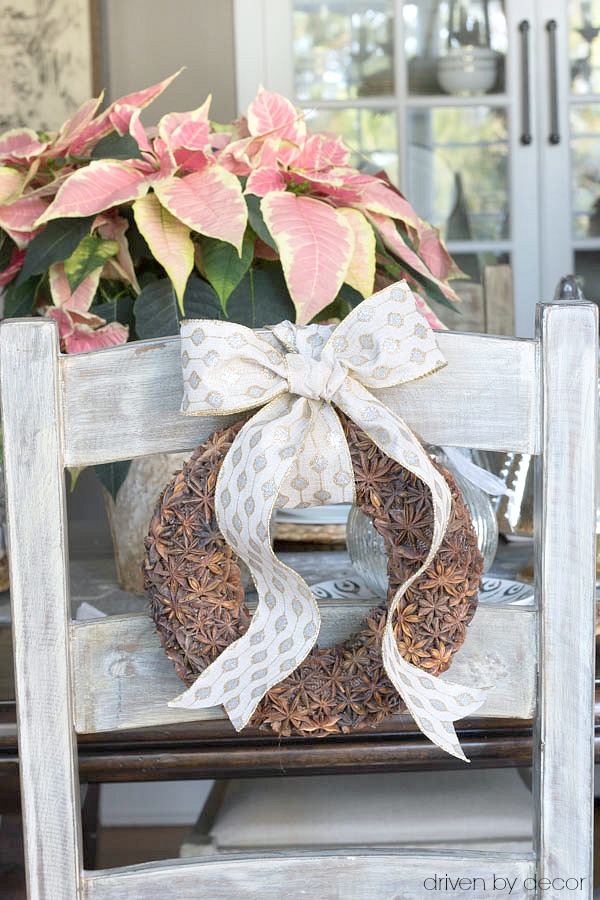
So when I started scheming up ideas for small wreaths to add to the back of our dining room chairs, I thought about how cute little star anise wreaths would be. I set out to make my own and am so happy with how they turned out:

Today I’m sharing the step by step of how I made our star anise wreaths so you can make your own! (post includes affiliate links – full disclosure statement available {here})
Gather Your Star Anise Wreath Supplies
The supplies that you I used to make our star anise wreaths are:
- 8″ rounded foam wreaths such as {these}
- Dark brown burlap – you can buy a yard of burlap fabric such as {this} and cut it into strips or buy a roll of brown burlap ribbon like {this}
- Whole star anise pods, which can be found online {here} or locally at Asian grocery stores. You can also find star anise at spice stores but you’ll typically pay much more it.
- Wire edged ribbon for hanging (see my post on Christmas ribbon for my favorite sources)
- Hot glue gun such as {this one}
Wrap Your Foam Wreath in Burlap
If you bought a piece of burlap instead of burlap ribbon, cut the burlap into long strips 2-3″ wide. Next, hot glue the end of your first strip to the back of the wreath and give it a minute to dry. Then, wrap the burlap around the wreath, pulling it tight as you go.
I used two long burlap strips for each wreath, gluing the end of the first strip and the beginning of the second strip to the back of the wreath and continuing to wrap it around until the entire wreath was covered. Finish by hot gluing the end of your last strip to the back.

Glue on the Star Anise Pods
Now you can start gluing on the star anise pods. Simply put a generous dot of hot glue on the back of each piece of star anise and stick it on. It’s a little bit of a puzzle fitting the star anise pieces together as closely as possible. Sometimes you’ll have to break off an arm or two of the star for the best fit.
Cover the entire surface of the wreath except for the back. It takes time (it took me about an hour per wreath) but is very simple to do.
Want to save this post?

Tie them onto Your Chairs with Wire-Edged Ribbon
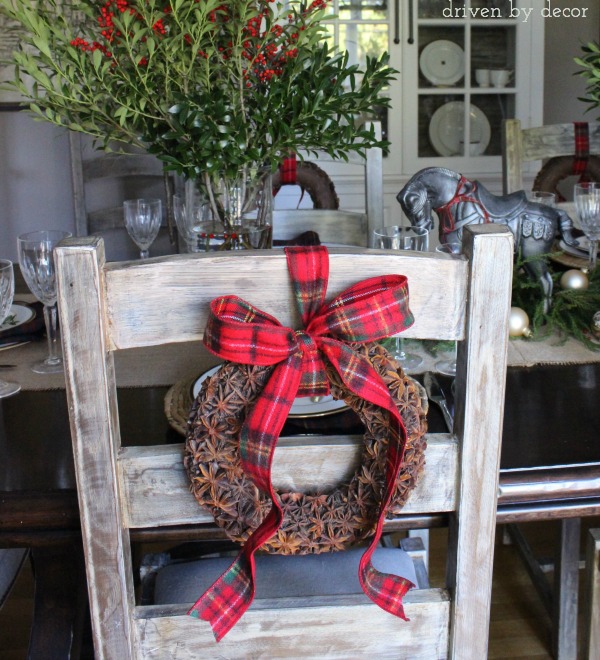
Finally, simply tie the wreath to the top of your dining chair with wire edged ribbon, creating a bow:
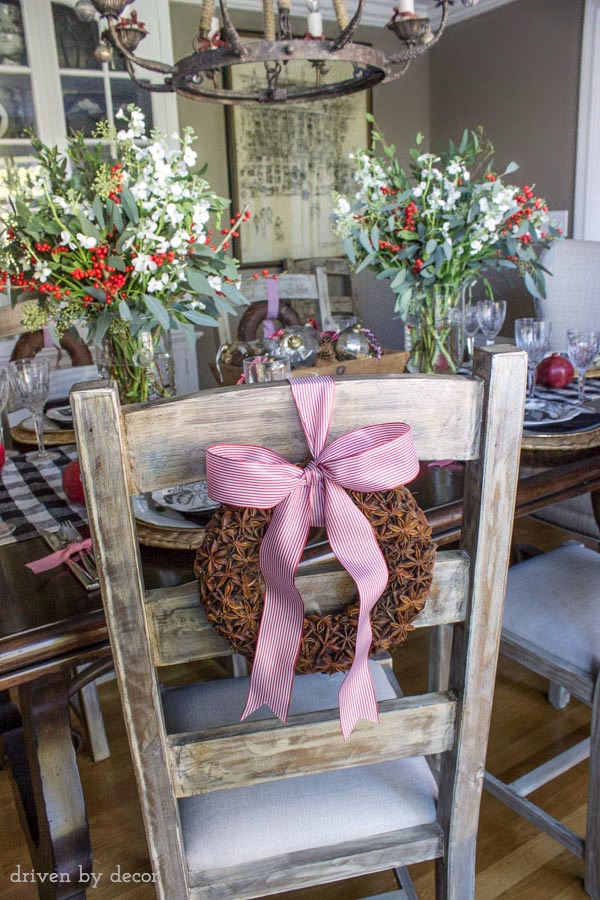
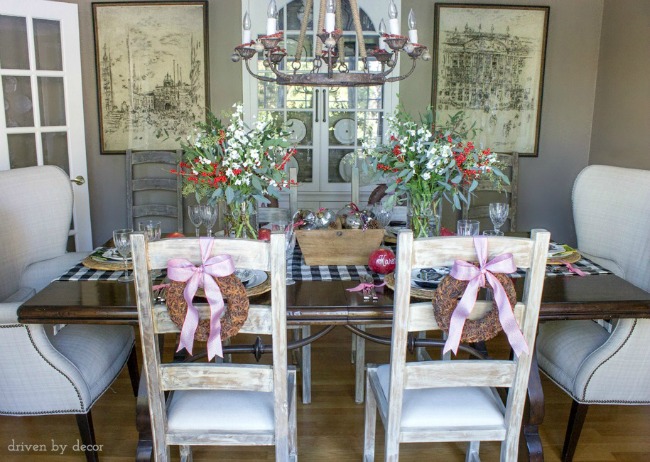
I’ve used them on my dining chairs for several years in a row now with a simple change of ribbon from year to year:
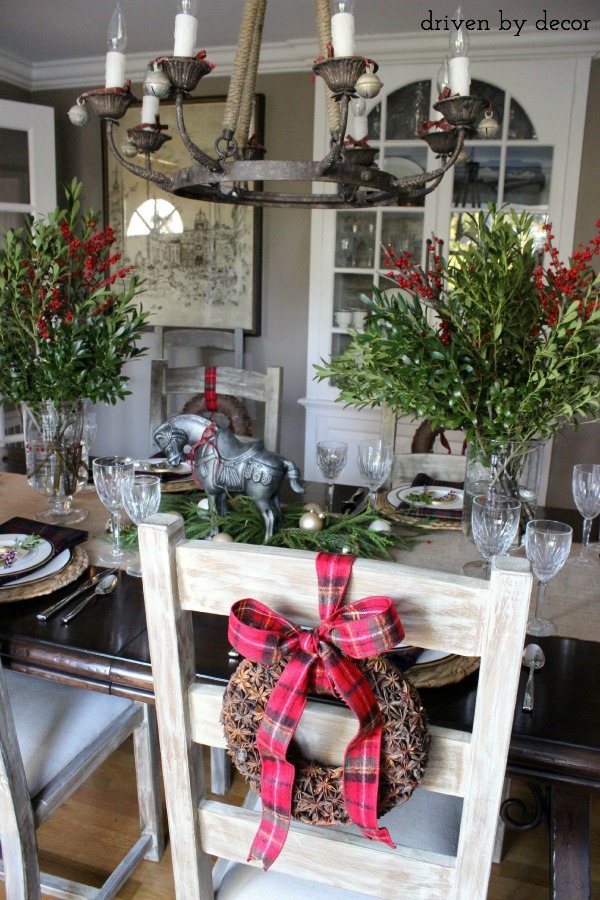
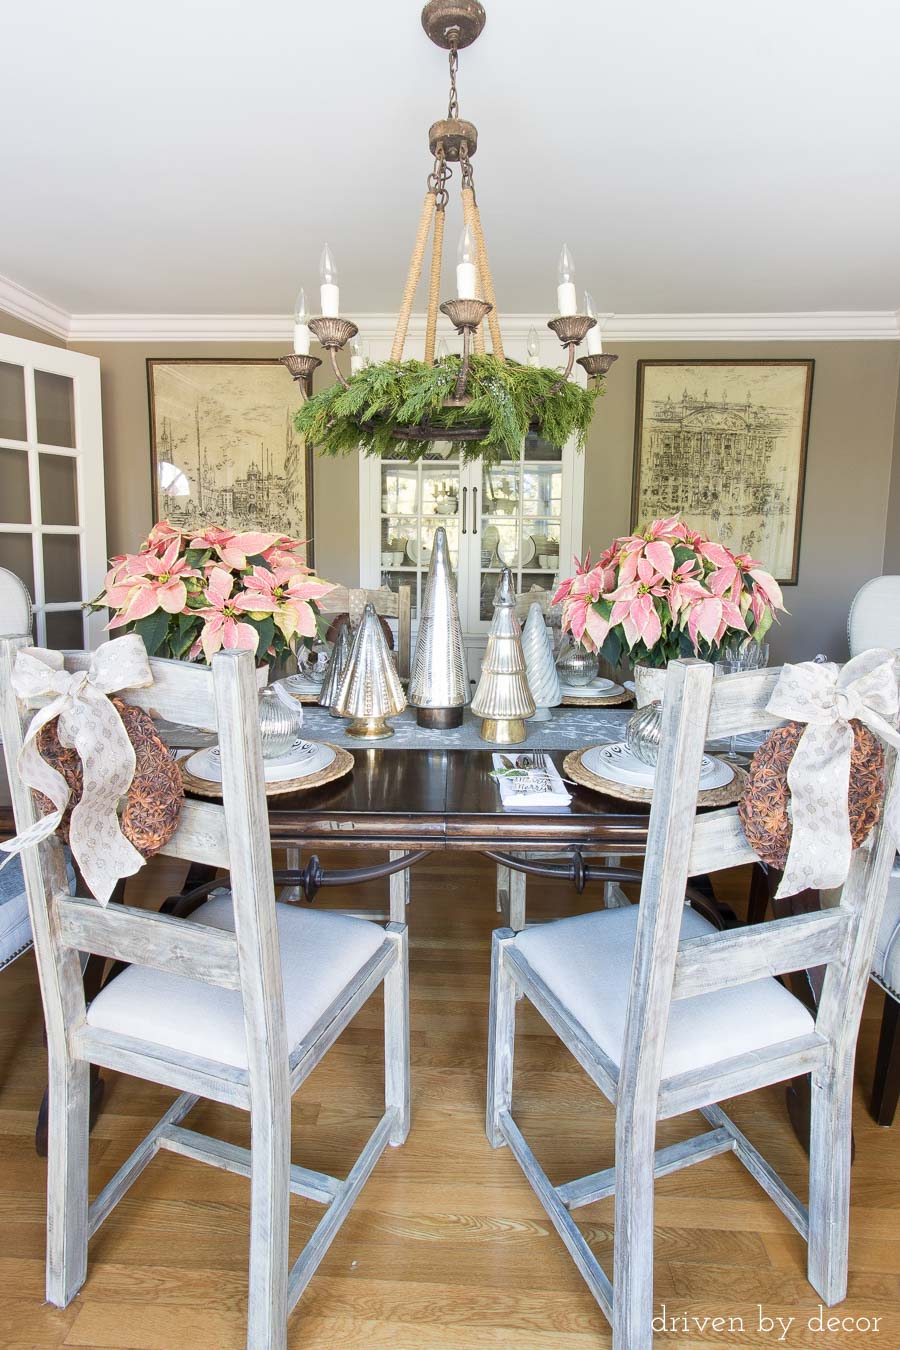
These star anise wreaths would also look great in other areas of your home, such as hung over a large mirror or on the back of kitchen barstools. I hope you enjoy making them as much as I did!


April says
I am wondering if you used the spice inside first for cooking and just used the stars for the wreaths? If so, do they still smell good without the spice itself ?
Or maybe you left them in…do they still smell years later?
Kris Jarrett says
Hi April – I used whole star anise (I didn’t use the spice inside first) and yes, they have retained their smell for years!
Wendy says
Kris this was such a great post. Nice to see how you break it all down. Lovely decorations and using as much of the environment with
out buying product to create designs. Loved it.
Kris Jarrett says
Thanks so much Wendy! I look forward to using them every year!
Mary says
I love your Anise Wreathes. How many pounds of Anise will cover your 10 inch wreath?
Mary
Kris Jarrett says
Thanks Mary! It’s been so long since I did this project that I’m embarrassed to say that I don’t remember! Sorry!
Anonymous says
So glad I just found your post. What a wonderful site!
Kris @ Driven by Décor says
Thanks – glad that you stumbled upon Driven by Décor!
Carla says
Kris, your house looks amazing! I love your table decorations, you have gone to so much effort and it has really paid off, it looks divine!
Kris @ Driven by Décor says
Thanks so much!
Stacey {steward of design} says
Kris, your house looks so good! I so love those wreaths!
Kris @ Driven by Décor says
Thanks Stacey!