We recently wrapped up the remodel of our Jack and Jill bathroom, which involved replacing everything from the tile floor to the vanity, lighting, mirror, and toilet. The bathtub and surrounding wall tile were the only things we did not replace because both were in great shape. However, the caulking between the tile and tub was a different story… it was a cracked mess.
Caulking a bathtub isn’t the most fun task, but trying to get someone out to your house for a small job like this isn’t either – ha! So I decided to tackle this little project myself and share the step-by-step to knocking it out because chances are that you have a bathtub that needs re-caulking too! Grab a caulking gun and let’s get to it… (post includes commissionable links; for more information, see my full disclosure statement {here})
Gather Your Tools and Materials
This is the ugly, cracked mess that we started out with:
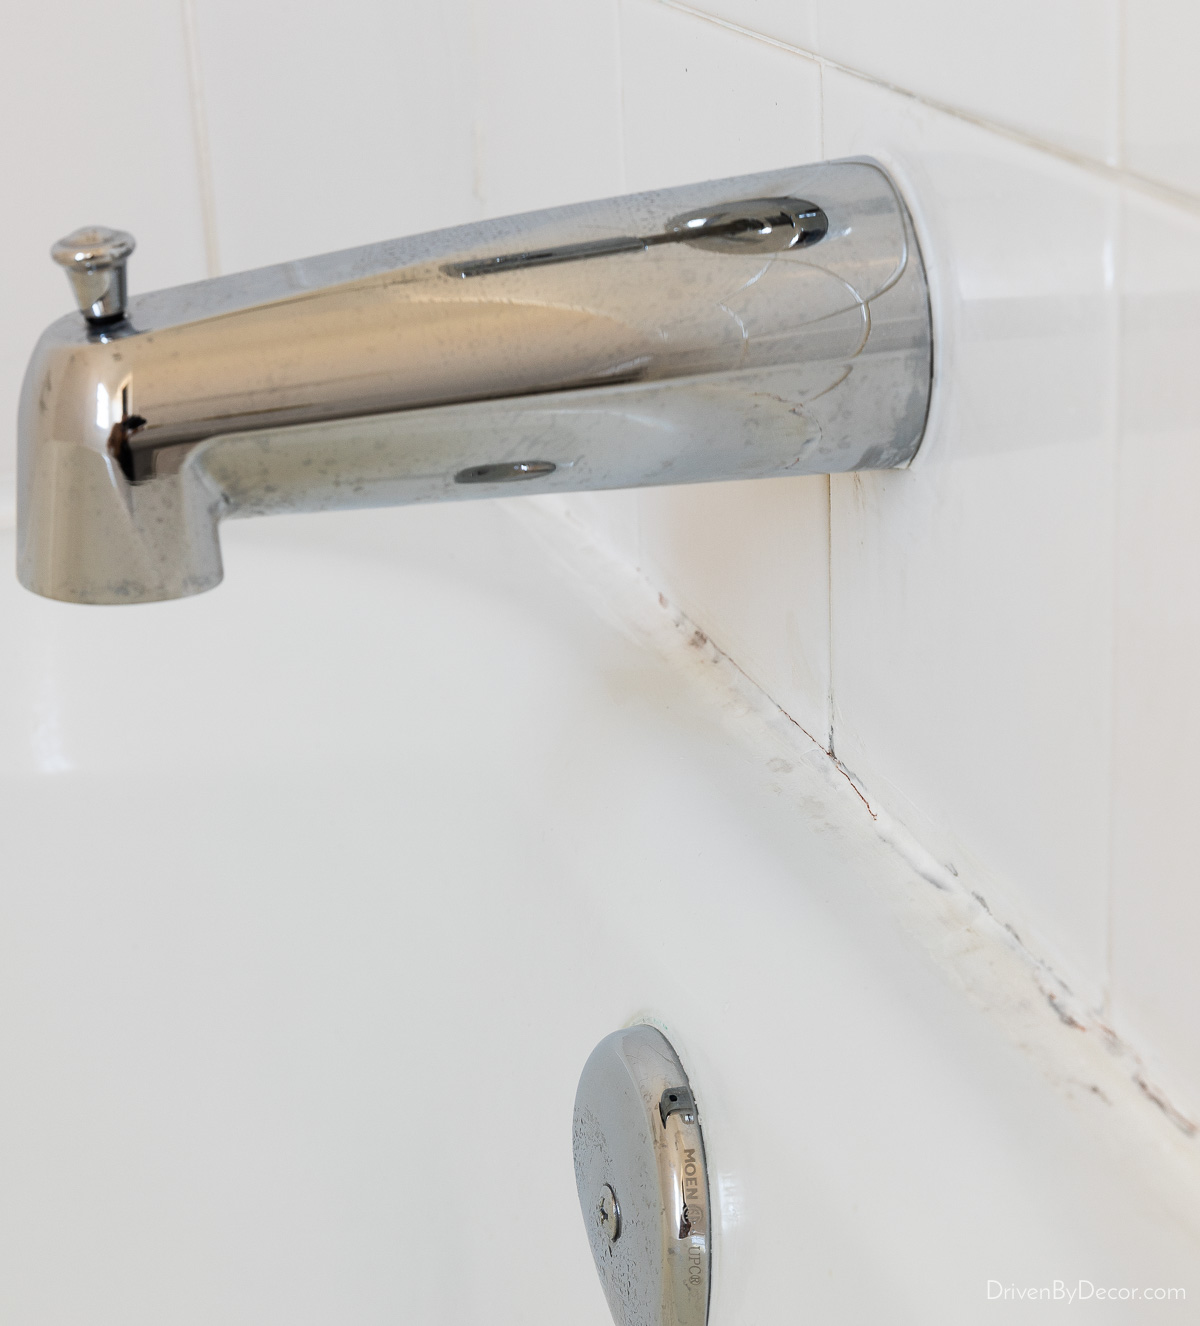
The old, failing caulk not only looked bad, but cracked caulk can result in water penetrating behind the tile, causing water damage and mold issues. It was definitely time to replace this mess of caulk, starting with gathering the right tools to get the job done, including…
- Drip-free caulking gun – While you could use caulk that’s in a toothpaste-like tube that doesn’t require the use of a caulking gun, it’s difficult to apply caulk evenly and precisely with it. Plus, they jack up the price on the toothpaste-like tubes compared to the ones used in a caulking gun. Using a caulking gun is a skill that will come in handy for so many projects beyond caulking your bathtub, so it’s worthwhile to get good at using one.
- Caulk – Choose silicone caulk such as {this caulk} that’s specifically designed for use in wet areas such as kitchens and bathrooms and is mold and mildew resistant.
- Tools to remove old, dried caulk. Some options include {this 3-in-1 caulk tool}, {this Dig-It removal & scraping tool}, and/or a small, stiff blade putty knife like {this one}.
- Caulk finisher tool (optional)
- Painter’s tape
- Caulk cap
- Rags or paper towels
- Magic Eraser
Remove the Old Caulk
For a professional-looking caulk job, it’s important to start with a clean slate by removing any old caulk. Don’t try to take a shortcut and put new caulk on top of old. It won’t adhere properly and will look terrible.
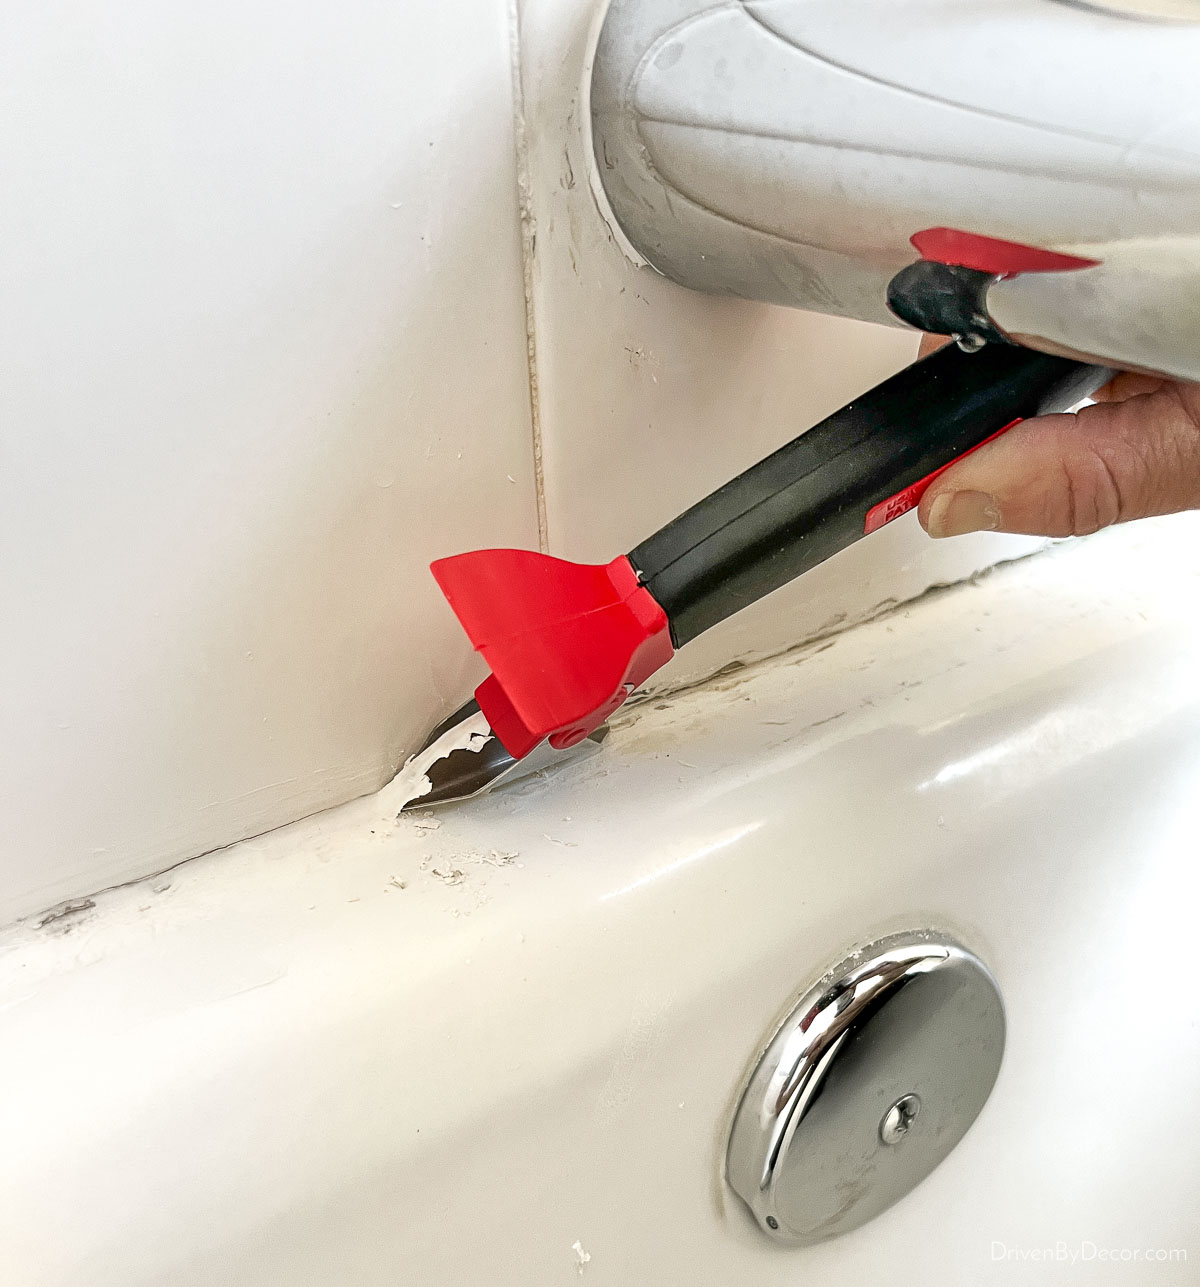
I tried several different tools to remove the old dried caulk, and found that it was easiest to remove with a combination of {this 3-in-1 tool} and {this putty knife}. The 3-in-1 tool worked best on the caulk areas that were still somewhat soft, while the putty knife worked best on the hard, brittle caulk.
Using the 3-in-1 tool is pretty simple. It has a cupped, angled blade that you simply slide along the joint between the tub and tile:
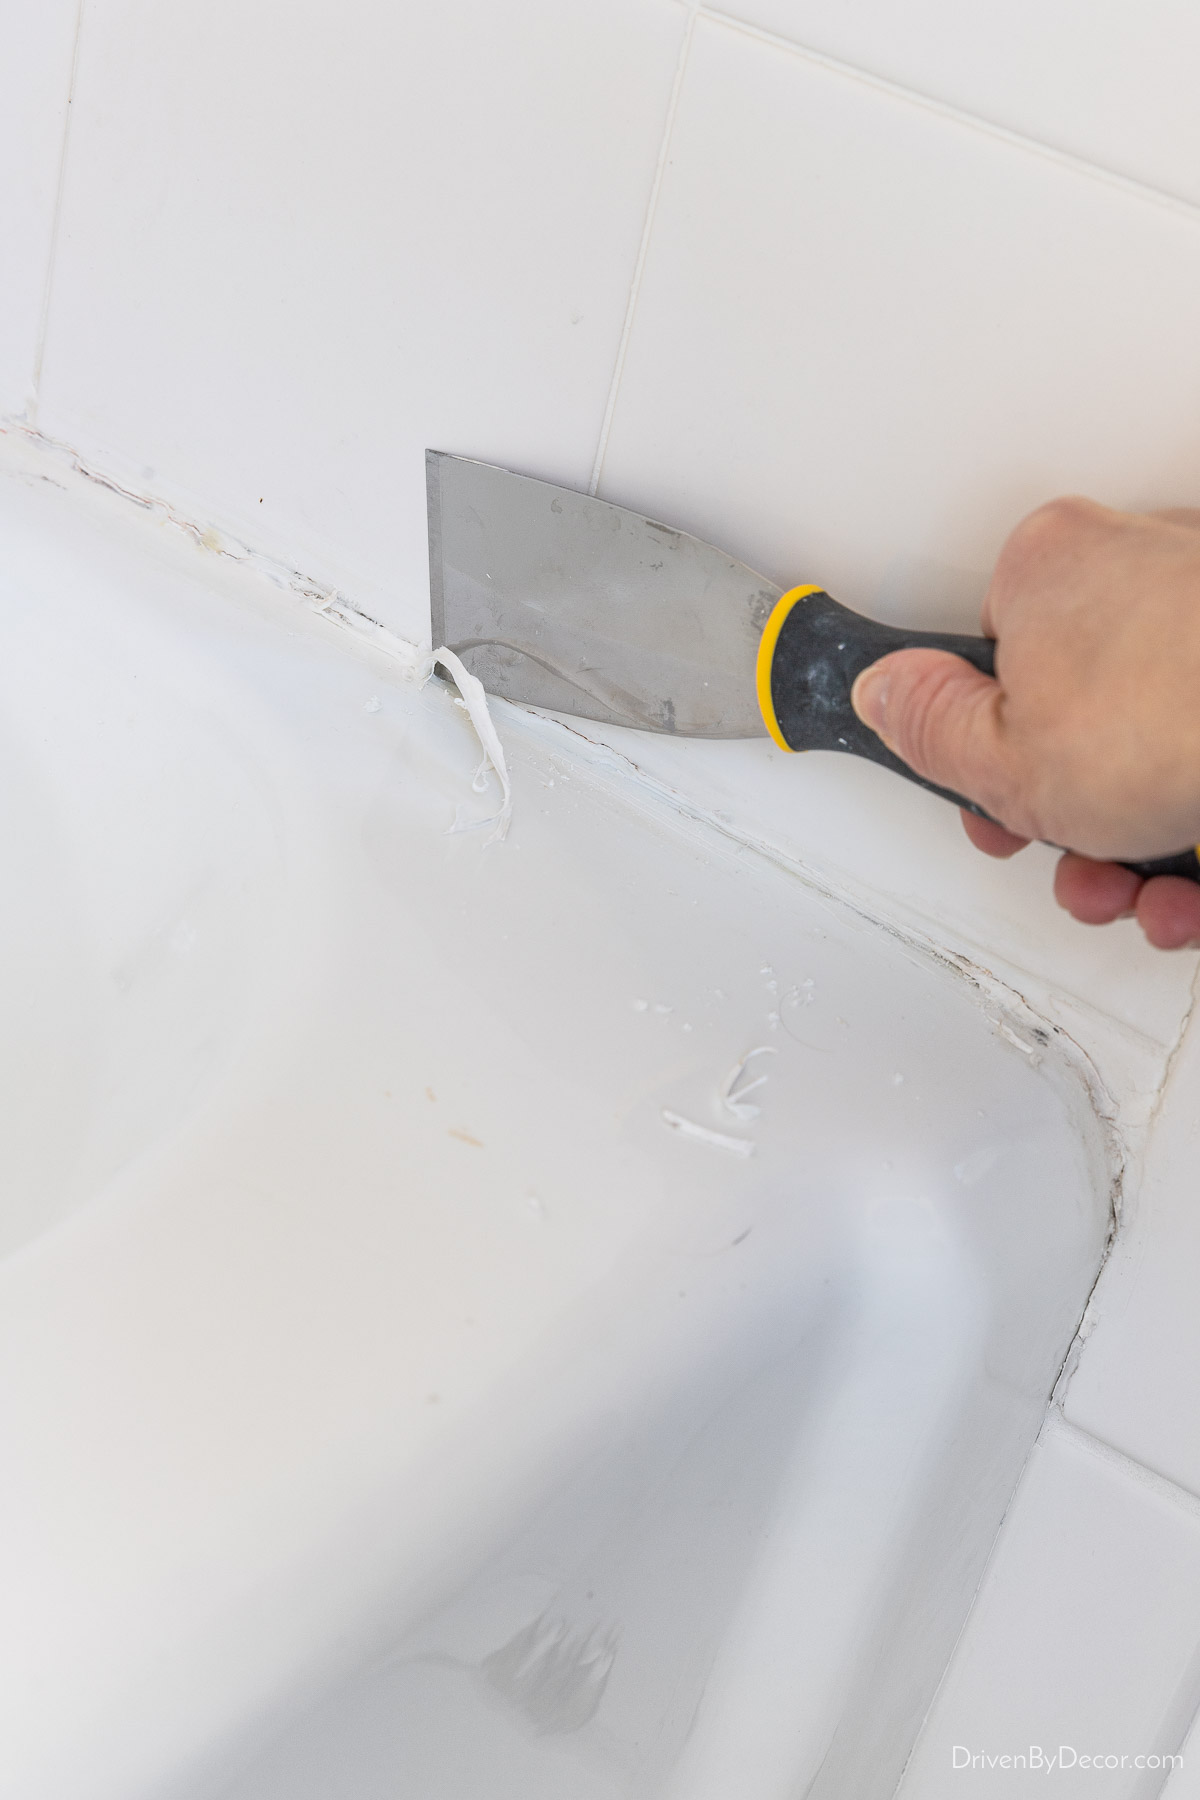
To use your putty knife, hold it vertically and slide it along the top edge of your caulk:
and then hold it horizontally and slide it along the bottom edge of your caulk:
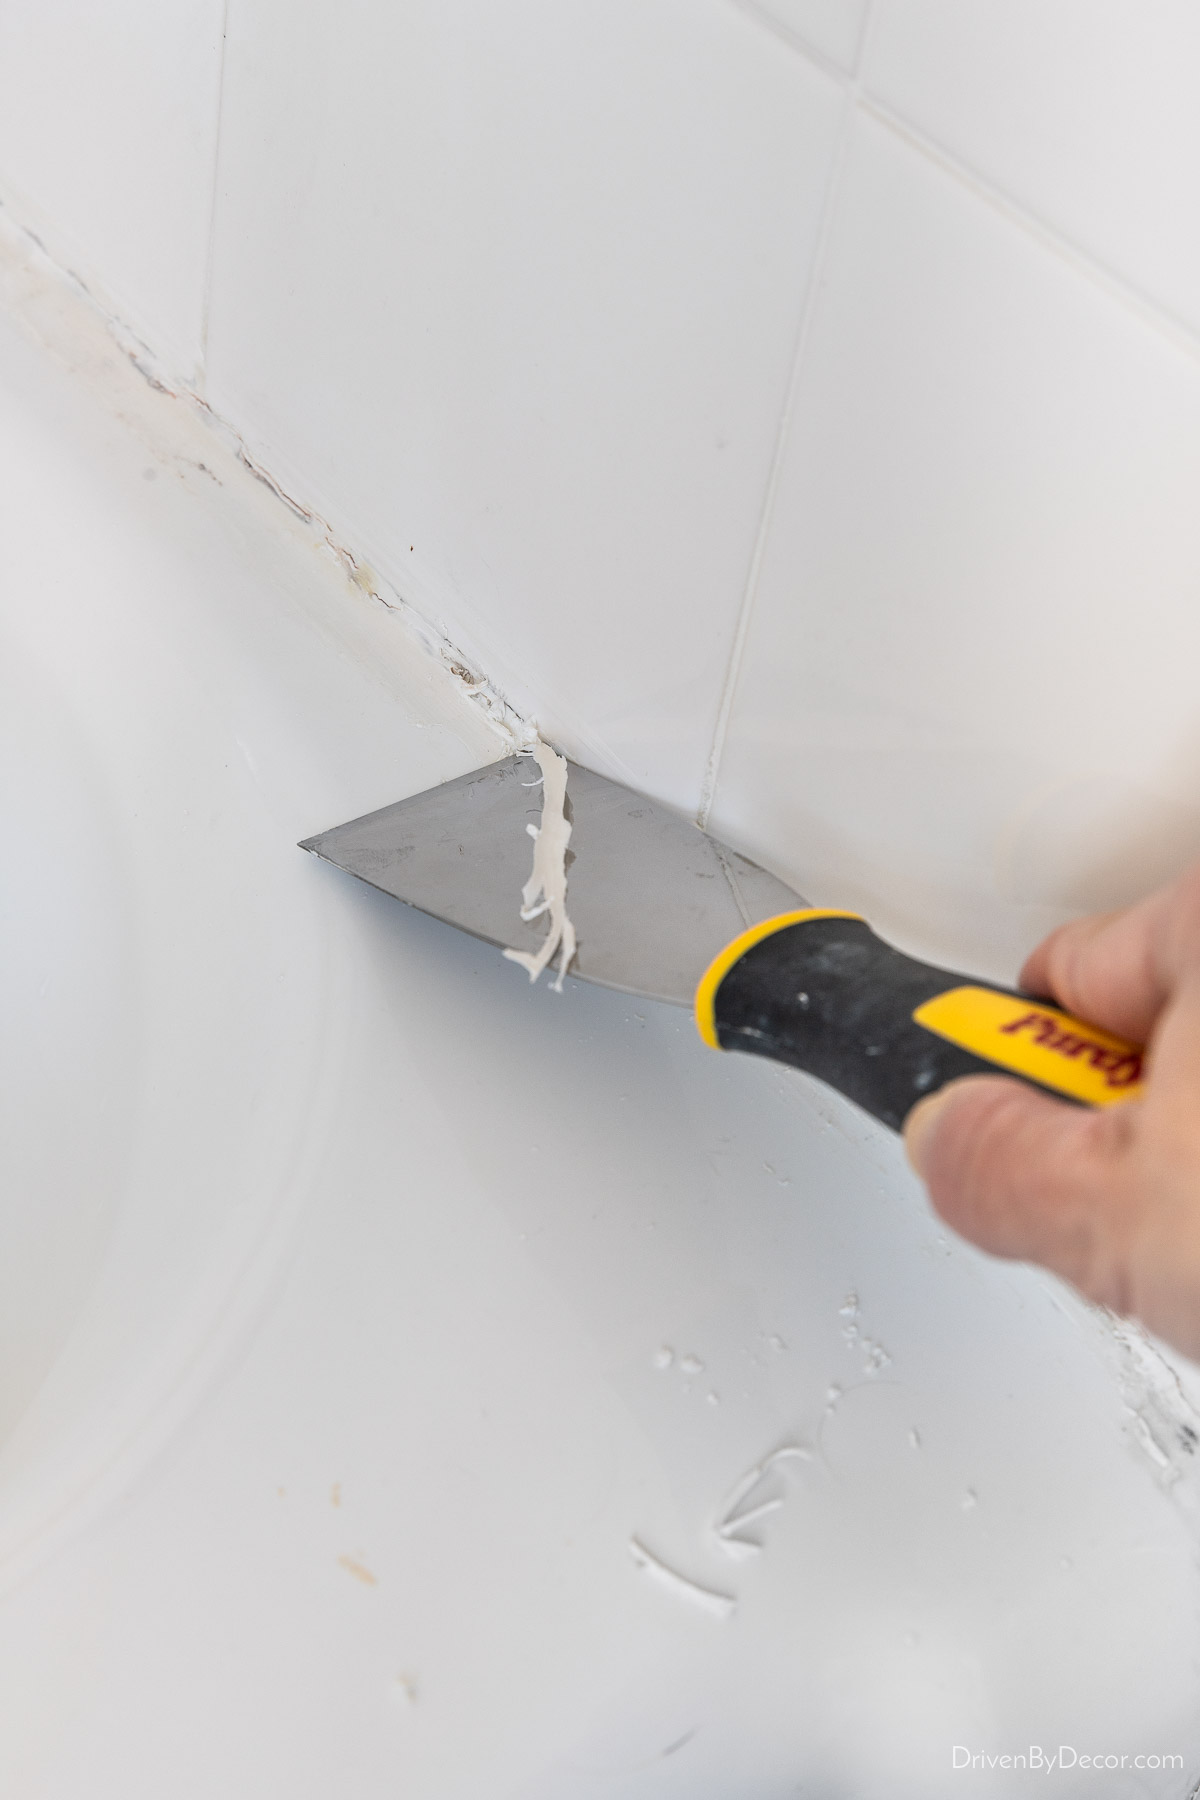
Take your time, being careful to avoid scratching or damaging the bathtub surface.
If the caulk is stubborn and refuses to come off easily, try using a hairdryer to soften it. Simply direct the warm air along the caulk line, which will make it more pliable and easier to remove. You can also try one of the many liquid caulk removers like {this one} but they get mixed reviews and aren’t recommended for fiberglass, acrylic, or plastic/composite tubs/showers because they can damage their surface.
Once you have successfully removed all of the old caulk, thoroughly clean the area surrounding your caulk line. Magic Erasers work really well for removing any surface scrape marks. Then wipe the area down with isopropyl rubbing alcohol and let it dry thoroughly.
Get Prepped to Caulk
Now it’s time to prep for caulking, starting with getting your caulk tube ready. How you cut your caulk tube actually plays a big role in the success of your caulking job. Use a sharp utility knife to cut the tip of your caulk tube at a 45-degree angle close to the end of the tip:
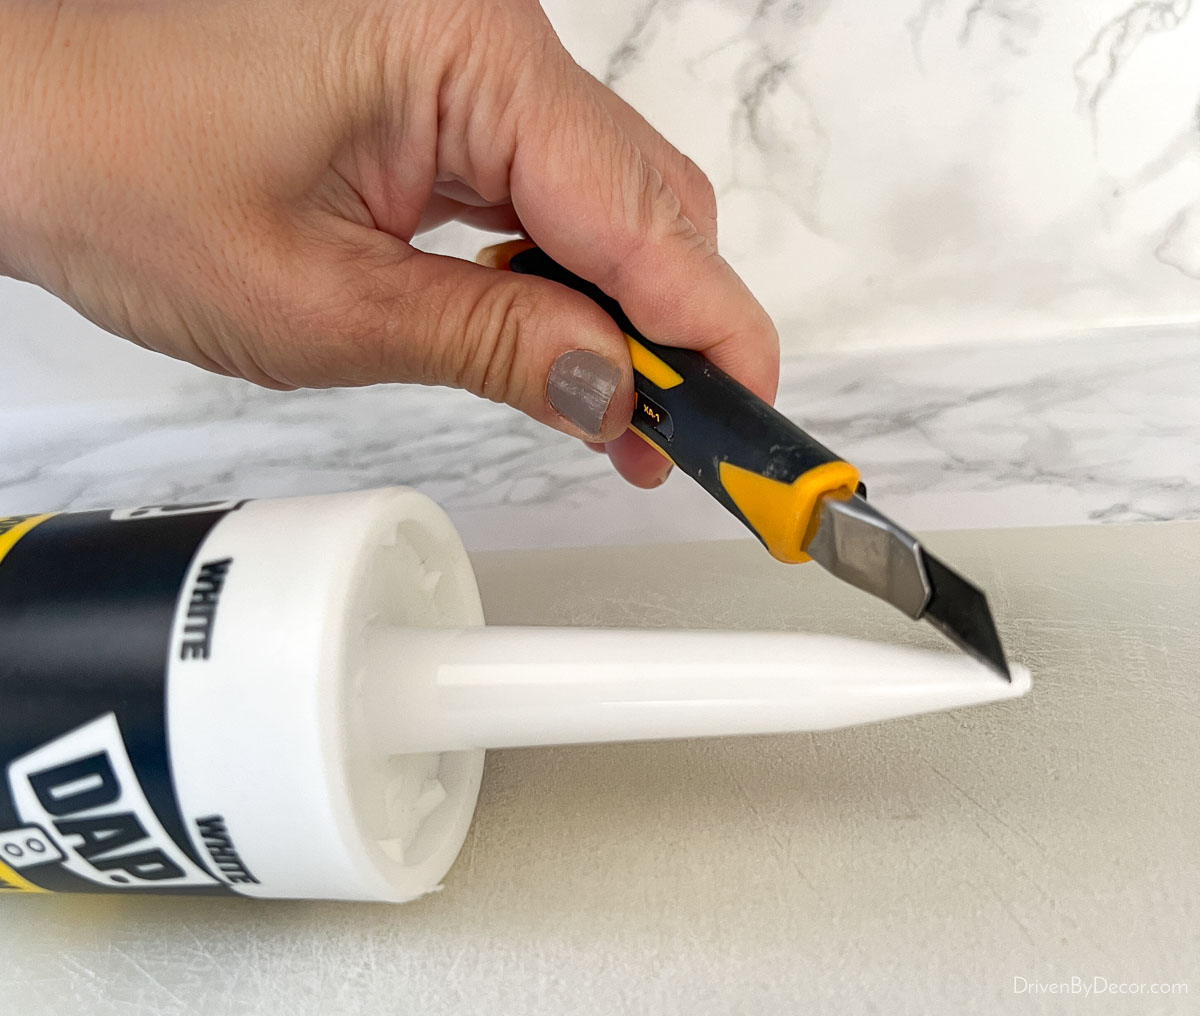
Some caulk tubes even have 45-degree guide lines on the tip if you look closely. One of the most common mistakes for caulking newbies is to cut too much off of the tip of the caulk, which will result in a fat caulk bead that messes up your project. Aim for an opening at the tip that’s between 1/16 – ⅛ inch for this project.
After cutting off the tip of your caulk tube, pierce the interior seal of the tube. This can be done with the piercing tool on your caulk gun or with one of {these caulk caps}:
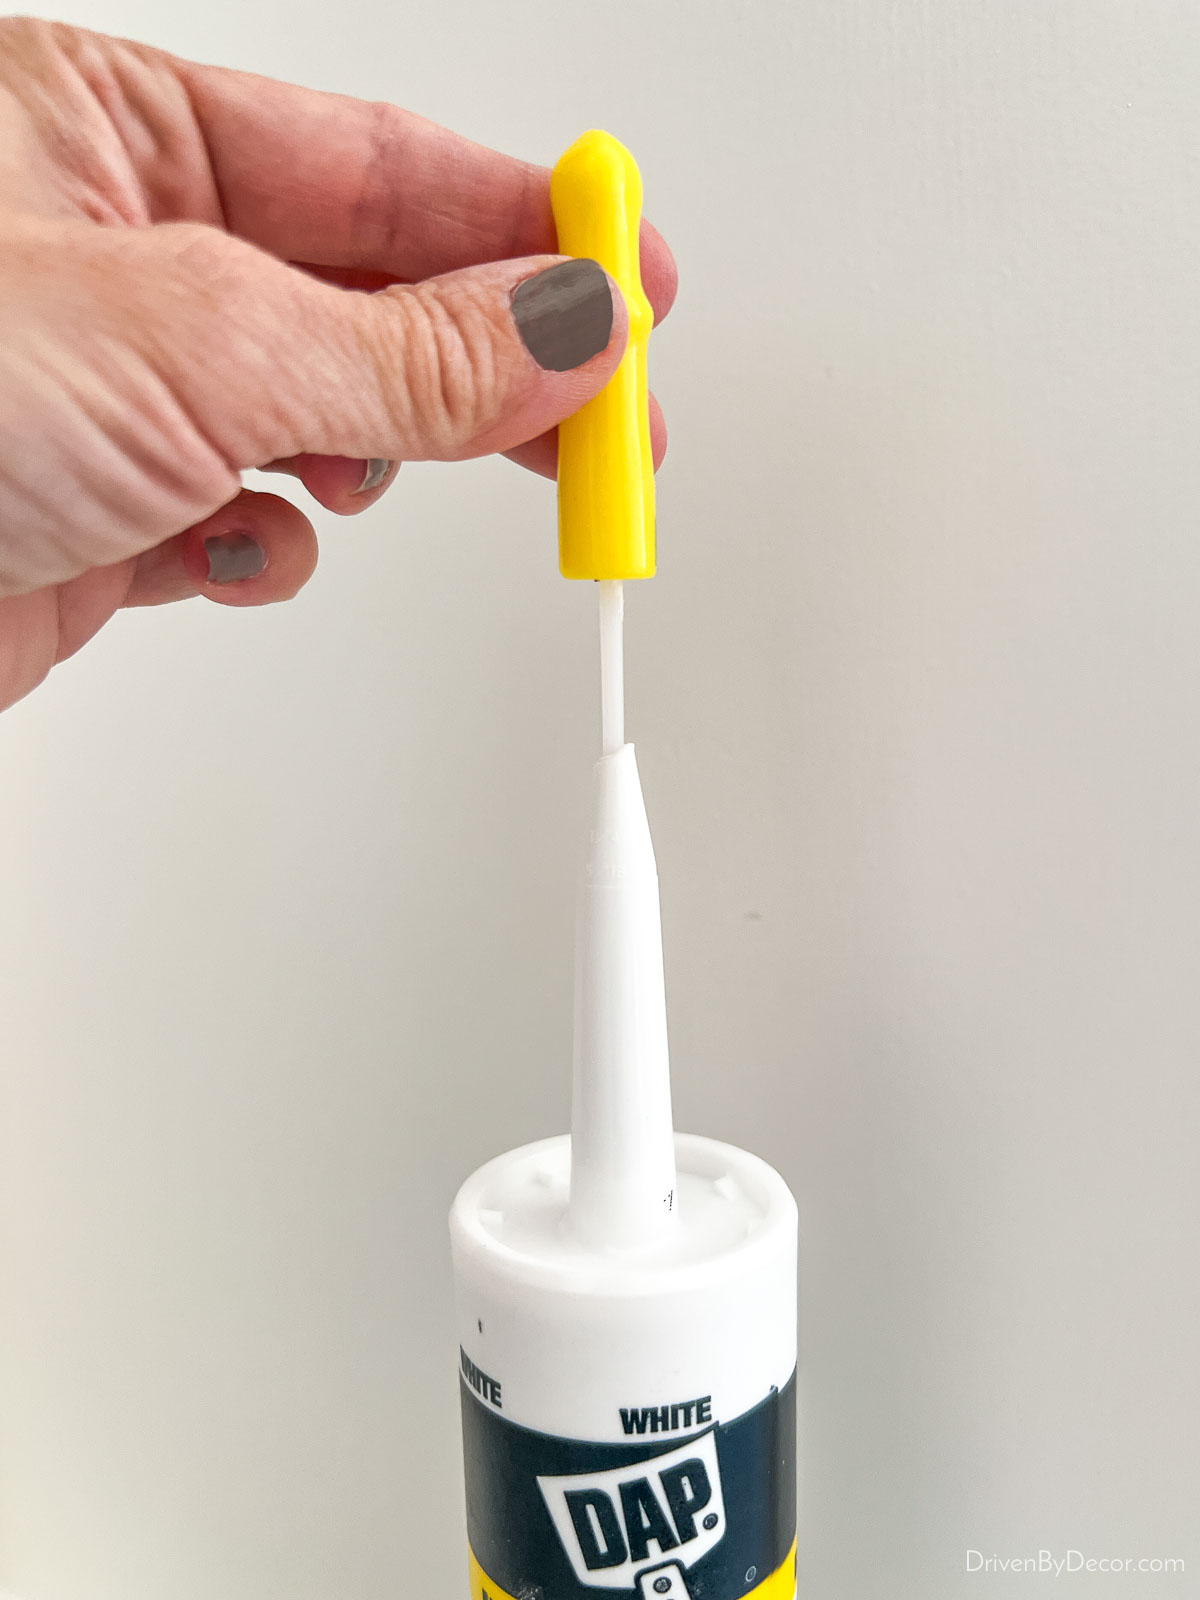
Now it’s time to load your caulk tube into the caulking gun and press on the handle multiple times until some caulk starts flowing out of it. If you can’t get caulk to come out, you likely didn’t pierce the seal on the tube well and should do so again (moving your piercing tool up and down in the tube at different angles usually does the trick).
Unless you’re very experienced with using a caulking gun, I recommend placing strips of painter’s tape along both sides of the tub/tile joint you’re caulking:
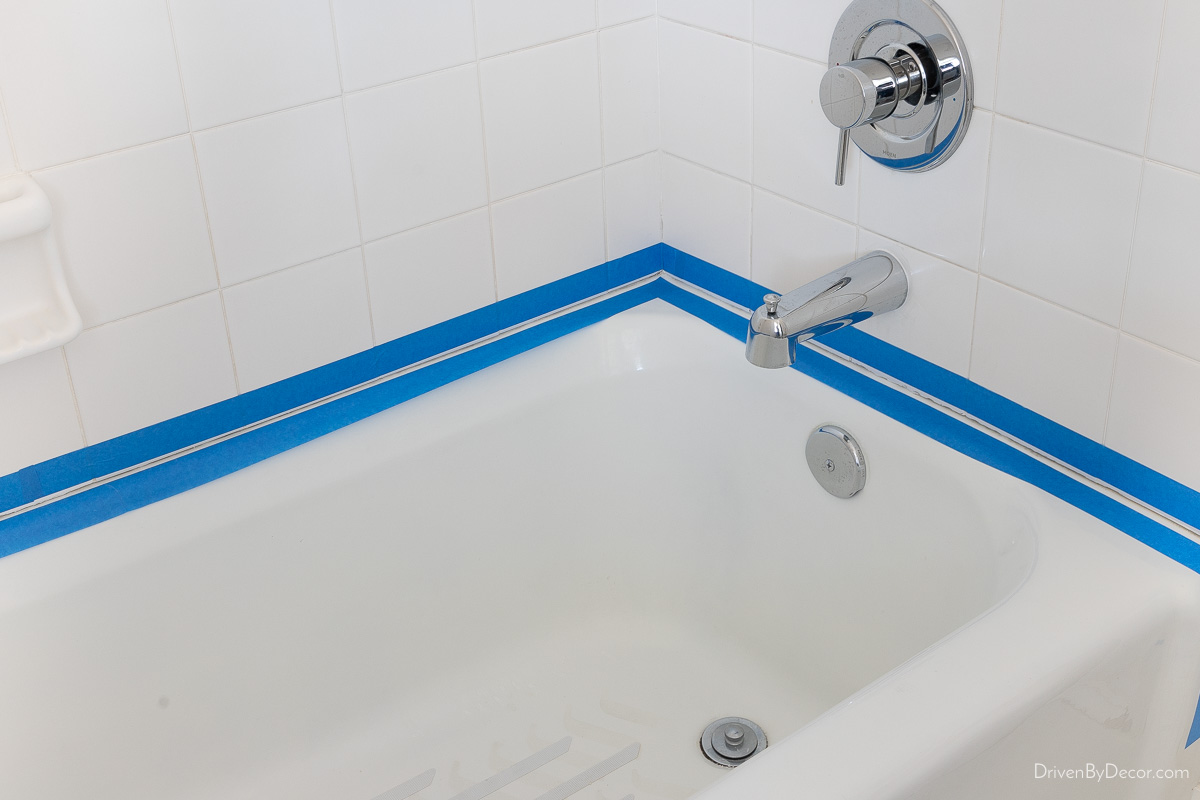
With the painter’s tape in place, if you use too much caulk, it will simply go on the tape rather than the tile or tub, avoiding messy clean-ups. And you’ll end up with a nice, straight caulk line.
Apply the New Caulk
With your caulk ready to go and painter’s tape in place, I’ve got one last tip before we get caulking. Fill your bathtub with water! Why? When you take a bath, the weight of the water plus your body can cause the tub to sink a bit, stretching the caulking and potentially causing it to crack over time. By filling the tub before you caulk, you won’t get this same stretching when you use the tub, so it should reduce the long term risk of cracking.
To use your caulk gun, hold it at the same 45-degree angle that you cut on the tip of your caulk tube. Apply slow, even pressure on the trigger, moving your caulking gun along the joint between the tub and tile:
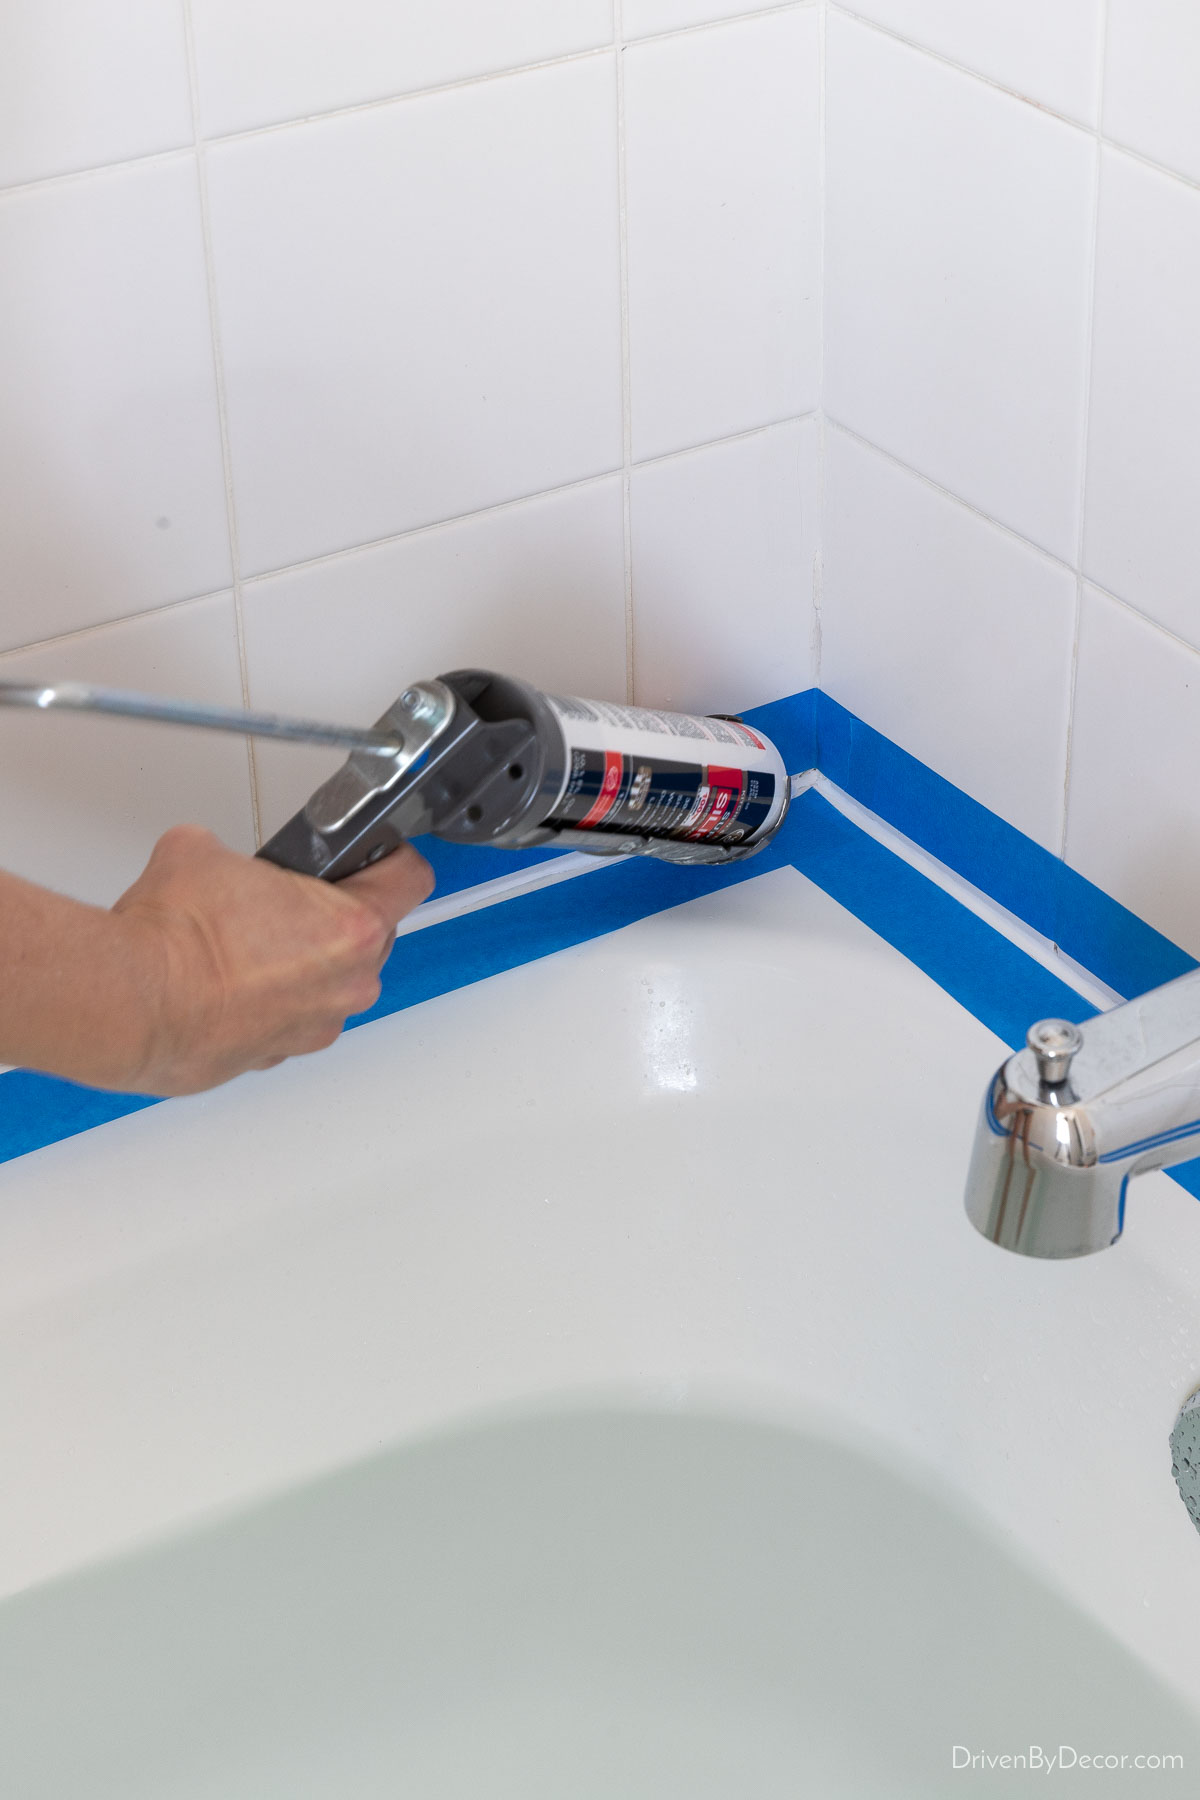
The goal is to have a consistent stream of caulk flowing into the joint. Aim for a Goldilocks amount. Too little caulk will result in gaps, and too much can create a mess. Luckily, if you taped the sides of the joint, even a messy caulk job will look great in the end.
If you’ve never caulked before, consider doing a little practice first. Nailing two pieces of wood together at a 90-degree angle and caulking the joint between them works great.
Smooth and Finish the Caulk Job
Now that you’ve finished caulking your bathtub, it’s time to smooth out the caulk and make your job look like a pro did it. You can do this by dipping a finger in water and running it along the length of your caulk joint. Or you can use a caulk finishing tool by placing it at one end and gently gliding it along the length of your caulk line. Either method will help remove any excess caulk and create a smooth, uniform finish.
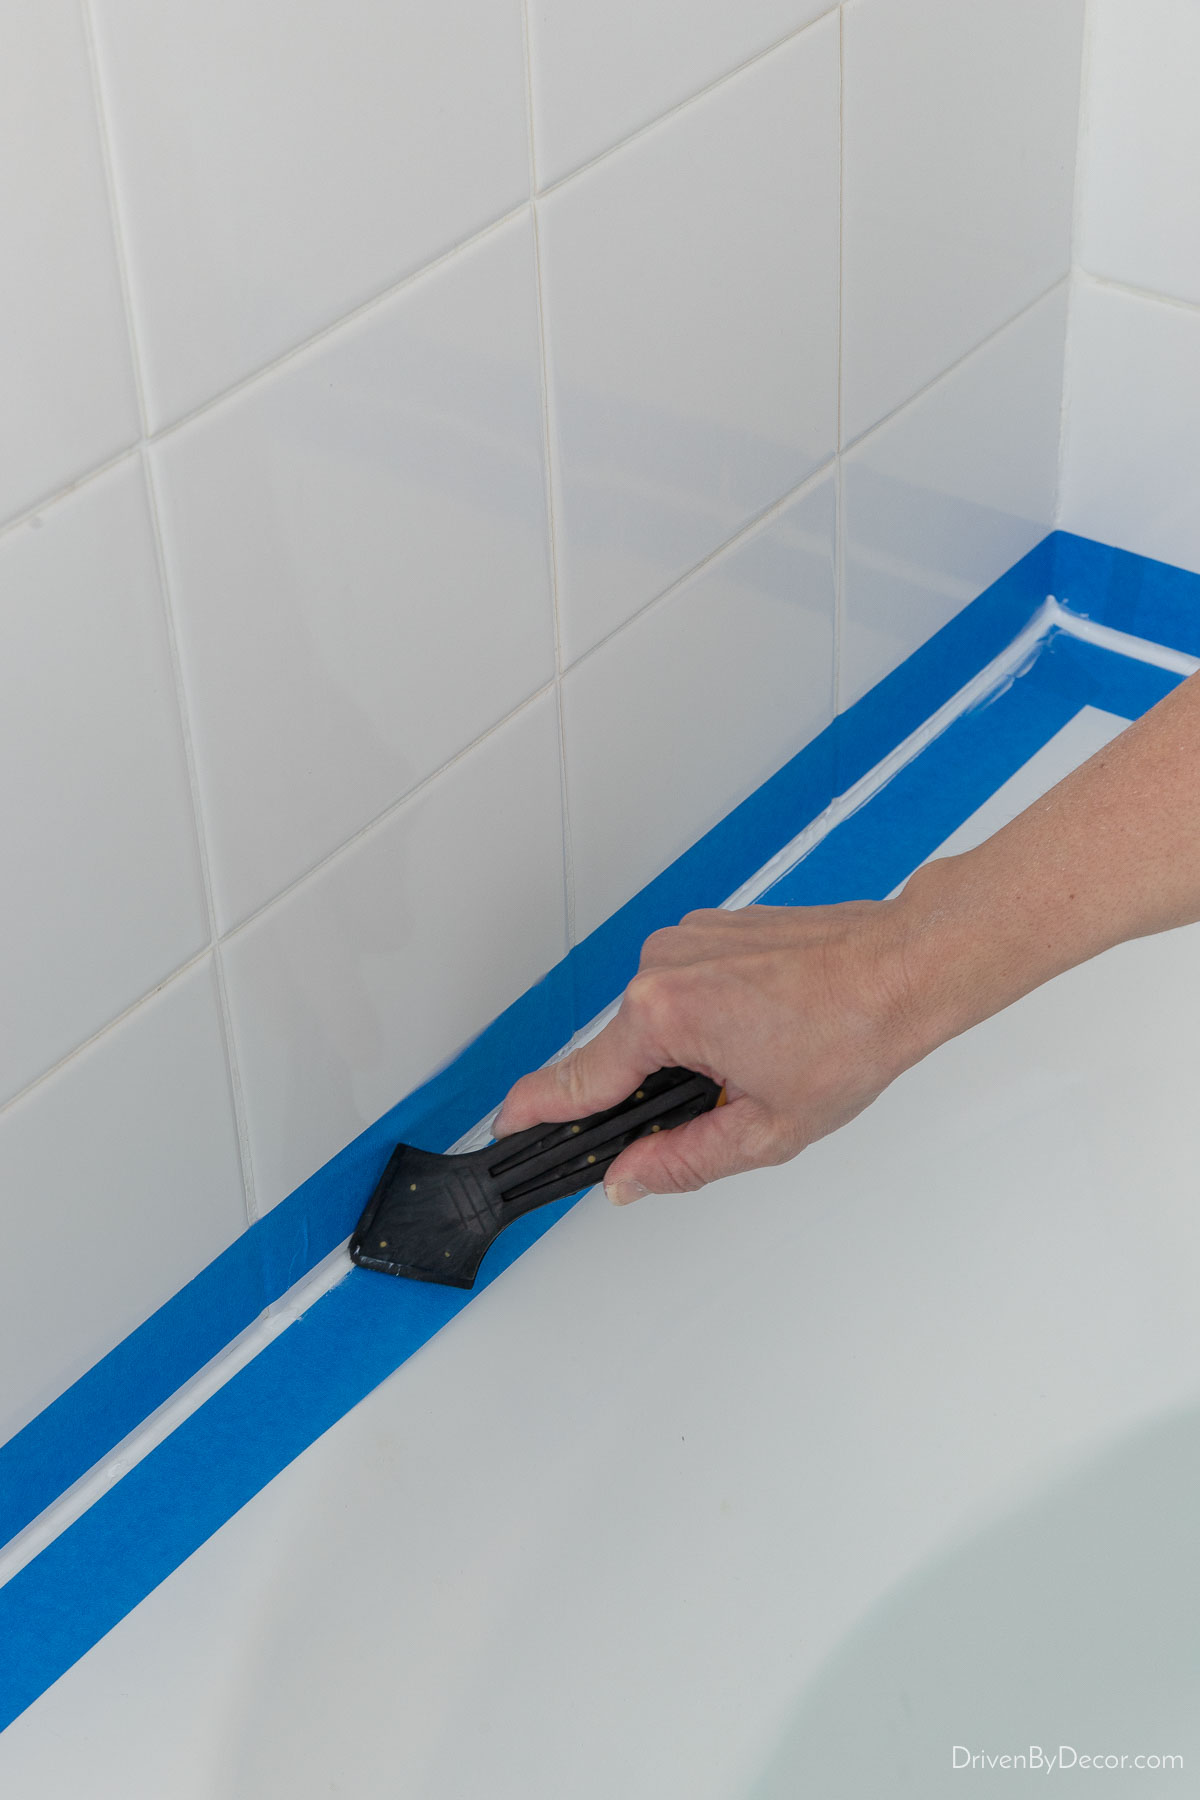
Once you’ve smoothed the caulk, take a step back and inspect your work for any gaps or spots where there’s still excess caulk. If there are any gaps, add more caulk in those spots and use your finger or a caulk finishing tool once again to smooth it out.
Now it’s time to remove the painter’s tape, pulling it up at a 45-degree angle. It should leave you with a nice, clean caulk line!
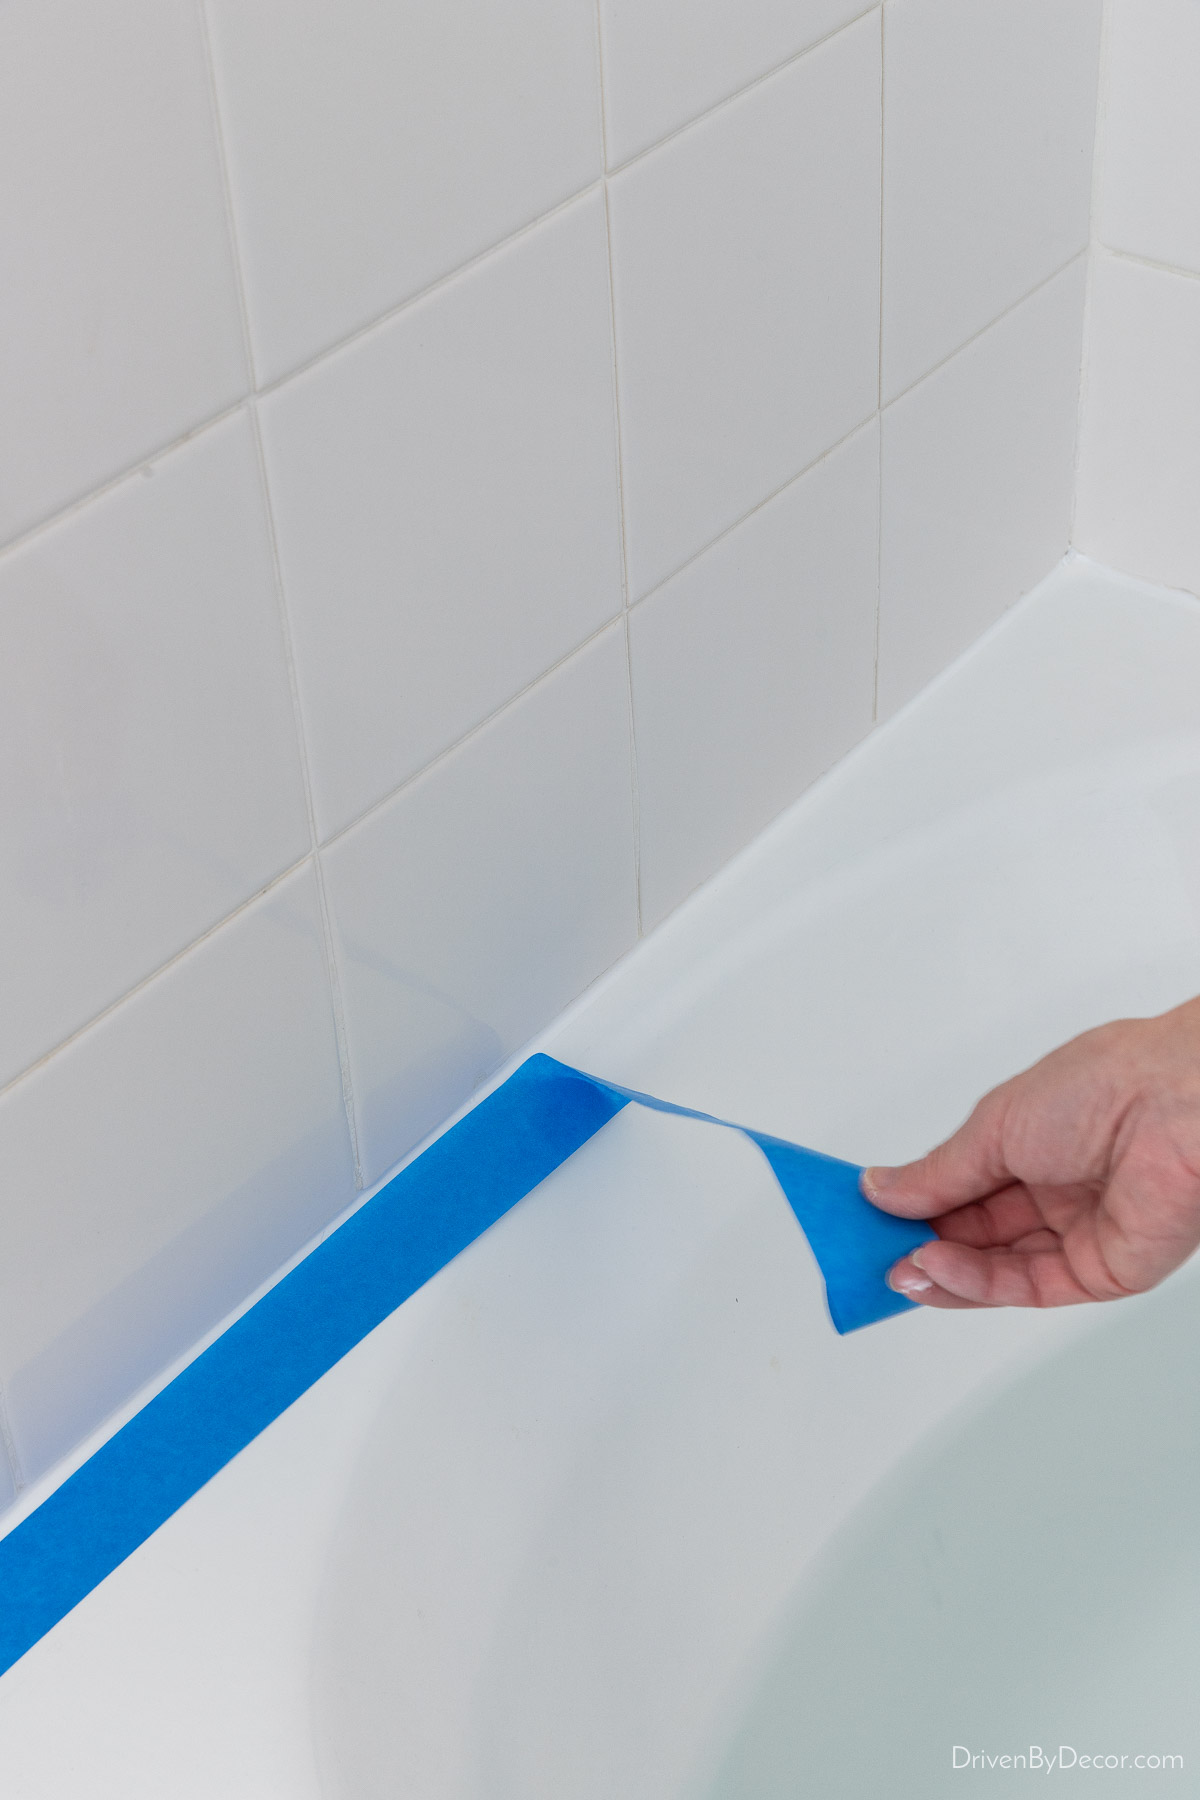
Inspect your work one last time, and wipe away any extra caulk with a damp cloth before it dries. Put a caulk cap on your tube of caulk, creating an airtight seal so you can use your caulk again for your next caulking project.
Allow Your Caulk to Cure
Now all you need to do is wait! It’s important to give the caulk enough time to cure (harden & reach maximum strength) before using your bathtub. Depending on the type of caulk you used, curing time can vary (generally, it’s 24-48 hours), so be sure to check the caulk label for specific instructions.
Once the cure time is over, drain the water in your tub and start putting your it-now-looks-like-a-million-bucks bathtub to use!
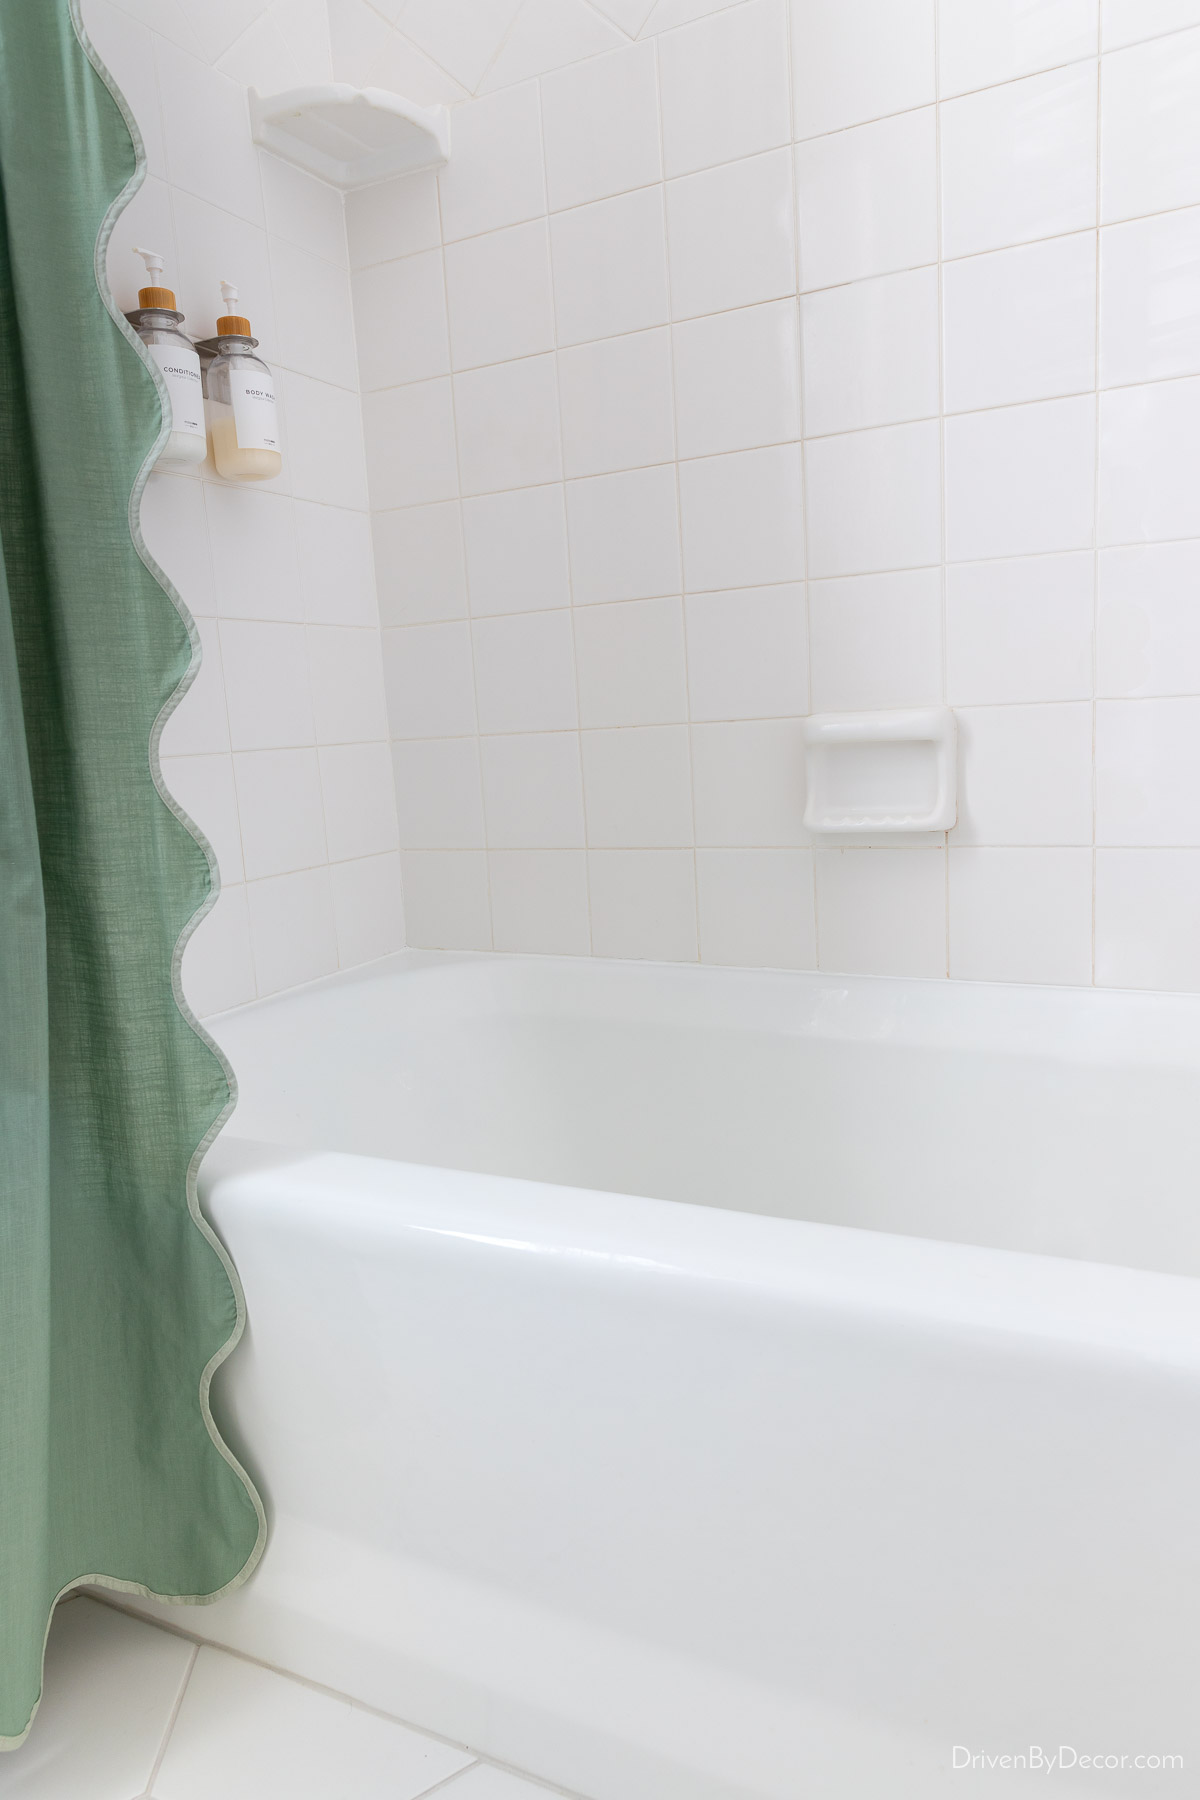
If you missed the reveal of this bathroom and want to see all the pics and details, check out my Jack and Jill bathroom remodel post. And if you want other tips for updating your bathroom, check out these popular posts:
12 Simple Bathroom Decor Ideas
10 Master Bathroom Remodel Ideas You’ll Want to Steal
Bathroom Lighting Ideas to Infuse Style Into Your Space
I hope you all have a great week!
XO,


