Ready to check out the remodel of our Jack and Jill bathroom?! There were some hiccups along the way (making it take MUCH longer than it should have!), but I’m super happy with how it turned out and am excited to share it with you!
I took a LOT of photos so you could see all the little details, so grab a drink, settle in, and let me take you on a tour! (post includes commissionable links; for more information, see my disclosure statement {here})
The first change we made to our Jack and Jill bathroom is visible before we even walk in! We swapped out the old, tarnished doorknobs on each door for {these gorgeous satin brass Verve knobs} c/o Emtek:
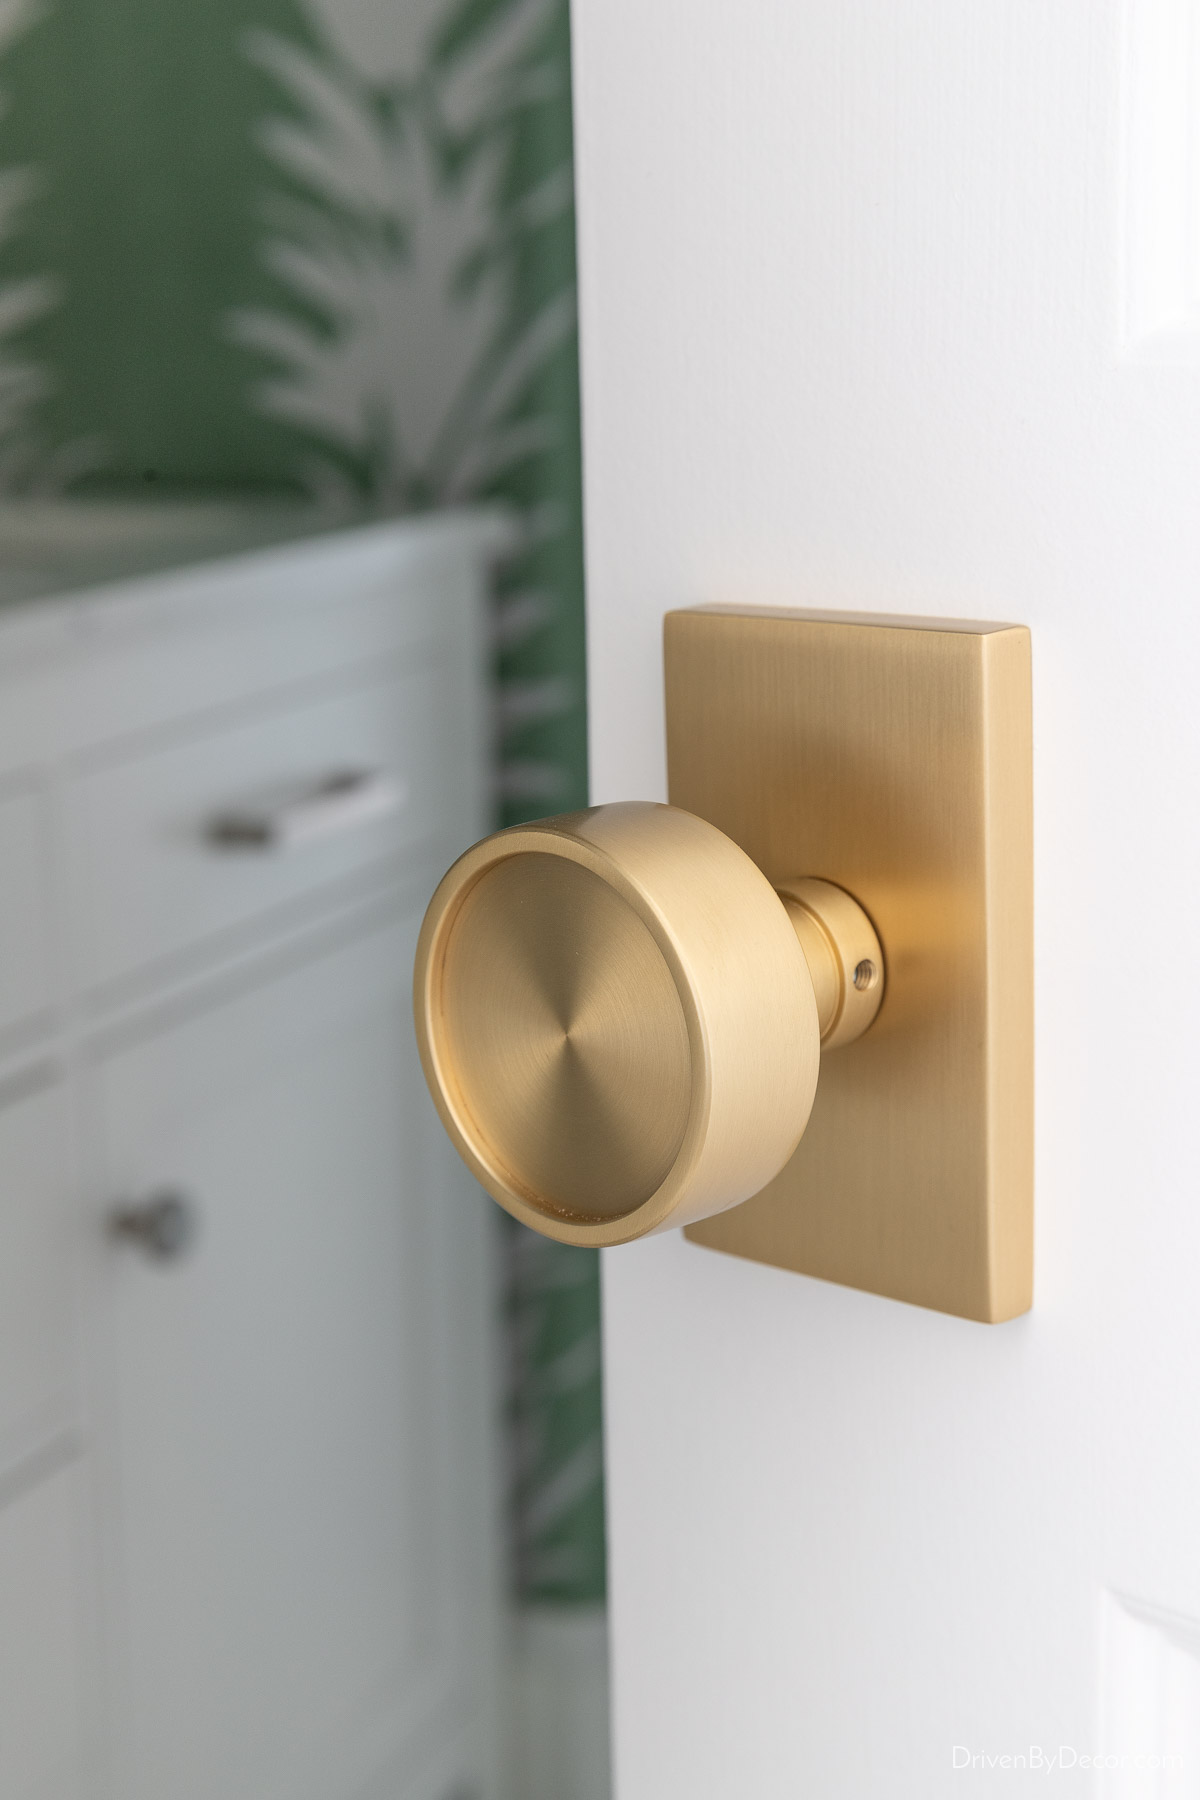
I LOVE them and have been swapping out all of our old door knobs for these new beauties one by one with each room that we remodel.
As far as the layout of our Jack and Jill bathroom goes, there are doors leading into it from two different bedrooms. The first portion of the bathroom has a shared vanity. Then there’s a door separating it from the second portion of the bathroom that has the toilet and tub/shower.
Before stepping inside, let’s take a quick look back at a pic of this space from when we first moved in:
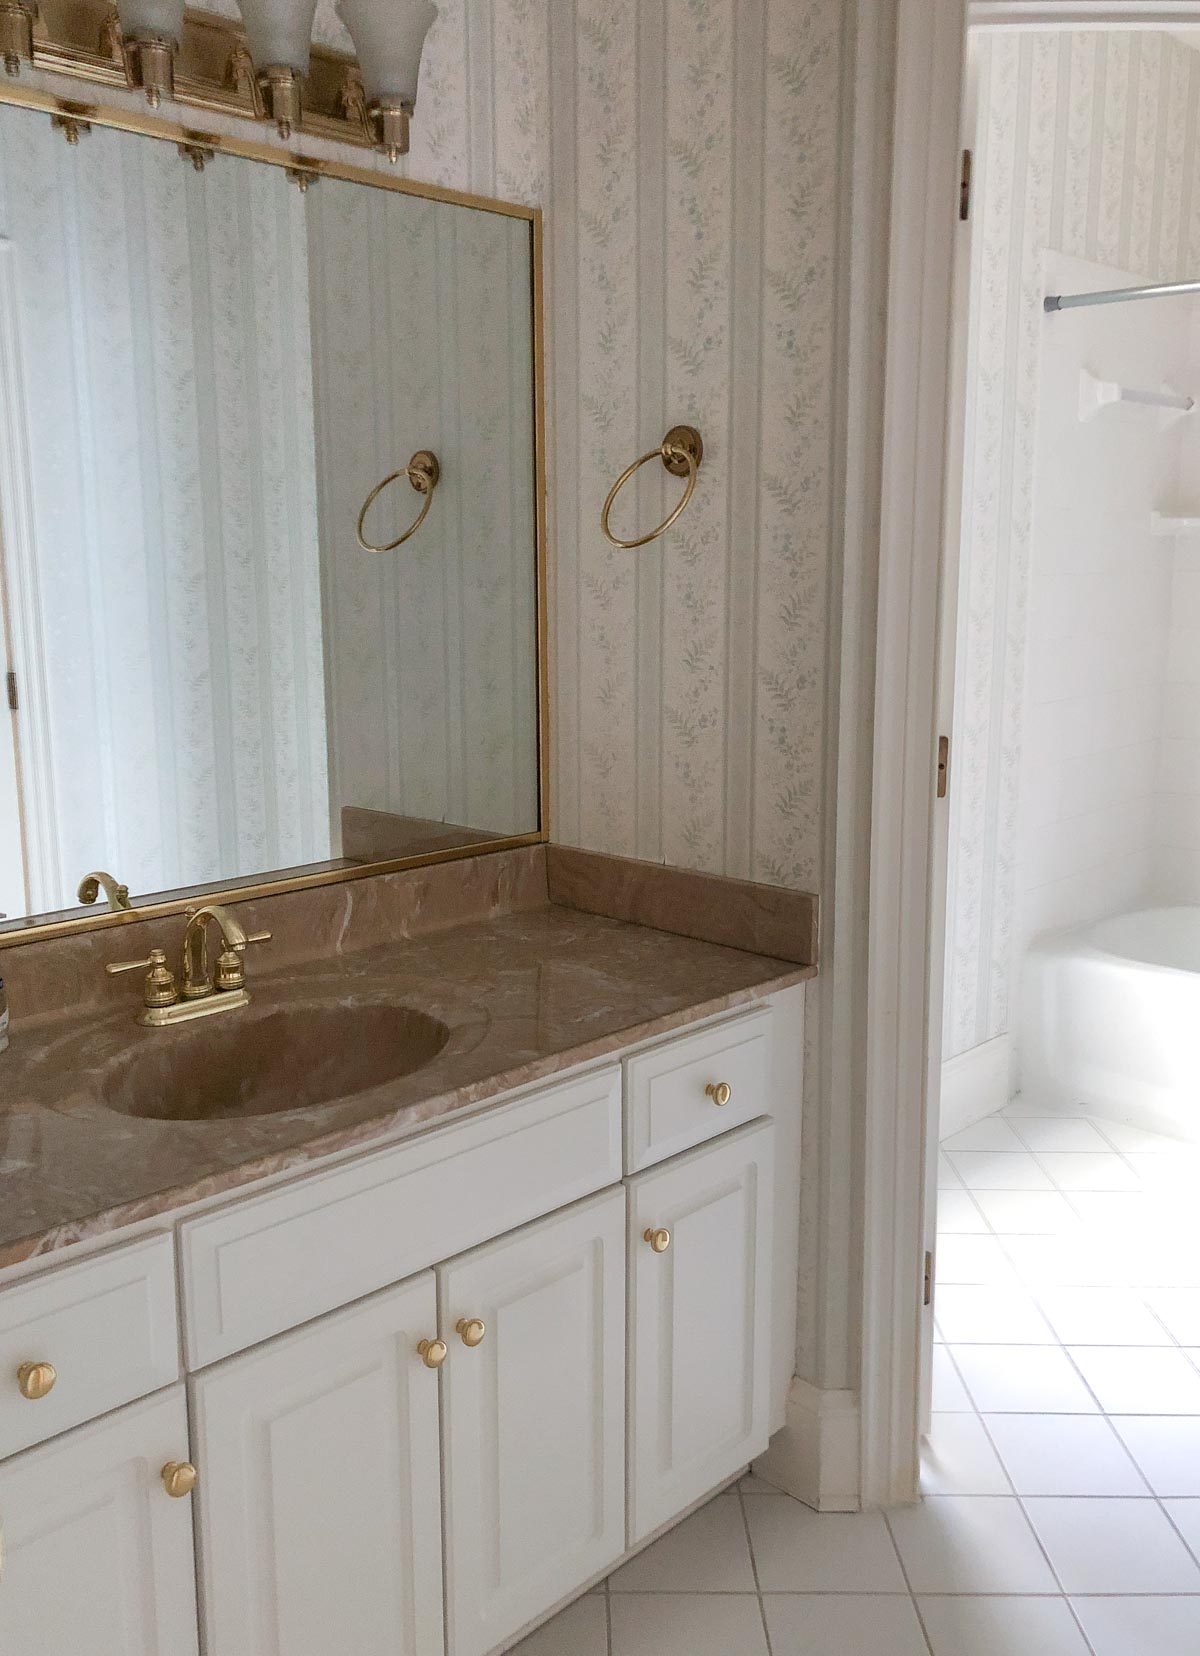
Here’s that same space today:
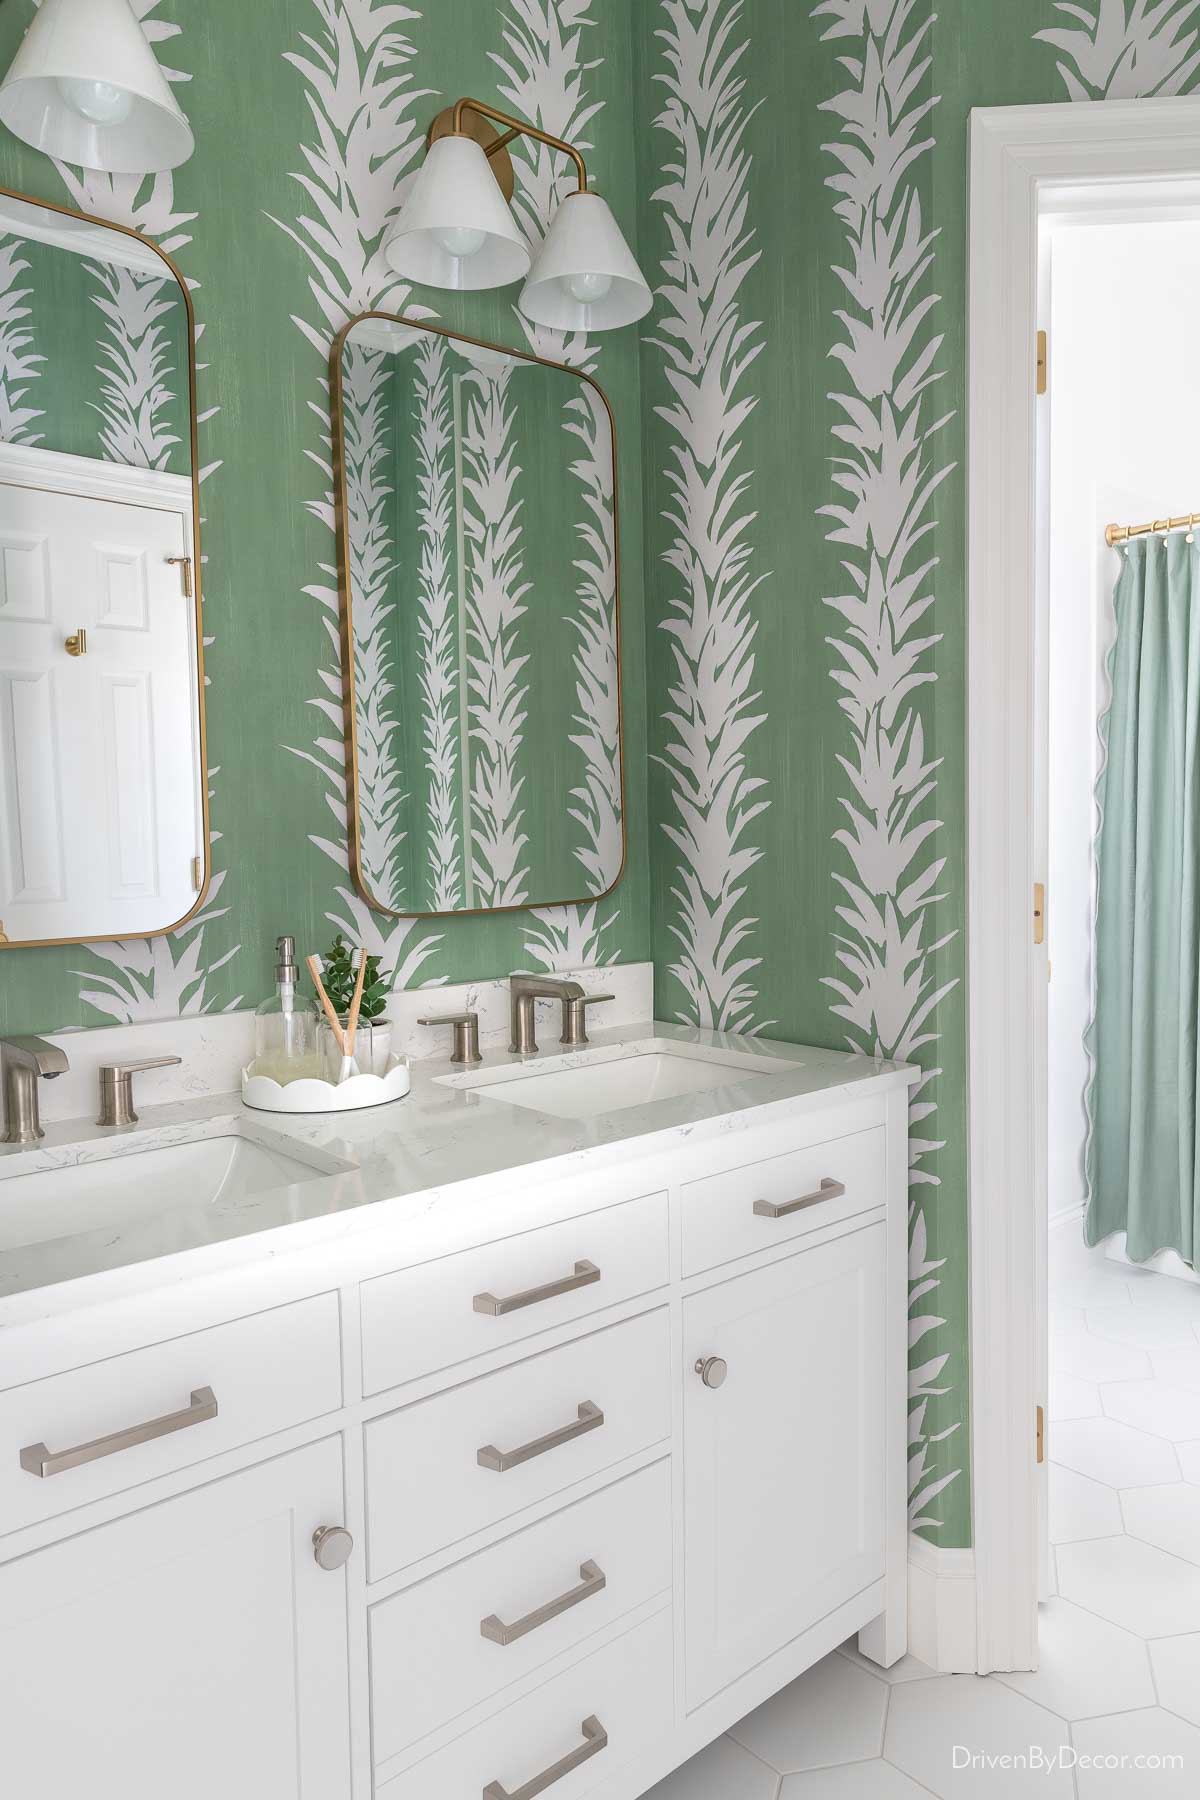
Sources: Wallpaper | Double vanity | 2-Light cone sconces | Medicine cabinet mirrors | Faucets | White hexagon floor tile
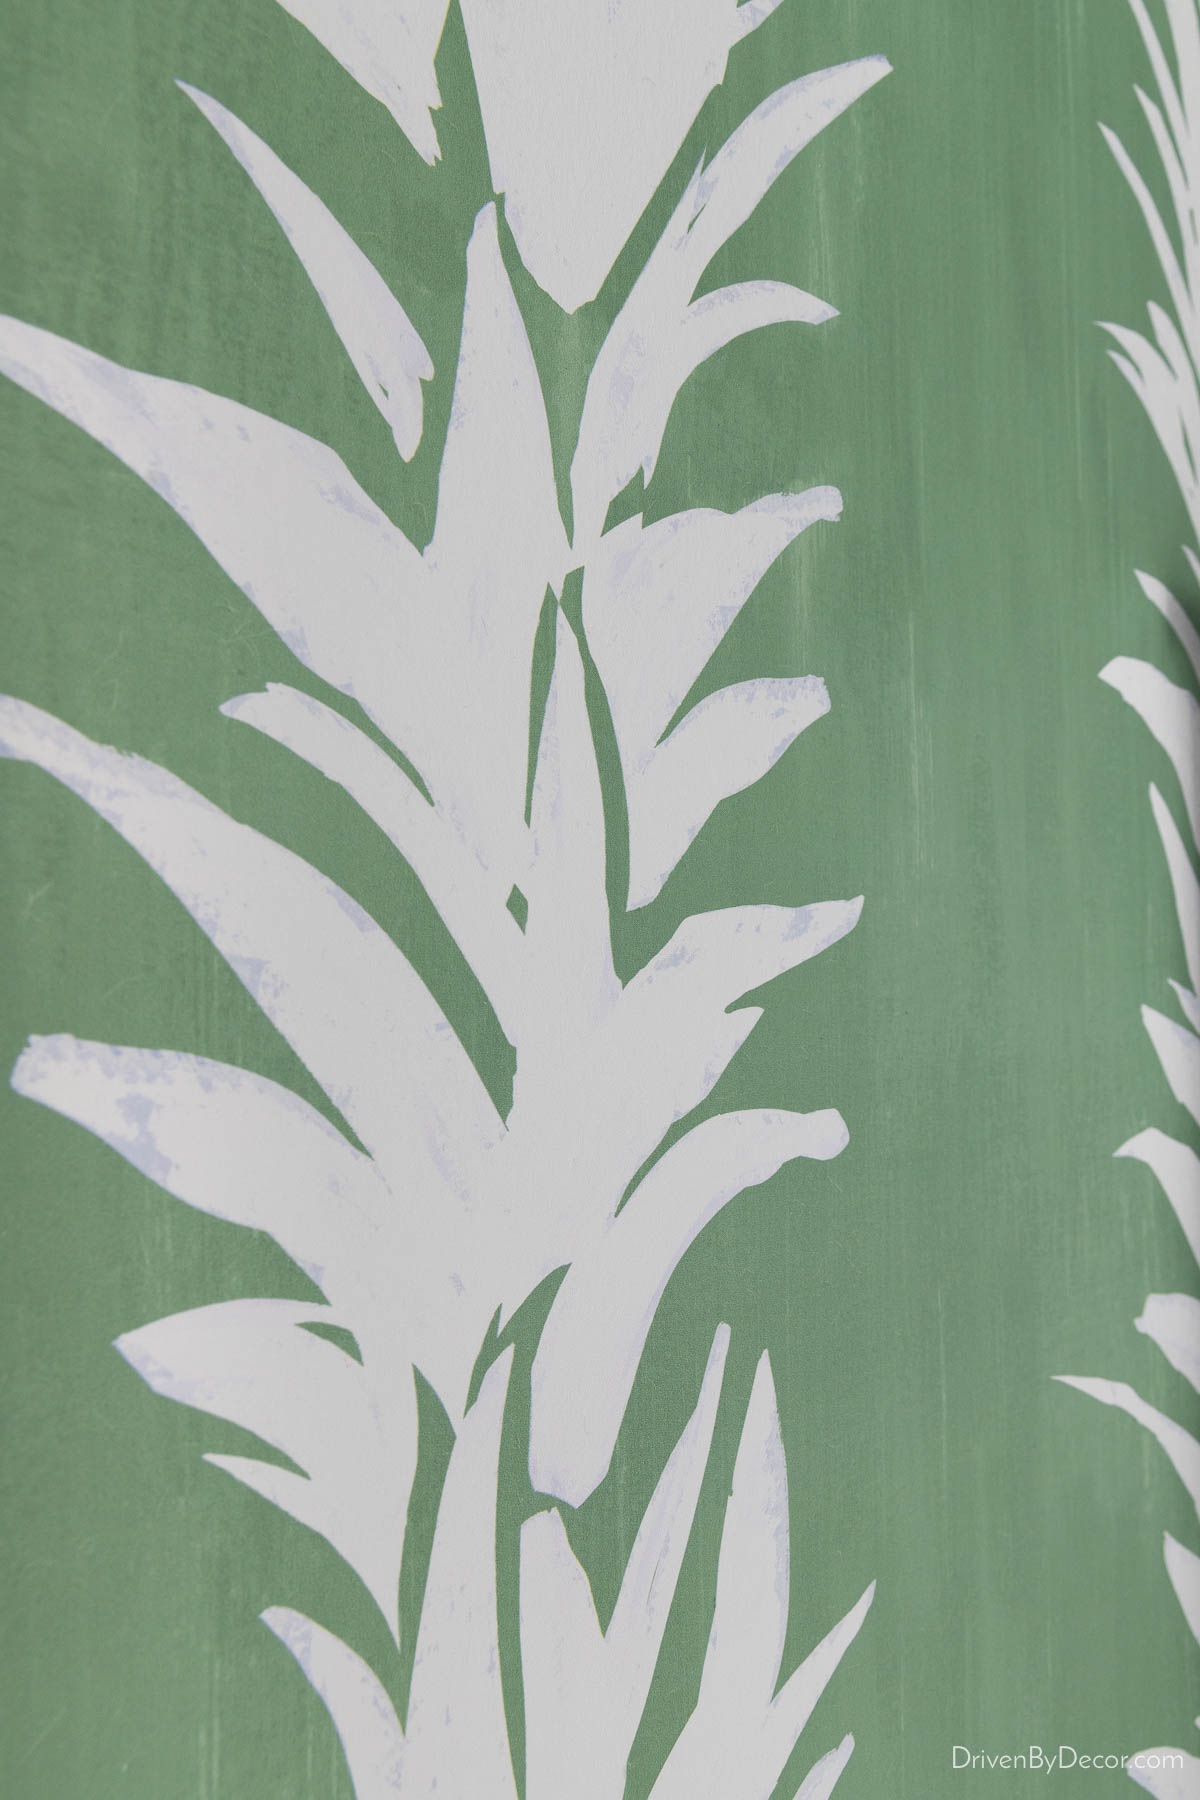
As you can see, I had a little fun with color since this is mainly used as a kids bathroom. I removed the old, dated wallpaper and replaced it with {this white lotus wallpaper} in the soft green colorway. When you look closely, you’ll see that it has a watercolor feel with various shades of green:
While both portions of the bathroom were originally wallpapered, I only re-wallpapered the portion of the bathroom with the vanity. I didn’t love the idea of floor-to-ceiling wallpaper right next to the toilet, so instead of wallpapering the toilet and tub/shower space, I painted those walls with Benjamin Moore’s Chantilly Lace.
Want to know more about Chantilly Lace? Check out my Benjamin Moore Chantilly Lace paint color review! You might also find my post on the best white paint for interior walls to be helpful!
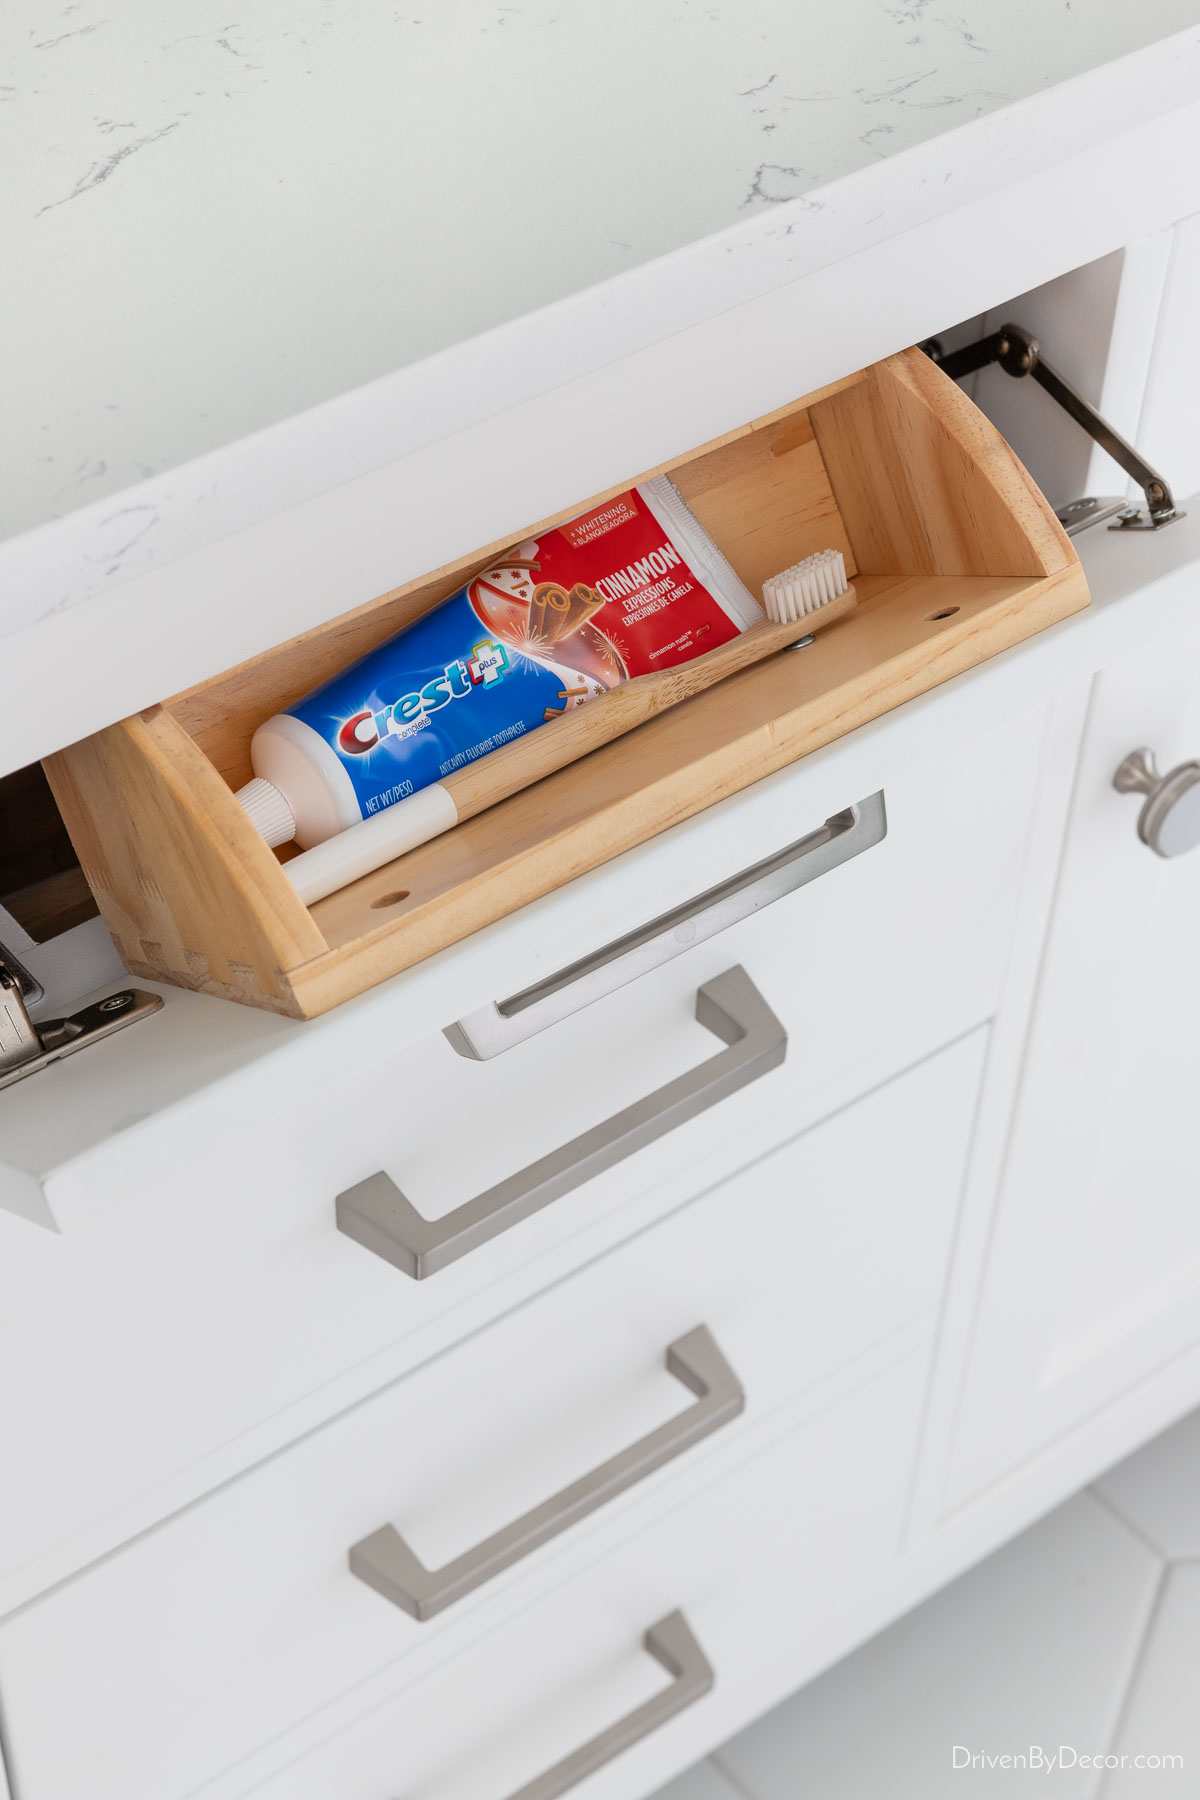
The other big change is that I swapped out the old single sink vanity with {this 54″ double vanity} that is the perfect size for our vanity niche (FYI, this same vanity comes in a TON of other size options and several color options too that you can find {here}). The vanity included the vanity top and sinks and came with several organizing perks, including a built-in tip-out tray,
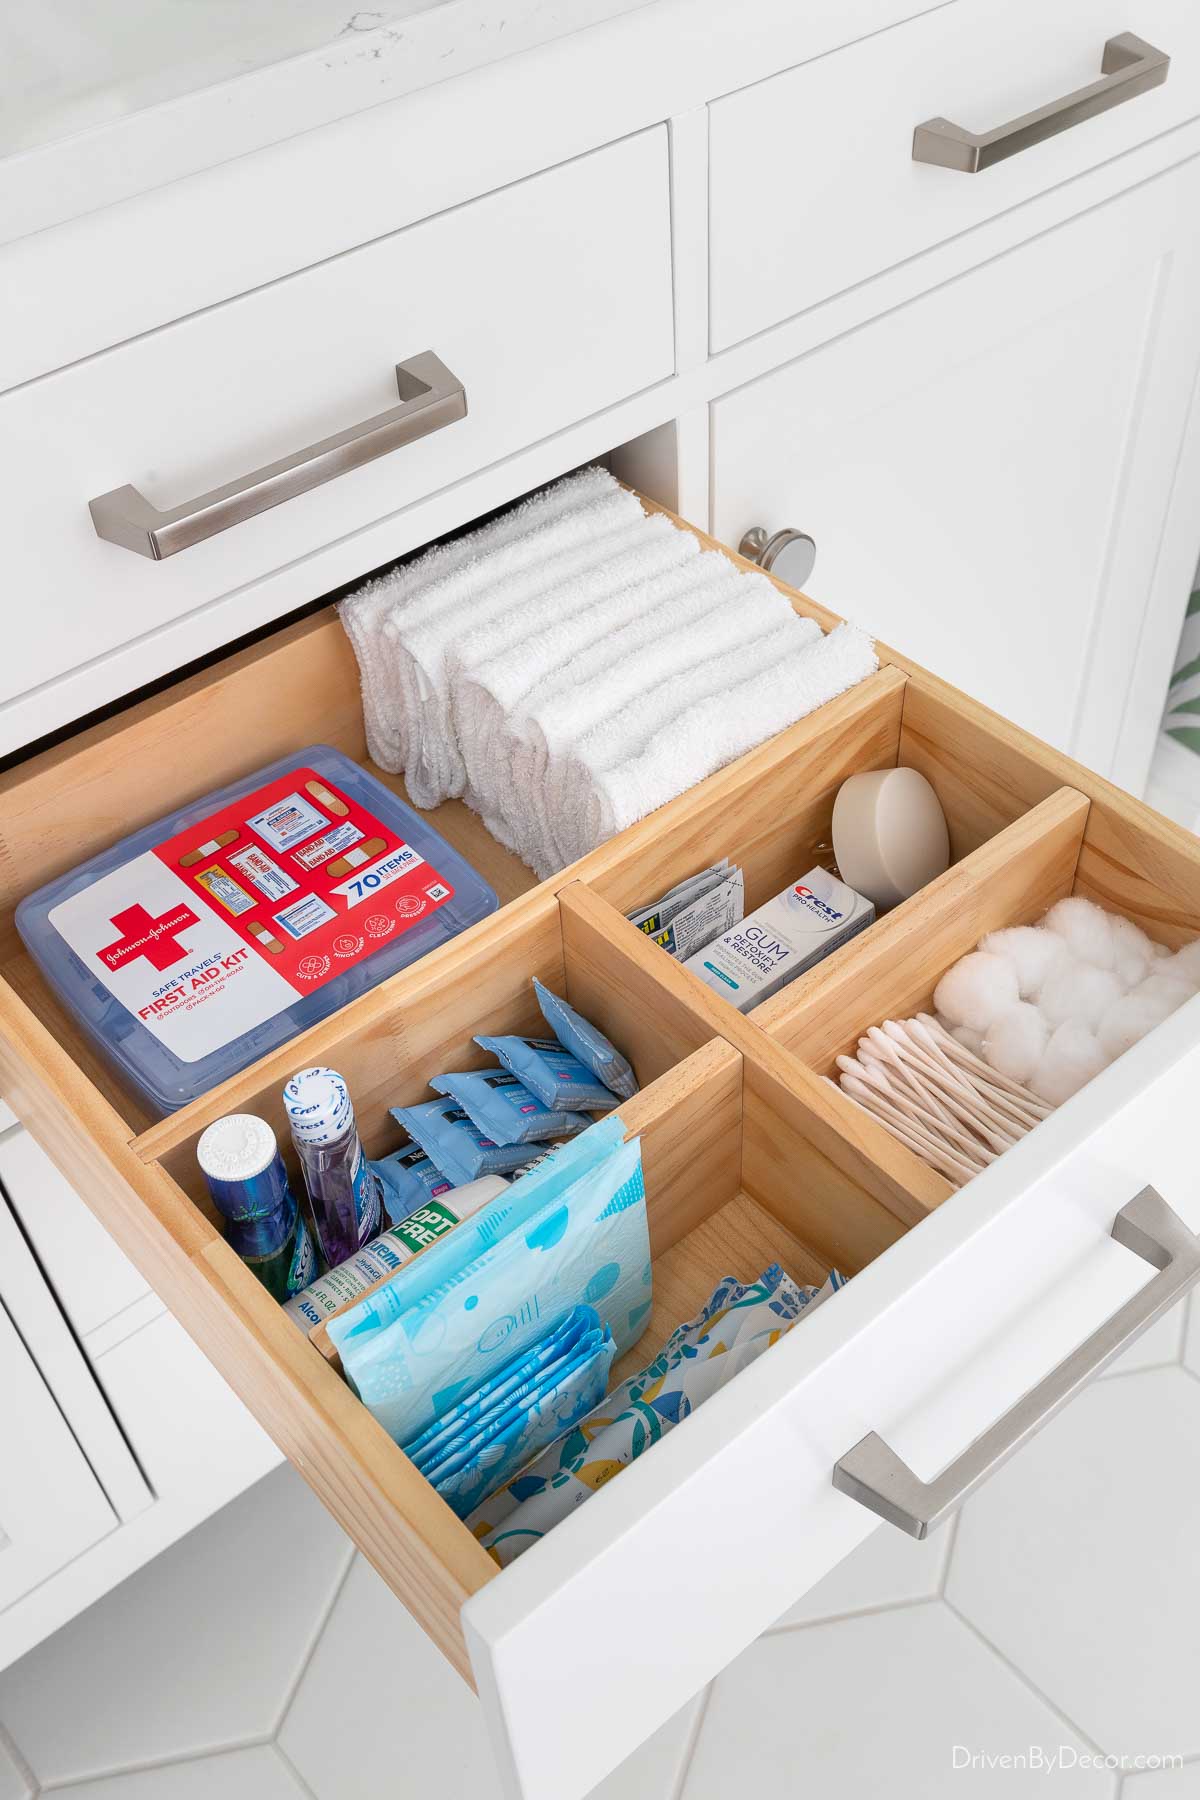
a drawer with built-in wood dividers (that I stocked with washcloths, a first aid kit, and extra toiletries for guests),
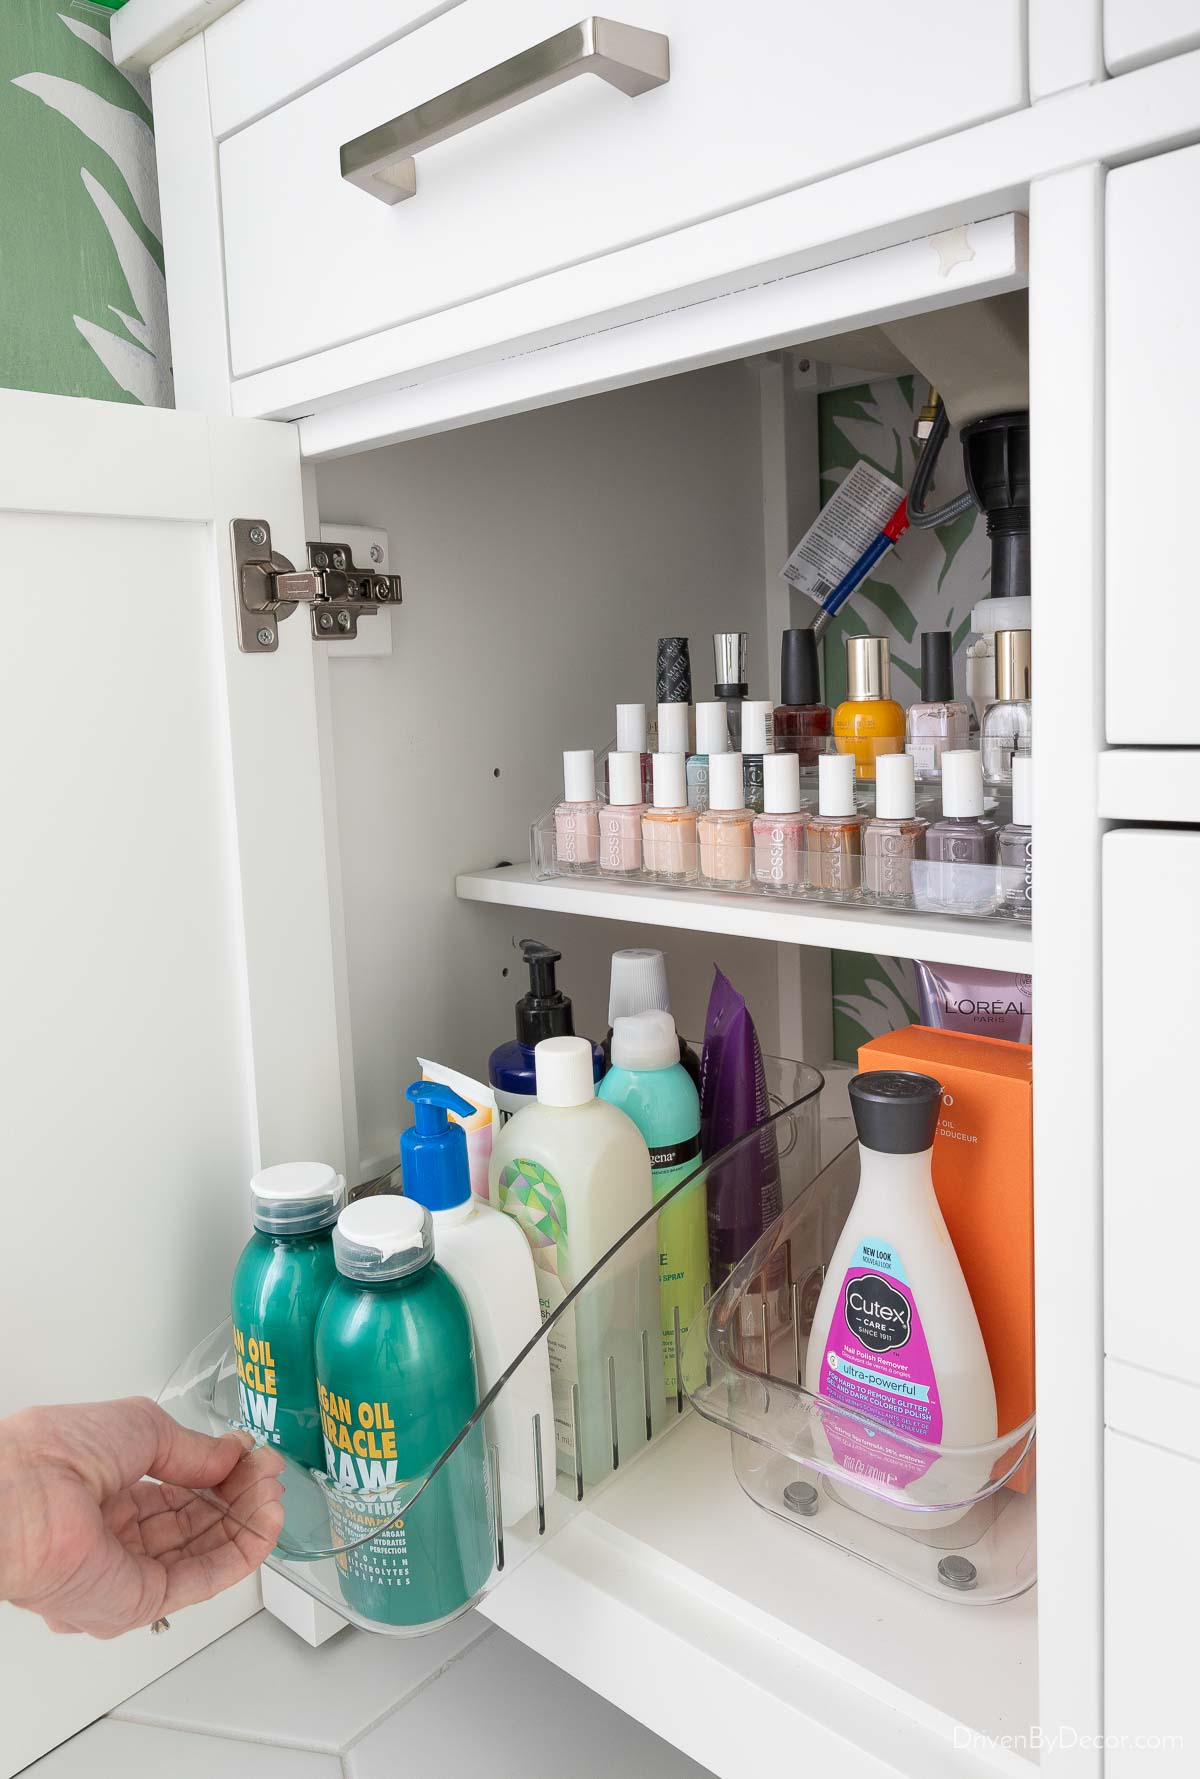
and a deep bottom drawer that’s perfect for a hair dryer and other hair tools. The cabinet under each sink has an adjustable shelf, which is nice too! On the left side, I have {this acrylic nail polish organizer} on the top shelf and two of {these 6″ roll-out organizers} with adjustable dividers on the bottom shelf:
The right side houses a small trash can and a few other organizers.
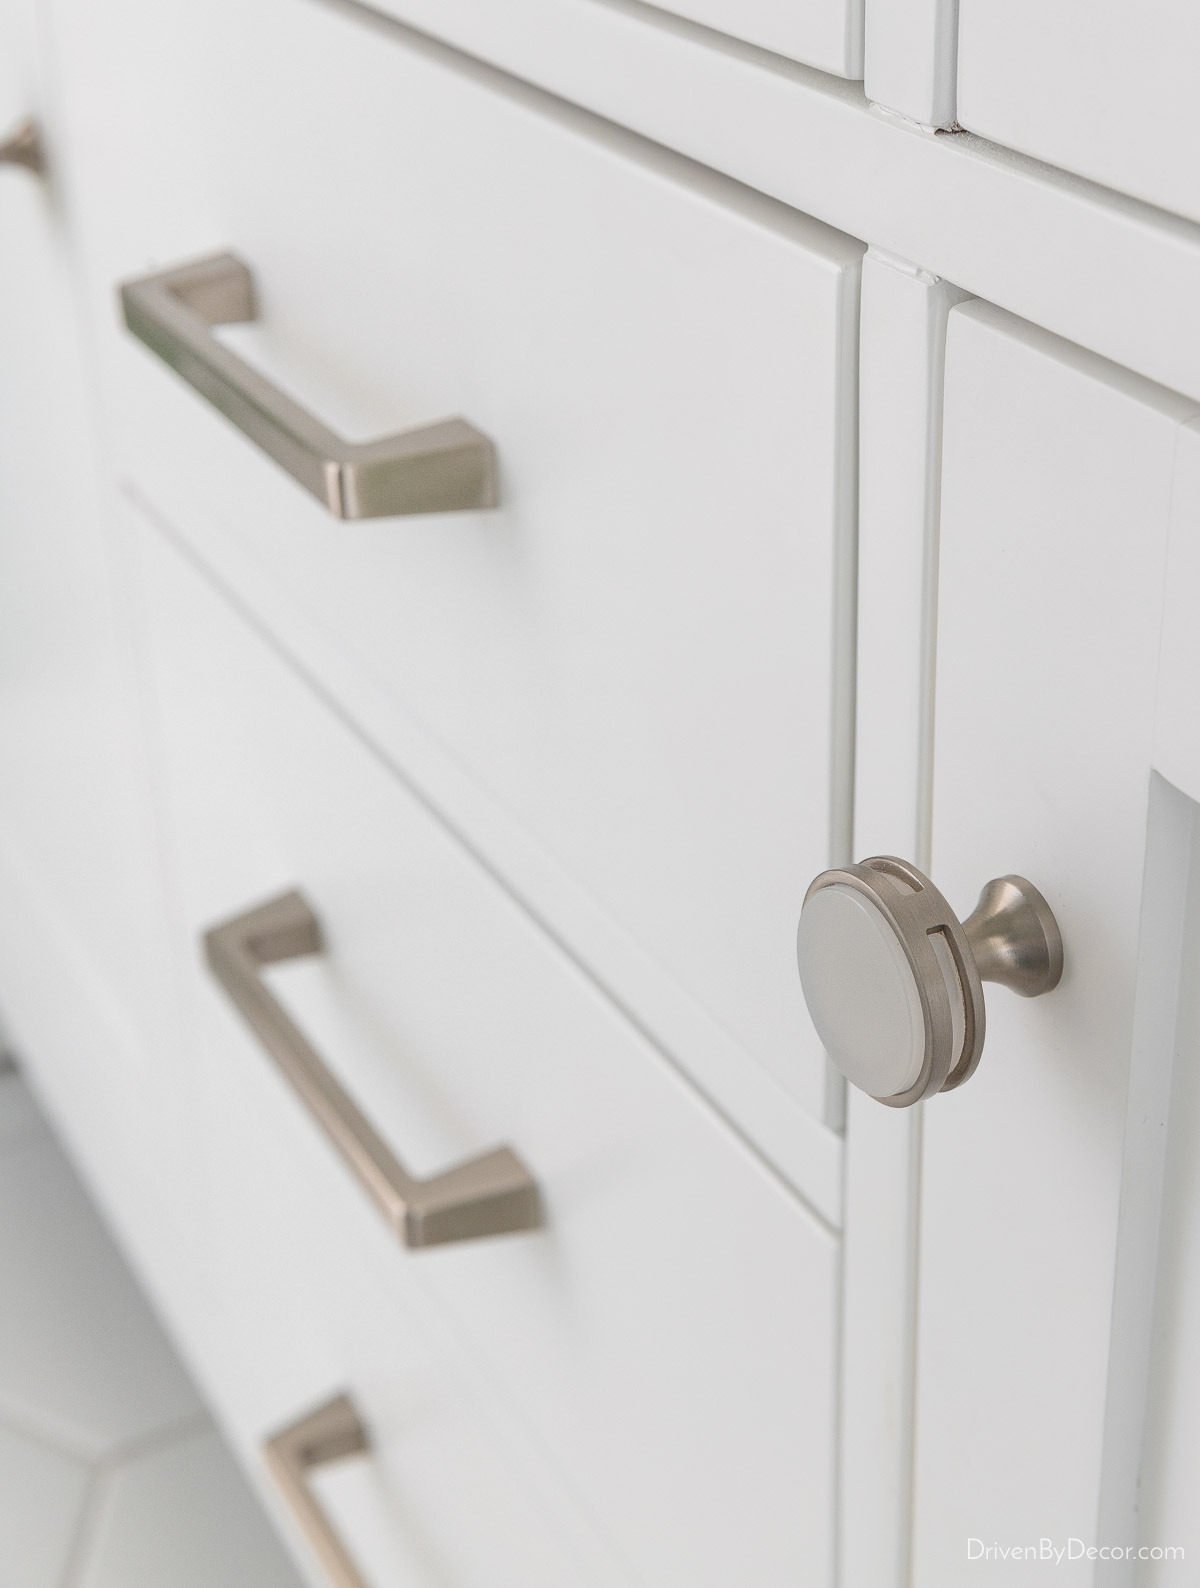
The vanity came with knobs and pulls that were actually not too bad, but I upgraded them to {these satin nickel pulls} and {these satin nickel/frosted knobs}:
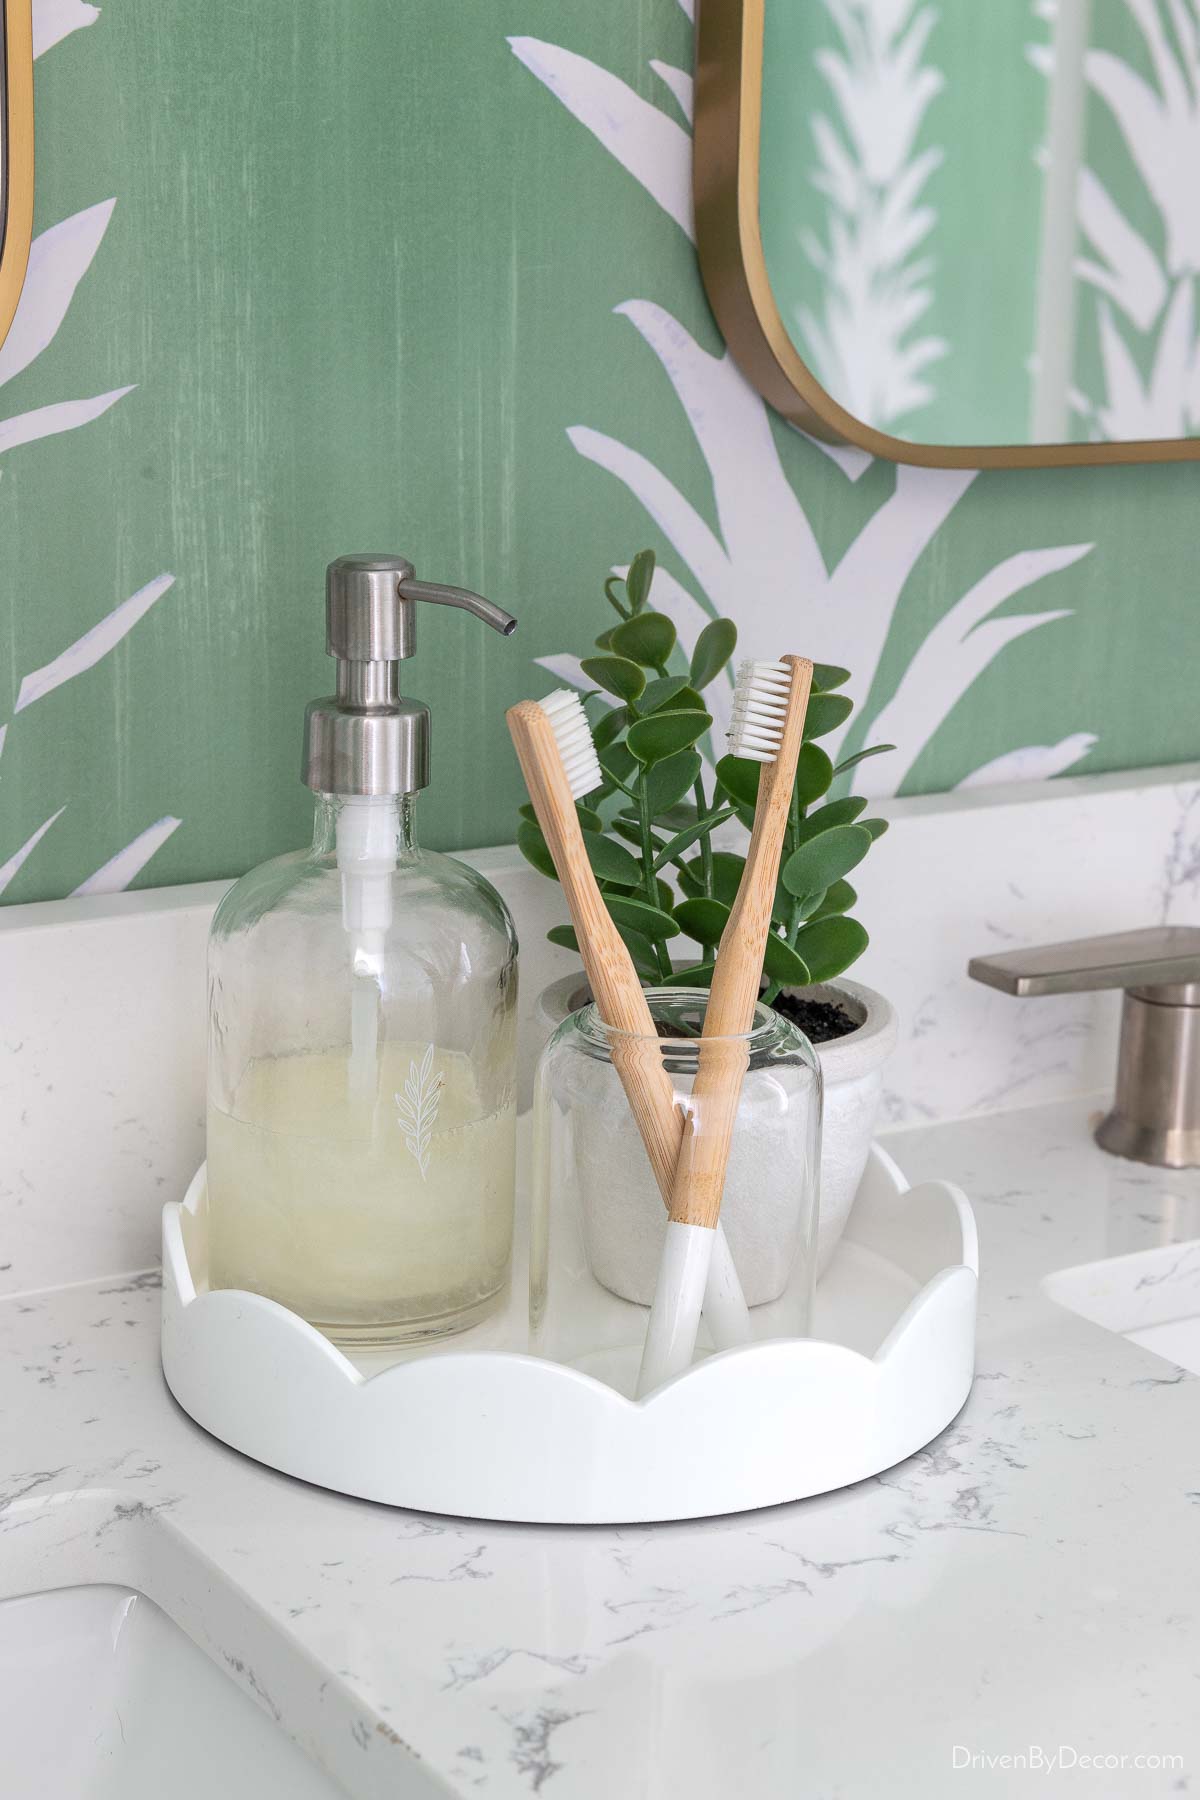
On top of the vanity, I added {this 8.6″ round scalloped tray} which is the perfect size for between the two sinks. It holds {this mini faux succulent}. {these bamboo toothbrushes} in one of {these glass bud vases} , and a soap pump similar to {this one}:
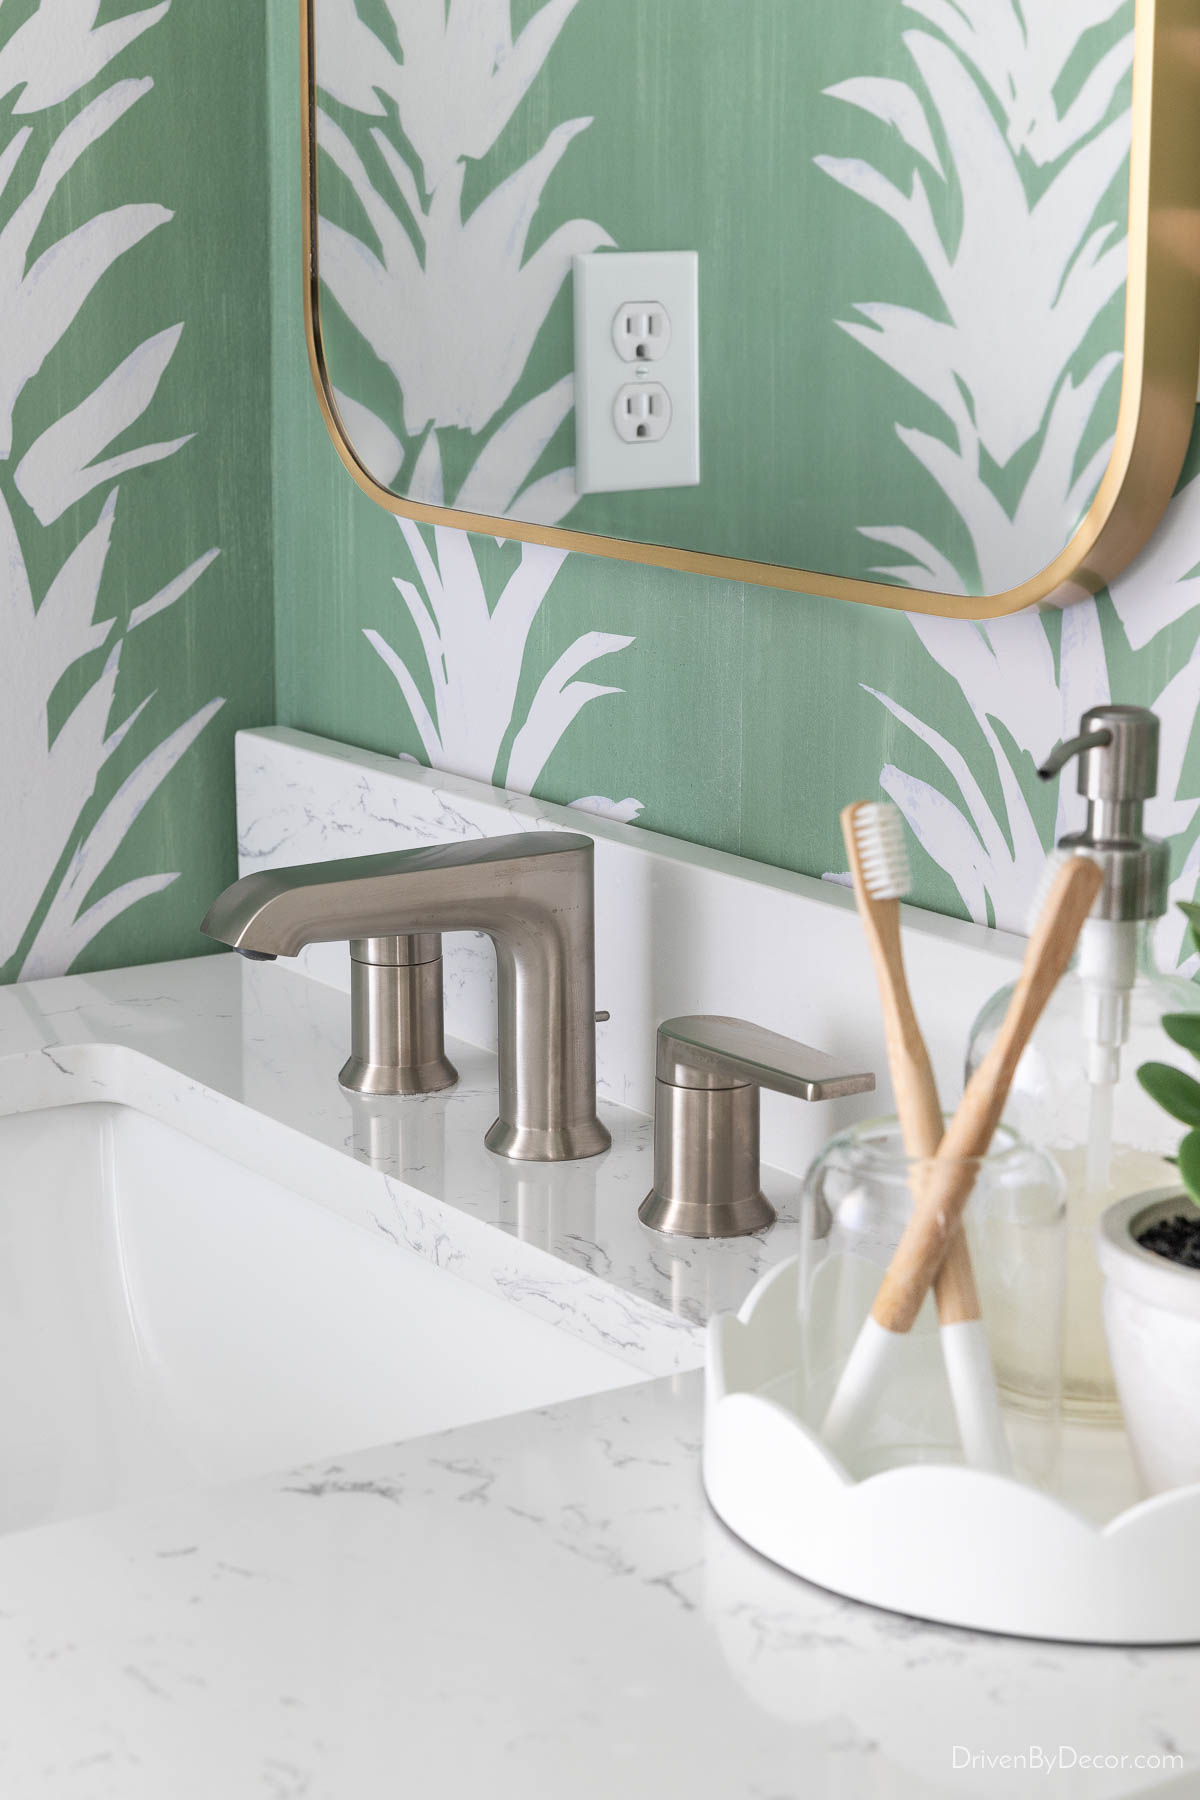
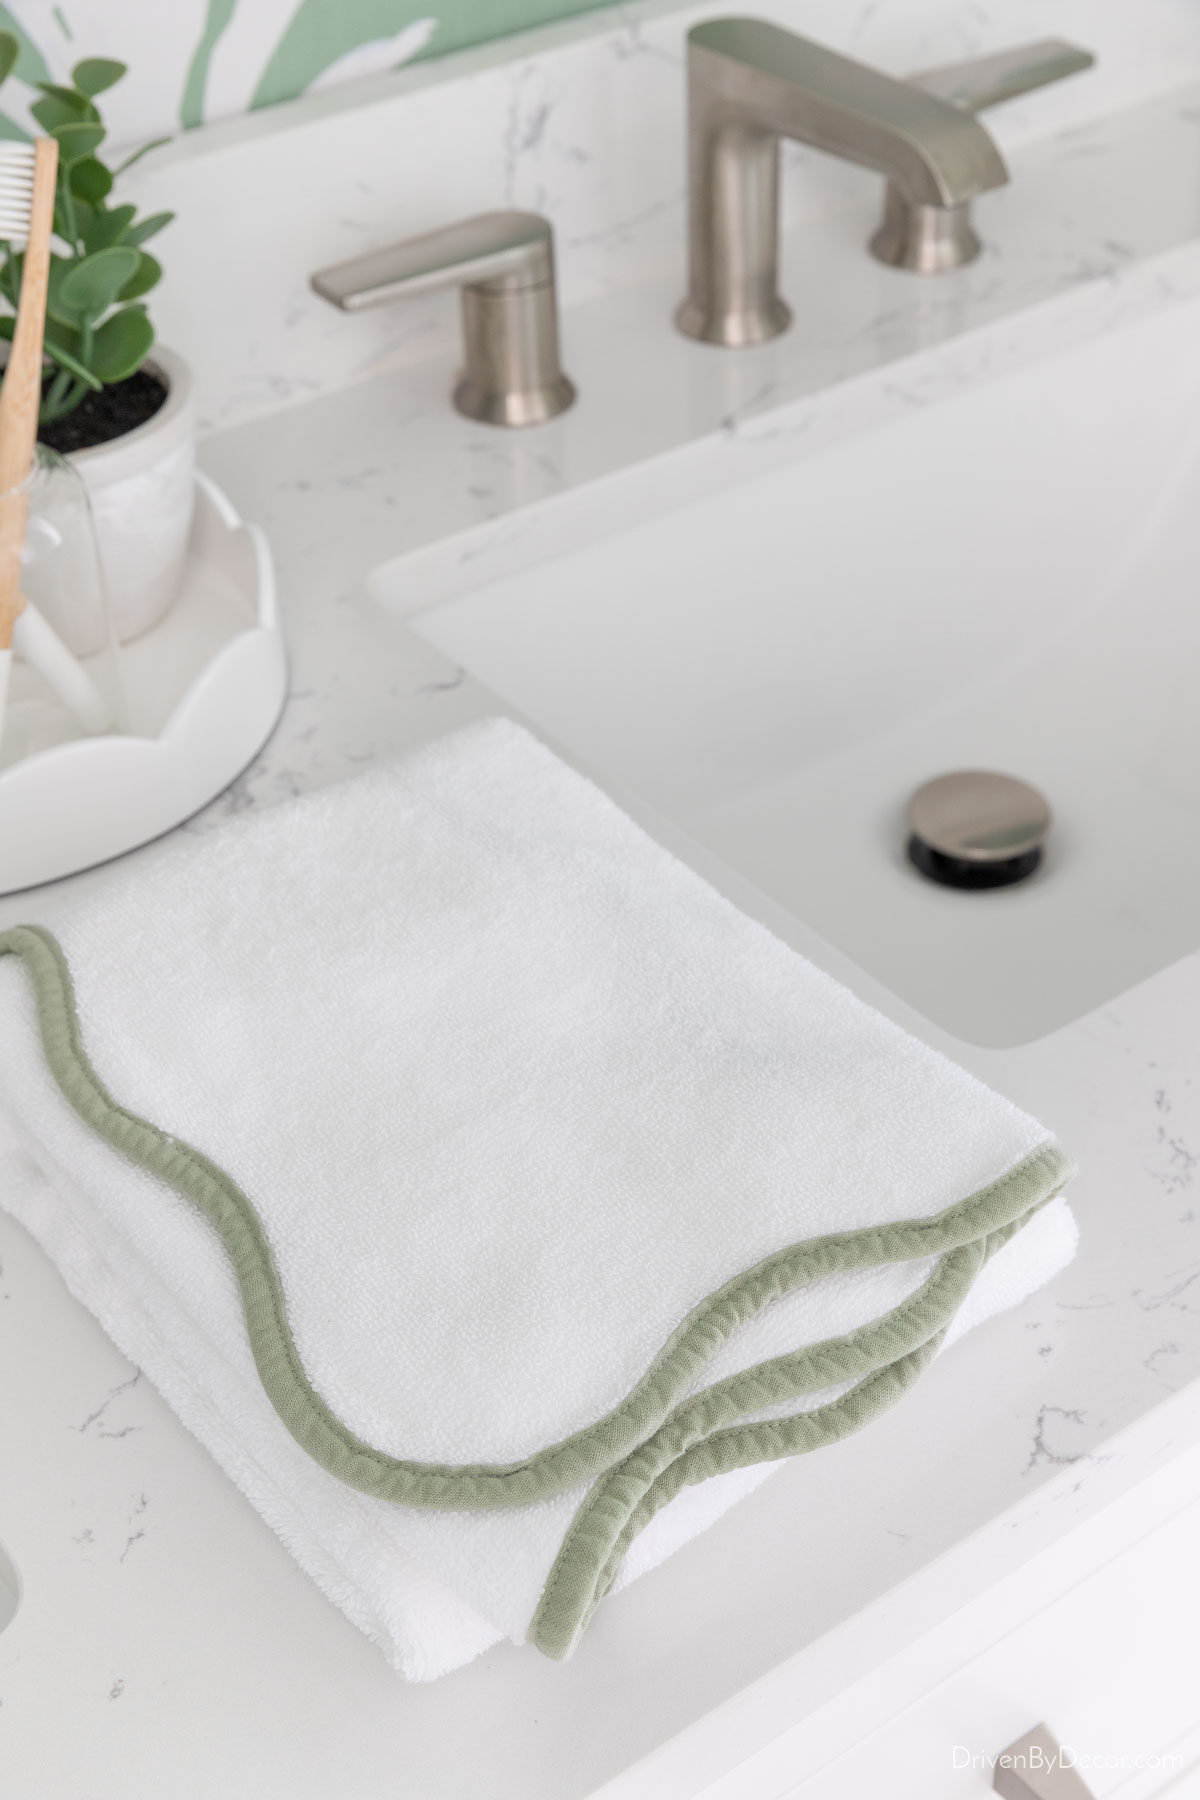
I wanted faucets with simple lines and ended up choosing {these faucets} in brushed nickel:
The old mirror and vanity lights got a major upgrade too, going from this:
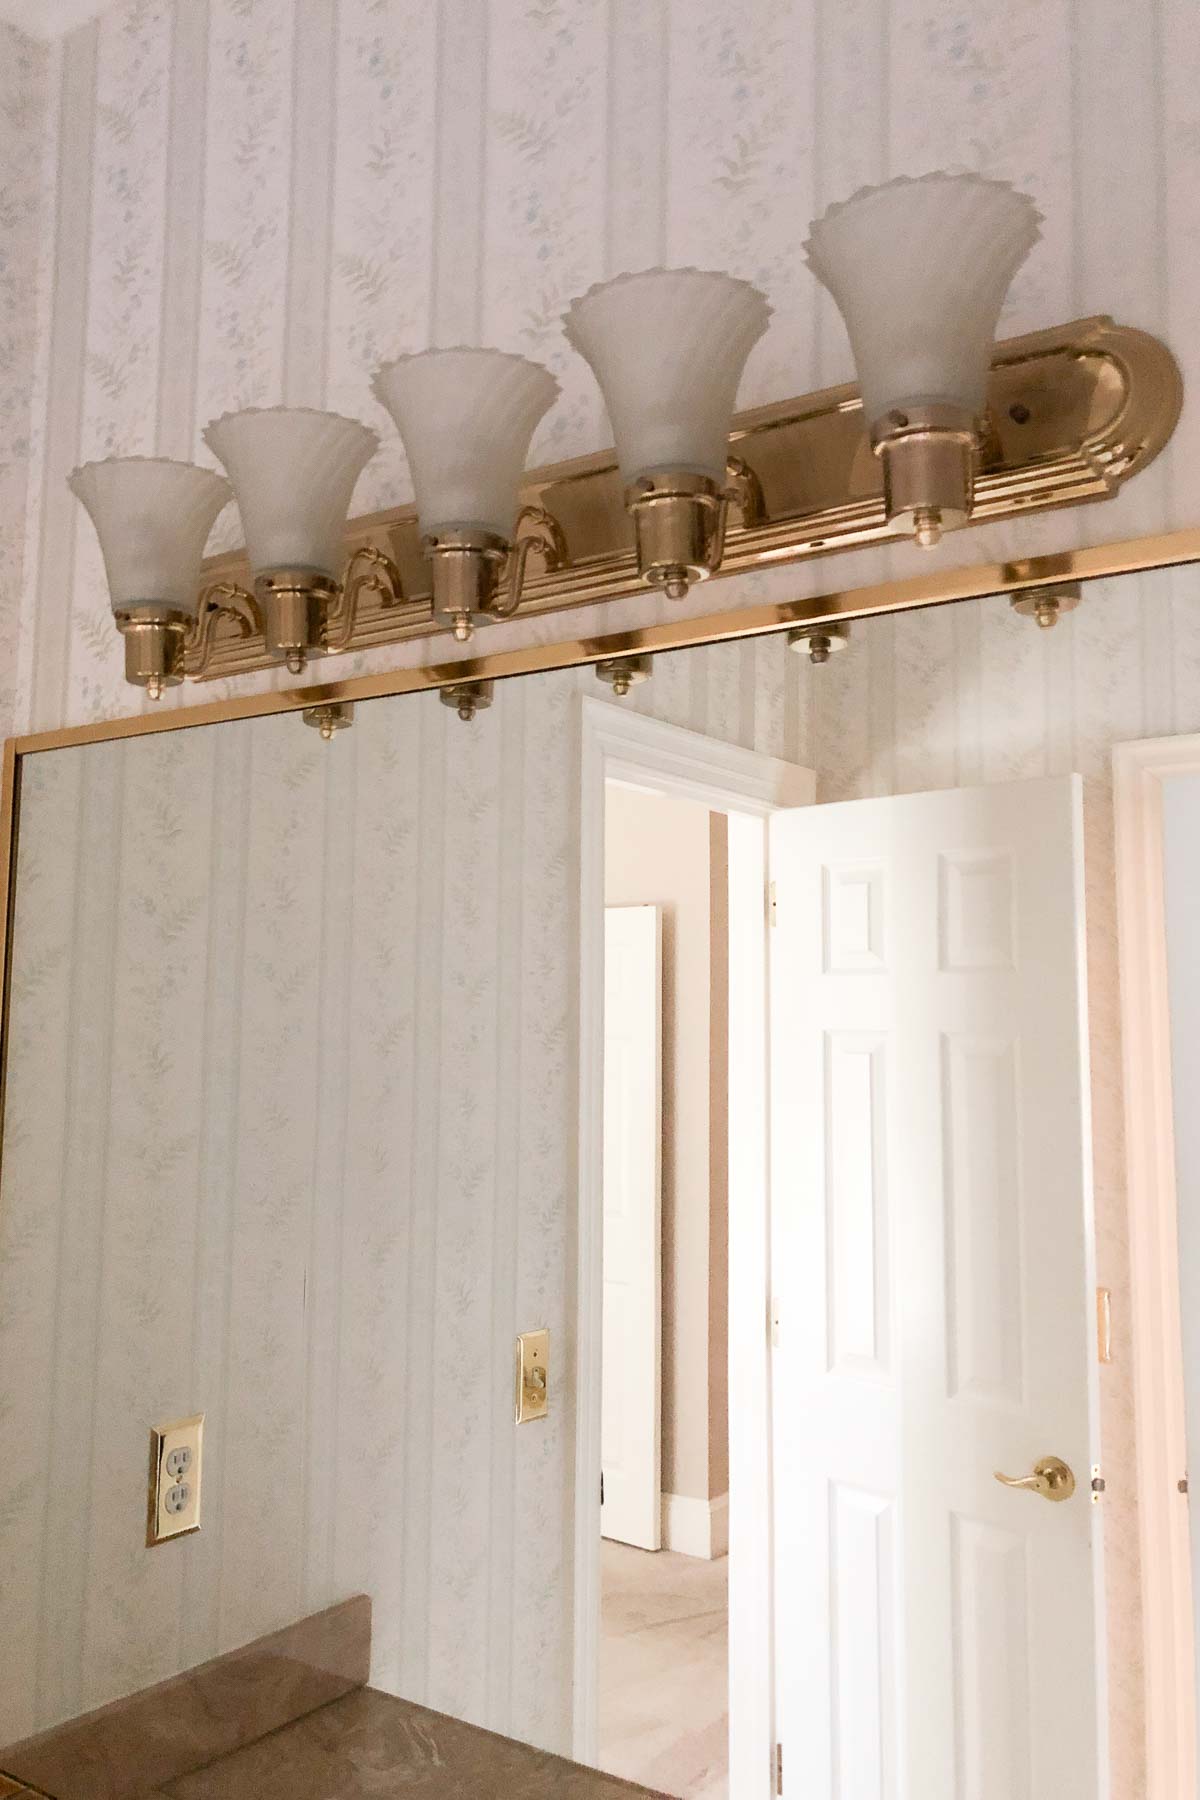
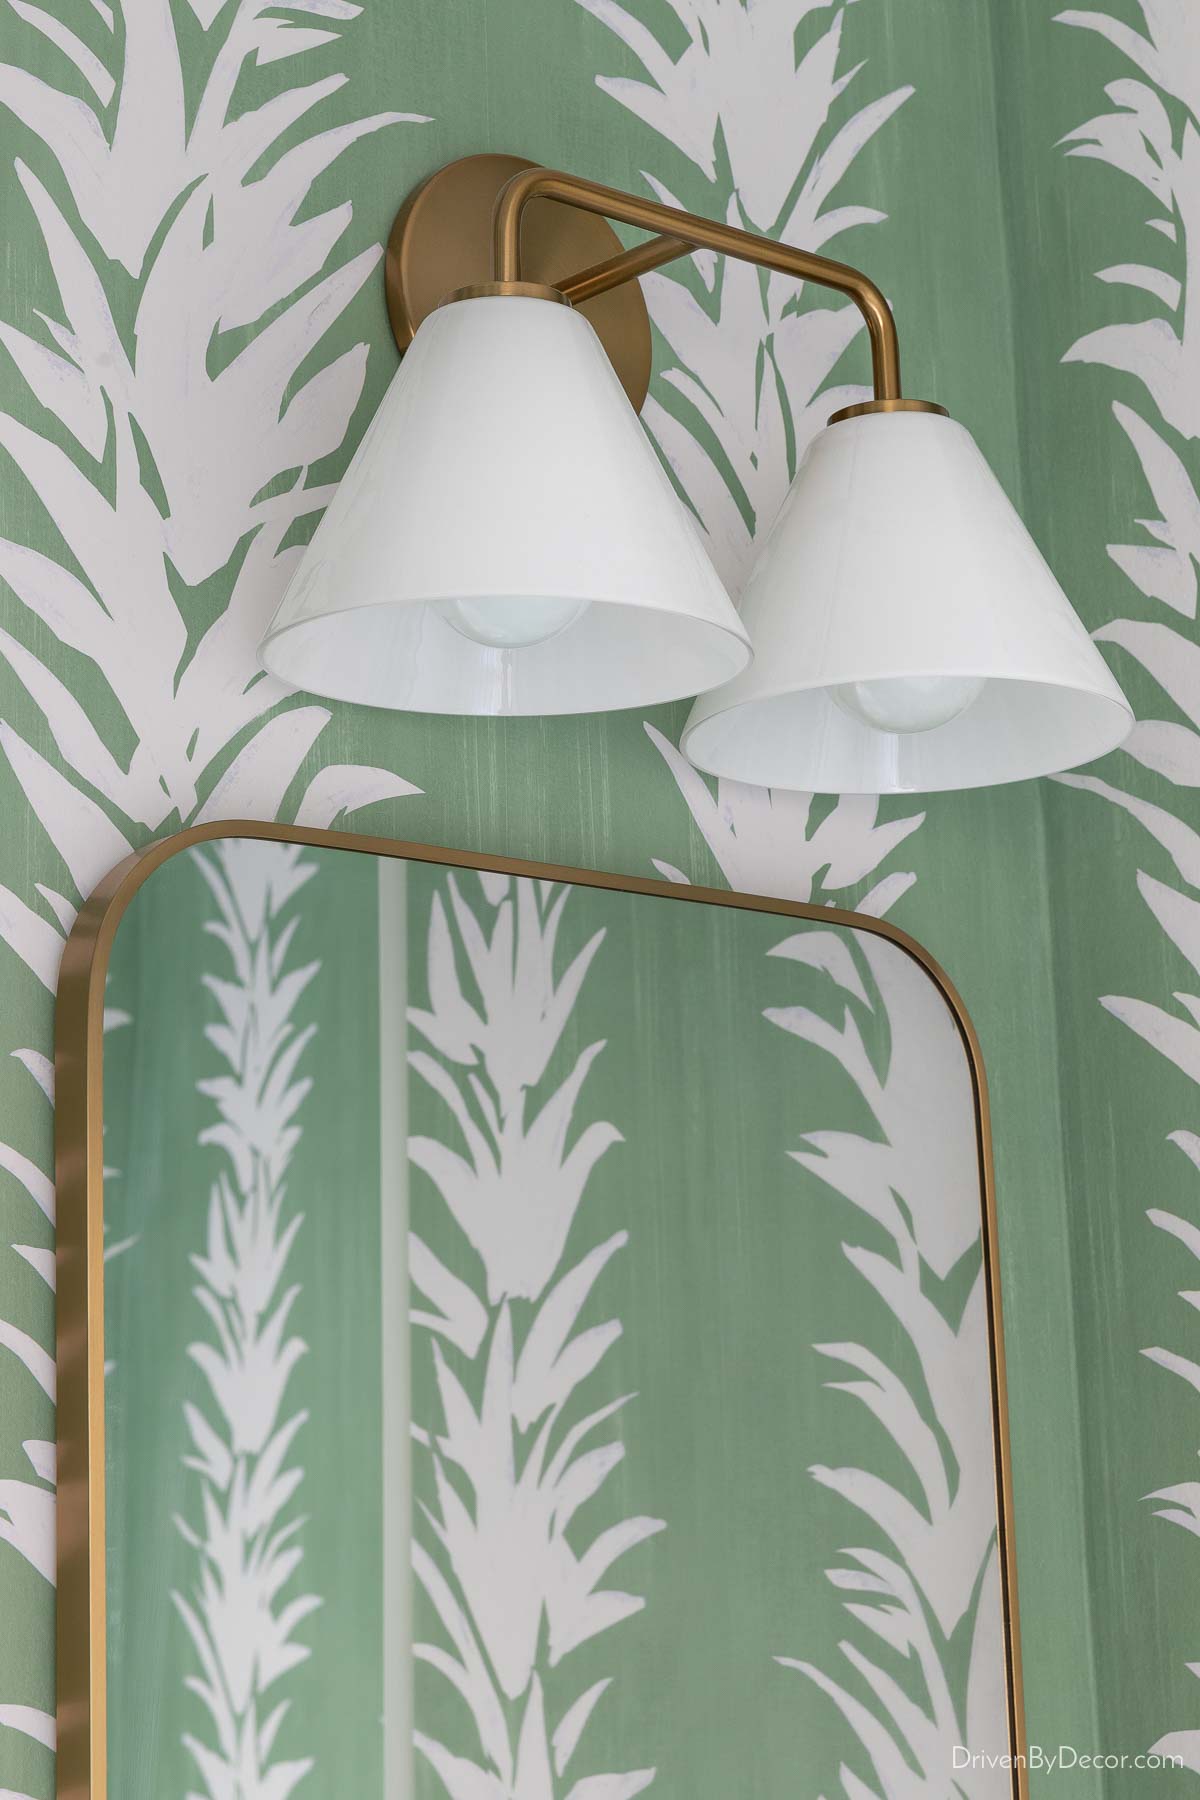
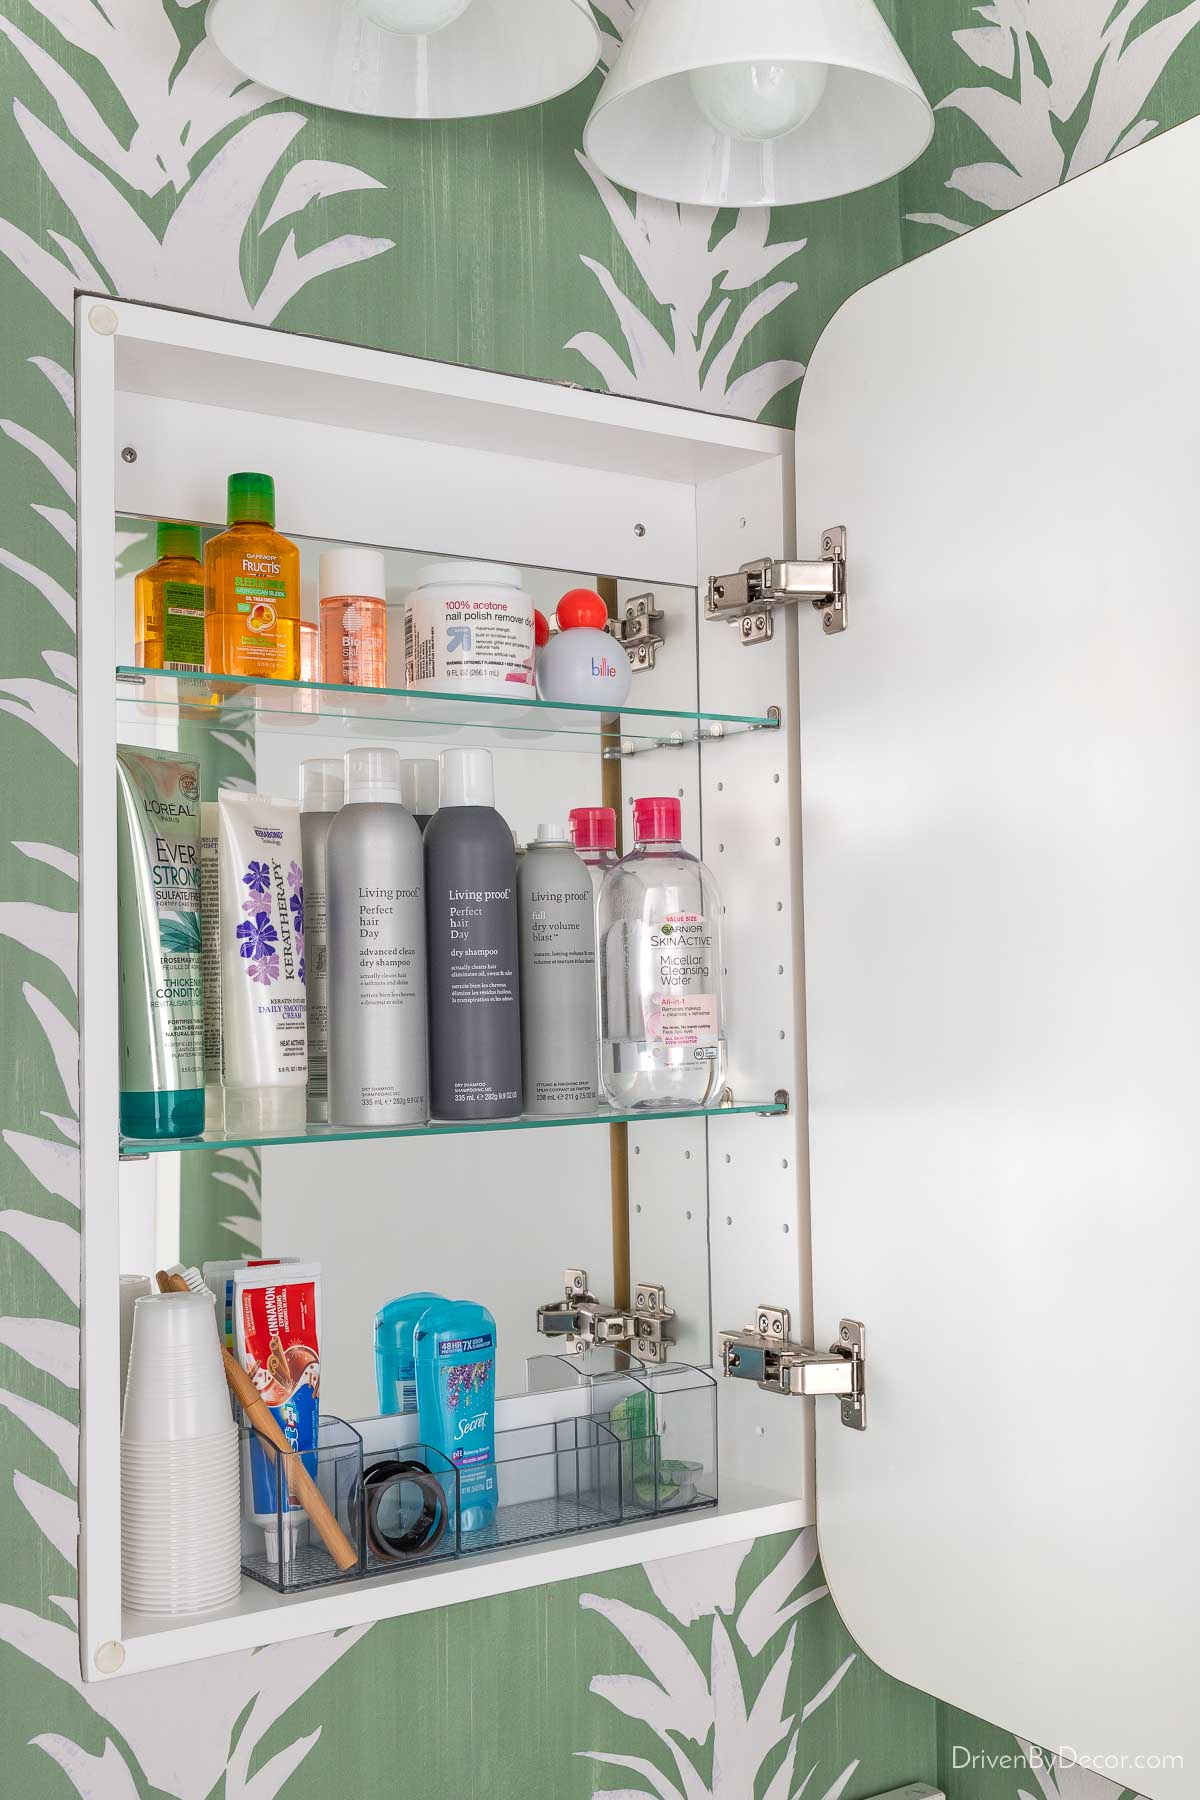
to {these antique brass cone sconces} with milk shades and {these antique brass medicine cabinet mirrors}:
You’d never know that these were medicine cabinet mirrors because they recess into the wall, but there’s a ton of storage space inside! It’s nice for my girls to each have a designated space to leave some toiletries for when they’re here:
You may have noticed that I love mixing different metal finishes in bathrooms! See my post on mixing metals in bathrooms for tips on pulling off the mixed metal look!
I haven’t yet made a final call on where I’m keeping hand towels in this bathroom because while there’s room for a towel ring on one side of the sink, the other has an outlet where the hand towel ring would go (in hindsight, I should have moved the outlet!). For now, I’m just keeping one of {these hand towels} between the two sinks:
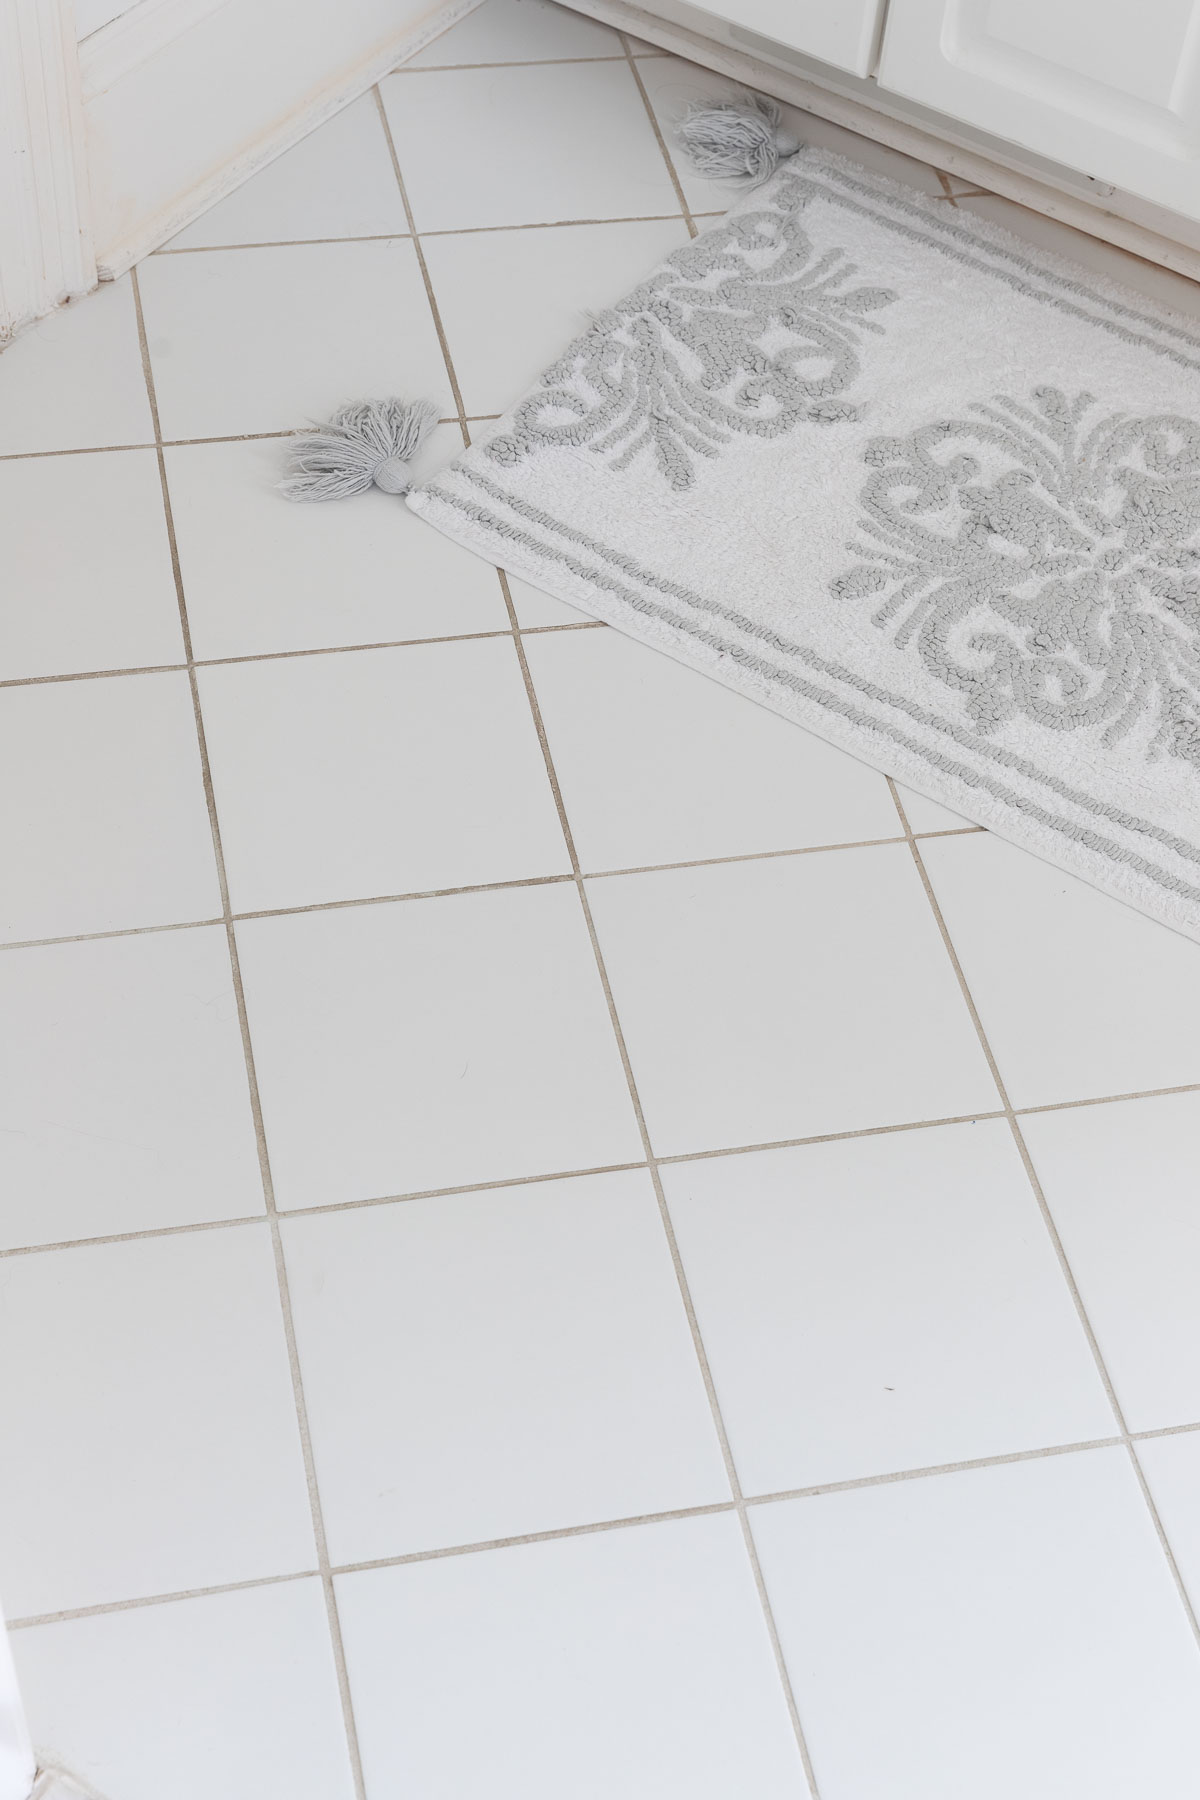
The other big change we made was installing new tile floors. The old tile floors were basic square tiles with a lot of chips in them:
We replaced it with {this large white hexagon floor tile} that’s neutral enough to work with any changes a future homeowner might want to make to this space but definitely more interesting than simple squares! It’s grouted with Mapei frost (a very pale gray) grout:
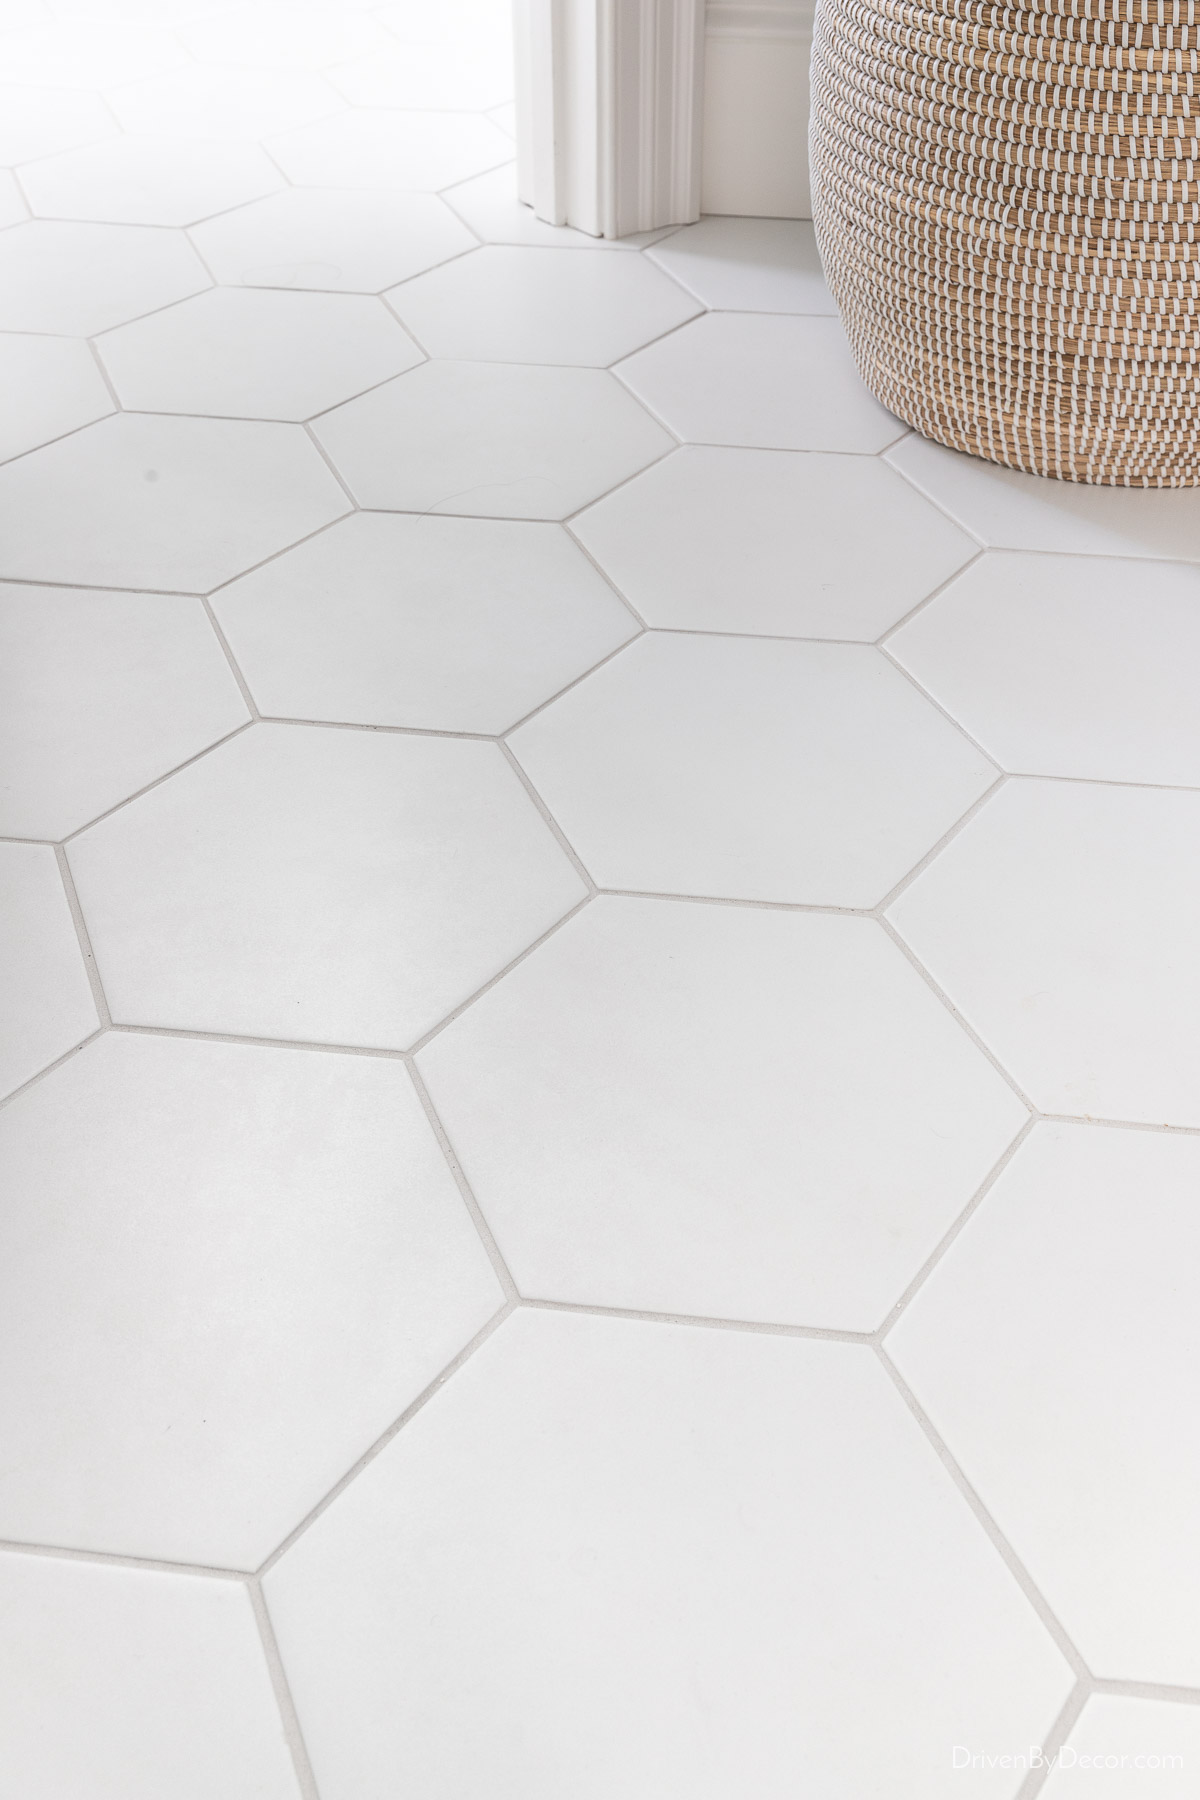
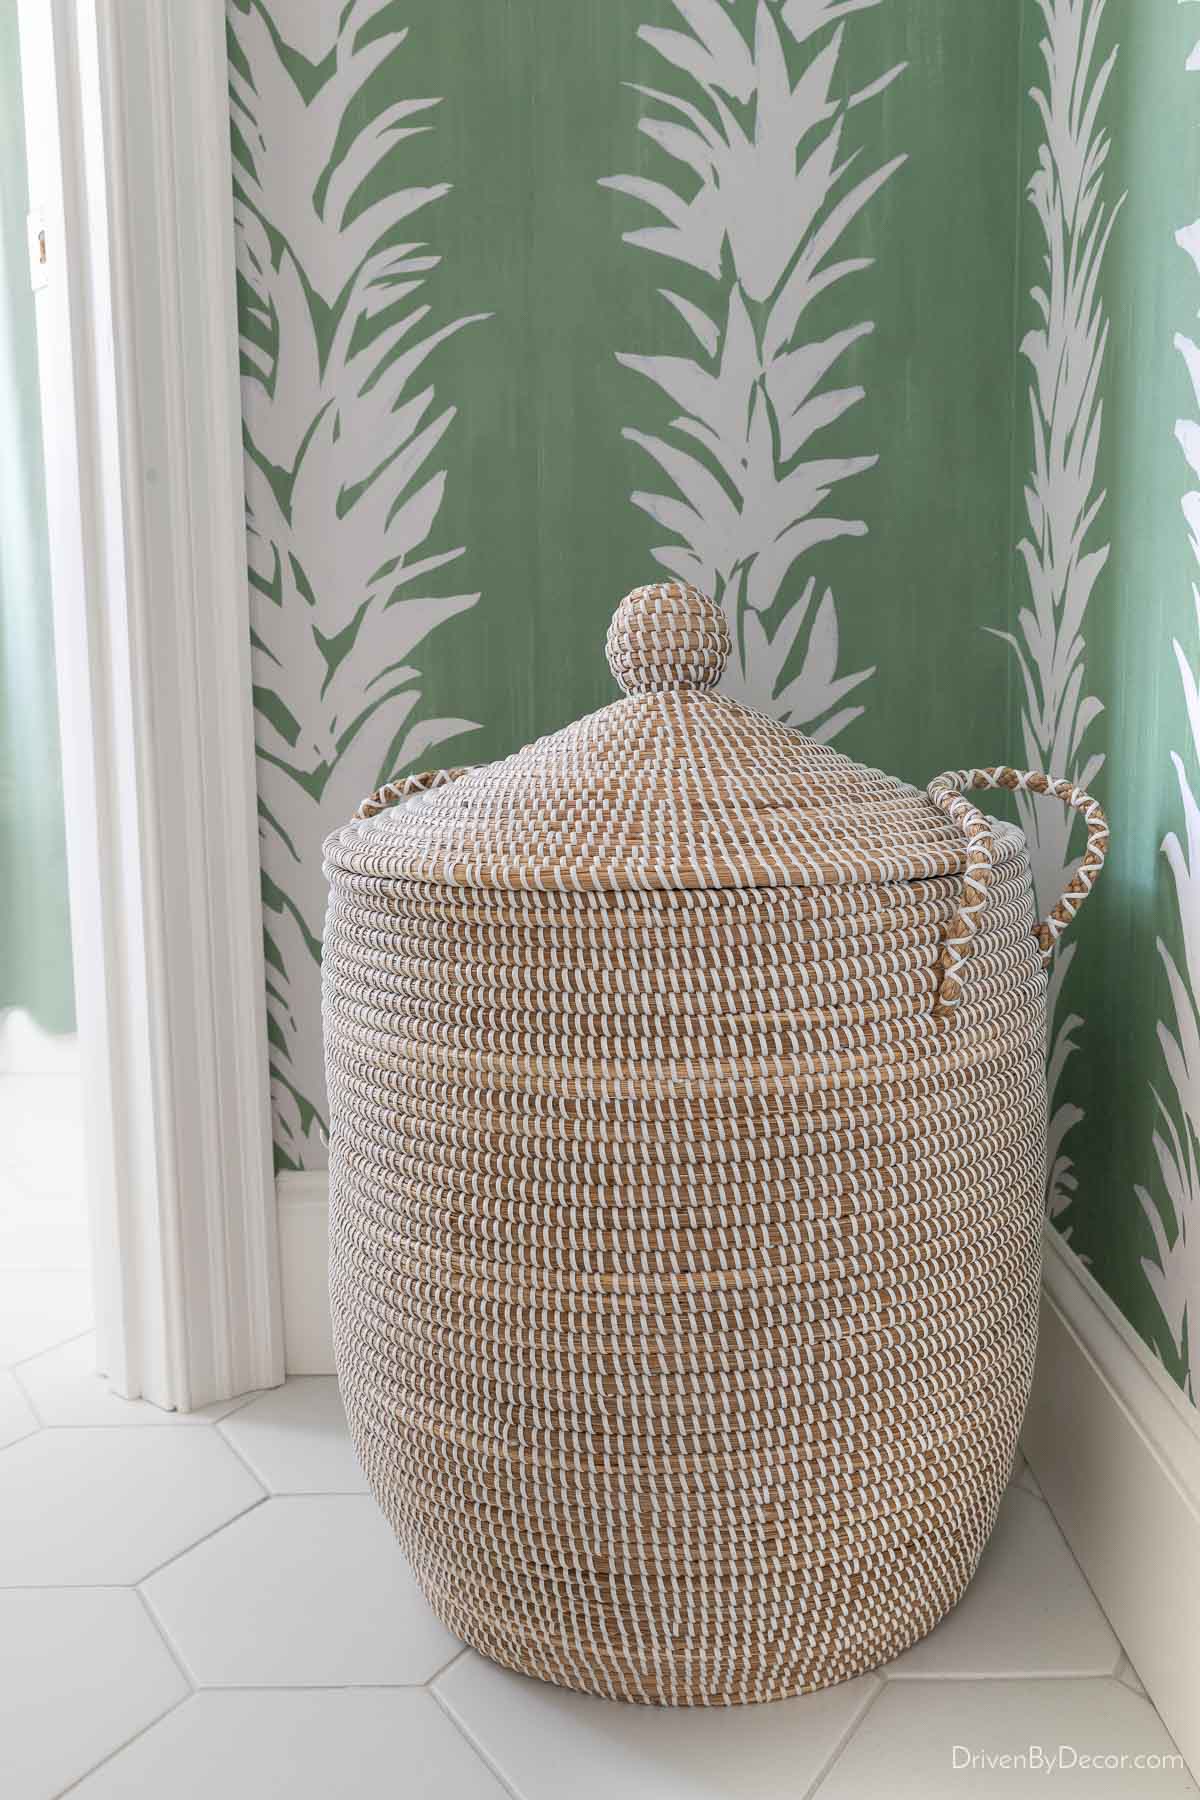
In the corner of this space, I placed {this woven lidded basket} (size medium) that’s my go-to clothes hamper because I love the shape of it and it doesn’t snag clothes like cheaper woven hampers can:
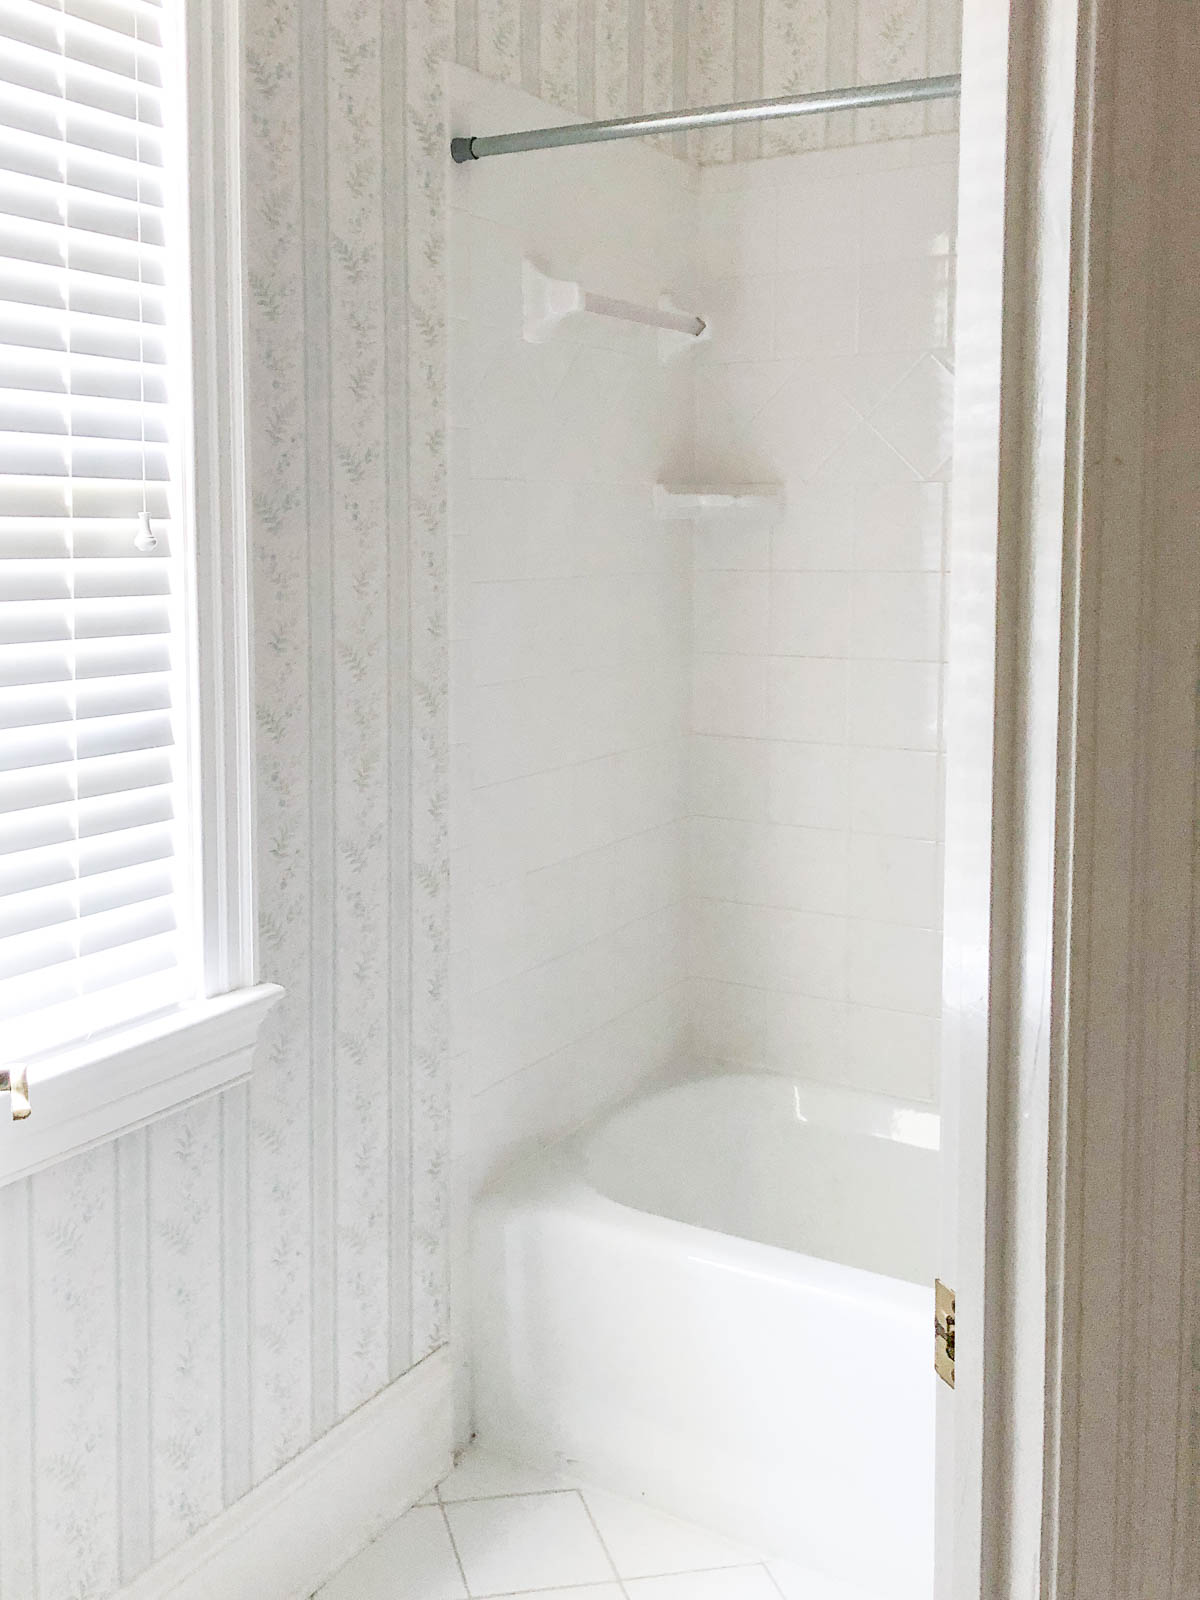
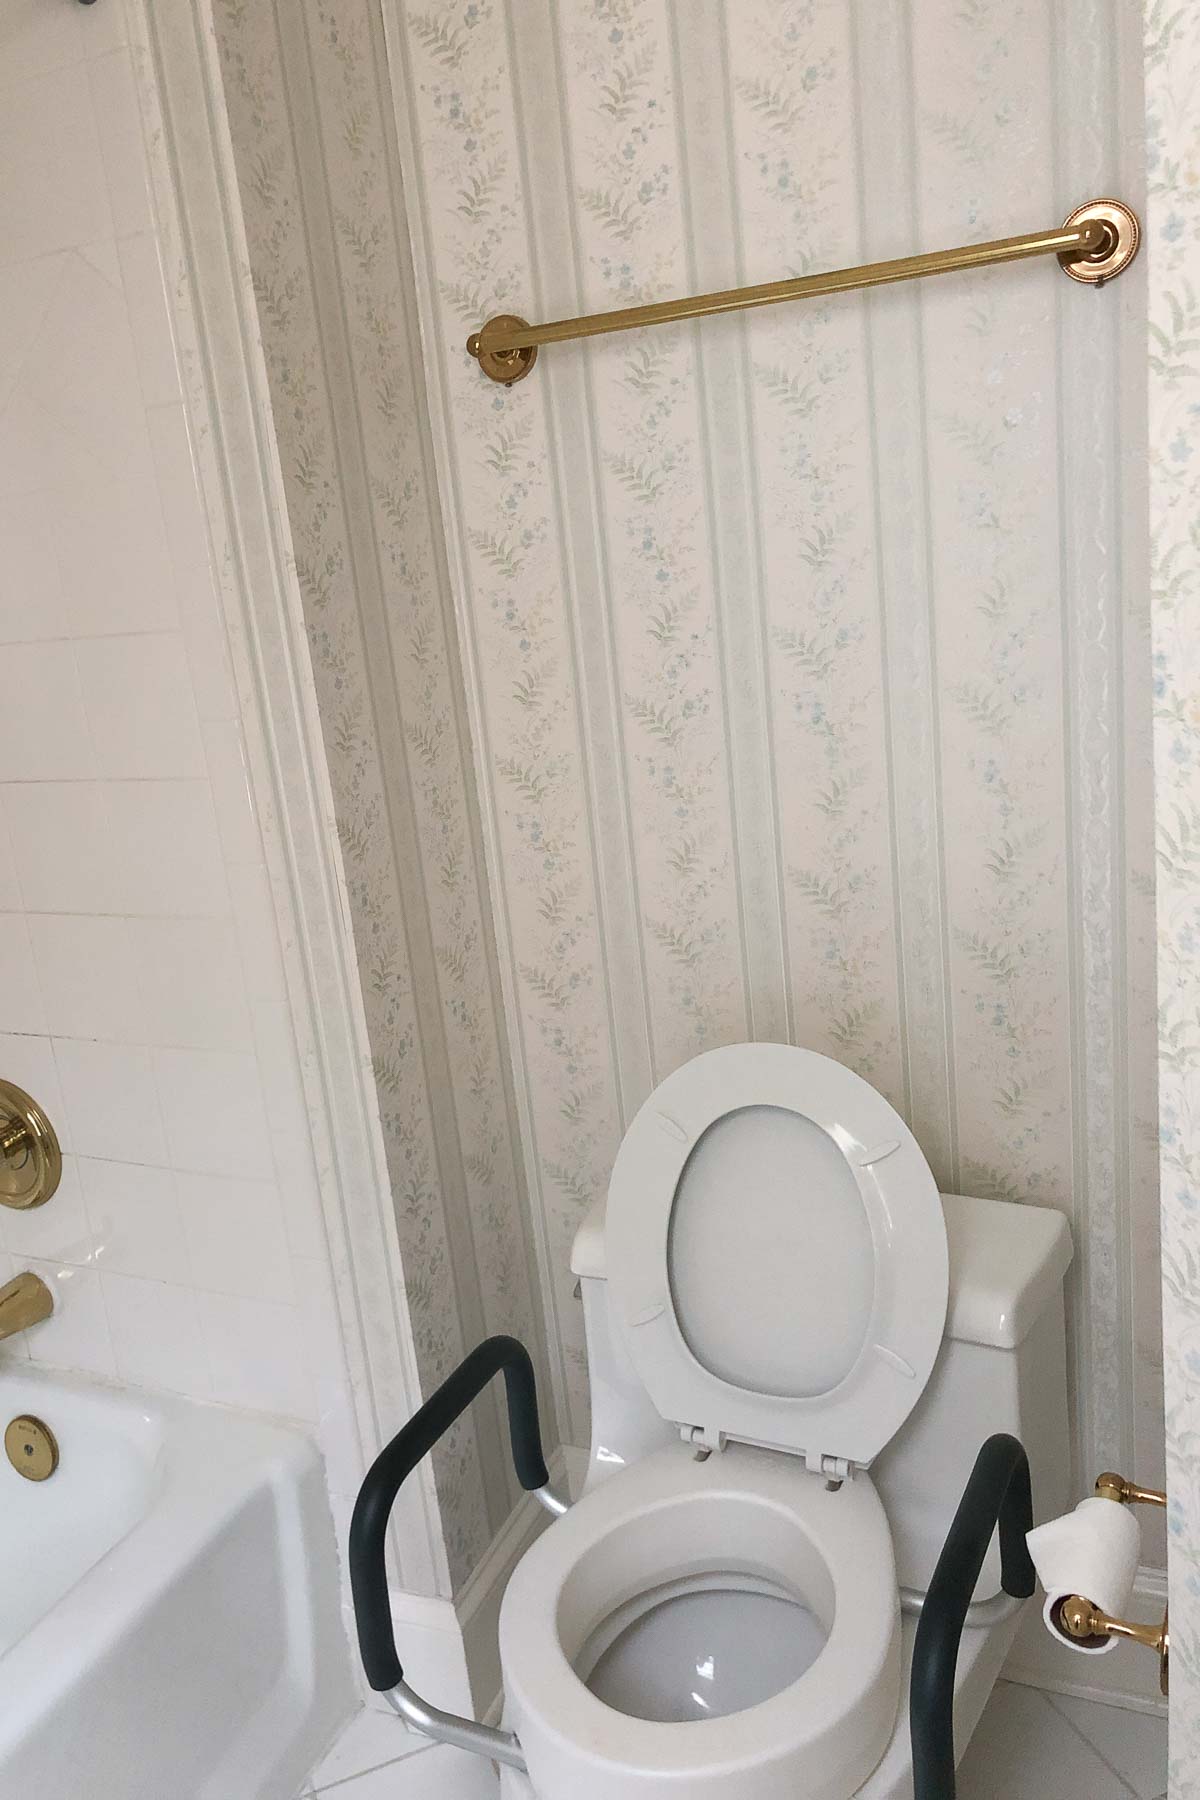
Now let’s move on to the tub/shower and toilet room! Here’s what that space looked like before:
And here’s what it looks like now:
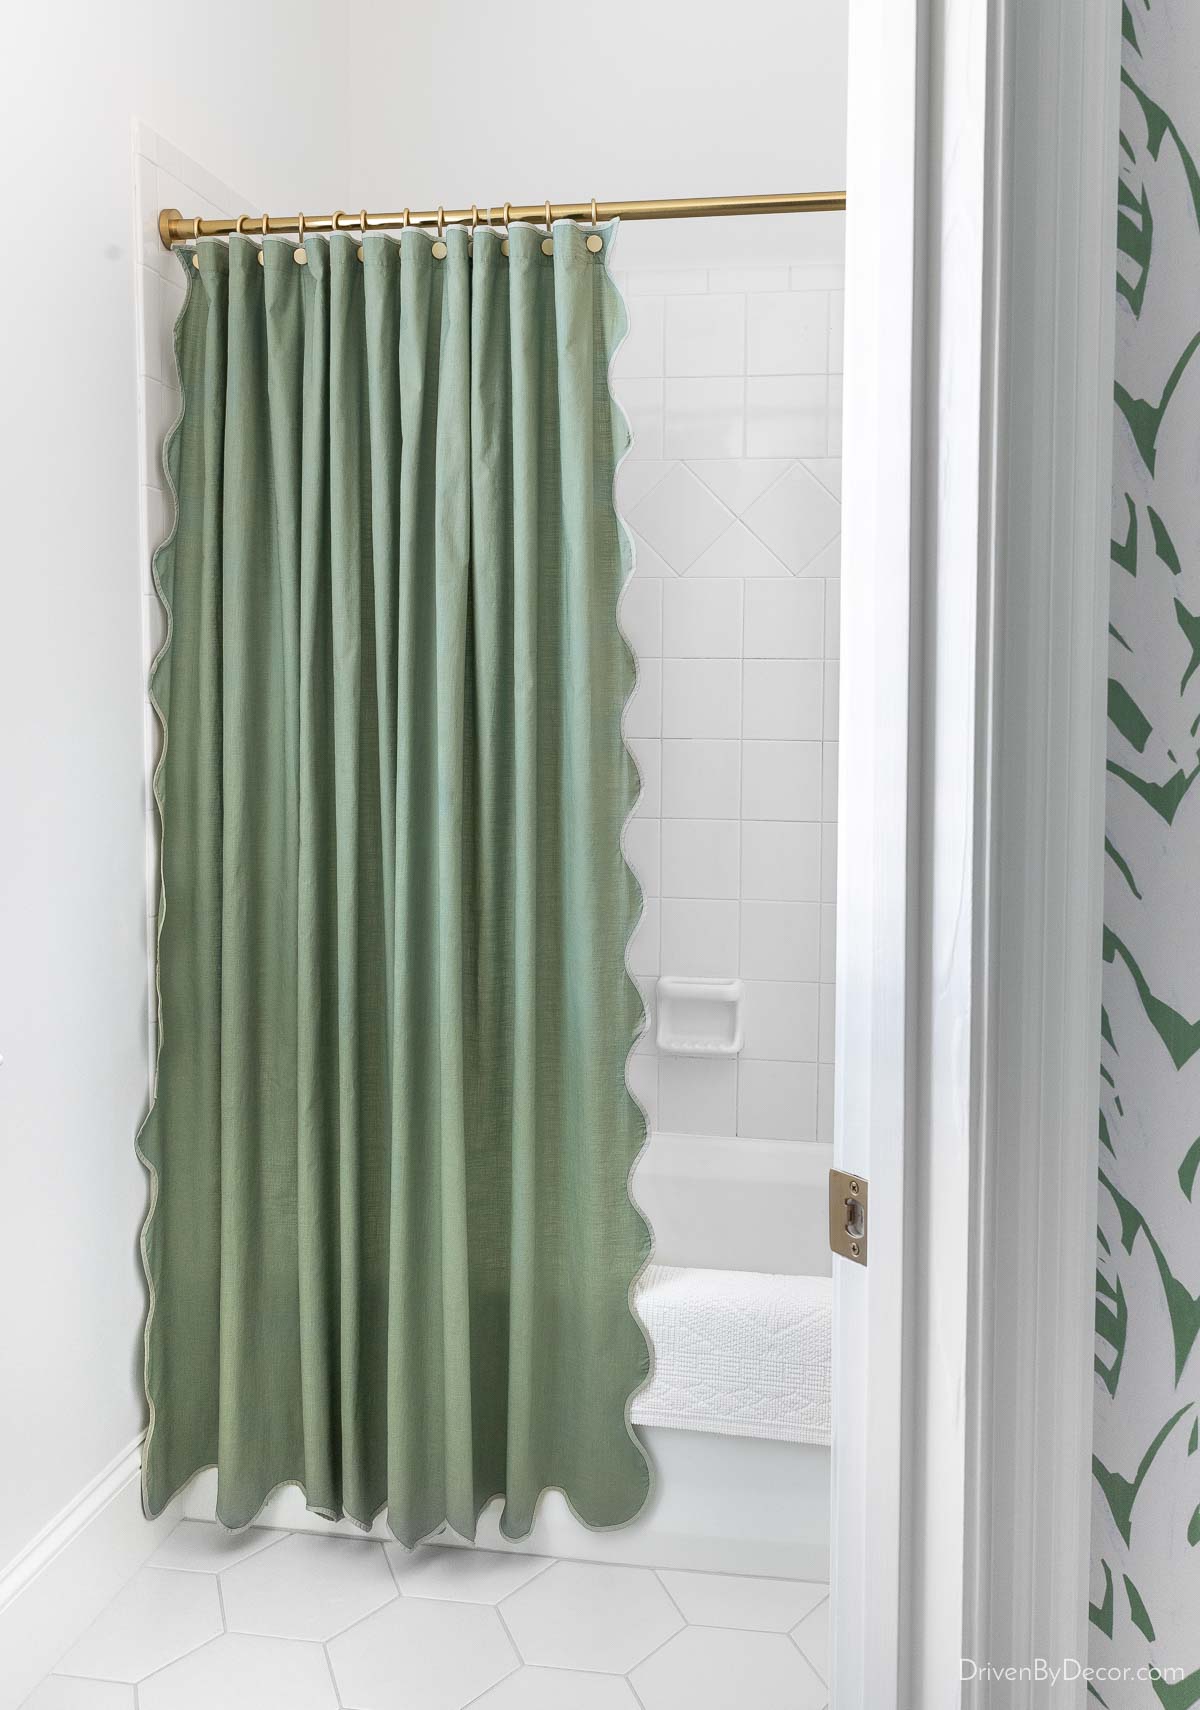
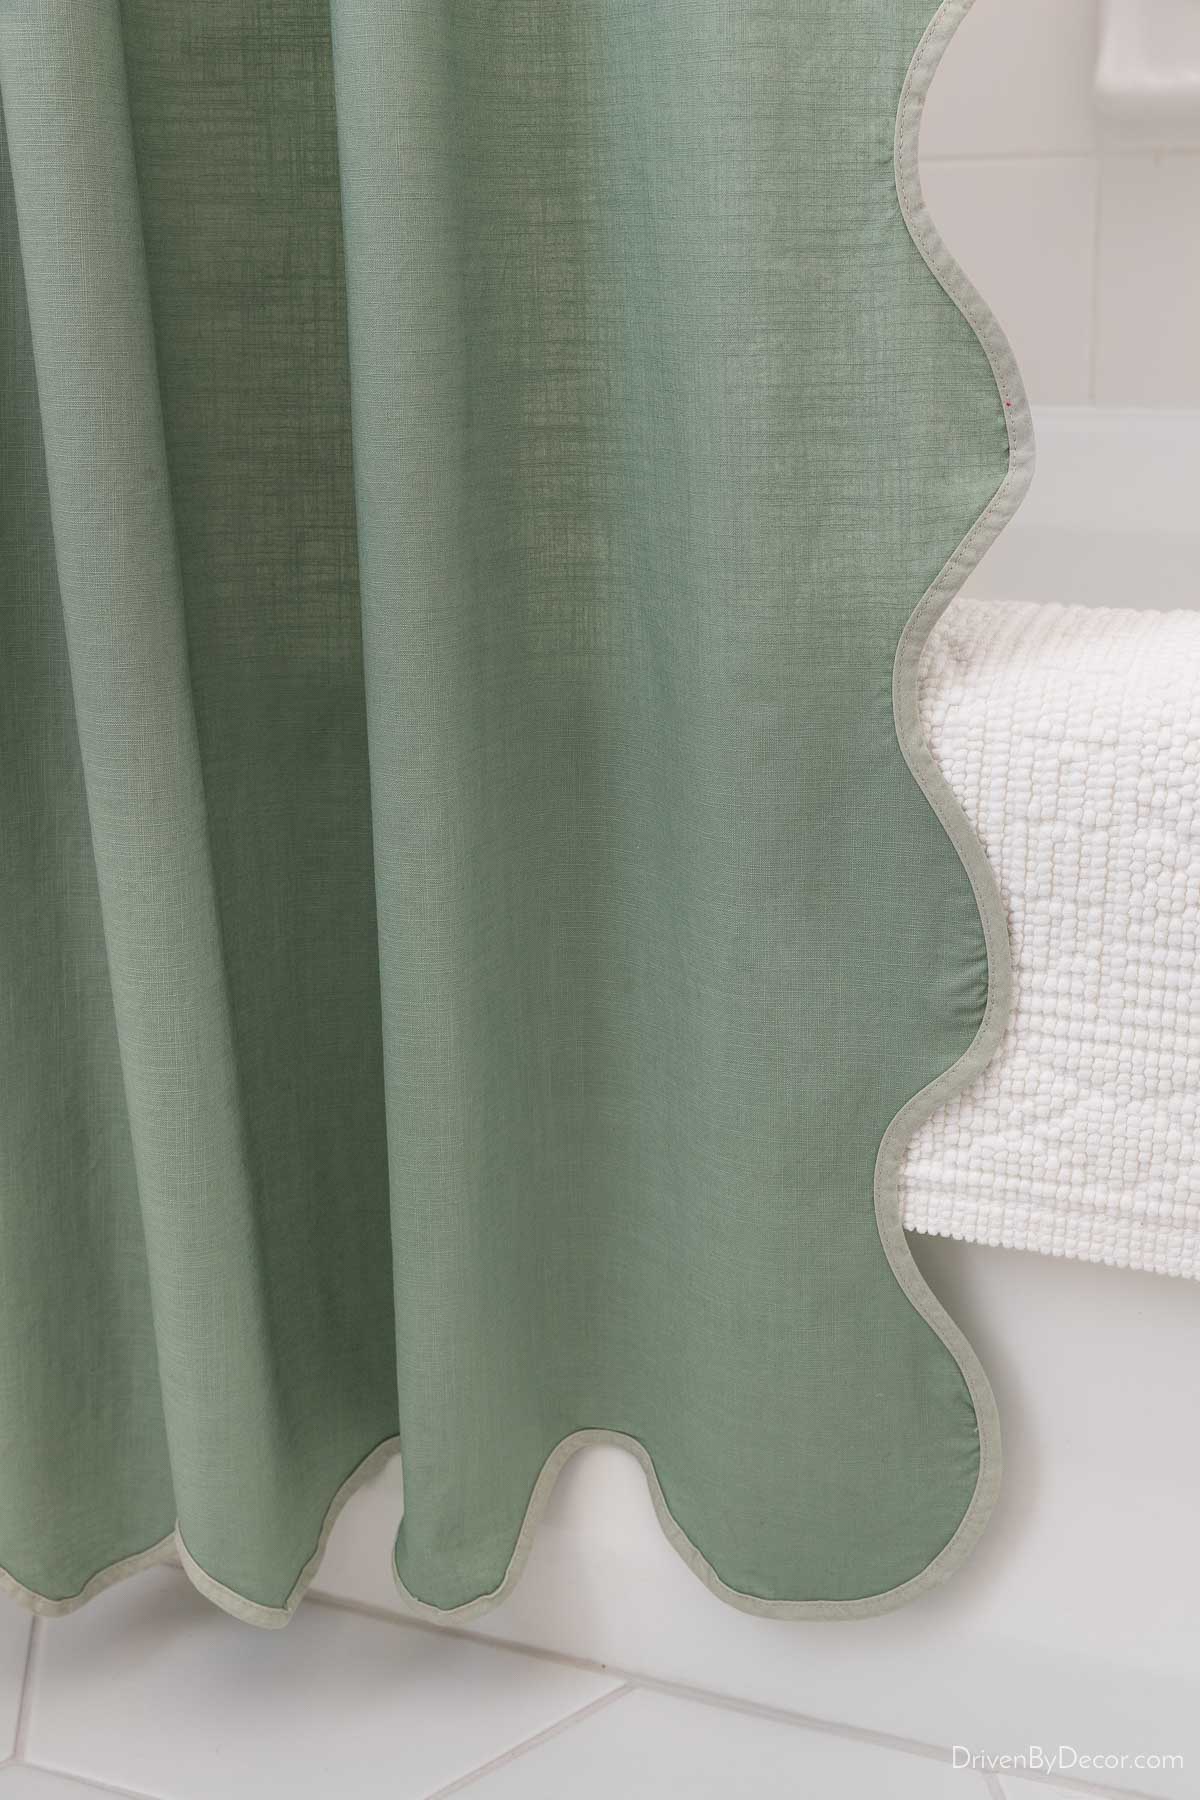
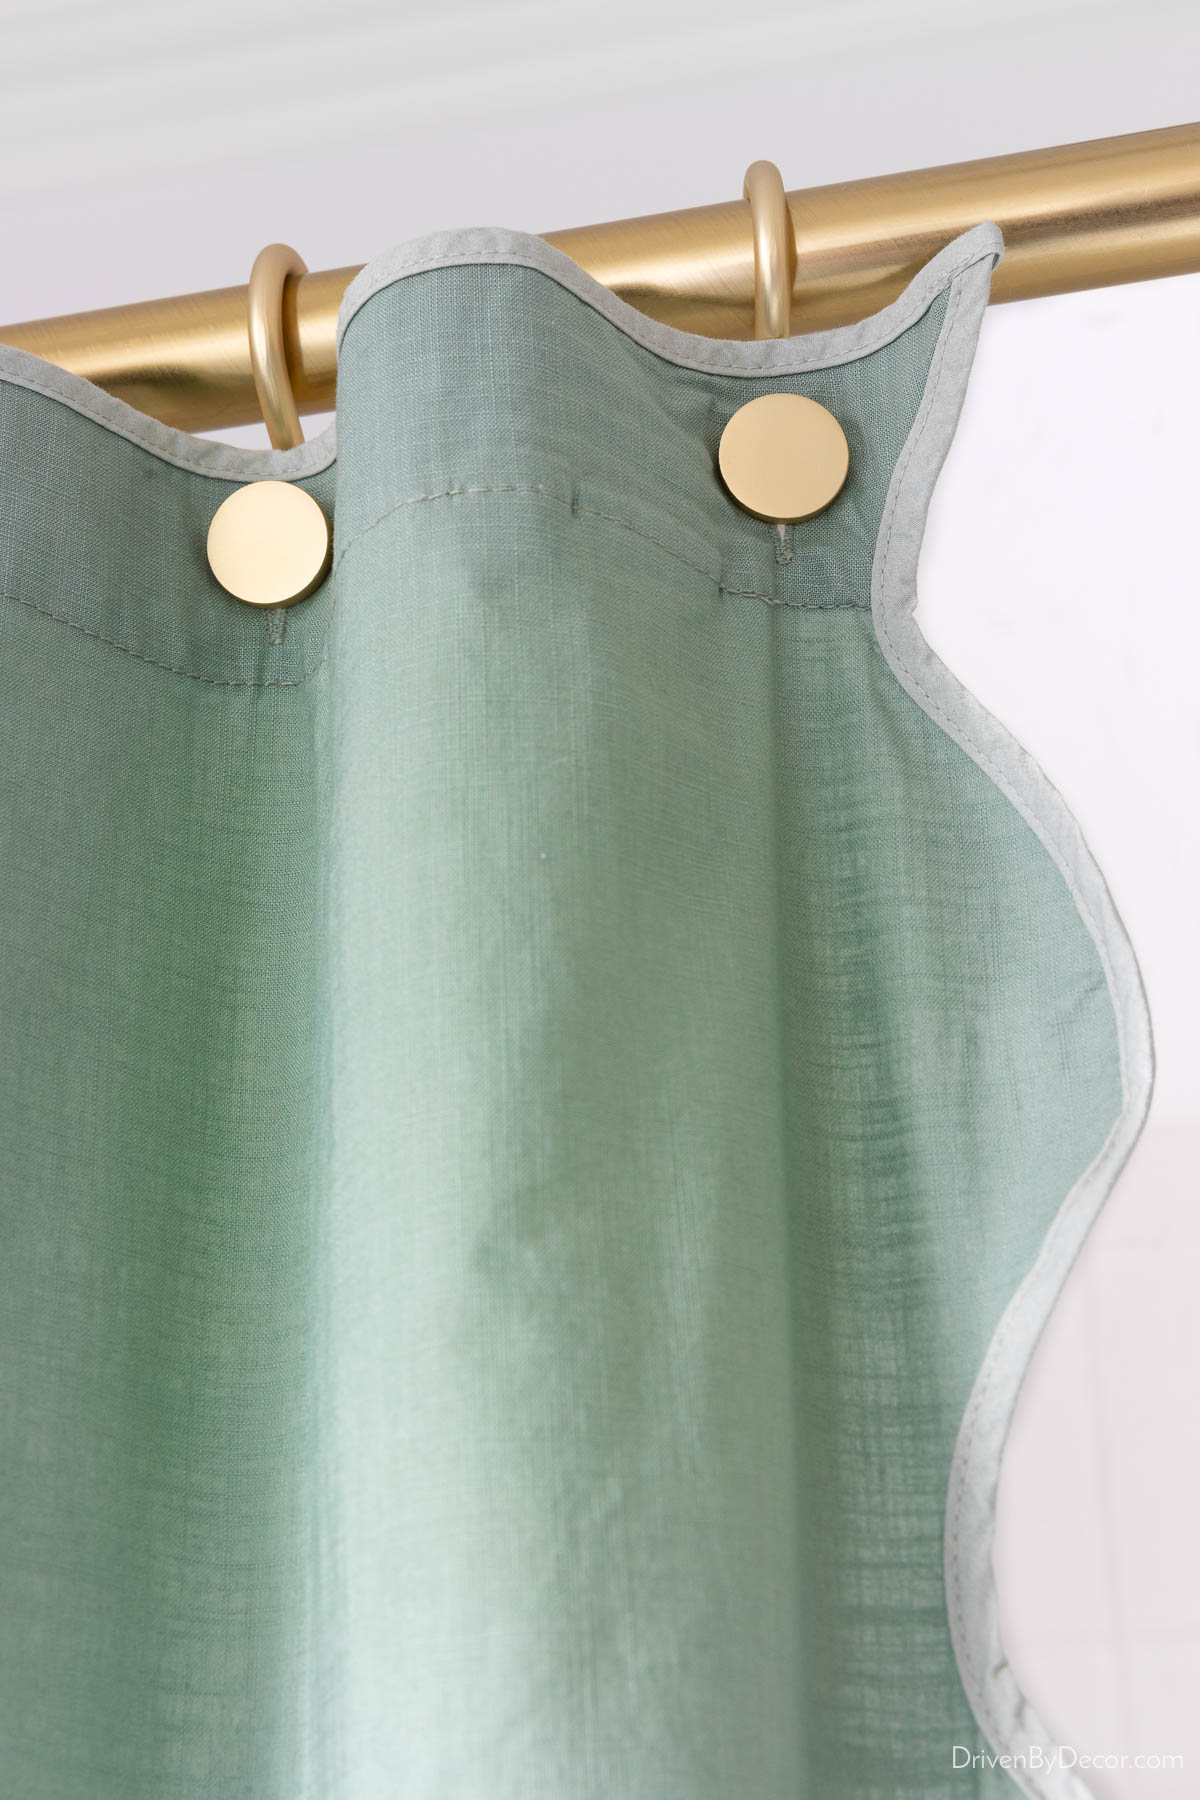
The new hexagon tile floor extends into this space, but we decided not to replace the shower tile since it’s totally neutral and still in great shape. I do wish the shower was tiled all the way to the ceiling, but we decided it just wasn’t worth the expense of replacing. We did upgrade the look of the space with {this ripple shower curtain} (the colors couldn’t be more perfect!) hung on {this gold shower curtain rod} :
The shower curtain hangs from {these darling shower curtain rings} that I LOVE! Who knew that shower curtain rings could be so stinking cute!
Since the shower curtain rod has a telescoping joint that rings can get hung up on, I added one of {these rod joint ramp stickers} at the joint along the top of the rod so the rings glide more smoothly back and forth. I normally prefer {this glide tape} for telescoping rods, but my shower curtain rings are smaller than typical (they barely fit on my rod) so I didn’t have the extra room needed for the glide tape. You can read more about both options in my post on curtains that get stuck on a telescoping rod.
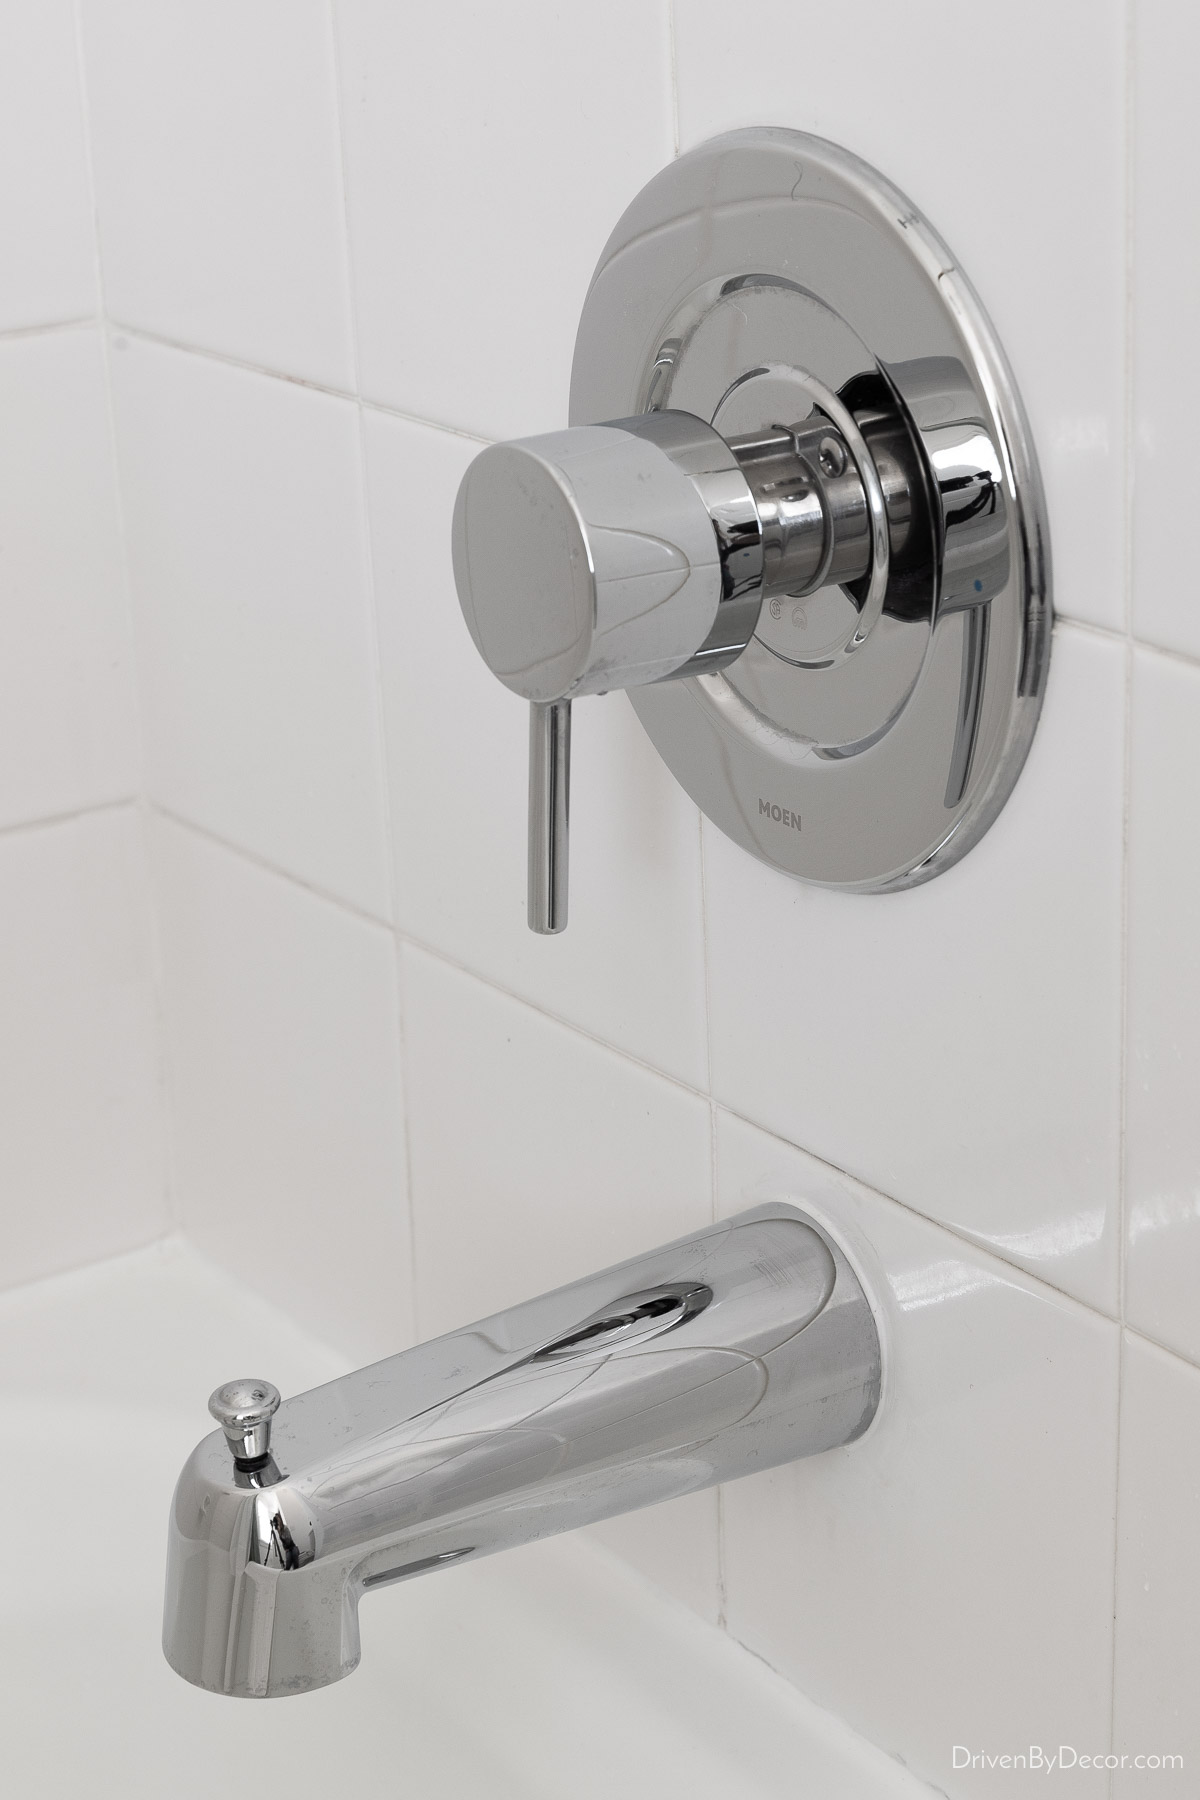
I got SUPER lucky with how easy it was to replace my tub/shower hardware because usually it involves cutting into the tile or the wall behind the shower to replace the valve within the wall. Luckily, the hardware in this bathroom was part of Moen’s M-Pact common valve system, so you can simply change out the trim on the valve without having to replace the valve itself. I swapped out this tarnished gold hardware:
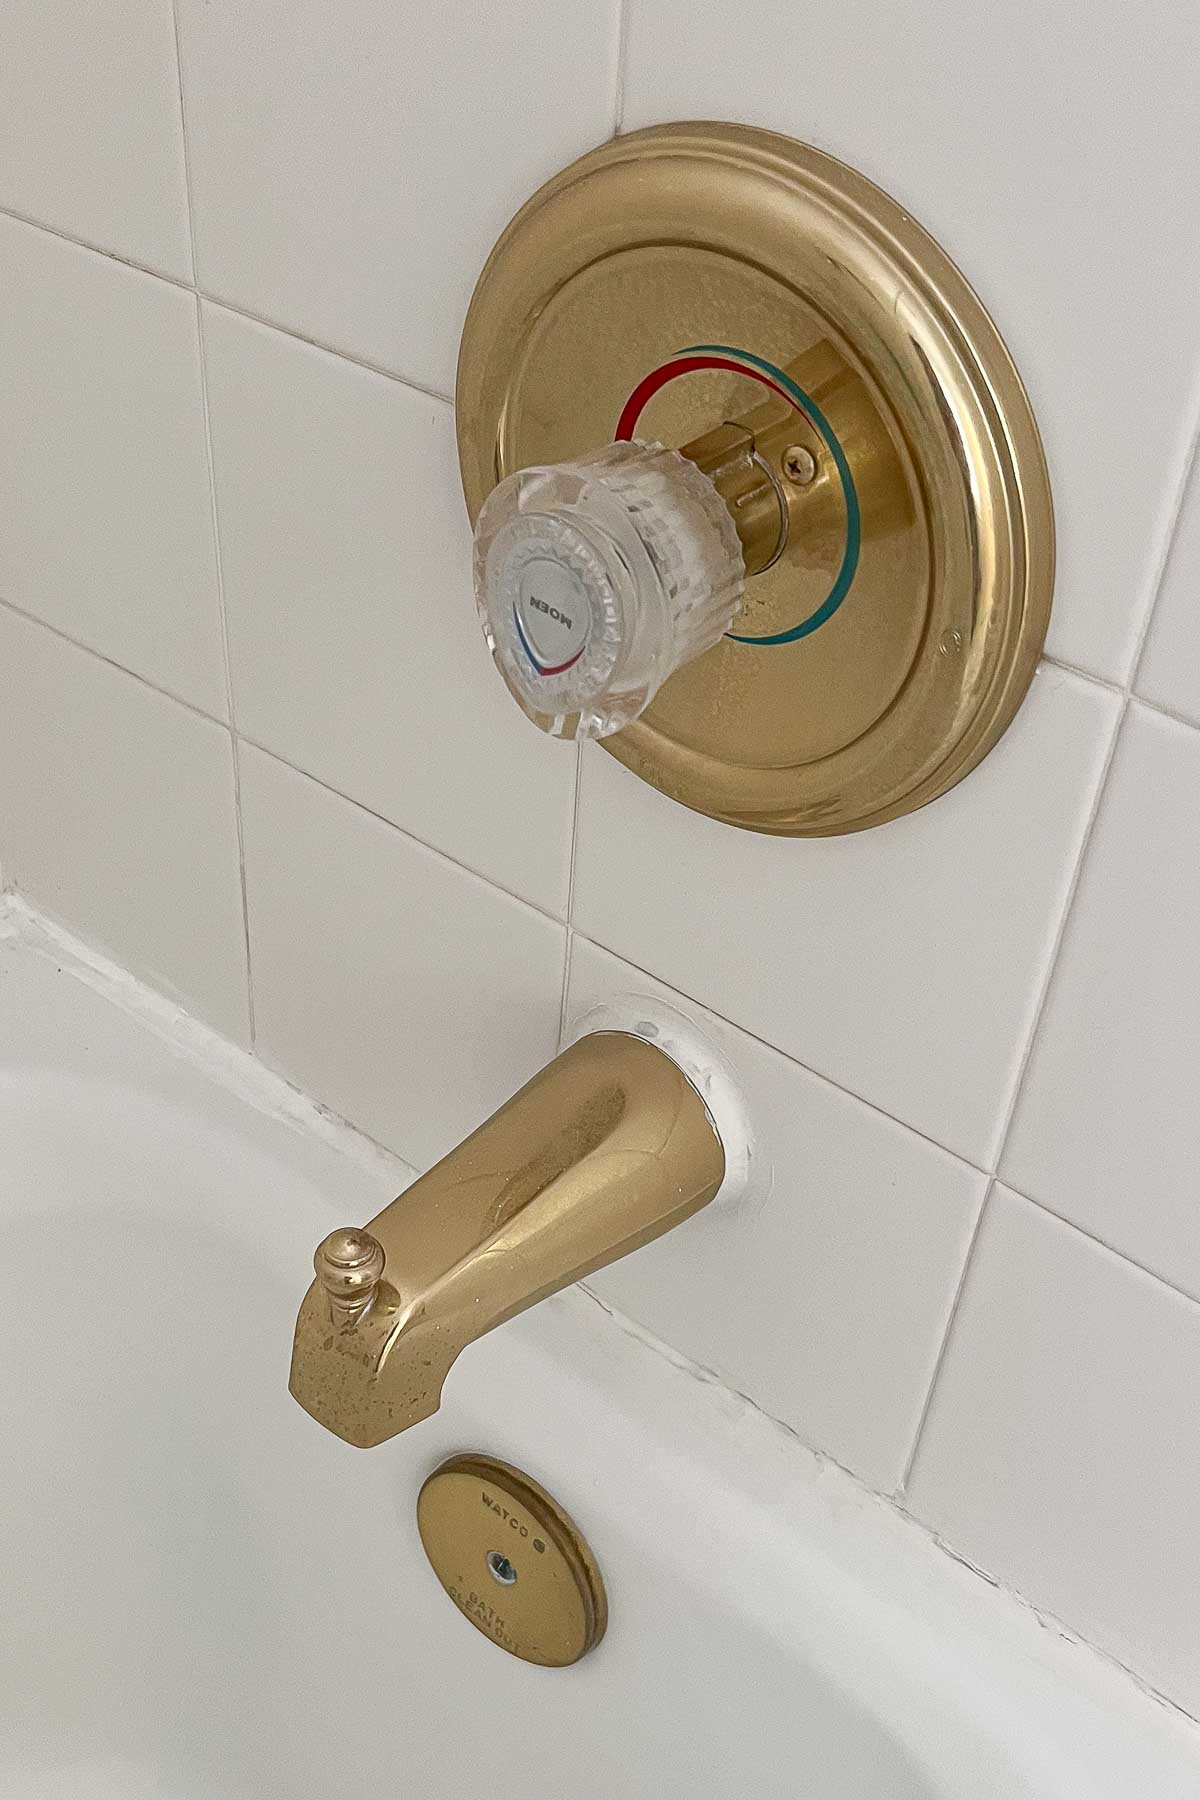
with {this more modern shower/tub valve trim kit} and and {this tub diverter spout} for a newly updated look:
I also recaulked the bathtub (it sure needed it!) and shared my step-by-step how-to in my post on how to caulk a bathtub like a pro (so check it out if yours is in bad shape too!).
Want to save this post?
The super old (and low!) toilet definitely needed to be changed out too! I’m a huge fan of Toto toilets (I love their simple, clean lines and they’re almost uncloggable) and went with {this elongated, comfort height toilet} for our newly remodeled space:
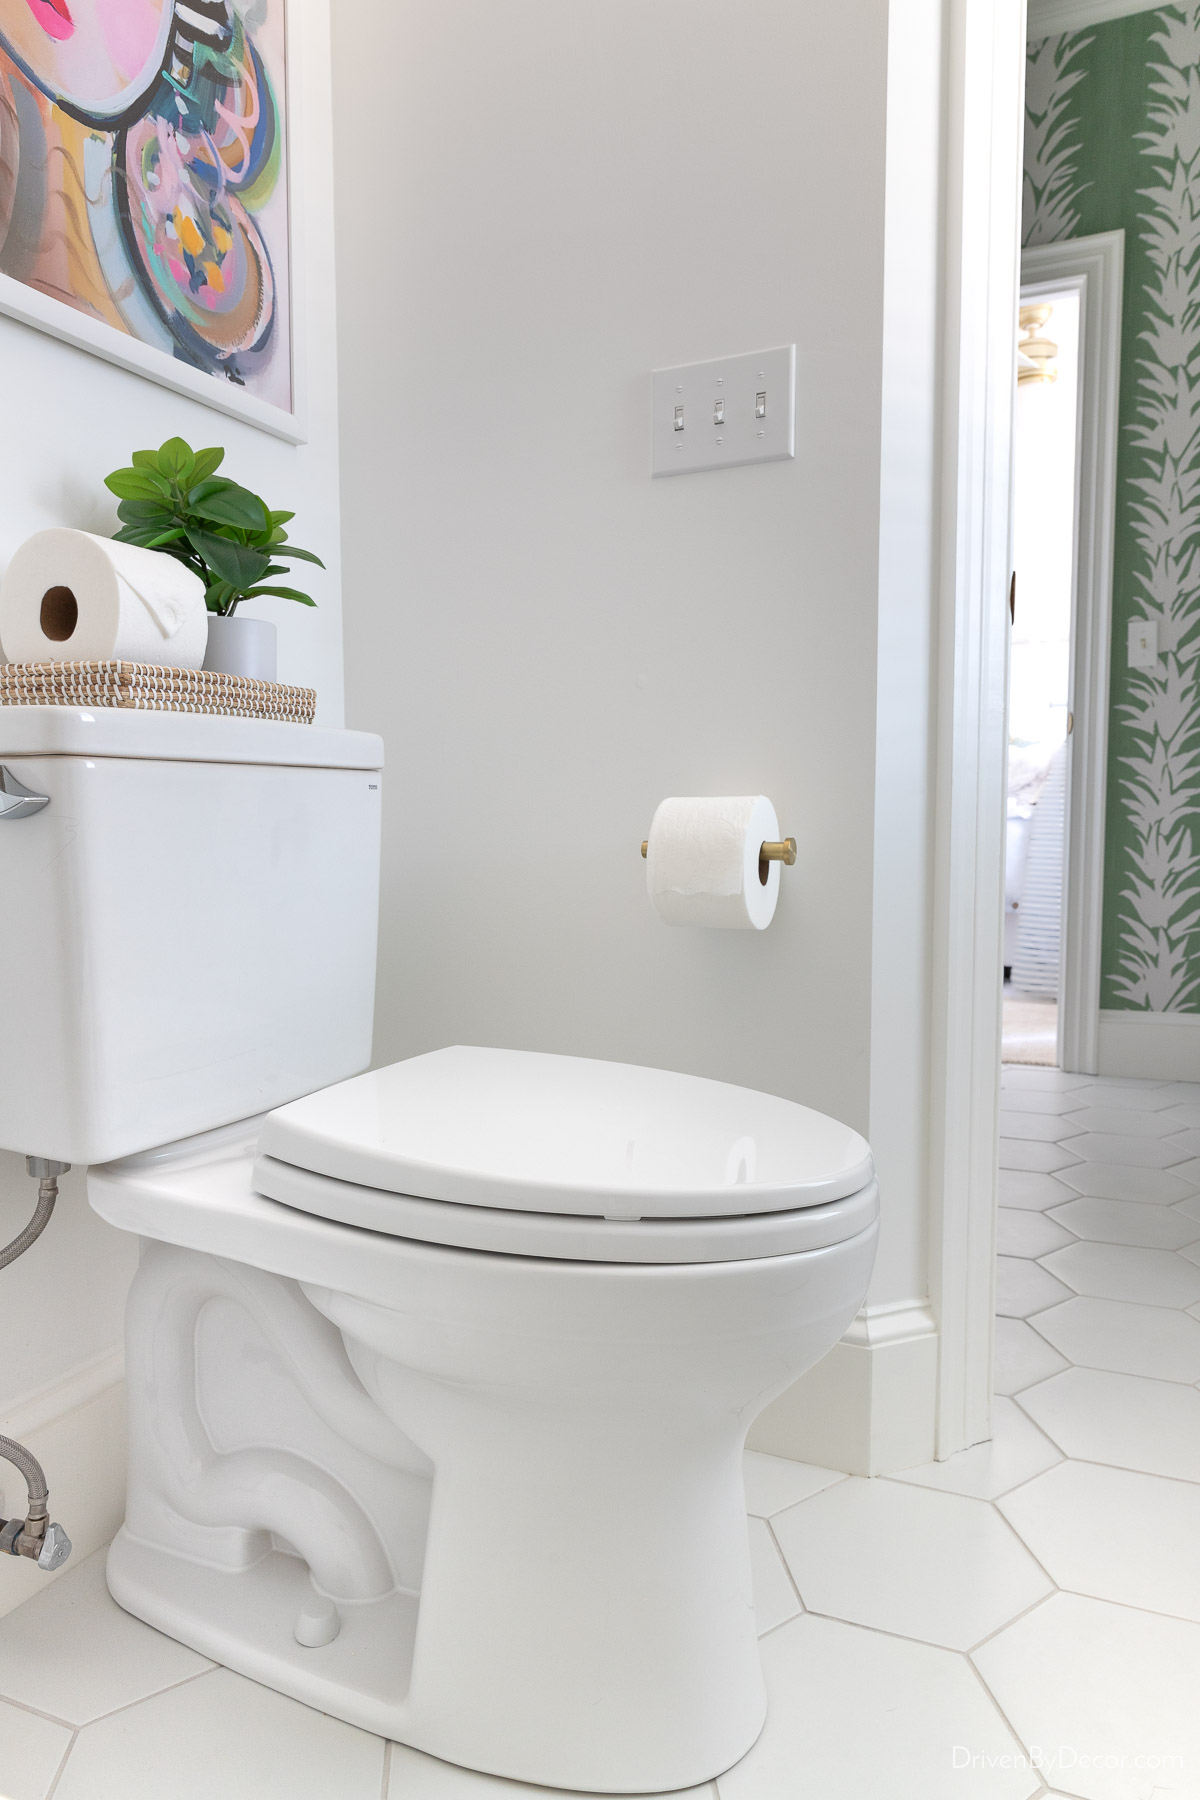
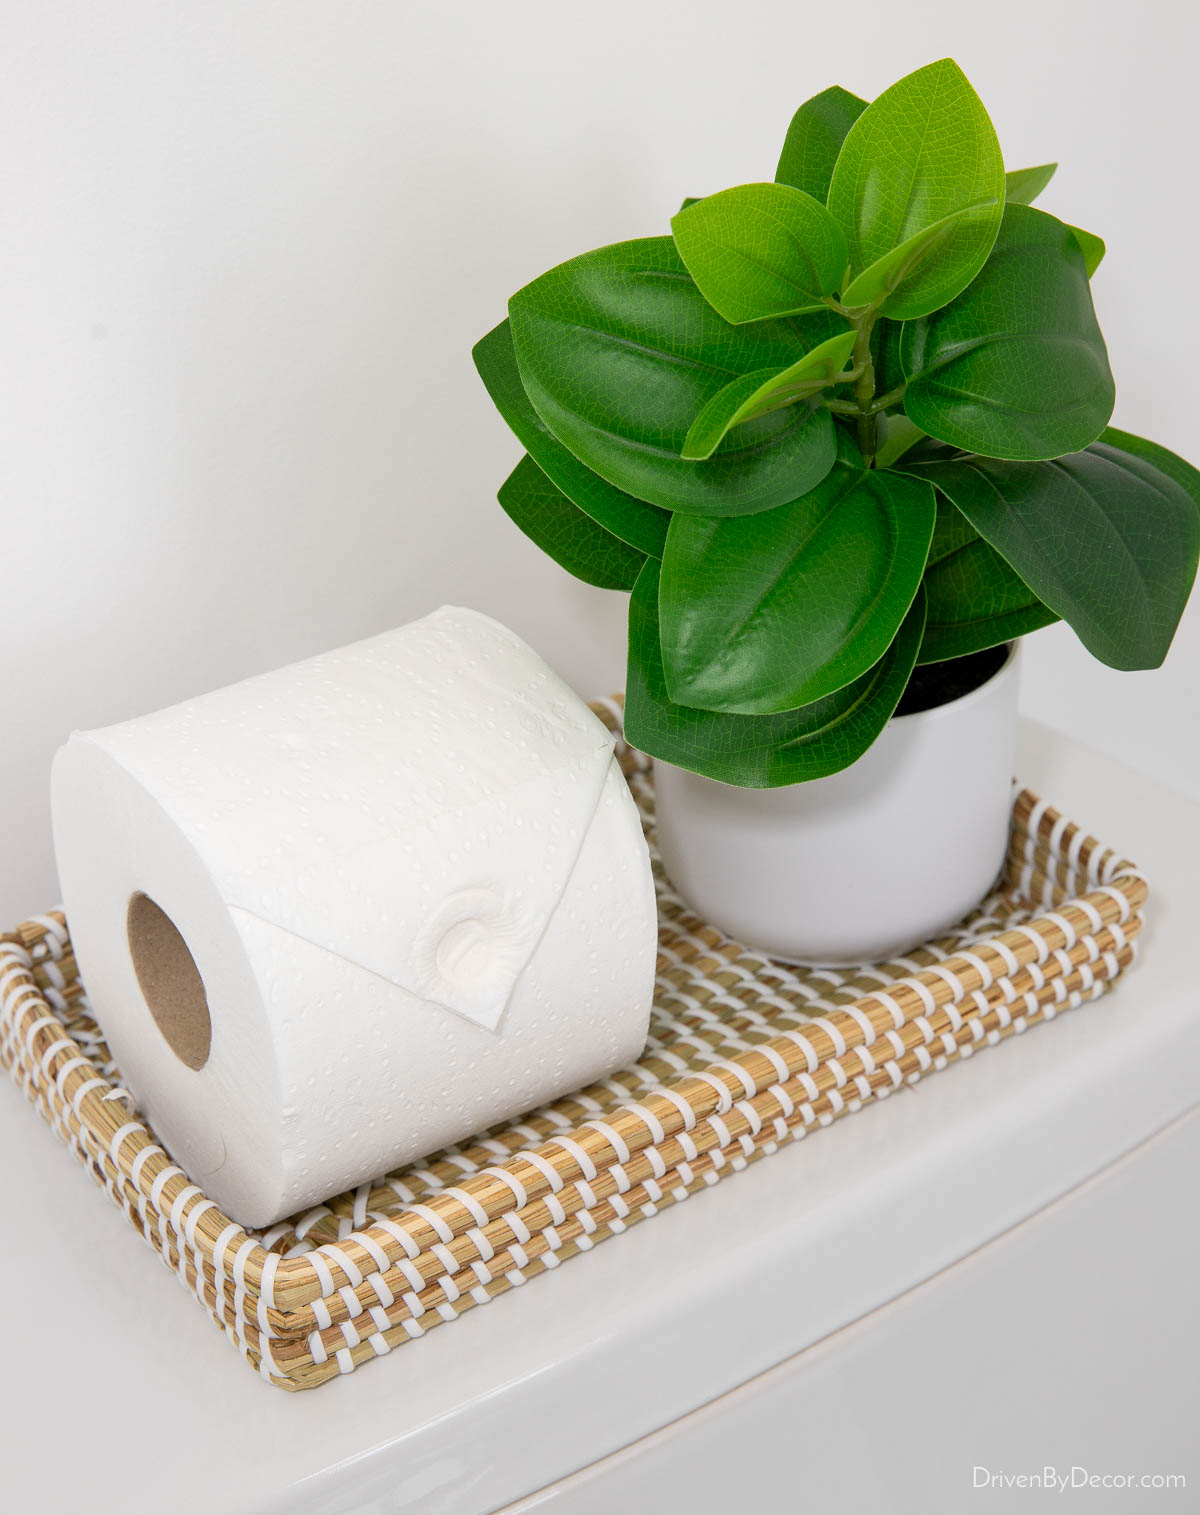
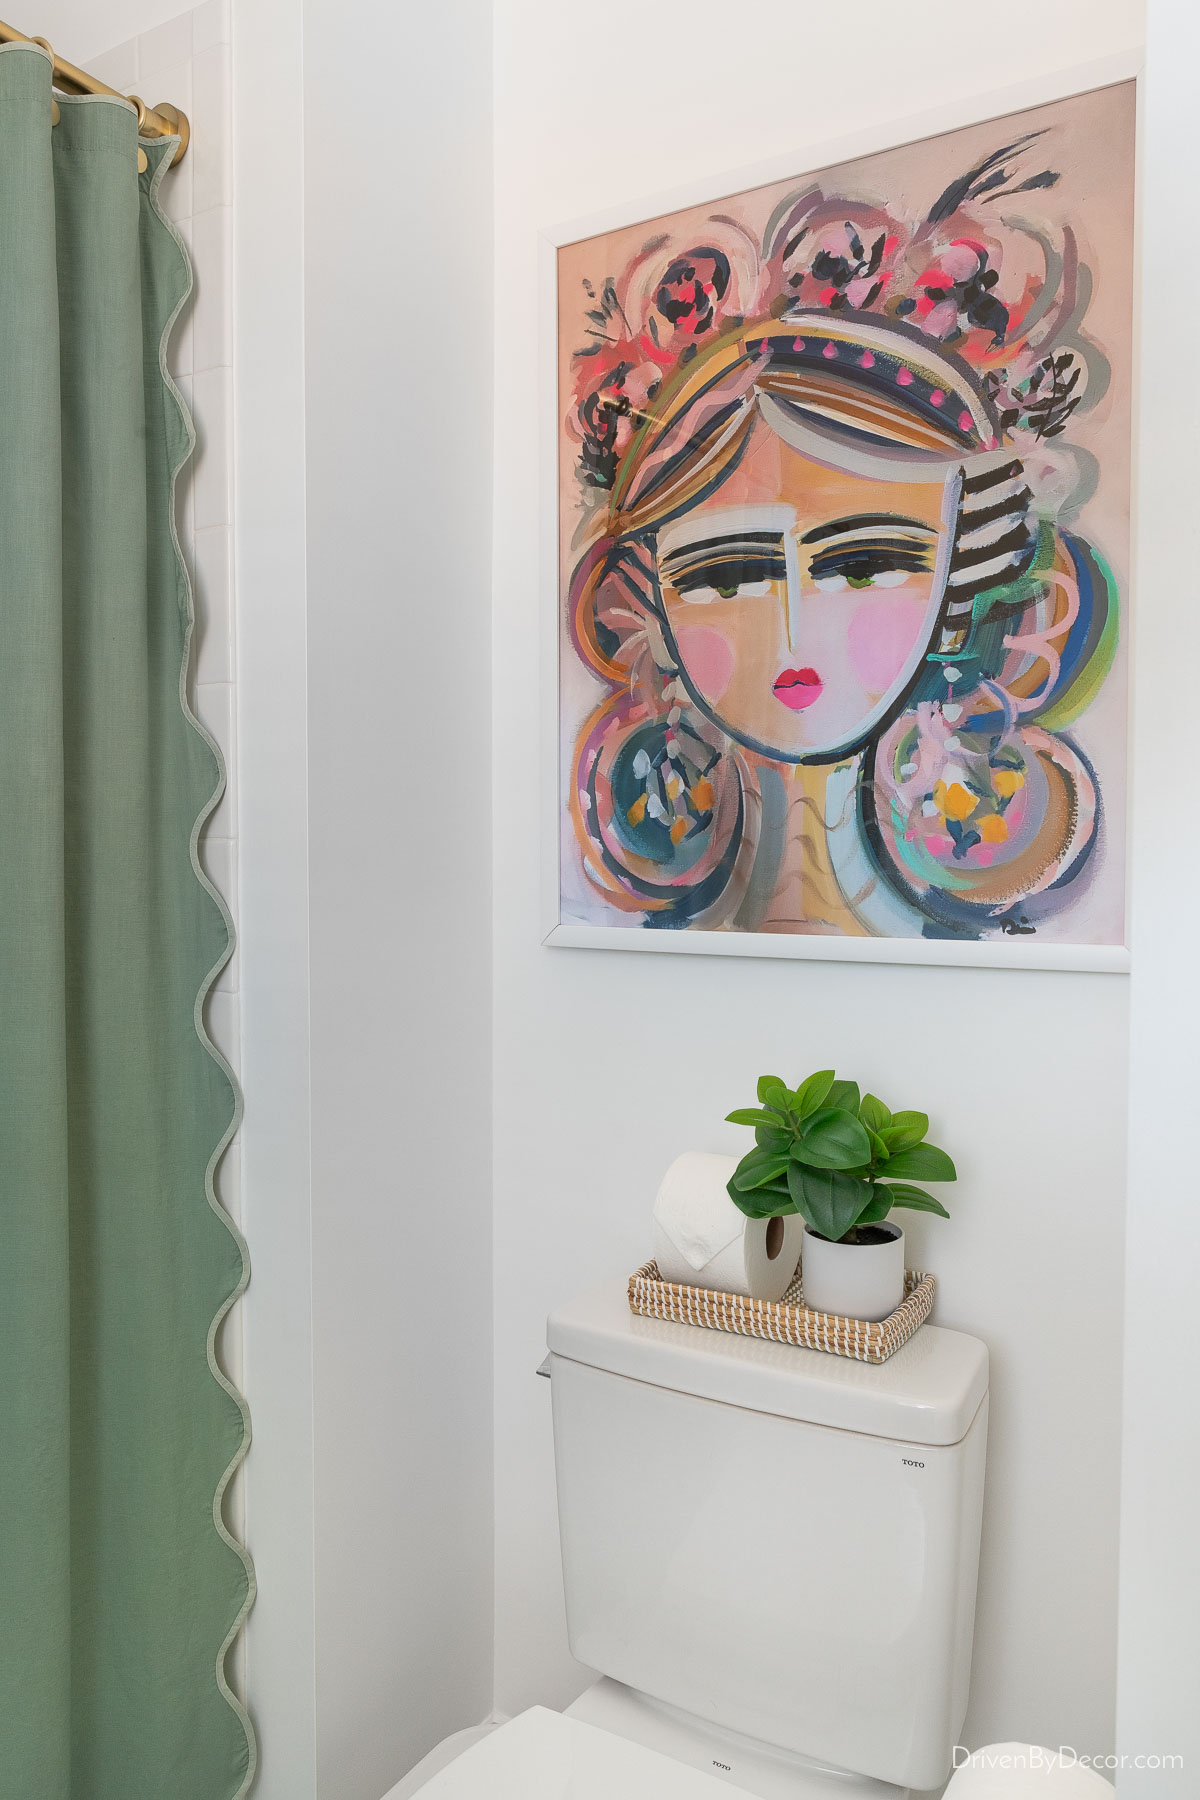
On top of the tank is {this woven tray} (size small) holding an extra roll of toilet paper and {this faux plant}:
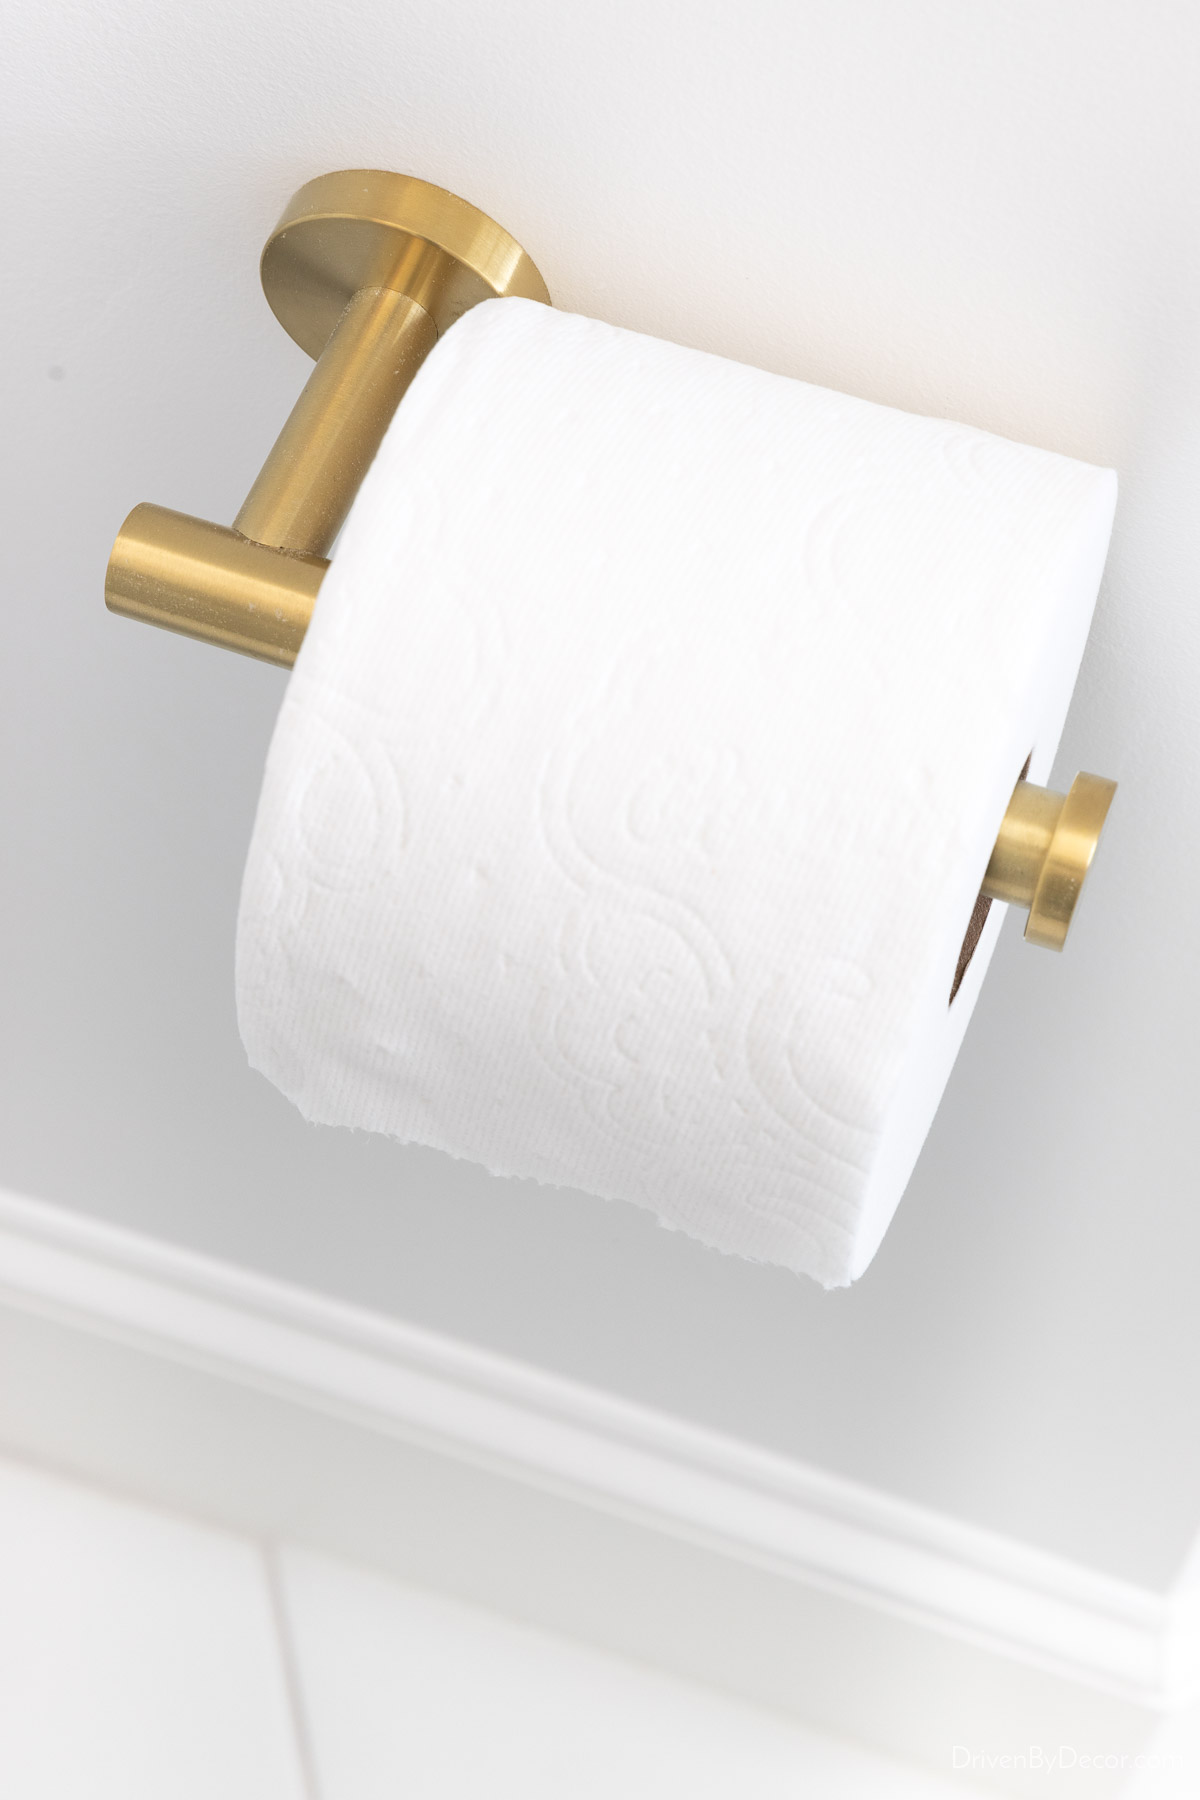
and I added {this brushed gold toilet paper holder} that’s my go-to:
See my post on toilet tank decor ideas to see other stylish and functional ideas for what to place on your toilet tank.
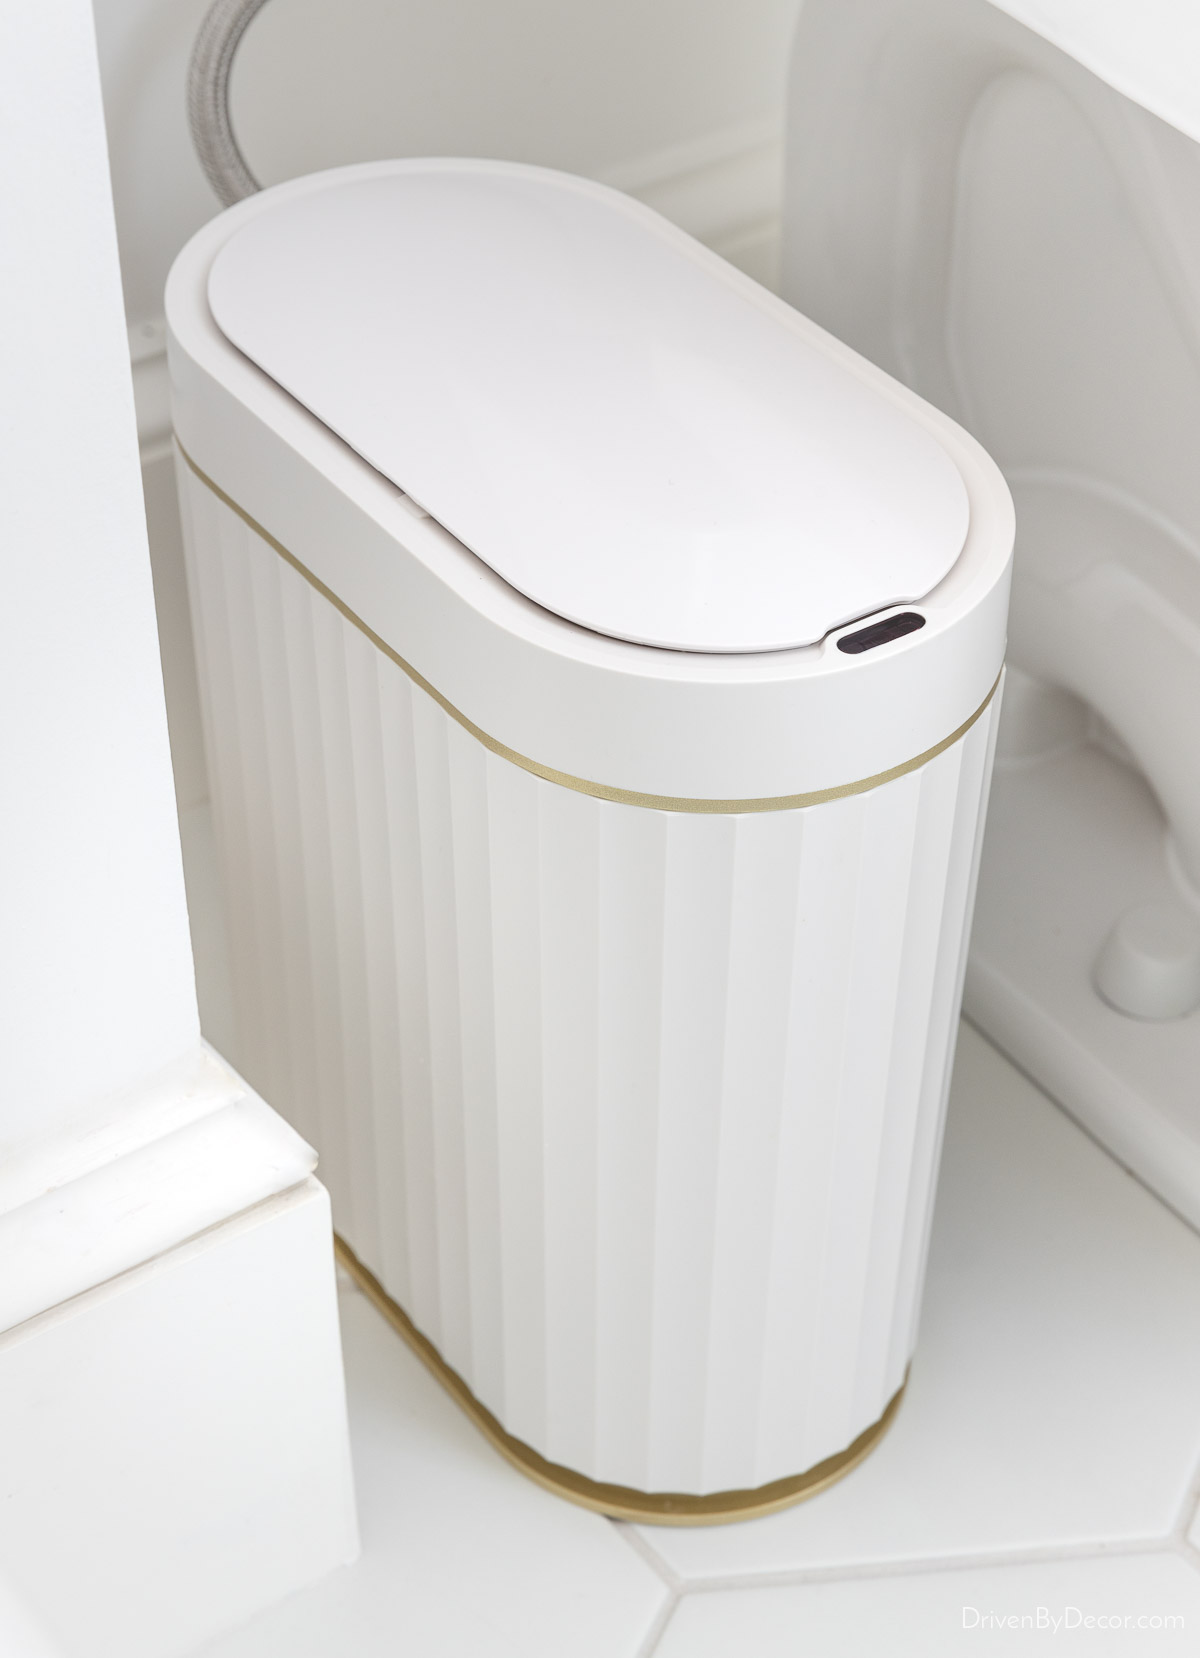
Next to the toilet is {this slim motion sensing trash can} that opens when you wave your hand over it (and keeps my trash can diving doggie out!):
This bathroom originally had a towel bar over the toilet, which is something that I’ve never been a fan of. Too close for comfort to all of those toilet germs! 😜
So I took it down and hung {this 24″ x 30″ art print} in {this simple white frame} in that spot:
and added two of {these towel hooks} to the back of the door for hanging {these scalloped towels}:
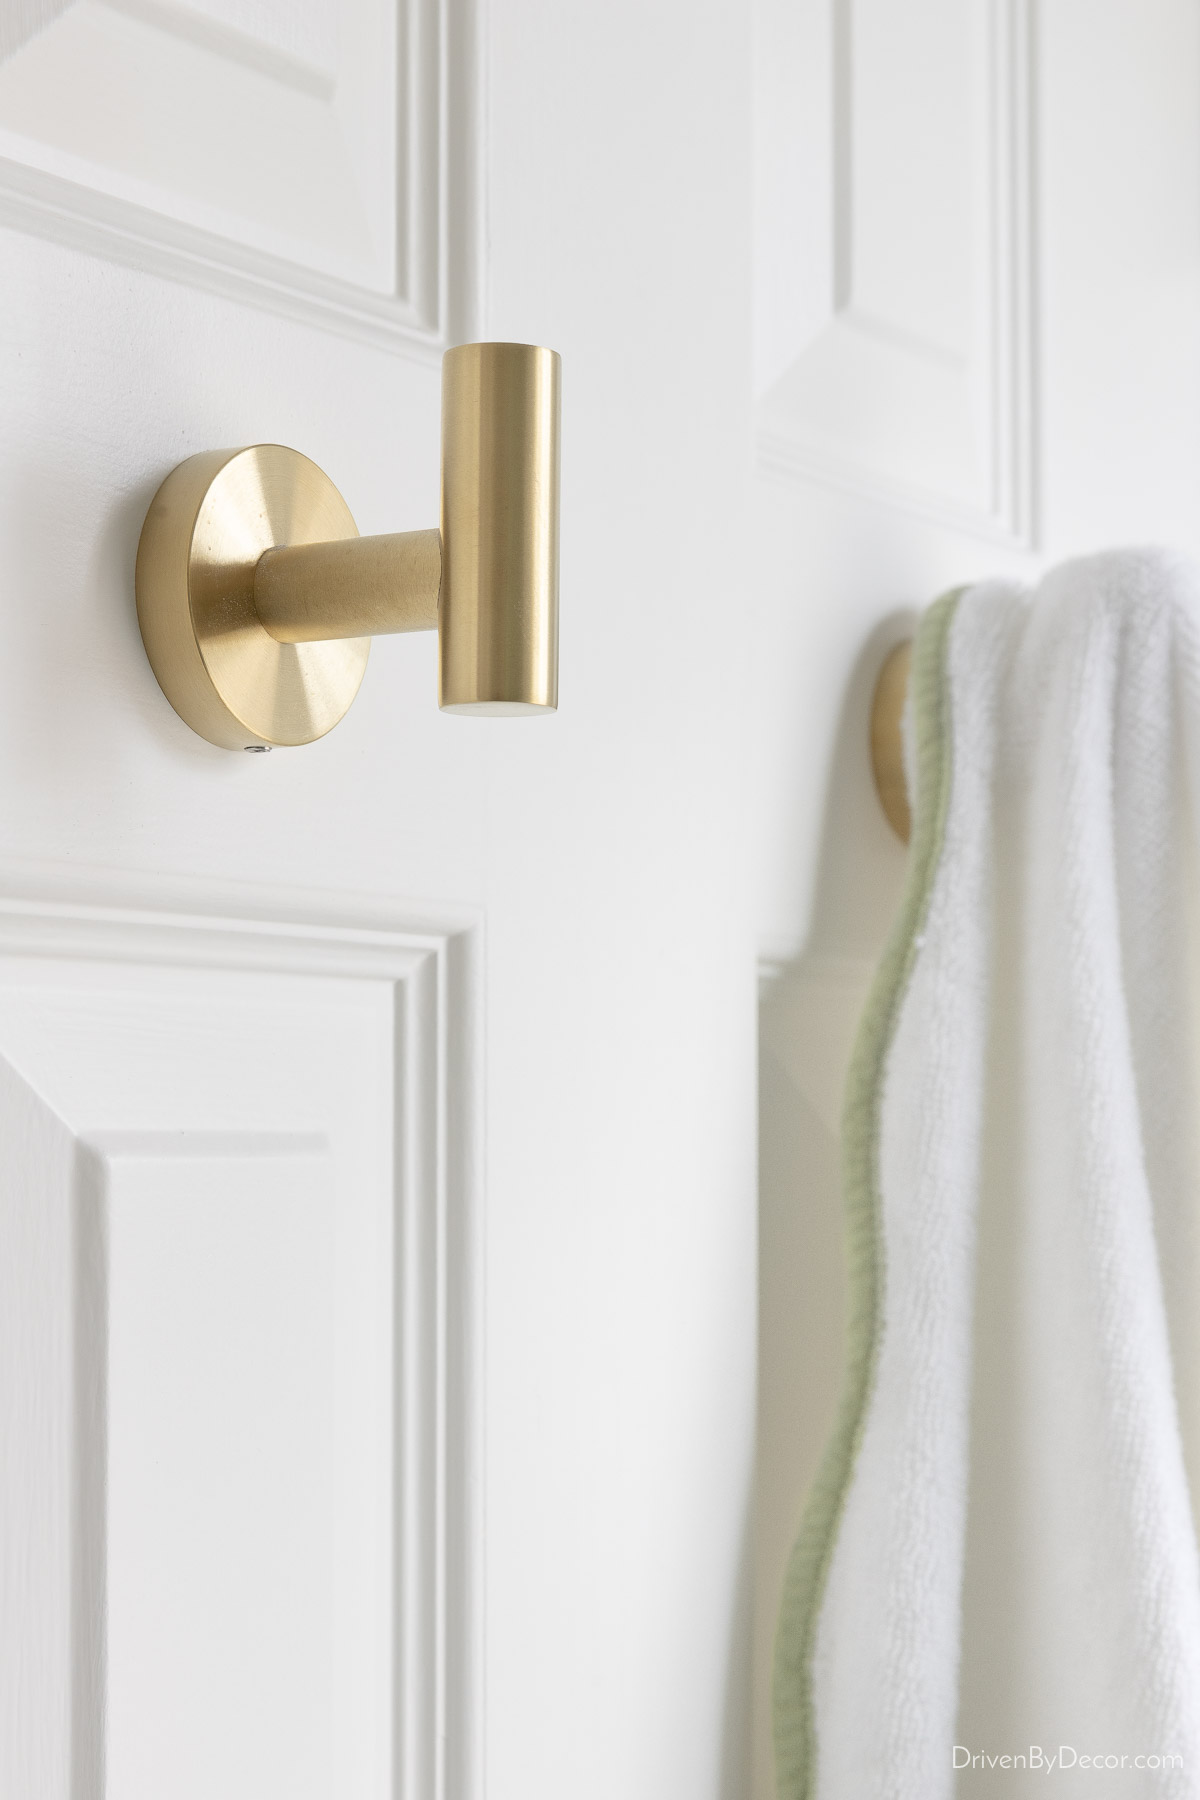
Looking for new wall hooks for holding coats in your entryway, purses in your closet, or towels in your bathroom? Check out my post on decorative wall hooks for my 16 favorites!
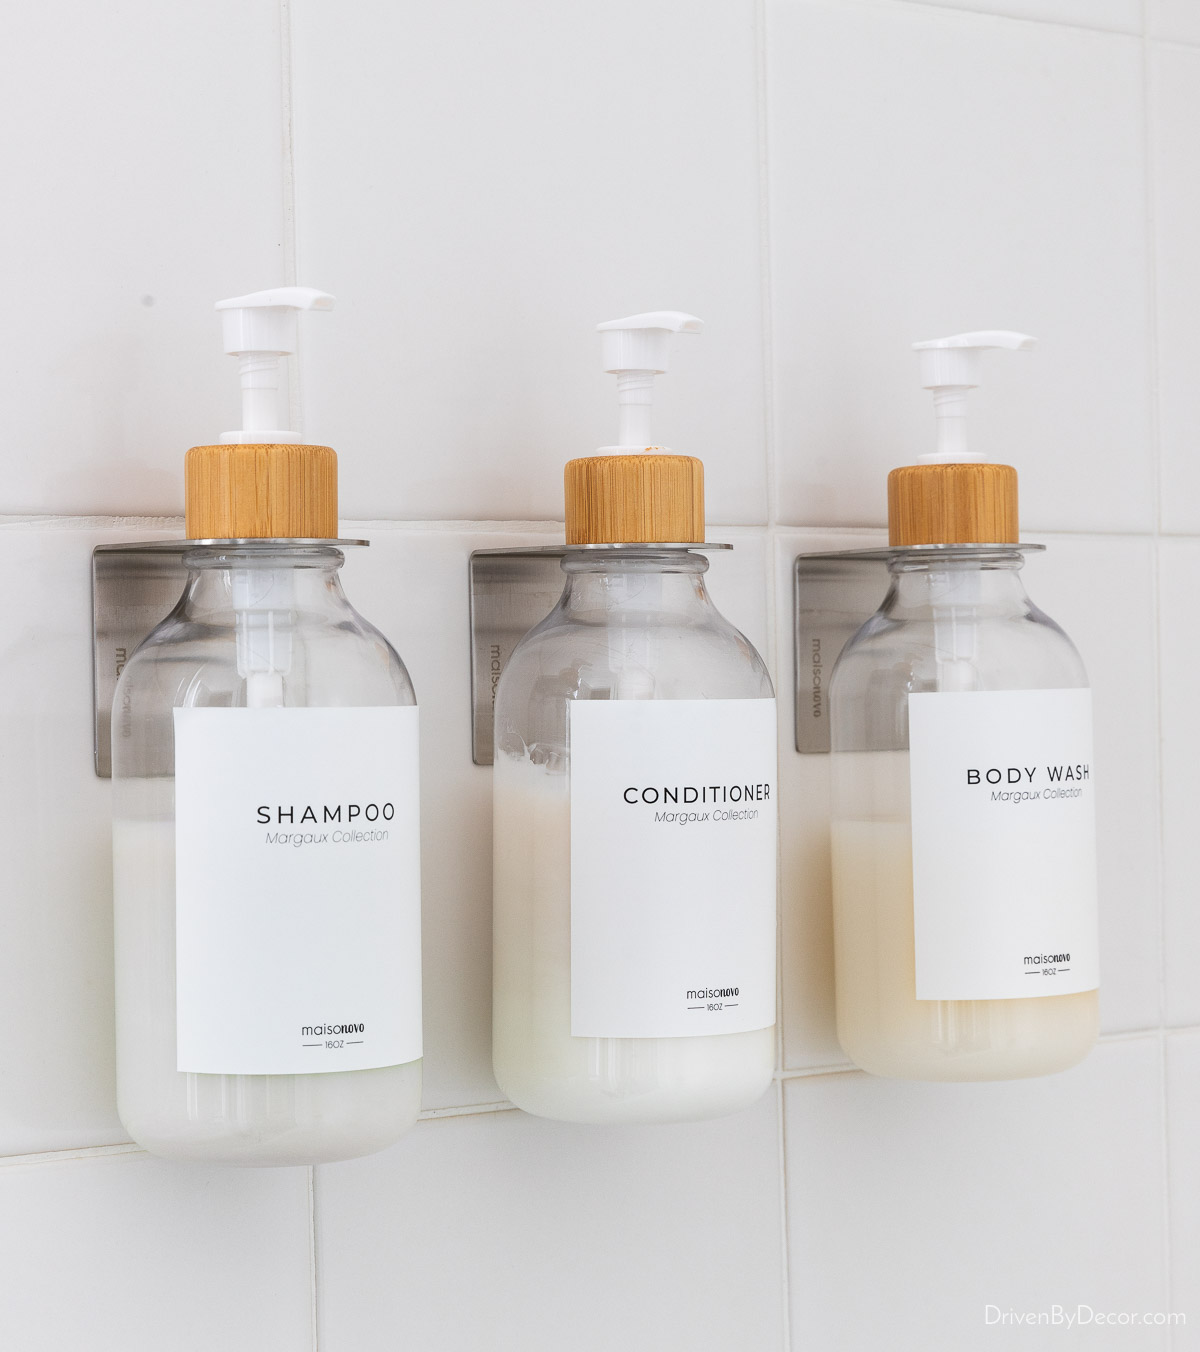
The very last thing I did was add {these shampoo, conditioner, and body wash pumps} to the back wall of the shower. Since this is the bathroom that our guests use, it’s nice to have those available to them, especially since there’s only a very small corner shelf in this shower for holding bottles.
And with that, our Jack and Jill bathroom remodel is a wrap (thanks for sticking in there – this was a long one)! We’ve now remodeled two of the three bathrooms in our house (see my post on bathroom shiplap for our powder room remodel if you missed it!). The last one on the list is our primary bathroom, which we plan to do soon so stay tuned for that! 🙌🏻


Kelli says
Hi! Loving this white hexagon floor tile. I’ve been searching high and low! The link takes me to wayfair but not a specific tile. Can you tell me which one this is? Thank you!! Beautiful remodel!
Kris Jarrett says
Hi! Wayfair keeps changing the link on that for some reason – thanks for letting me know – I updated it in the post! You can find it here: https://rstyle.me/+UrCOlqHUxhYoENrki5l-zw
Gail says
Hi Kris,
I am madly in love with your newly updated bathroom. The wallpaper is fabulous and so are all your finishes. If only I could get my husband to let me update our guest and master bathrooms.
Great job!
Mary Ann Pickett says
Beautiful job, Kris!!!
Karen B. says
Kris,
I’m in the process of updating my bathroom. I came away from your informative and beautiful post with lots of promising ideas.
I so enjoy your sharing your hard work on transforming your homes into beautiful rooms that will serve your family’s needs. Thank you.
Karen B.
Carla says
Looks fantastic!!Random question because we also have a bathroom that has the vanity divided by a tub/toilet side – did you keep a regular door or do you have a pocket door? I’m dying to replace the door with a pocket option to get rid of the door clutter!
Margsret says
Do you create a mood board before you start to remodel a room? I’m curious as to your design process, and how you chose a green wallpaper and shower curtain.
Sharon Arani says
How difficult was it to have the vanity plumbed for two sinks instead of one? I am about to dive into a similar project on our 40 year old guest bath.
Great job on this bath. I love the greens!
Jayne Mansfield says
Re: hand towels: put rolled hand towels in a basket, use the motion sensitive trash basket to put dirty ones in.
Lizzy says
It turned out beautiful. I may have to copy you! The only thing I would have done differently is to have a glass door instead of a shower curtain, but that’s just me.
T J says
Really like the wallpaper and the small basket for toilet paper and a plant! It looks very nice.
JeanieQ says
It looks nice. I’m not ready to jump into Wallpaper again, maybe I never will be? I noticed you kept the White tile. My home is 50 years old and has similar tile, but the White tile holds up over the years, where as fad tile that change fashion ever 4 or 5 years look more outdated. When i retiled 2 of our 3 baths, I stuck with White, but I was talked into making them have the marble look. It’s OK, they’re still white, for the most part. One bath has small hex tiles on the shower floor and the other has some little rectangle tiles, my husband wanted, that are slippery. We don’t have a tub anymore because we all prefer a shower. I’m too old to climb over a tub’s side wall. One bath has brushed stainless with a light gray vanity and the other bath has a dark gray vanity with oil rubbed fixtures and handles, and I prefer the oil rubbed look, now that they are both done. The third bath only got a new linoleum flooring and toilet because that was all my husband wanted in his bath. He didn’t get any new hardware or handles.