

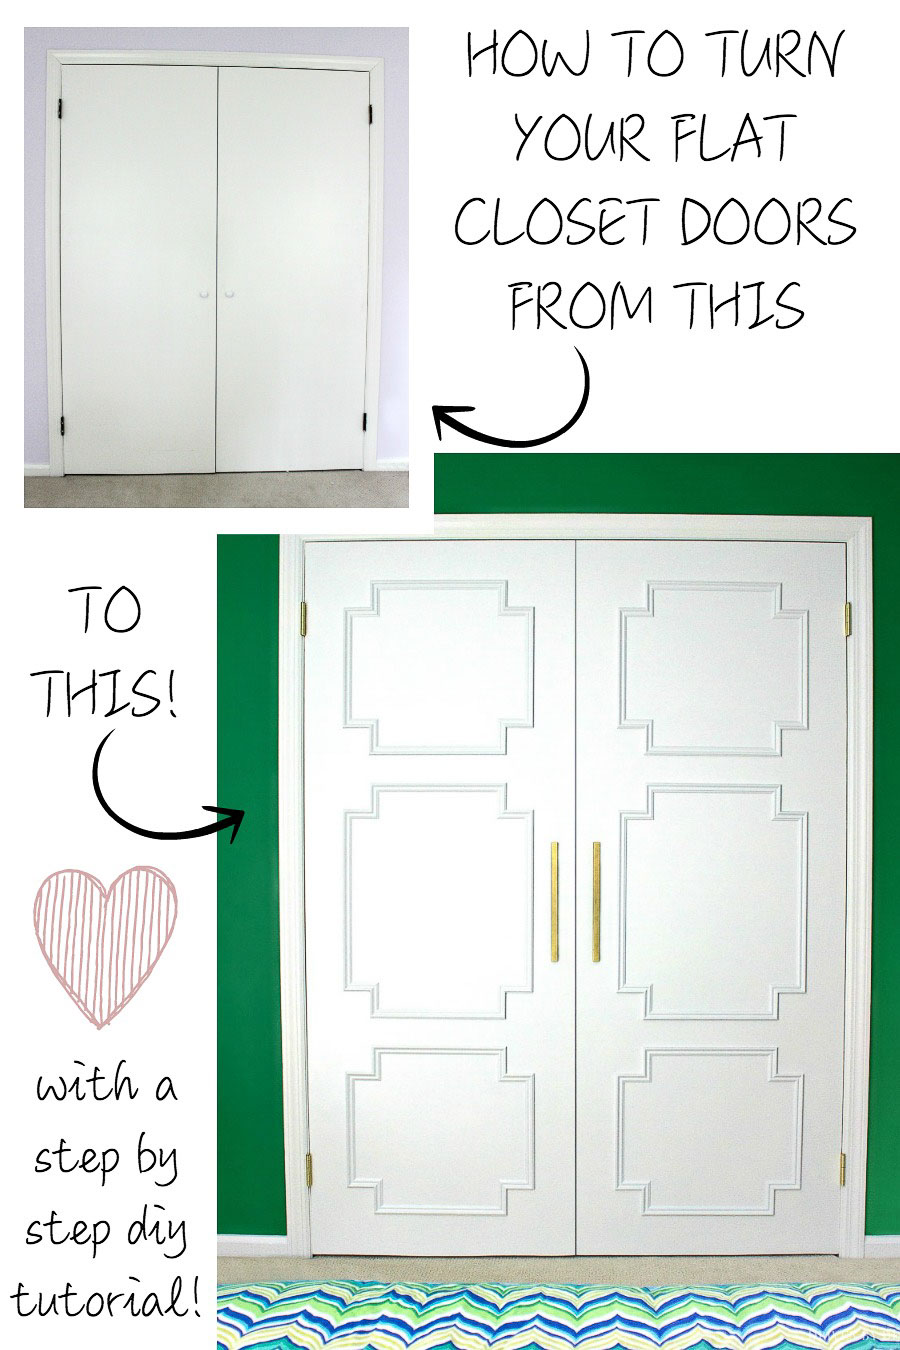
Do you have cheap looking flat slab doors? Instead of buying new doors, consider a flat panel door makeover! You can makeover your doors at a fraction of the price of new doors and they’ll look like a million bucks! I’ll share the step by step of what to do by walking through my own flat panel door makeover, taking my doors from this:
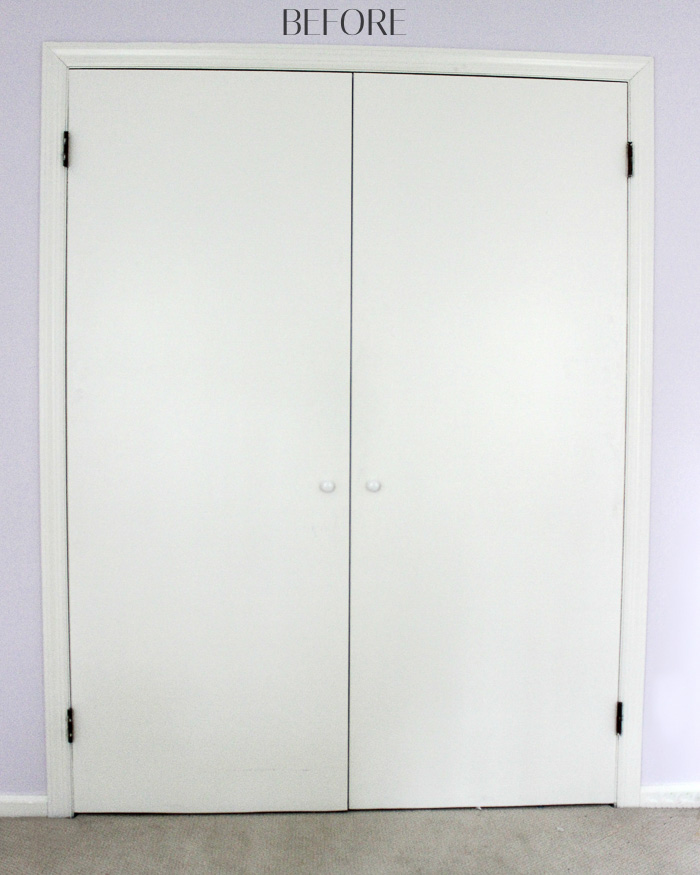
to this:
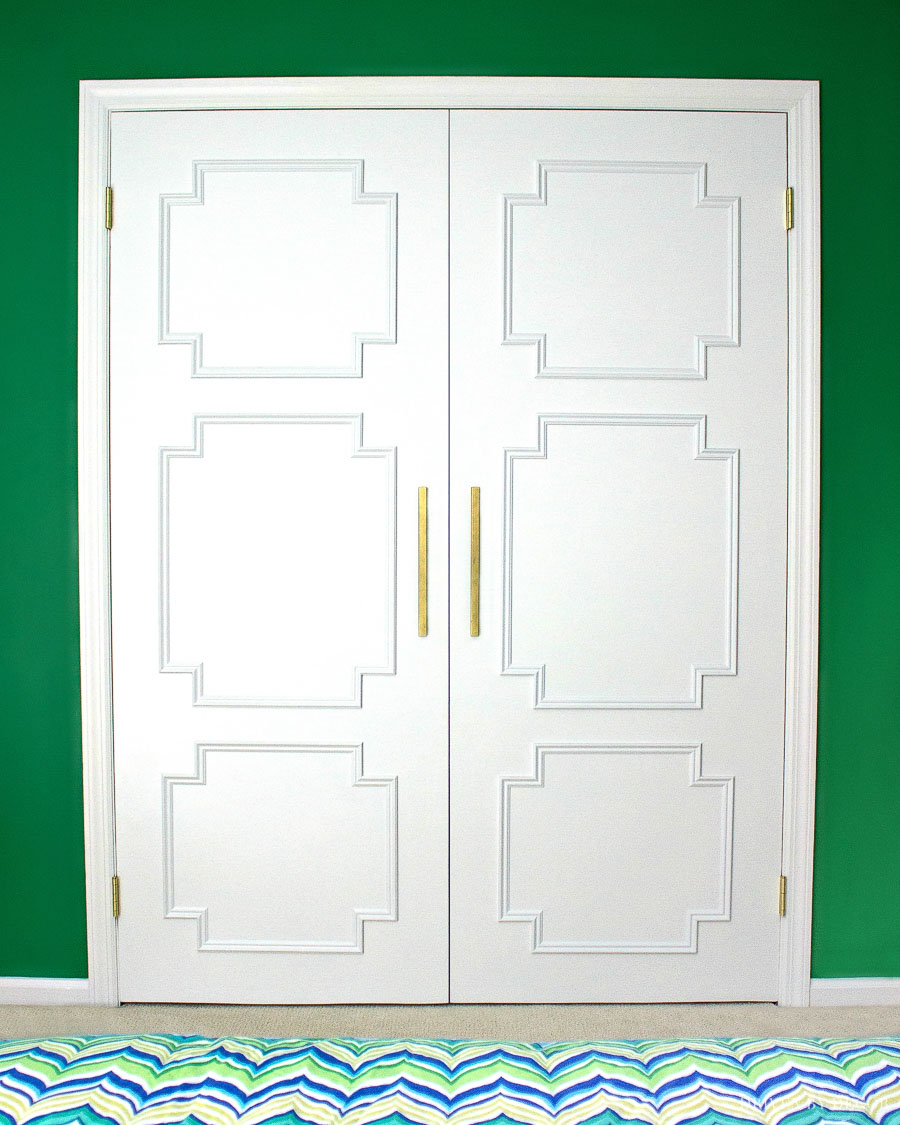
Best of all, I knocked this entire project out with no power tools other than a simple drill. Let’s get to the simple step by setp… (post includes commissionable links; for more information, see my full disclosure statement {here}).
Let’s start with the supplies you’ll need to knock this project out. My raised panel design was created using inexpensive panel molding that I bought at my local hardware store. If you want to find a similar low profile molding, here’s a close-up view of mine (it measures 1″ wide and 5/16″ at its thickest point):
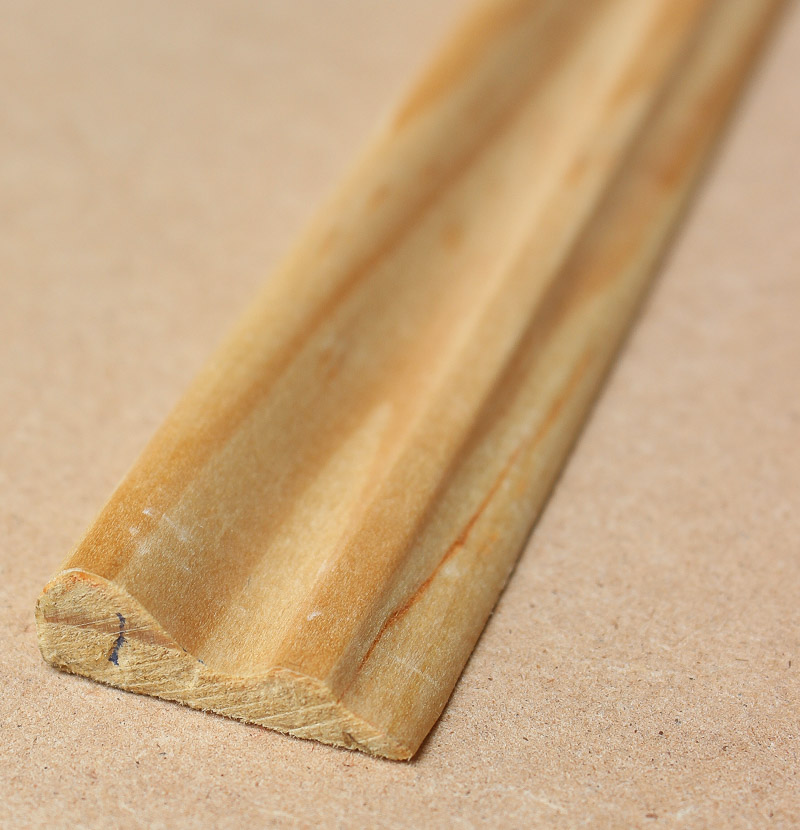
I also used a miter box and saw similar to {this one},
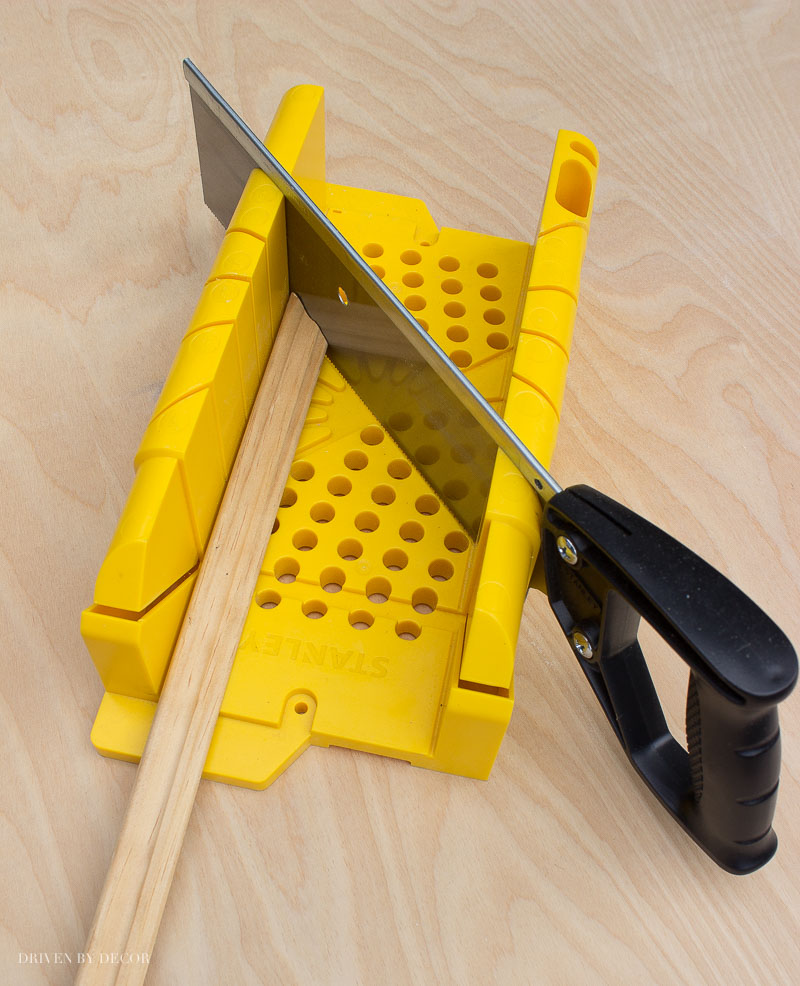
wood glue, some small brad nails, a hammer, a drill, paintable caulk, wood filler, painter’s tape, a level, and paint.
The first step of the flat panel door makeover is the one that takes the most time – deciding what type of pattern you want to create and figuring out the measurements for each piece of molding that you’ll be cutting. The closet doors that I worked on were each 30″ wide by 79 ½″ tall. These are the measurements that I used to create my paneling pattern:
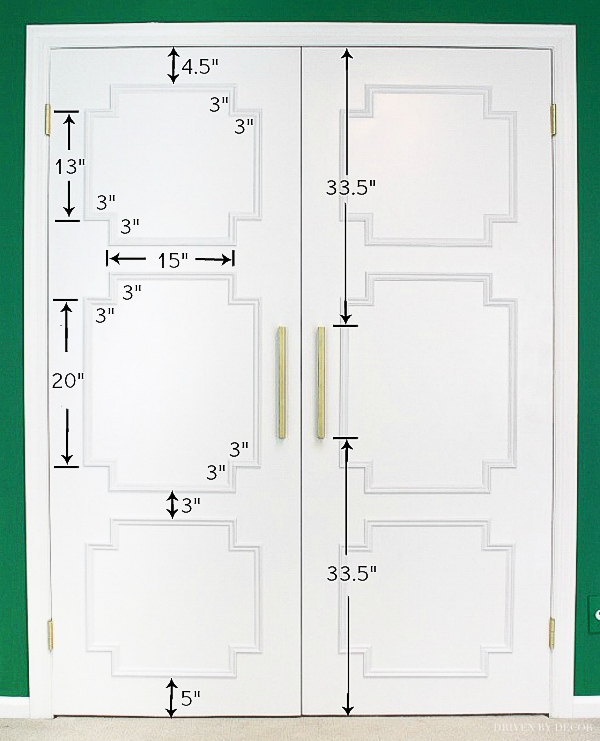
Once I figured out how long each piece of molding needed to be, it was time to go to town with the miter box and saw, cutting all of my molding pieces to size. The molding was easy to cut but there were lots and lots of cuts to make so it took about 2 ½ hours from start to finish. If you have a miter saw, by all means, use it!
Before jumping any further into this project, if you are going to replace the door’s hinges, do it now! Sometimes new hinges can slightly change the alignment of the doors and you want them in their final position before you start measuring and leveling the molding pieces.
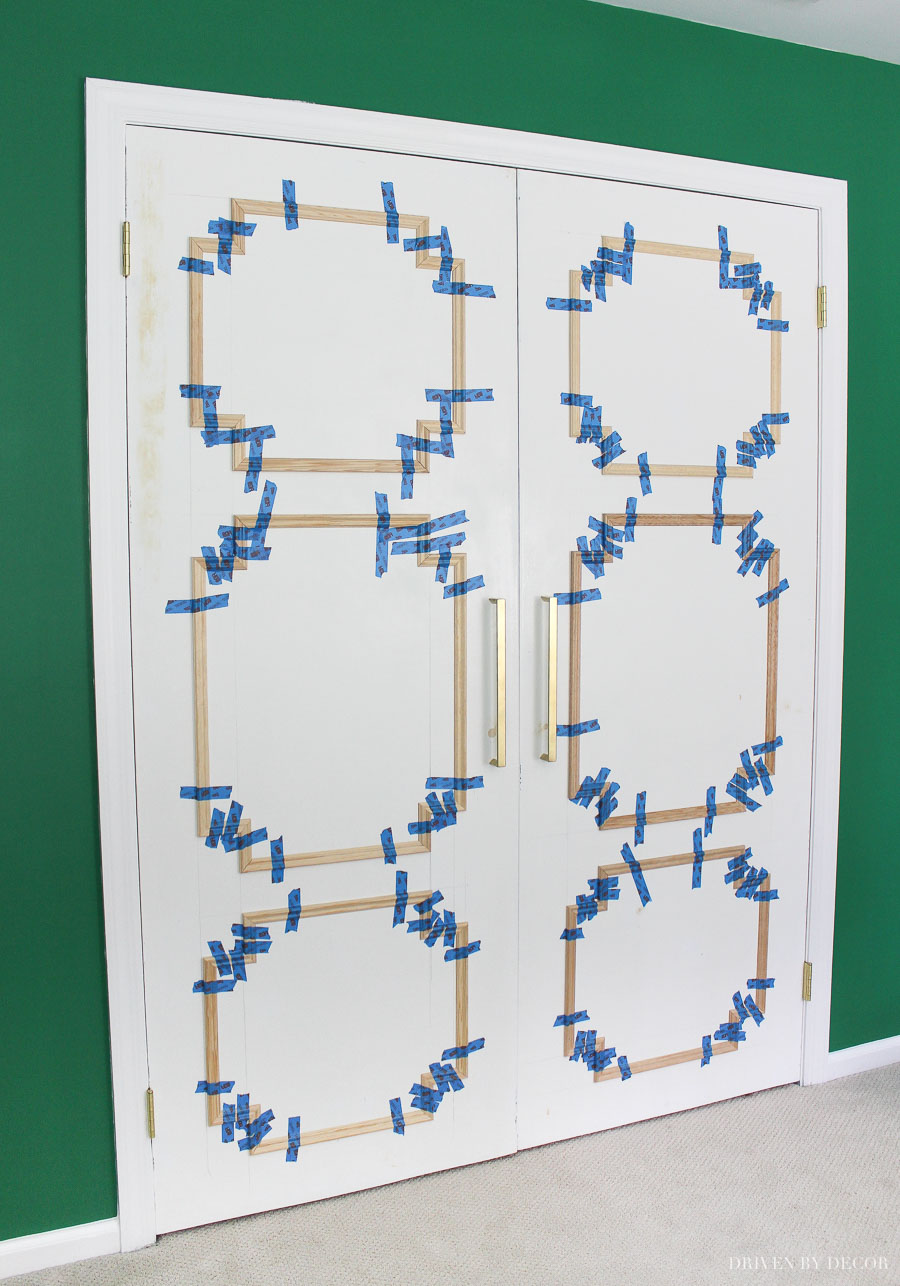
Next it’s time to mark up the door, making measurements with a level and pencil to mark the where the molding pieces will go. After that, I taped each of the molding pieces in place with painter’s tape and double checked that everything was level and aligned:
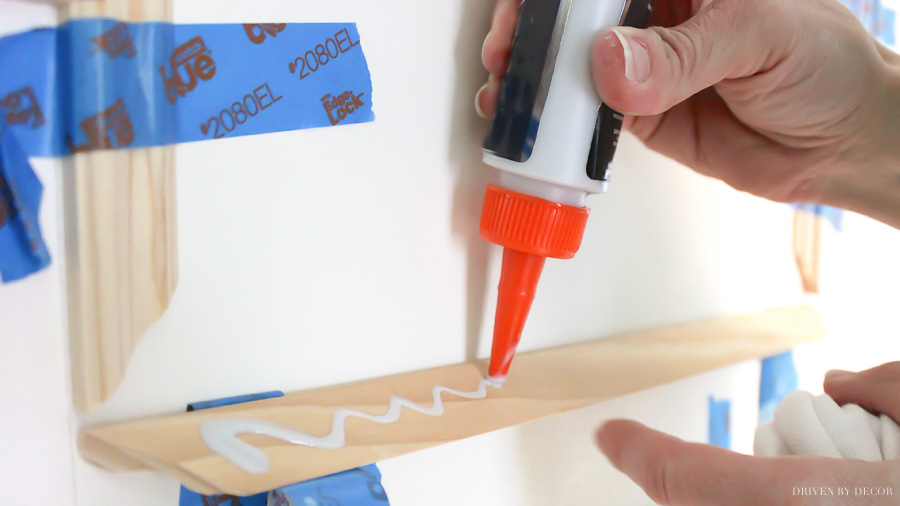
To adhere the molding to the door, I added a line of glue to the back of each piece of molding and pushed it into place. I secured it to the door with the blue painter’s tape and wiped away any excess glue.
Using glue alone worked great for all but about six of the long molding pieces. These pieces were not totally flat and so both ends would not stay flush with the door while the glue dried. For these difficult pieces I added a small brad nail to the end of the molding piece that was sticking up to get it to stay down while the glue dried.
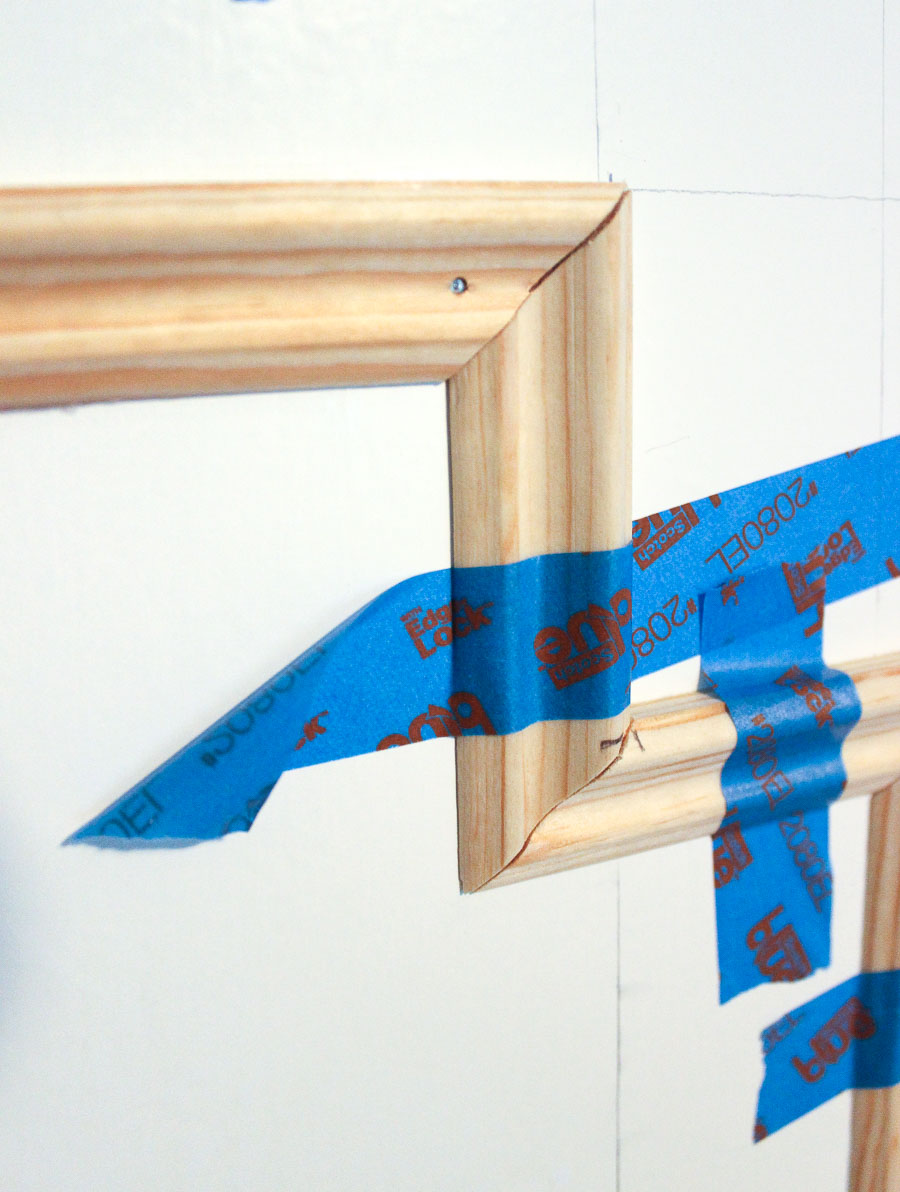
Since even small brad nails can easily split the wood of molding as thin as the panel molding that I was using, I predrilled a tiny hole in the molding before tapping each brad nail in with a hammer. Once the glue dried, I removed the painter’s tape, added wood filler to the small holes where I used the brad nails, and then sanded the holes smooth once the filler dried.
The final step in this flat panel door makeover is to caulk any gaps and paint the entire front of your doors. My doors were originally painted with oil-based paint so I used Benjamin Moore’s Advance. This paint can be used over oil-based paint yet it cleans up like latex paint. Just be aware that it has a long dry time between coats.
For the closet door pulls, I bought IKEA’s 13″ TYDA handles. They don’t sell these pulls anymore but {these pulls} are quite similar.
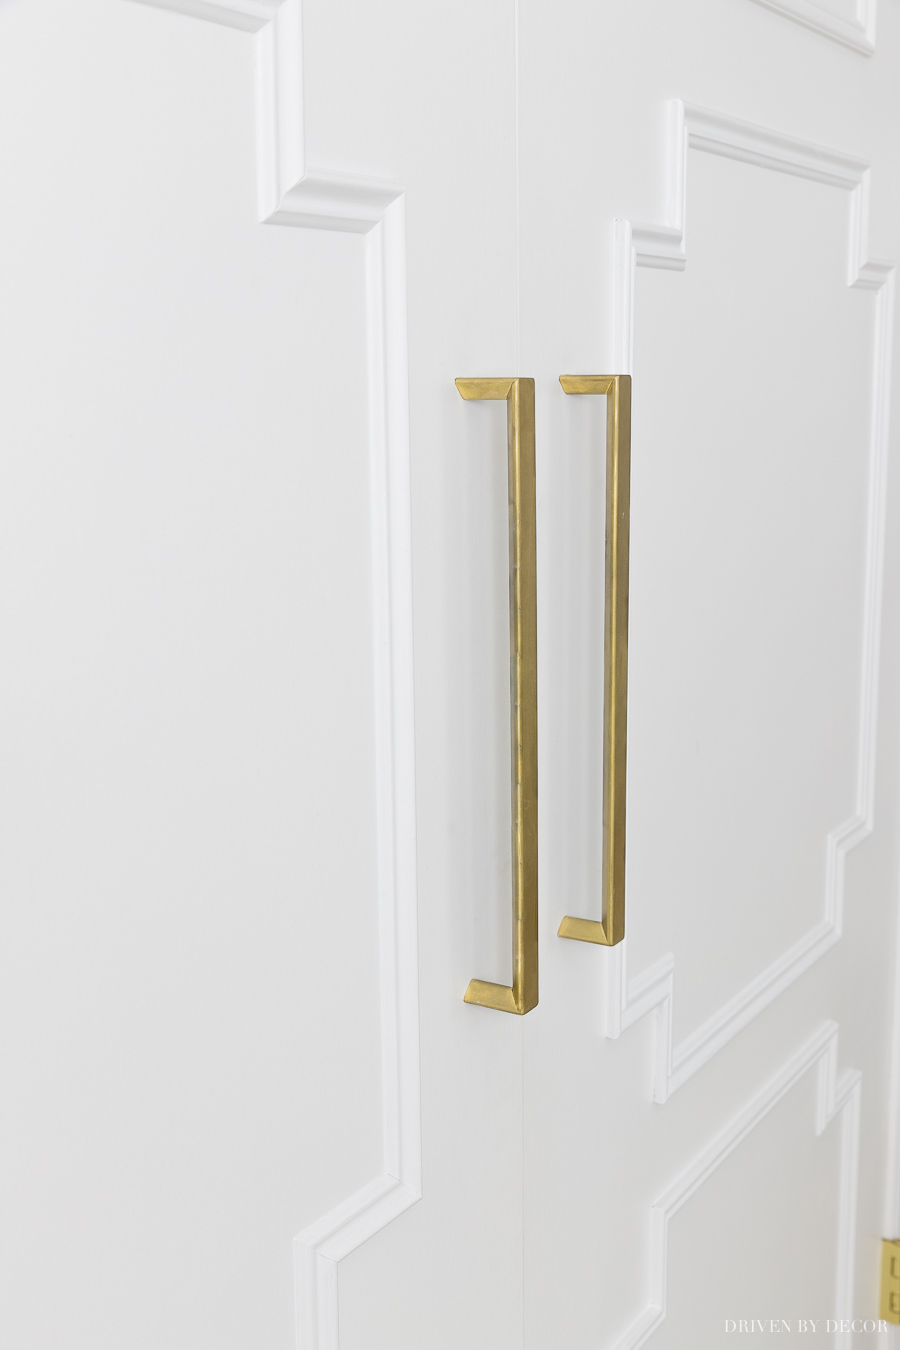
And with that, my flat panel door makeover was DONE!
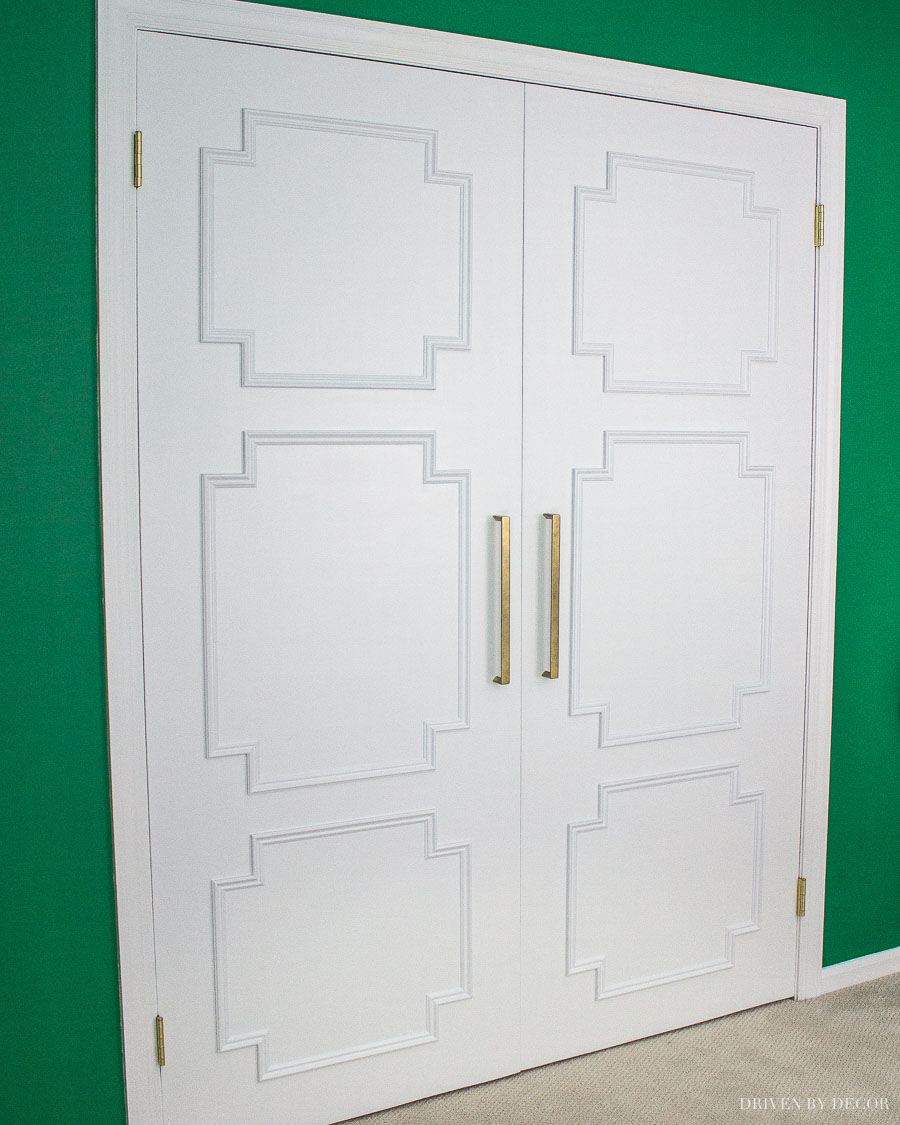
I was so happy with how they turned out and most importantly my daughter was too! If you have some flat doors in need of a little TLC, I hope you found this helpful! Be sure to pin the image below so you can find this post when you’re ready to tackle the job ->
Update: I made over the flat closet doors in my other daughter’s bedroom too but in a totally different way! Check it out in my post on closet door ideas.
Hope you all enjoyed seeing this project and I’ll see you back on the blog next week!



Dana Frieling says
Fabulous! I’ve been trying to think of a pattern for our doors and your post just sealed the deal for me. It’s crazy how simple details can make such huge transformations!
Elisa of Fancy Free Me says
Thanks for sharing your wisdom, did you leave the doors up the entire time you did this project?
Jennifer @ Dimples and Tangles says
This is SUCH a great makeover, Kris! I have a few bare doors around the house that I would love to use this treatment on!
Tracy Laverty says
Oh, I just love these doors you did! And those handles are from IKEA? Wow! I only wish I had flat doors to transform! Beautiful work Kris.
Julie Taylor and Danni Greenwalt says
That looks so much better…great job!
therelishedroost says
Really great job!!!Have a good weekend!
Anonymous says
So beautiful! I admire your talent!! Diane
Kris @ Driven by Décor says
Thank you so much Diane! Enjoy your weekend!
jeanette says
you nevah cease to amaze me Kris!!! I wish I had flat doors to do this cute treatment to……i know this was alot of work, but it was so worth it….luv the gold handles too…..i just bought a gold spray paint at WalMart for another project of handles, but if it’s not the right gold, then i’ll hunt for yours….
kudos Kris!
Kathleen says
I still cannot get over how good those doors look. It’s such a huge change. The hardware was a perfect match. Great job and thanks for the tutorial!
Carrie @ Cosy Carolina Interiors says
I have been waiting for this tutorial! Thank you so much for posting how to do it. 🙂 I just LOVE how it turned out!
Vel Criste says
This was one of the great features in your daughters bedroom, and I love that you shared this awesome tutorial Kris!
Holly Gruszka says
Wow, I really think that this doesn’t look so hard after seeing your photos. It definitely looks a lot more difficult than it really is I guess. Big look for not a lot of $$ – that’s awesome. Great work!
Lisa @ Shine Your Light says
I love the design you created, Kris! So stylish and such a great way to transform those basic hollow doors!!!
Cassie @ Primitive & Proper says
love this so much! i pinned it and would love to do this in my home!
Denise Greenwood says
These doors are amazing Kris! I love the shape you chose. Great job and great tutorial!
Mel@JunkinJunky says
Fabulous!