Looking for tips on how to make a bed layer by layer? I’ve broken it down to 8 simple steps!
Coming from a girl who loves fabrics and bedding, it’s no surprise that my idea of a perfect bed is one that’s cozy and beautiful but just as importantly, one that’s designed to help me get a restful night’s sleep. I love a layered bed both because it has that hotel-like look and because you can pull layers on or off depending on if you’re hot or cold. Starting with a bare mattress and working our way through to those final decorative pillows, I sharing how to make a beautiful bed in 8 simple steps! (post includes affiliate links – see my full disclosure statement {here}).
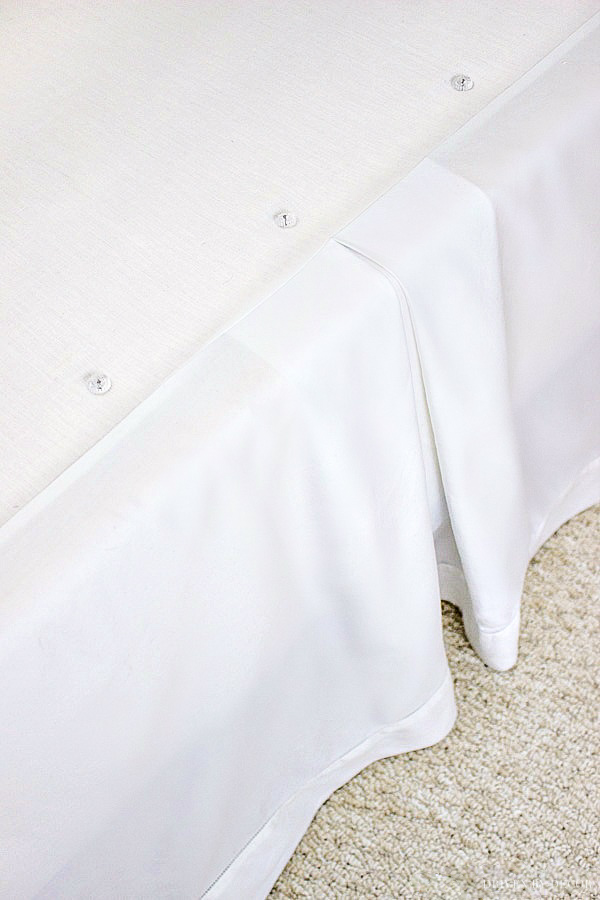
1. Make Your Bed Skirt the Perfect Length
If you have a bed with a bed skirt, start by making your bed skirt the perfect length – it should just barely graze the floor. The key is to use upholstery twist pins like {these} that secure your bed skirt to the box-spring at the exact length needed. The best part is that they hold your bed skirt in place through sheet changes too so don’t have to keep readjusting it:
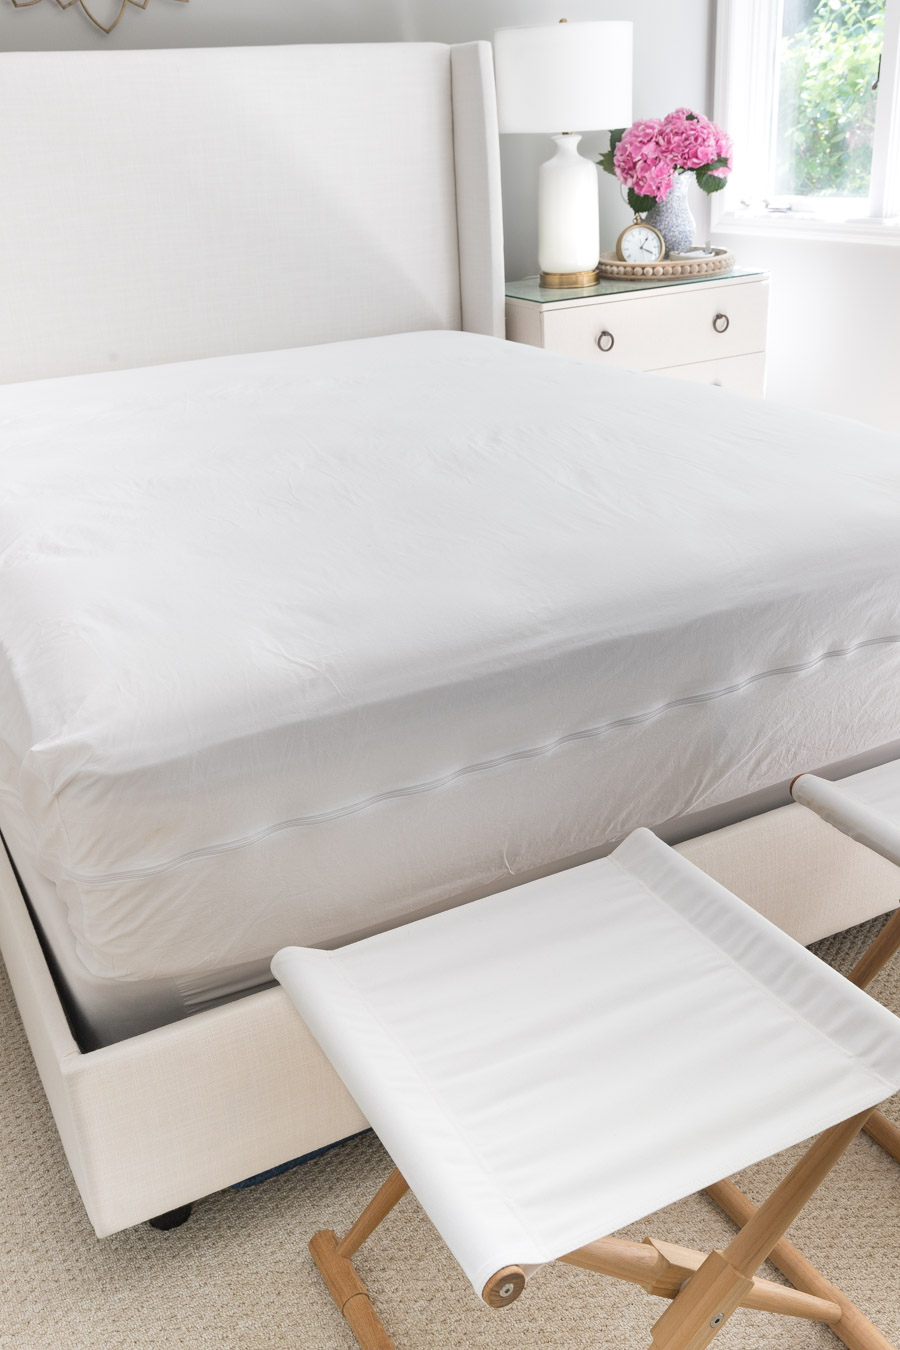
2. Protect Your Mattress
Before adding your bedding, be sure to fully encase your mattress in a zippered mattress protector such as {this one}. Unprotected mattresses can actually double in weight after ten years due to the accumulation of millions of dust mites – so gross! A mattress protector that not only protects from dust mites, pollen, and other household allergens but is also waterproof (a must with kids!) is key.
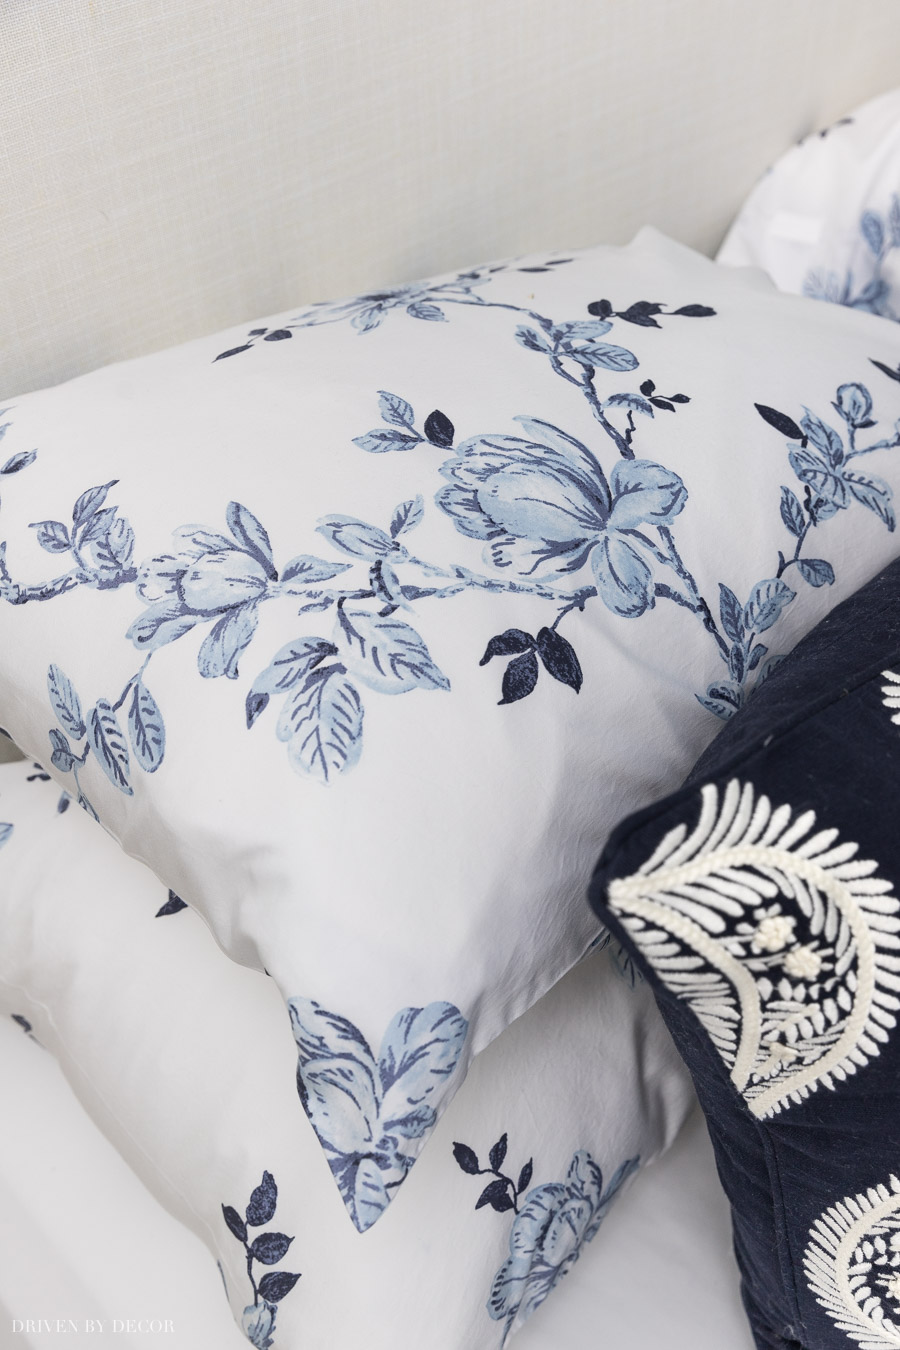
3. Put Your Flat Sheet on Upside Down
Next come your fitted and flat sheets. I love the simple, luxurious look of white sheets but patterned sheets are a fun option for adding color and interest to your bed. Make your bed with the finished side of your flat sheet face down so that when you fold back the top foot or so of your sheet (that step’s to come), you see the pretty edging or pattern. Here’s an example with a patterned sheet where you can more easily see what I’m talking about:
4. Add a Quilt or Coverlet
Next layer on a quilt or coverlet (mine is {this go-to quilt in the flax color} – I also love {this quilt}). Fold the top foot of it AND your flat sheet back toward the end of the bed. Tuck the sides in under your mattress:
5. Layer on a Folded Duvet or Comforter
Adding a duvet or comforter is the next step and it’s a key one because it’s what will make your bed look plush and inviting! There are a couple of ways you can do this – you can fold it in thirds the foot of the bed like this:
or you can drape the duvet over the entire foot of the bed and just fold down the top like this:
One final option is to switch the layering of the quilt and duvet – place the duvet over the whole bed followed by the quilt and fold them both back a foot from the top:
I love fluffy duvet inserts that make a bed look cozy and inviting. Fluffy doesn’t have to mean hot either! Get all of my tips for buying the best duvet for you in my post on the best fluffy duvet inserts!
6. Add Sleeping Pillows
Put zippered pillow protectors like {these} on your sleeping pillows: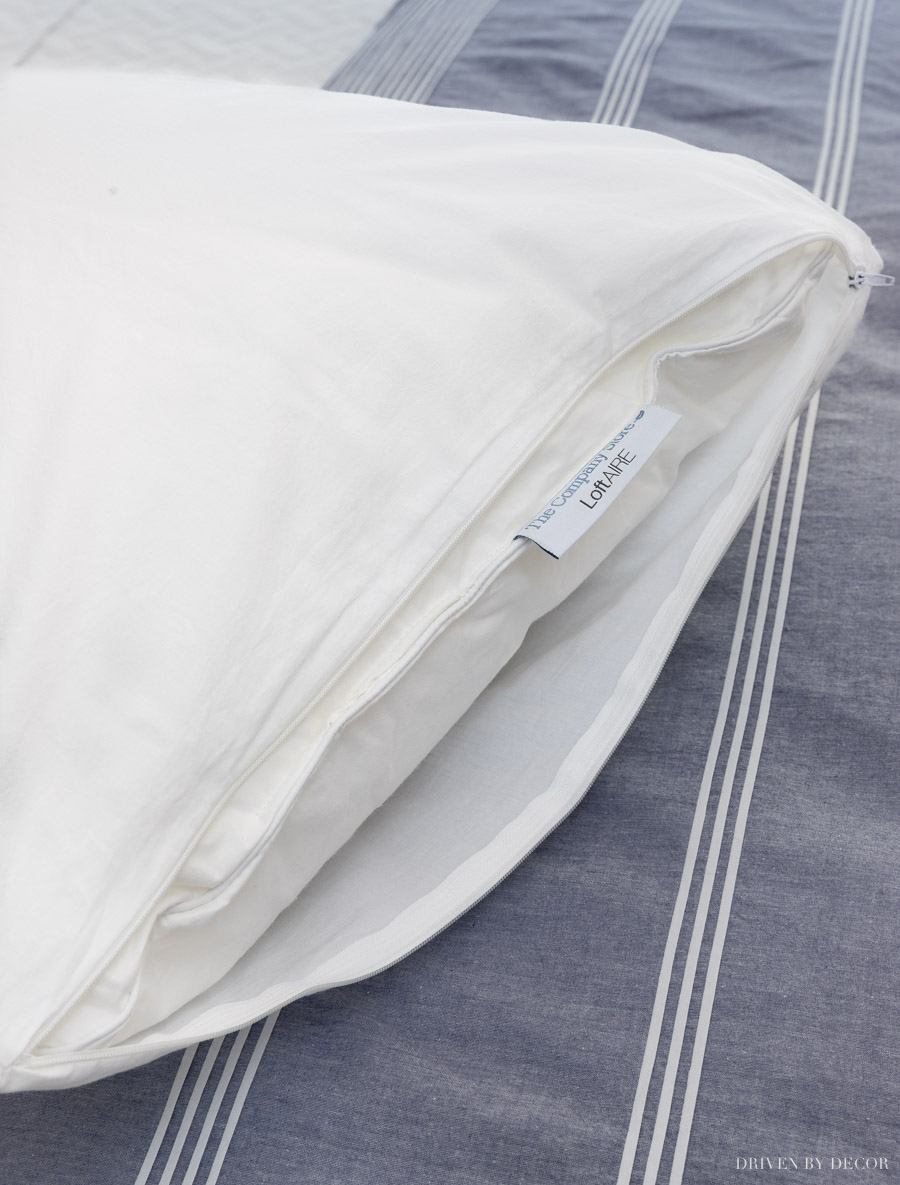
followed by decorative pillow covers. You can either stand the pillows along the headboard of the bed or stack them lying down like this:
Want to save this post?
7. Layer Decorative Shams & Pillows in Front
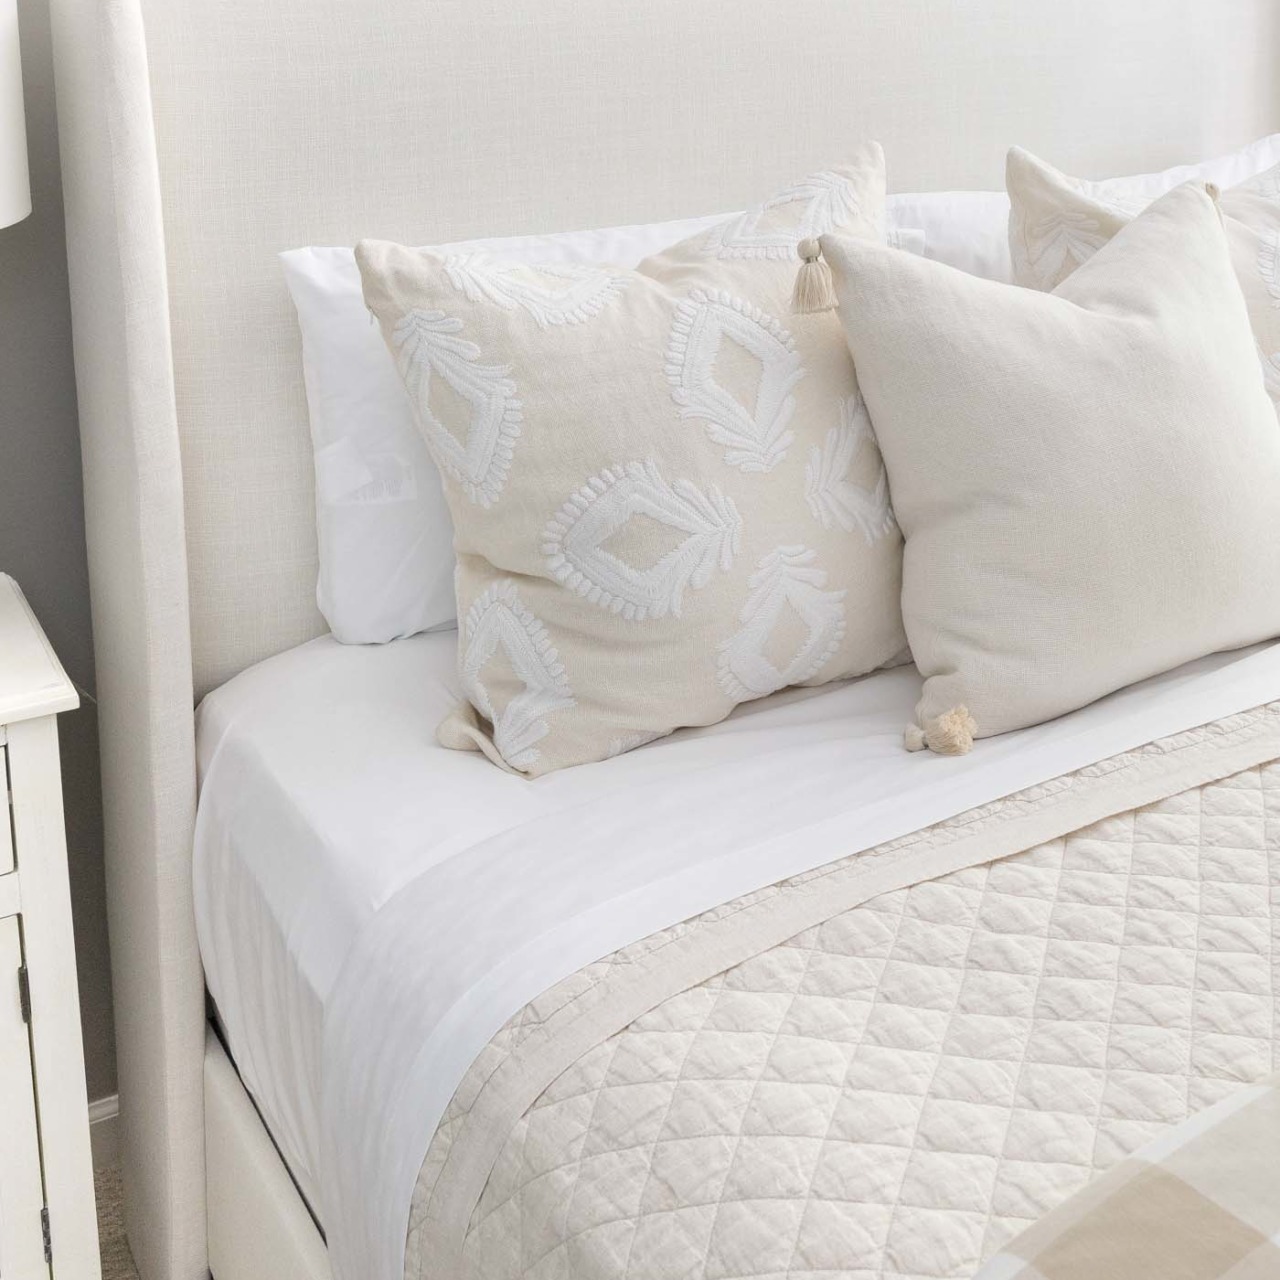
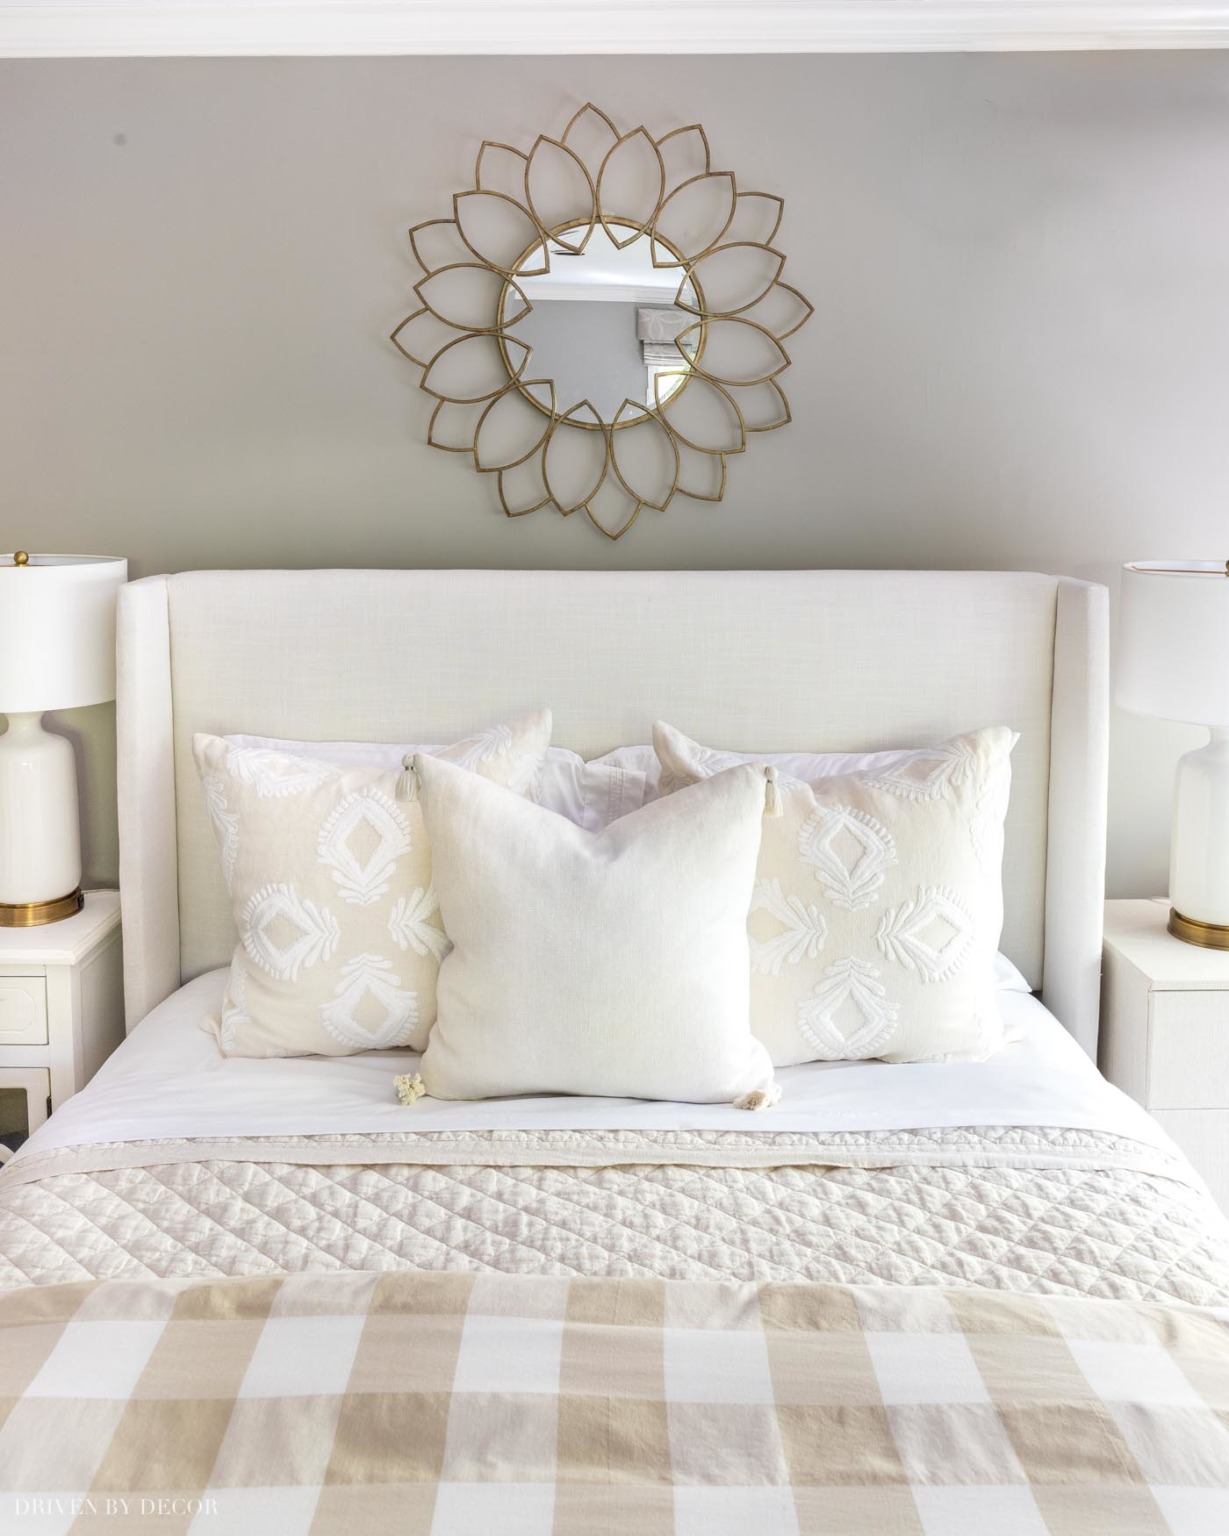
This is where you can add a lot of personality to your space – layer decorative shams and/or pillows in front of your sleeping pillows. Choosing a variety of neutral shades and textures creates a restful, luxurious feel while more colorful patterned pillows are a great way to make your space more vibrant. For a queen bed, you can do anything from a simple arrangement of two 24″ decorative pillows with a 20″ decorative pillow centered between them:
to a pair of Euro shams, followed by a pair of 24″ decorative pillows, followed by a single centered lumbar pillow:

If you want more pillow arrangement ideas, check out my post on how to arrange pillows on a queen bed.
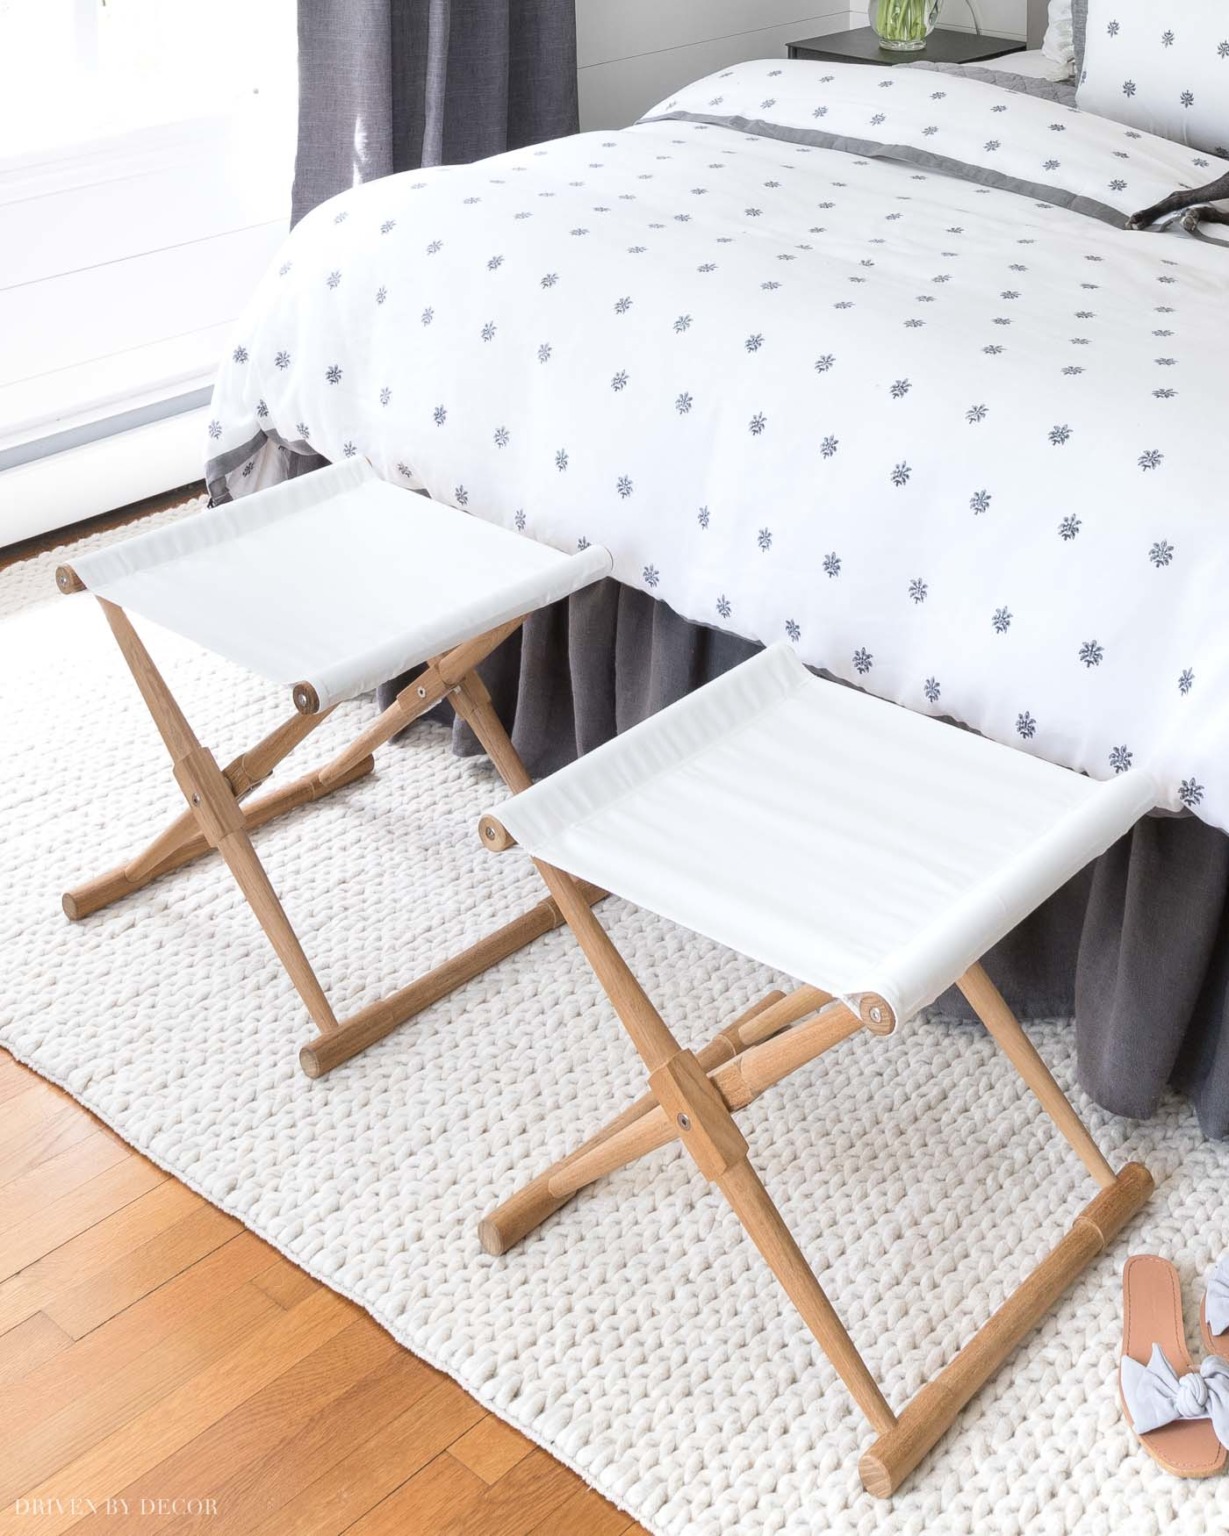
8. Add End-of-Bed Bench or Stools
The last step doesn’t really have to do with making the bed BUT there’s something about adding a bench or stools to the foot of your bed that makes everything come together. For example, I have this pair of stools in our master bedroom (the exact ones are no longer available but {these stools} are similar:
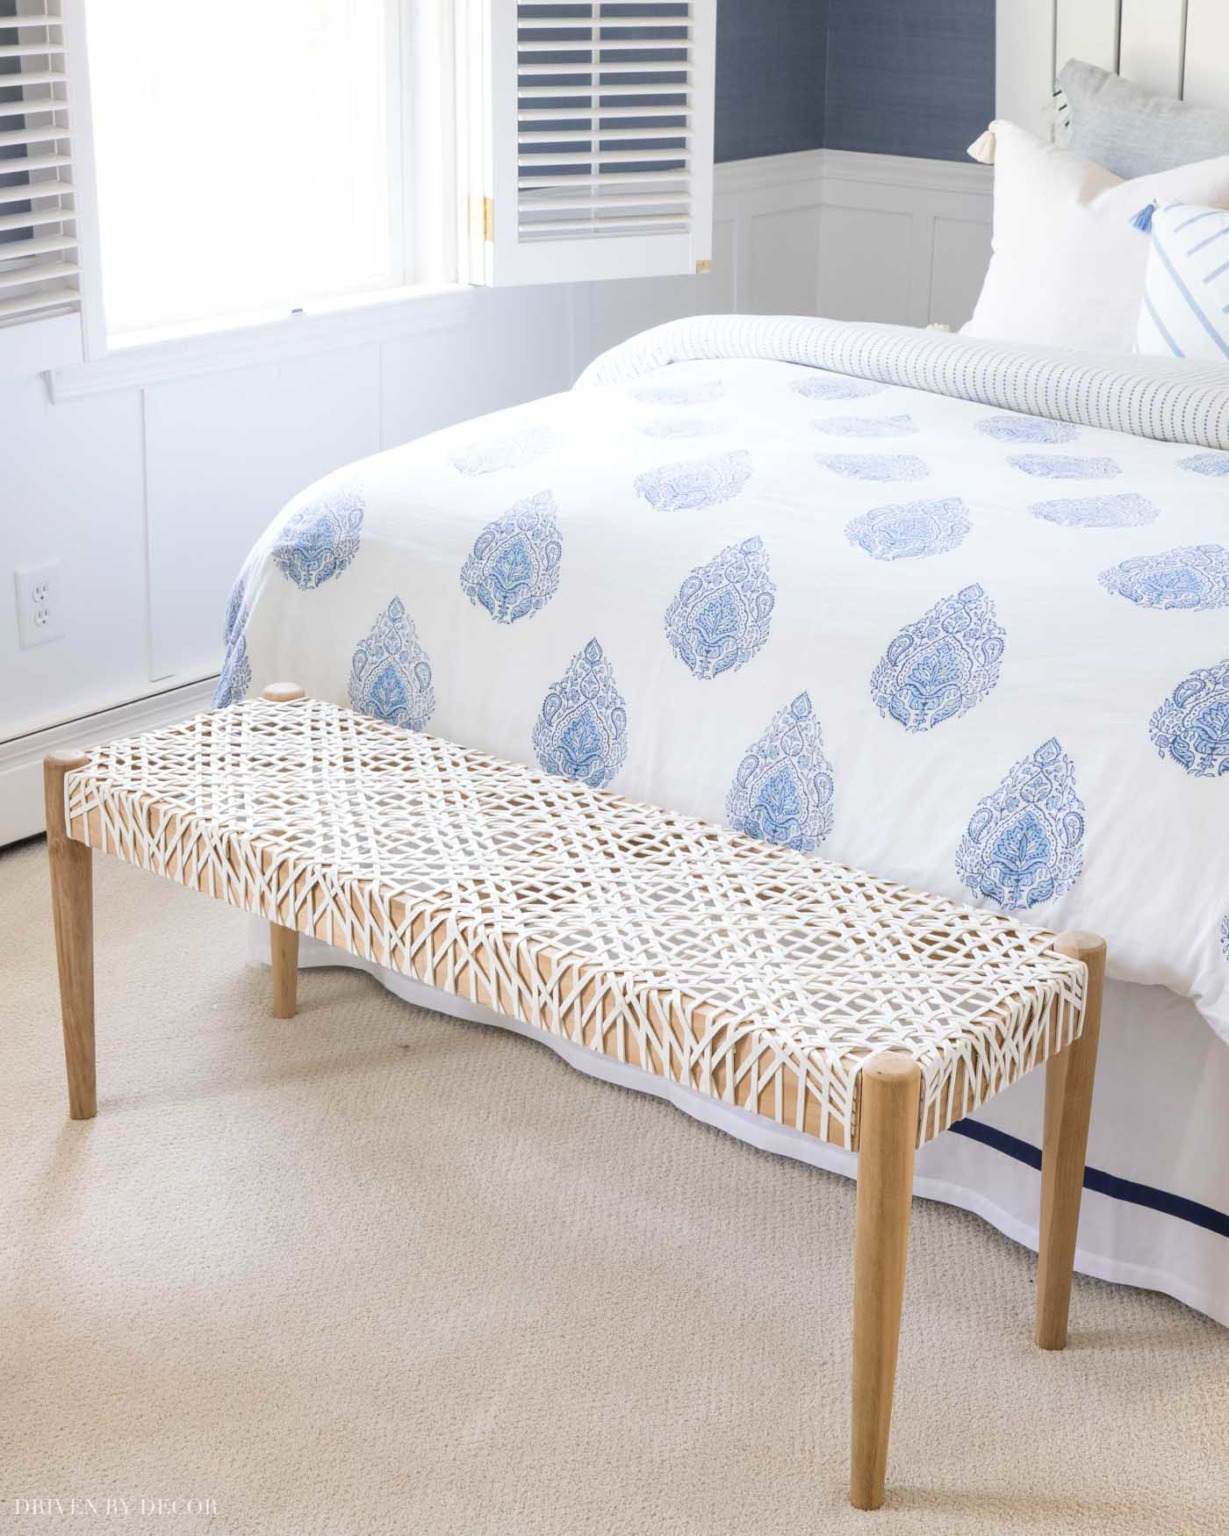
and {this woven bench} at the foot of the bed in my daughter’s room:
You can see my other favorites in my post on end of bed benches.
Now all that’s left is to slip into your favorite pj’s and cozy into your fabulous bed with a good book or the remote and a favorite movie. Warning: once you’ve created the perfect bed, you may never want to leave it… 🙂
I hope you found this post helpful! If you’re interested in sources for the spaces I shared, I’ve linked everything below:

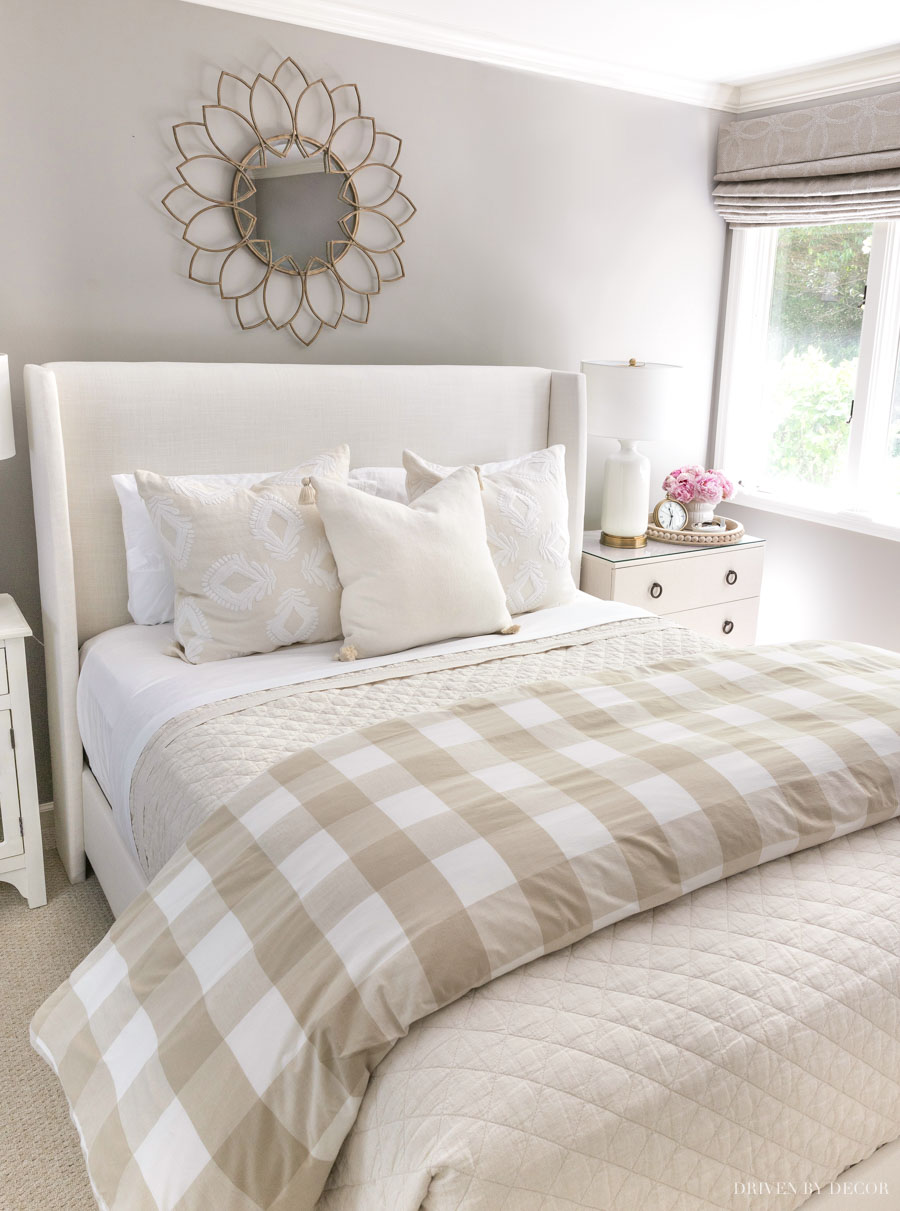
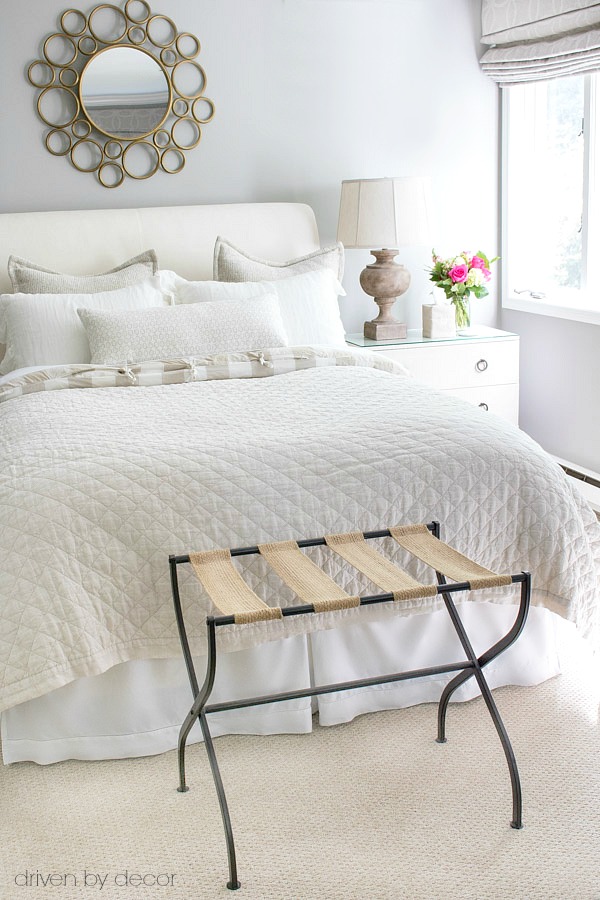
Neutral Guest Bedroom
Paint color: Pratt & Lambert’s Ever Classic | Sources: Mirror over Bed | Upholstered Wingback Bed (fabric is Zuma White) | Quilt (color is flax) | White and beige check duvet (similar)| 24″ Embroidered Medallion Pillow covers | Bedside Lamps (similar) | Round Wood Beaded Tray | Clock
Blue & white floral bedding shown in this same space is no longer available
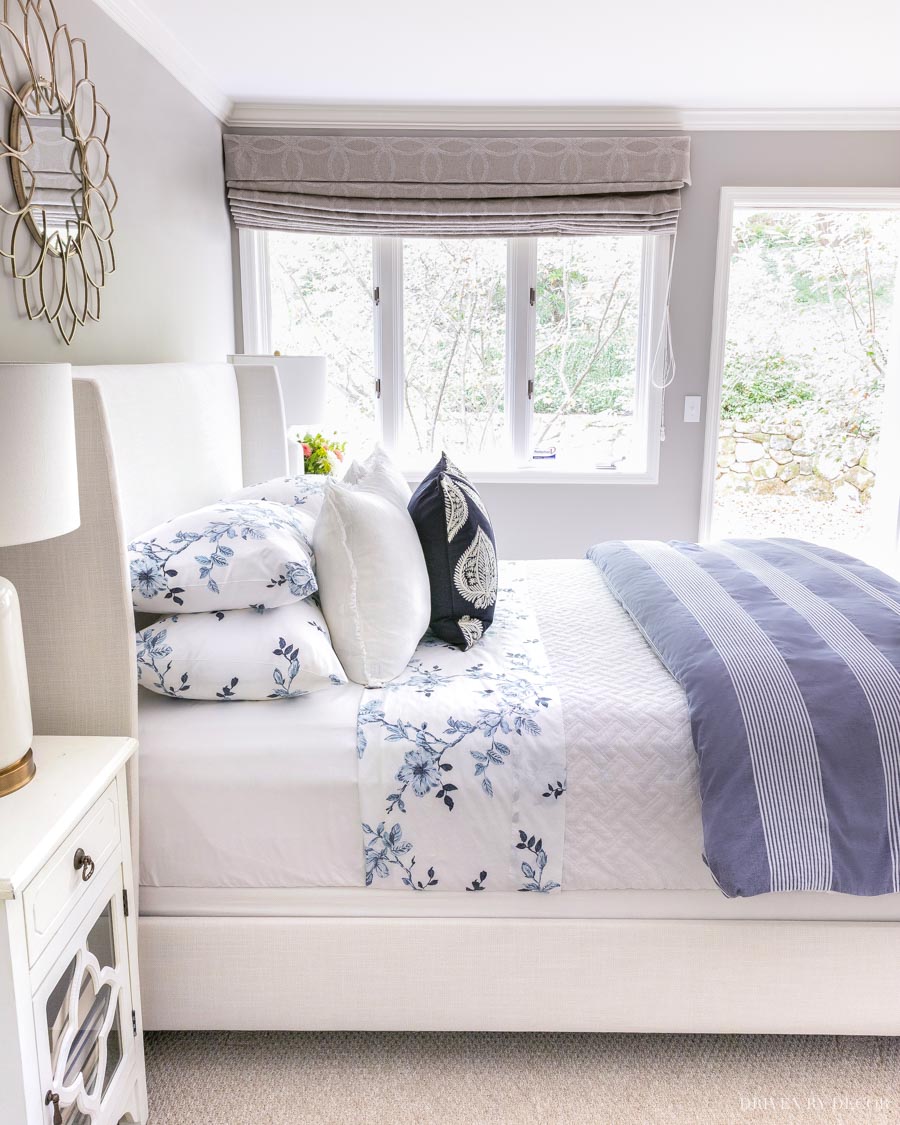
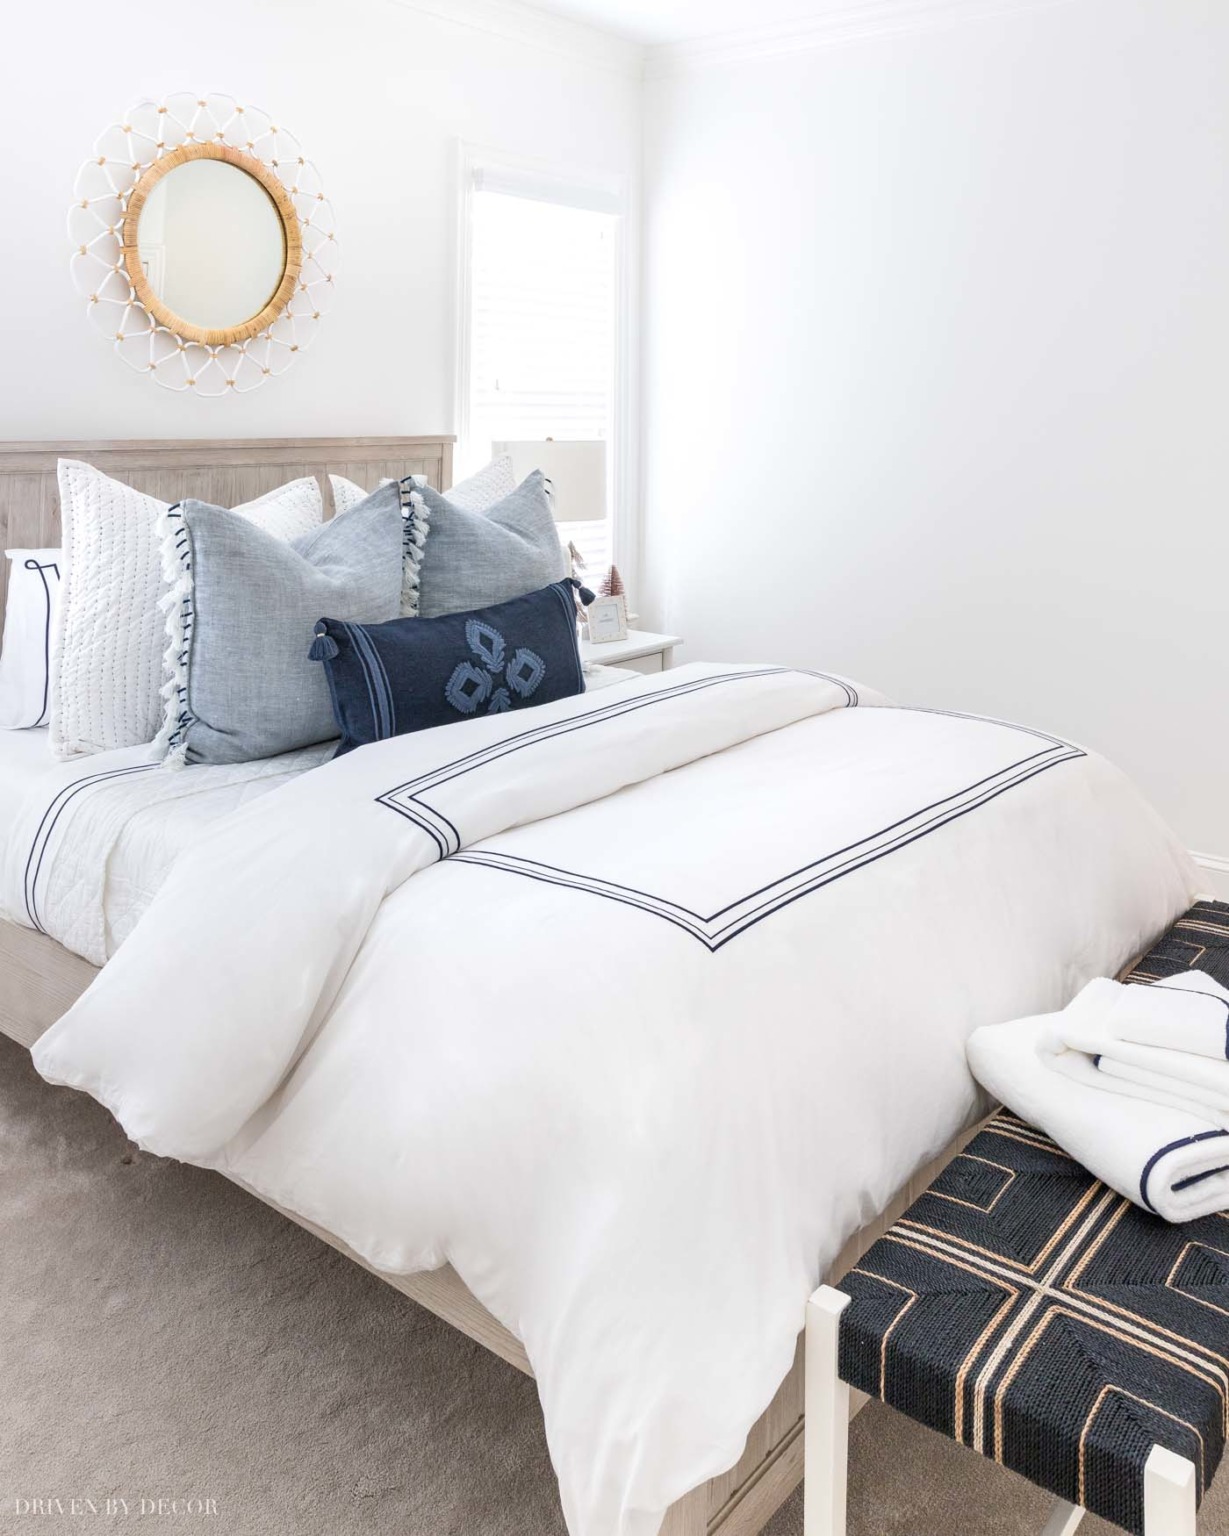
Blue & White Guest Room
Paint color: Benjamin Moore Simply White | Sources: Queen beadboard bed (weathered white) | 12″ Memory foam queen mattress (no boxspring needed) | Blue & white quilted shams (similar) | Blue tasseled edge pillow covers | Navy embroidered lumbar pillow cover ( with {this} pillow insert) | Navy border duvet cover | White quilt | Backless bench at foot of bed | Round mirror
XOXO,


homedecoport says
Great tips! I love how you broke down the bed-making process into simple steps—it really makes a difference in creating a cozy, welcoming space. =
Susan E Osborne says
OH, these are lovely ideas, and I want to sink into that bed. But…I am a single older woman and share my bed with my small dog and two cats! I go with thin quilts that I can easily wash, vs comforters that I can wash very often. Also, there are so many wonderful, different small pillow covers to go with any theme and colors, I use the outdoor fabric square ones and cover them with easy washable ones to go with my decore.
Barbara Foley says
I love your site and get it all the time. You have given me some great ideas that I implemented in my own home. I have a puzzling question, but not sure you are able to answer. My couch is a moss green colour and I am not sure what colours of cushions I should put with it to give it some pop. Can you help me?
Christine Rast says
Hi,
Your beds are beautiful! I would never want to sleep in the bed. It just looks so neat and calm! My box spring is black and is not covered by the wooden side board of the bed. What could I do I cover that to acquire the same neat look. Thanks
Elizabeth says
Hi! I’m so late to the party, but I have to know where to get the white sheets with the blue vining flowers on them? They aren’t sourced, and Im searching everywhere for something exactly like them!
Kris Jarrett says
Hi Elizabeth! Those sheets were from The Company Store but unfortunately they don’t have them anymore…
Anonymous says
Nice your images match my bed too! I’m eager to go sleep right now!
Jane says
When you cover duvet inserts, please include alternatives to feathers… I hear that there is a silk ‘pancake’ insert that I’d like to know more about. Thx!
Anna Mac says
I will keep this post forever. Having said that, I’ll follow your advice after the second mortgage goes through. The price of this stuff…!
Diane Strain says
Hi Kris! I am so into decorating and even iron pillow cases (when guests visit). You’re spot on with everything! Thank you for all the fabulous information, which I’m sure many have ‘taken in’ here. I wish you the BEST! Diane/Boston area
Laura says
Love it. I love all the layers and textures.
marianne says
loved your bedmaking instructions, my CA king does not allow to fold sheets under the mattress to hide overhang it’s just too heavy are there other suggestions, please?
Kris Jarrett says
You can definitely leave your sheets and quilt untucked – it will still look nice and neat if you just use the trick to fold the top part of your sheet back (especially if your sheets have a decorative edge!).
Anon says
Ahh when I made my bed this way man it was so comfy!!
Claudia Paruch says
Great tips. Really enjoyed
Dawn says
Thank you can now make my bed pretty, very good tips
June says
Thankyou the step by step guide to making the lovely bed is wonderful. I look forward to seeing your next post.
Zelie Giannetti says
Thank-you very much Becky.