Looking for tips on how to make a bed layer by layer? I’ve broken it down to 8 simple steps!
Coming from a girl who loves fabrics and bedding, it’s no surprise that my idea of a perfect bed is one that’s cozy and beautiful but just as importantly, one that’s designed to help me get a restful night’s sleep. I love a layered bed both because it has that hotel-like look and because you can pull layers on or off depending on if you’re hot or cold. Starting with a bare mattress and working our way through to those final decorative pillows, I sharing how to make a beautiful bed in 8 simple steps! (post includes affiliate links – see my full disclosure statement {here}).
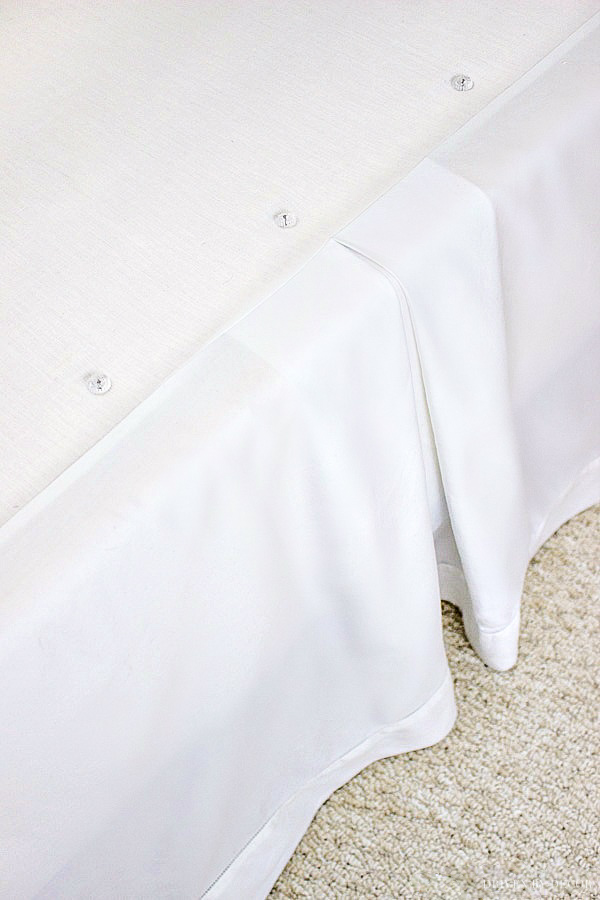
1. Make Your Bed Skirt the Perfect Length
If you have a bed with a bed skirt, start by making your bed skirt the perfect length – it should just barely graze the floor. The key is to use upholstery twist pins like {these} that secure your bed skirt to the box-spring at the exact length needed. The best part is that they hold your bed skirt in place through sheet changes too so don’t have to keep readjusting it:
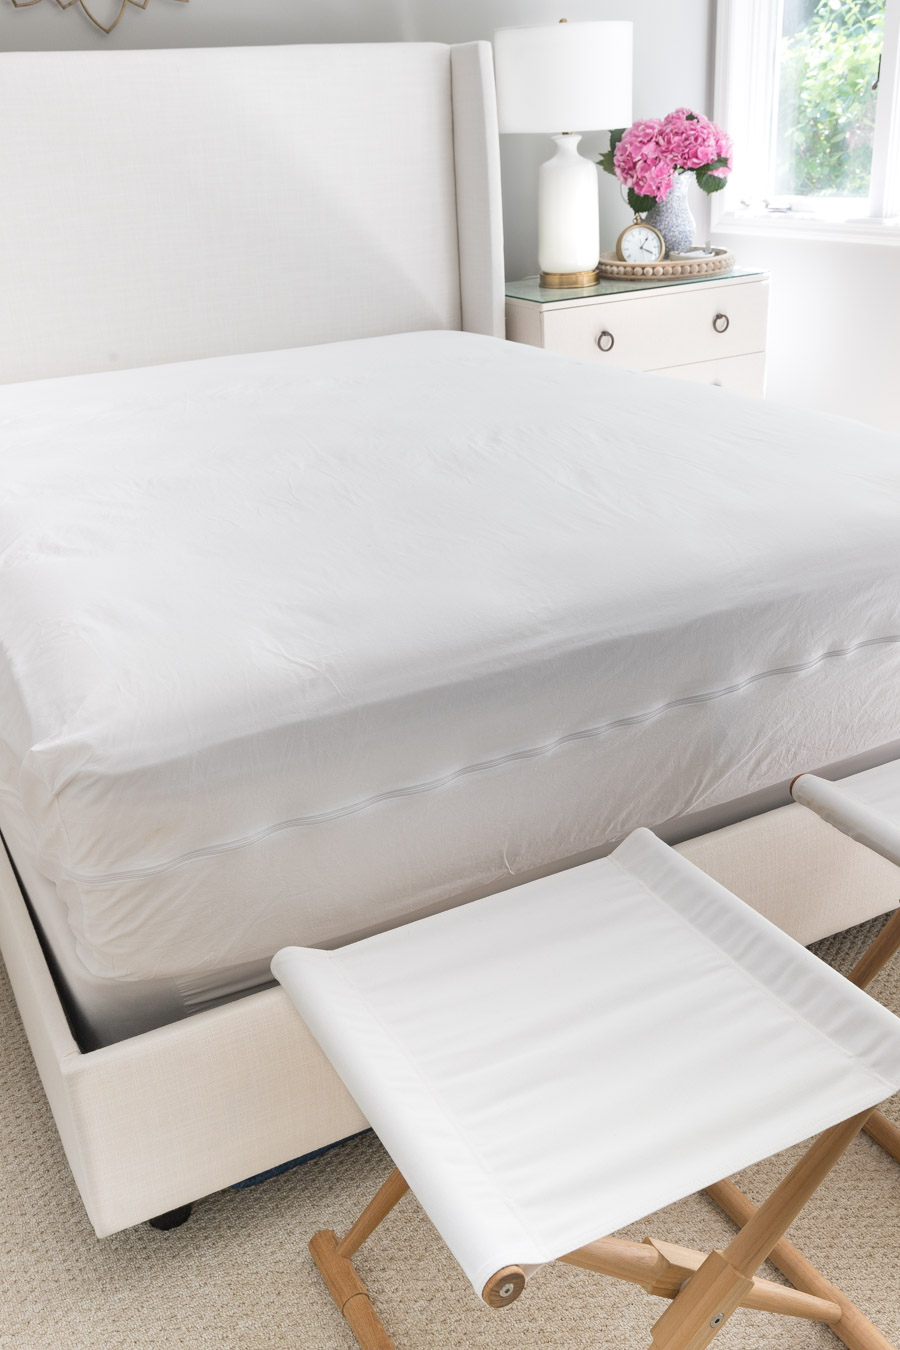
2. Protect Your Mattress
Before adding your bedding, be sure to fully encase your mattress in a zippered mattress protector such as {this one}. Unprotected mattresses can actually double in weight after ten years due to the accumulation of millions of dust mites – so gross! A mattress protector that not only protects from dust mites, pollen, and other household allergens but is also waterproof (a must with kids!) is key.
3. Put Your Flat Sheet on Upside Down
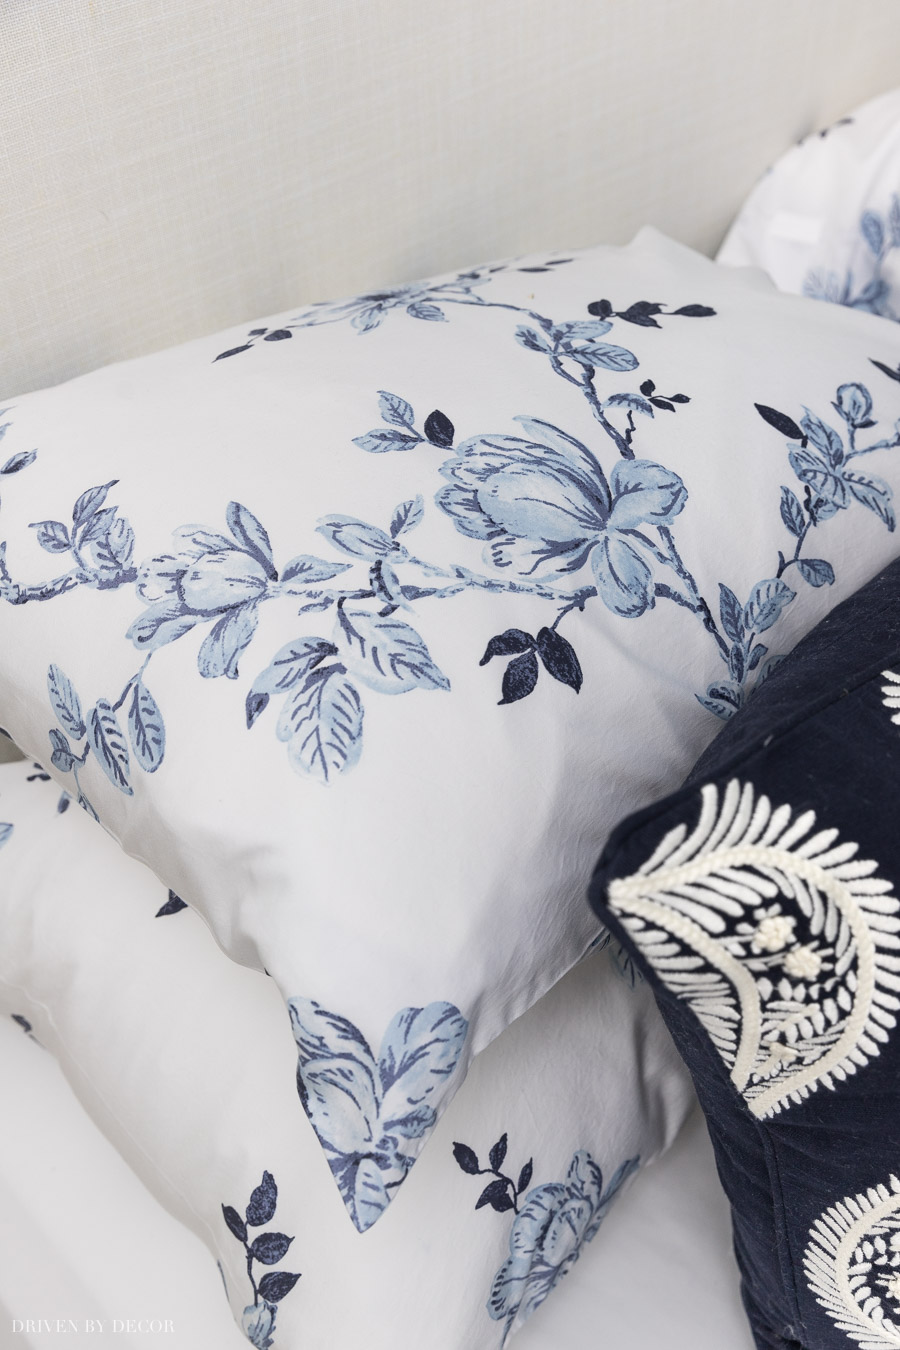
Next come your fitted and flat sheets. I love the simple, luxurious look of white sheets but patterned sheets are a fun option for adding color and interest to your bed. Make your bed with the finished side of your flat sheet face down so that when you fold back the top foot or so of your sheet (that step’s to come), you see the pretty edging or pattern. Here’s an example with a patterned sheet where you can more easily see what I’m talking about:
4. Add a Quilt or Coverlet
Next layer on a quilt or coverlet (mine is {this go-to quilt in the flax color} – I also love {this quilt}). Fold the top foot of it AND your flat sheet back toward the end of the bed. Tuck the sides in under your mattress:
5. Layer on a Folded Duvet or Comforter
Adding a duvet or comforter is the next step and it’s a key one because it’s what will make your bed look plush and inviting! There are a couple of ways you can do this – you can fold it in thirds the foot of the bed like this:
or you can drape the duvet over the entire foot of the bed and just fold down the top like this:
One final option is to switch the layering of the quilt and duvet – place the duvet over the whole bed followed by the quilt and fold them both back a foot from the top:
I love fluffy duvet inserts that make a bed look cozy and inviting. Fluffy doesn’t have to mean hot either! Get all of my tips for buying the best duvet for you in my post on the best fluffy duvet inserts!
6. Add Sleeping Pillows
Put zippered pillow protectors like {these} on your sleeping pillows: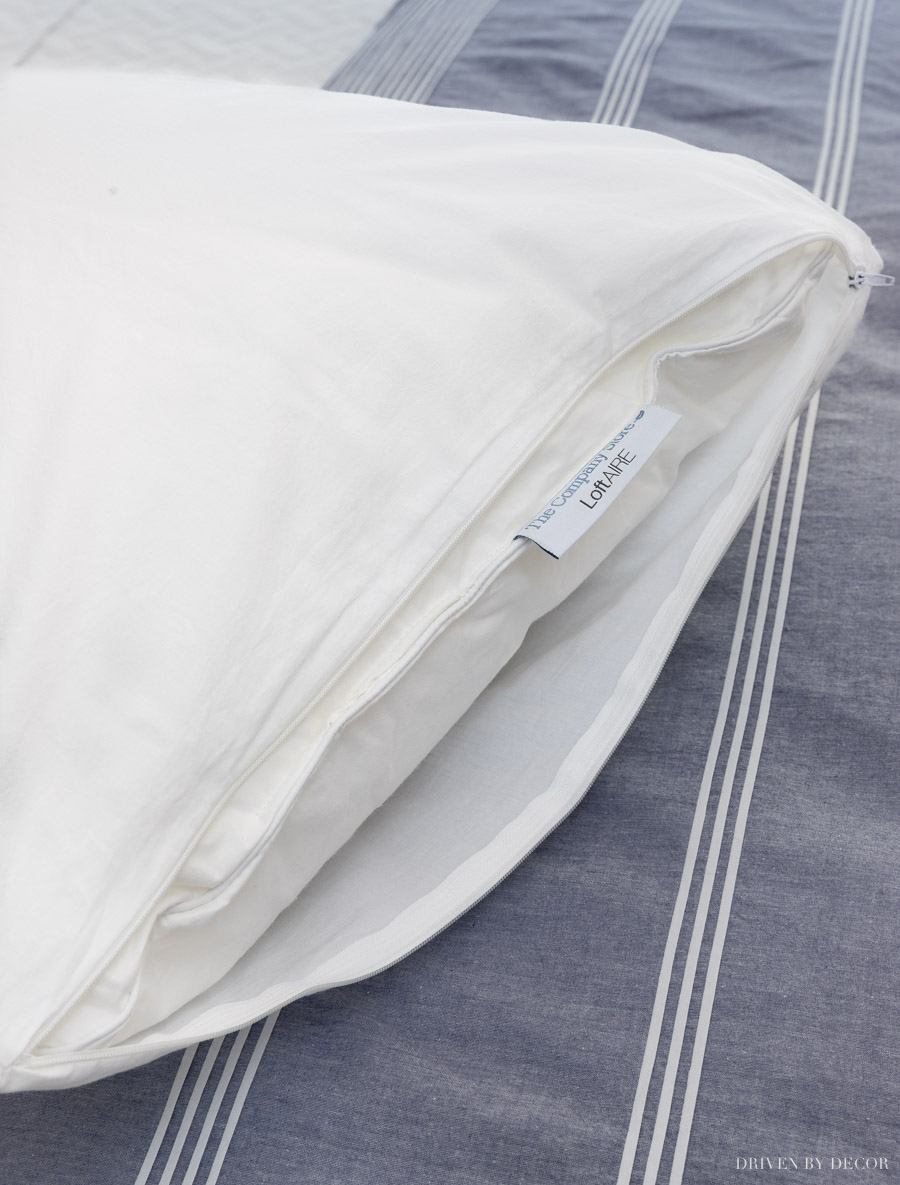
followed by decorative pillow covers. You can either stand the pillows along the headboard of the bed or stack them lying down like this:
Want to save this post?
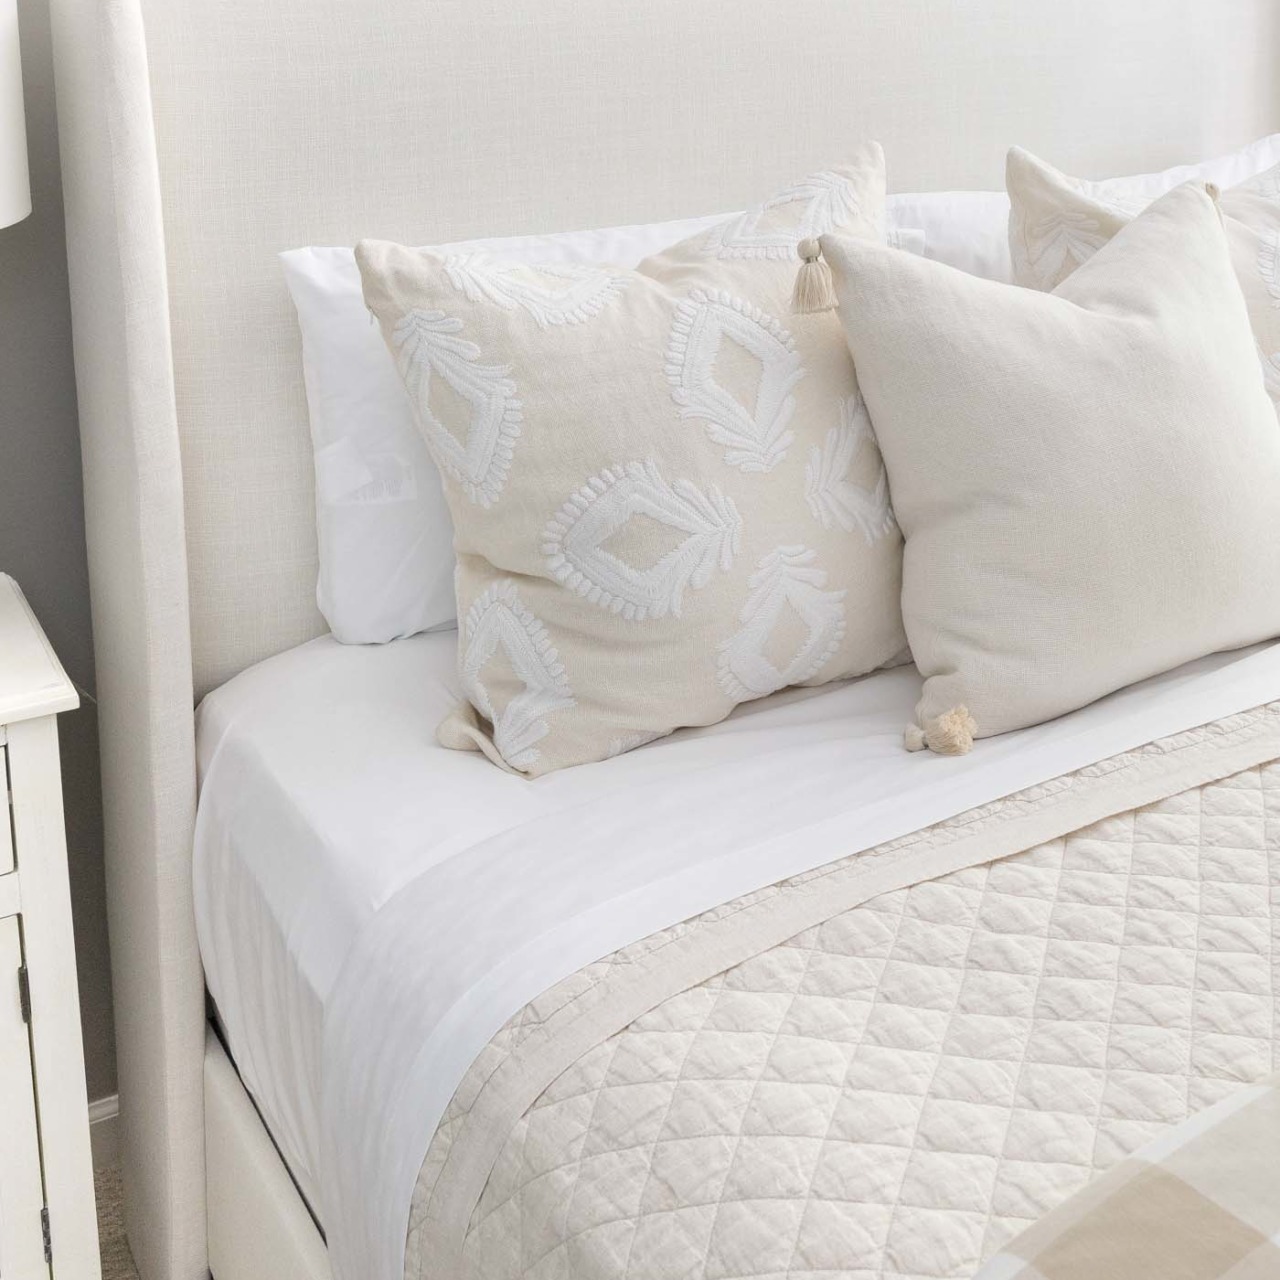
7. Layer Decorative Shams & Pillows in Front
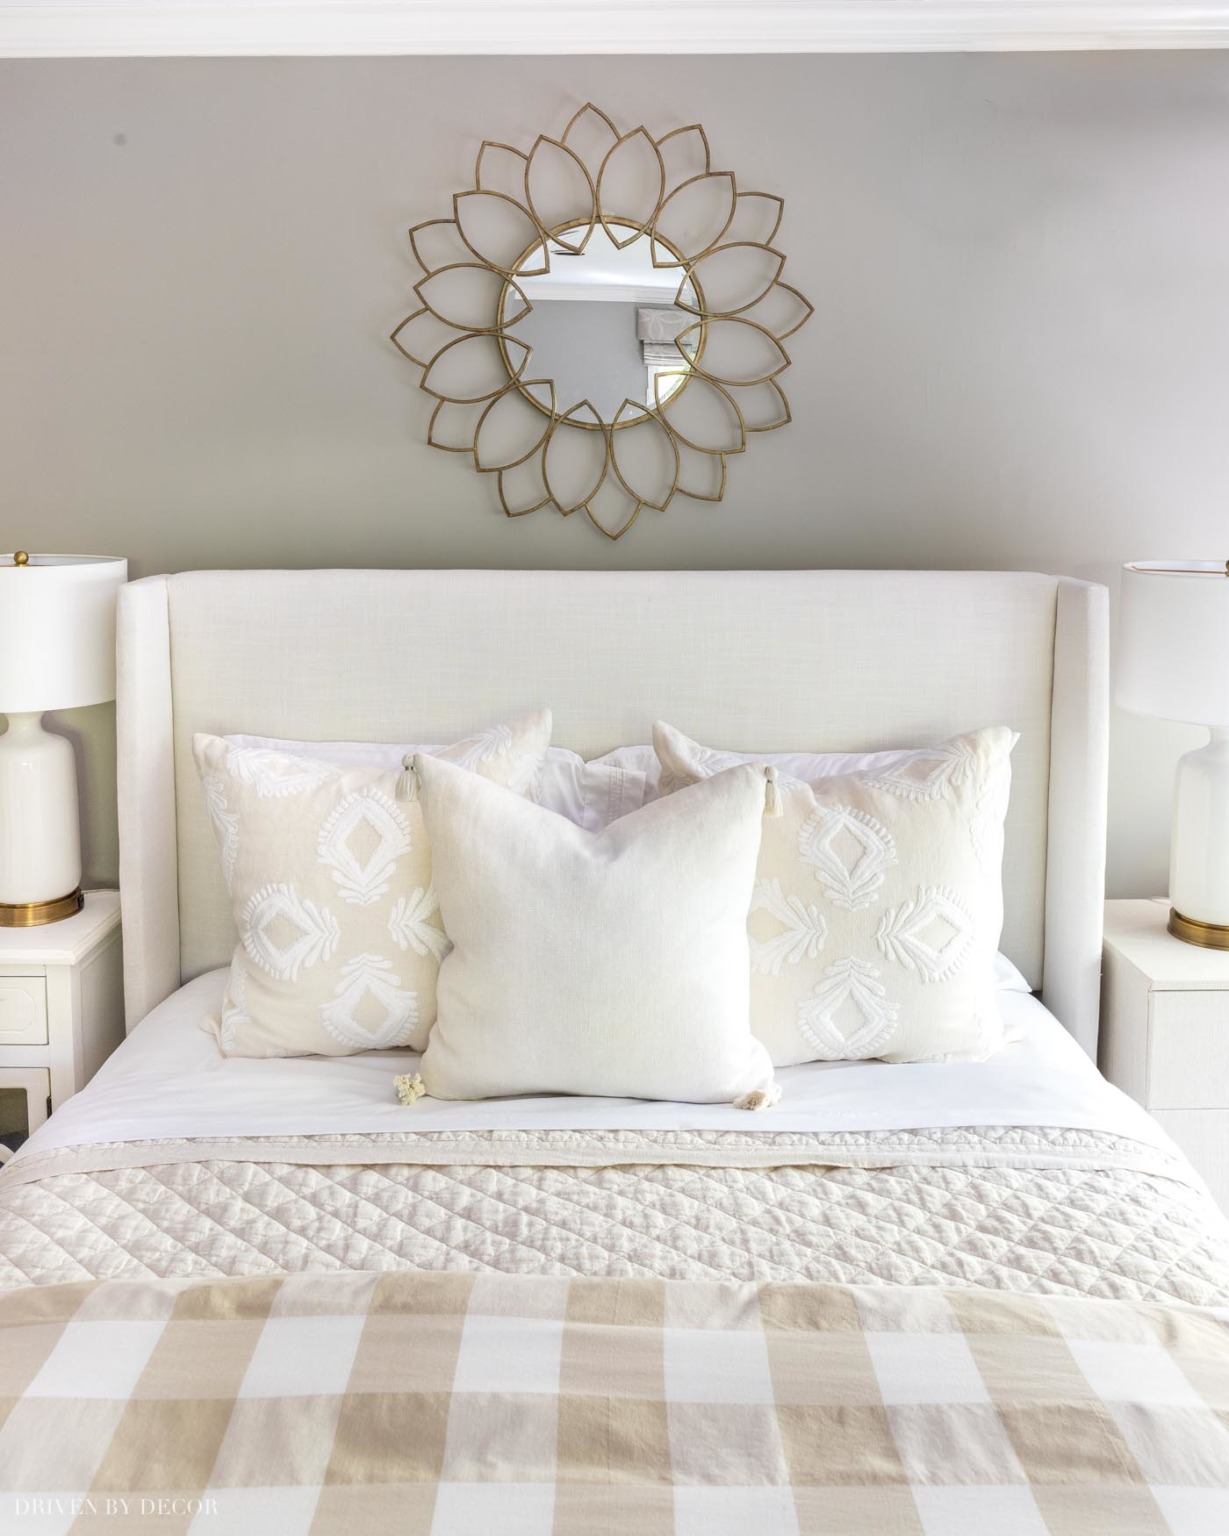
This is where you can add a lot of personality to your space – layer decorative shams and/or pillows in front of your sleeping pillows. Choosing a variety of neutral shades and textures creates a restful, luxurious feel while more colorful patterned pillows are a great way to make your space more vibrant. For a queen bed, you can do anything from a simple arrangement of two 24″ decorative pillows with a 20″ decorative pillow centered between them:
to a pair of Euro shams, followed by a pair of 24″ decorative pillows, followed by a single centered lumbar pillow:

If you want more pillow arrangement ideas, check out my post on how to arrange pillows on a queen bed.
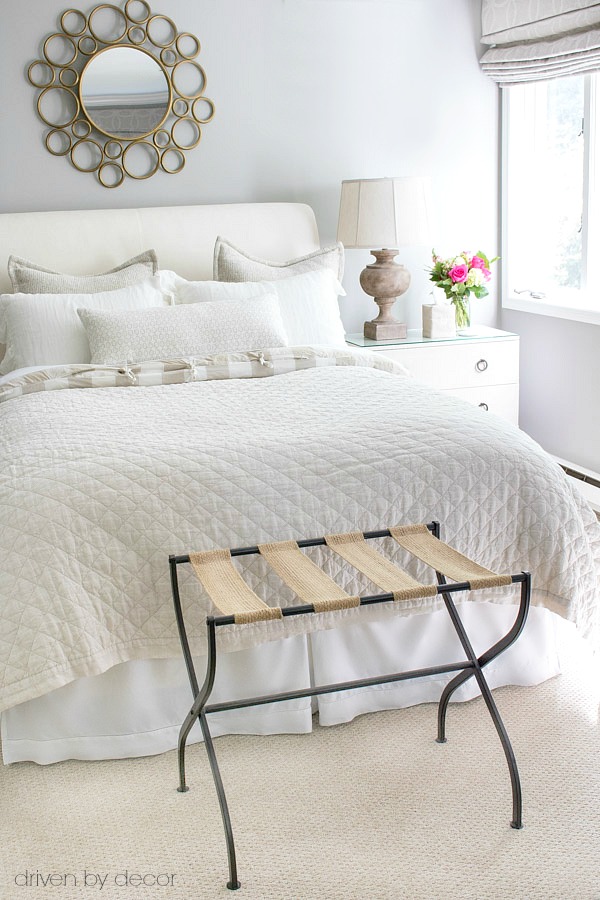
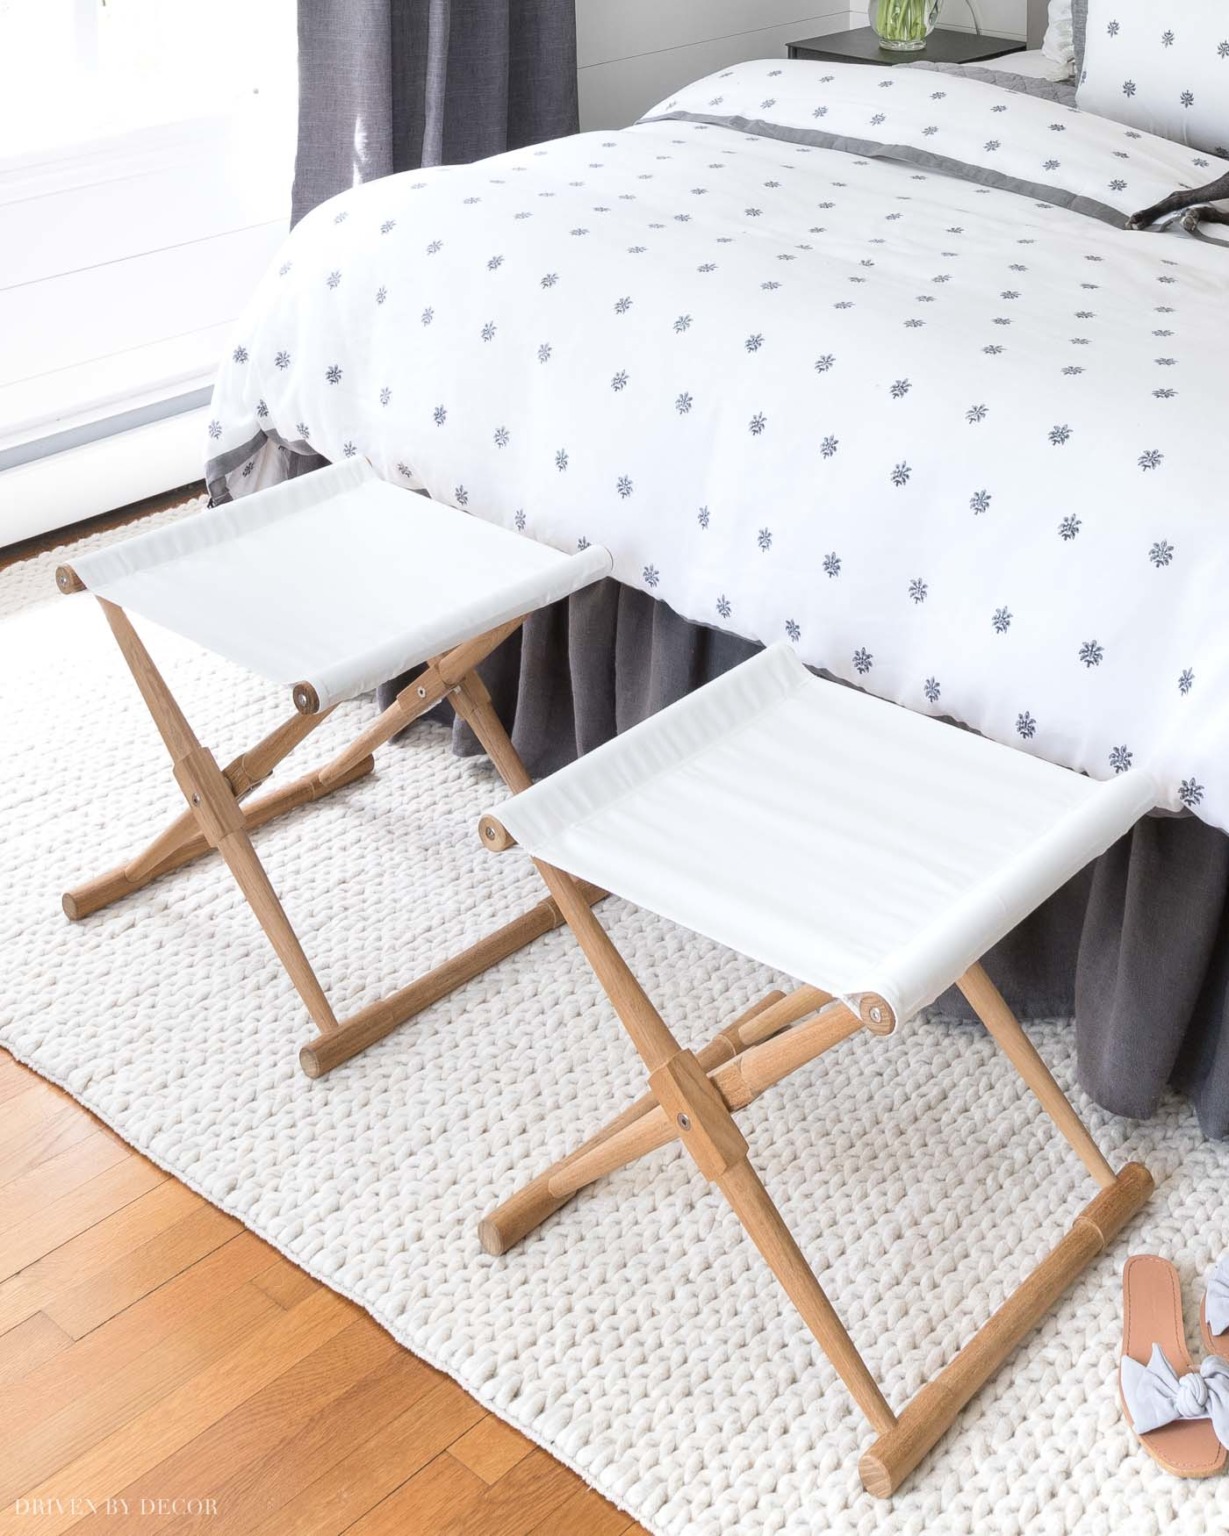
8. Add End-of-Bed Bench or Stools
The last step doesn’t really have to do with making the bed BUT there’s something about adding a bench or stools to the foot of your bed that makes everything come together. For example, I have this pair of stools in our master bedroom (the exact ones are no longer available but {these stools} are similar:
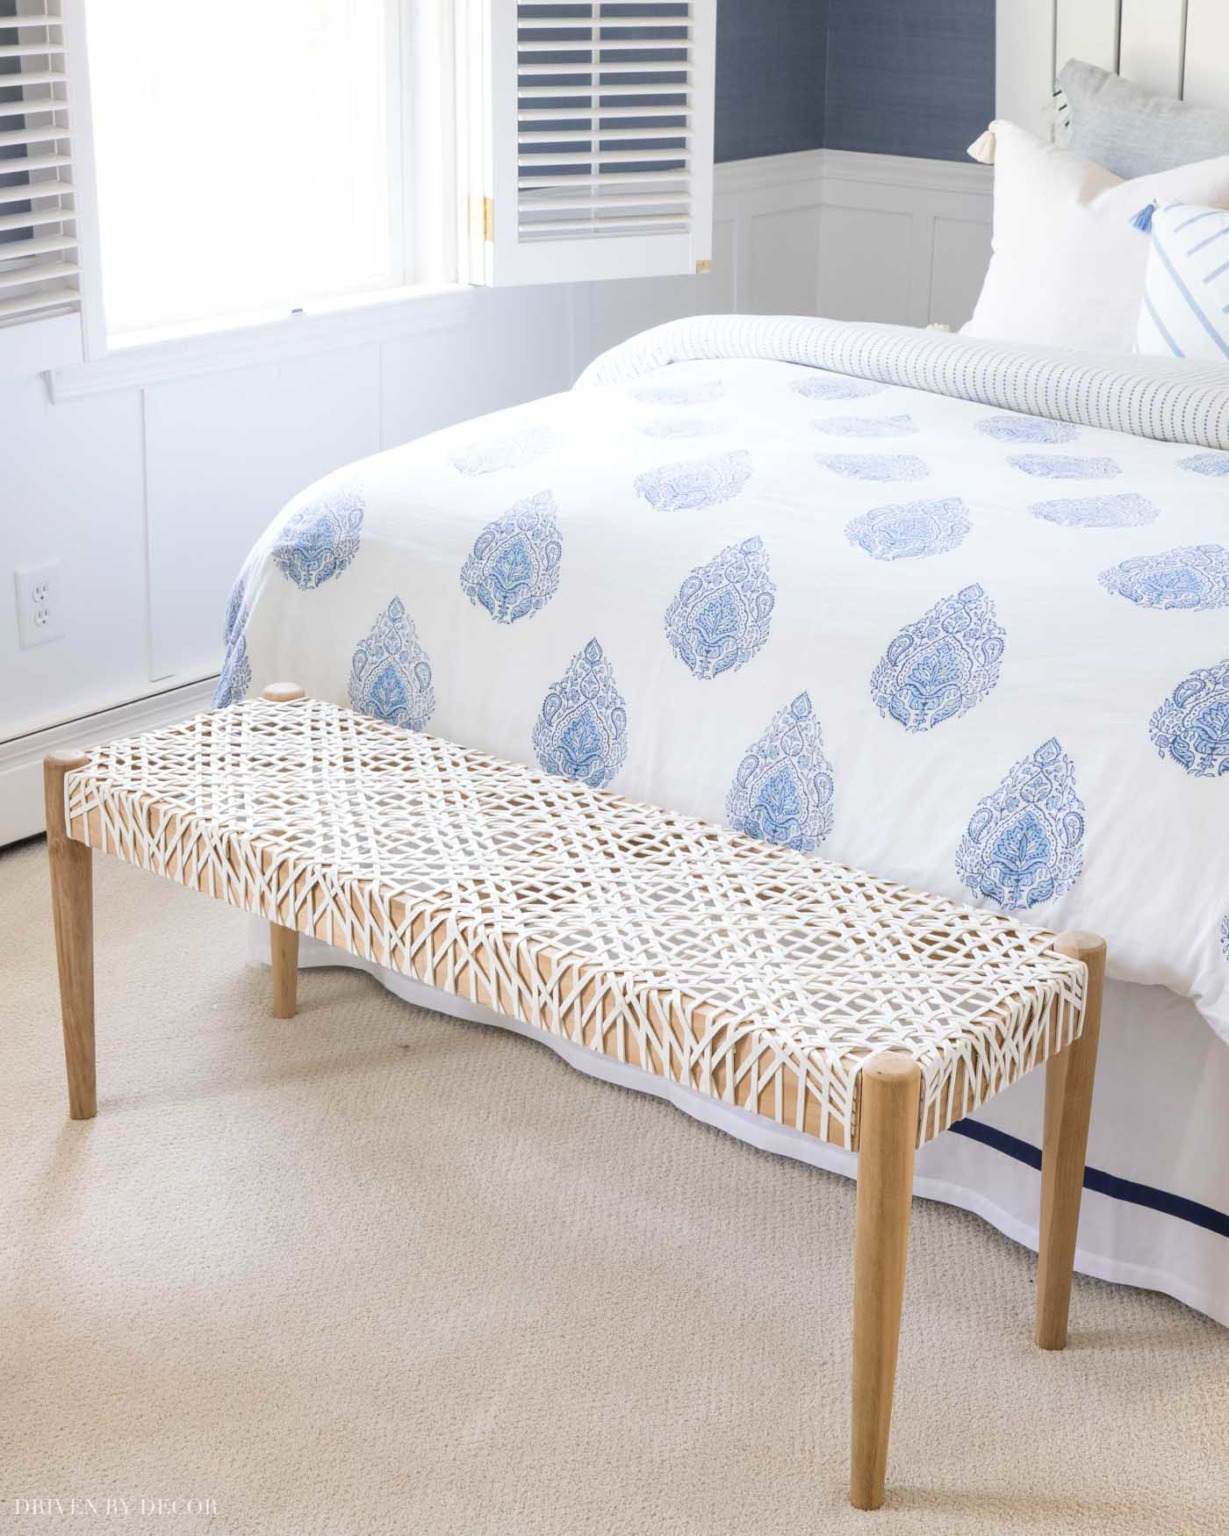
and {this woven bench} at the foot of the bed in my daughter’s room:
You can see my other favorites in my post on end of bed benches.
Now all that’s left is to slip into your favorite pj’s and cozy into your fabulous bed with a good book or the remote and a favorite movie. Warning: once you’ve created the perfect bed, you may never want to leave it… 🙂
I hope you found this post helpful! If you’re interested in sources for the spaces I shared, I’ve linked everything below:

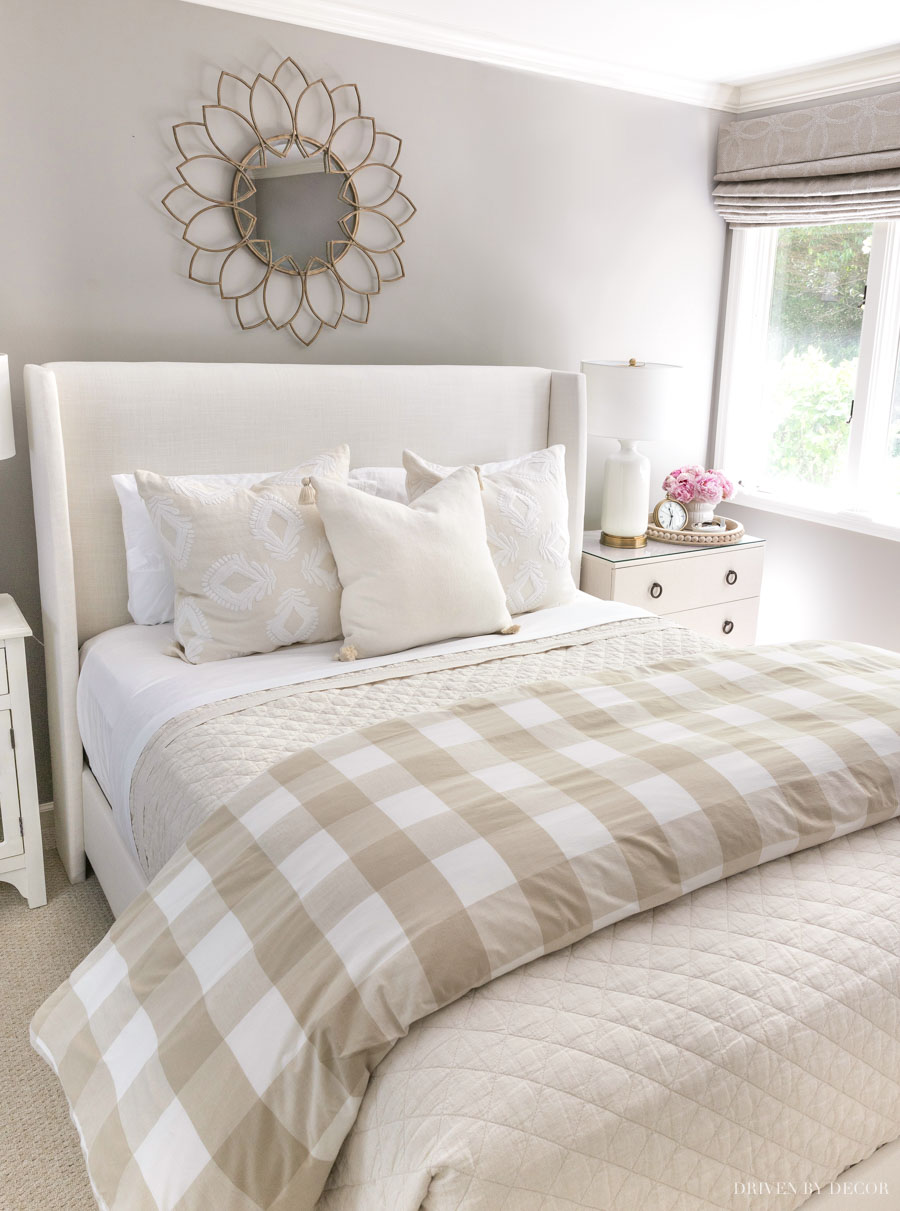
Neutral Guest Bedroom
Paint color: Pratt & Lambert’s Ever Classic | Sources: Mirror over Bed | Upholstered Wingback Bed (fabric is Zuma White) | Quilt (color is flax) | White and beige check duvet (similar)| 24″ Embroidered Medallion Pillow covers | Bedside Lamps (similar) | Round Wood Beaded Tray | Clock
Blue & white floral bedding shown in this same space is no longer available
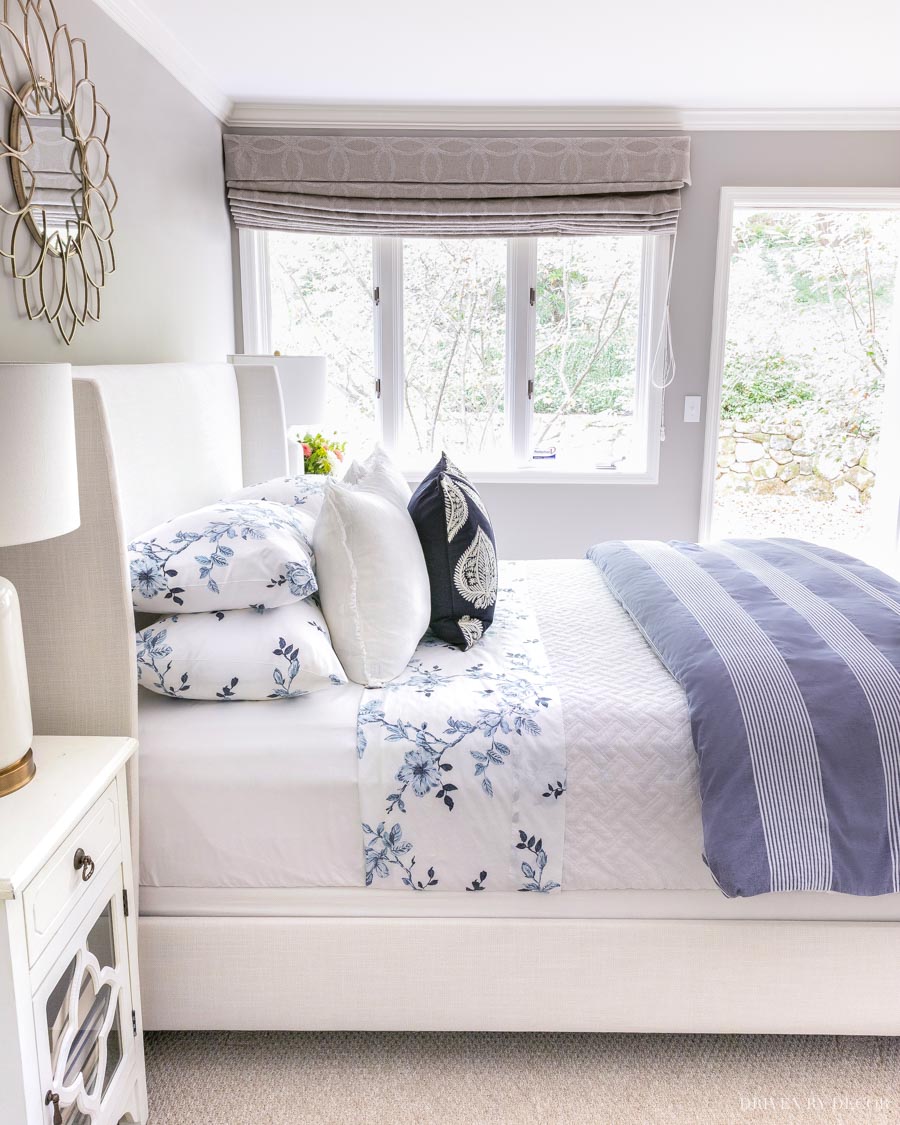
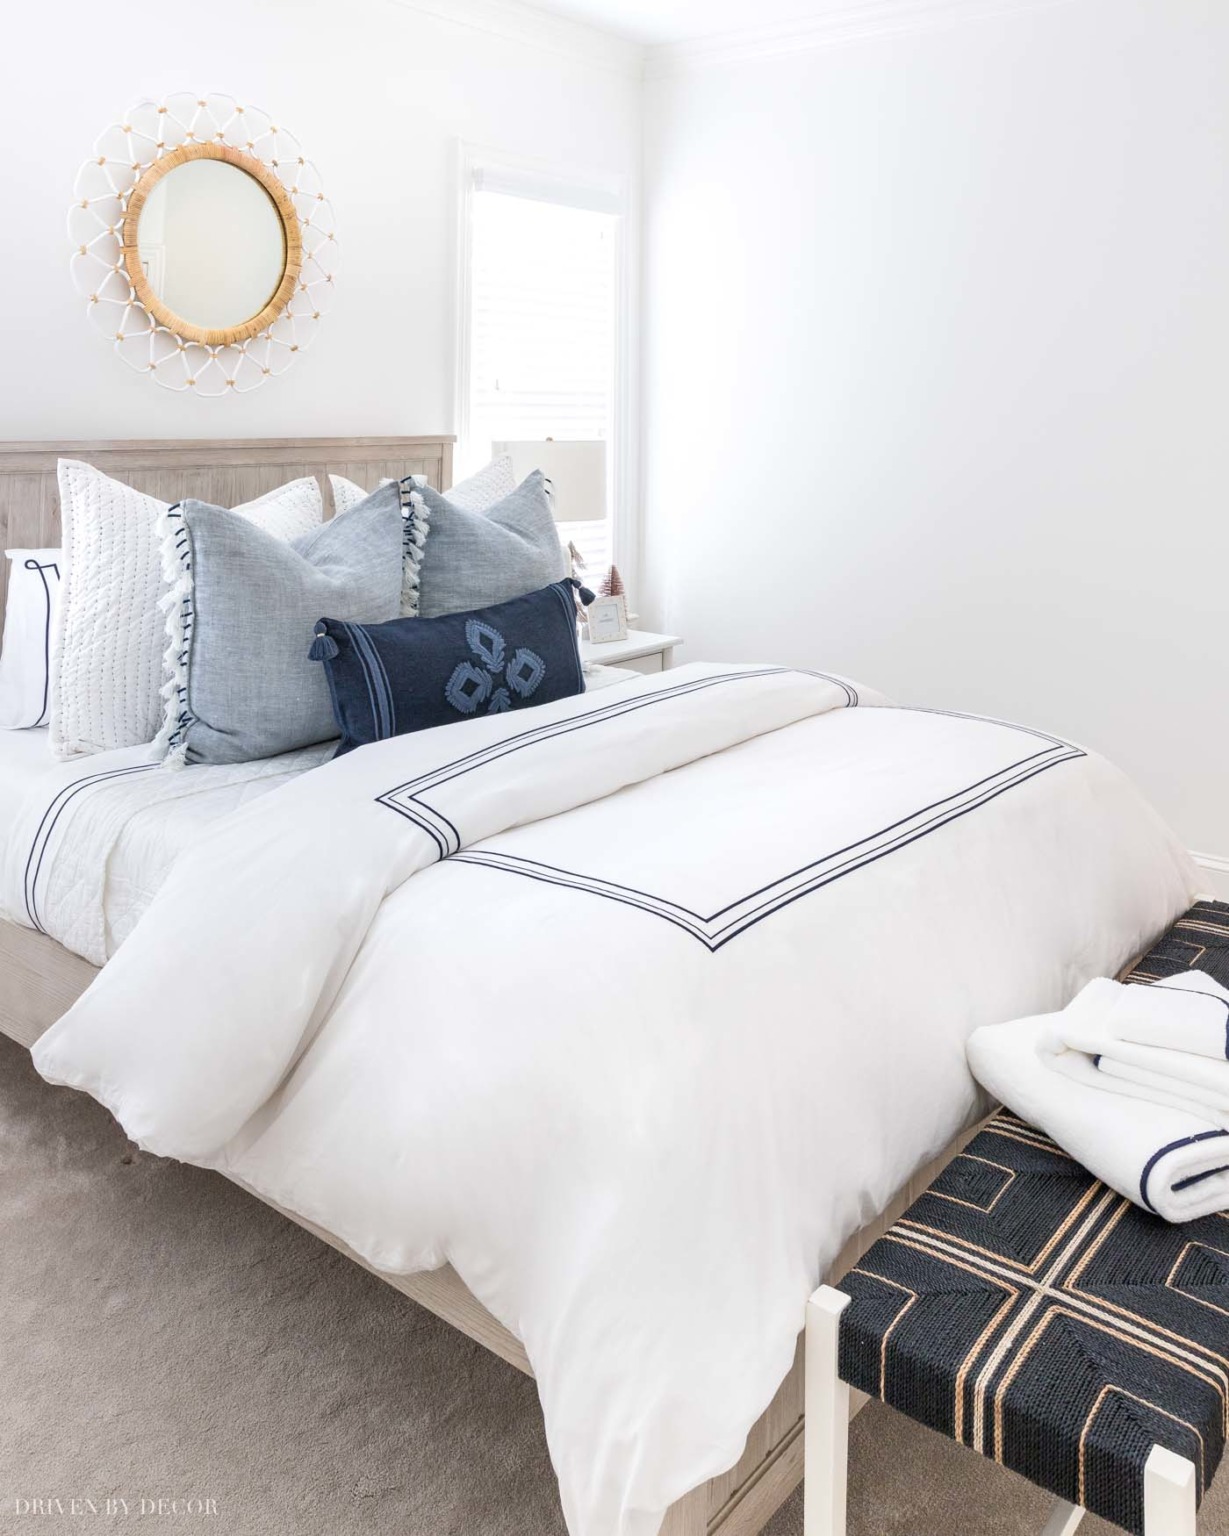
Blue & White Guest Room
Paint color: Benjamin Moore Simply White | Sources: Queen beadboard bed (weathered white) | 12″ Memory foam queen mattress (no boxspring needed) | Blue & white quilted shams (similar) | Blue tasseled edge pillow covers | Navy embroidered lumbar pillow cover ( with {this} pillow insert) | Navy border duvet cover | White quilt | Backless bench at foot of bed | Round mirror
XOXO,


Jill says
Lovely ideas. I’m halfway there??
Mary says
Hi, Chris–
For the past year, I’ve been having an annoying problem of queen-sized bottom sheets not fitting. At first, I thought it was the common complaint of too-deep a mattress, but that’s not it. We purchased a new latex mattress that is 11″, measures the standard 80″ long, and I am fighting to make the bed with brand-new sheets from more than one manufacturer! I’ve tried new sheets from Pottery Barn and Casper (this can get expensive)–and have had the best luck with sheets purchased in 2006 from Charles P Rogers, which are no longer available (and even if they were, somehow I suspect they might not fit). Short of making my own–which I could do, or using a flat–which I do not want to do (my hospital corers leave much to be desired), do you know of any generously sized sheets (not necessarily depth)–are Europeans longer maybe? I usually think myself persnickety about sheets, preferring percale to sateen, but I’m about to become less so if it’s less of a struggle to make the bed!
Kris Jarrett says
The sheets I have from The Company Store are great because the fitted sheet has elastic all of the way around (and they have a policy of giving your money back if you’re not happy with them). The exact ones I have are bamboo/cotton ones that are linked in this post: https://www.drivenbydecor.com/bed-making-101/ If you try them, let me know what you think!
Karen B. says
Kris,
So pretty. I do love a crisply made bed. It’ so inviting to come into our bedroom each night to see a well-made bed. Thanks for the additional inspiration with regard to different bedding.
xo,
Karen
Nicole says
Finally—.A bed that does not have shams the same as the comforter. I bought a comforter I love, but there were no matching shams. My comforter is a bone color. I am going to get white shams thanks to you.
Kris Jarrett says
I hope it ended up working out well for you!!
Jeanne says
I never thought about using those twist pins for the bed skirt! What a great idea! Loved the whole article and happy you included sources.
Kris Jarrett says
They work great! Glad you enjoyed the post!
Cynthia wahl says
I love the look of this bedding – but have a couple of questions:
-Where are the pillows (in pillowcases) that you would actually sleep on? Are they in the shams? …because that seems cumbersome for a guest bed if the guest makes the bed each morning, like I do when I am a guest.
-Is this a full size bed? If so, which sizes of duvets, covers and quilts did you use which actually covers the box spring? I can get my bed to look like yours ON ONE SIDE ONLY when using the “correct” size bedding!
Kris Jarrett says
Hi Cynthia,
I actually keep all of the pillows on an easy to reach shelf in our armoire so my guests can choose which ones they want when they get there. And this is a queen bed – the Pottery Barn quilt that I have on it is actually very generously sized and fits it really well!
Nikki says
I love everything about this room! Great job! What paint color did you use for your wall?
Kris Jarrett says
Hi Nikki – it’s Pratt & Lambert’s Ever Classic
Lila Donlin says
Going shopping!!!!
It’s so funny. My husband and I have been arguing every time we make the bed as to whether the top is placed face down or up!! How long do you ask? thirty one years! All in fun though. Sleep between the patterns.
Thank you,
Lila
Kris Jarrett says
So funny! I honestly have the buttoned/tied end at the bottom of the bed in some rooms and at the top of the bed in others like this one where I like how the cute ties look! So I think you’re both right 🙂
Maria says
Loved your bed and pillows, Kris. I want to find something the same from the local IKEA. Thanks for sharing the guide
Kris Jarrett says
Thanks Maria! Good luck on your IKEA shopping trip!
Olga says
Can you share where is your duvet cover and coverlet from? I love your bed. Going to get those pillows!
olga says
Never mind I just read other comments and I saw where someone else asked that question. I bought that PB coverlet and those pillows. I was sold after I saw your bed (o:
Kris Jarrett says
Sorry I didn’t see your comment earlier – glad you were able to sleuth it out! Hope you love them!
Erica says
I LOVE these pillows! Can you tell me where you purchased the lumbar pillow cover?
Kris Jarrett says
Hi Erica! I actually had the lumbar pillow cover made because I couldn’t find any premade lumbars that I liked. The fabric is from Calico Corners.
Dianna says
Everything about this bedroom is absolutely beautiful! What is the wall paint color? It so soothing to the eye. Great for a bedroom space. Thanks!
Kris Jarrett says
Thanks so much Dianna! I’m happy to share the paint color – it’s Pratt & Lambert’s Ever Classic.
Luanne says
I love the bedding you used. Can you tell me where you puchased duvet cover and shams
Kris Jarrett says
Thank you Luanne! The duvet is from IKEA and I had the shams made from some remnant fabric I found locally (there was no info on it about the brand or name of fabric unfortunately). Thanks for reading!
Tamara says
Beautiful! Where did you find those gorgeous lamps?
Kris Jarrett says
Tamara, I’m so sorry I didn’t see your comment until now. You probably don’t even need an answer anymore but in case you’re still looking I got the lamps at Target and shades at Ballard Designs.
Tamara says
Thank you for the info! I found some similar lamps at Kirklands and will check out Ballard Designs’ lampshades.
Faye says
Even with a mattress protector which covers the entire mattress and closes with a zipper, you need a mattress pad which goes on before the mattress pad. And it is always a really good idea, (recommended by allergists) to vacuum your mattress at least once a month and wash the mattress pad at least every two months.
Courtney says
Love the simple neutral colors….where did this bedding come from?
Kris Jarrett says
Hi Courtney! The duvet cover (it’s checked on one side and striped on the other) is from IKEA, the coverlet is from Pottery Barn, the ruffled shams are from Pine Cone Hill, and the square shams were custom made.
carol says
Beautiful bed. I always thought the quilt or blanket went under the duvet. Just wondering.
Kris Jarrett says
Hi Carol! In the winter, I do actually add a quilt under the duvet but what I used on the top of the bed in this room is a coverlet that’s meant to be the top layer. It’s similar to a quilt but sized larger so that it works as the top layer. Hope that helps!