I LOVE wallpapered bookshelves and am sharing pics, tips, and ideas of how to re-create the look in your own home!
I love decorating with neutrals but playing with colors and patterns in a room is fun too! What I’ve learned from some pretty expensive past mistakes is to stick with simple designs and neutral colors for large, expensive home purchases like sofas and dining tables. With a neutral base, you can then add the colors and patterns you love with things like pillows, throws, and other less expensive accents. As your taste evolves, you can change these inexpensive accents up and always have a room that you love without having to throw a ton of money at it.
Wallpapered bookshelves are one of those fun ways to add color and pattern to your home. I wallpapered the bookshelves in our family room in our old house and recently did it in our new house too. Today I’m sharing pics of both and tips for doing it in your own home. (post includes commissionable links; for more information, see my full disclosure statement {here})
Wallpapered Bookshelves with Patterned Paper
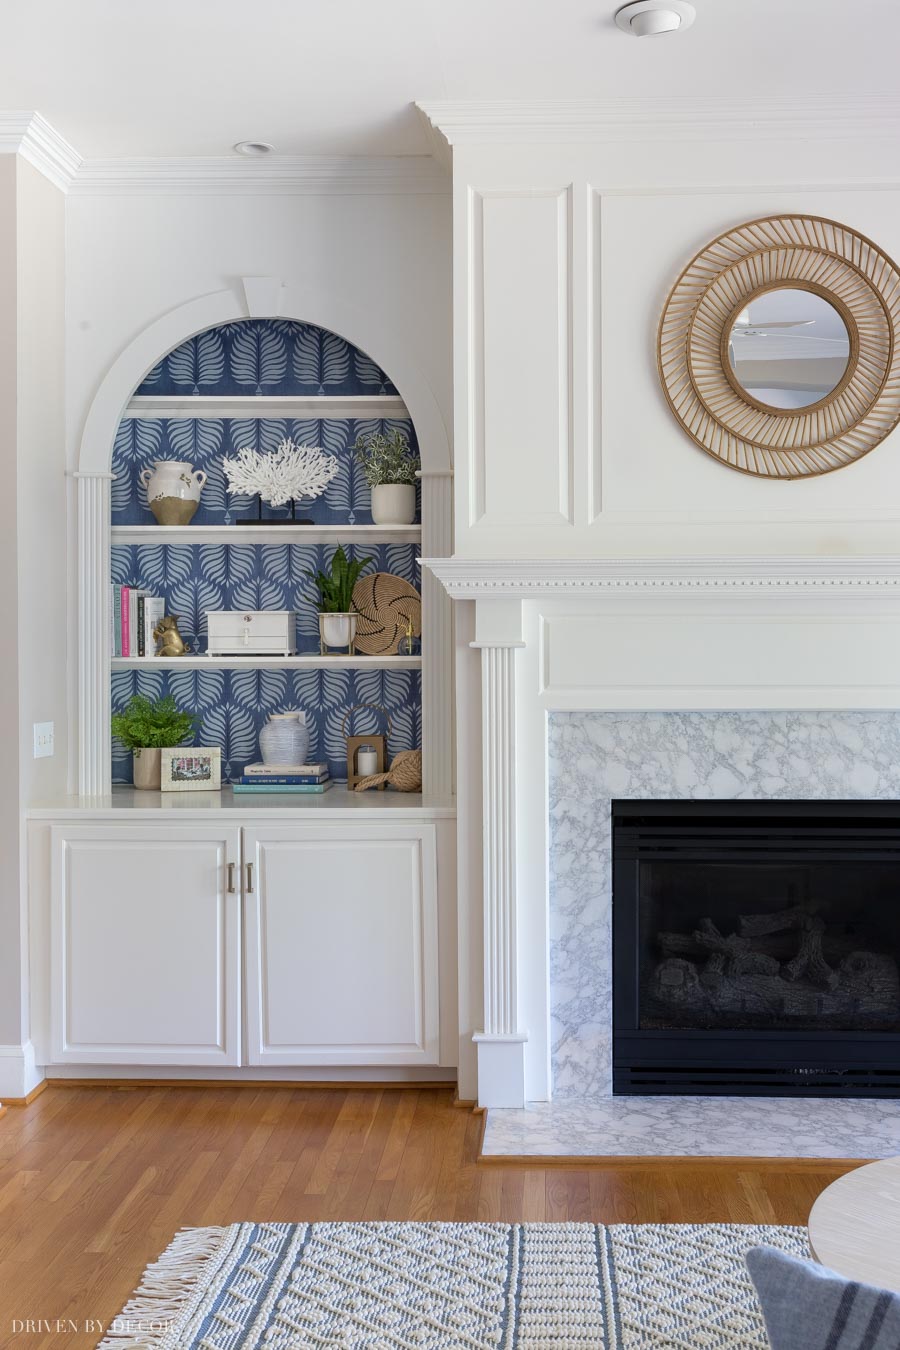
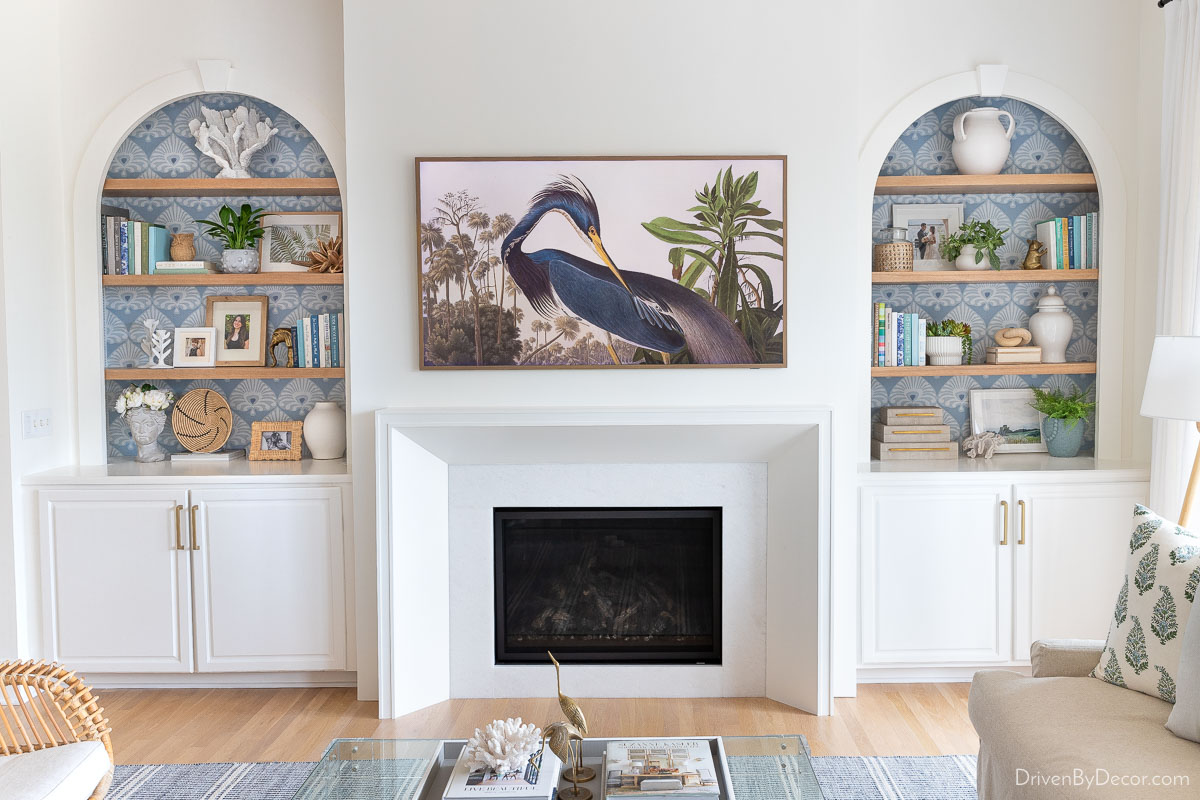
In our current home, we have a clean-lined, neutral sectional in our family room so went with a punch of color for our bookcase wallpaper, adding {this blue wallpaper}:
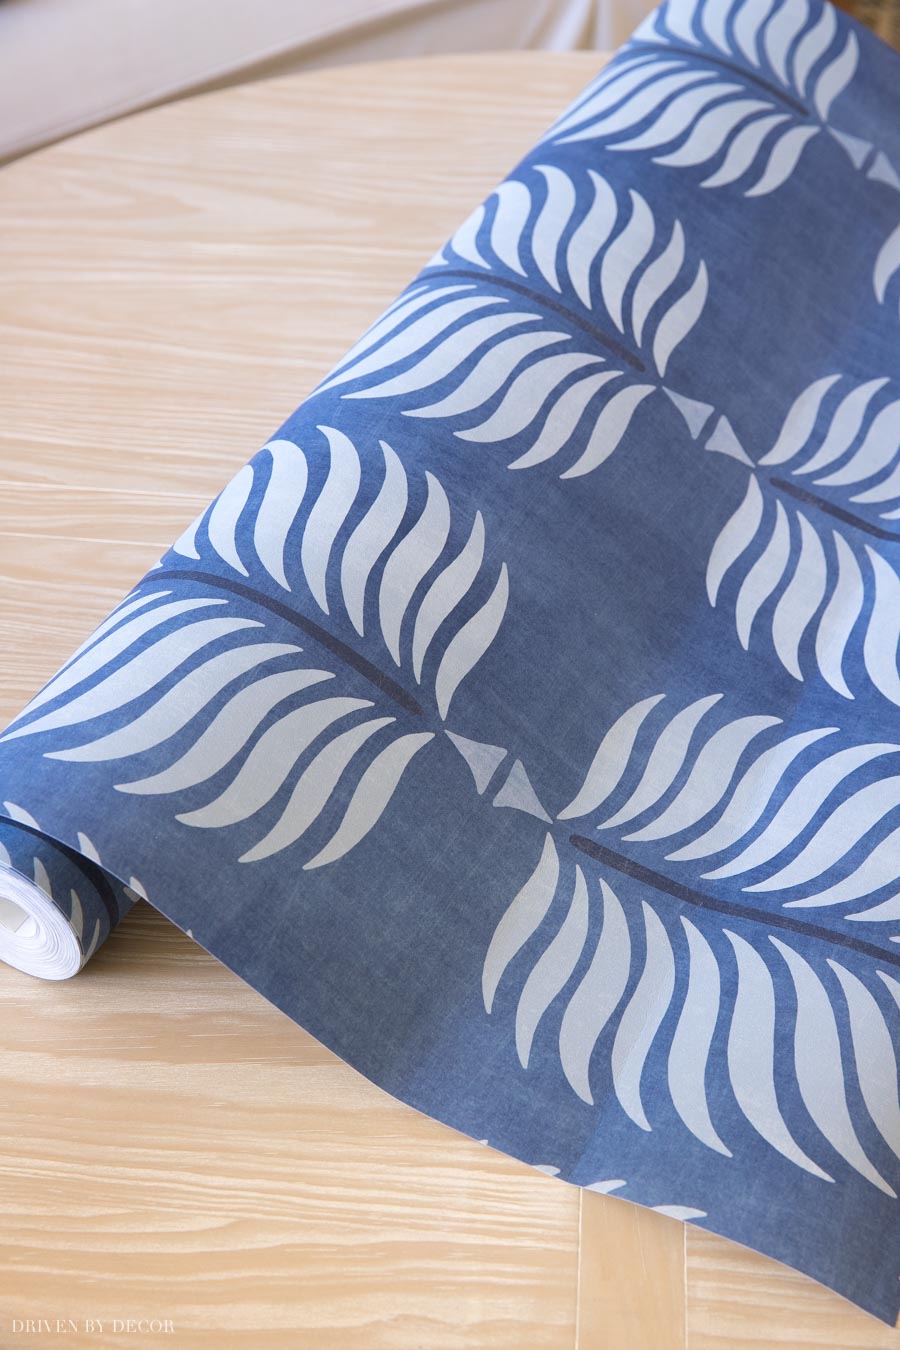
We have bookshelves on both sides of our fireplace and after measuring the back of them, I realized that I could wallpaper both of them with a single roll (just barely!). After a few hours work, I had pattern-lined living room bookcases that added so much to our space:
If you want some tips on decorating your bookcases, check out my post on how to decorate a bookshelf where I share my 10 tried-and-true shelf styling formulas!
You may have noticed that I added a few new brass animals to my menagerie – I couldn’t resist! My most recent addition is one of my all-time brass animal favorites – I mean come on, tell me that you could resist a pair of these brass pig bookends I added to my shelves…
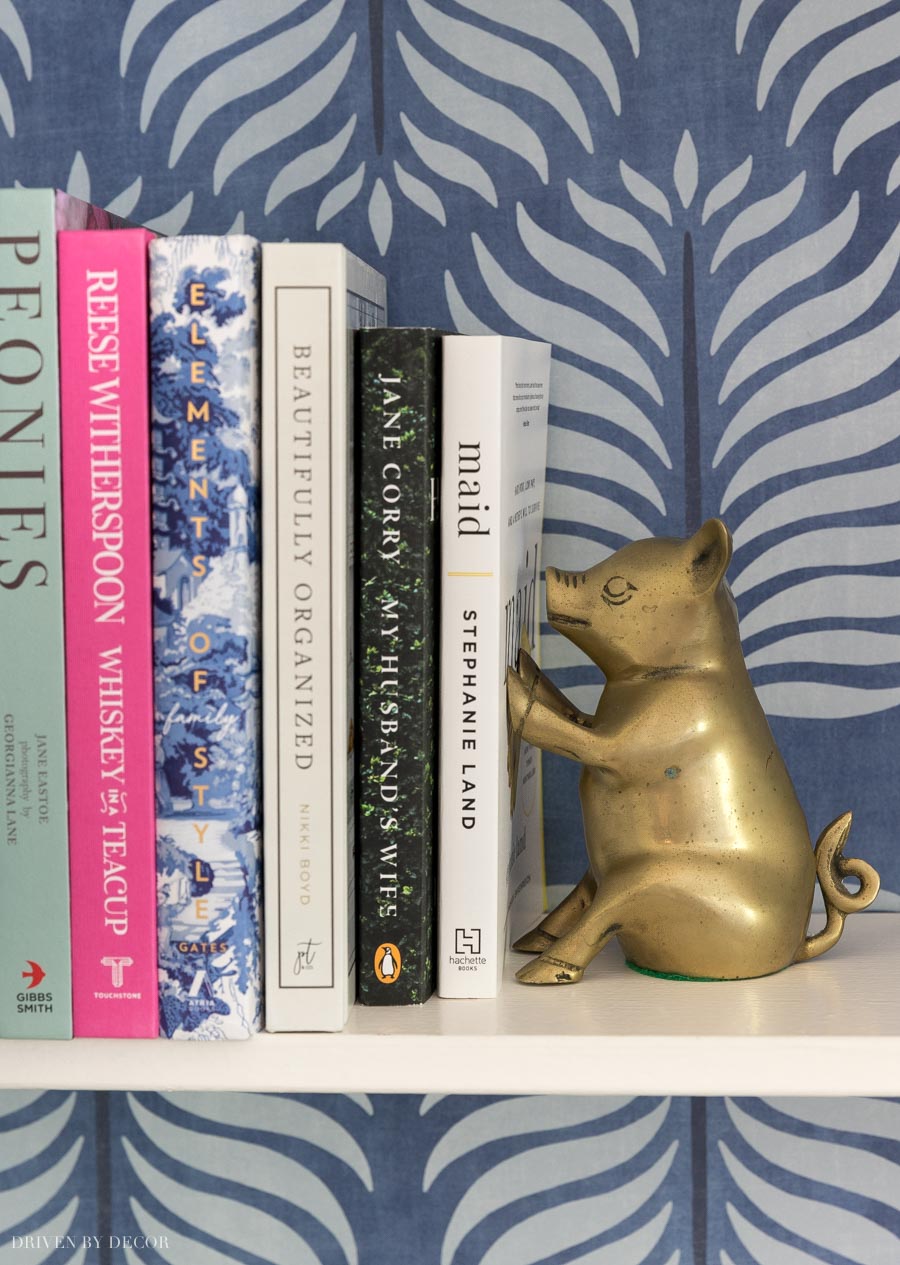
So stinking cute!
Our bookshelves stayed this way for a few years until it was time to do a big fireplace makeover with a new insert and lower the mantel height so we could mount a tv above the fireplace. I also changed up the bookshelves because they were SO shallow (only 8″) and at fixed shelf heights that I didn’t love.
We removed the old painted white shelves and wallpaper, patched the wall where the shelves were attached, and installed new adjustable shelf supports on the sides of the bookcases. I added {this pretty wallpaper} to the back of the entire bookcases and {these new oak shelves} with the “nature” stain.
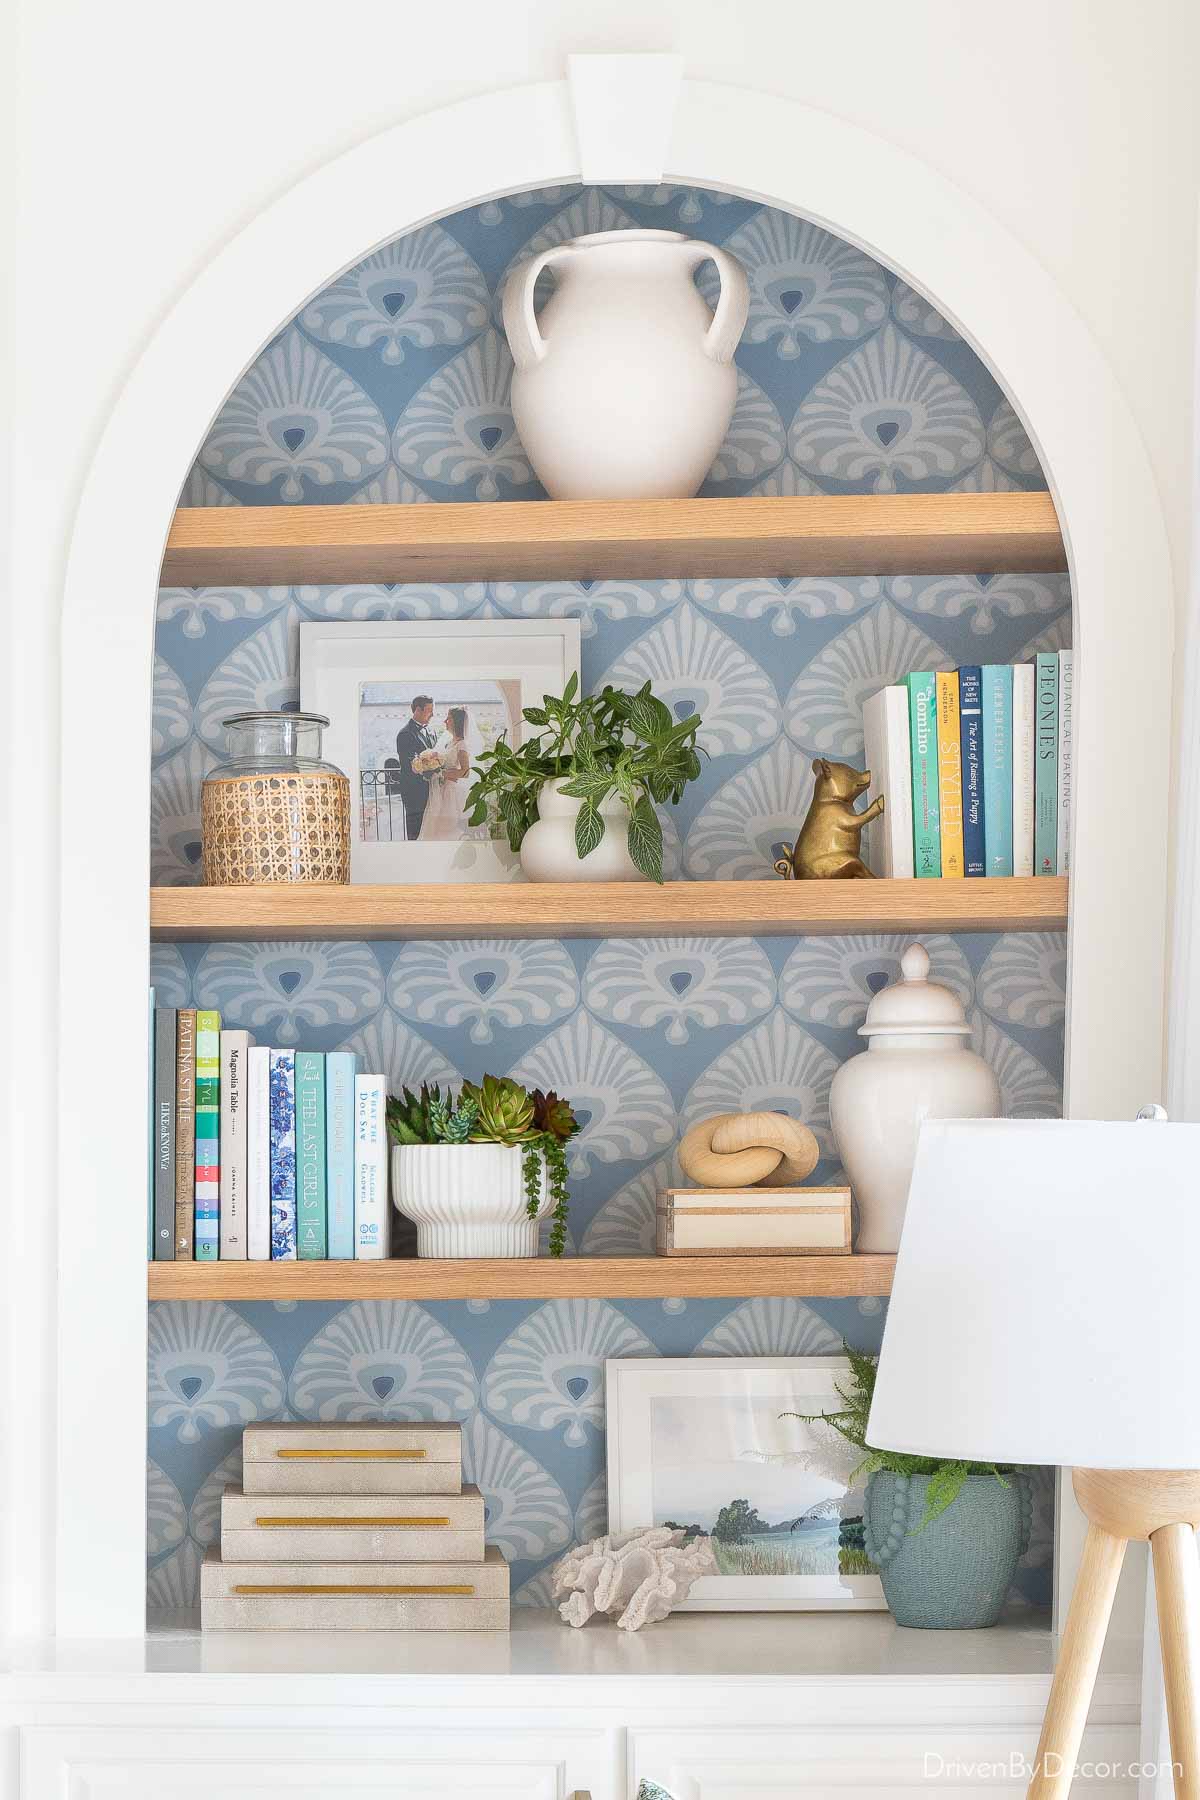
Here’s how that full fireplace wall looks now:
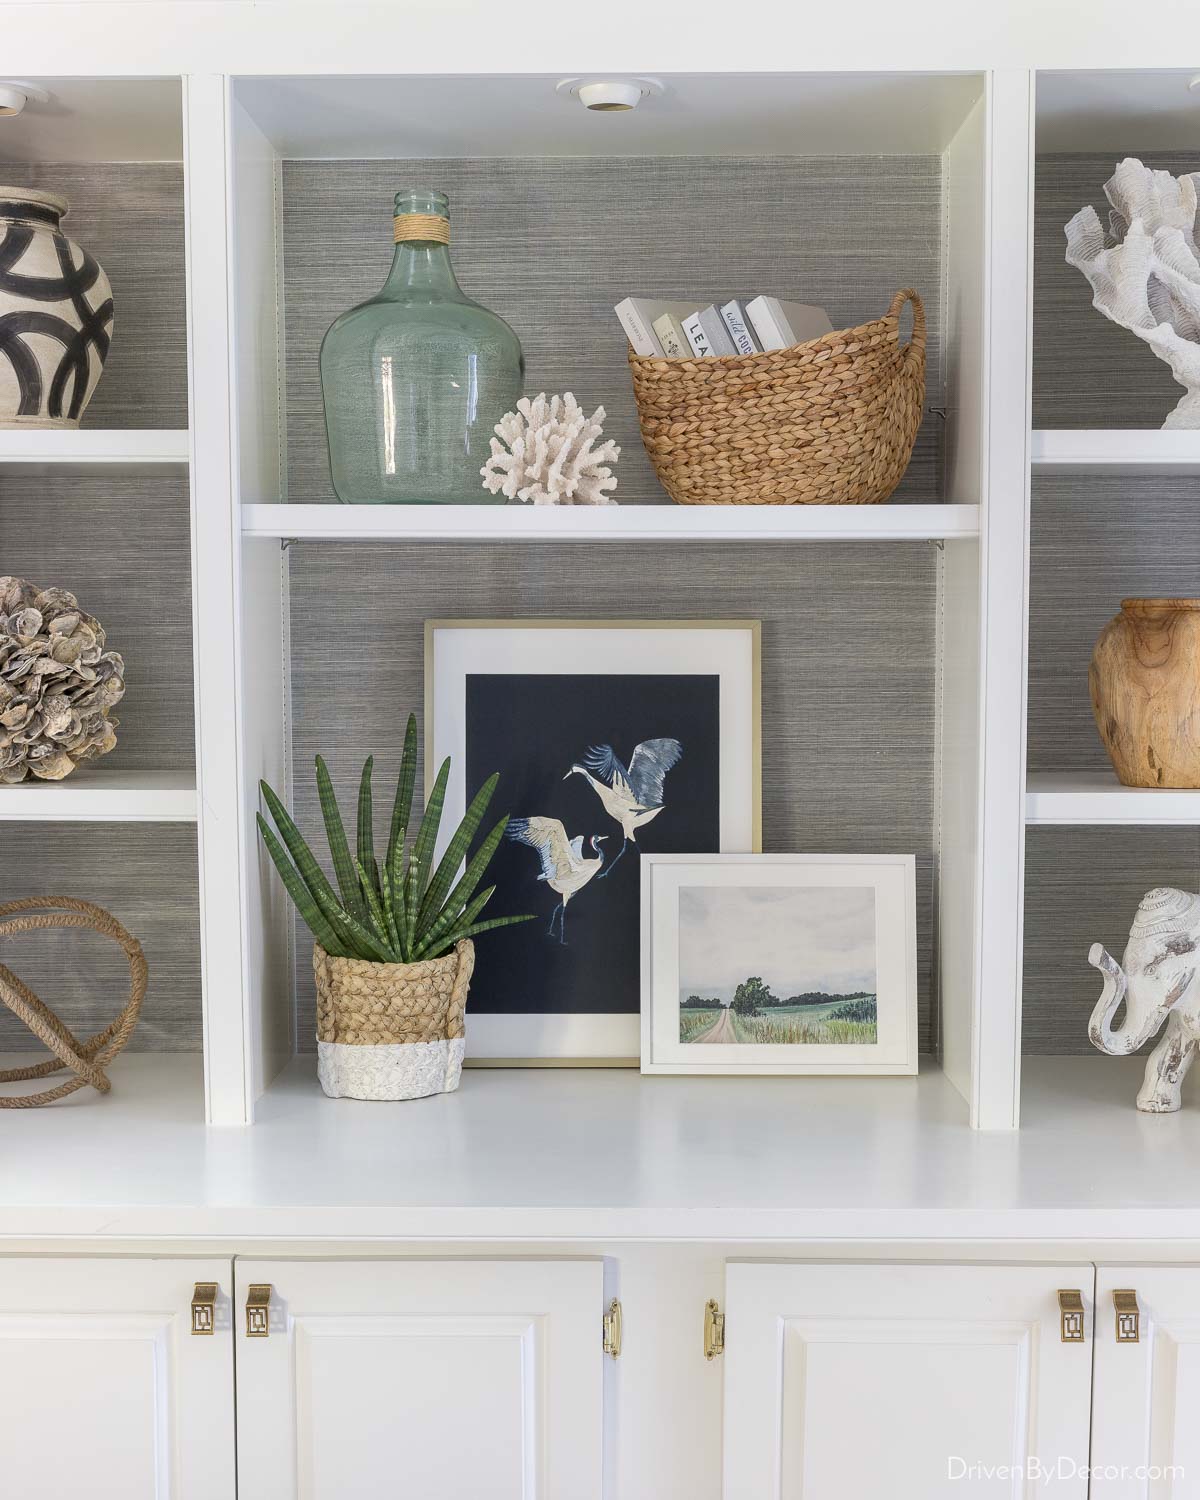
Wallpapered Bookshelves with Grasscloth
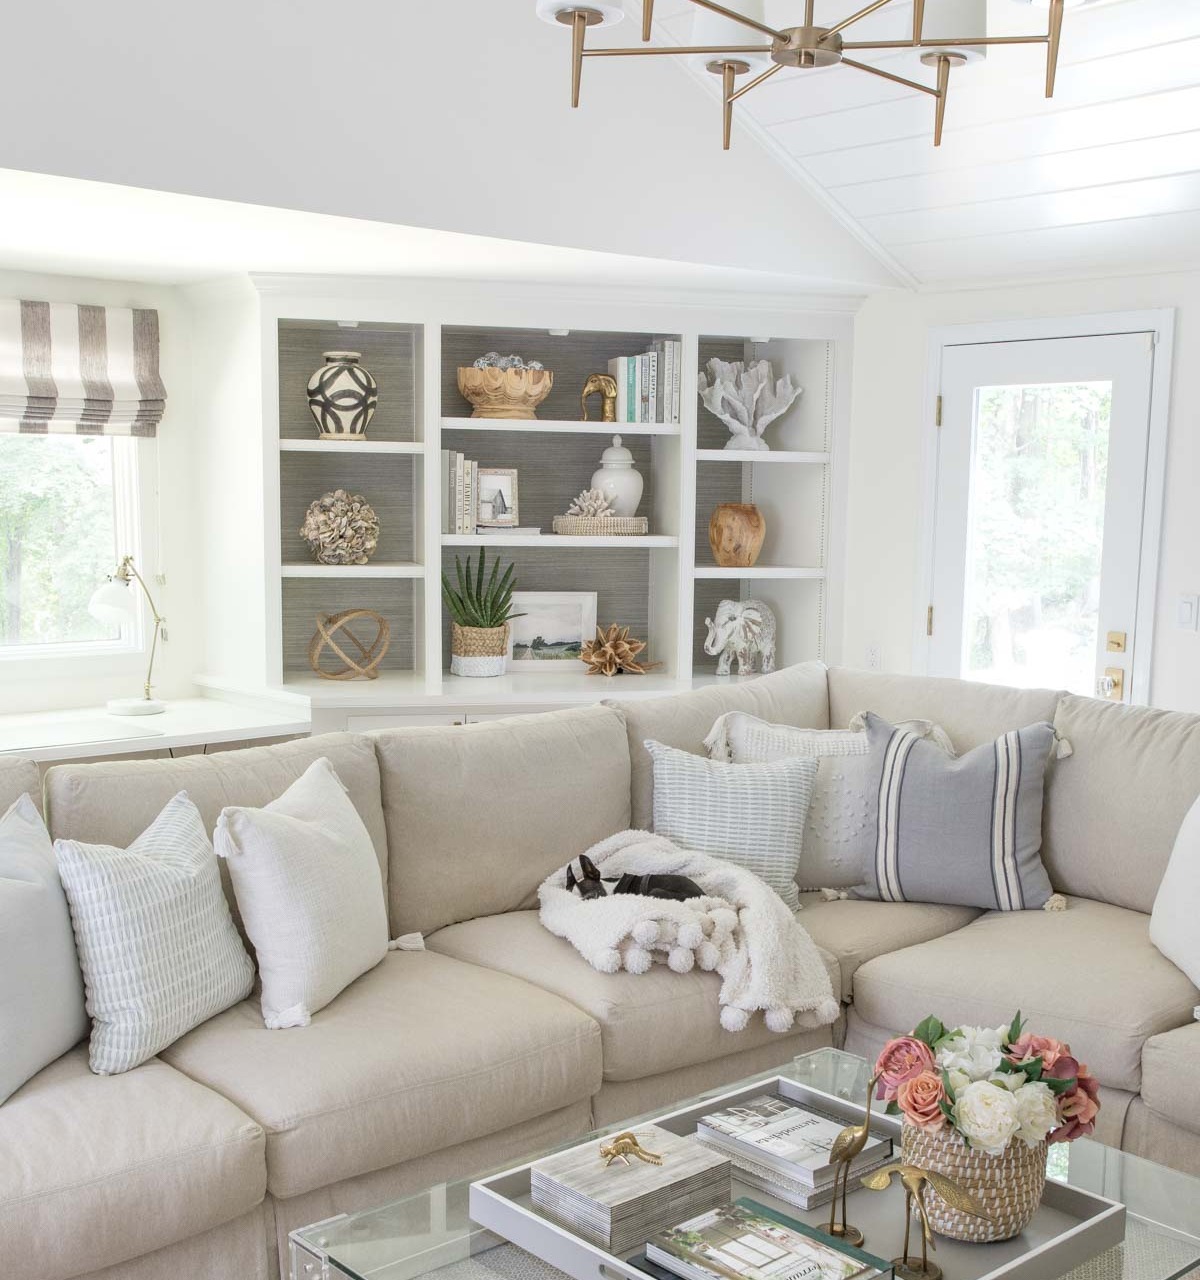
What if you want to add some color to your bookshelves but don’t like a lot of pattern? Grasscloth wallpaper can be a gorgeous choice for wallpapered bookshelves! We used {this grasscloth wallpaper} in the charcoal color on the back of the shelves in our previous family room:
Hanging grasscloth wallpaper in an entire room is rough (see my post on grasscloth wallpaper for more details!) but the back of a bookcase is totally doable. Here’s a farther-away look of the bookshelves in that space:
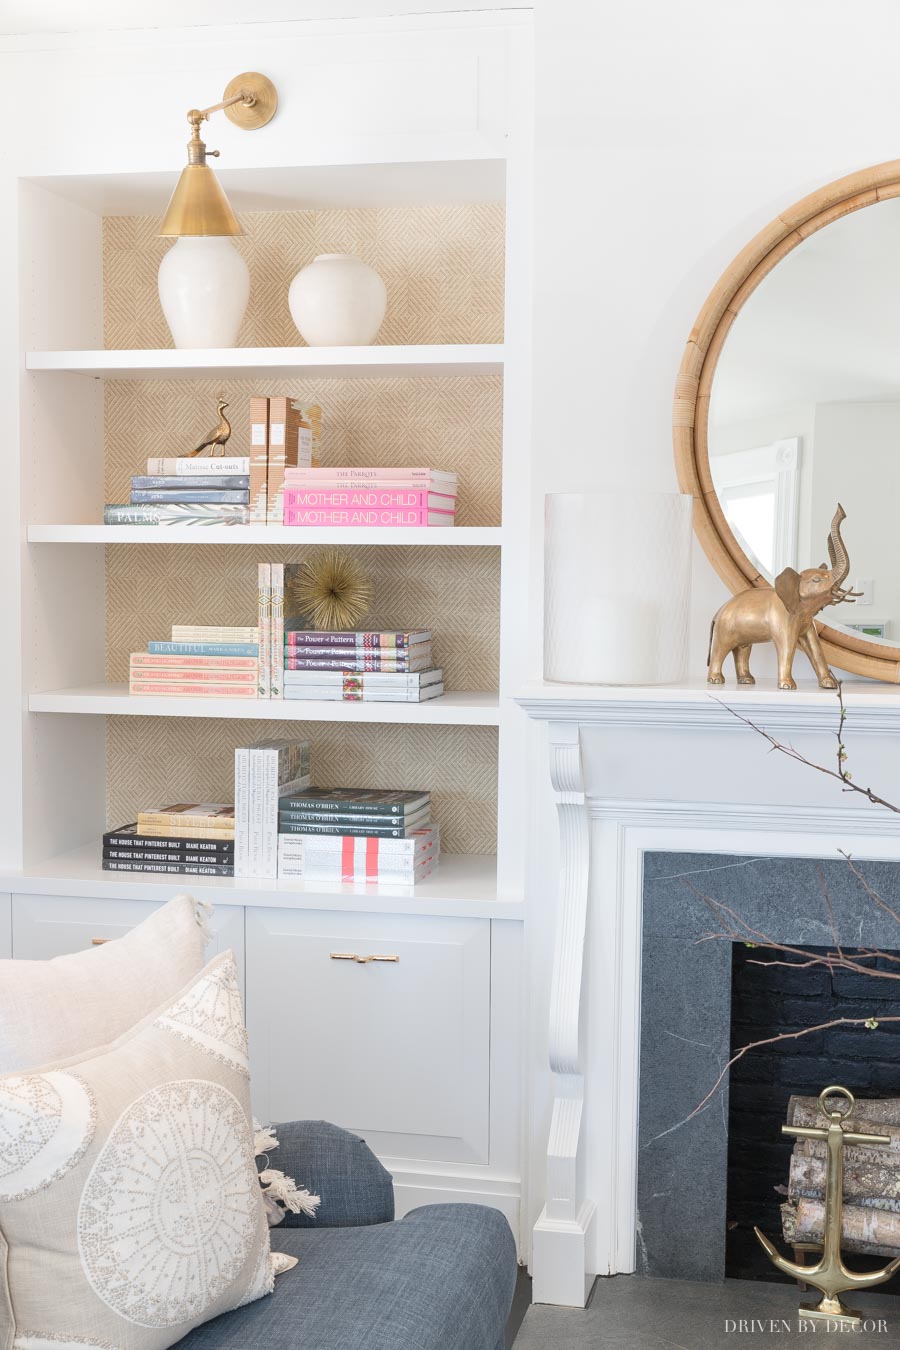
There are other textural options in addition to grasscloth, such as paperweave wallpaper that was used on the back of a bookcase at our local Serena & Lily store:
If you’re wondering where to buy wallpaper for wallpapered bookshelves, Serena & Lily is my favorite place to shop. Their paper is high quality and I love their colors and designs. It’s pricier than some other papers but fortunately the need for only 1-2 rolls makes it doable for most projects. See my post on Serena & Lily wallpaper to see all of my favorites in real rooms.
What if you’ve never wallpapered before? Check out my post on wallpaper installation for all of my how-to tips. Or you might want to consider peel and stick wallpaper, which is perfect for first timers and for a small project like this. I share my favorite sources for this popular type of wallpaper and tips for hanging it in my post on how to hang peel and stick wallpaper.
Want other ideas of small projects for using wallpaper? Check out my post with 10 wallpaper ideas to inspire your next home project!
Thanks for stopping by everyone! I’ll see you back on the blog next week!
XO,


Margaret Connolly says
I love your blue window treatments! Where is that from?