Looking for entryway decor ideas? I’m sharing seven ideas to steal from my own entryway makeover!
I have a fun little “before” and “after” entryway makeover for you today! This is one of those projects that I kept putting off month after month and then once I finally did it, I was kicking myself for not knocking it out years ago because it made such a difference! Ready to see? (post may contain paid links; for more information see my full disclosure statement {here})
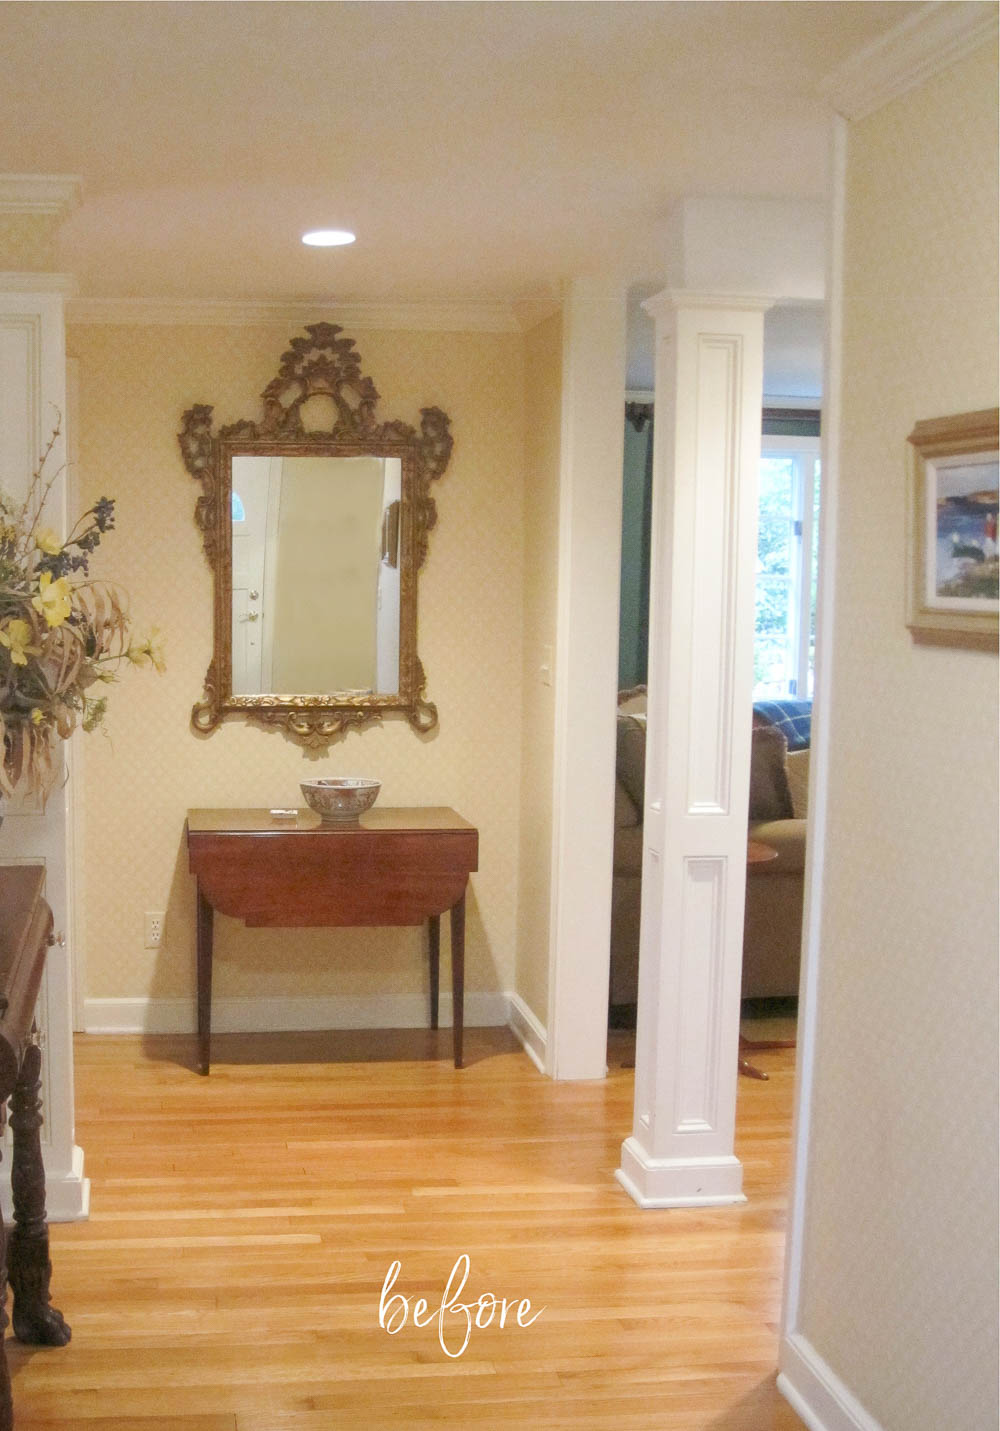
Our Entryway “Before”
Our house had a color palette of primary colors when we first moved in. The rooms were mostly yellow, blue, and green, including the entryway which had yellow wallpaper. The previous owners had a small console table and mirror on the back wall and a longer console table on the wall to the left that you can catch a little peek of:
After buying the house, we would have lived with the wallpaper for at least a few years if it was in good shape but it was really old and discolored so we decided it had to go. Jeff’s sweet parents came to visit around the time I decided to tackle it and they insisted on jumping in to help. Of course who am I to say no? 😊
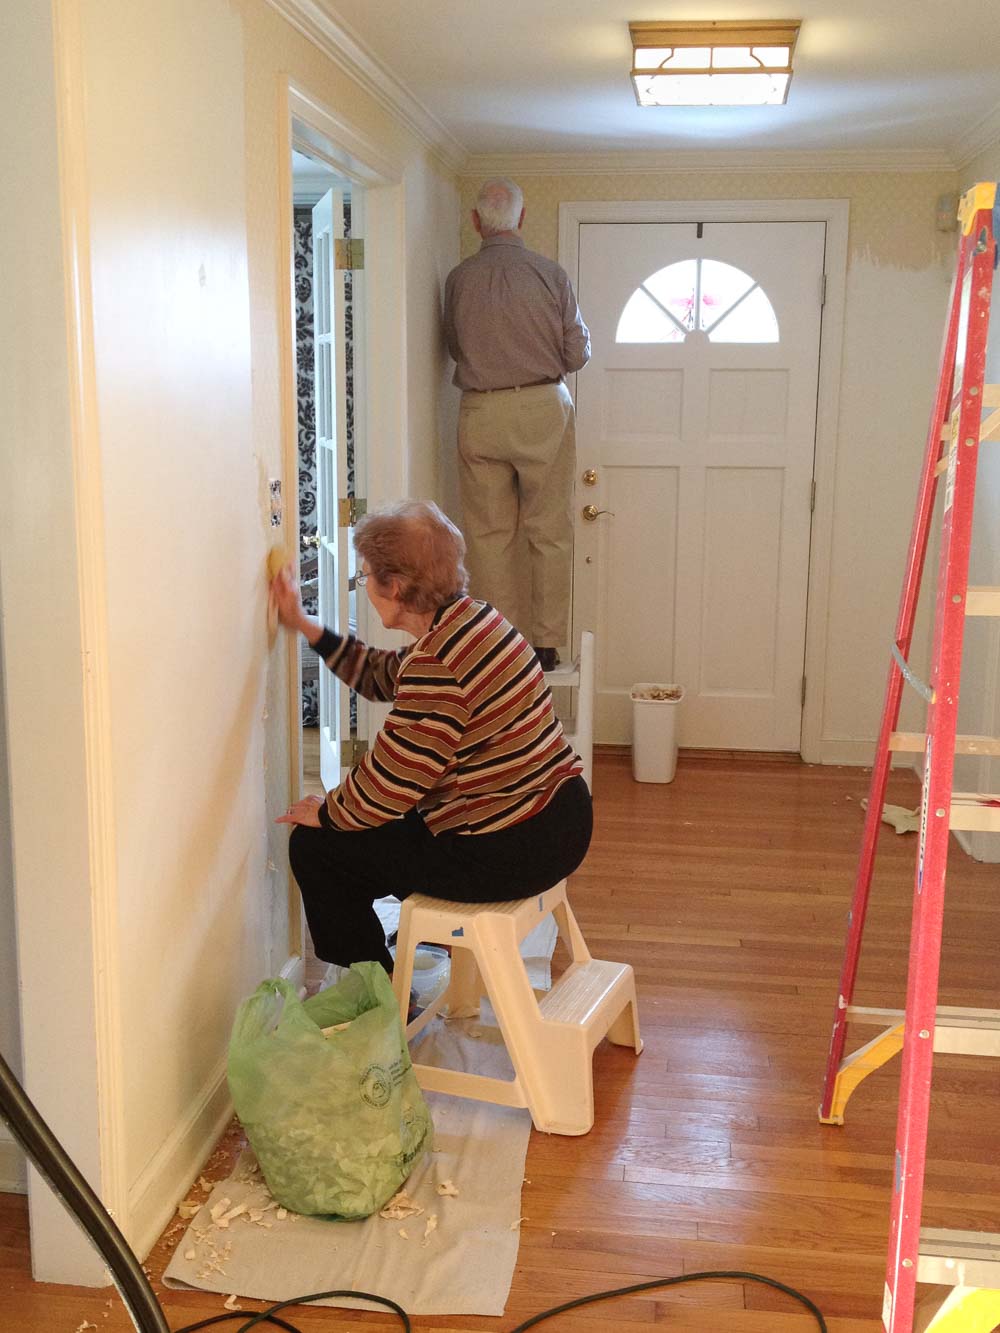
Thank goodness for their help because I think that wallpaper was put on with crazy glue – it came off in the smallest little pieces! After the wallpaper was finally off I painted the walls Benjamin Moore White Dove, put a chest we brought from our old house on the back wall, and called it good (for now). It looked fresh and clean but also really blah – it was definitely not a space that made a great first impression when you walked in the front door.
Fast forward almost SEVEN years (we had bigger fish to fry with kitchen remodel before and after, bathroom remodel, & other projects!) and I decided it was time to finally whip our boring entryway into shape! These are the entryway decor ideas that I used in creating our new space…
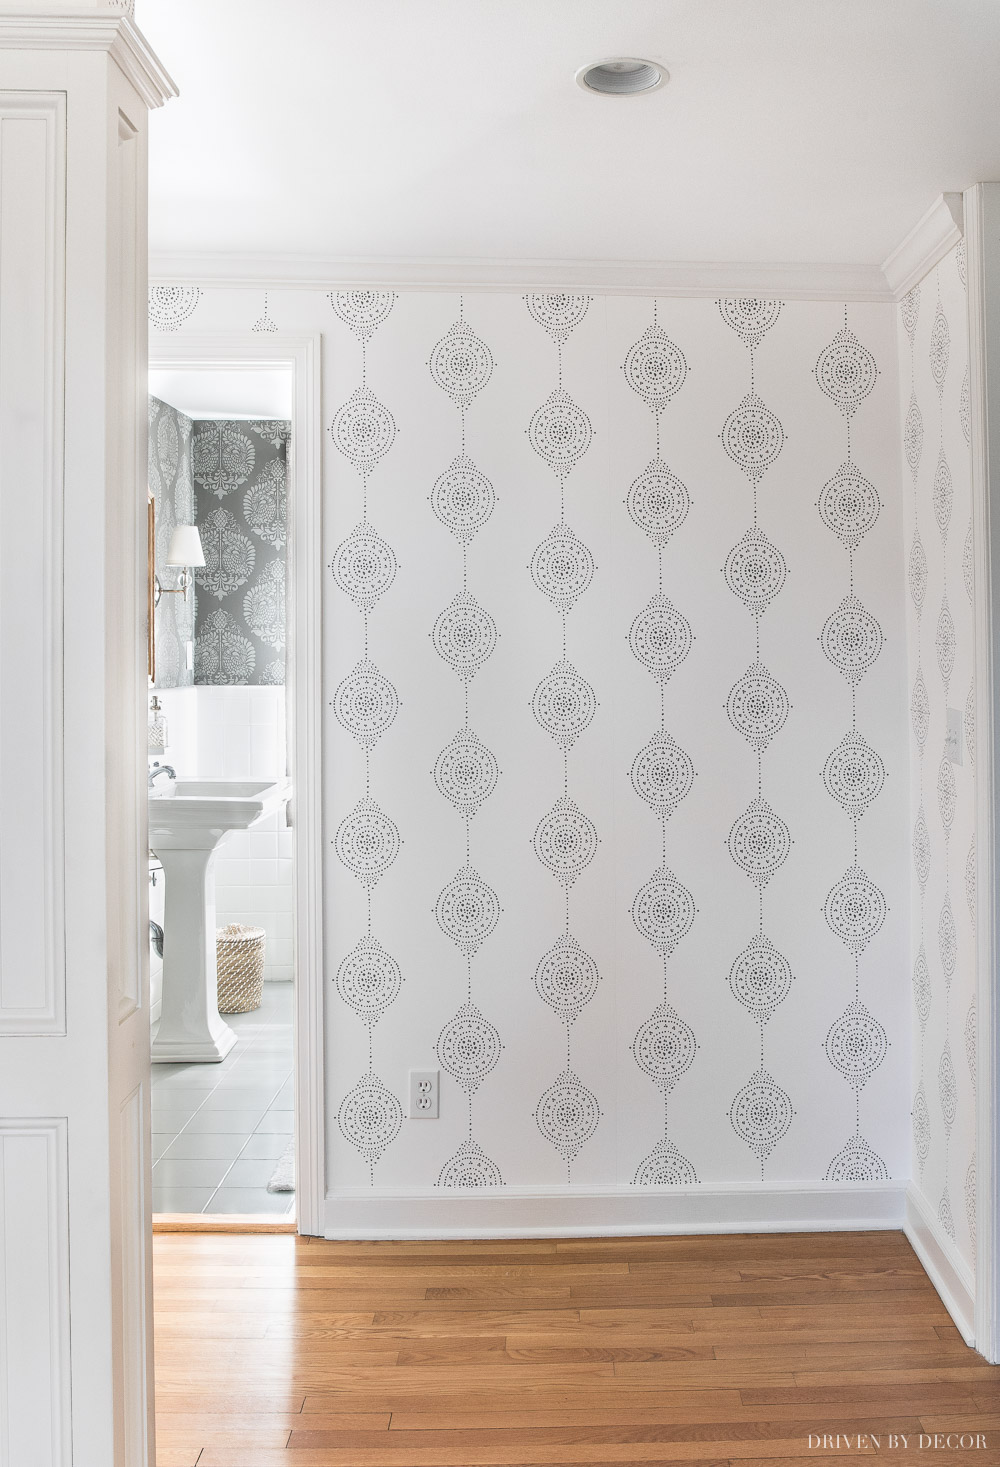
1. Add New Life With Entryway Wallpaper
While the white walls weren’t cutting it in our entryway, it was hard to pick another color that would flow well with all five of the rooms coming off of it. I came across {this wallpaper} and knew it was the perfect subtle yet statement-making wallpaper to tie all of these spaces together:
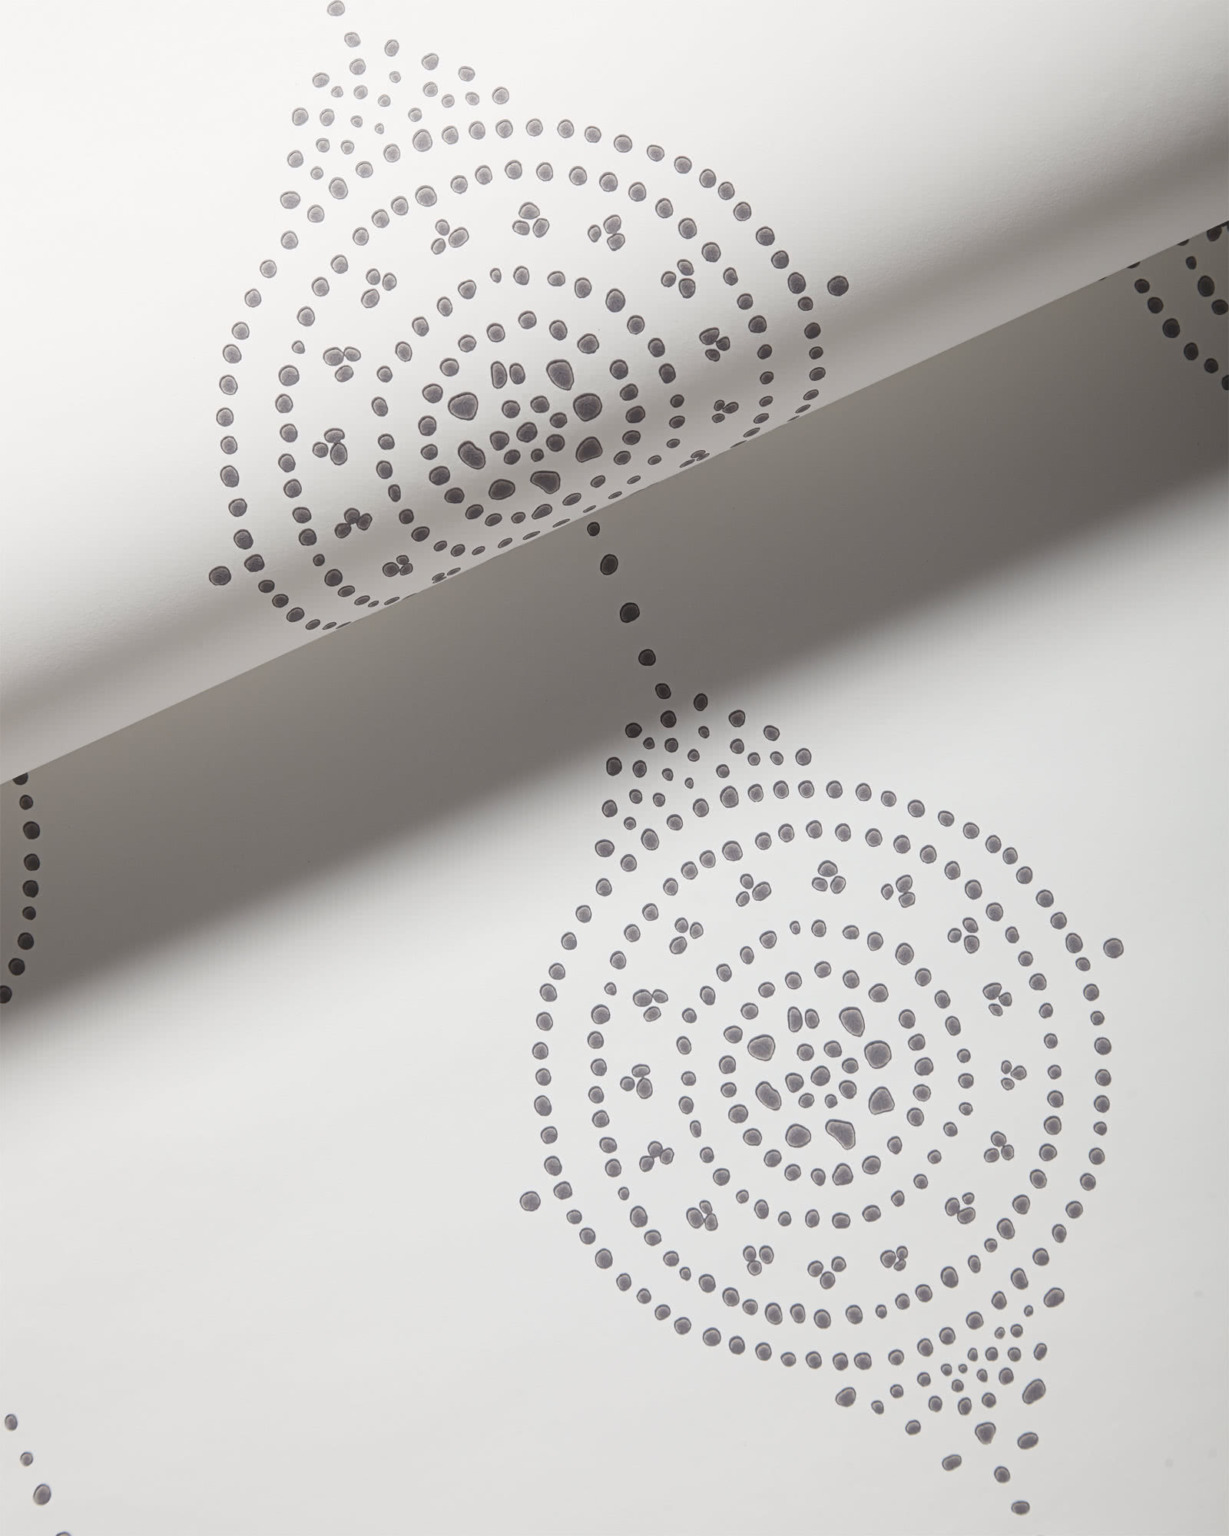
My wallpaper rolls actually sat in the boxes they came in for a full 2 ½ years (!) before I finally made it a priority and carved out the time to get it up on the walls:
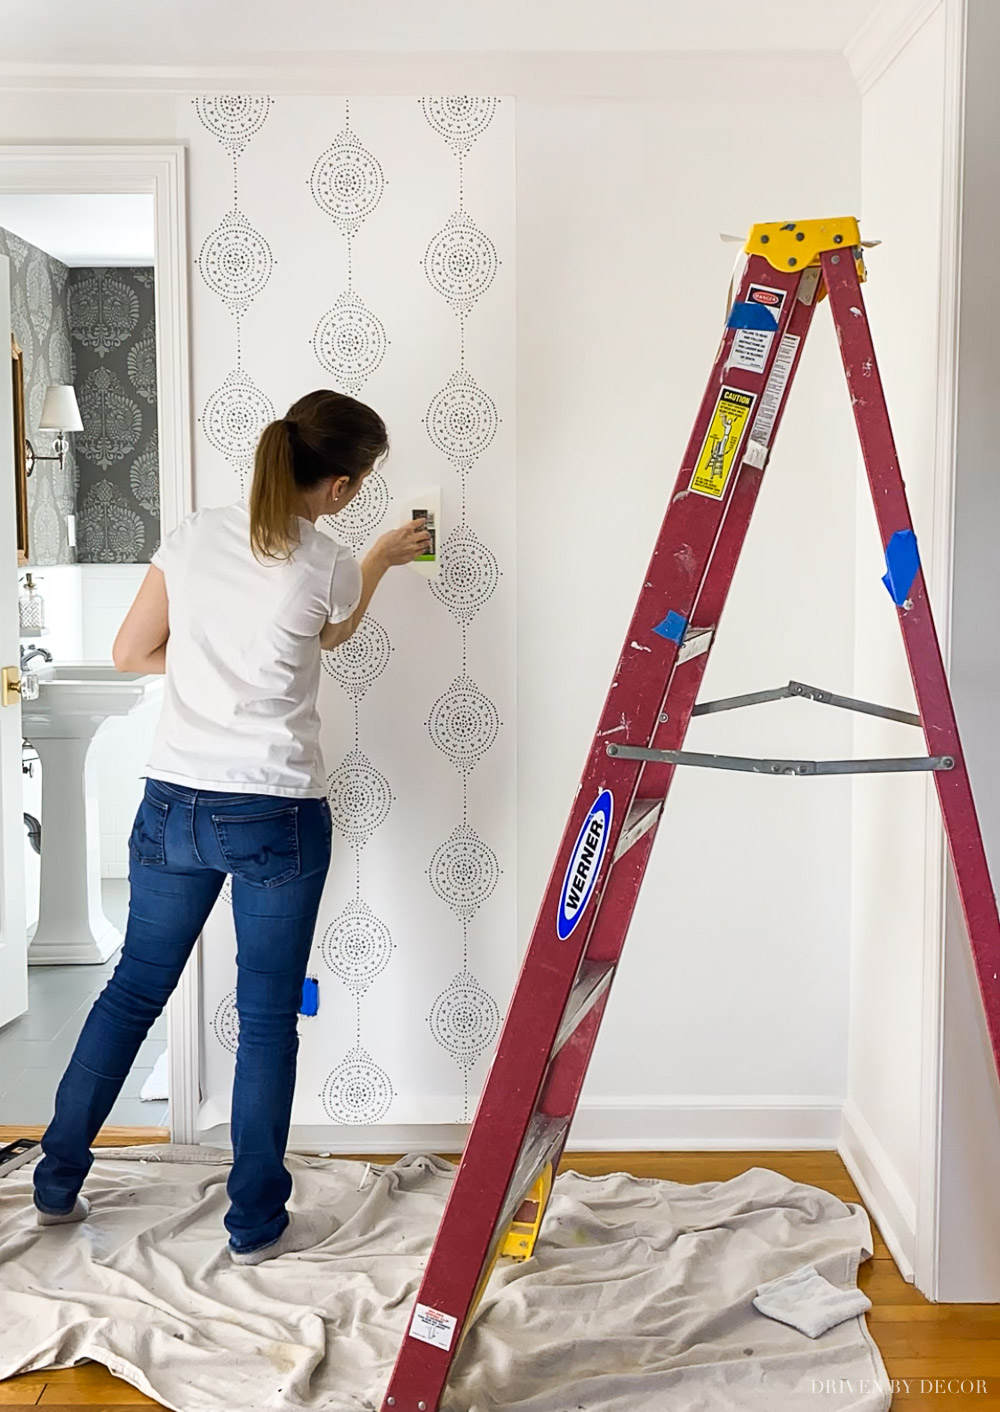
Some of you might think I’m nuts for putting up wallpaper again after it was such a chore to take the old wallpaper down, but if you coat the walls with a wallpaper primer first, it’s not hard at all to remove when the day comes that you’re ready for a change (see my post on how to remove wallpaper for tips!). I recommend {this Shieldz wallcovering primer} that primes, seals, sizes, & hides in one coat.
It took me three long days of work to get the wallpaper hung but it was so worth it! It changed the entire feel of our home as you walk in the front door:
2. Create a Focal Point with a Stunning Entryway Console Table
After the wallpaper was hung it was on to the fun part… decorating our newly refreshed space! I wanted to find an entryway console table that would take center stage and be the focal point of the space. To keep our entryway feeling light and bright, I shopped for an entryway console that was fairly open (no closed cabinetry or drawers) and light in color. These were my favorites that I found in my search:
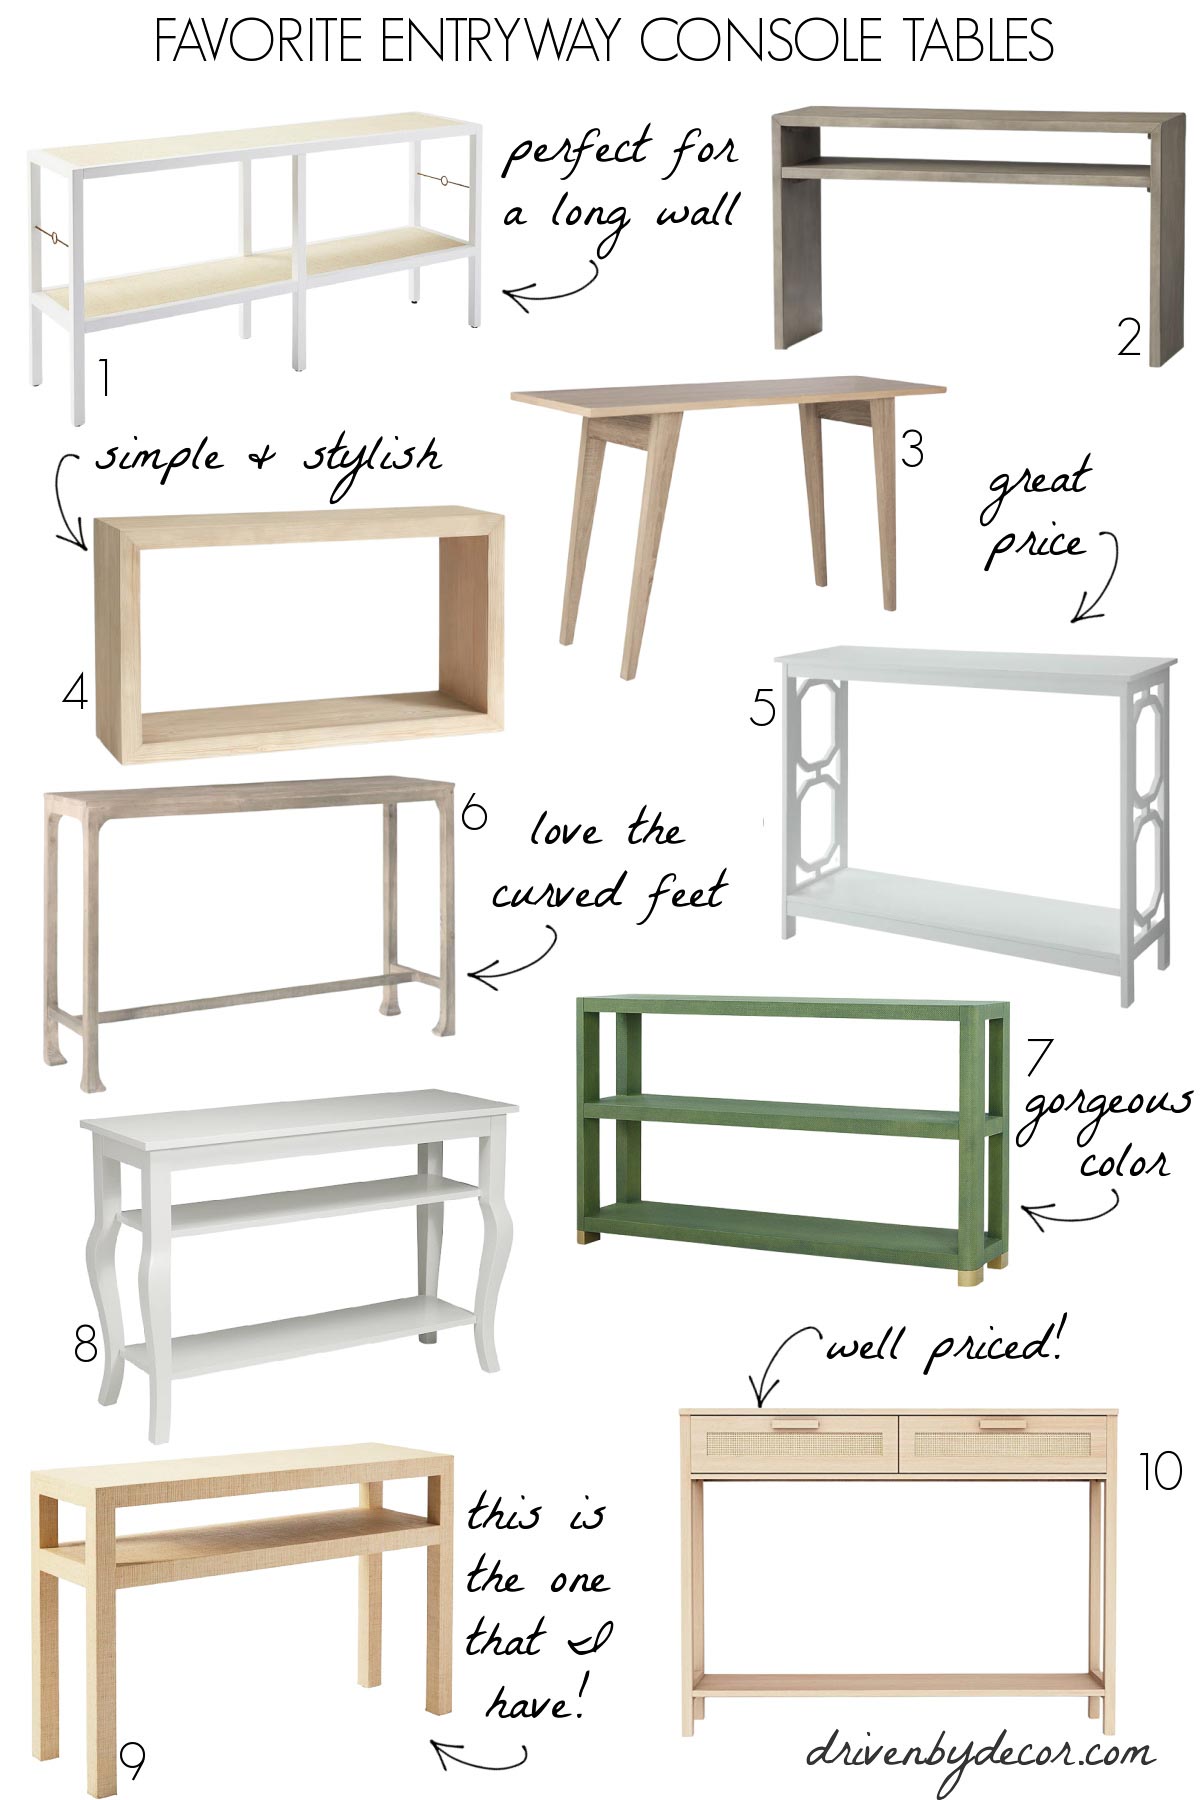
1. Cabot console | 2. Byron waterfall console table | 3. Modern minimalist console table | 4. Folsom console table | 5. Geometric framework console | 6. Belmont shore curved foot console | 7. Capri console | 8. White curved leg console table | 9. Blake raffia console – no longer available | 10. Hamilton rattan console table
This isn’t our forever home so getting a console table that was versatile enough to also be used in a future home was also high on my priority list. I ended up choosing this raffia console in the Natural color (unfortunately it was recently discontinued):

Want to see more of my favorite consoles? See my post on behind-the-couch tables for consoles in every style and budget!
3. Art is a Great Way to Showcase Your Style
Next it was on to the art… it’s an entryway decor idea that makes SUCH a difference! I went on the hunt for a large vertical art piece for the top of our console table and at the same time I was looking for a similarly sized art piece for a bare wall in our bedroom. Since my colors are similar in both spaces, I ordered two pieces of art and decided to choose which one to put where after they arrived.
Option #1 was “Grace in the Winds” by Emily Jeffords found {here} (on the left) and option #2 was “Marathon” by Laurent and Leif found {here} (on the right):

Both are 30″ x 40″ Minted art prints with the classic white wood frame option. Minted is one of my favorite places to find art because there’s a HUGE selection, you can get most prints in a ton of sizes, and they have a visualizer so you can see what it will look like in the size, frame, and matting you choose. It was a tough call but I ended up deciding to go with the more calming print (on the left) in our bedroom and the more colorful print (on the right) on the console.
4. Consider Adding Seating
Having seating in your entryway can be a big plus, especially if you like to sit down when putting on or taking off your shoes when you’re going in and out the door. If you have the space for it, consider a narrow hall bench but if you don’t, consider ottomans, poufs, or X-base stools that you can slide under an open console.
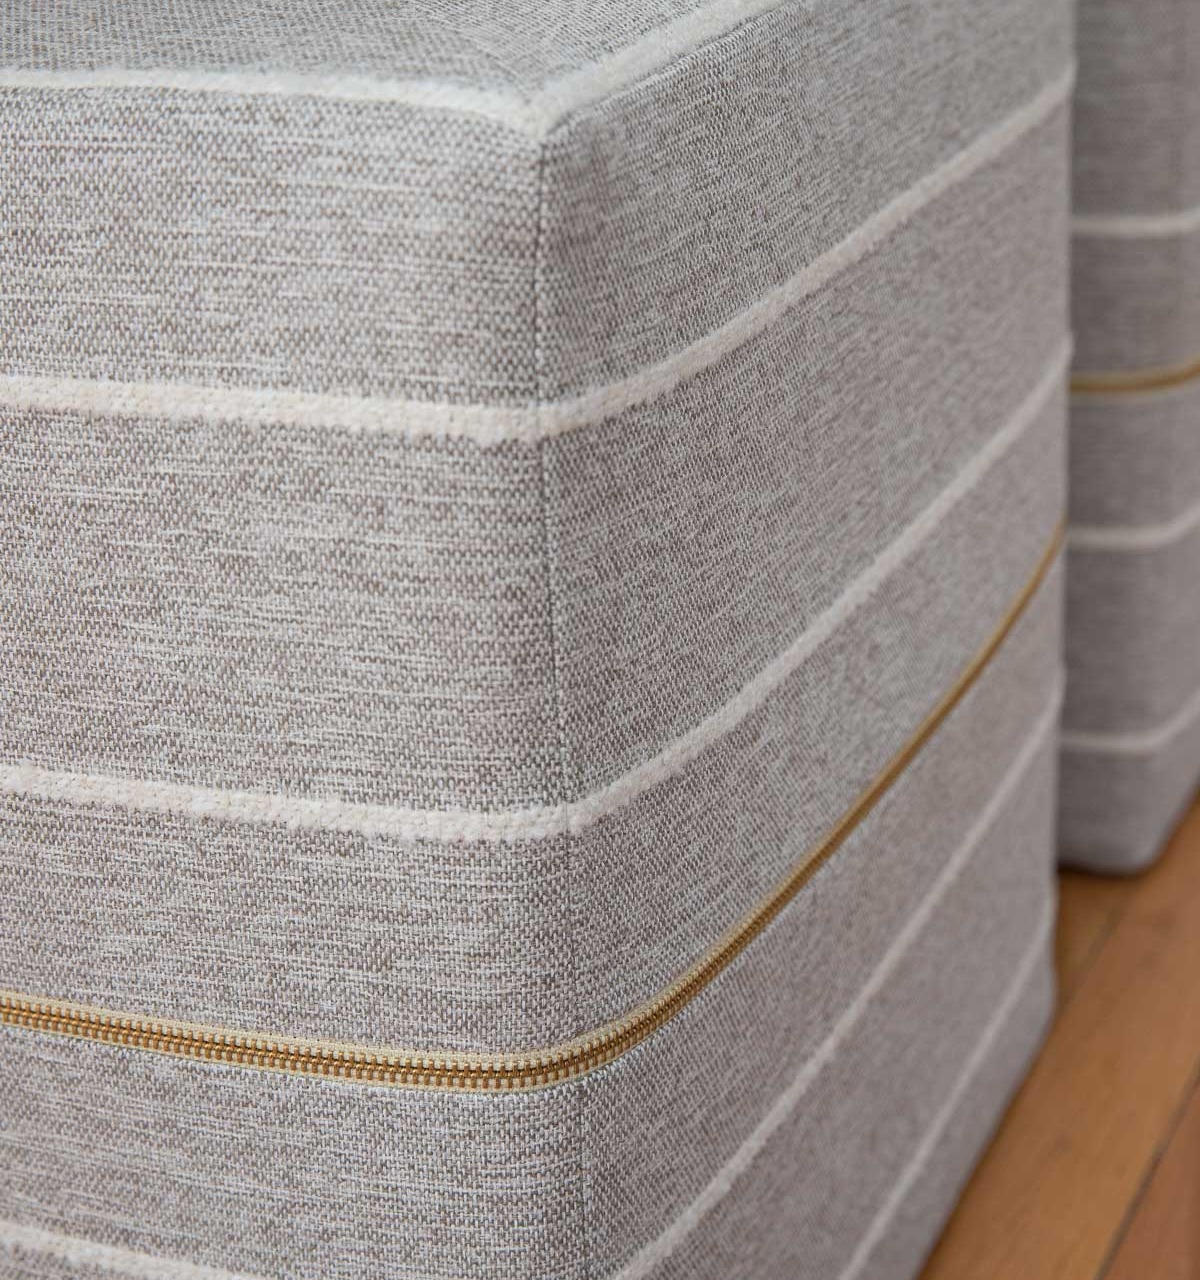
For my entryway, I chose two of {these cube ottomans} that were a perfect fit for the space:
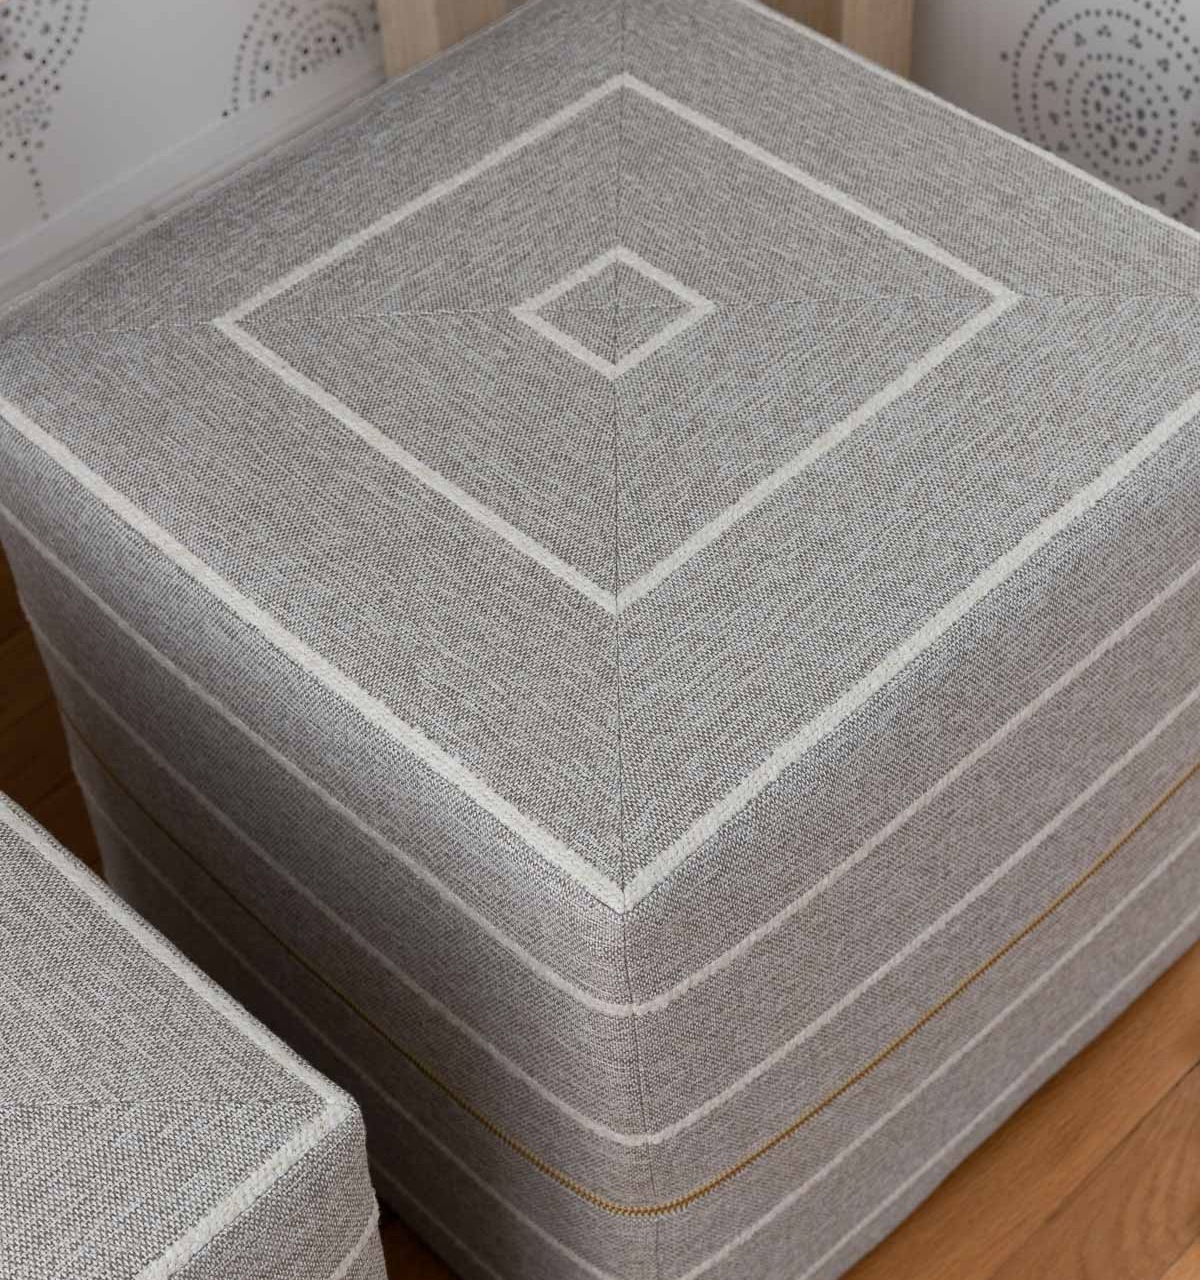
They’re great as quick seats and those brass zippers… love!!
They have lots of other stylish cube ottoman options too – you can check them all out {here}. If you want entryway seating that also doubles as shoe storage, check out my post on entryway shoe storage ideas.
6. Add Light With 1-2 Table Lamps
One key to decorating any room, including the entryway, is to have multiple layers of light. It’s an entryway decor idea that’s often overlooked but has such an impact in creating warmth and ambiance at night! I added one of {these white lamps} to the top of my console – they come in a pair and are really reasonably priced:
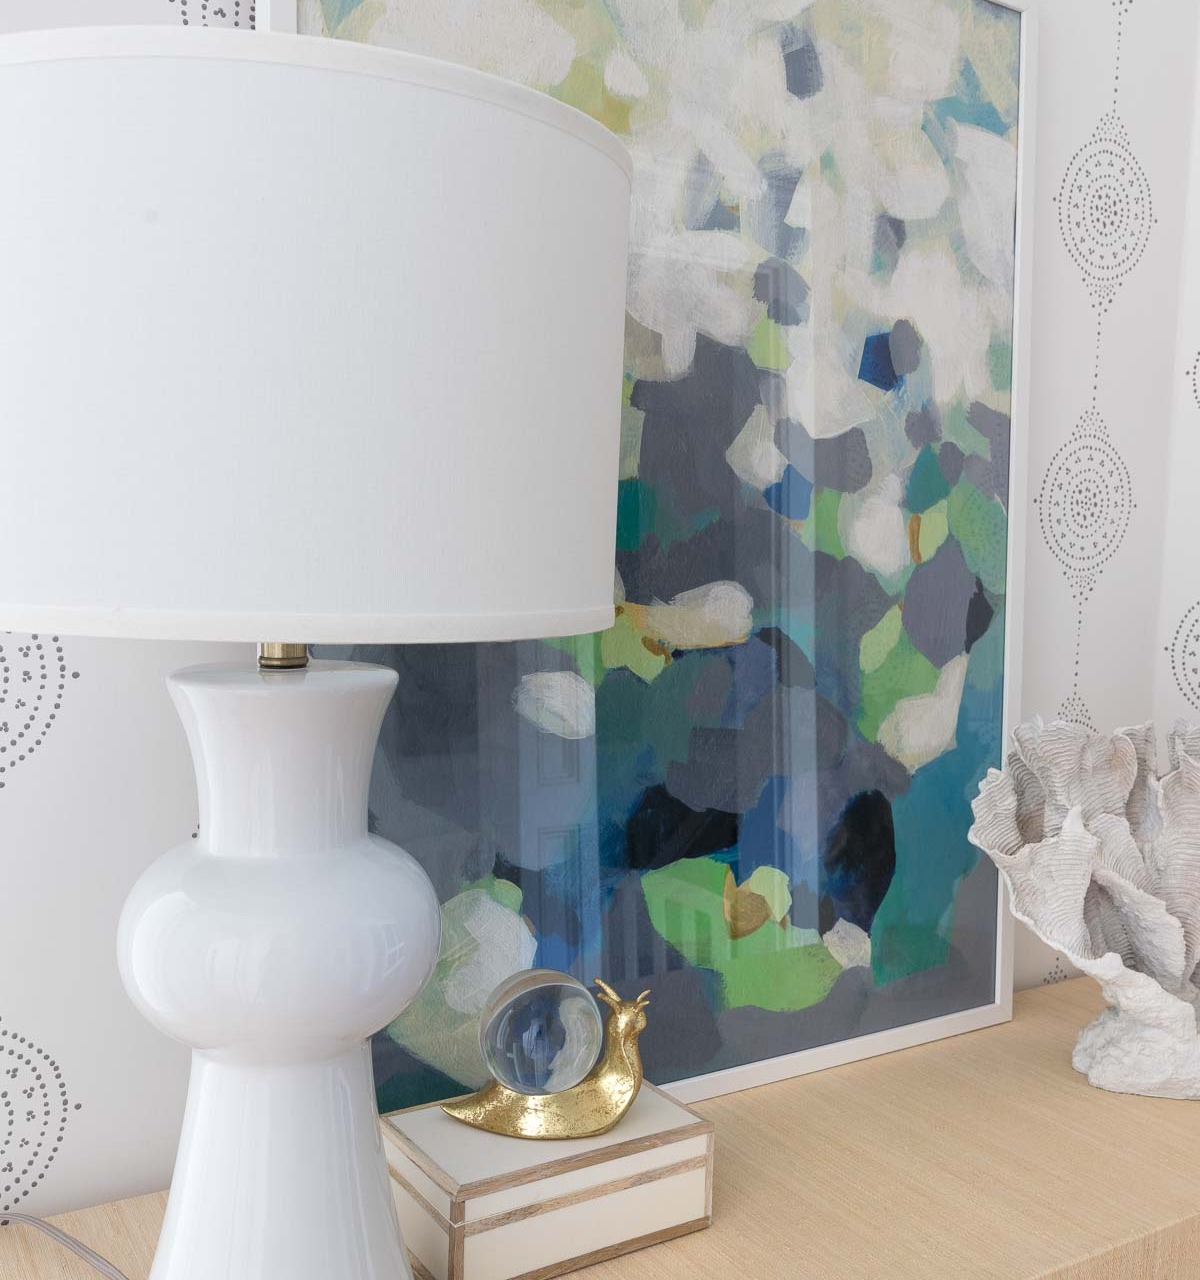
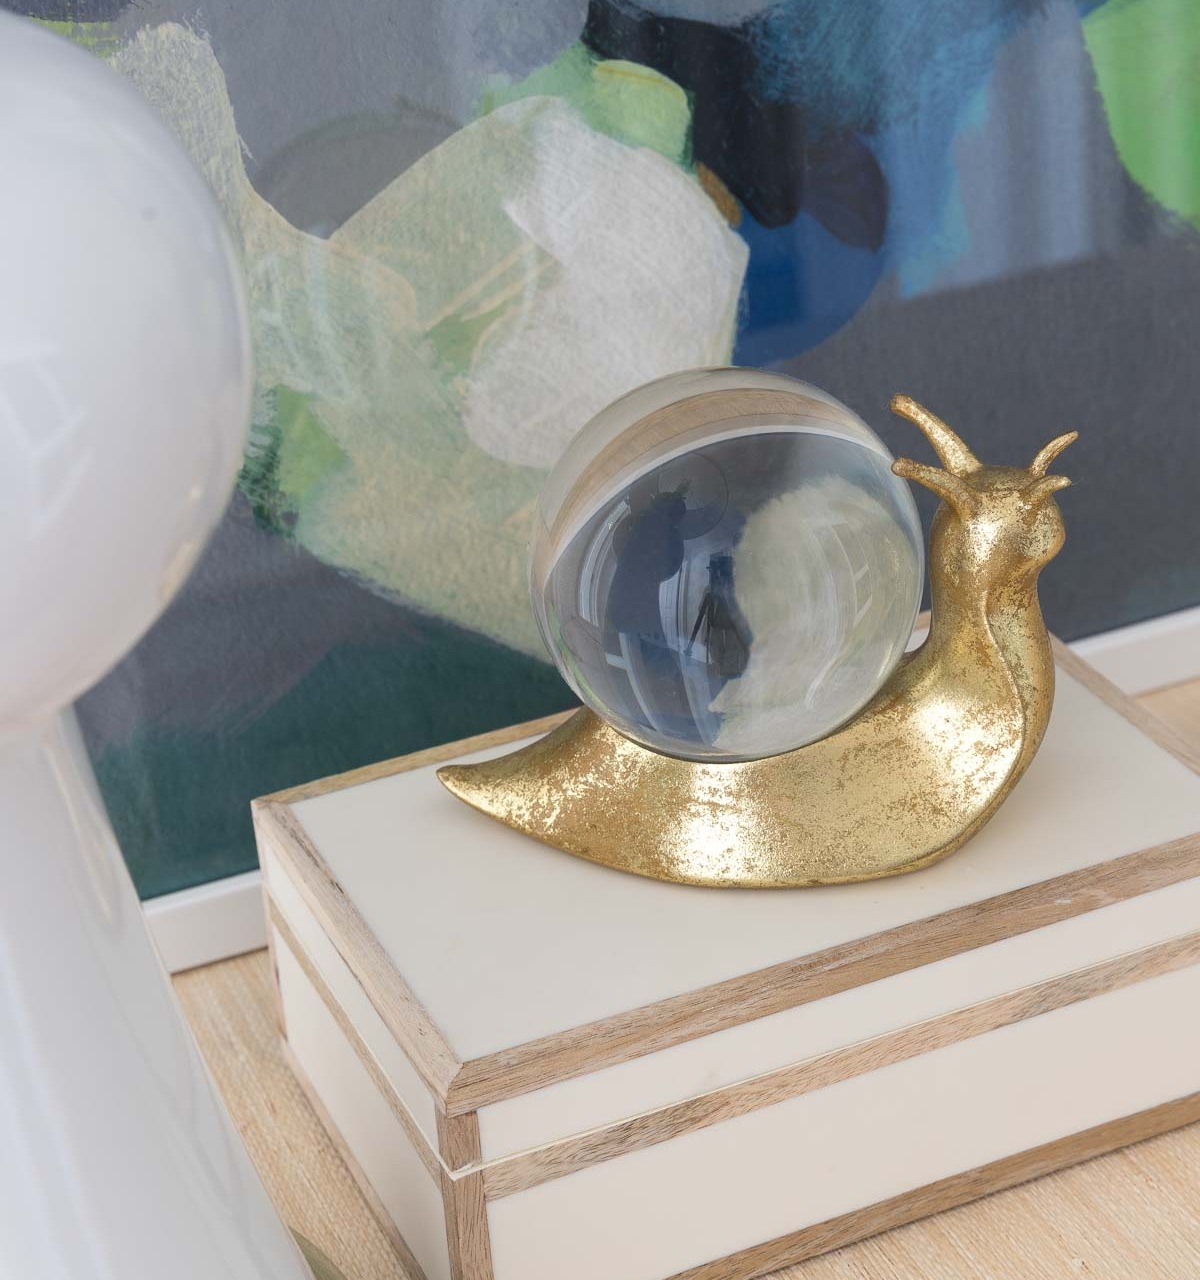
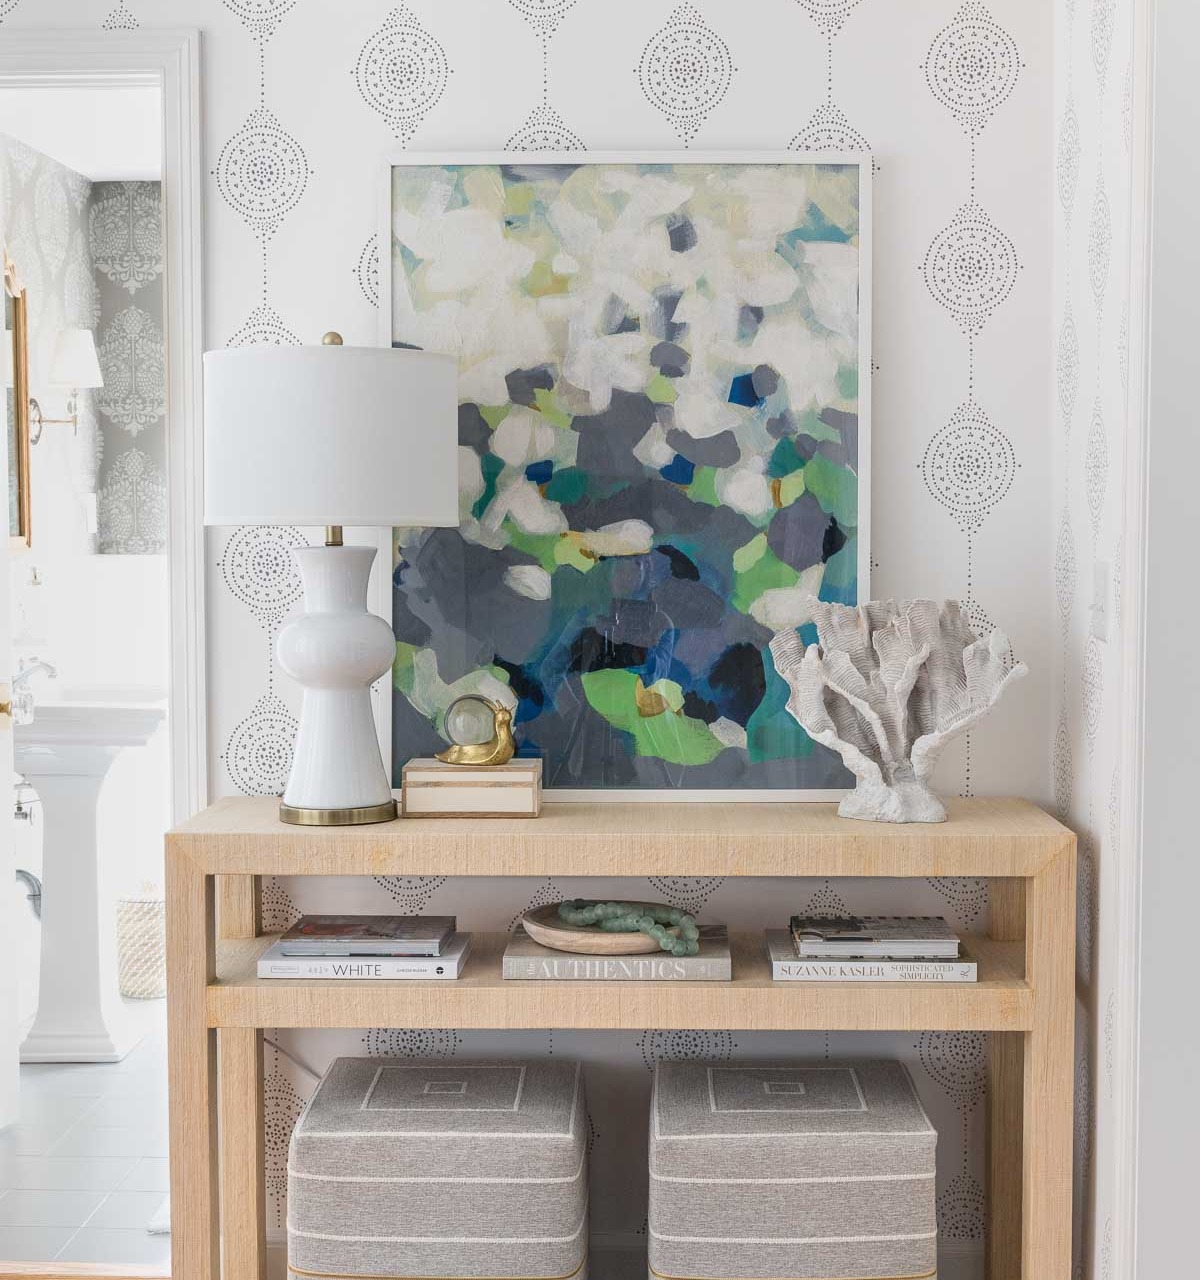
7. Layer in the Decorative Accessories
And last but not least in wrapping up this makeover… the smaller accessories! Next to my table lamp I added a decorative wood box and {this decorative snail} that I swiped from the floating shelves in our kitchen:
And on the right is a piece of faux wave coral that I scored from HomeGoods years ago.
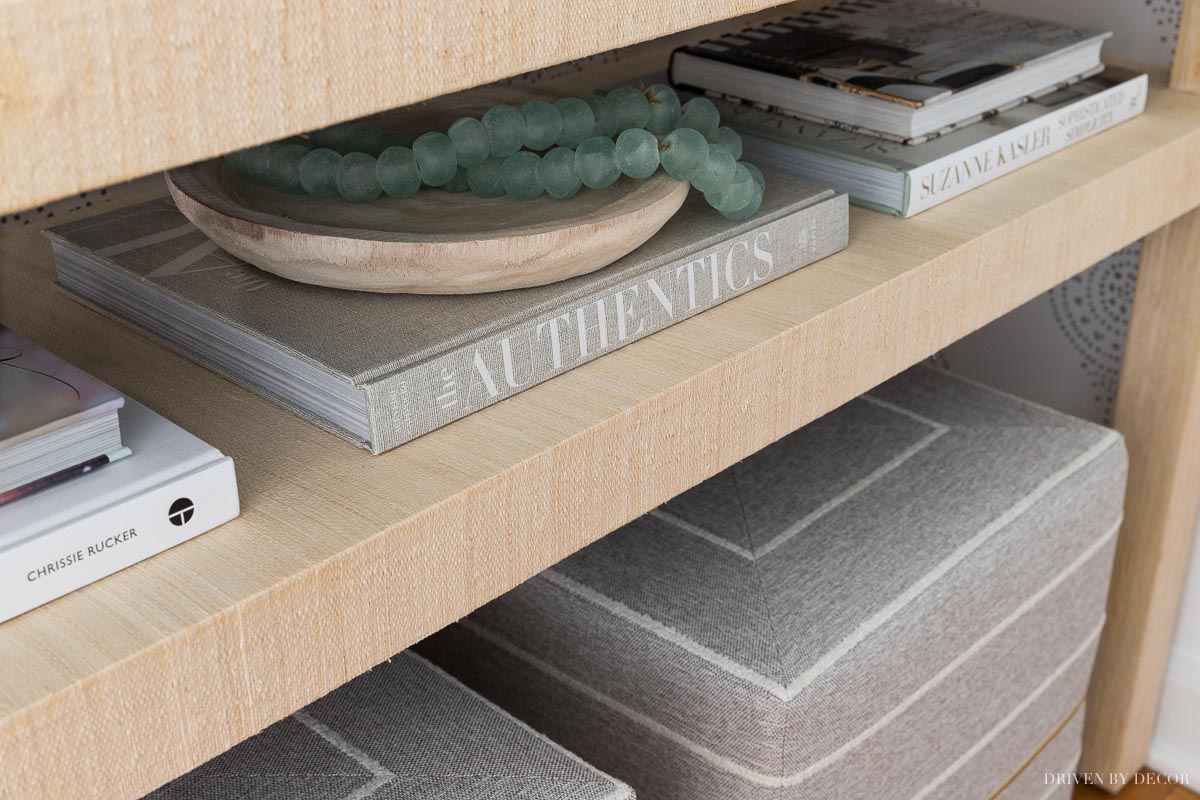
The console shelf was the perfect home for some of my coffee table book stash, {this shallow wood bowl}, and glass beads similar to {these}:
And with that… we’re done! Ready to see how it all came together??

It’s definitely a big change from this “before”:
to my makeover “after”:
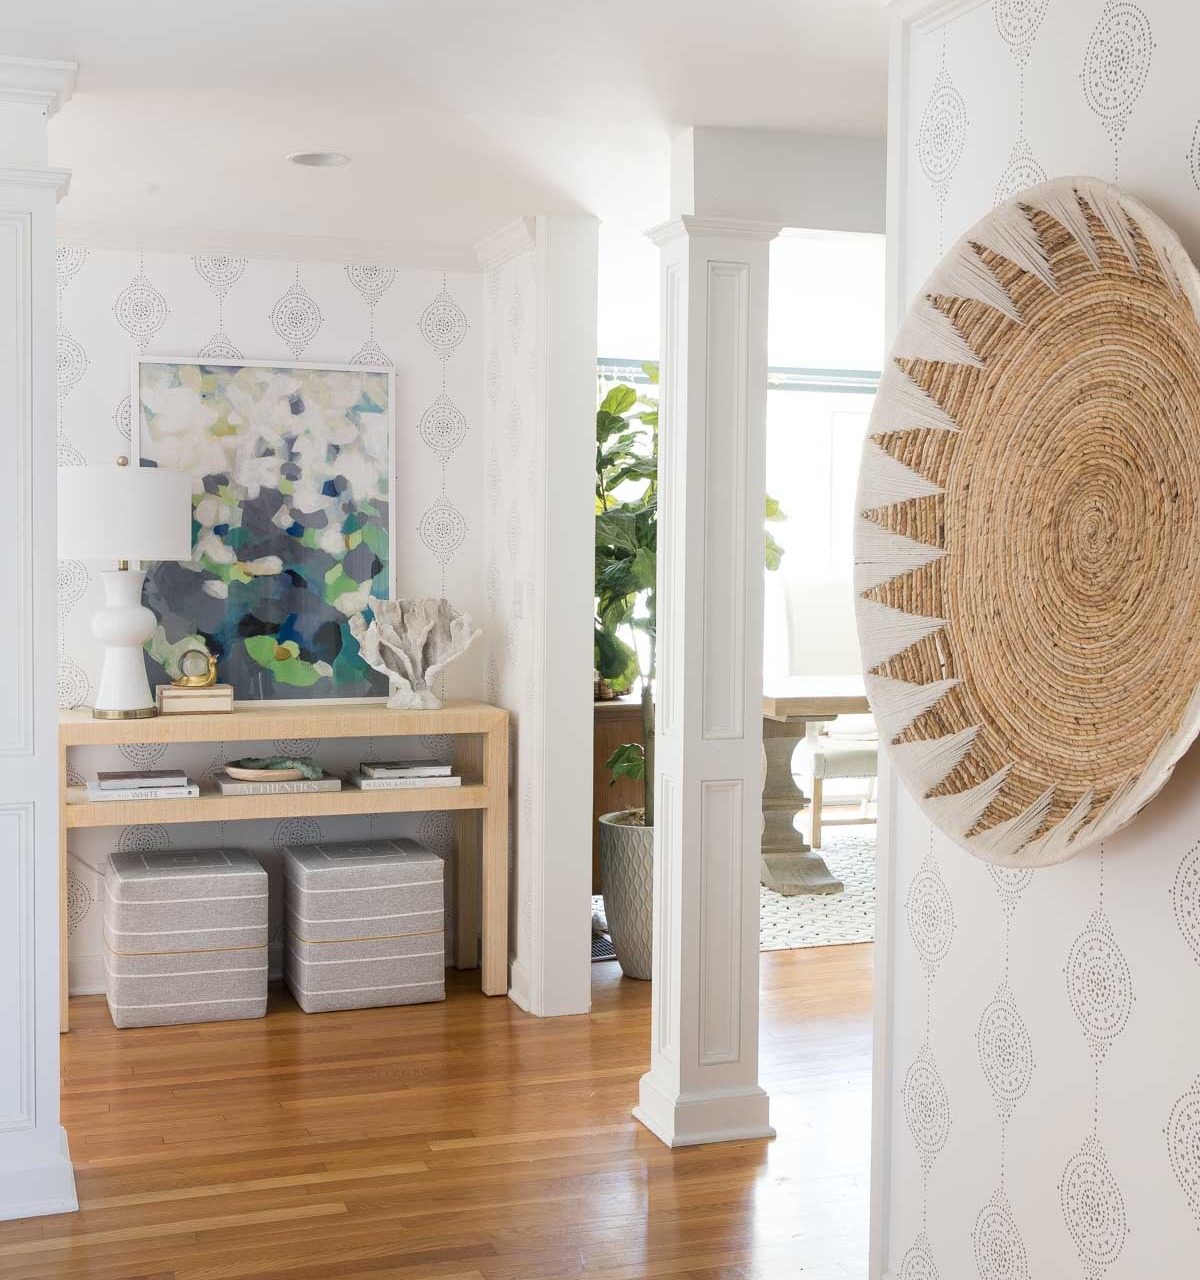
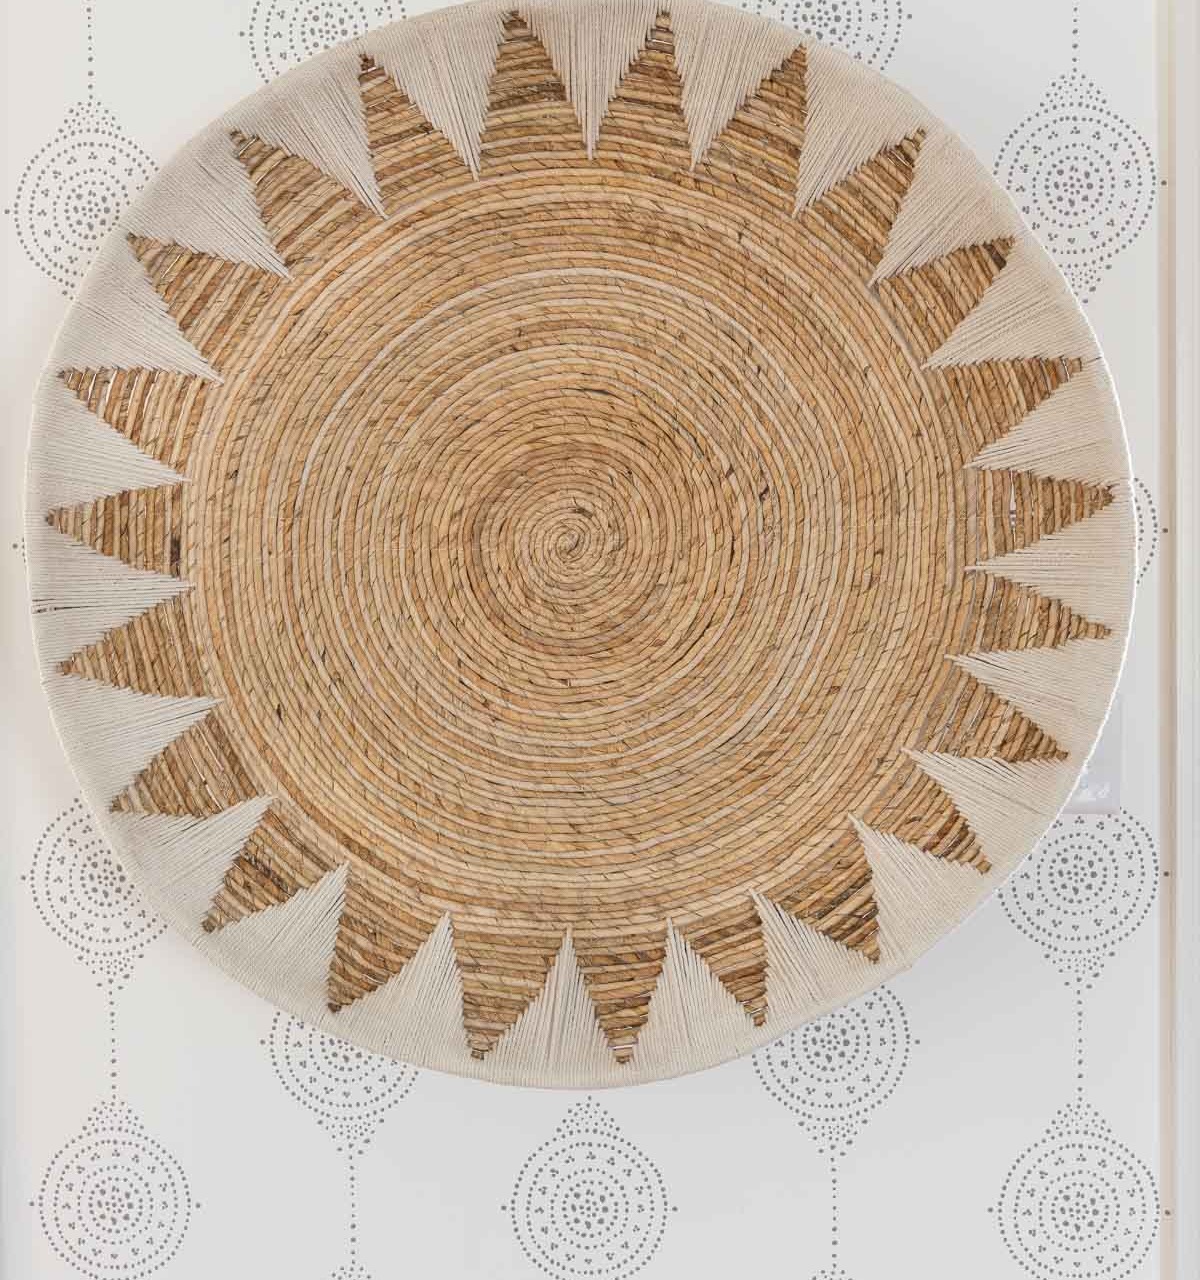
I decided not to add any furniture to our entryway other than the console table so I could keep the open feel but I did hang {this large wall basket} on the wall to the right:
And with that our entryway makeover is a wrap! I’m already scheming up my next makeover that I hope to start in a few weeks… stay tuned! 🙂
XO,


Karen B. says
Kris,
Some lucky buyer is going to be thrilled with the great changes you’ve made in this home. The entry turned out so well. It’s great.
xo,
Karen
Donna says
Great job! Looks refreshing and updated.
Anna says
It certainly was a transformation and the scale of pieces were appropriate and balanced. The wallpaper, table and art played well together and contributed to a cohesive aesthetic. The middle of the road quality of the table and massed produced art did appear to have long term utility. The upholstered cubes underneath the table served no purpose.
All that said if the homeowner is pleased, the project is a success.
Kas says
Beads in a bowl have no purpose. Decorating books stacked under lamps have no purpose. Vignettes in general have no purpose. Half of decorating is simply filling spaces with pretty items, whether or not they’re functional or serve some higher purpose, so the cubes DO serve a purpose…they are part of the decor; they look pretty Also they’re extra seating as needed, which is never a bad idea.
Also, calling a Serena & Lily $1300 console table “middle of the road quality” is just snooty & uncalled for. Sheesh.
Julie says
Wow! Why are you taking out your negative attitude on her?
She’s helping a lot of people and if you don’t enjoy it, it really isn’t necessary to be so mean spirited.
We all need some kindness in the world right now…….
Anonymous says
If you can’t say something nice…
Michele M. says
WOWWWWW!!!! That transformation is absolutely amazing. Gracious what a nice change.
I love your choices in everything!
RIP to your MIL – that is so sad. She would love your showed how helpful she was (they both were.) ♥♥
classic casual home says
Bravo, Kris. I just love it!! Love the Tonic Living cubes too and have pinned them!
So cute your wallpaper removal helpers 🙂
Mary Ann
Lisa Mills says
BRAVO!!! Wouldn’t change a thing! And you’re right, those ottomans with the brass zippers…magnifique!
Linda says
Sensational idea of the console with ottoman underneath. My hubbie insisted on having bench , but I just couldn’t see it, especially as I wanted a few decor items in the entrance. Perfect solution for us, love the entryway. Thanks for the inspiration as always.
Kris Jarrett says
So glad you found a little inspiration from this post! I actually always wanted something to sit on in the entryway and we had a shallow bench along one of the long walls for a bit but it made the entryway feel too cramped so this was a good solution for us 🙂
Lizzy says
Beautiful! I love everything you did.
Robin Price says
It turned out absolutely gorgeous!!
Susan Smith says
Kris,
I love your style! I luckily found your blog last year and have used several of your inspirations in my home that was under construction at that time. I always find something that I love when I receive your emails and look to see where it may work in my home. Thank you!
Gail says
Wow Kris! What a difference and I LOVE it. You mentioned you should have done it years ago, but would you have done it like this? I doubt it so maybe it was worth the wait. I adore that Serena and Lily wallpaper and goes perfect with your powder room! Of course, I love everything you do, so I’m not surprised that your entry hall is now a thing of beauty!
Kris Jarrett says
That’s a really good point because you’re right – I probably wouldn’t have done it the same. And all of the contractors had to pass through our entryway to go back and forth to our bathroom addition and I’m about 100% sure at some point the wallpaper would have been damaged so probably worked out for the best in the end!
Susan Foley says
Kris,
Your foyer transformation is fabulous! I love all of your tips for applying and removing wallpaper, as I am contemplating putting up in the kitchen.
Toni says
Well, it looks pretty awesome. But then I would expect no less from you!
Maya says
Love the make over. The hallway comes alive.
Beth says
I love everything about this!
Emma says
Lovely! Three questions for you Kris:
1. Did you use BM White Dove on the TRIM as well as the walls?
2. What sheen did you use for walls vs. trim?
3. Did you continue your wallpaper down any adjacent hallway or did you use it just on the right entry wall and back wall where you rest your console as as “accent” wall focal points?
We have a similar “traditional” entry that is currently painted yellow, and our first intention, like yours, is to change the paint (throughout the house) from yellow on our walls (and trim) to white, but I am debating whether to match the trim and wall color (its a ranch-style home) or use a slightly different white tone on the trim. Thanks for your insights!
Kris Jarrett says
Hi Emma – yes I used White Dove in Satin on the trim (it seems to have a big of a yellowy cast in the pics but it doesn’t in person) and in flat on the walls. Whenever I paint a room white I use the same color white for the trim – the difference in sheen gives it just the right amount of contrast while still coordinating beautifully. And yes I papered our entire entryway 🙂
Lyn says
Beautiful job. Isn’t Transitional refreshing? I laughed at the wallpaper story – when we bought our first home in our early 20’s we knew we wanted to make a lot of changes. Every single room in the house had been wallpapered!!! We found out very early on that it was 2 layers of wallpaper and it was all put on the old fashioned way – with a brush and glue. We decided to do just one wall at a time, and paint it white, and then go from there. That way we could maintain some kind of neatness, and didn’t tear a room apart. It took a while, but with a lot of TLC the walls in the 17 year old house looked like new. We did learn something from this experience as far as real estate – don’t buy a home in what I refer to is the “danger zone”. A 17 year old home is new enough to still have everything – HVAC, driveway, garage floor, bathrooms and kitchen – but within a very short period of time all these items will need replacing. We actually lived there for 17 years – but during that time everything was either updated or completely replaced at great expense. After that we built a new home, and we have been here 25 years, but everything has been updated for the next buyer, and we were able to take our time when tackling each project.
Kris Jarrett says
Lyn we have had the EXACT same learning experience with “danger zone” homes and have learned our lesson to really pay attention to the age of HVAC, roof, driveway, etc. when looking at homes. Those expenses are huge and add up so quickly!