

Mixing metals in your bathroom doesn’t have to be intimidating. These simple tips make it easy to pull together this layered look with confidence!
I used to think mixing metals was something you just didn’t do. For years I picked one finish and committed: hardware, lighting, everything. But somewhere along the way I started baby-stepping my way into combining metals, and now there’s hardly a room in our home where you won’t find a mix of metals (especially my fave brass and nickel combo) working together.
Today I’m sharing tips to help you move beyond matching and start mixing metals in your bathroom and every other space in your home! (post includes commissionable links; for more information, see my full disclosure statement {here})
1. Stick to 2-3 Metals & Use Each More Than Once
Good rules of thumb if you’re new to mixing metals are to stick with only two different finishes in a space and repeat each metal in more than one place. This simple approach keeps your space feeling intentional rather than mismatched. As you get more confident, you could experiment with introducing a small dose of a third metal – just use it sparingly so it reads as an accent rather than a competing element.
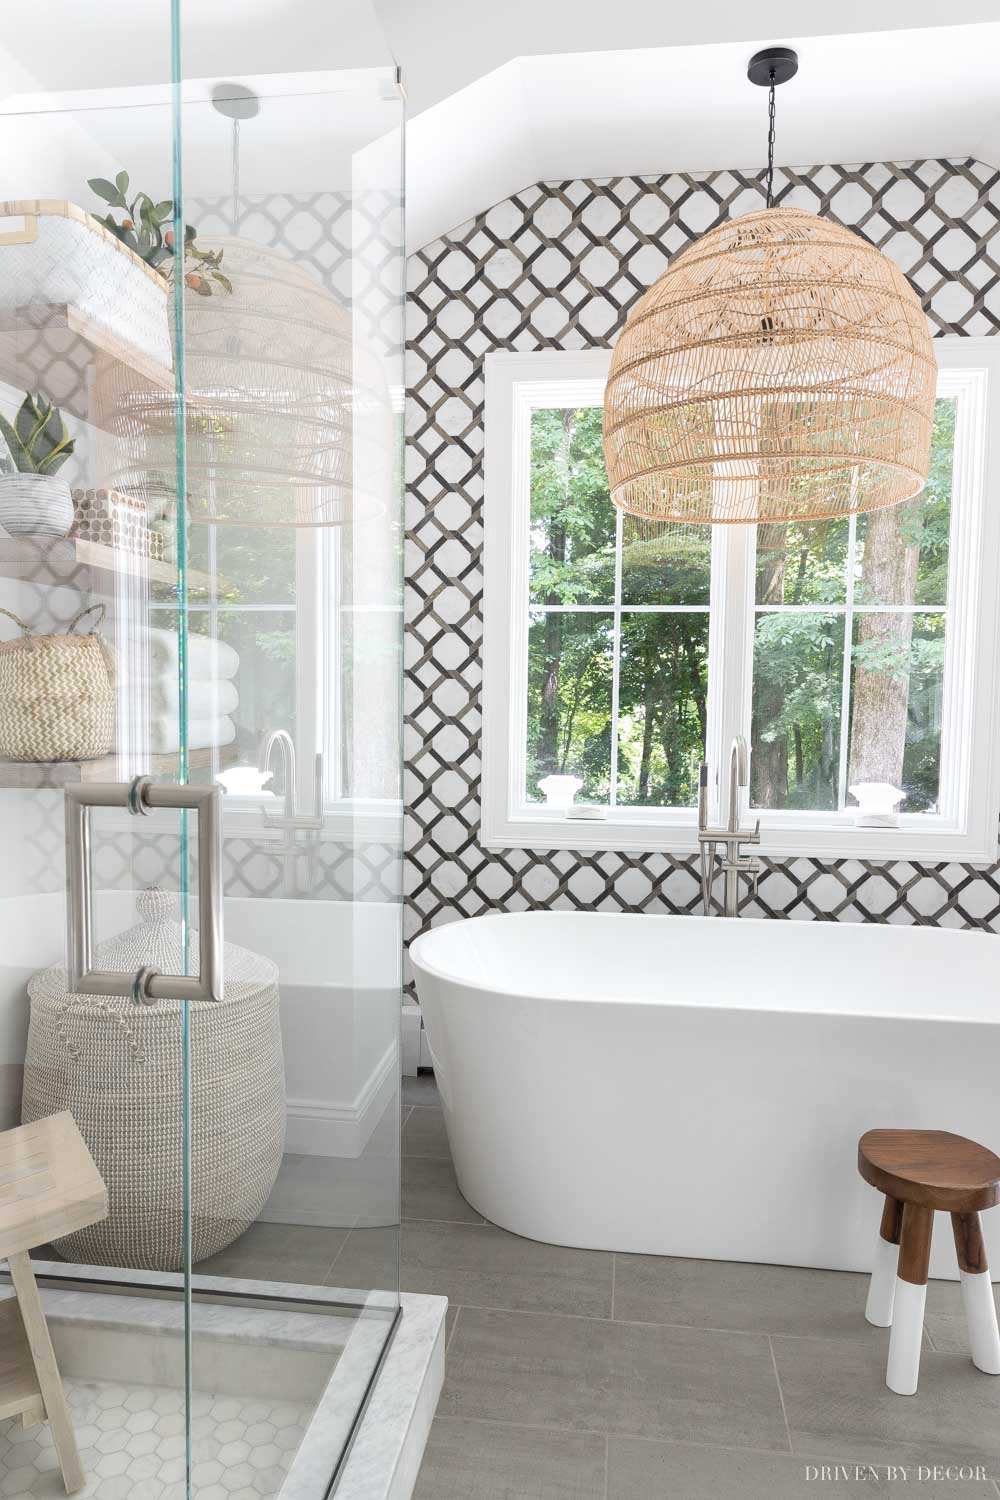
As an example, for our bathroom remodel, I chose to pair soft brass with brushed nickel throughout the space. To make the mix feel intentional and cohesive, I repeated each finish in multiple places. Our bathtub filler, shower hardware, and vanity faucets are satin/brushed nickel:
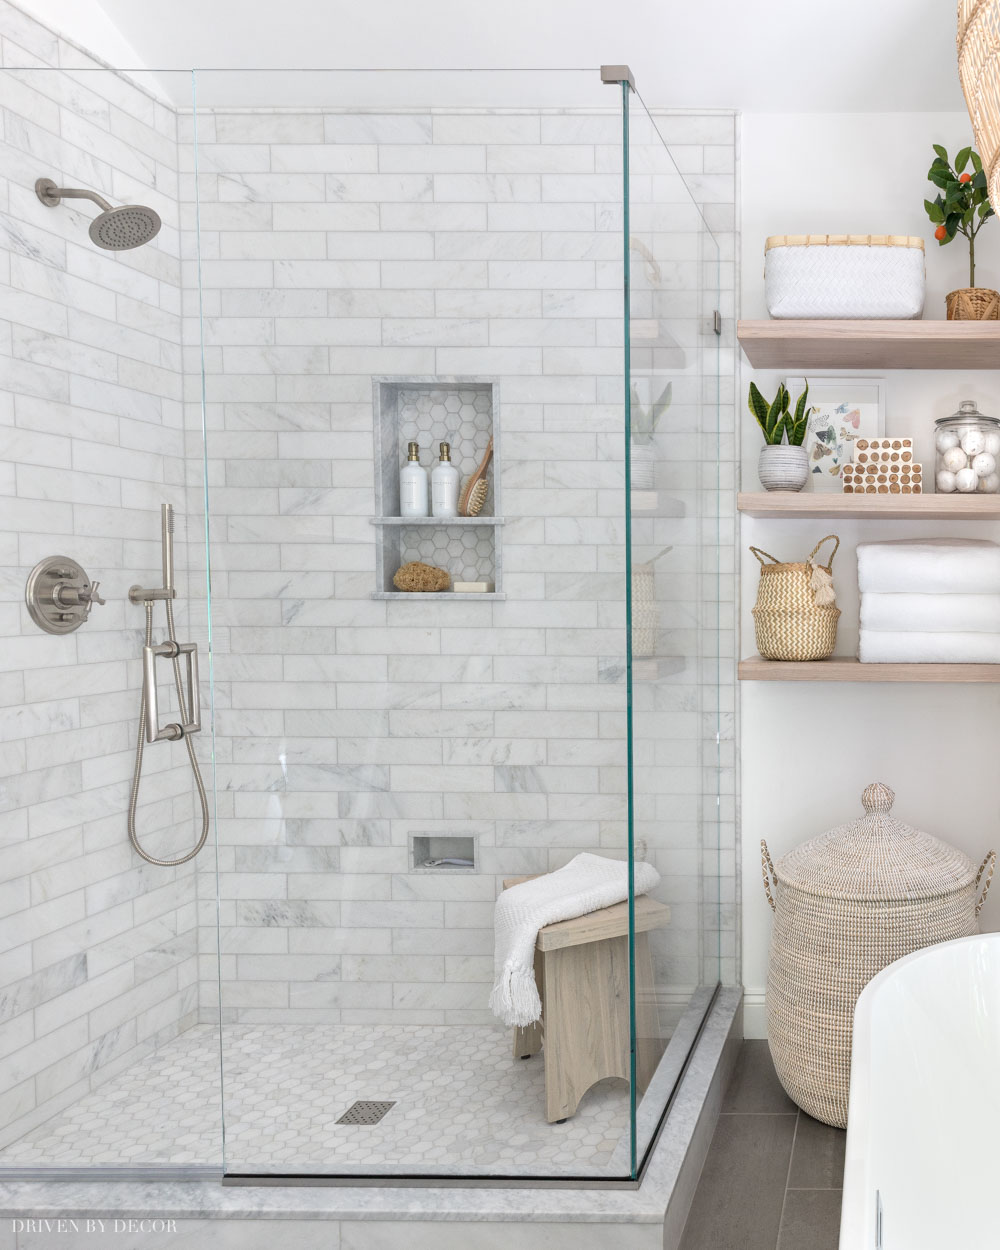
Sources: Shower stool | Shower valve trim | Floating shelves | Large lidded basket for hamper
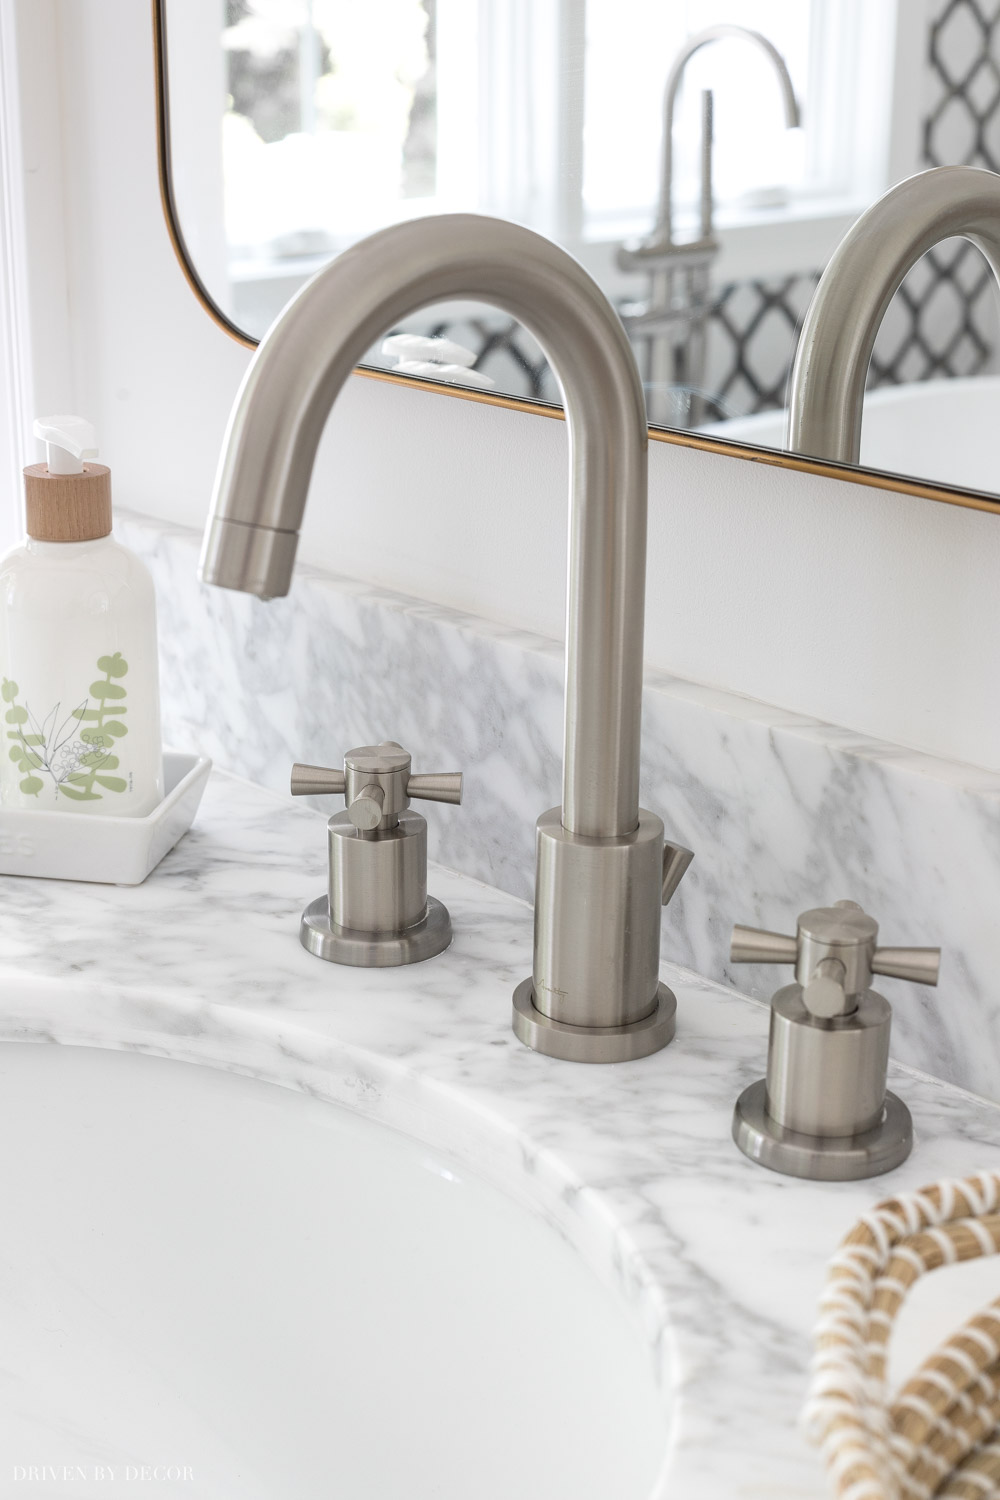
and our mirrors, vanity lights, vanity knobs, and some accessories are gold/brass:
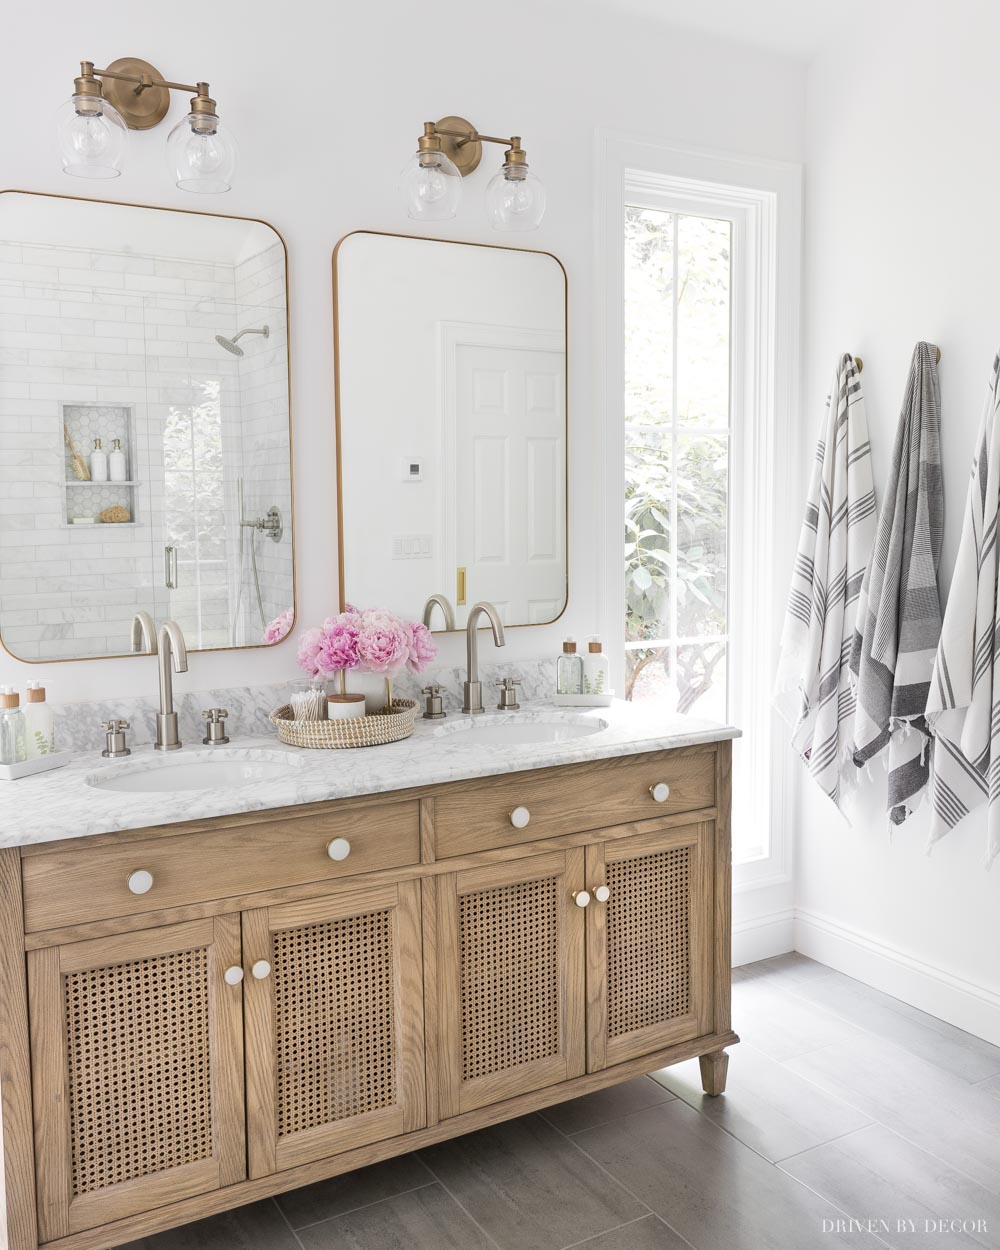
Vanity Area Sources: Double vanity | Vanity knobs | Vanity lights | Vanity mirrors (gold) | Soap & lotion sink set with tray | Gray & white striped towels | Robe hooks (golden champagne)
2. Sprinkle, Don’t Cluster
Sprinkle each metal finish throughout your space rather than clustering them together on opposite sides of the room. You want the mix to feel balanced and intentional, not like brass landed on one side and nickel on the other.
Sometimes it’s the smallest metal accents that make all the difference! For example, my vanity area is a mix of brushed nickel and brass but our shower across the room has all brushed nickel plumbing fixtures. To tie the two spaces together, I added shampoo and conditioner pumps with brass tops to bring a touch of that warm metal finish metal into the mix too:
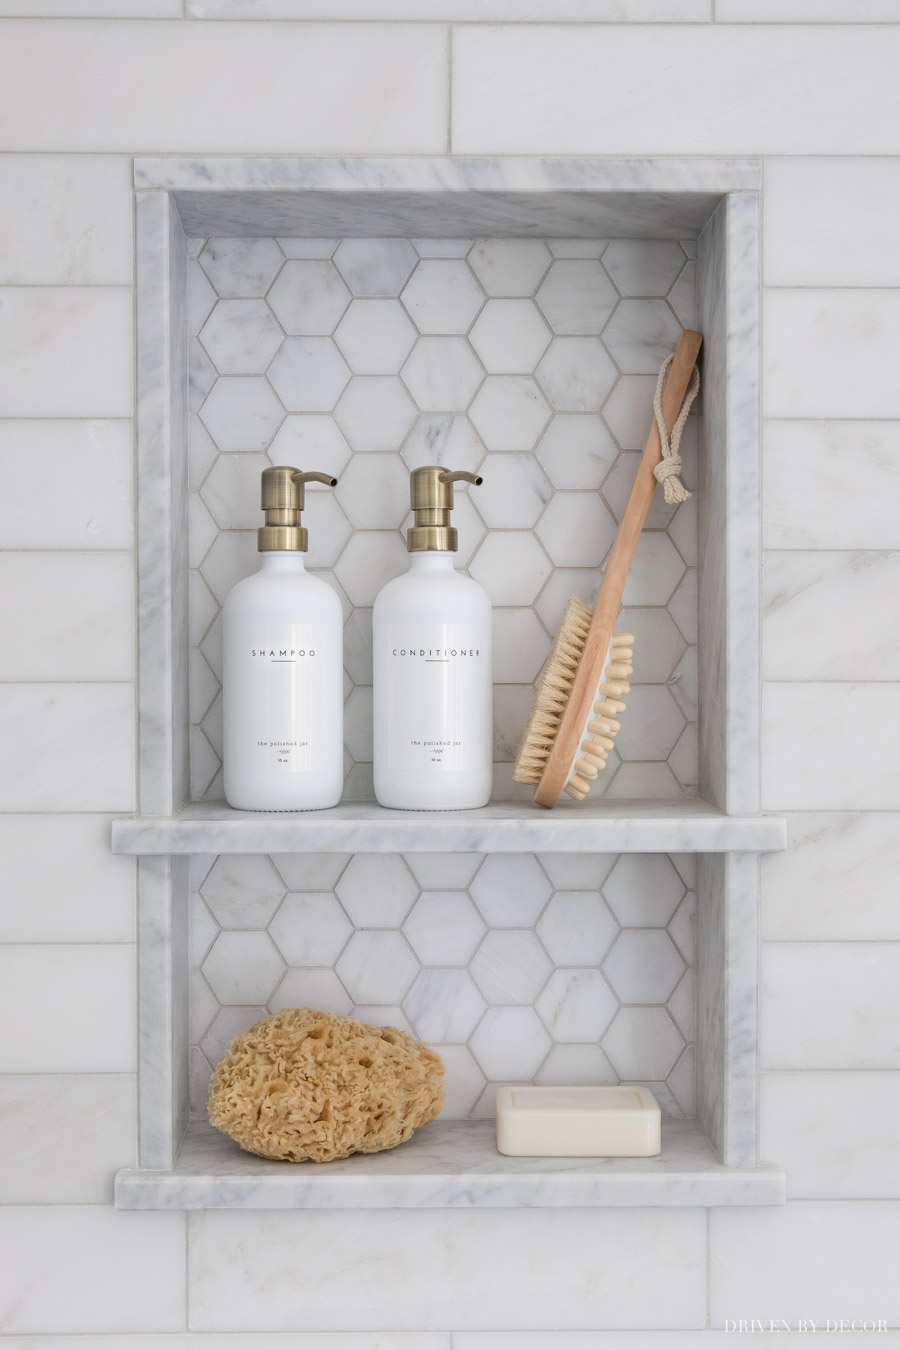
Sources: Pump bottles (16 oz white/gold) | Body brush | Sea sponge | Hexagon tile
3. Choose Contrast Over Matching
If two finishes are close enough that someone might think you meant to match them but missed, skip the combination. Polished nickel and chrome, for example, are both shiny silver metals but polished nickel has warm undertones while chrome is cooler, making the pairing feel slightly off instead of intentionally mixed. You want contrast that reads as a design choice, not a near-miss.
These are a few finish combo examples that do and don’t work:
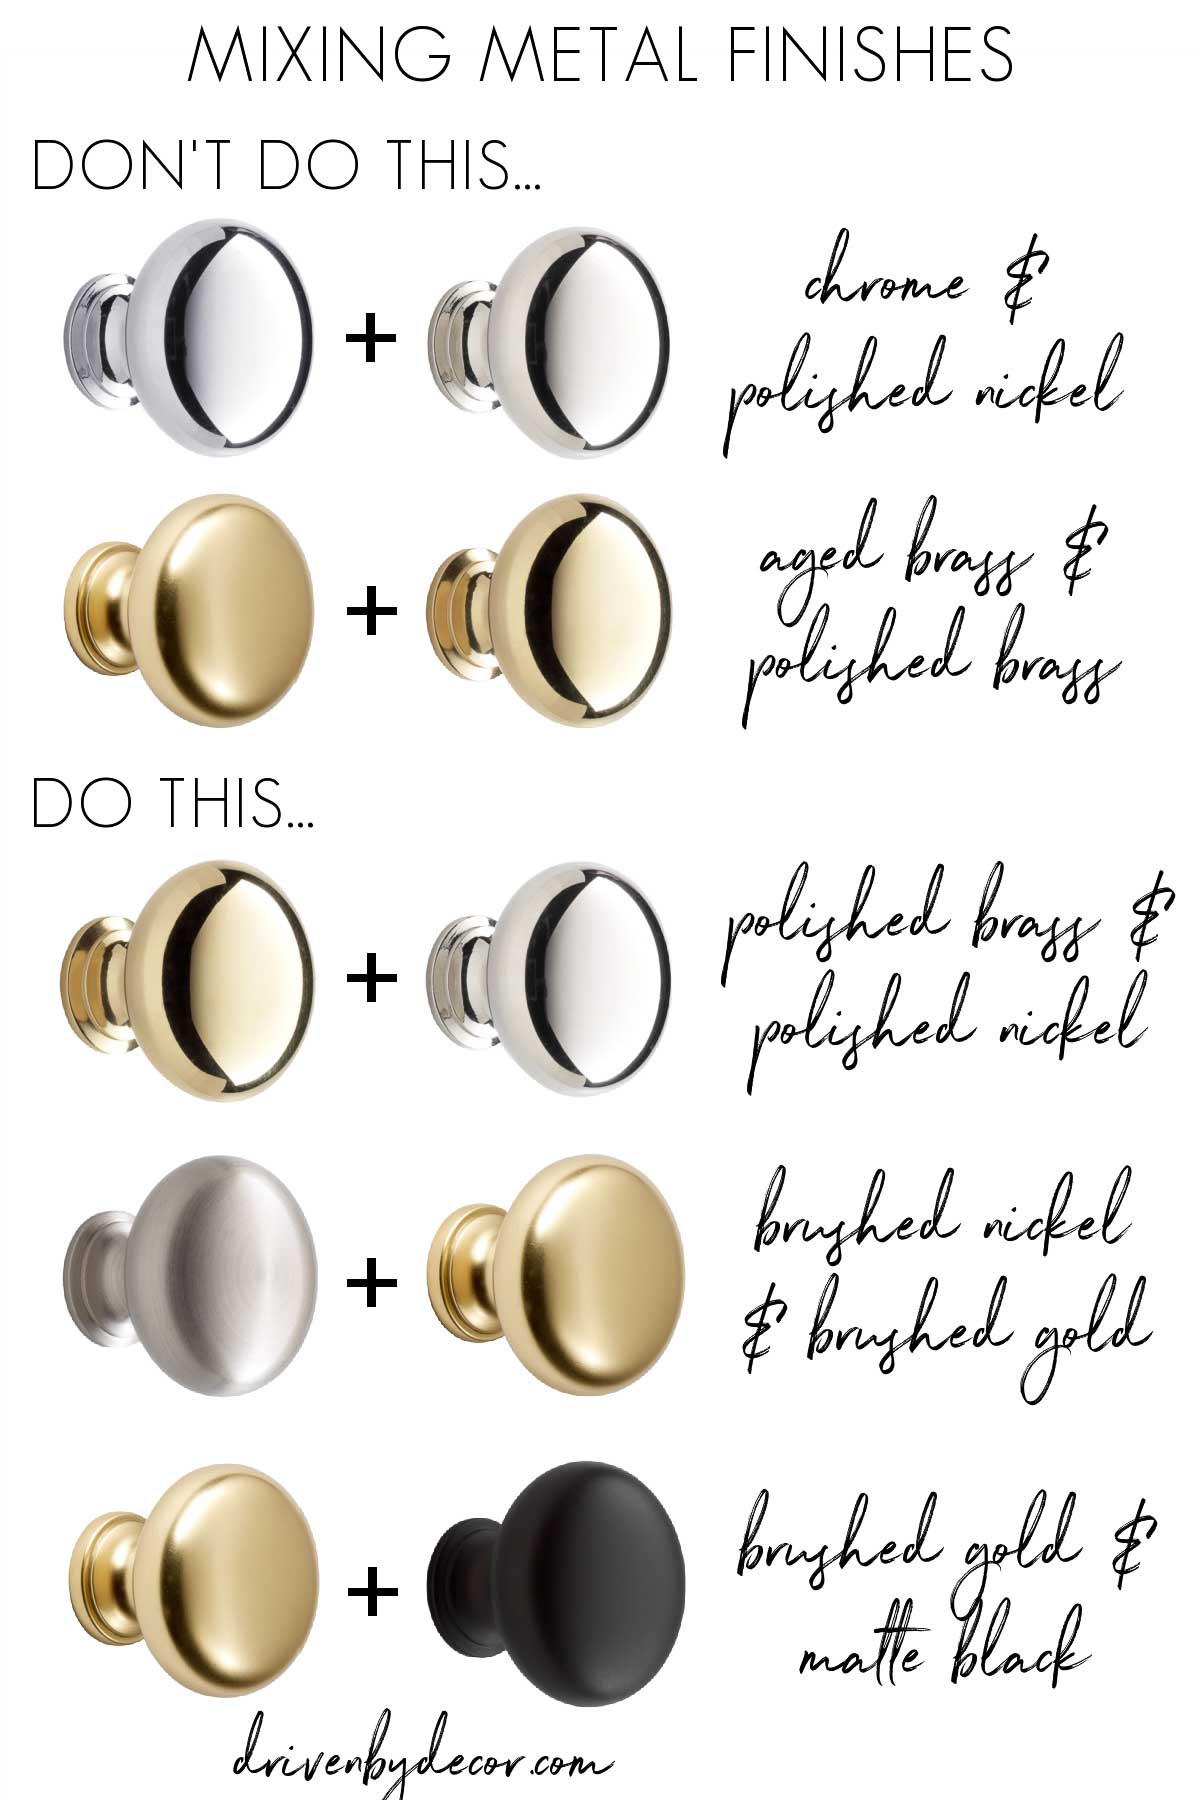
Knobs available {here}
Keep in mind that brands are notoriously inconsistent with finish names. “Champagne bronze,” “vintage brass,” and “antique gold” can look nearly identical in real life, so don’t get too caught up on the metal’s name. Your eyes are going to be the best judge here (and seeing finish samples before larger purchases like bathroom plumbing fixtures is key)!
4. Use Dark Metals As a Neutral
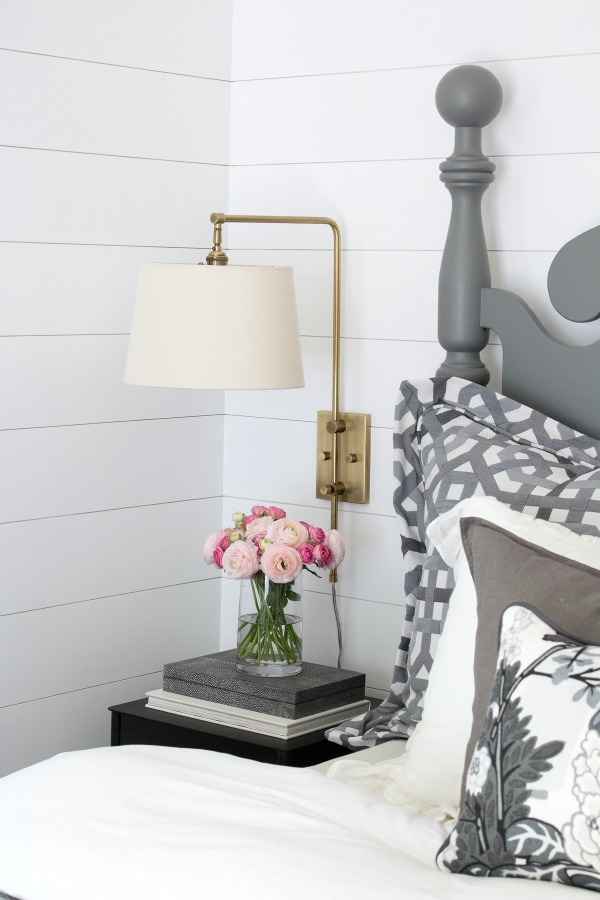
Matte black and other dark metals work as neutrals and mix well with brass, stainless, chrome… pretty much everything! The combination of black metal with gold or brass is a personal favorite. I mixed the two in the master bedroom of our previous home when I hung {these brass swing arm lamps} over our black metal nightstands:
And in my bathroom, I actually threw a small dose of a dark metal into the mix! The dark bronze chain of our woven pendant blends right in and lives happily with the other two metal finishes in our space:
Sources: Tub filler | Bathtub | Stool
5. Keep Trendier Metals on Low Commitment Pieces
One question I get asked a lot is whether I worry about using brass and gold finishes because it’s “trendy.” Personally, I think brass has proven itself to be pretty timeless (although that’s probably a whole separate post 😅), but if you’re concerned about a metal finish eventually feeling dated, there’s an easy way to approach it.
Keep your larger, more permanent fixtures in a classic finish and bring trendier metals in through lower-commitment pieces that are easy to swap out later. For example, you might choose polished nickel (definitely timeless!) for your faucets and shower fixtures, then mix in brass through cabinet hardware, mirrors, towel bars and other smaller accents. It’s a simple way to add personality and warmth without committing to a full bathroom of a finish you may tire of down the road.
When planning our kitchen remodel I was seriously tempted by a range with gorgeous brass accents that I absolutely loved. But since we knew we’d be reselling in the near future (and not everyone is a brass lover), I decided to stick with more classic metal finishes for the bigger investment pieces like our range, appliances, faucet, and pot filler.
I brought brass into the space through lower-commitment details like cabinet pulls, pendant lights, and a few accessories. That way, the kitchen still had the warmth and character I wanted, but those brass accents could easily be swapped out down the road if a future homeowner preferred a different look.
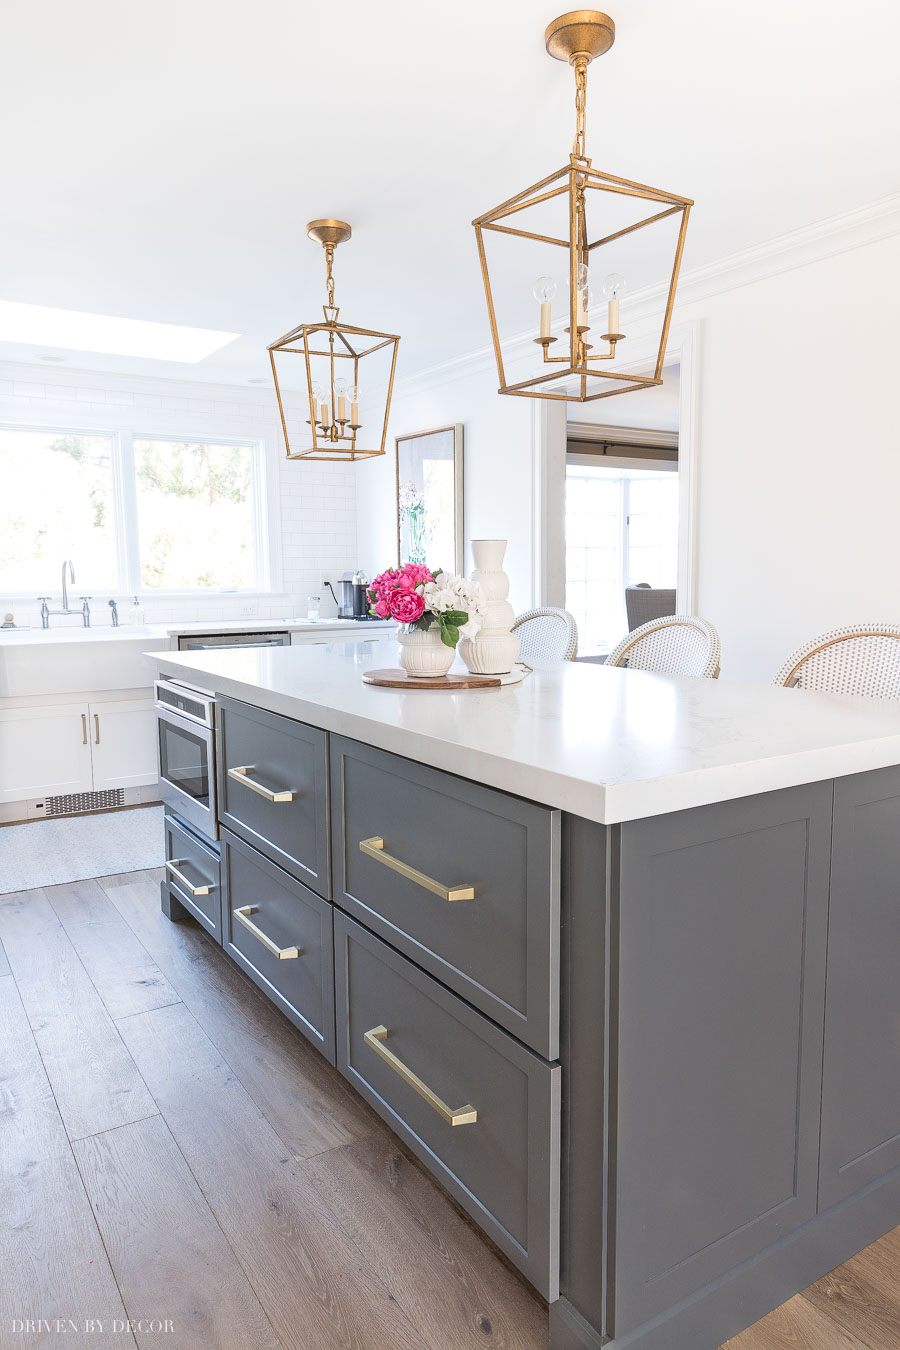
Sources: Pendants | Large appliance pulls on drawers | Counter stools | All other sources are in my kitchen remodel before & after reveal
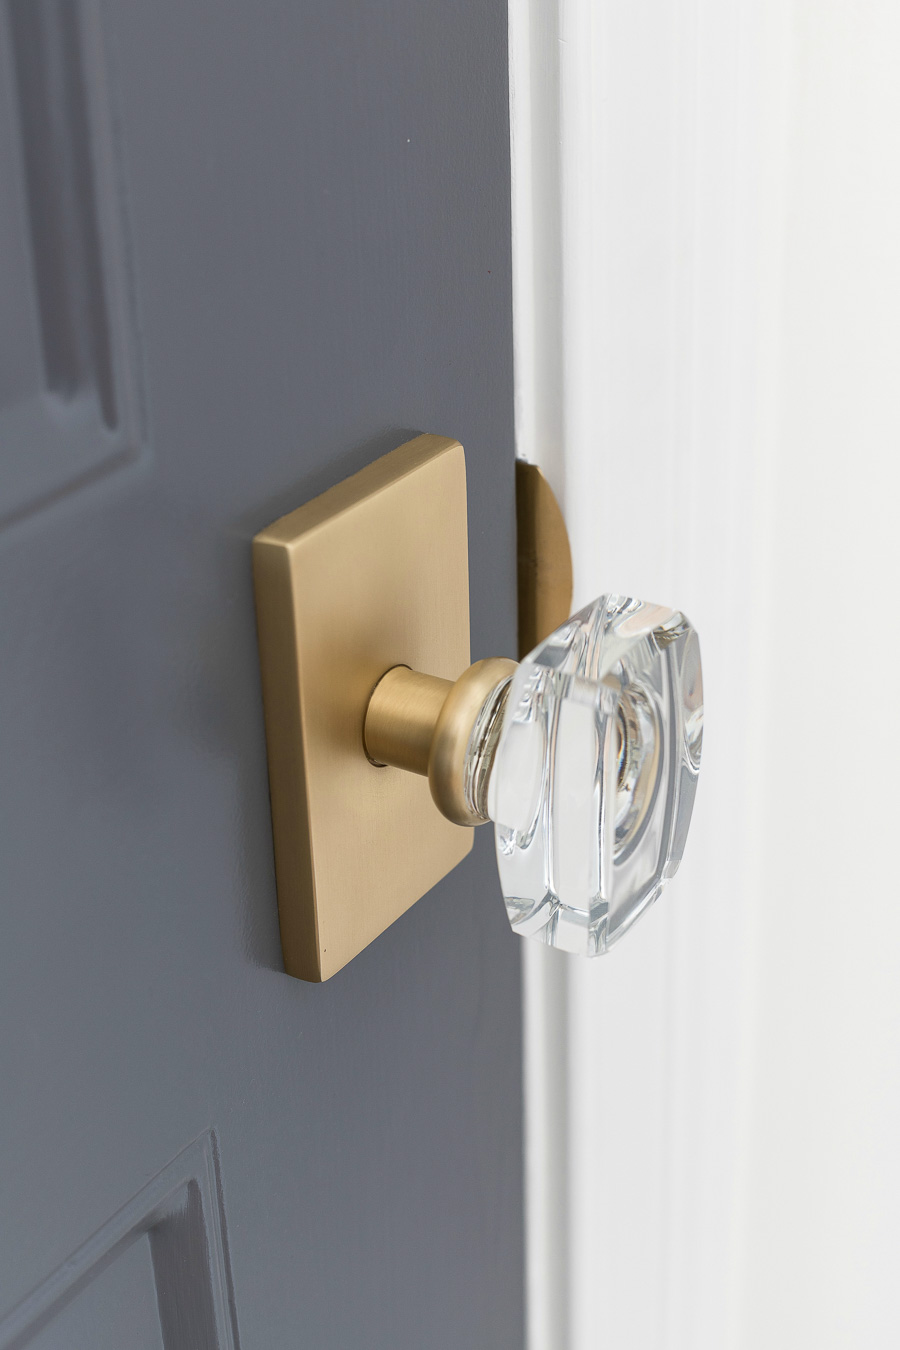
I did make one little exception to my “keep it low commitment” rule with {these brass and crystal doorknobs} that I added throughout the first floor of our home. They were love at first sight and one of those details I simply couldn’t resist!
6. Fix Mixed Metal Fails with Spray Paint and Rub ‘n Buff
The great thing about experimenting with mixed metals is that if you try a combination of metals out and it just isn’t working in your space, sometimes the fix is as simple as a can of spray paint or tube of Rub ‘n Buff!
The large round mirror over our bedroom dresser came in a bronze finish that was beautiful but just didn’t work like I wanted it to with everything else going on in the space. Luckily it was an easy fix – in just 15 minutes (and without even taking it down from the wall) I was able to change it to a gold leaf finish with nothing more than a dry cloth and this tube of Rub ‘n Buff (I used the Gold Leaf finish).
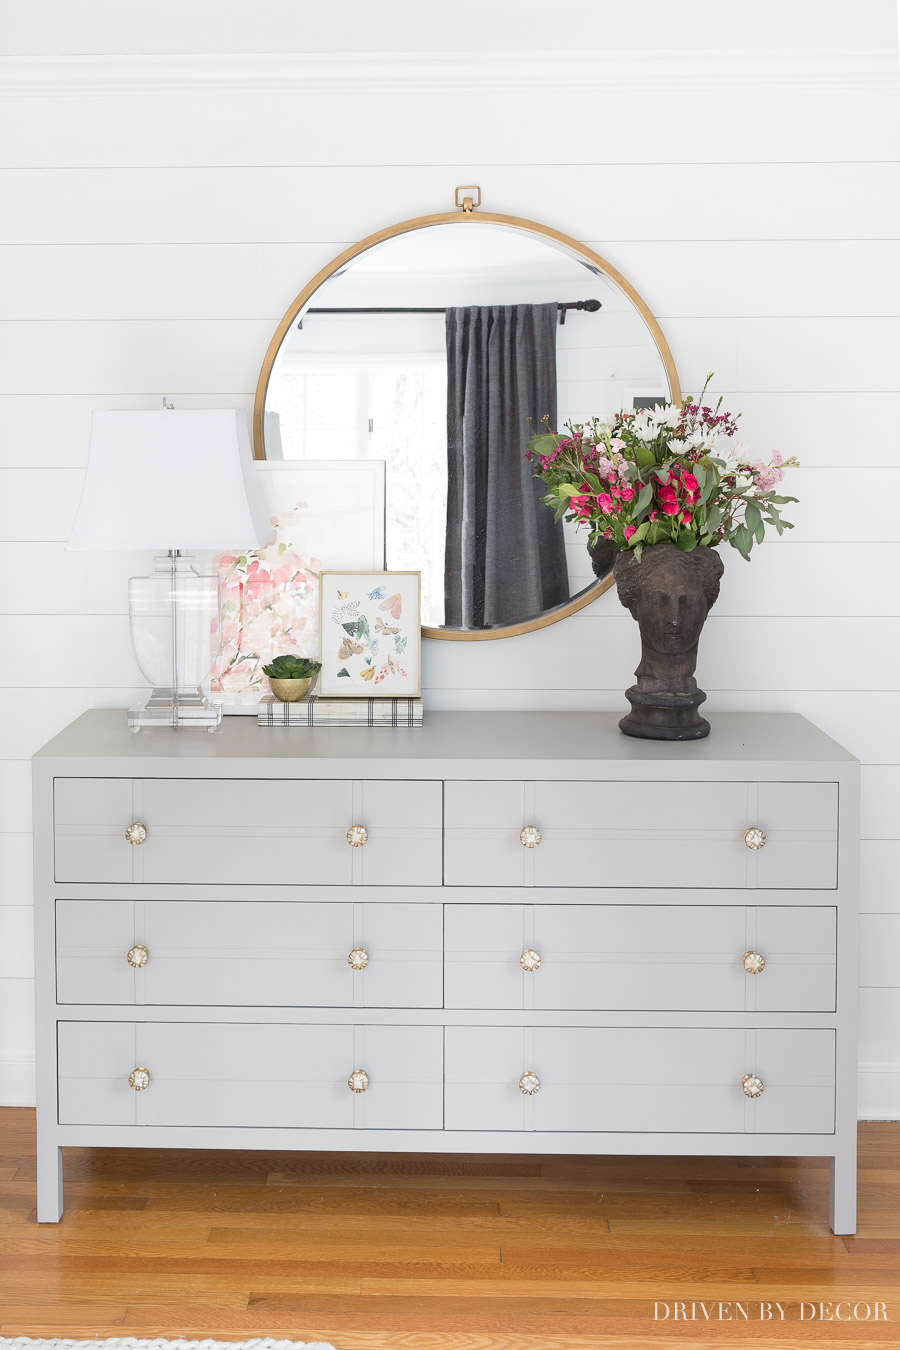
Sources: Large round mirror | Gray drapes | Acrylic urn lamp | Framed butterfly print | Knobs on dresser | Cherry blossom print, dresser, black & white box, and bust planter no longer available
You can also see how I used Rub ‘n Buff to change the finish on wall hooks that you can see in my post on garage entryway ideas. Also check out my post on Rub ‘n Buff colors to see what each color looks like and pick the one that’s best for your space.
Still nervous about mixing metals? I’ll leave you with one last tip as a great way to start! Buy inexpensive cabinet knobs in a variety of metal finishes and play around with mixing them. It’s a great way to figure out which combinations you love and make you more confident in adding them to your home!
Hope this has been helpful – let me know if you have any questions for me! If you haven’t already visited it, check out all of my fave Memorial Day deals on my Shop age {HERE}!
XO,



Susan Seavers says
If you had not used the black chandelier in bathroom what color of ceiling light would you have used?
Lynn says
Hi
Just wondering …I’m building a new home and trying to mix metals in my ensuite.
Currently have satin brass on all faucets and shower faucets. Also on tub filler. And have vanity bar light in brass and chandelier over tub in brass. Can I use brushed nickel or black in hardware and mirror and shower door handles? Or should I stick to brass?
Kris Jarrett says
Both brushed nickel and black pair well with satin brass! You could definitely mix one of those in – just be sure to use them in more than one place in your space. 😊