

Four months of living in a dust bowl without a kitchen, two huge winter storms leaving us without power for days, a conveyer belt moving bucket after bucket of concrete rubble from our jackhammered kitchen floor, unexpected reworking of sagging kitchen ceiling beams, delivery delays, orders getting lost… I was convinced at times that our kitchen renovation was 100% cursed but you guys, cursed or not it’s finally done!!!!!!!
You won’t find ten foot ceilings, soaring archways, or any of the other dramatic architectural details that you see in all the magazines but that’s actually the thing about our renovation that I’m most proud of. We were able to work with standard height (actually only 7 ½ feet!) ceilings and a builder’s basic rectangular layout to create a new kitchen that we couldn’t love more!
Before launching into all of my “before” and “after” pics (get ready… I took a ton!), I want to give a huge thanks to MasterBrand Cabinets, Monogram, Caesarstone, Blanco, Walker Zanger, Amerock, & Serena & Lily for partnering with me by providing some of the products used in my renovation. I sought all of these companies out because I love their products and knew they’d be perfect for our home and I’m honored that they trusted my vision enough to come along for the ride. So with that, let’s get going with my kitchen renovation reveal! (post includes affiliate links – full disclosure statement available {here})
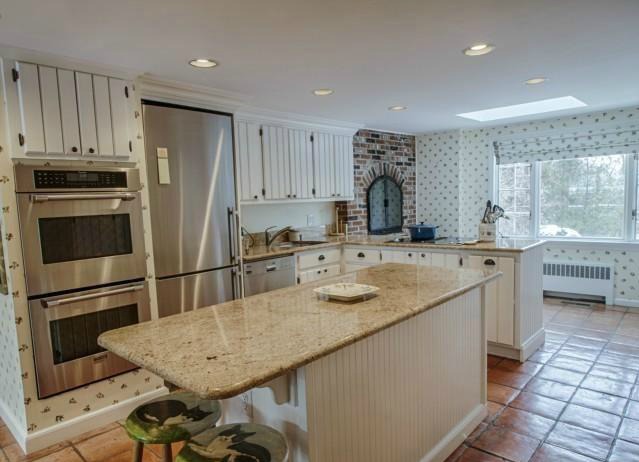
Let’s start by throwing it back five years to the “before” when we first bought our covered-in-wallpaper home and our kitchen looked like this (it was almost a deal-breaker for us buying the house!):
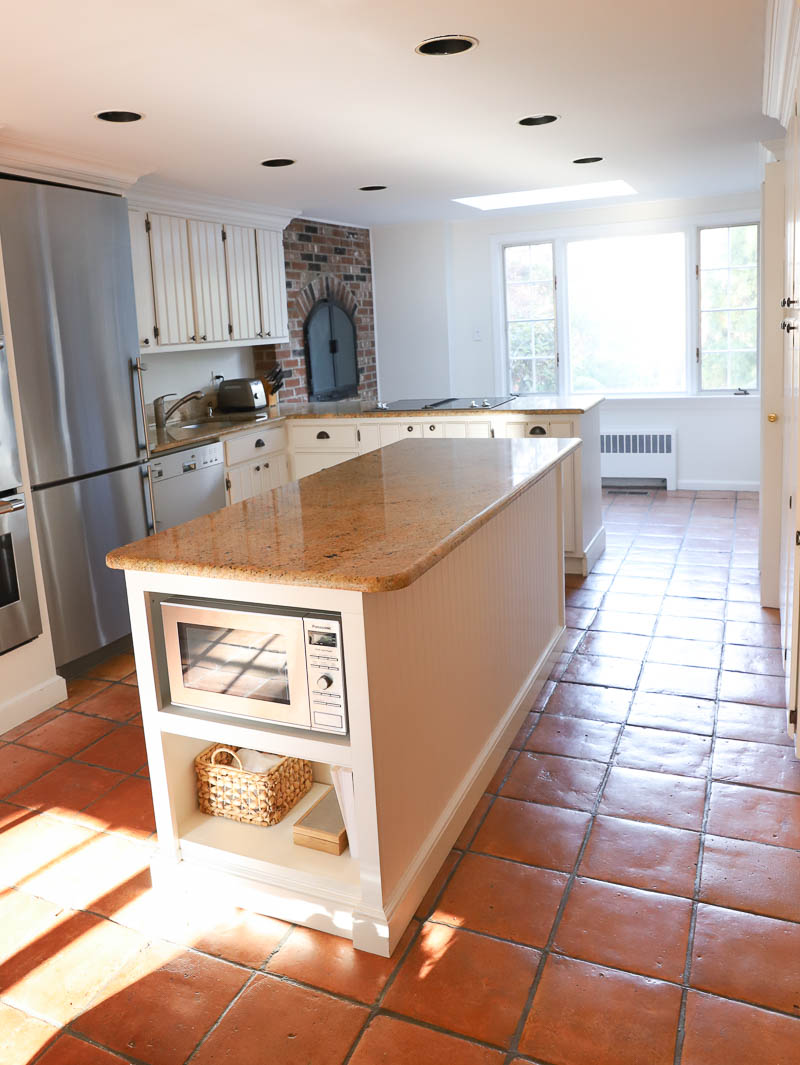
Shortly after moving in we made a few small changes including taking down the wallpaper and window shade, painting the walls, our microwave in our island:
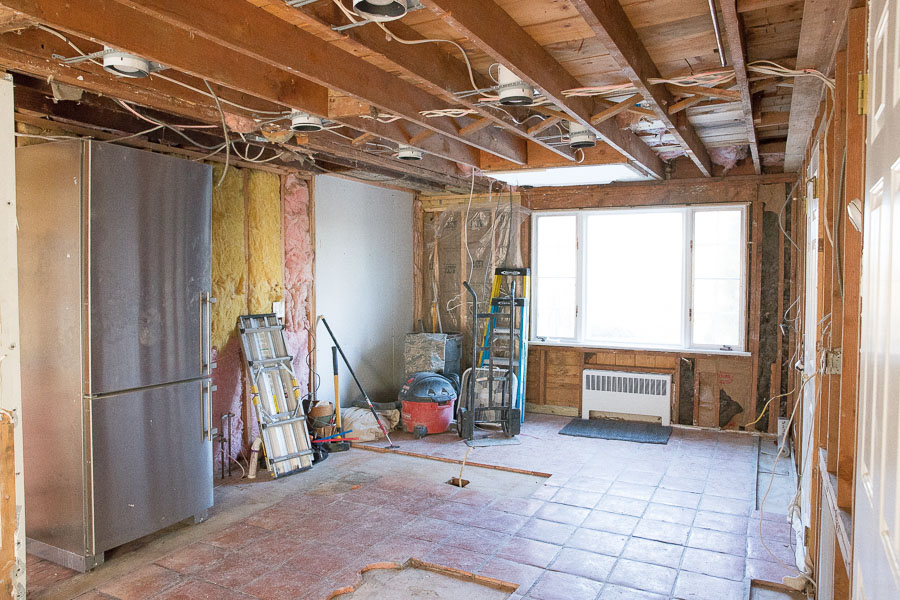
We thought we were going to be living in the house for only 2-3 years but once we realized it was going to be much longer than that, my original “let’s just change the countertops” project turned into a total gut job with no survivors:
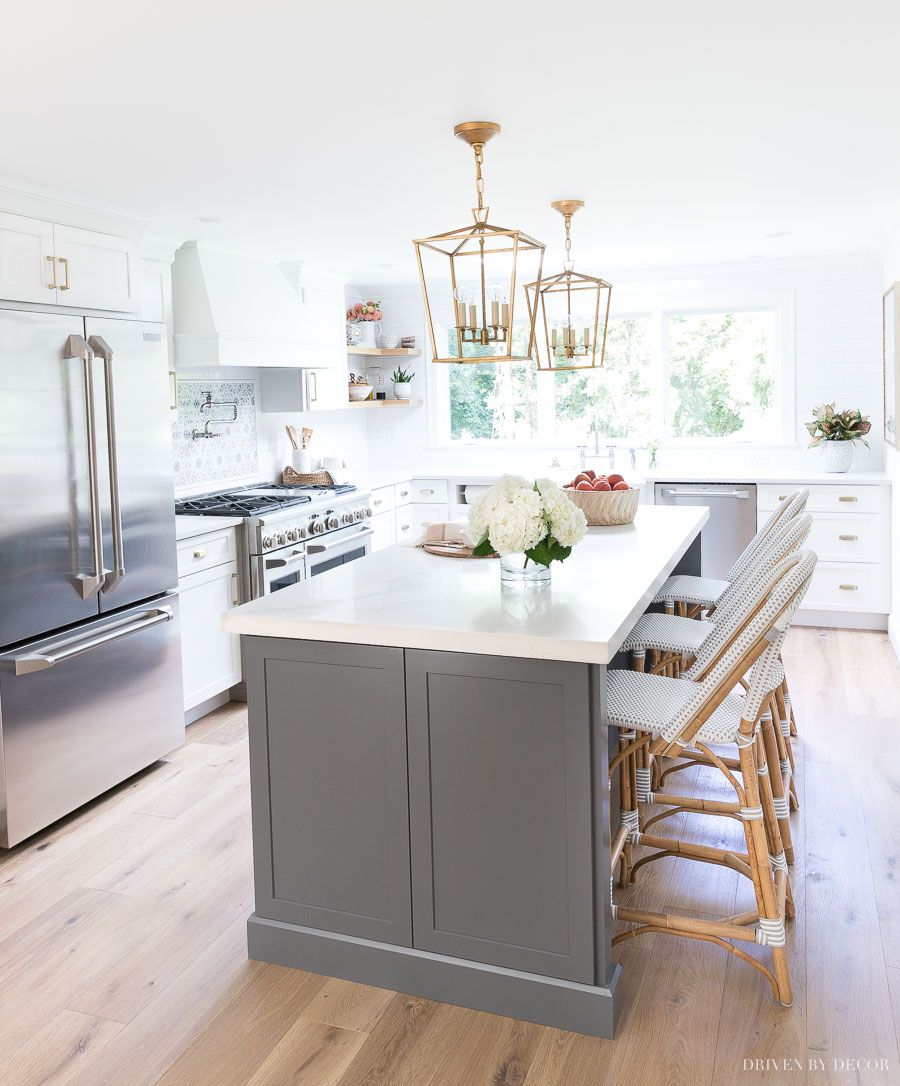
Fast forward to today and this is the “after” (aka our new kitchen!!!):
Kitchen Cabinets
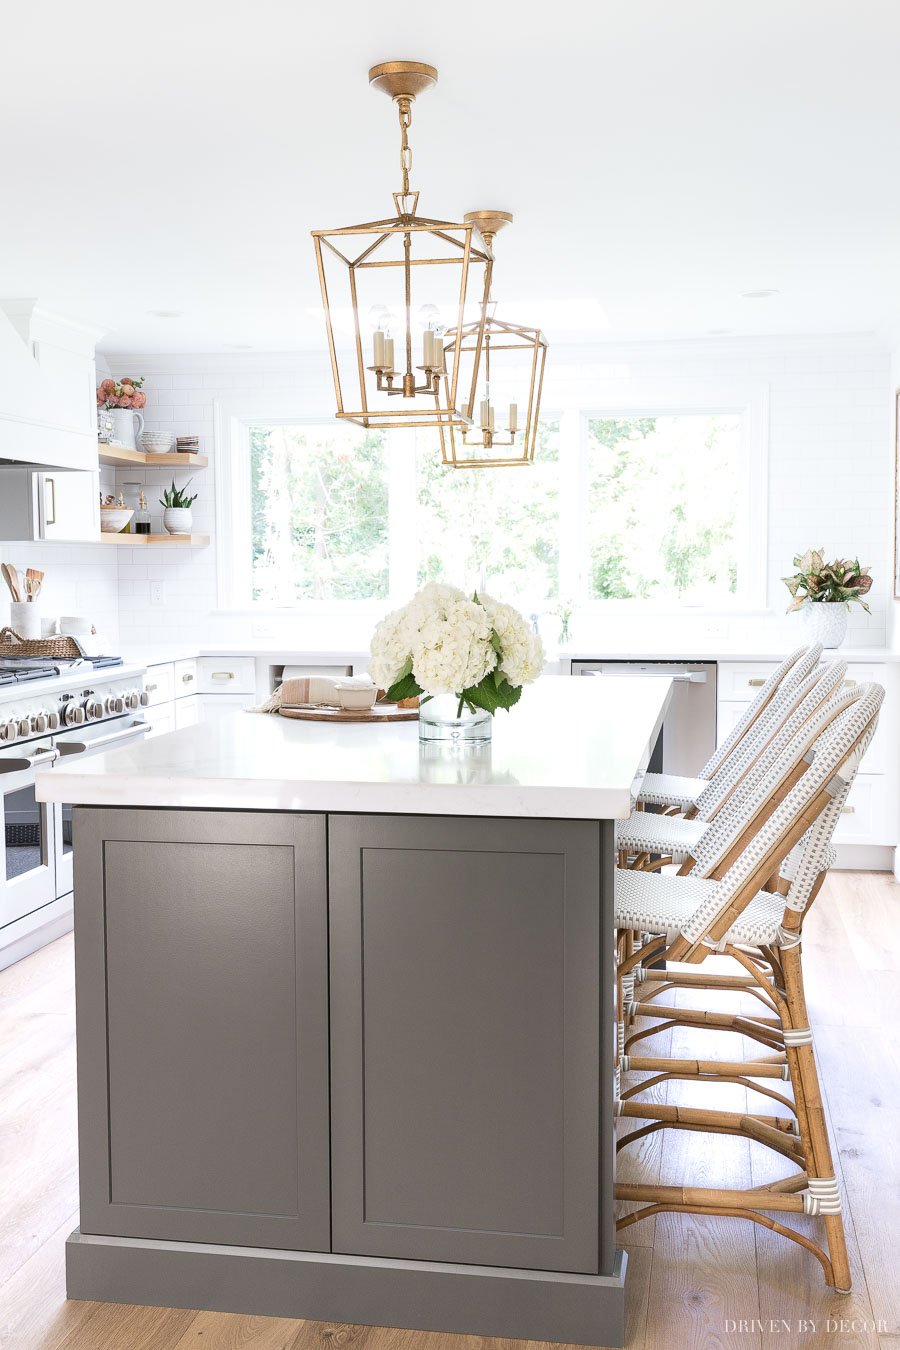
So much went down in the past 4-5 months that I don’t even know where to begin showing you around but let’s start with one of the biggest changes in this space – the cabinetry. Our old cabinets were original to the house and literally falling apart plus they had a very “country” feel so changing them up was a no-brainer. I went with a simple Shaker style (“Montgomery” from MasterBrand Cabinet’s Diamond line of cabinetry) that will stand the test of time and decided on white for the cabinets around the perimeter of the kitchen and a beautiful dark gray (Moonstone) for the island (which is about 40″ x 94″ measuring the countertops).
Whites can be really tricky but honestly Diamond’s standard white color couldn’t be more perfect – it blended with everything I threw at it (countertops, backsplash, hardware) without ever looking too warm or too cool:
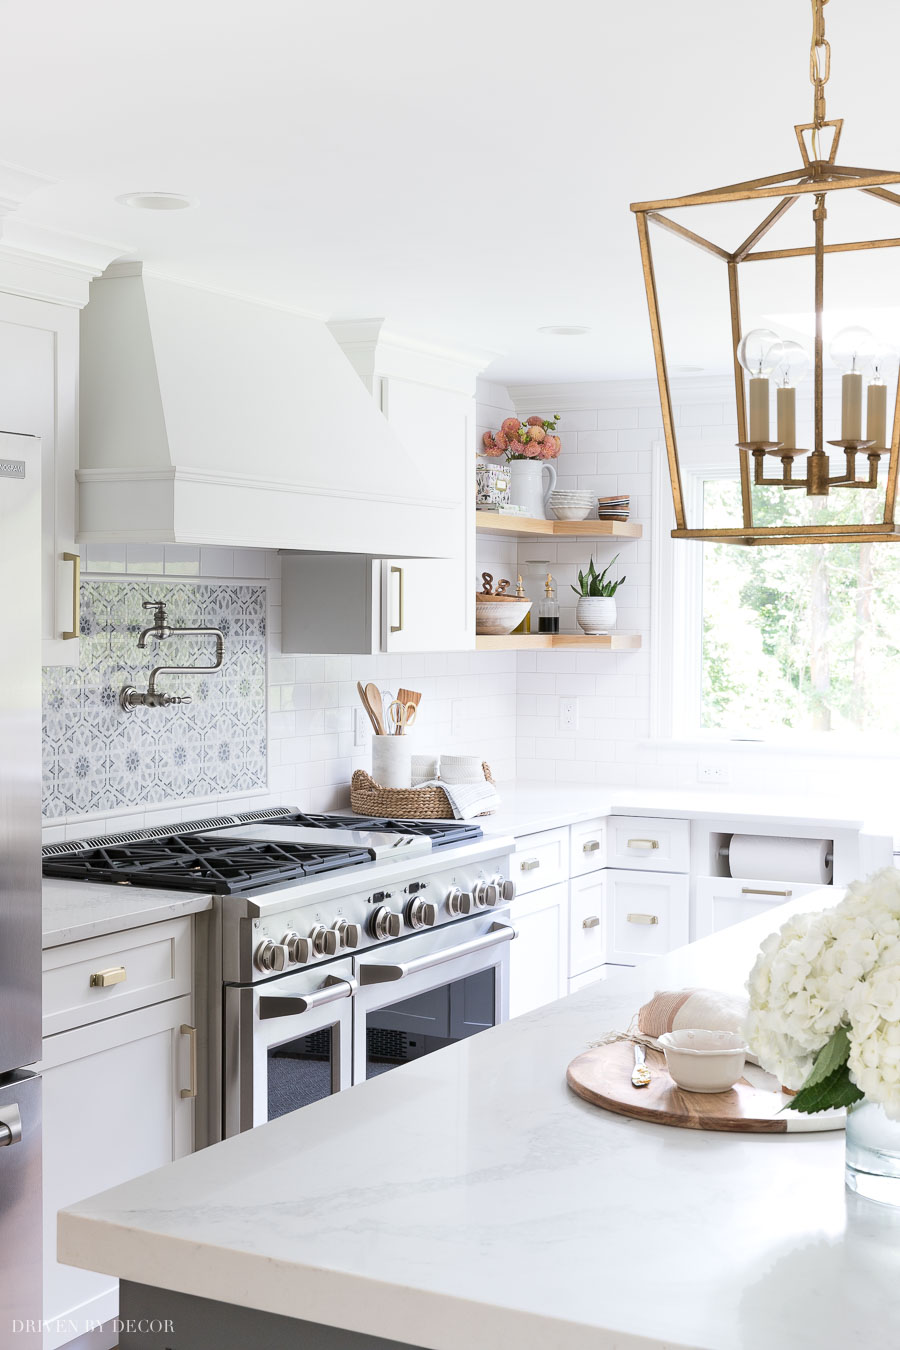
My cabinets have so many amazing interior features! Definitely check out my post on kitchen cabinet storage ideas to check them out in detail! but just to share a few favorites, I LOVE our new pantry. Like, love it so hard! Our old pantry was not only kinda ugly but totally dysfunctional – it was so shallow that I couldn’t even fit bigger cereal boxes in it without turning them to the side and taking up half the shelf:
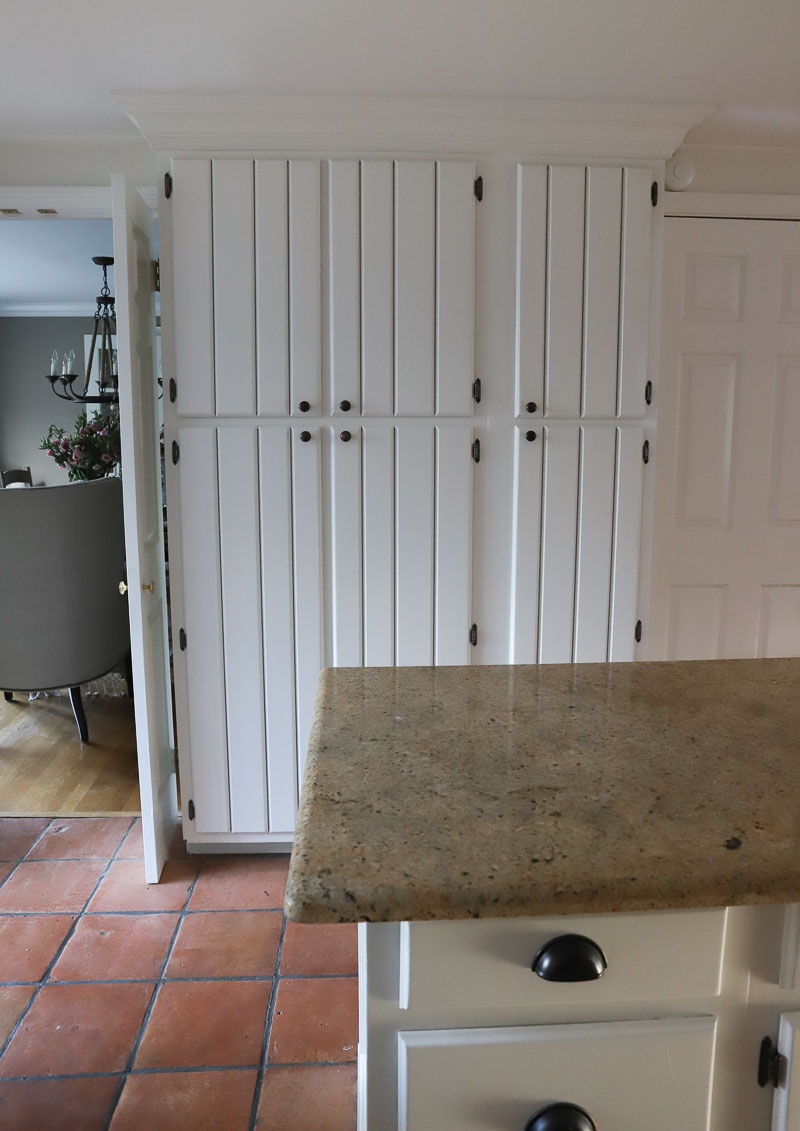
Our new pantry is super deep and has four large pull-out shelves that hold about double what our old pantry did:
Check out my post on pantry organization ideas for all the details on how I whipped my pantry into organized shape!
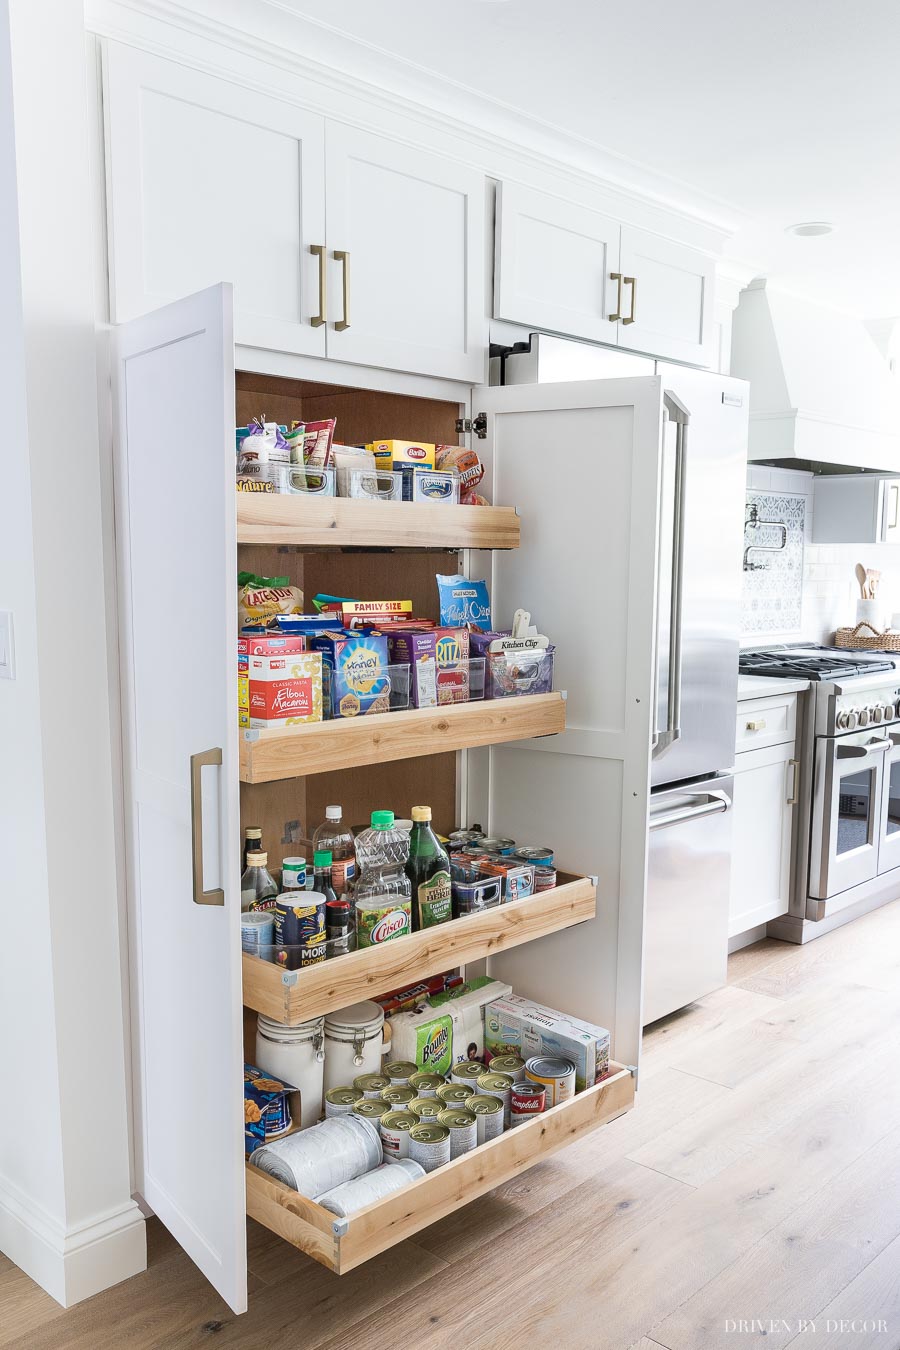
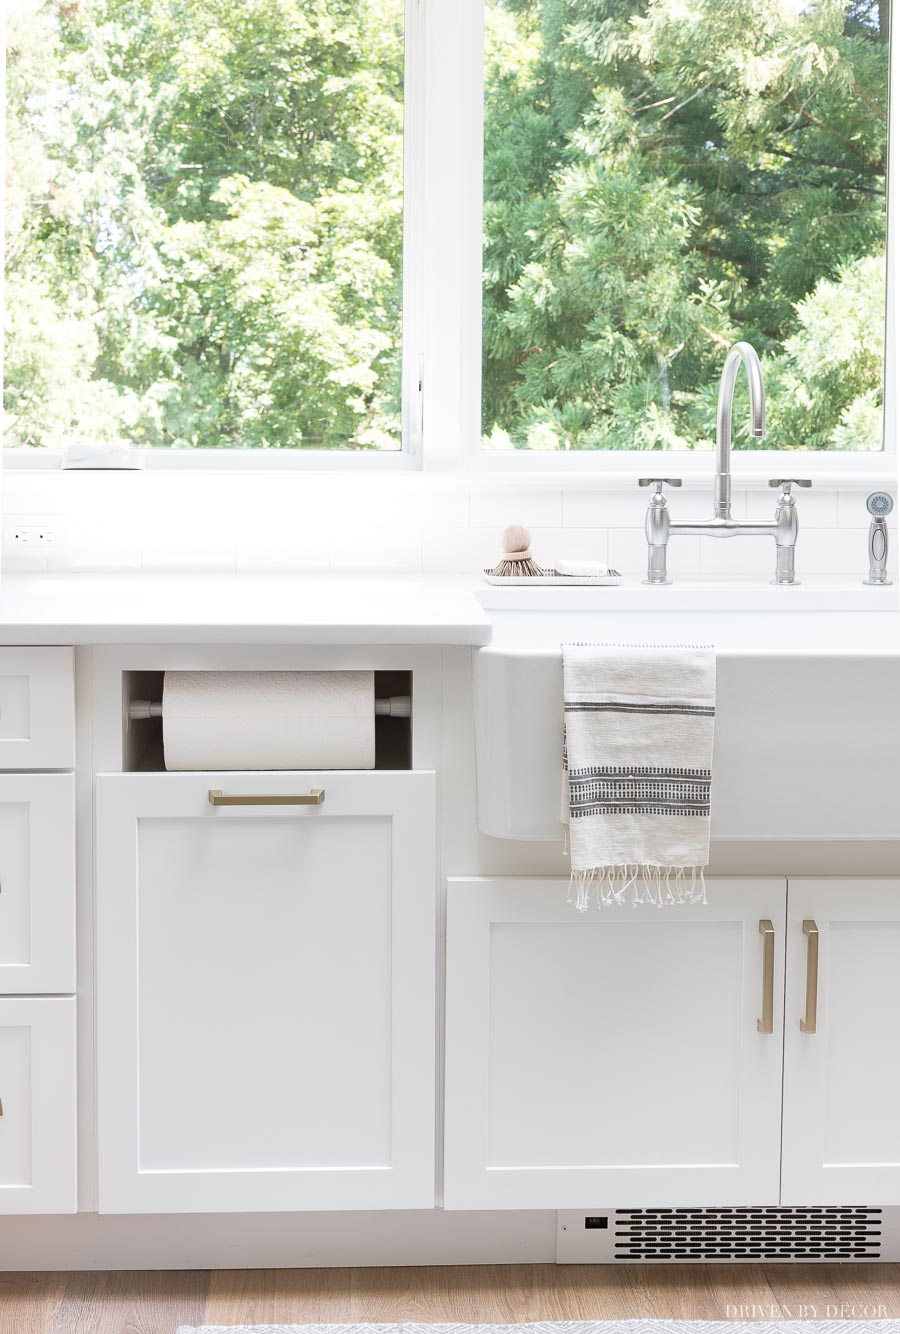
Another favorite feature is the built-in paper towel holder above our trash cans – it’s one less thing cluttering up our countertops and I love that there’s extra space in the back to store additional rolls:
I also have several game-changing new features integrated into my island cabinetry including a built-in toekick vacuum!) that have made working in the kitchen so much easier and more efficient. Even though I didn’t gain much square footage of cabinetry with the renovation, I can not only store more in my new cabinets than I used to be able to but everything is just so much easier to access. Having so many drawers instead of typical base cabinets with doors has made a world of difference!
Kitchen Countertops
And can we talk about my new lighting and my lighter, brighter, and a heck of a lot prettier countertops??
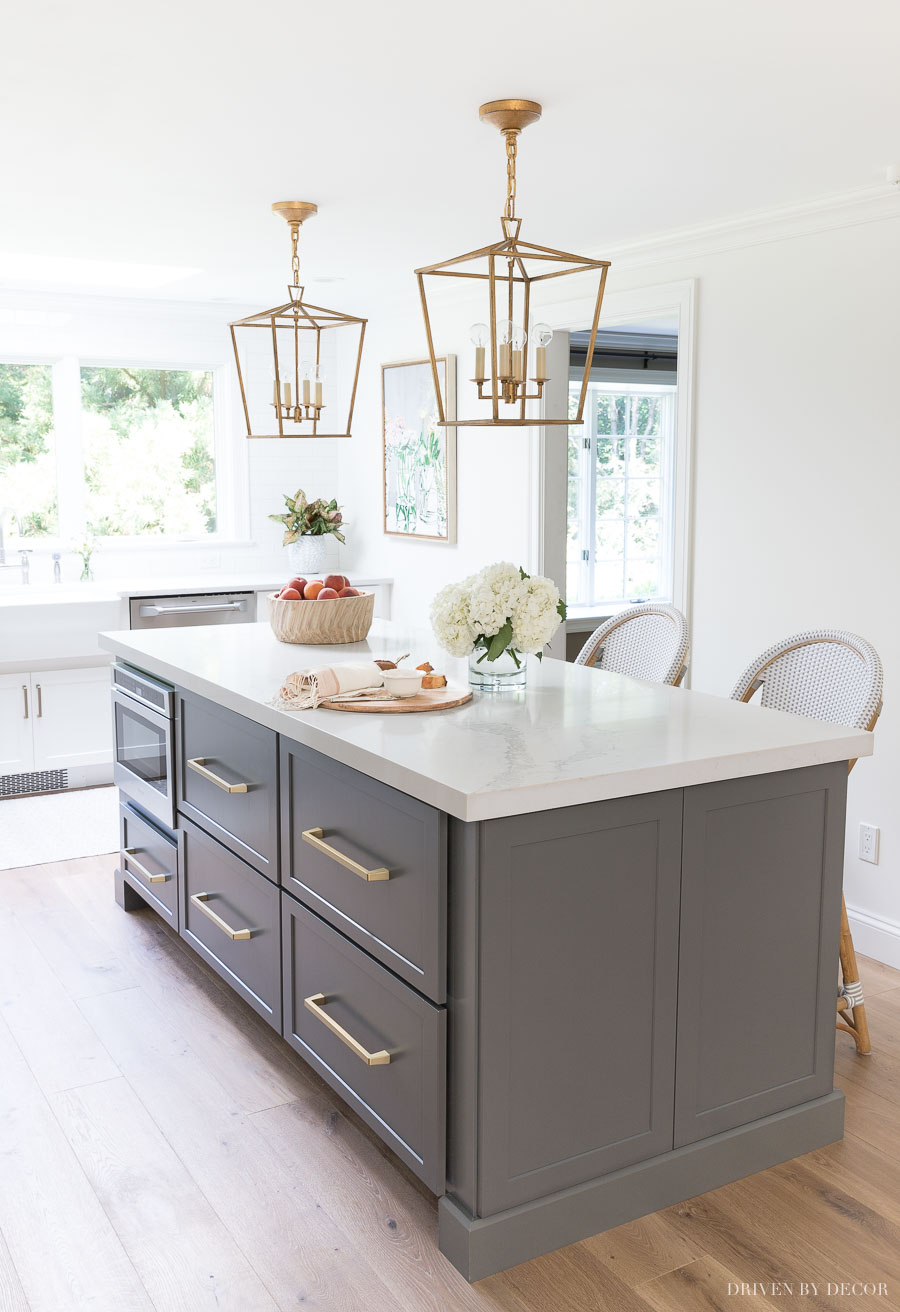
I chose {these} beautiful open pendants (12.5″ small size) because with low ceilings, they go a long way to keeping the space feeling open and airy (for a similar look at a lower price, check out {these pendants}). And if you were involved in the great Instagram lightbulb debate, there’s a 50% chance you’re happy with the globe bulbs I went with and a 50% chance you’re not (I got a kick out of how everyone had such strong opinions about the right lightbulbs for these fixtures :)). For more details on the height & spacing of our kitchen island pendants and tips for figuring it out in your own kitchen, check out my post on the pendant light height over our island.
For our countertops, I’ve always loved the look of marble but was turned off on the idea of using it in our kitchen after having it in a bathroom where it ended up with all sorts of stains and etchings. I went on the hunt for the quartz countertop that looked the most like marble and I landed at Caesarstone’s Statuario Maximus. You guys, it is stunning! And since there’s not much variation from slab to slab, it was such a relief in the middle of the endless kitchen remodel decisions to have one less decision on my plate (the slabs are so similar that you don’t need to go to the stone yard to choose the specific ones you want like you do with marble or granite). And more importantly, it’s been unfazed by coffee spoons left on the countertop, dripping bowls of tomato soup, and every other potential stain situation that’s come its way.
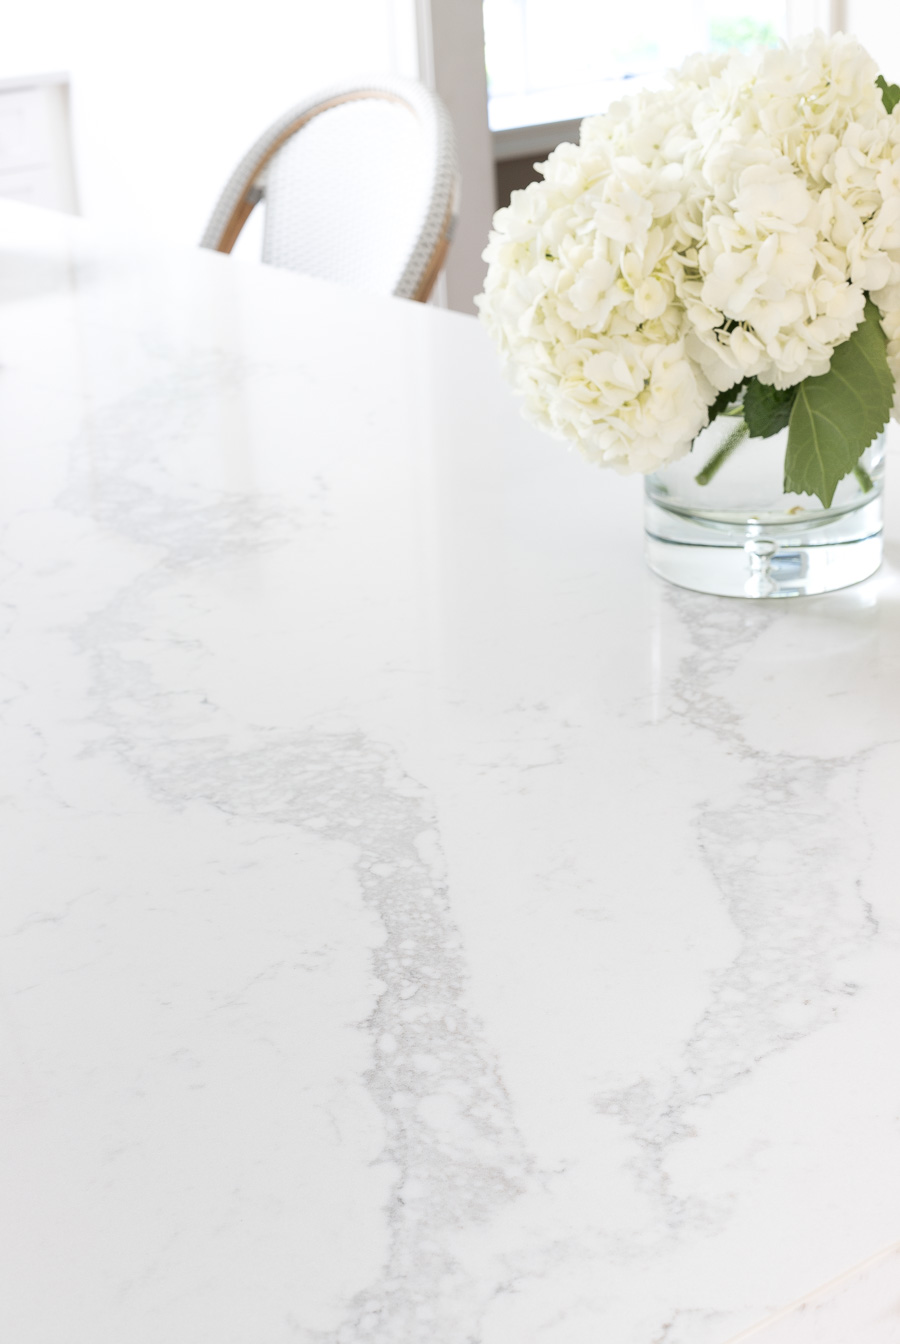
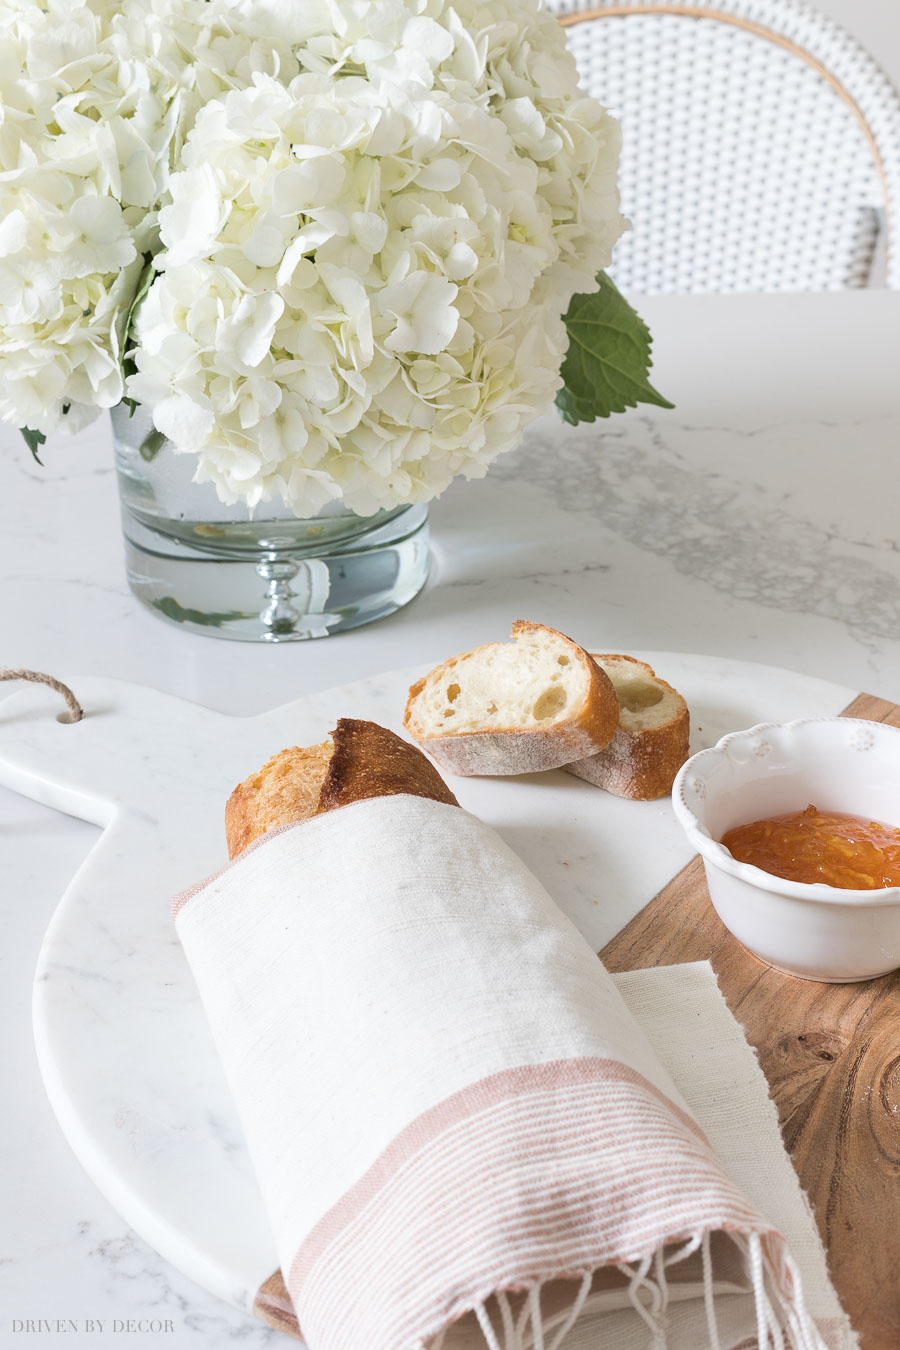
Some people love marble countertops and embrace the natural wear and markings (I have several friends with marble kitchens and they’re stunning!) but I’m a quartz girl all the way and will stick with getting my marble fix through my many marble cutting boards 🙂
Kitchen Appliances
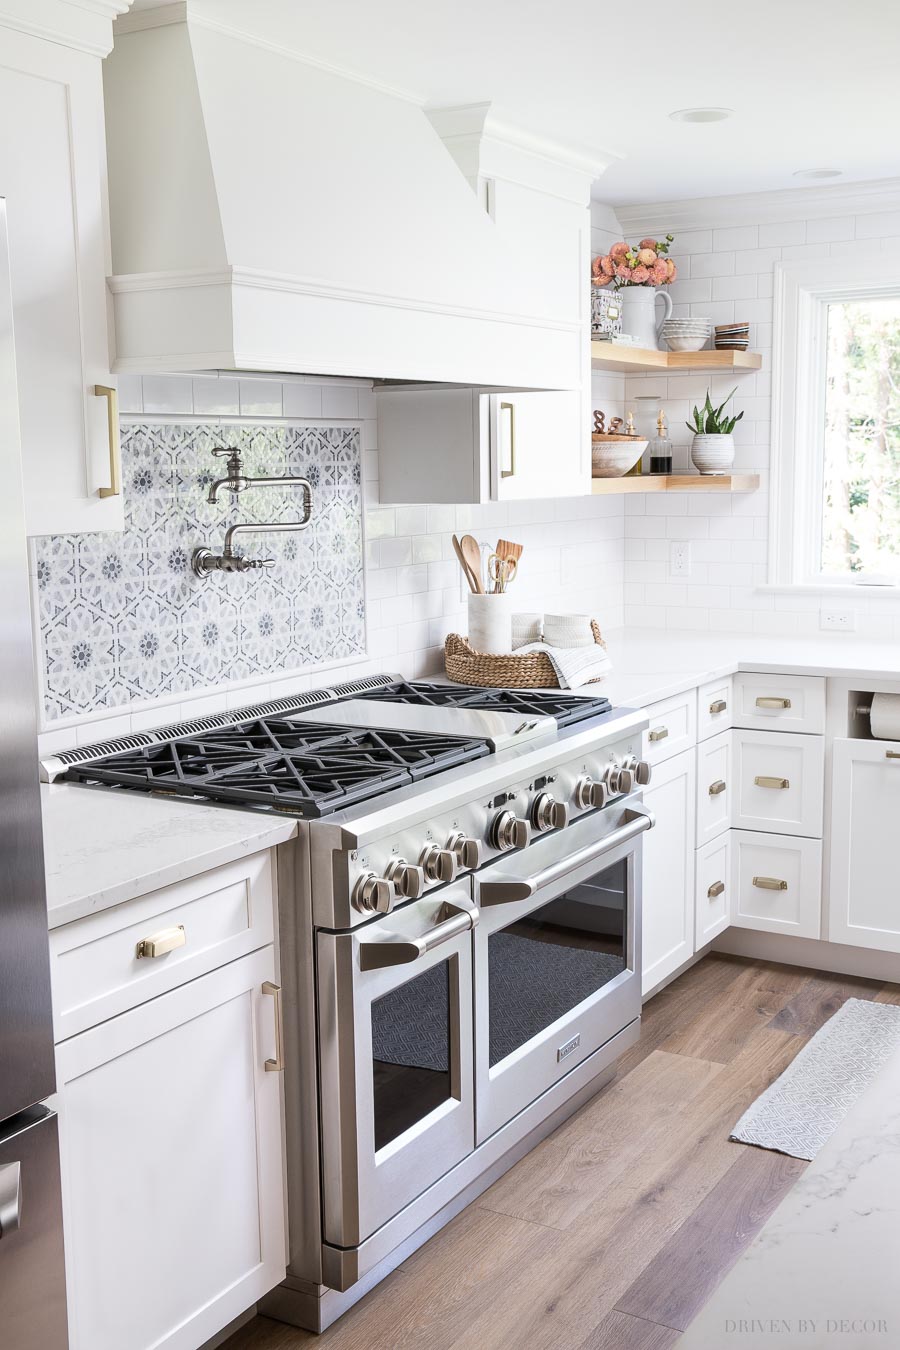
Another big change (and huge improvement) with my kitchen is my new Monogram appliances that are the perfect mix of beauty and function. The one that first caught my eye when I began appliance shopping was {this Monogram range} – it became the focal point of my new kitchen and is absolutely gorgeous! Like I want to stare at it and pet it all day gorgeous! And I love the functionality of never being short on burners, having a built in griddle, and having a smaller second oven that’s the perfect size for most of my daily baking.
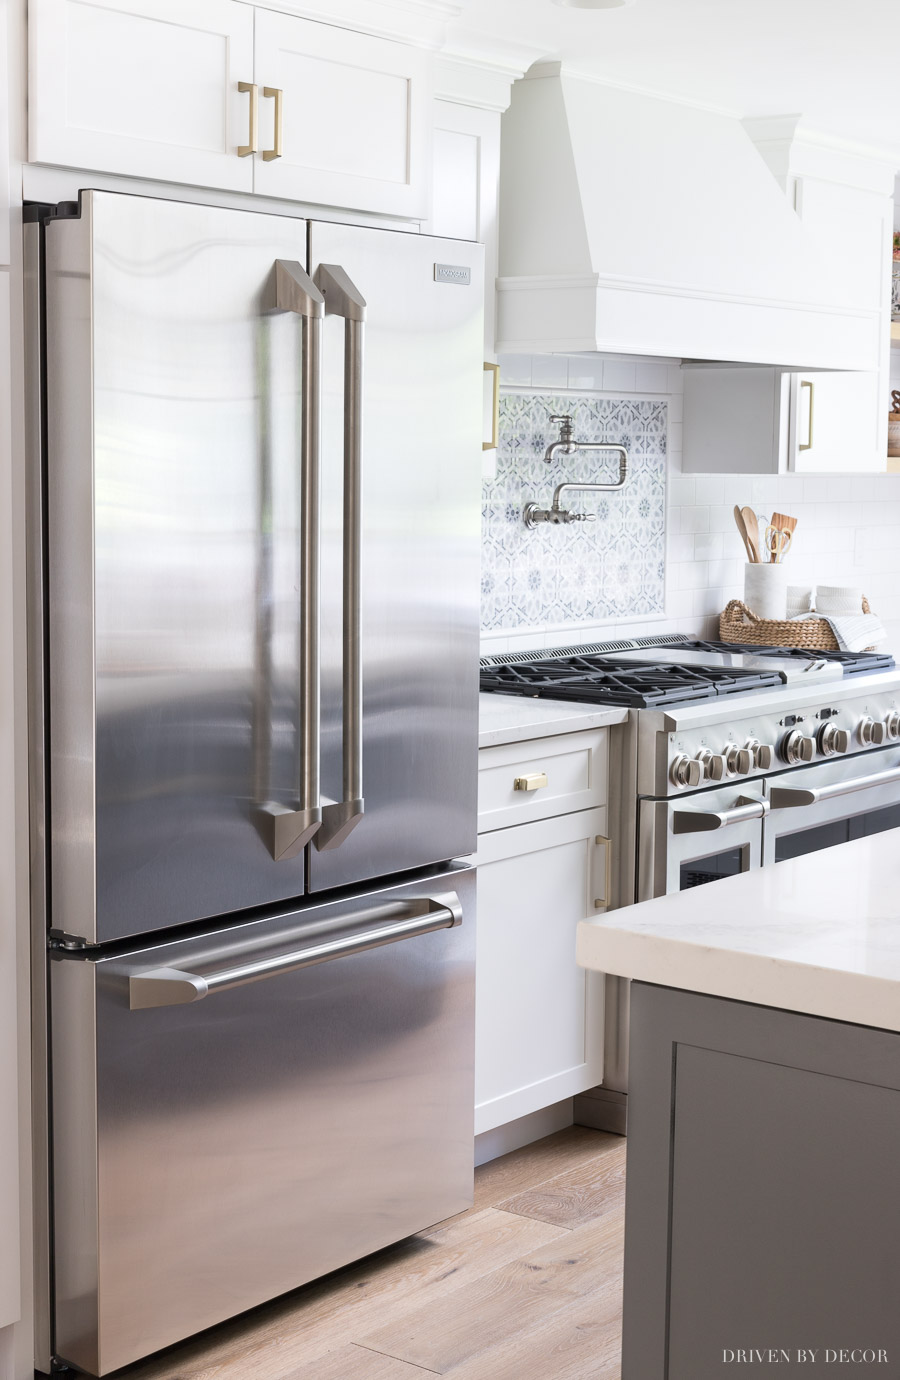
I’m super happy with the big guy next to it too. Refrigerators are tough because I feel like you usually need to pick your poison – you can have a tall, shallow refrigerator with more limited storage space or you can have a big, bulky refrigerator that has tons of storage but is kind of a beast. While I admittedly often err on beauty over function if given the choice, after having had a refrigerator for the past five years that had the most limited storage space (it was hateful!), I ended up with what I think was the perfect solution – I chose {this Monogram counterdepth refrigerator} that doesn’t stick out into my kitchen nearly as far as a typical refrigerator would but it has almost as much storage space packed inside (the amount of food and drinks that I can fit into the door bins alone is insane).
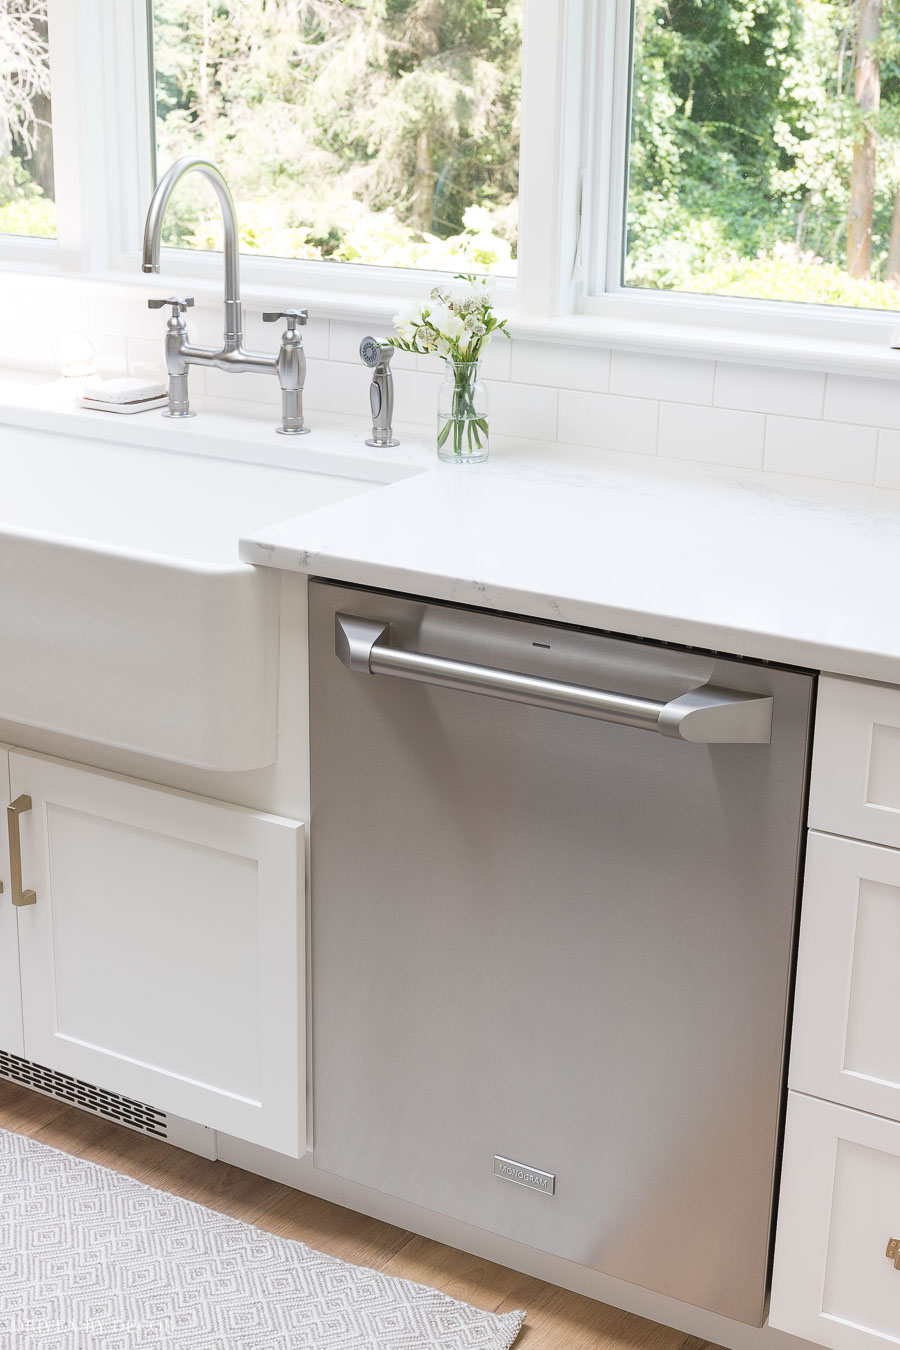
And after having been without a dishwasher for months and washing everything bent over in our bathroom tub, I basically wanted to cry tears of joy when our new dishwasher (found {here}) got installed. I love that the control panel is hidden on top and it recesses far enough back to be perfectly in line with my cabinet fronts and also that it sings to me when I open it 🙂 My dishwasher and refrigerator also have app integration so I get notifications when I’m low on dishwashing pods or someone left the refrigerator door open.
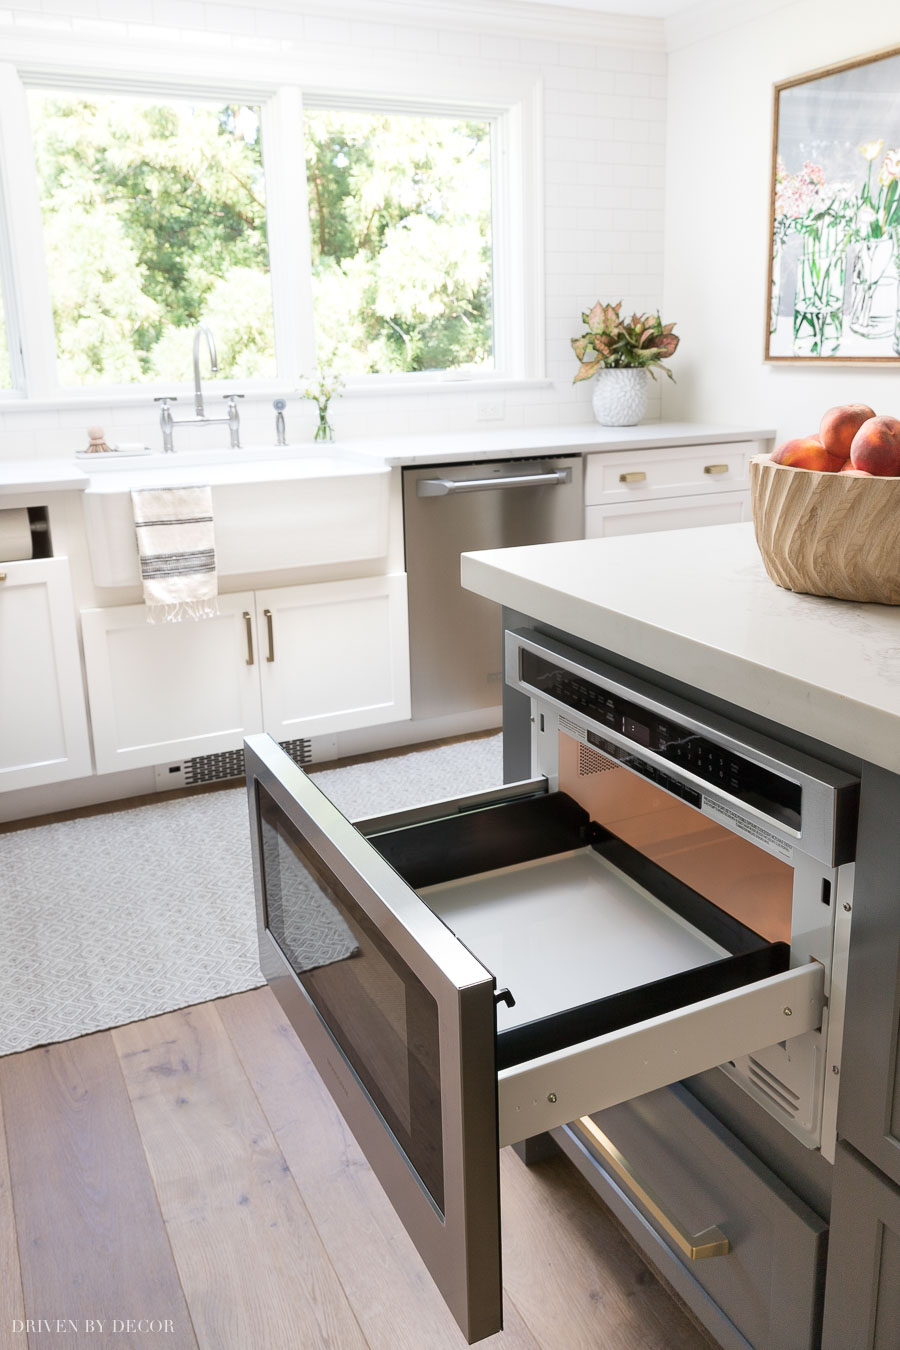
Oh and my microwave drawer – we can’t forget that because I wanted to thank you for your great advice when I was deciding between a freestanding microwave and microwave drawer. Almost all of you said to go with the microwave drawer and I’m so glad I listened because my whole family loves it!
For all of the details of my kitchen appliances, check my post on the best kitchen appliance features
Kitchen Tile
Where to next? How about that eye candy behind the range? I think every kitchen needs something that ties the colors in it together, and this Walker Zanger mosaic (Villa D’ Oro Granada) is what did it for mine. I seriously think that they must have created it with me in mind 🙂 because it’s so spot-on my style. Such a stunner! And the pot filler (available {here}) is the icing on the cake – love this pretty combo!
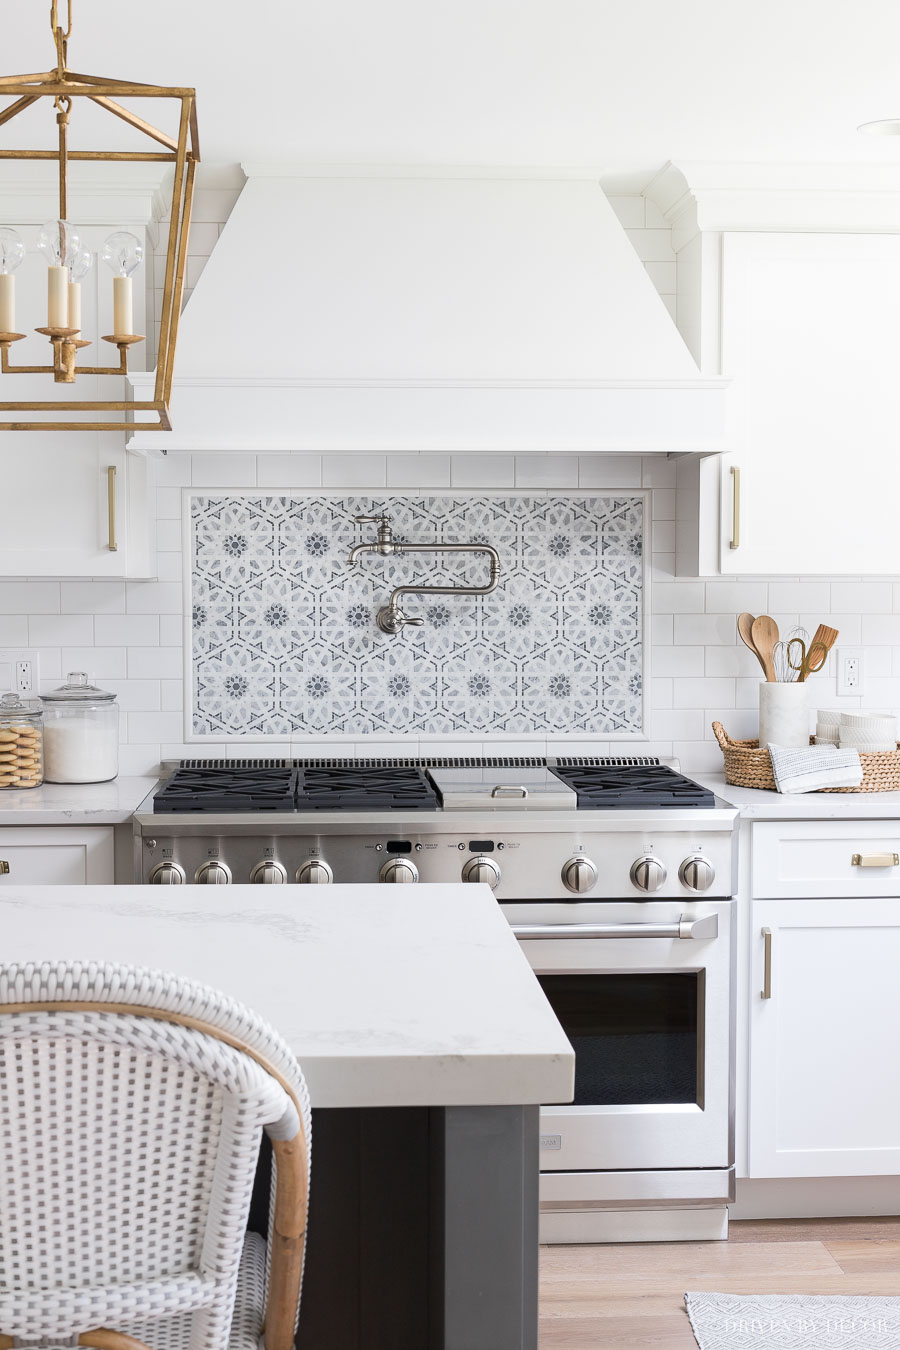
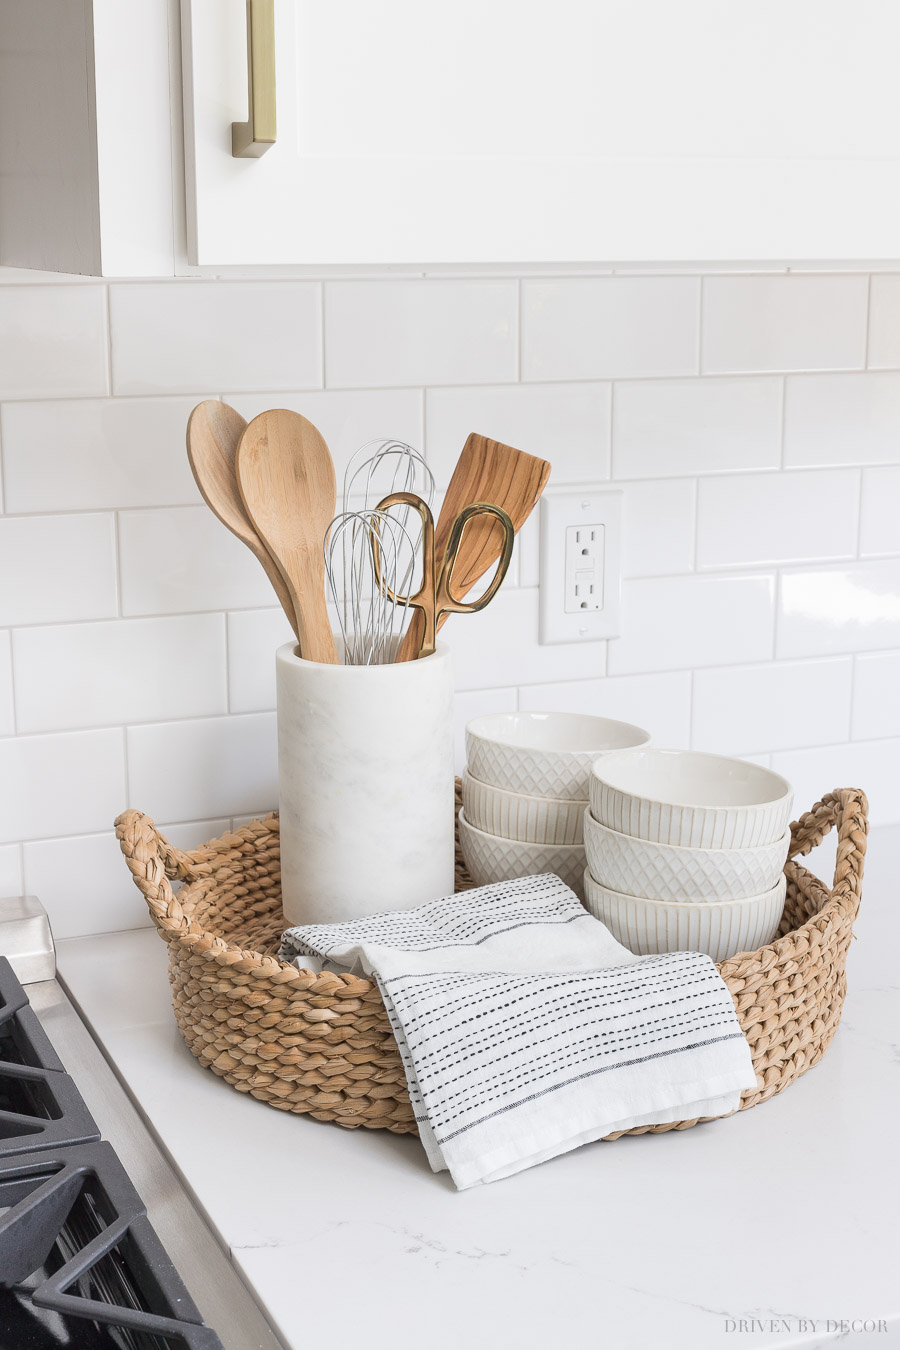
Right next to it I have a {this round woven tray}) with some of my most-used utensils in {this beautiful marble and wood holder} that’s actually a wine cooler. I added a hand towel that’s easy to grab for getting a quick pot off the stove or wiping a spill and several patterned white bowls that we grab constantly for cereal, ice cream, and snacks.
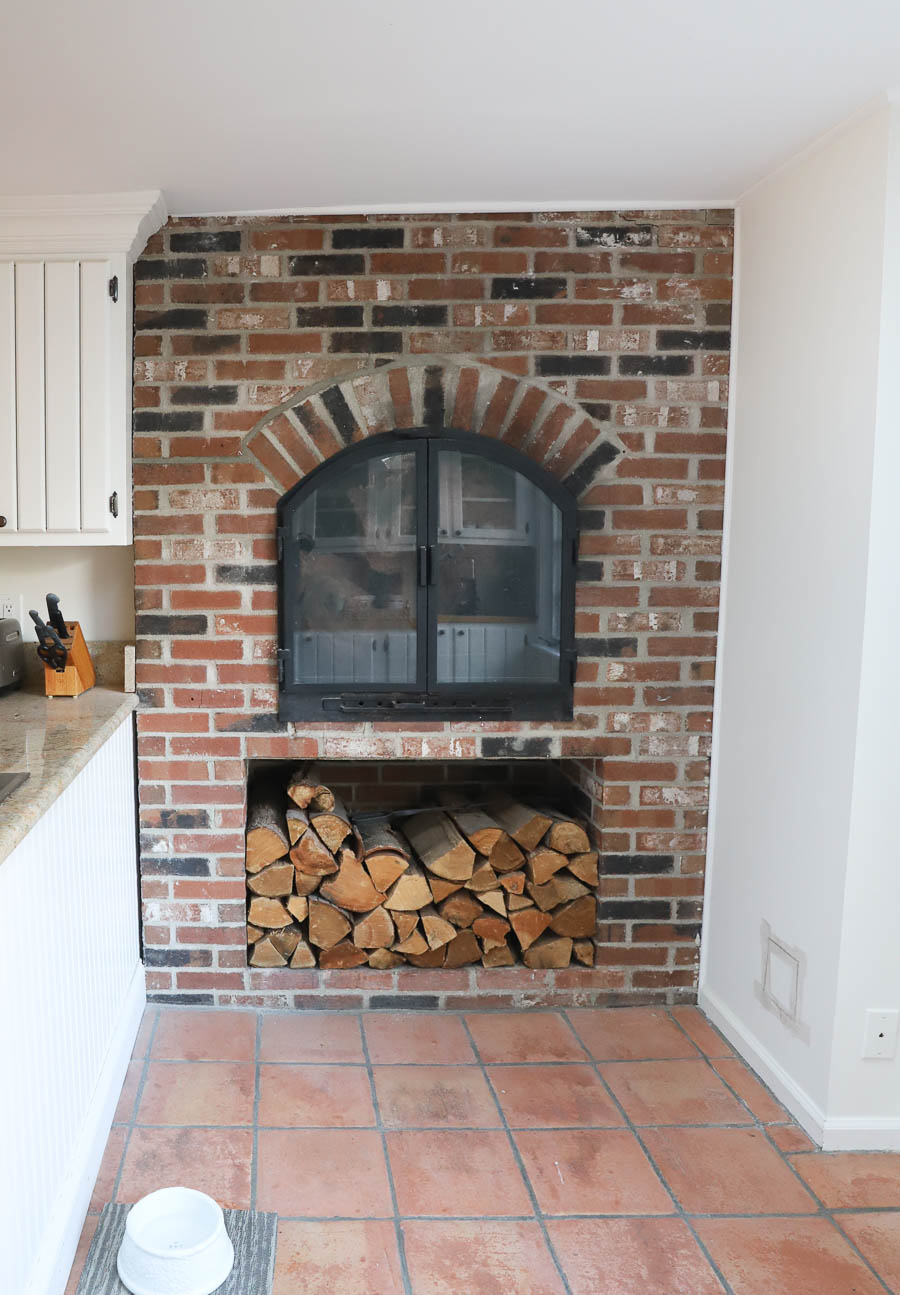
For those of you who have been following my kitchen renovation since way back when I was first starting to work on a design plan, you might remember that I really struggled with whether or not to remove our kitchen fireplace. It really was such a lovely feature of the old kitchen but at the same time the placement of the fireplace made it impossible to fully use the space.
Want to save this post?
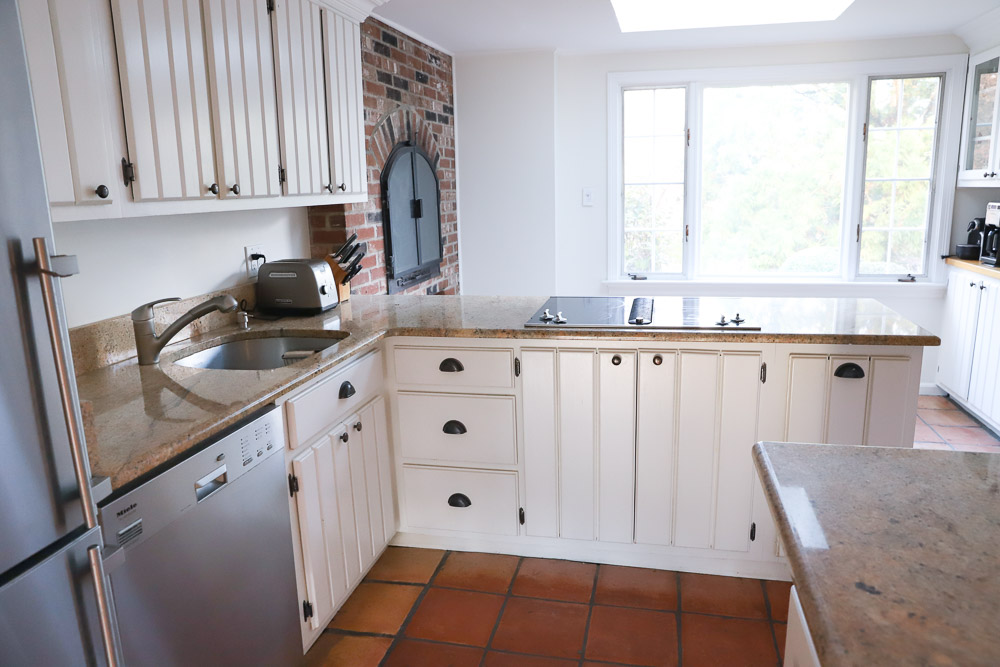
While I still have a little bit of guilt about demoing it, I’m so glad that I did because it allowed us to continue our cabinets down the long wall, wrap them around the window wall and have full use of the space:
Oak Open Corner Shelving
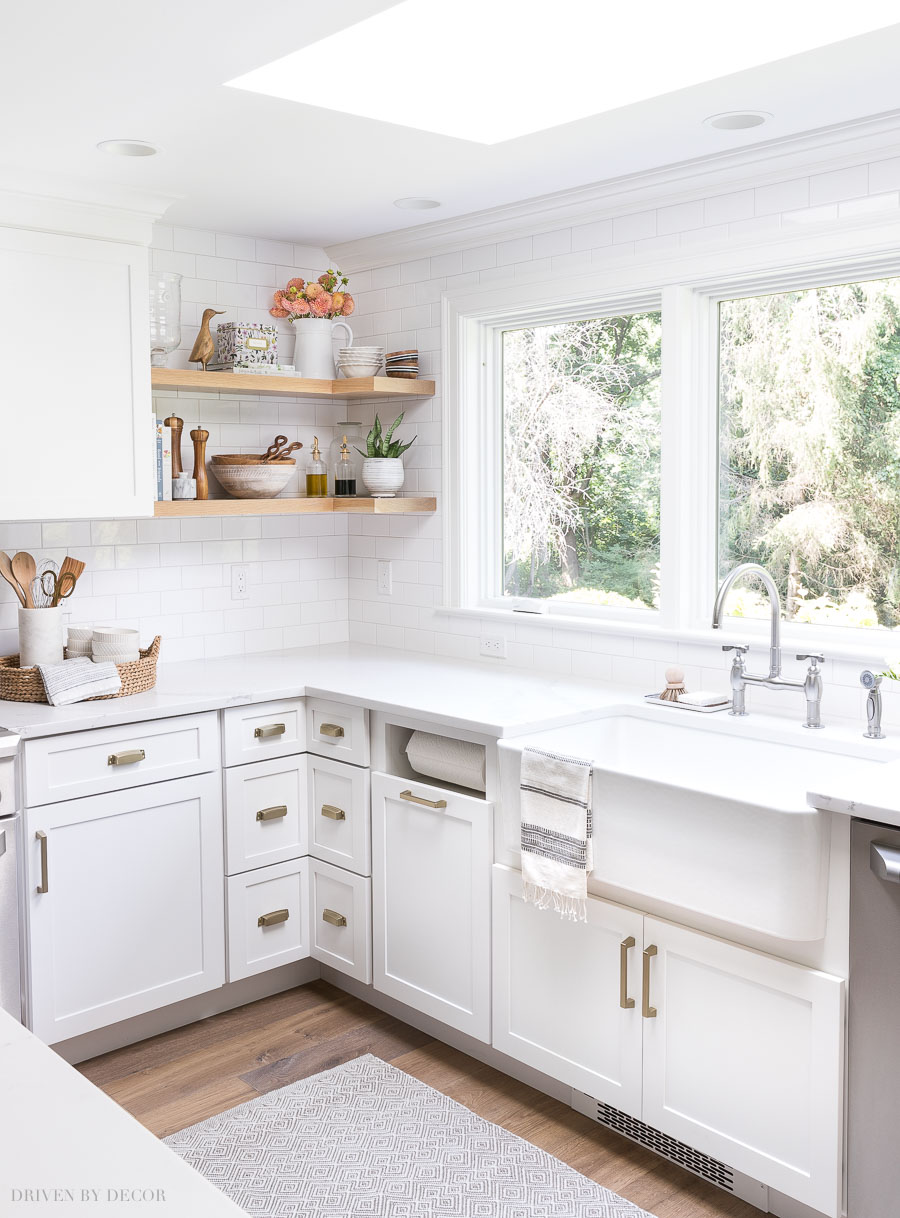
Where the fireplace once was, we now have both upper and lower cabinets as well as open corner shelving made with 2″ oak that’s one of my favorite features of our new kitchen! You can find all of the details of how we created our open corner shelving in my post on floating corner shelves.
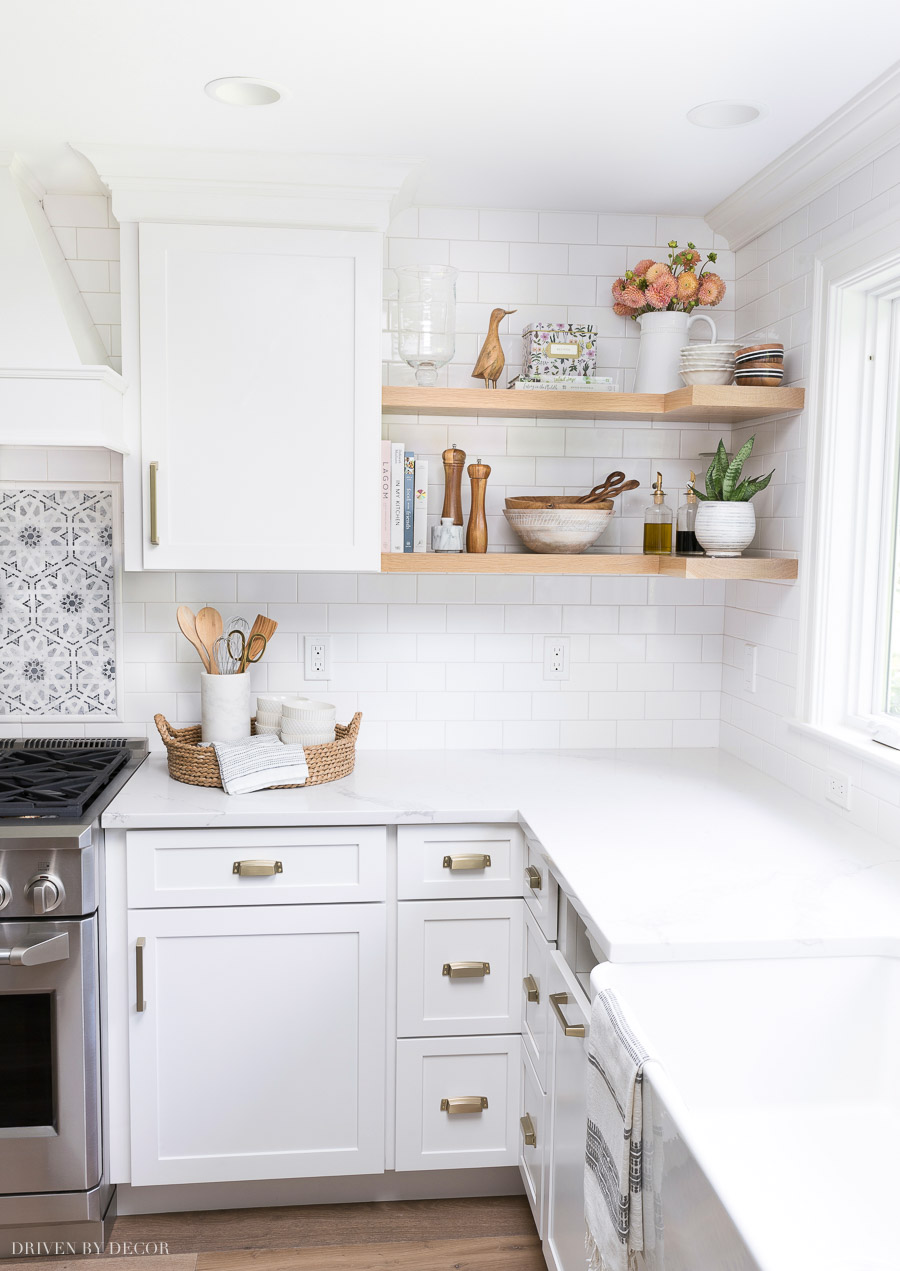
It was so fun finding little pretties for the shelves to add in along with some old favorites:
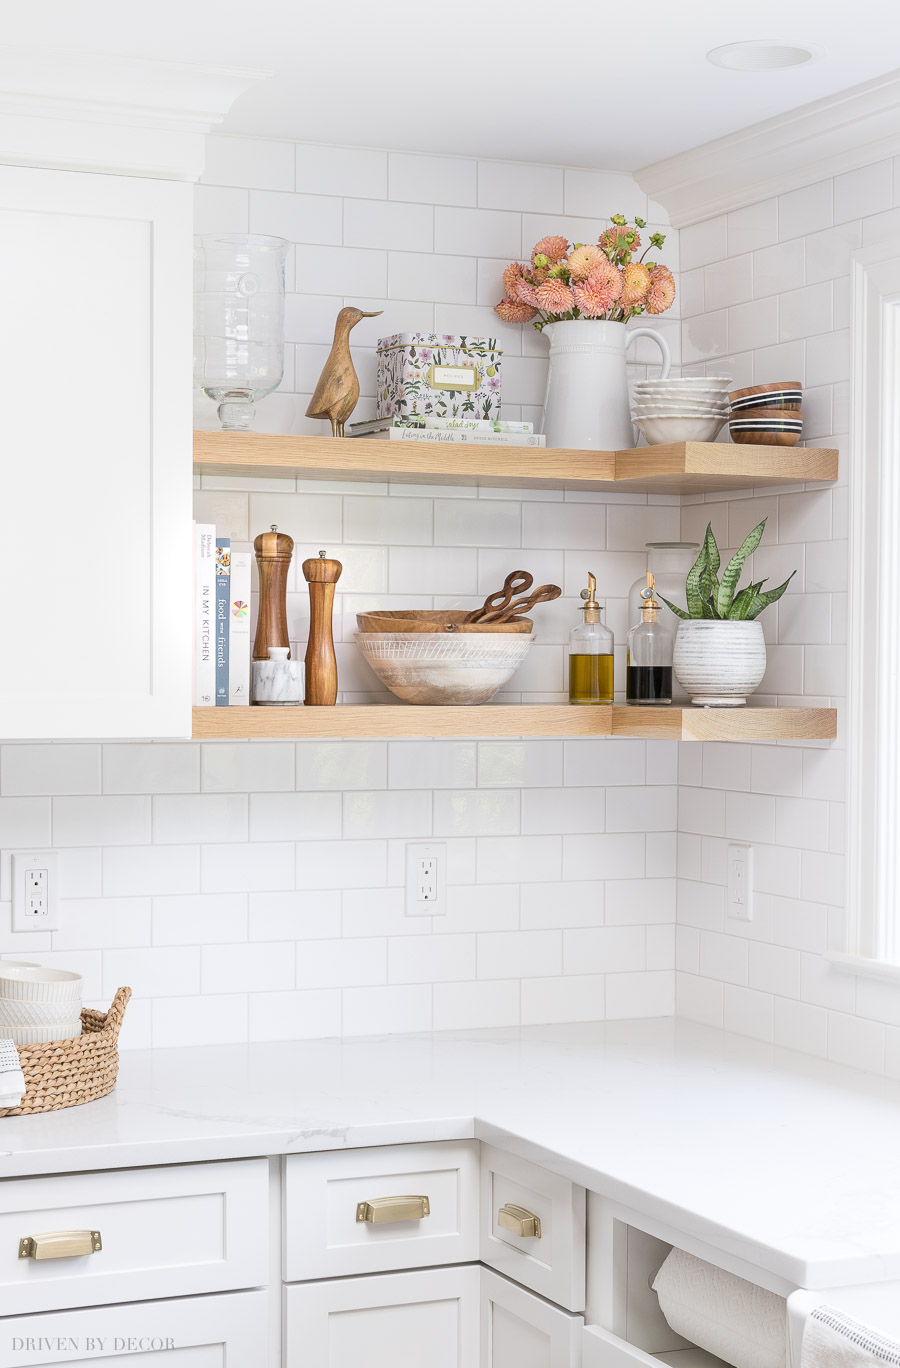
Corner Shelf Sources: Glass hurricane vase | Floral recipe tin | White ceramic pitcher | Small white bowls | Twisted wood serving utensils | Glass bottles with stoppers | Gray striped planter
Kitchen Sink & Faucet
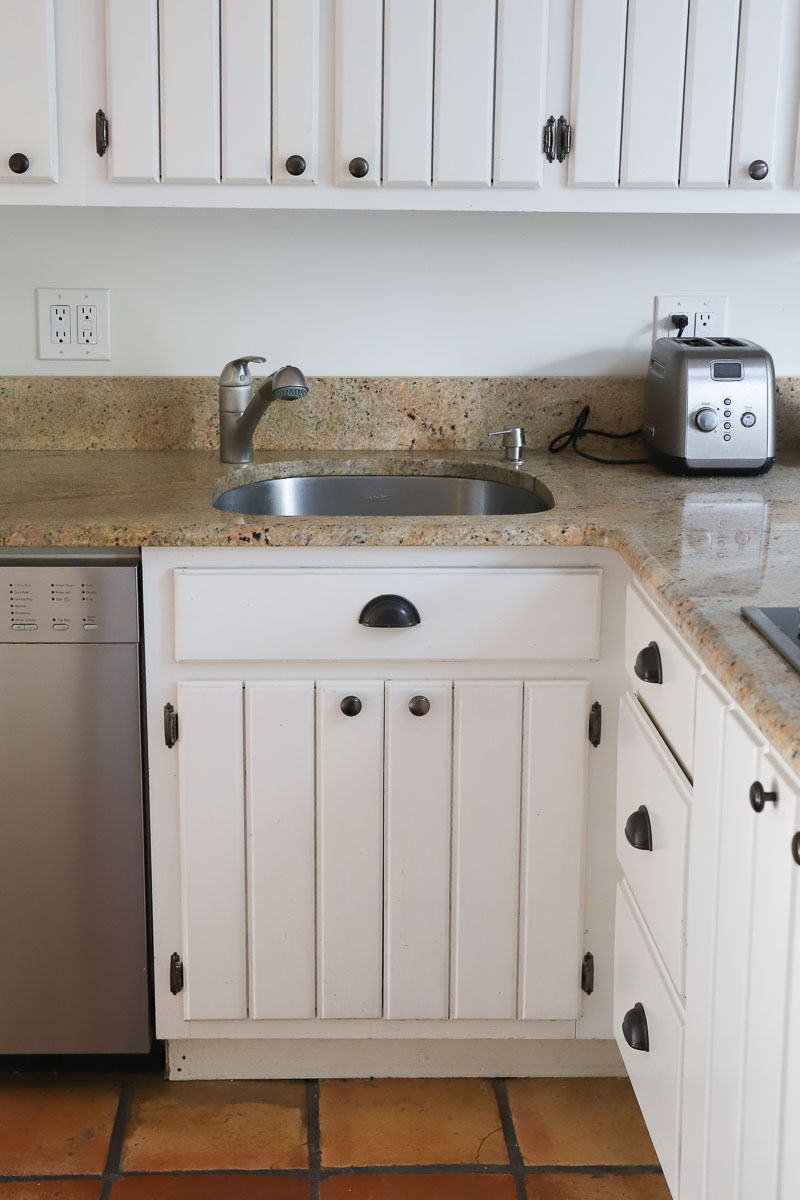
Demoing the fireplace also allowed me to fulfill my dream of having something to stare at other than a wall when I do dishes. Instead of this lovely dishwashing view:
I now have this beautiful one looking out at our wooded front yard – love!:
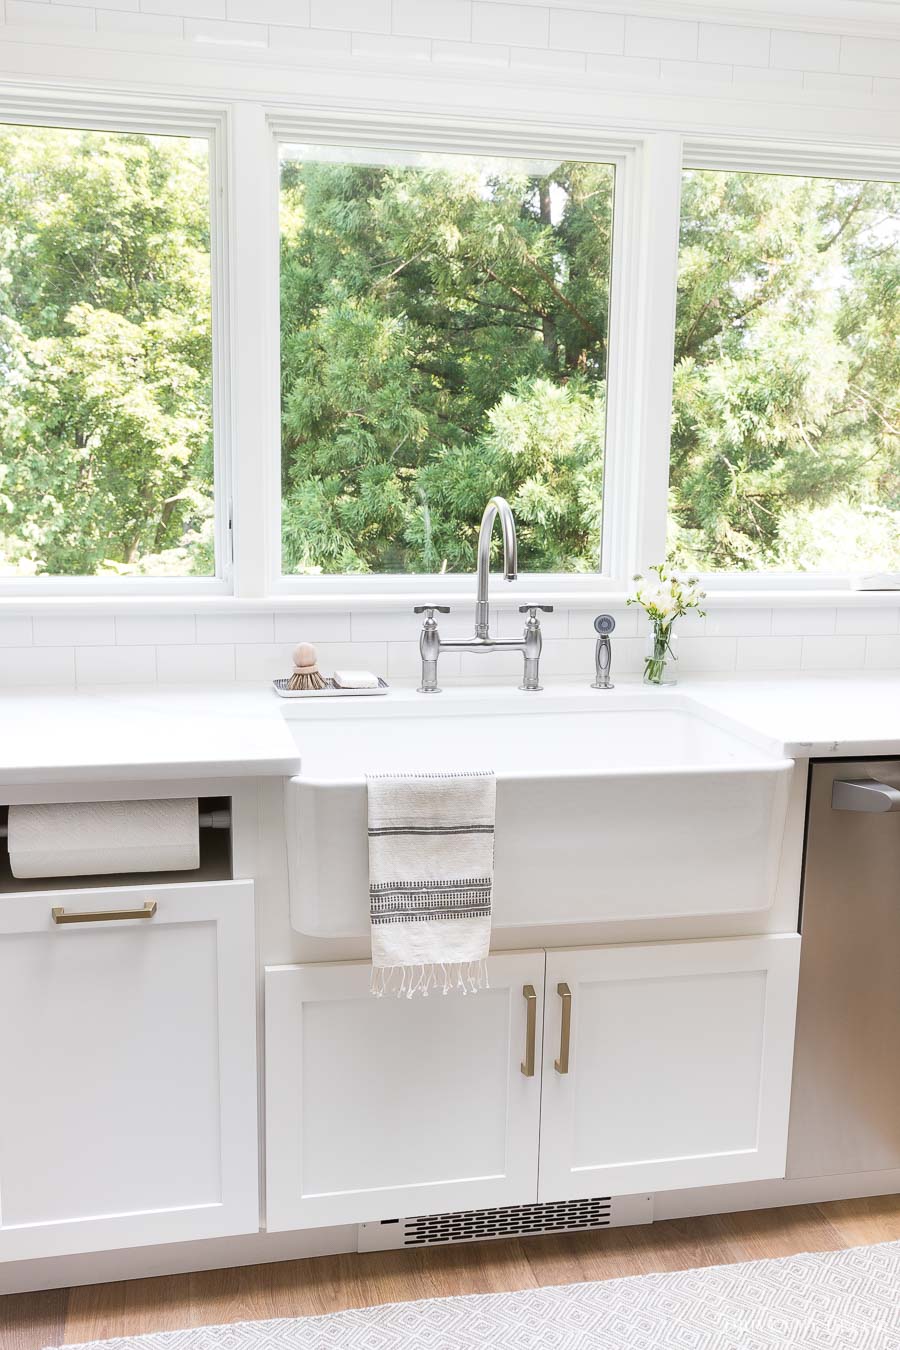
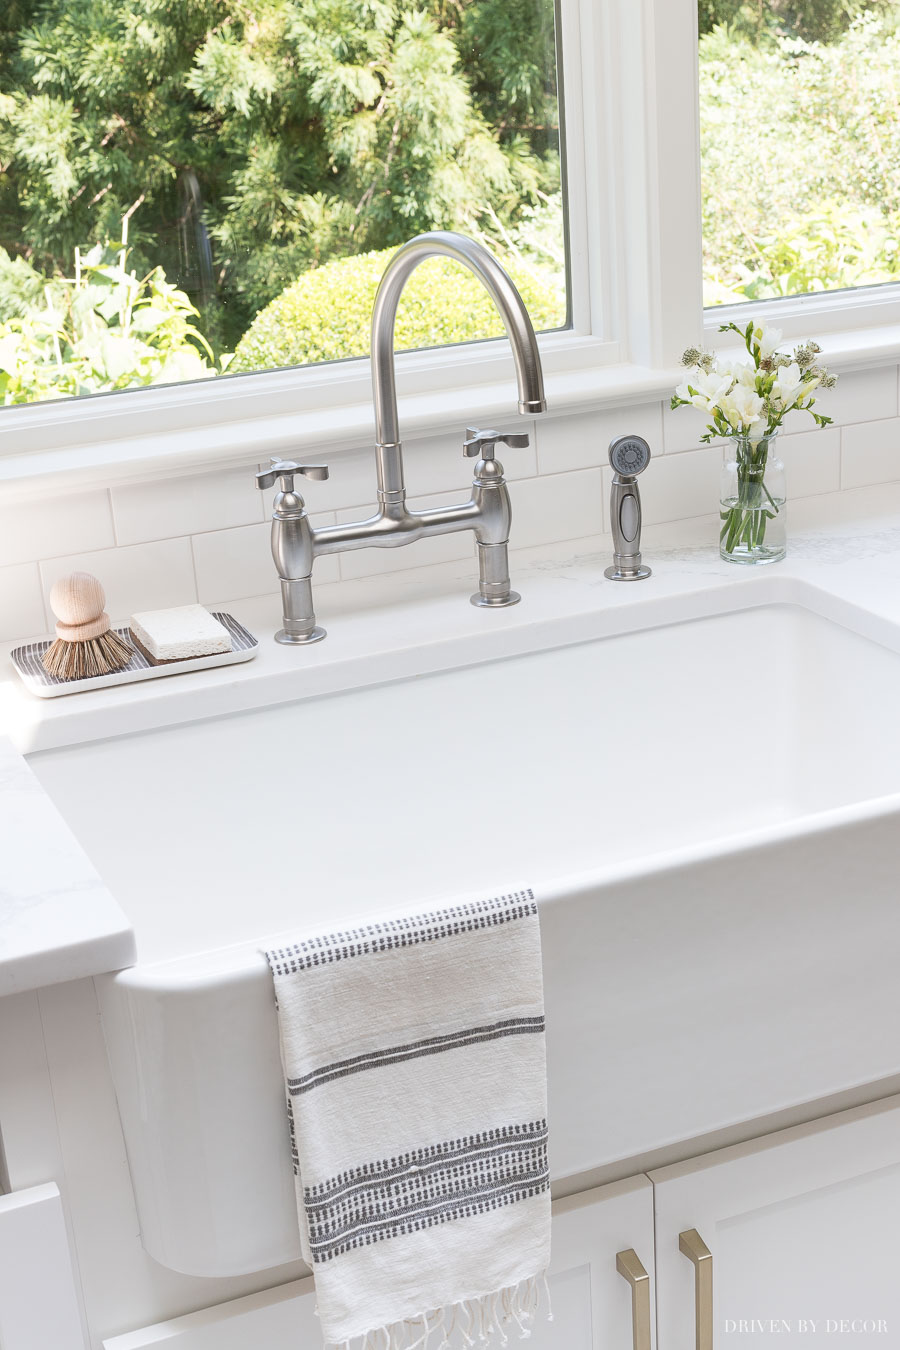
I’m never going to tell you that I now like doing dishes but I will tell you that I like it a whole heck of a lot more than I used to! The faucet was something that I debated back and forth on for quite a bit but I ended up choosing {this bridge faucet with sprayer} – I wasn’t sure if having two handles instead of one would be annoying but so far so good.
And I debated about sink size too since this 33″ baby (Blanco’s Cerana II available {here} seemed so huge compared to the microsink I used to have but some friends pushed me to go big and they were right! It’s so nice having the extra space and I also love that the sink is so deep that it hides my dirty dishes when I don’t put them in the dishwasher right away. The added little pretties of the cute striped tray, wood scrubber, and gray striped towel complete my little dishwashing space.
Continuing on down that window wall, previously we had a short length of shallow cabinetry along with double doors leading into our dining room:
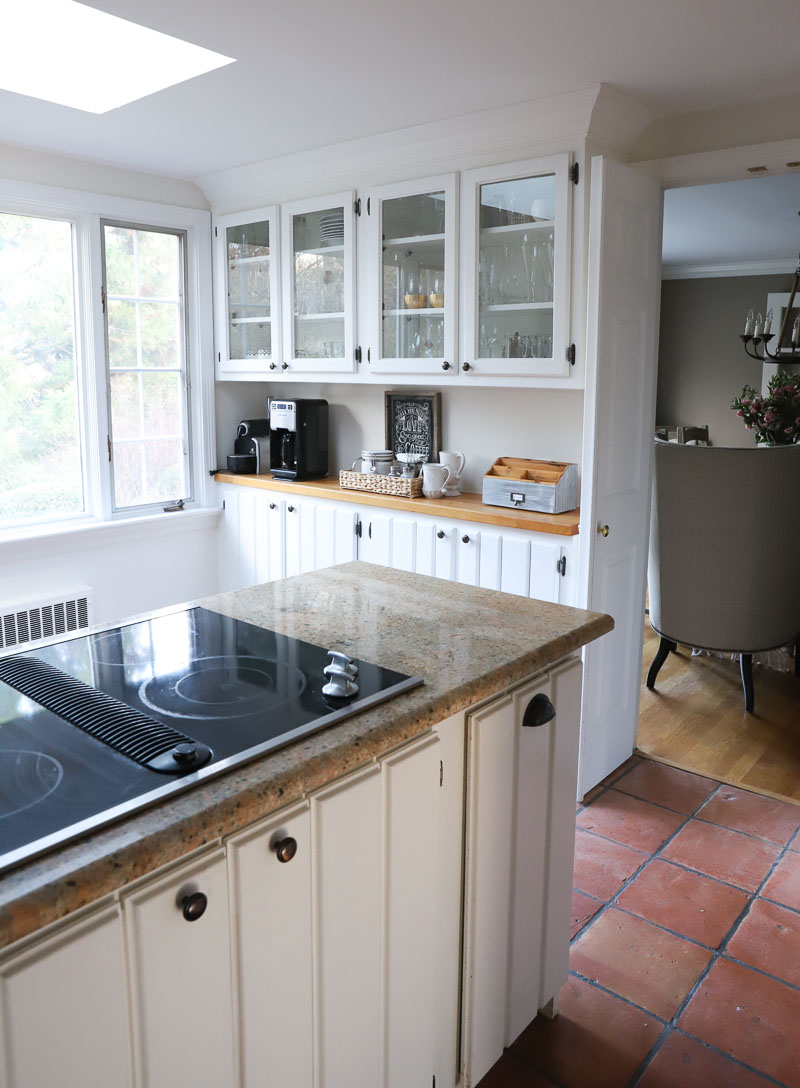
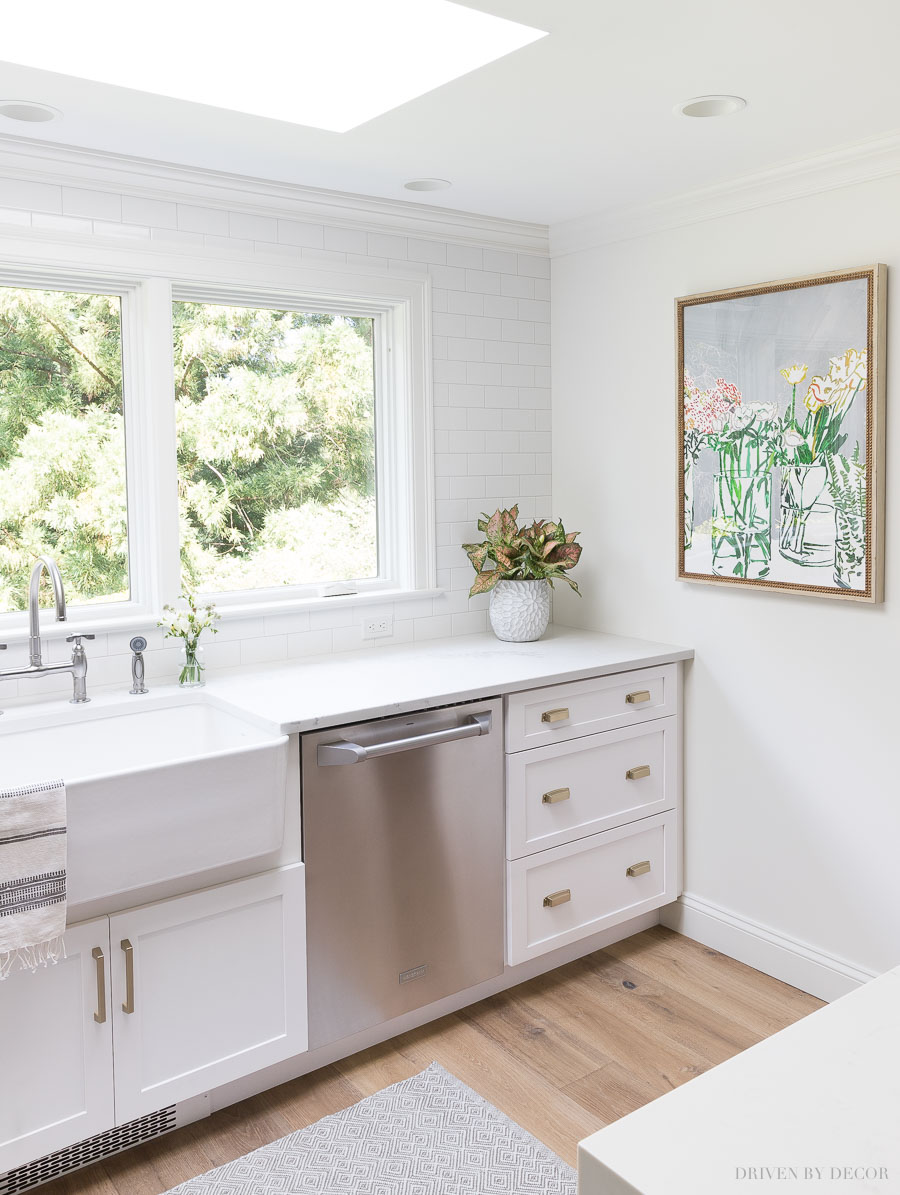
Now, the current line of cabinetry simply dead-ends into the wall – I was surprised to find that so much of the glassware I stored in the old cabinets is now easily stored in the bank of drawers on the end. They hold much more than I would have thought!
Other changes here include removing the double doors to the dining room so that we have a simple cased opening instead and adding some beautiful artwork (available {here}) and a potted plant which adds so much life to the space!
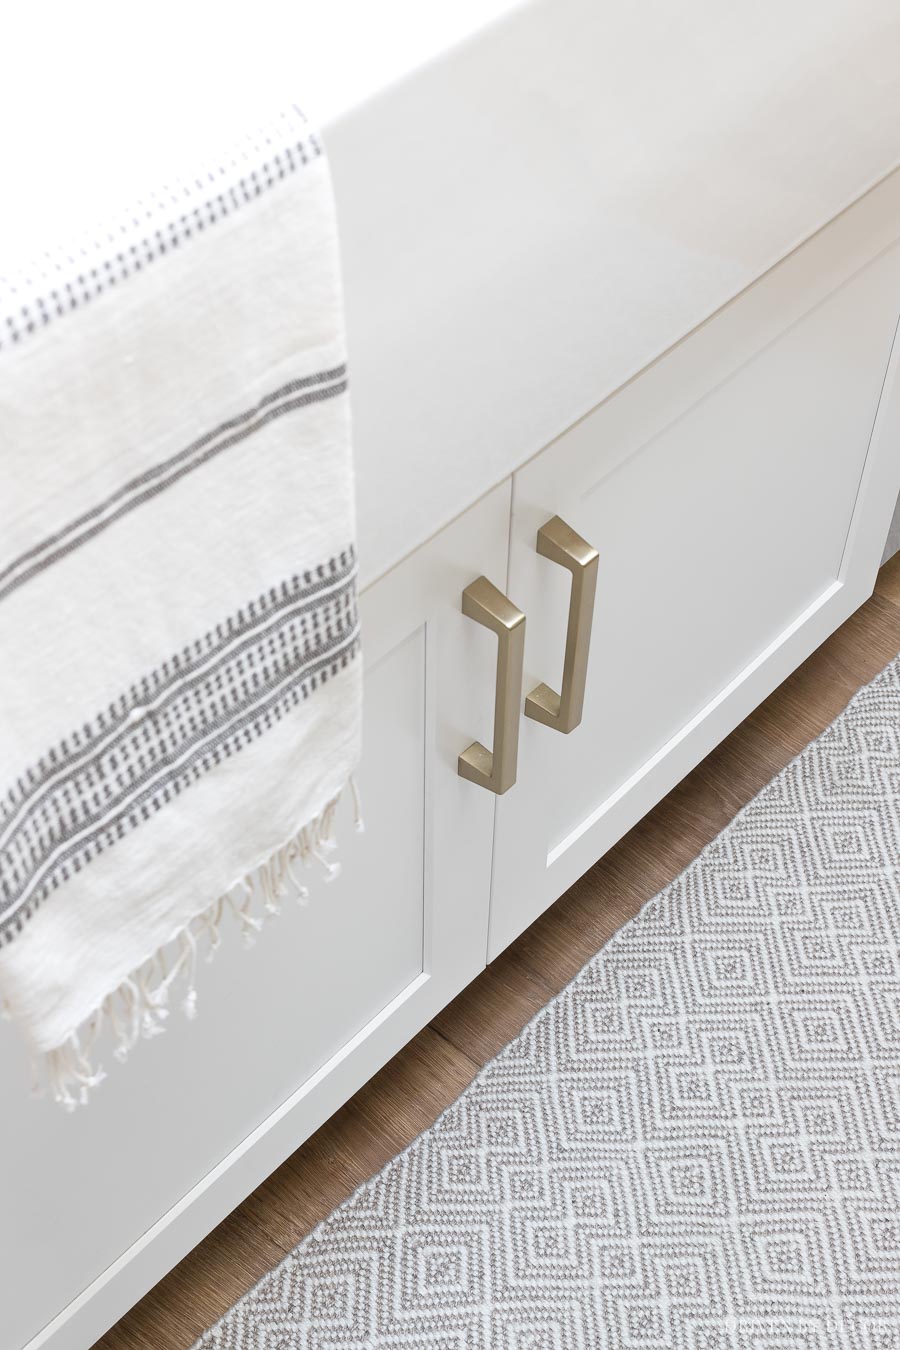
I also wanted to add in just a few small touches of bling to liven up the space! I love soft gold finishes and while I kept my big ticket items (appliances, faucet, and pot filler) in stainless, I added gold pendant lighting and gold cabinet hardware throughout my kitchen. I didn’t use any knobs but instead went for all pulls, including these Amerock golden champagne pulls (available {here} and {here} ) for my cabinet doors,
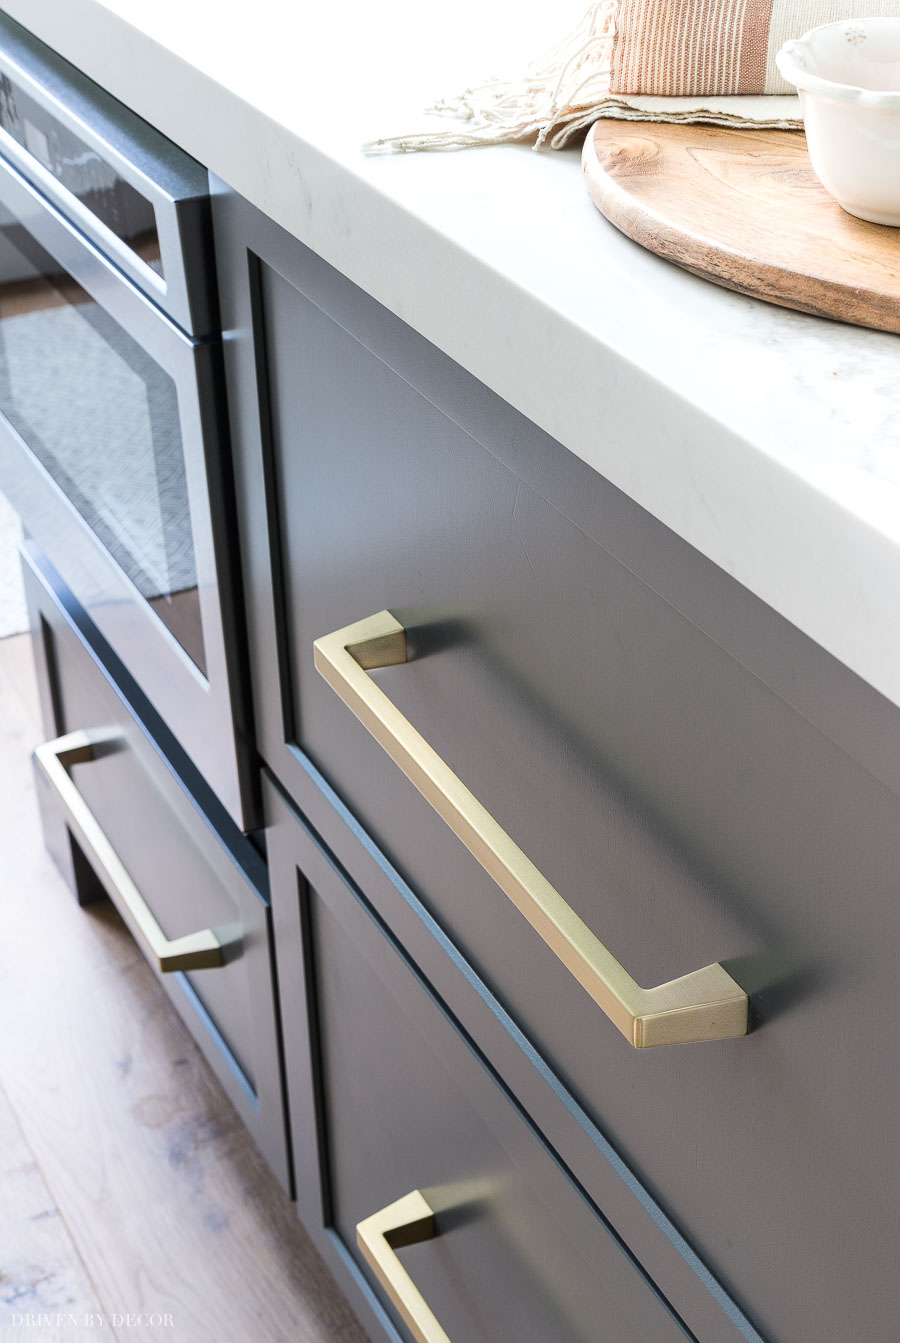
the longer 12″ appliance pull version of the same pulls (available {here}) for our kitchen island drawers,
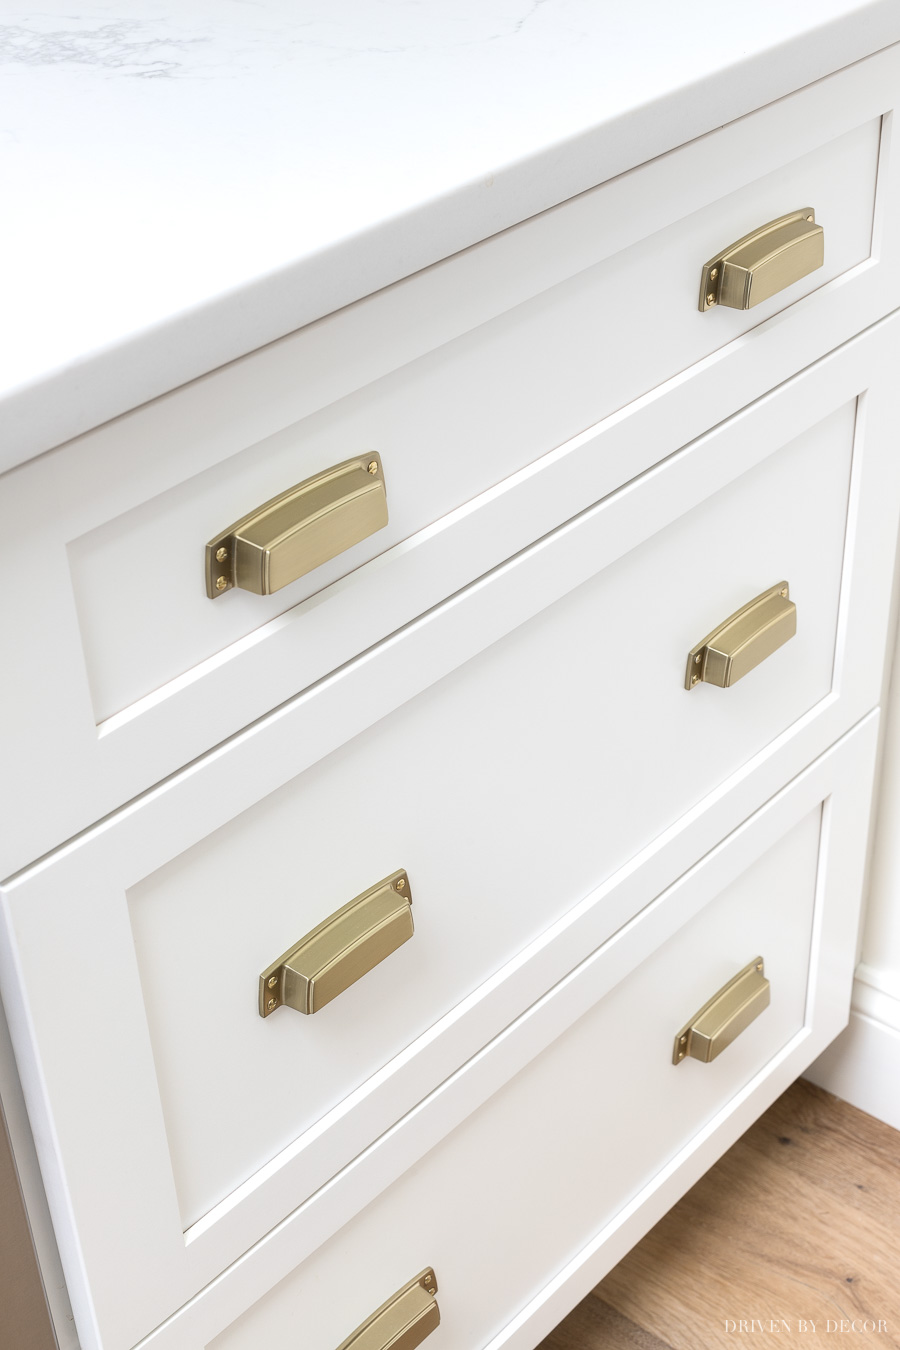
and then these Amerock golden champagne cup pulls (available {here} and {here}) on all of the other kitchen drawers:
Kitchen Flooring
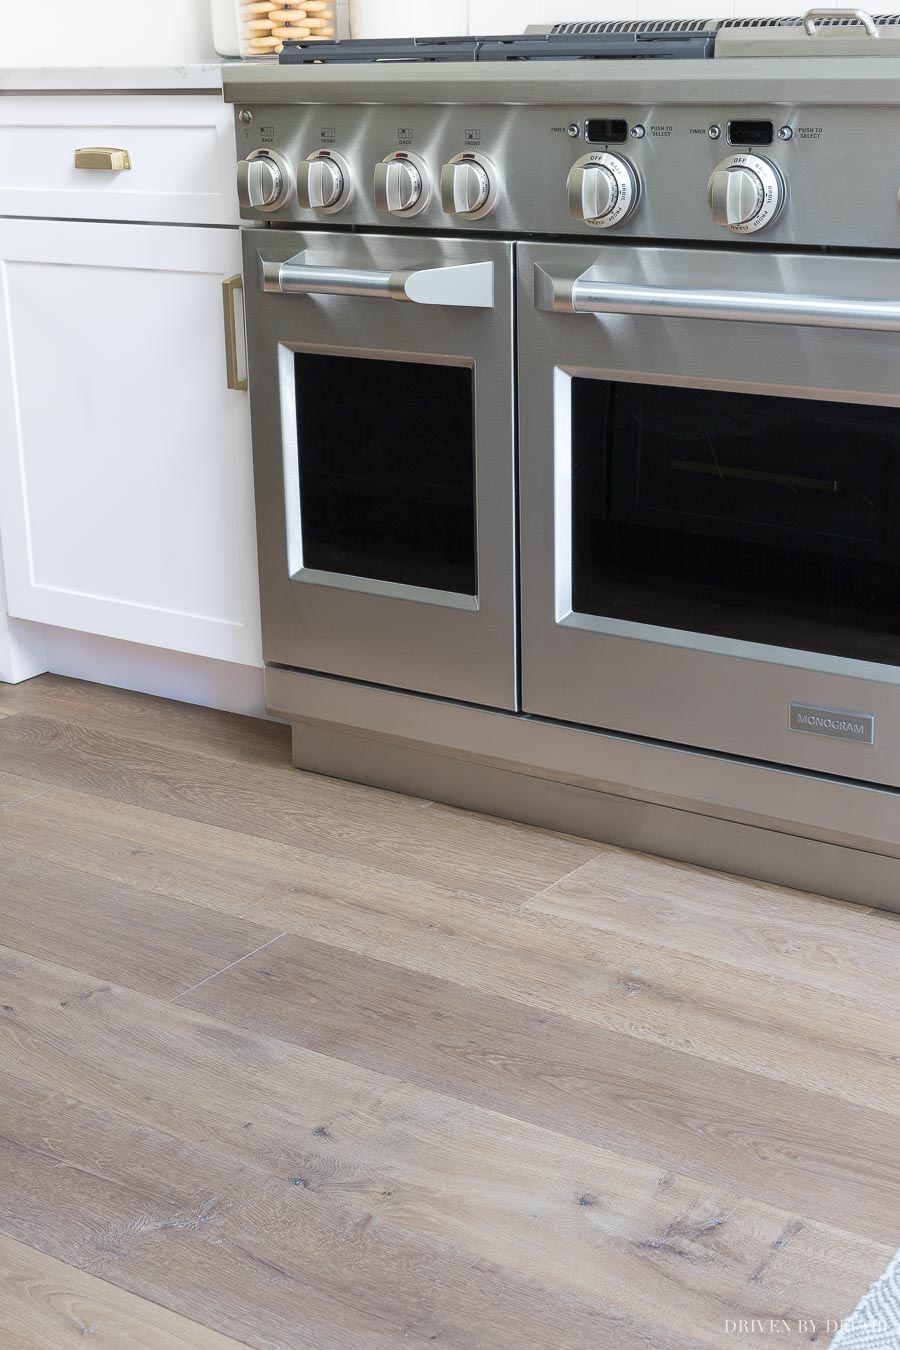
And last but not least, let’s talk flooring – I couldn’t be happier to see that Saltillo tile go! In it’s place, we added Hallmark wood floors (Alta Vista in Malibu) and it’s beyond gorgeous! It’s pre-finished flooring so it went in before anything else in the kitchen did and I was totally neurotic about keeping the floors covered throughout the renovation (just ask my contractor – I’m pretty sure he thought I was nuts) – it was so worth it because they add so much warmth and beauty to the space:
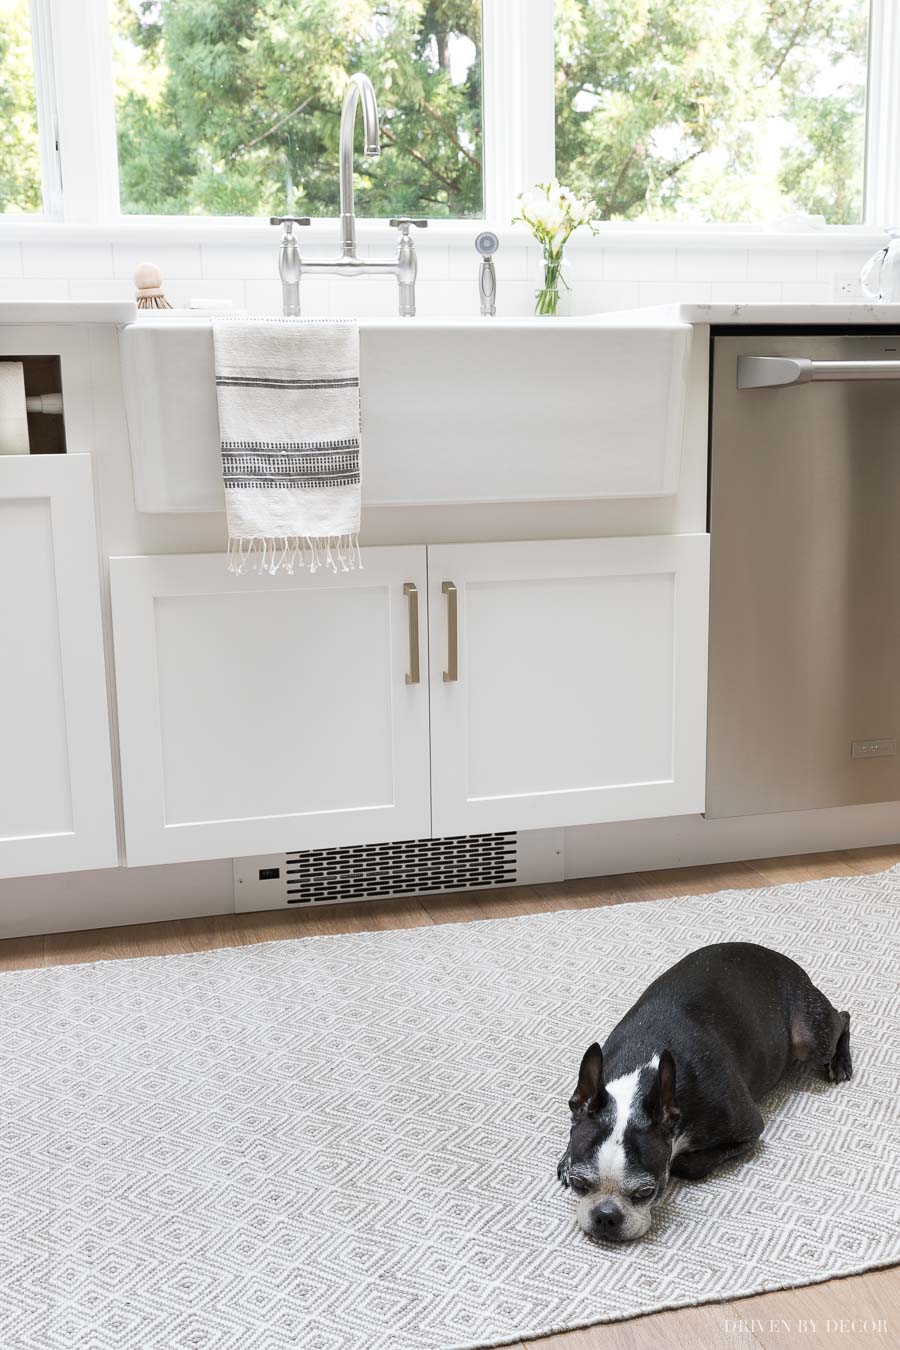
Of course, Hope’s not too impressed with anything that’s not cushy soft so you’ll find her hanging in her dog bed or over on our new little rug (found {here}) in front of the sink:
The rattan counter stools at our new island (found {here}) do a lot to warm up the space too! I’ve been ogling these stools for years so choosing them was an easy decision – they ended up being the perfect addition to our kitchen and really help tie it all together:
Now that it’s done, I seriously wish I could have all of you guys over for a big kitchen party – I feel like you waded through the renovation trenches with me and that made it so much more fun for me! I’ll be sharing more details about my cabinets and appliances in future posts along with our kitchen eat-in area that also got a facelift but if you have any questions, throw them at me! I’d also just love to hear what you think about my new space – tell me in the comments!!
I’ve included a the rest of the sources for my kitchen below in case you were wondering where something came from. And if you’re new here and would like to get more DIY and decorating inspiration delivered to your inbox, I’d love for you to subscribe by email – it’s typically just 2 posts per week and you can unsubscribe at any time! CLICK {HERE} TO SUBSCRIBE!
XO,


Contractor: Reszoly Builders
Paint color: Benjamin Moore Cloud White (Flat for Walls, Satin for Trim)
Cabinets: MasterBrand Cabinet’s Diamond Cabinetry (more details {here}) – cabinet design by Shauna Lueken
Backsplash tile: Mosaic behind range: Walker Zanger mosaic (Villa D’ Oro Granada) | Subway tile: 3 x 6 AKDO Essential Ceramic in Cloud (glossy) | Liner around mosaic: AKDO Vista Liner Essential Ceramic in Cloud | Grout Color: details in my post on white subway tiles with gray grout
Hardware: Blackrock Golden Champagne pulls on cabinet doors and island drawers available {here} and {here} – I used a combination of the 3 ¾″, 5 1/16″ and 6 5/16″ pulls on the cabinet doors, 8″ appliance pulls on the pantry, and {these 12″ appliance pulls} on the island | Highland Park golden champagne cup pulls on other drawers available {here} and {here}


Alfie Rowley says
Excellent blog you have posted. Thanks for sharing this informative blog with us. Suppose you live in Clearwater and searching for an expert to renovate your kitchen. So I would like to recommend “kitchenRemodelinginClearwater.com” to you.
Sage says
Your kitchen looks incredible! I love the silver appliances and how you made your new space look so much more open and bright. I recently had my cabinets painted white, and it made our kitchen look so much bigger. You did a great job with your kitchen. Thank you so much for sharing.
Linda Pratt says
I really love this kitchen and design. Please tell me what size island is this and countertop size? Thank you.
Michelle says
This is a beautiful remodel. I am painting my cabinets and walls BM White Dove and want a contrasting color for island. I tried painting a little section with BM Revere pewter but brought out too much green undertones. What color did you use on your island? We are also doing a 3inch cut quartz on island.
Christine says
Hello! I am new to your blog and I love it!!! This kitchen reno is stunning. Truly! I do have a question though about the crown. You carried it across the top of the tiled sink wall but did not carry it over the floating shelves nor the rang. I can see over the rang would have been tight and perhaps maybe look a little fussy, but I was just curious about the decision not to carry it over/above the floating shelves. Again, I think this is just stunning kitchen and I cannot wait to dig into your site more thoroughly.
Oh, one more thing, some one asked in an earlier comment about the rang hood shroud. Did your contractor make this or is this from MasterBrand Cabinet’s Diamond Cabinetry?
Thanks so much for sharing,
amalia melendez says
Kris, I would love more info on this as well! we are renovating our kitchen and its 8 foot ceiling. Yours gives me really good perspective.
Michelle says
Hi Kris, since your sink is reversible, which side of the sink corner style did you choose for the apron front? It says there is a traditional side (which I assume is the wider corner edge) and contemporary side (I assume is the smaller corner edge). I bought the same sink and my contractor mentioned the wider edge would stick out more than the other?
Jennie says
Your kitchen is stunning! My question is what type of edge do you have on the island? Double radius? I love it!
Suzanne McElligott says
I enjoyed viewing your description of your kitchen . You did a nice job of making it more spacious which is the first place you want to have a kitchen as we know that where most of discussions are happening also you found a way to put the proper fixture for the lighting above the island.
Ashley says
How did they make the island so thick? Love that!
dolargroup says
Found your post interesting to read. I cant wait to see your post soon. Good Luck for the upcoming update. This article is really very interesting and effective.
PG says
Hi Kris! Thanks so much for sharing. Your kitchen is beautiful. Do you mind sharing the dimensions for your kitchen and your island. It looks about the same size as the proposed kitchen in my new construction but I had some concerns about how and where the island would fit.
TLynn says
Love your kitchen! I’ve been eyeing those Amerock pulls for my new kitchen and seeing them in yours just cemented my decision! How have they held up for you? Any wearing or tarnishing of the finish?
Kris Jarrett says
They’ve worn beautifully!
Cynthia says
Hi Kris, Just one more question. I love that you used different size pulls. They look beautiful. I see that the pulls on your lower cabinets are shorter than the upper. I’m assuming they are the 5 and 6 inch respectively. Is that right? Where did you use the 3 inch pulls? Thank you so much for your time. 😊
Michelle says
Love your sink and I’m considering this kind also for our remodel in a few months! I have a few questions on your sink:
1-Does it scratch/crack easily? Not just the inside, but the outside if someone leans on it with a belt buckle? I’m reading mixed reviews so curious if it’s been ok for you.
2-What helped you decide on a single basin? I’ve only ever used a double basin -I use one side for dirty and the other for air drying hand washed items. I worry if a single basin will be practical?
3-Do you use a sink grid?
Thank you!
Kris Jarrett says
Hi Michelle – I’ve been VERY happy with our sink – it doesn’t have a single scratch on it after having it for a few years now. I do have a sink grid for it but never used it – some people like them because they help prevent scratching but I think that having to clean around it is too much of a paint. I’ve always been someone who hates double basin sinks – I like to be able to lay large flat pans and dishes flat to soak so that decision was a no brainer for me but if you like a divided sink for putting your air dry dishes you might want to stick with that. I either hand dry or lay my air dry dishes on a towel on the counter. Hope that helps!
Michelle says
Hi Kris! I love everything you did and I’m copying as much of it as I can! How did you determine the size for your mosaic part of your backsplash?
Kris Jarrett says
Thank you! I decided on an approximate size that I wanted it based on the size of my range and then laid the tile out and determined the final exact size based on where it made sense to cut off the pattern so that it was exactly the same on the left & right sides and on the top and bottom.
Michelle says
Thank you, Kris! This was very helpful! I would not have thought of considering cutting off the pattern to make it even all around. Do you recall how many you needed for yours?
Cynthia says
Hi. Do you know if your countertops are 2cm or 3cm? Thank you 😊
Kris Jarrett says
They are 3cm around the perimeter. My island has an overhang around the edges so it is thicker.