Wondering how to protect a wood dining table without darkening this finish? I’m sharing what’s worked for me to protect and seal our Restoration Hardware & Pottery Barn tables.
Over the years, one question I get asked again and again is whether I did something to seal and protect our Restoration Hardware and Pottery Barn wood tables, and the answer is yes! It’s actually something I spent quite a bit of time researching, testing, and figuring out the best approach to keep that beautiful wood finish intact while still making it practical for everyday life.
Today, I’m sharing exactly how I sealed both of our wood tables, including the step-by-step process and the specific products I used to get a durable, long-lasting finish that still looks like the original. (post includes commissionable links; for more information, see my full disclosure statement {here})
The Goal: Protect Without Darkening
There are several different products you can successfully use to seal wood tables but one of the most important things to me was finding something that didn’t significantly darken the natural color of my table or make it shiny. The first table I sealed is Restoration Hardware’s Dumont dining table that we originally had in our kitchen but later moved to our home office (it’s no longer available but {this trestle table} is very similar):
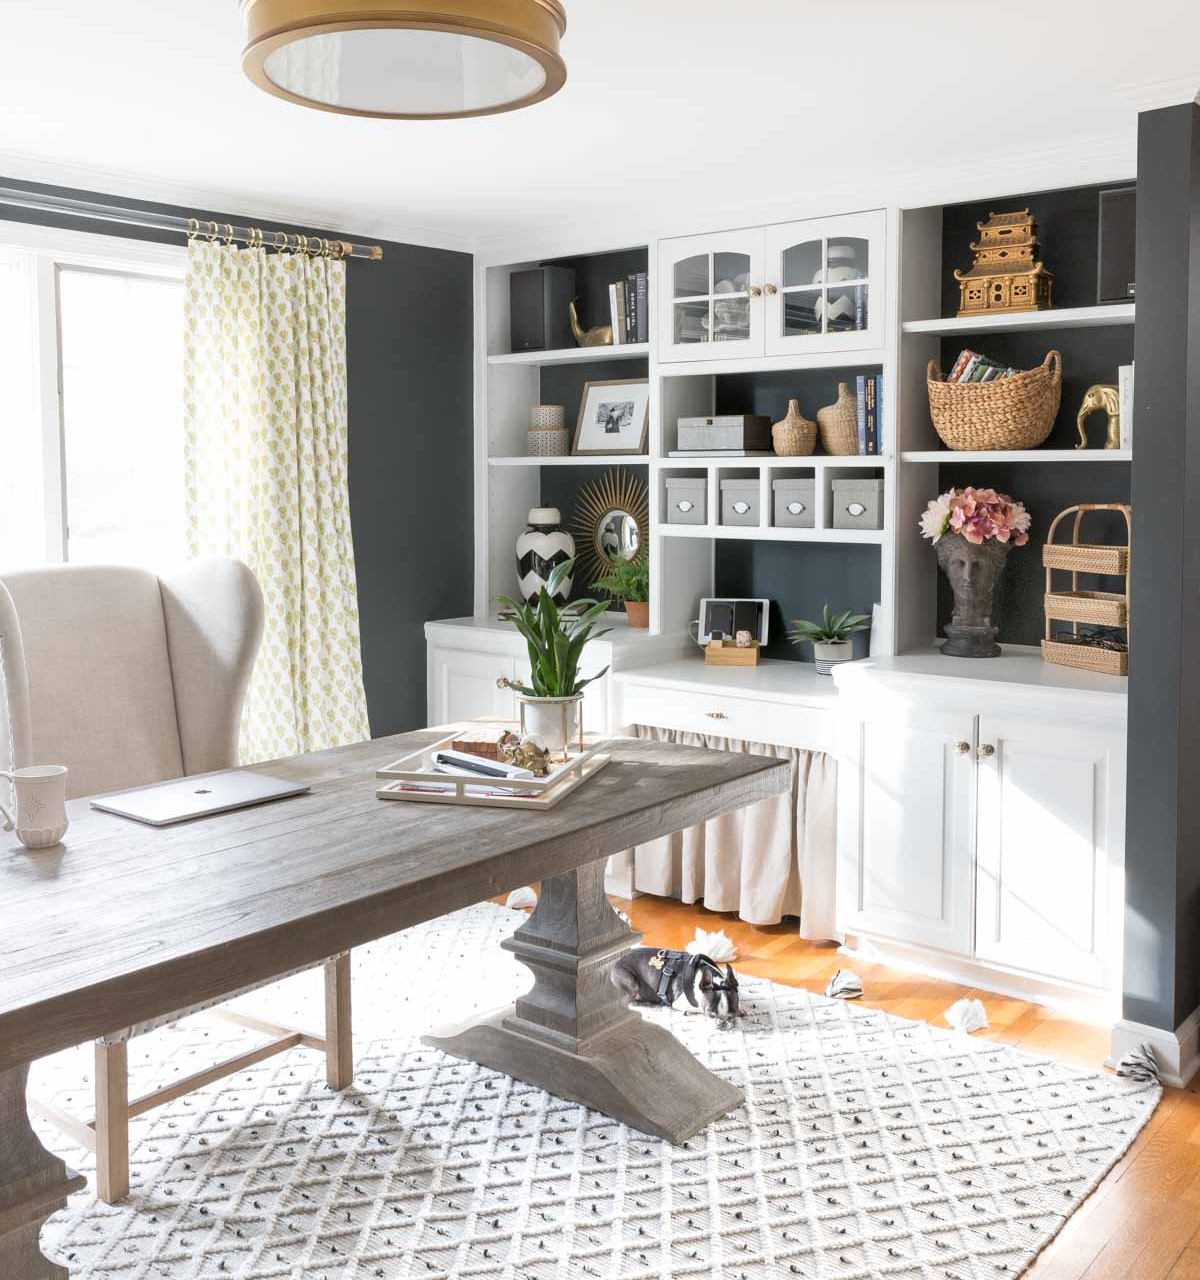
Sources: Wingback armchair (similar) | Ceiling light | Rug |
To try and figure out how to best seal and protect it, I bought a wood sample from Restoration Hardware to test (1) clear polyurethane and (2) Waterlox on it and see how they affected the look of the wood. As I thought they might, both sealers significantly darkened the color of my wood sample so I kept searching for a better solution.
After more research and another wood sample experiment, I found that clear wood furniture wax was my best bet since it helps protect the wood without changing the color hardly at all. Using the exact steps and products I detail below, I sealed our table with wax and after using it for several years, there still wasn’t a single mark or stain on it!
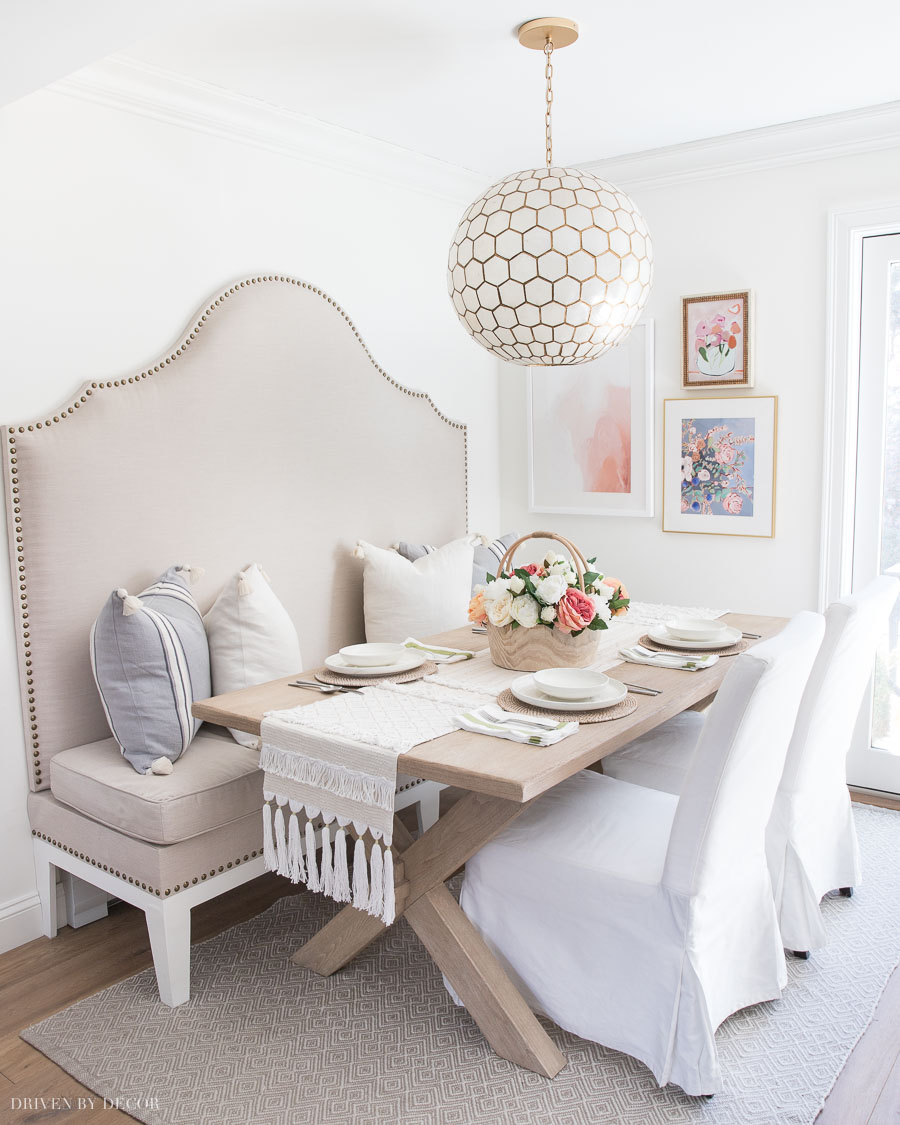
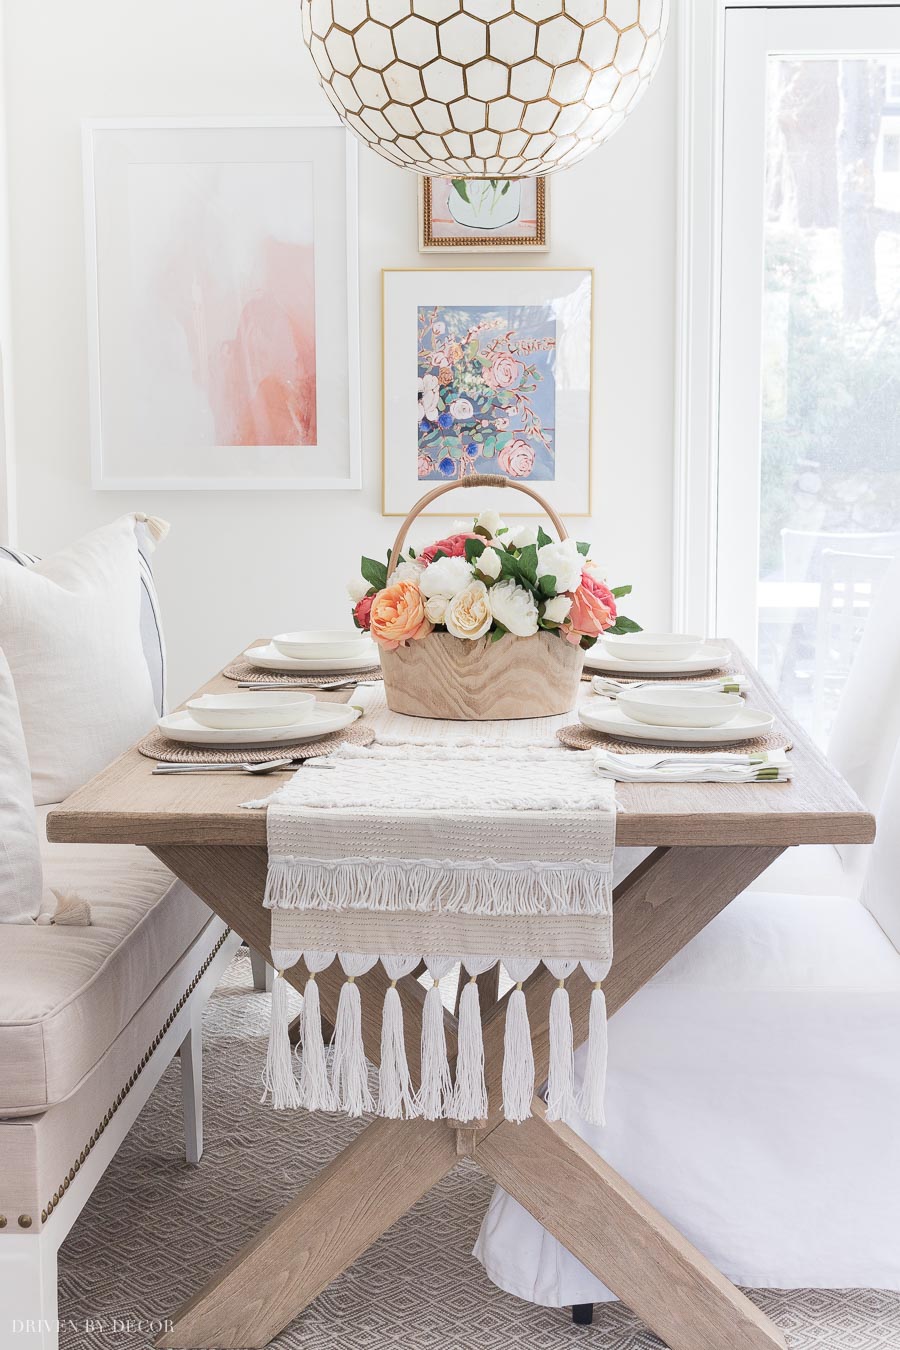
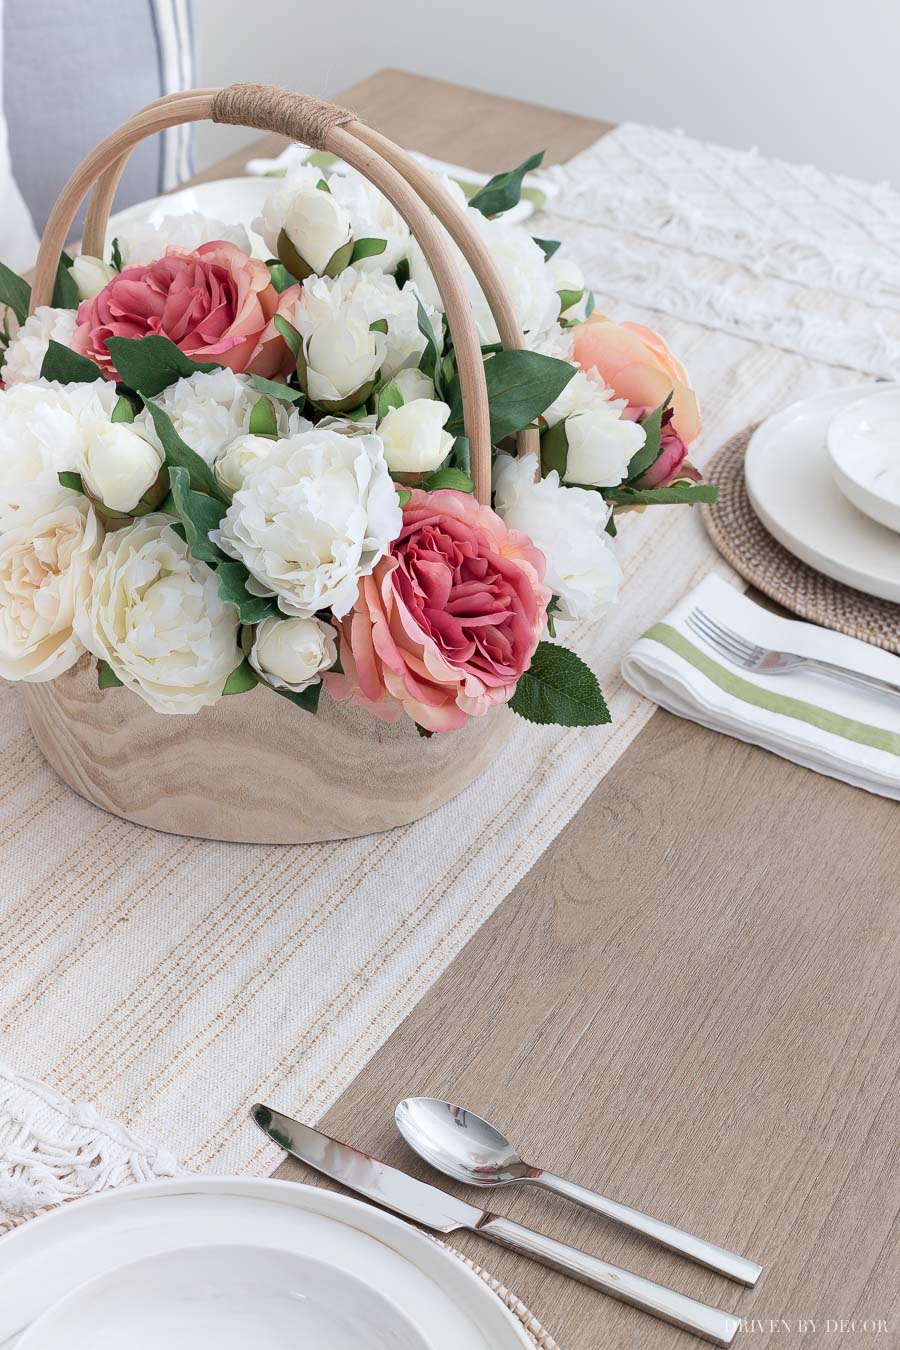
After remodeling our kitchen, I bought a new wood table for our kitchen (Pottery Barn’s Toscana Dining Table in the Seadrift finish) and sealed it the same exact way as our Restoration Hardware table, again with results I was thrilled with:
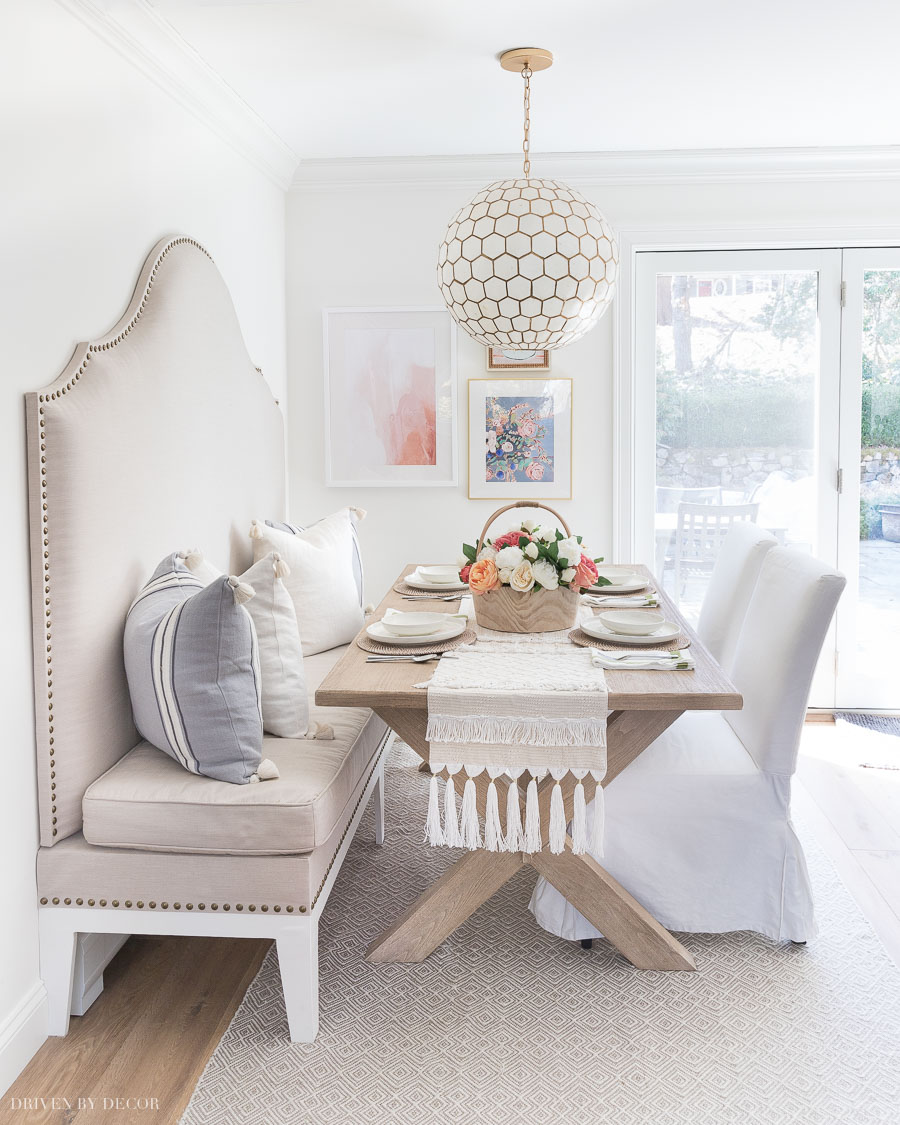
Sources: Capiz pendant | Geometric gray rug | Large blush abstract framed art | Blue floral framed art | Pink floral framed art | Slipcovered dining chairs (similar)
I photographed the step by step of how to get the job done so you know exactly what to do to seal and protect your own wood table…
Step 1. Clean Your Table
Wax will trap any dust or particles on your table so it’s important to give it a good cleaning before sealing it. To clean mine, I mix a drop of clear dishwashing liquid into a bowl of warm water, dampen a microfiber cloth with it, wring out any excess, and wipe down the entire table.
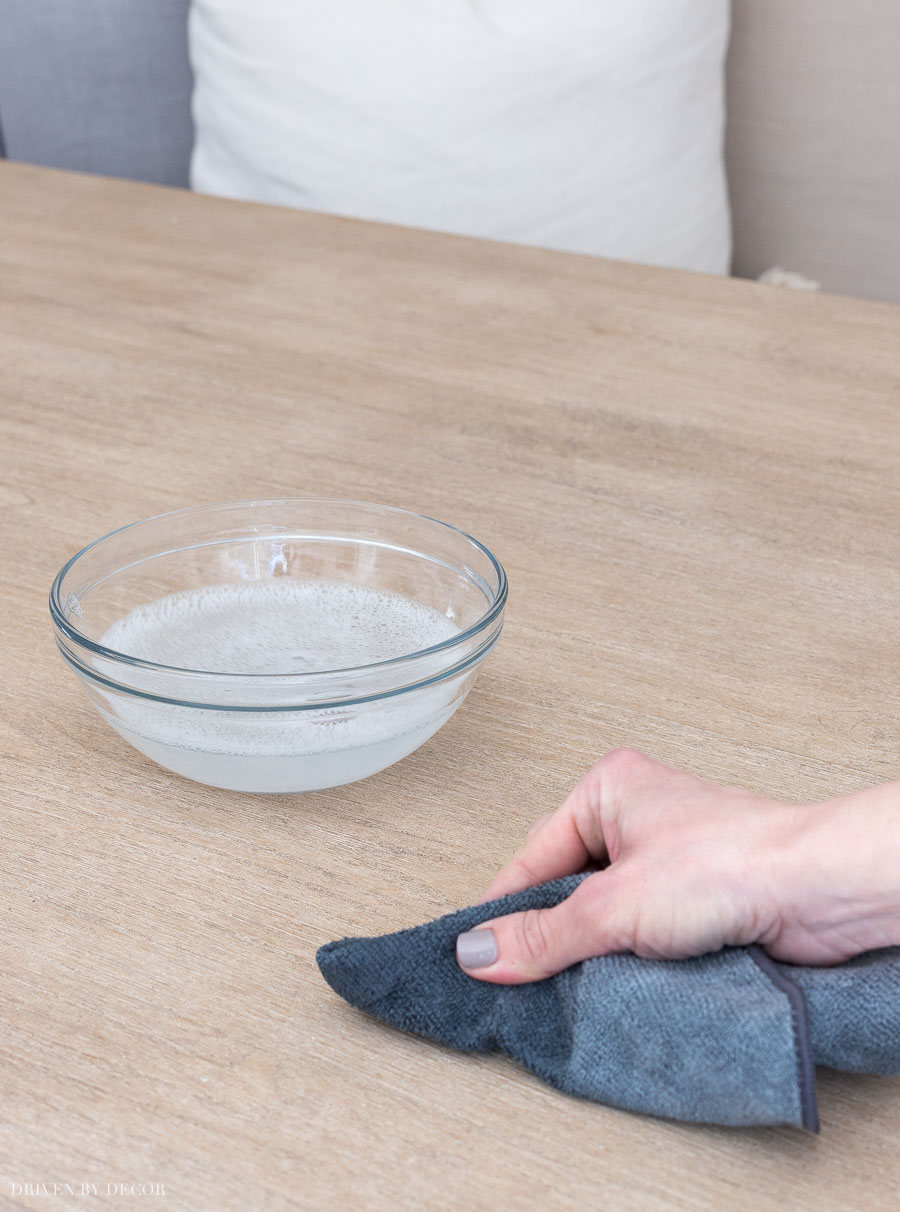
I follow up by wiping the table down with plain warm water, using a dry microfiber cloth to remove any excess water, and then allowing it to completely dry. Once dry, run a tack cloth such as one of {these} over the tabletop to make sure it’s completely dust-free.
2. Get Ready with Your Wax & Waxing Brush
There are several brands of clear wax to choose from but some don’t actually dry quite as clear as others. My favorite is Crystal Clear paste wax (available {here}) which is a soft wax that goes on easily and dries truly clear. If it is out of stock, {this wax} is a very similar carnauba based wax that should work the same.
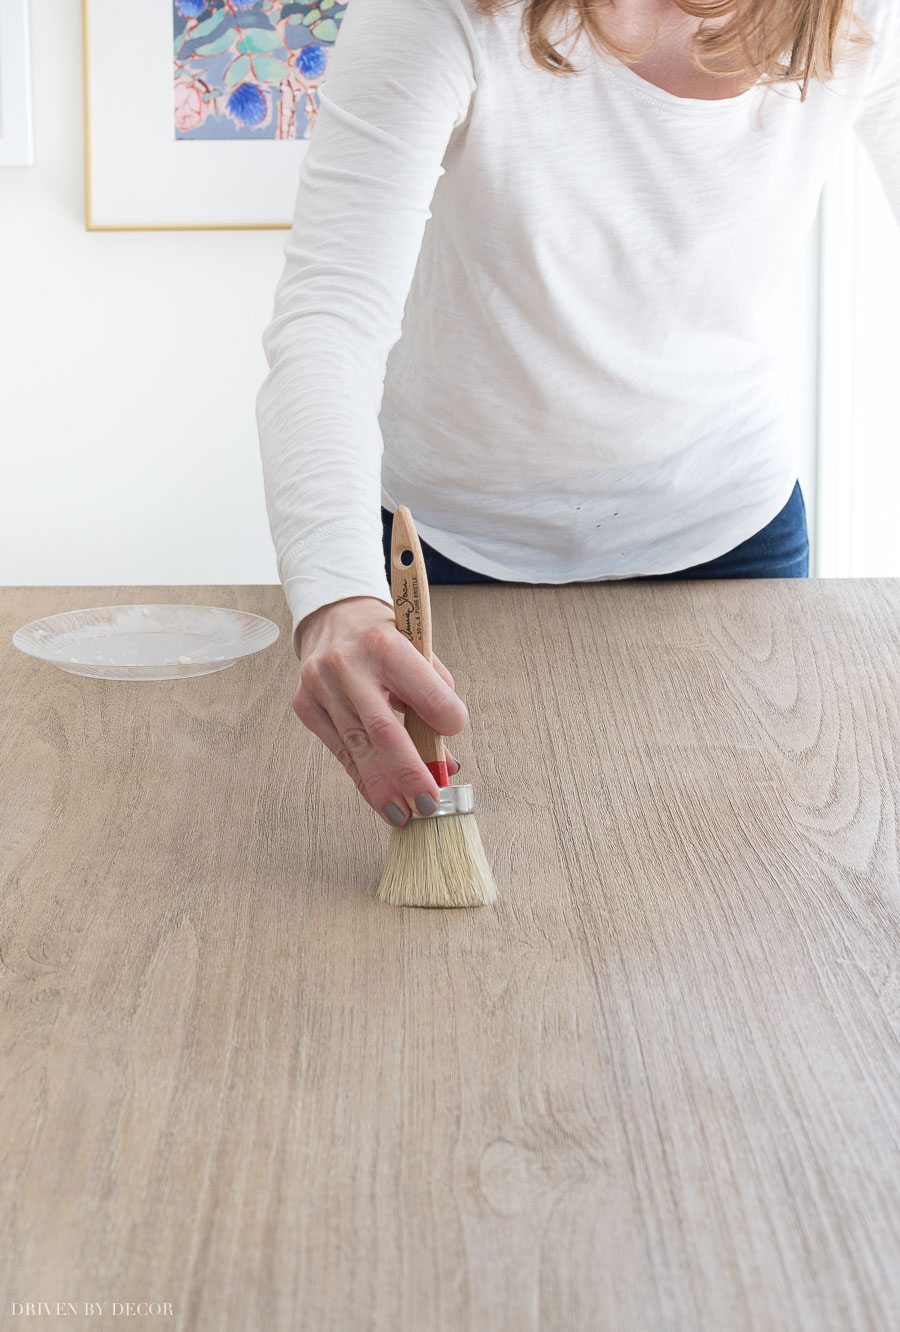
To apply the wax to your table, you can use a lint free cloth like an old t-shirt but a waxing brush like {this brush} works best. Prep for waxing by taking a scoop of wax out of the can and putting it on a plastic/paper plate. Then dab your waxing brush on the wax to very lightly cover the end of the bristles and offload any excess by dabbing it on a clean section of the plate:

You do NOT want too much wax on your brush/cloth – applying sparingly to create a thin coat is key!
3. Apply a Very Thin Coat of Wax
Apply a thin coat of wax to your table using your waxing brush in a back and forth motion in the direction of the grain of the wood. Use mild pressure as you apply the wax to work it in and work in small sections, covering each section before you move on to the next.
It’s not uncommon to lose a few bristles from your brush while waxing so pay attention to any lost bristles and pluck them from your waxed table before it dries. Once you’ve coated the entire table (don’t forget the edges!), use a lint free cloth to wipe off any excess wax, applying pressure with your clean cloth in a back and forth motion.
4. Let Wax Dry & Apply 1-2 More Coats
Let the wax dry completely (I let it dry overnight) and then apply a second thin coat in the same way as the first coat, again wiping off the excess and allowing it to dry. Repeat the process for a third coat.
After your last coat of wax, you’re done unless you want a shiny finish (I didn’t want my table shiny so skipped this next step). In this case, once the last coat of wax is dry, buff your table with a clean cloth – the more you buff, the shinier the finish. Then simply wait 2-3 days for the wax to fully cure before putting your table to use!
Waxing our table worked beautifully for me but I do want to make the disclaimer that while we certainly have our share of spills at dinner but we’re not terribly rough on our tables. We don’t have toddlers banging utensils on them or little boys running Matchbox cars up and down them like some of you might. Polyurethane and Waterlox sealers DO offer more hardy protection than wax (you can read more about using Waterlox in {this post}) so you’ll have to decide for yourself whether that extra protection is worth the trade-off of ending up with a much darker table. In my case, it wasn’t.
Maintenance
To keep your table protected, I recommend that you reapply a layer of wax every year or so. The more use your table gets, the more often I’d reapply. All you’ll need if you keep up with it is a single coat that takes 10-15 minutes – quick and easy!
I hope this answers most of the questions that you have about sealing our table but if not, ask away in the comments!


Sarah says
Did you wax the legs too or just the top?
Kris Jarrett says
Hi Sarah – I waxed the legs of my table too because sometimes we hit them with our feet when sliding into the bench seat so I wanted to protect them but you could definitely just do the top too!
Crista Scanlan says
Love your suggestions on the tables . We are thinking about purchasing the Toscano table but we are hesitant because it isn’t sealed or waxed and I was looking for a solution. Are you still happy with your table anthem wax top ?
Thanks
Ang McGregor says
Hello. Thank you for this, just what I was looking for. As I am in Canada, and looking on the US Amazon site, they are out of that wax, as you predicted. What exactly is the name of the second wax as I want to make sure when I press on it and it takes me to the Canadian in Amazon. That is the right product. Thank you and I look forward to many more ideas from you.
Deandra says
Hello! So I’m looking at this new table at CB2 that I am in love with but people complain about anything wet from glasses causing stains and one comment said they put a seal on it. In your opinion did the wax alter the color or anything about the original table? That’s my only concern.
Kris Jarrett says
No, the wax didn’t alter the color of my original table but I always recommend doing a test spot on your table as all woods are different.
Andrea Thompson says
Quick question, do you apply the wax to the entire table using the round waxing brush you linked? Also, you mention buffing out the table as the final step. Is this just rubbing the finish with the dry rag? Thanks for your article! I just bought all the stuff to seal my new table.
Amanda M. says
We recently purchased the reed extending dinning table in biscotti from potterybarn. I had some guest over and even with placing down some placement mats we have a few stains. Do you know how to get rid of the stains before adding the wax?
Lynette says
Thank you for posting this! I just purchased the same table from Pottery Barn and was wondering about the best way to care for it. I’ve already ordered all the supplies from Amazon but I’m curious if you did anything with the brush between coats. Do I need to clean it off or is it ok to leave it as is?
Thanks in advance!
JAtlas says
We have recently purchased the Kensington round table from Arhaus and have noticed that the top is starting to crack/split in random places. We have already replaced it once but would this wax help seal the wood once we get a new top so the wood won’t split moving forward? Any suggestions or help would be appreciated.
CE says
I did this and my table is a little stickyish now, any suggestions how to get rid of that?
Kris Jarrett says
Usually if it’s sticky at all it’s because you applied a bit more wax than needed. Definitely buff off any extra and you should find it will harden (it just might take a little longer if you applied a thicker than usual coat).
Don says
I just bought a dining table form Costco and wanted to protect the piece. I looked at epoxy’s and varnishes and also thought about glass. The glass option, based on others experiences, would likely be something to fret over with finger prints and constant smudges.
The information presented was to the point and laid out very very well.
Thank you for taking the time to share your experience and probably saving me time and money. I ordered the wax you recommended and a set of natural bristle brushes. I am excited to get started.
Janet says
Hello – Great information!! Would this method work on counter stools as well? Or would the wax leave clothes greasy from sitting on it?
Carla Isaacs says
Hello, After applying your first coat you mentioned to “use a lint free cloth to wipe off any excess wax”. Am I doing this in big swoops all over the table as a whole or just in spots?
Thank you so much for this article, it is very helpful!
Carla
Annie says
Hi Kris – I followed your instructions on the wax, purchased same wax and applied it to my raw wood table. Unfortunately when water hit it , it left white spots that could not be removed without removing the wax from the table. Was there something else I needed to do? I ended up putting a matte water based poly on the top – which obviously darkened it way to much and then removed that finish by sanding. So here I am starting from scratch again. I loved how the wood still looked raw after applying the wax – but it did not seem to protect it. Let me know if there is anything here I missed?
Thanks!
Gayle Vaughan says
Do I need a different wax to use on an RH a lack oak table. I’ve not used since receiving months ago since reading awful reviews about staining. Crazy. I know. Wish I would have found those same reviews prior to purchasing. Waited a REALLY long time for a new table.
Gayle Vaughan says
Oops .. black oak
Nicole says
HI Kris,
Thank you so much for this info! I just received my Toscana table today! I love it, but I am super nervous about ruining it. So I had searched “how to seal a table” and your site popped up! My trepidation with trying this ( I already ordered the wax and brush!) it seeing my brush strokes. I don’t want to ruin my table. Should I do long strokes? What is your suggestion? Thank you!
William Mitchell says
We have an heirloom dining room table that has been refinished once several years ago — probably a stain and a varnish (I’m just guessing). If it would help you answer the question, I’ll be happy to send a photo of the table top.
Will the Crystal Wax approach still work on an already finished surface? We got the impression that your tables were not finished at all, just bare wood.
JENNIFER JOHNSON says
Hi, what if I already have condensation circles from a dinner, can they be removed and then wax over?