Wondering how to protect a wood dining table without darkening this finish? I’m sharing what’s worked for me to protect and seal our Restoration Hardware & Pottery Barn tables.
Over the years, one question I get asked again and again is whether I did something to seal and protect our Restoration Hardware and Pottery Barn wood tables, and the answer is yes! It’s actually something I spent quite a bit of time researching, testing, and figuring out the best approach to keep that beautiful wood finish intact while still making it practical for everyday life.
Today, I’m sharing exactly how I sealed both of our wood tables, including the step-by-step process and the specific products I used to get a durable, long-lasting finish that still looks like the original. (post includes commissionable links; for more information, see my full disclosure statement {here})
The Goal: Protect Without Darkening
There are several different products you can successfully use to seal wood tables but one of the most important things to me was finding something that didn’t significantly darken the natural color of my table or make it shiny. The first table I sealed is Restoration Hardware’s Dumont dining table that we originally had in our kitchen but later moved to our home office (it’s no longer available but {this trestle table} is very similar):
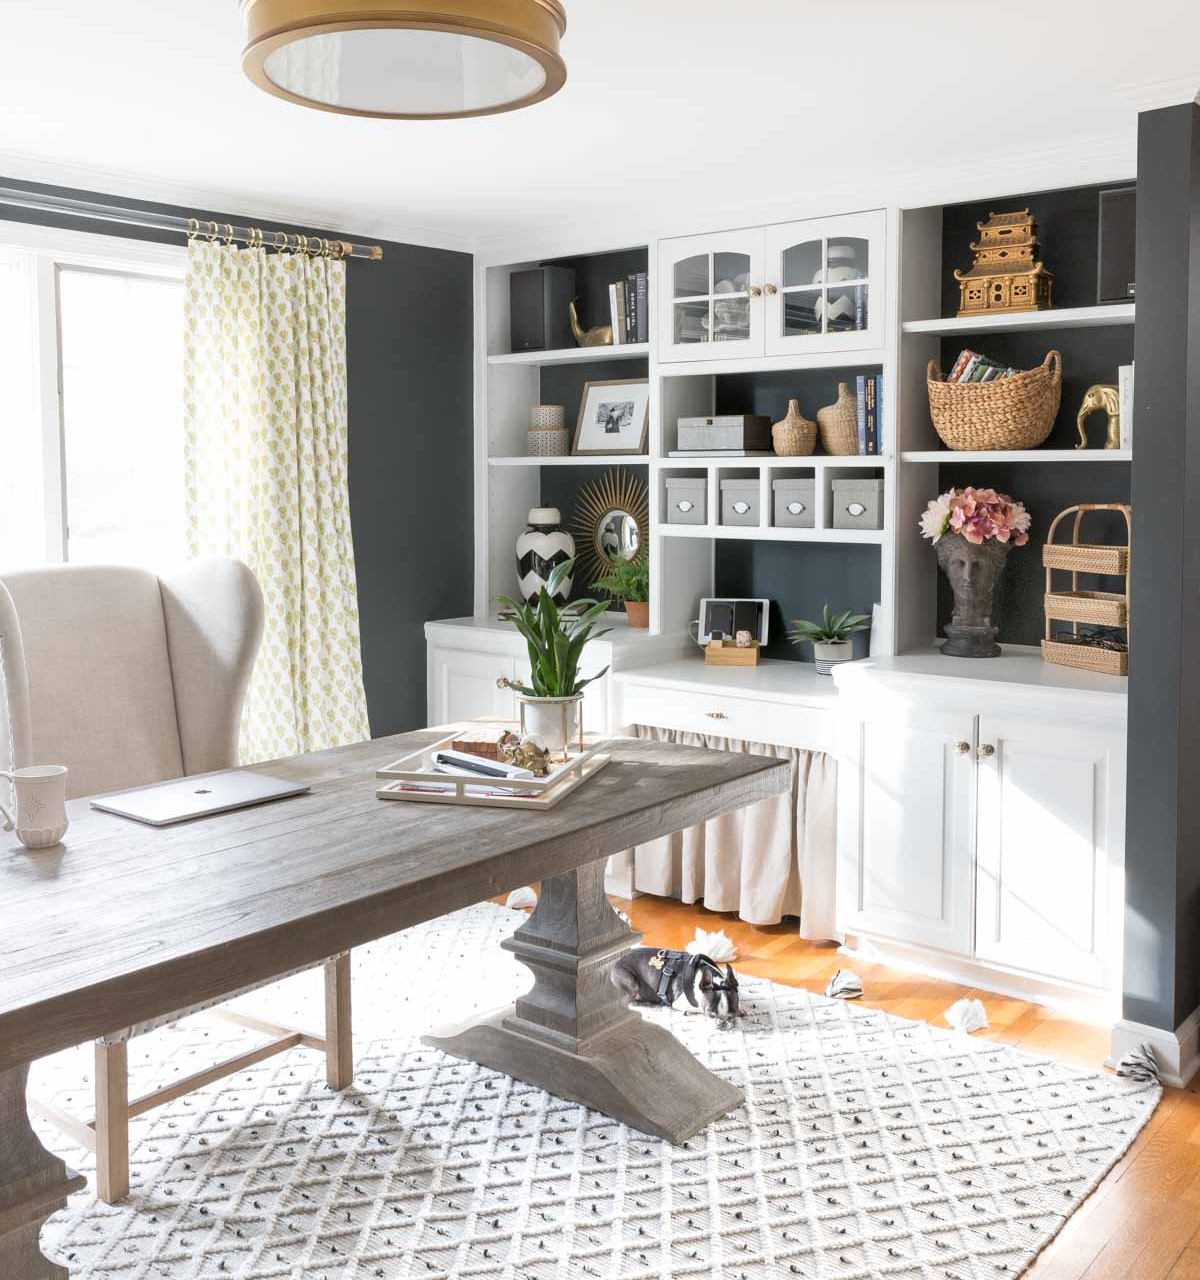
Sources: Wingback armchair (similar) | Ceiling light | Rug |
To try and figure out how to best seal and protect it, I bought a wood sample from Restoration Hardware to test (1) clear polyurethane and (2) Waterlox on it and see how they affected the look of the wood. As I thought they might, both sealers significantly darkened the color of my wood sample so I kept searching for a better solution.
After more research and another wood sample experiment, I found that clear wood furniture wax was my best bet since it helps protect the wood without changing the color hardly at all. Using the exact steps and products I detail below, I sealed our table with wax and after using it for several years, there still wasn’t a single mark or stain on it!
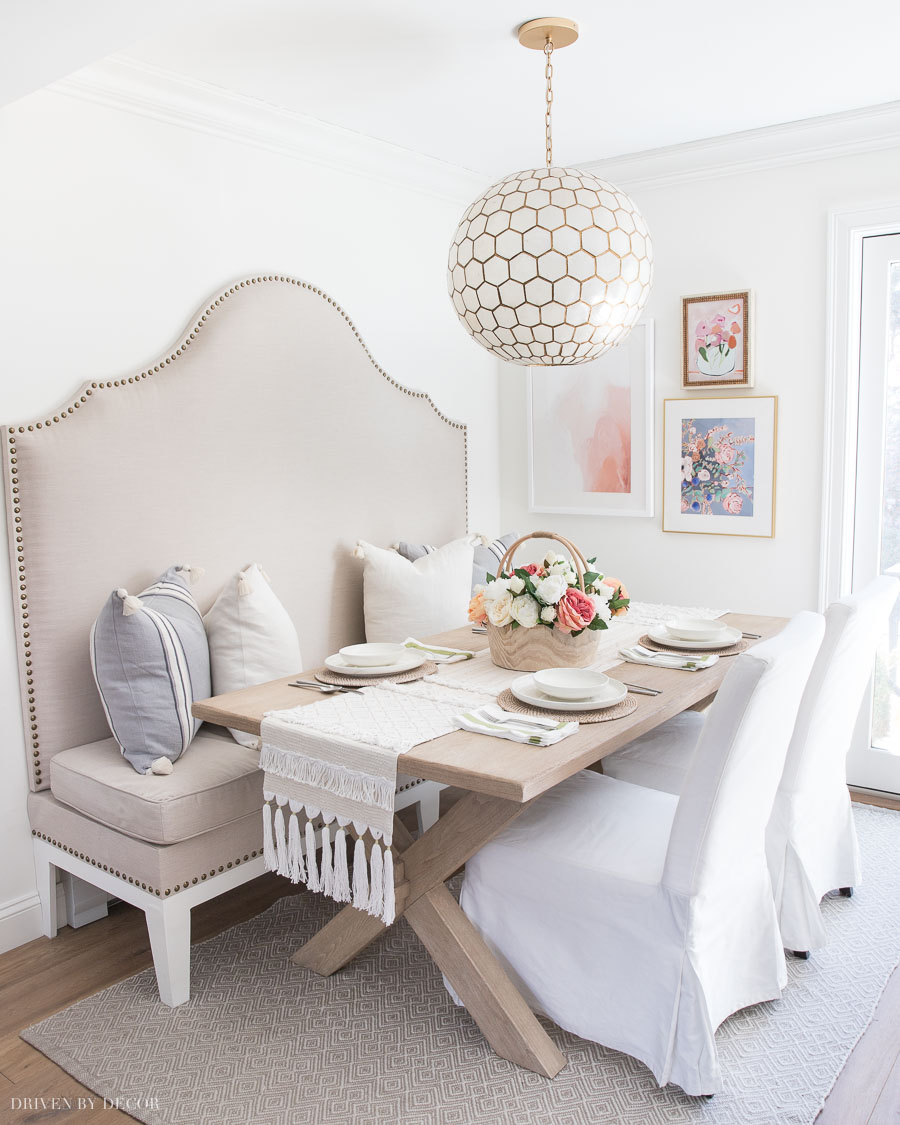
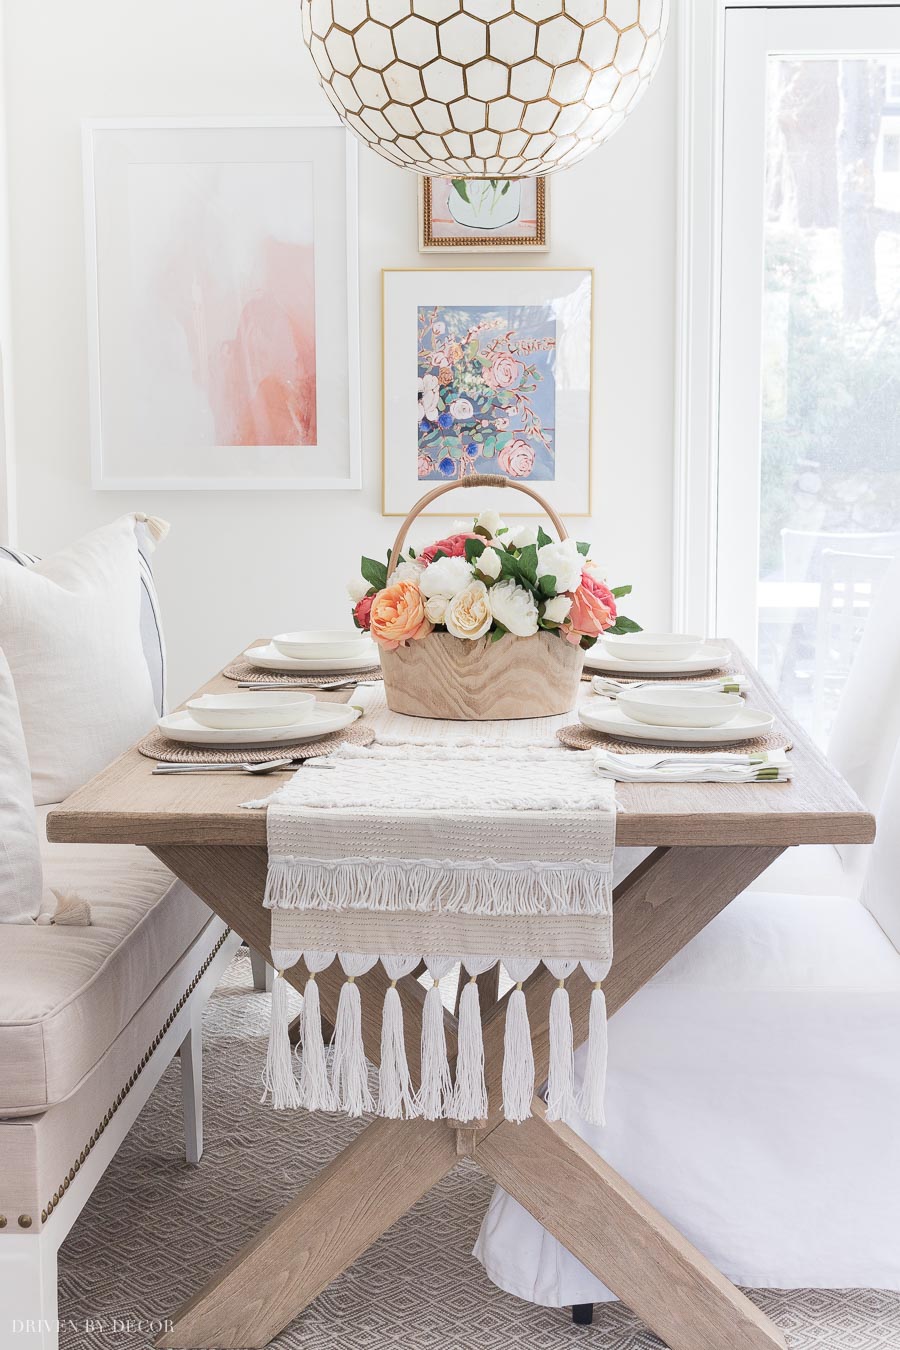
After remodeling our kitchen, I bought a new wood table for our kitchen (Pottery Barn’s Toscana Dining Table in the Seadrift finish) and sealed it the same exact way as our Restoration Hardware table, again with results I was thrilled with:
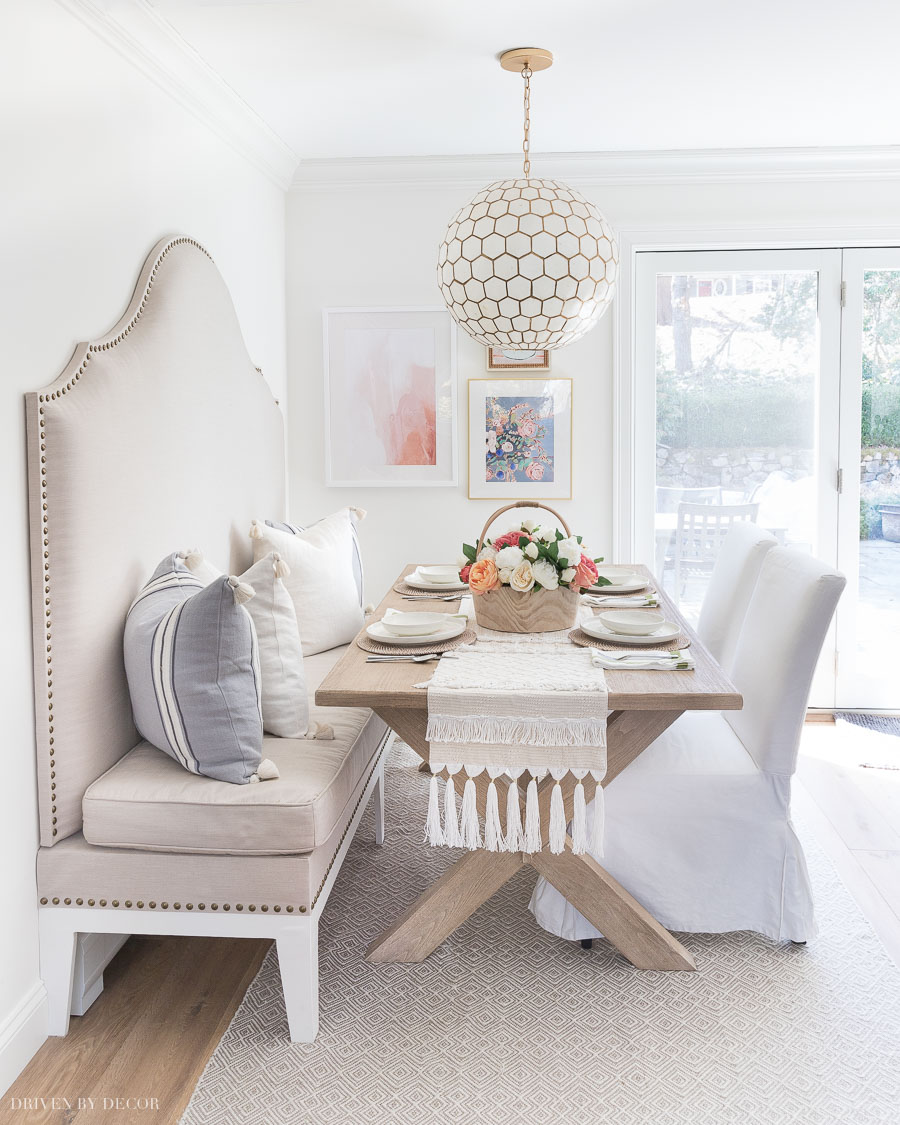
Sources: Capiz pendant | Geometric gray rug | Large blush abstract framed art | Blue floral framed art | Pink floral framed art | Slipcovered dining chairs (similar)
I photographed the step by step of how to get the job done so you know exactly what to do to seal and protect your own wood table…
Step 1. Clean Your Table
Wax will trap any dust or particles on your table so it’s important to give it a good cleaning before sealing it. To clean mine, I mix a drop of clear dishwashing liquid into a bowl of warm water, dampen a microfiber cloth with it, wring out any excess, and wipe down the entire table.
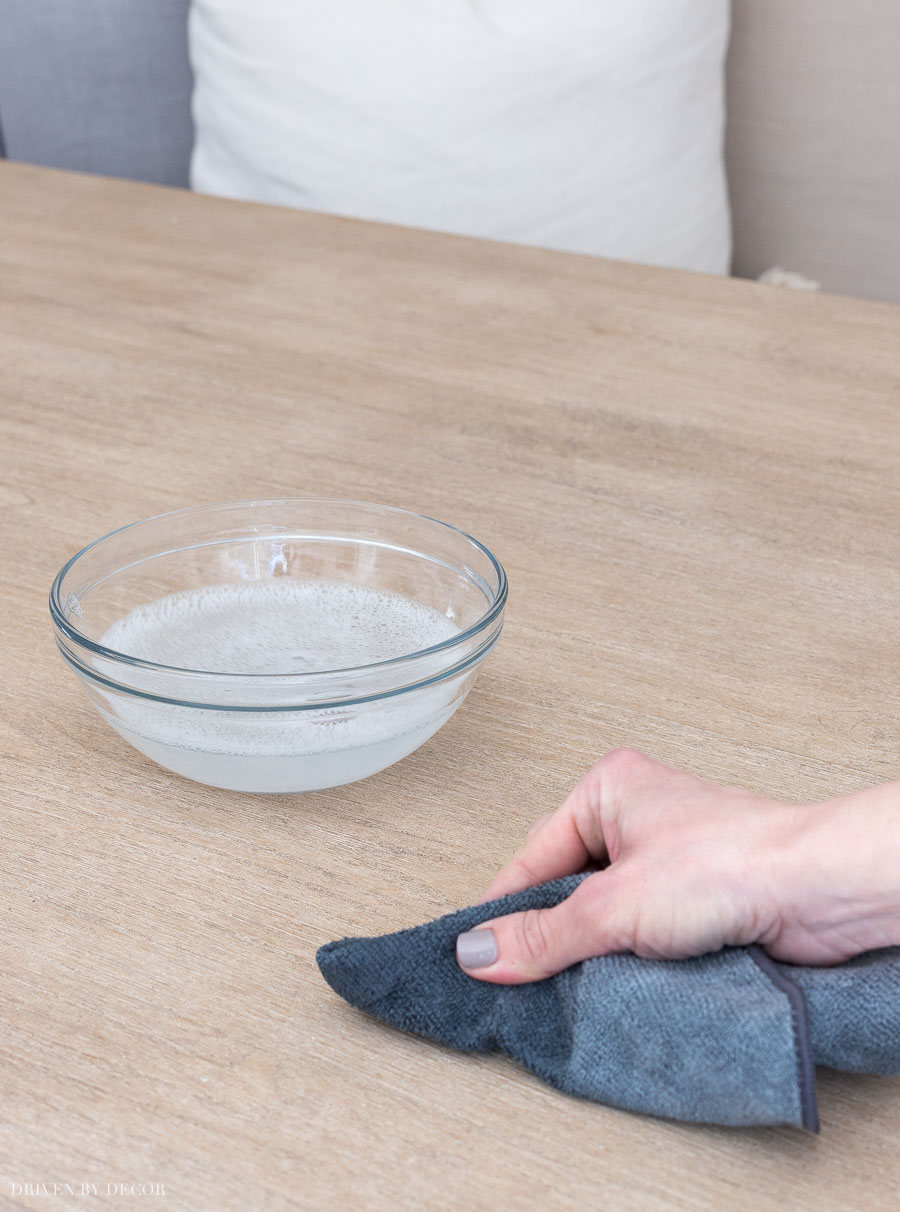
I follow up by wiping the table down with plain warm water, using a dry microfiber cloth to remove any excess water, and then allowing it to completely dry. Once dry, run a tack cloth such as one of {these} over the tabletop to make sure it’s completely dust-free.
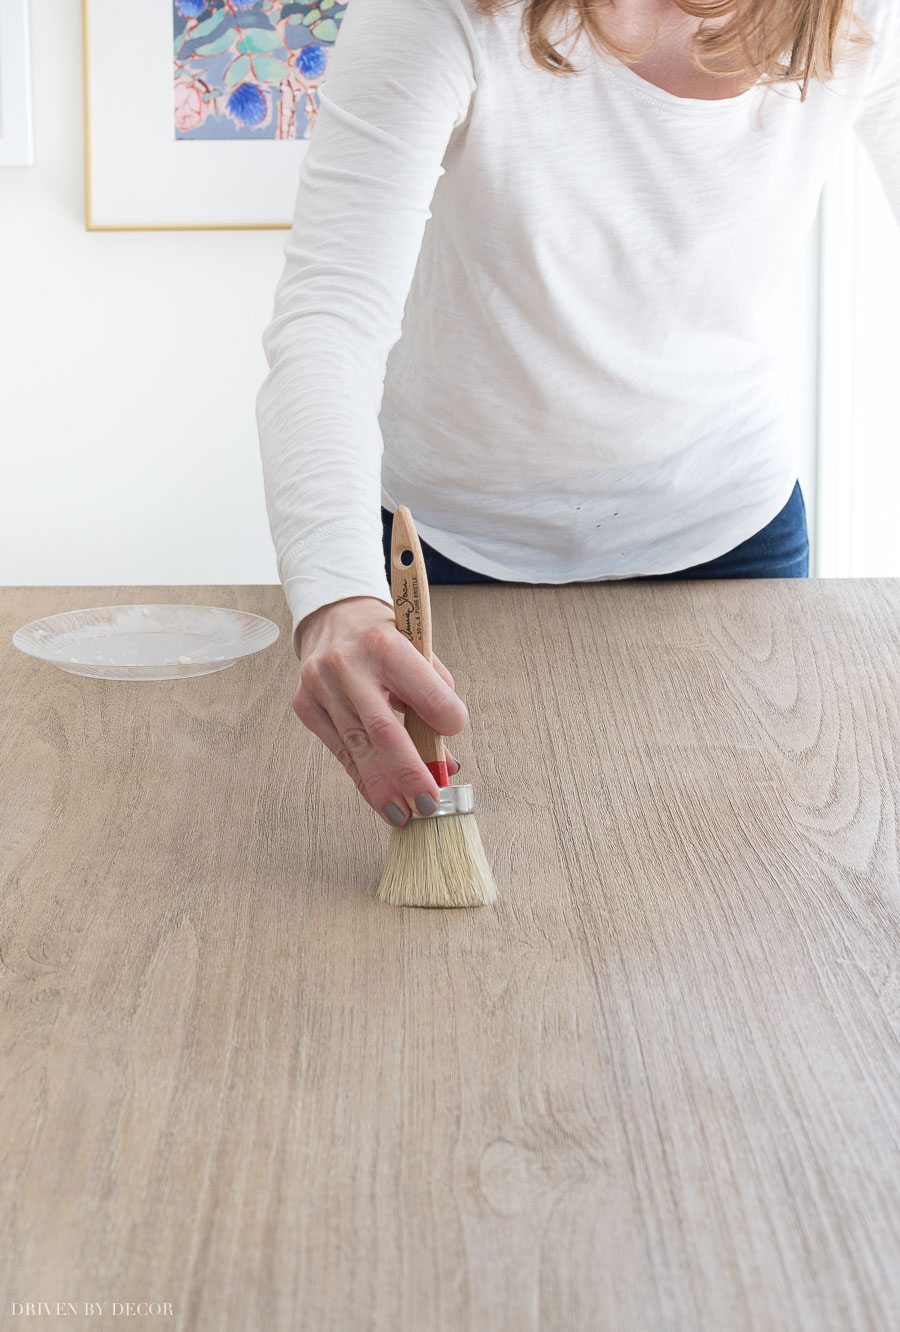
2. Get Ready with Your Wax & Waxing Brush
There are several brands of clear wax to choose from but some don’t actually dry quite as clear as others. My favorite is Crystal Clear paste wax (available {here}) which is a soft wax that goes on easily and dries truly clear. If it is out of stock, {this wax} is a very similar carnauba based wax that should work the same.
To apply the wax to your table, you can use a lint free cloth like an old t-shirt but a waxing brush like {this brush} works best. Prep for waxing by taking a scoop of wax out of the can and putting it on a plastic/paper plate. Then dab your waxing brush on the wax to very lightly cover the end of the bristles and offload any excess by dabbing it on a clean section of the plate:

You do NOT want too much wax on your brush/cloth – applying sparingly to create a thin coat is key!
3. Apply a Very Thin Coat of Wax
Apply a thin coat of wax to your table using your waxing brush in a back and forth motion in the direction of the grain of the wood. Use mild pressure as you apply the wax to work it in and work in small sections, covering each section before you move on to the next.
It’s not uncommon to lose a few bristles from your brush while waxing so pay attention to any lost bristles and pluck them from your waxed table before it dries. Once you’ve coated the entire table (don’t forget the edges!), use a lint free cloth to wipe off any excess wax, applying pressure with your clean cloth in a back and forth motion.
4. Let Wax Dry & Apply 1-2 More Coats
Let the wax dry completely (I let it dry overnight) and then apply a second thin coat in the same way as the first coat, again wiping off the excess and allowing it to dry. Repeat the process for a third coat.
After your last coat of wax, you’re done unless you want a shiny finish (I didn’t want my table shiny so skipped this next step). In this case, once the last coat of wax is dry, buff your table with a clean cloth – the more you buff, the shinier the finish. Then simply wait 2-3 days for the wax to fully cure before putting your table to use!
Waxing our table worked beautifully for me but I do want to make the disclaimer that while we certainly have our share of spills at dinner but we’re not terribly rough on our tables. We don’t have toddlers banging utensils on them or little boys running Matchbox cars up and down them like some of you might. Polyurethane and Waterlox sealers DO offer more hardy protection than wax (you can read more about using Waterlox in {this post}) so you’ll have to decide for yourself whether that extra protection is worth the trade-off of ending up with a much darker table. In my case, it wasn’t.
Maintenance
To keep your table protected, I recommend that you reapply a layer of wax every year or so. The more use your table gets, the more often I’d reapply. All you’ll need if you keep up with it is a single coat that takes 10-15 minutes – quick and easy!
I hope this answers most of the questions that you have about sealing our table but if not, ask away in the comments!


Janette Anderson says
Thank you for giving such great details! Just purchased the Benchwright dining table in Smoked Nutmeg color, and the benchwright dining rooms chairs in the black color. Assuming the technique will work the same if I put it on all the chairs too? Also didn’t see an answer from you on: did you do the entire table or just the table top? Thanks so much!
Rachel says
Thanks so much for sharing your research!! I was wondering if you also treated the legs? I also have the Toscana table, but round, and not sure I need to wax the legs? Thanks
Katie says
Hello Kris! I just got the same kitchen table and came across this great post as I was looking to seal it, so thank you! Question for you, what’s the best way to clean the table after meals and such? I would assume I can’t use regular cleaners with the wax coating. What do you use? Thanks a bunch in advance!
Dania says
Hi Kris,
I was wondering what you use to wipe down the table or clean it after the table has been treated with the wax and has cured. Do you you use a damp cloth with some mild soap and water or spray it with a multi surface cleaner? Your input is much appreciated. I have the terra dining table in natural finish from crate and barrel and am thinking about using your technique to protect it.
Cameron says
Hi Kris, I just bought the same table! In your post, you mentioned 2 different waxes you recommend but I’m wondering which of the 2 did you use on this table? Thanks!
Kris Jarrett says
Hi Cameron – I used the clear wax shown in the pic 🙂
lucy says
Hello,
this was very informative. Do you think I could apply this to the Pottery Barn parquet coffee table? I am thinking of purchasing that table because I feel it would be a nice choice to go with dark brown leather couches that bronze nailing that same color as the legs. I feel like it would not look so dark if I go with that type of table. Only worried that the wood would get ruined if anyone spills on it. Also, concerned with putting any christmas decorations that have glitter. Hoping that sealing it would make it easer to clean up also.
Kris Jarrett says
I’m sure that waxing that table would help protect it but it does look to have some pretty deep grooves in the wood that might not all be reached with the wax…
Jana Carney says
How does the Toscana table look now? Any scratches? Thanks!
Kris Jarrett says
It still looks great!!
Cathie says
I did the 3 coats on my Pottery Barn table on Sunday and Monday this past week (4-5 days ago). It is still tacky in some areas. Will this eventually get better? Advice?
Kris Jarrett says
It shouldn’t still be tacky and makes me think that it might have been applied a little too thick in those areas. I would try seeing if there’s any excess you can wipe off with a clean cloth, then buff, and give it another day or so.
Christal Prout says
Hi Kris. I thought I’d ask you this question. I purchased a beautiful table from someone. I sanded it down, so it’s just raw wood, and it is currently that “RH look”. I’ve been reading for days on how to seal it. I put polycrylic water-based sealer on it, which is supposed to be “crystal clear”, but it darked it immediatly and did not dry clear at all! It was almost as dark as when I bought it. So I sanded that off and am back to the raw. My plan now is to give it a slight white wash, then seal it with wax. Do you know if I can put your “Crystal Clear” wax, over a white wash (which is just paint thinned way down with water)? The wax sounds great, but I just want to wipe it down with a very thin mix of white paint and water. Any thoughts?
Rochelle says
Does this smooth out the finish by filling in cracks and crevices in the wood?
Lisa says
Hi Kris,
Thank you for this information. I purchased the Benchwright table from The Pottery Barn in the Seadrift finish. Every review complains about the finish chipping and pealing. I had one area start to chip. I knew I needed to use something to protect the top, but wasn’t sure what to use. After reading your page, I purchased the Crystal Clear Wax and followed your directions. I love the way my table turned out. The Crystal Clear Wax added a smooth coat to the table top. It use to feel scratchy, like you could splinter your hand if you rubbed it across the table! Now, it feels smooth and protected. I don’t fear that placing items on it will snag it and cause pealing and chipping. I used a waxing brush to apply the wax, which was perfect to get into all of the grooves in the wood planks. I felt there was a strong oder for the first few hours after applying the product. I used it on the top, sides, and legs of the table. I buffed out the wax and loved the results! It did not darken the color of the finish, but it did add a bit of a polished shine. We haven’t used it with food yet. I’m waiting at least a few days until it cures a bit. Thank you for your advice and your product suggestion. I love the look and feel of my new table top!
Josie says
Hi ,
I came across your post after searching for “pottery barn seadrift splintering”. I just purchased the aaron chairs in seadrift and toscana table (which im waiting for ) . Im noticing it feels splintery and actually got a splintering when cleaning the chairs. Im
Hoping this wax will help.
Thanks!
Cindi says
I recently purchased a teak outdoor table. It will be kept in a covered area throughout the seasons in the northeast, so limited sunlight although it does get hot in the summer. I’m thinking your protective waxing process is best for furniture kept indoors and in temperature controlled areas. Do you have any suggestions for how to protect outdoor teak?
Thanks in advance, Kris!
Erik says
Hi Kris – is your table solid wood and unsealed? I just purchased this RH table and https://rh.com/catalog/product/product.jsp?productId=prod1596003&categoryId=cat10310014 and am wondering if your wax method is the appropriate finish to protect and maintain the look?
thanks!
Donna V says
Wish I saw this before I applied Johnson’s Wax to my RH dining table moments ago. It darkened the wood so it looks wet. I hope it dries overnight. Did you also treat the tressels?
Sharon Anderson says
I have the Banks Pottery Barn Table and it has many grooves in the wood veneer. Would it still be protected well with using the clear wood furniture wax? Also, did you do the wax on all of the table (legs, wood underneath) or just the table top? Have you tried doing it on any wood chairs too?
Erin says
So glad I found you! Thank you for your insight. Do you have any insight with Polycrylic? I just bought a RH raw wood table and I won’t let anyone use it because I can’t decide on how I want/need to finish it! 4 kids and so I lean towards Polycrylic, but have heard wax would be good too. Any insight?
Sima says
I have little kids too so please let me know what you decided to use. Thank you.
Serena says
Did this protect your table from grown up spills, say a glass of red wine?
Jordan says
What is the best way to sanitize a wood table (I just bought a sea drift banks)? Is there a spray or do you just use water with dish soap?