Wondering how to clean your washing machine? I’ll show you how to get it looking and smelling like new!
Every now and then, we need to deep clean the machines that help keep our homes clean! Cleaning your washing machine will help it keep cleaning your clothes well and ward off the funky smells that can sometimes go along with front loading washers. I shared some Stories on Instagram recently about cleaning my washing machine and had so many people ask if I had the info on my blog somewhere that I decided to write a quick post about it. So let’s head on into our laundry room and I’ll show you how to get your front loading washing machine looking (and smelling) like new! (post includes affiliate links; full disclosure statement available {here})

Room sources: Tangerine wall decals | Butcher block counter – IKEA | Ceiling light | Over the Door Ironing Board Hanger | Rolling cart between washer & dryer | Brass & Acrylic Cabinet pulls (Golden Champagne finish) | Glass Storage Jar | Laundry room cabinets
1. Clean The Drain Pump Filter
Do you have a small access door on the front of your washing machine like this? (most front loaders but not all do)
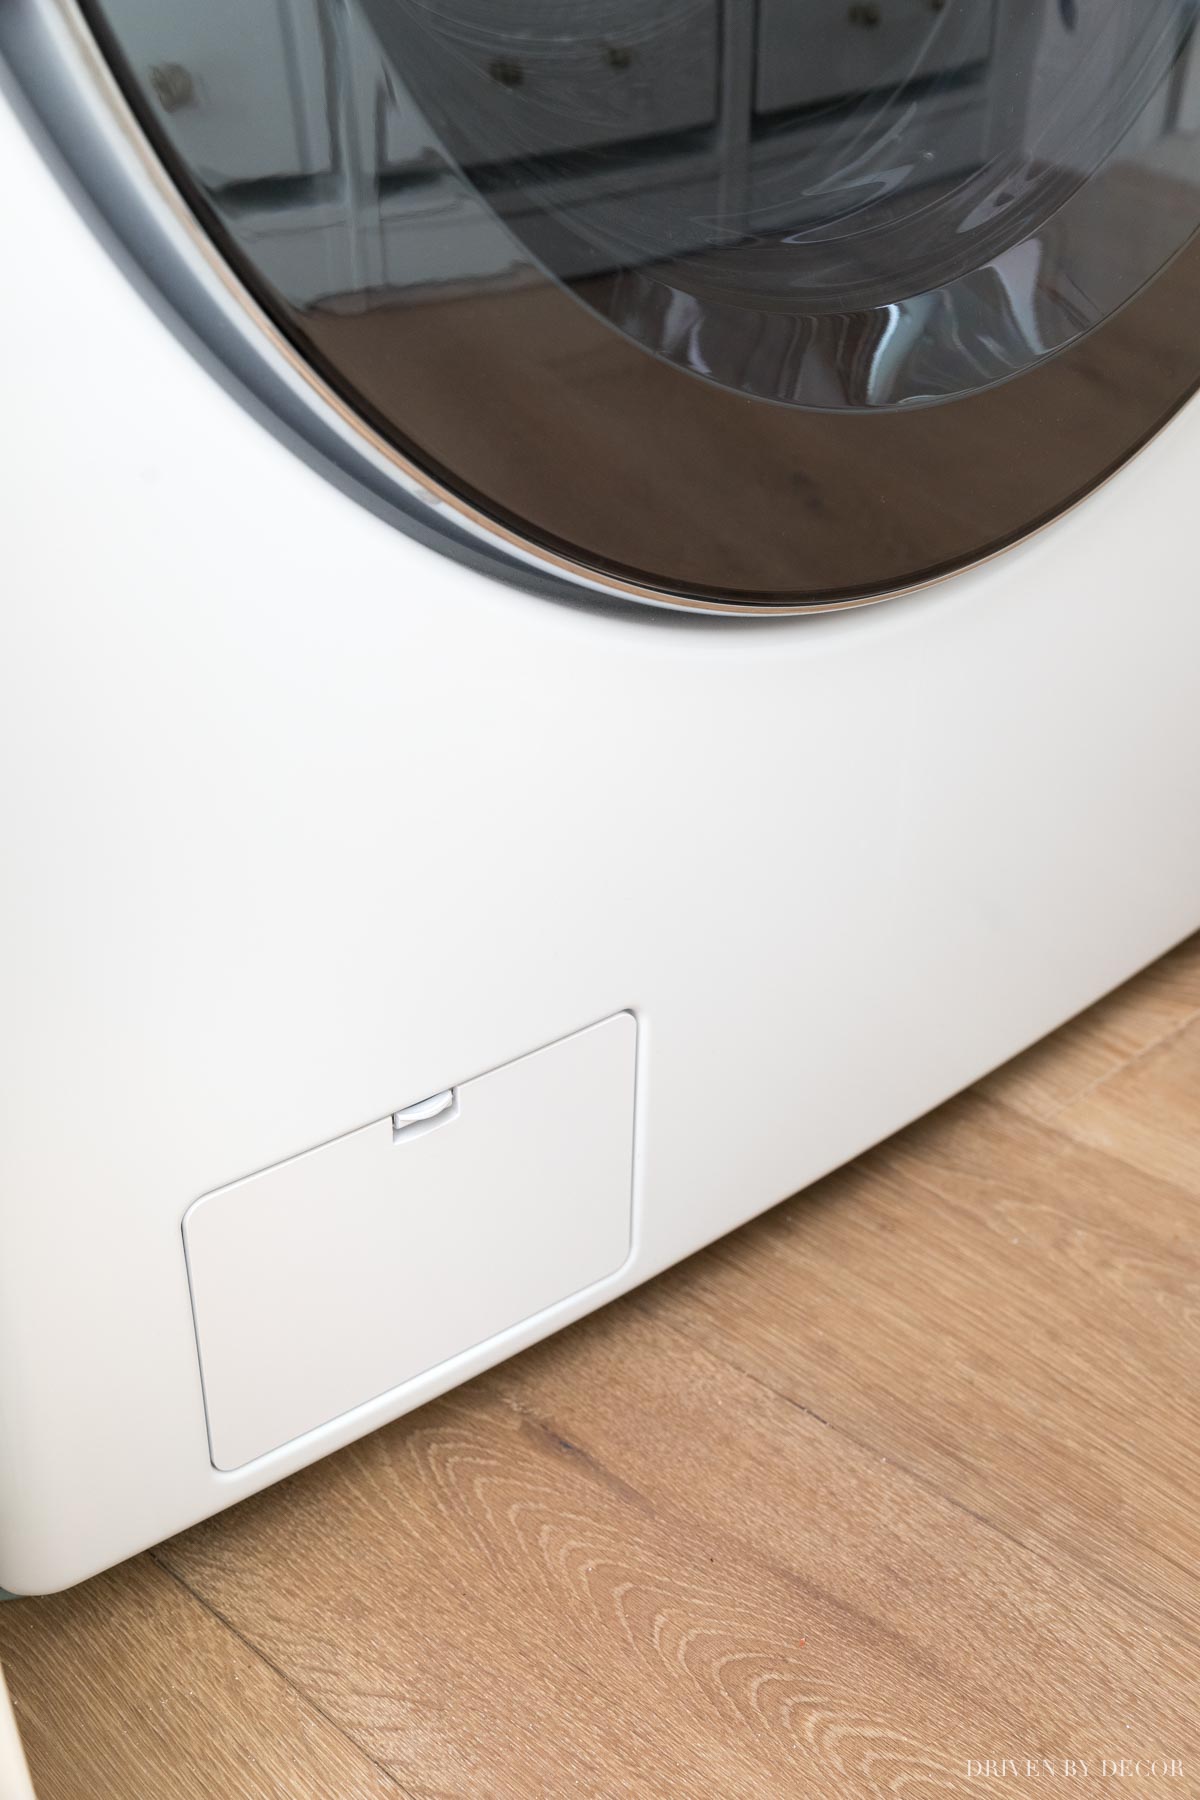
Behind it is where your drain pump filter is and it’s something you should clean out every few months! First open up the access panel:
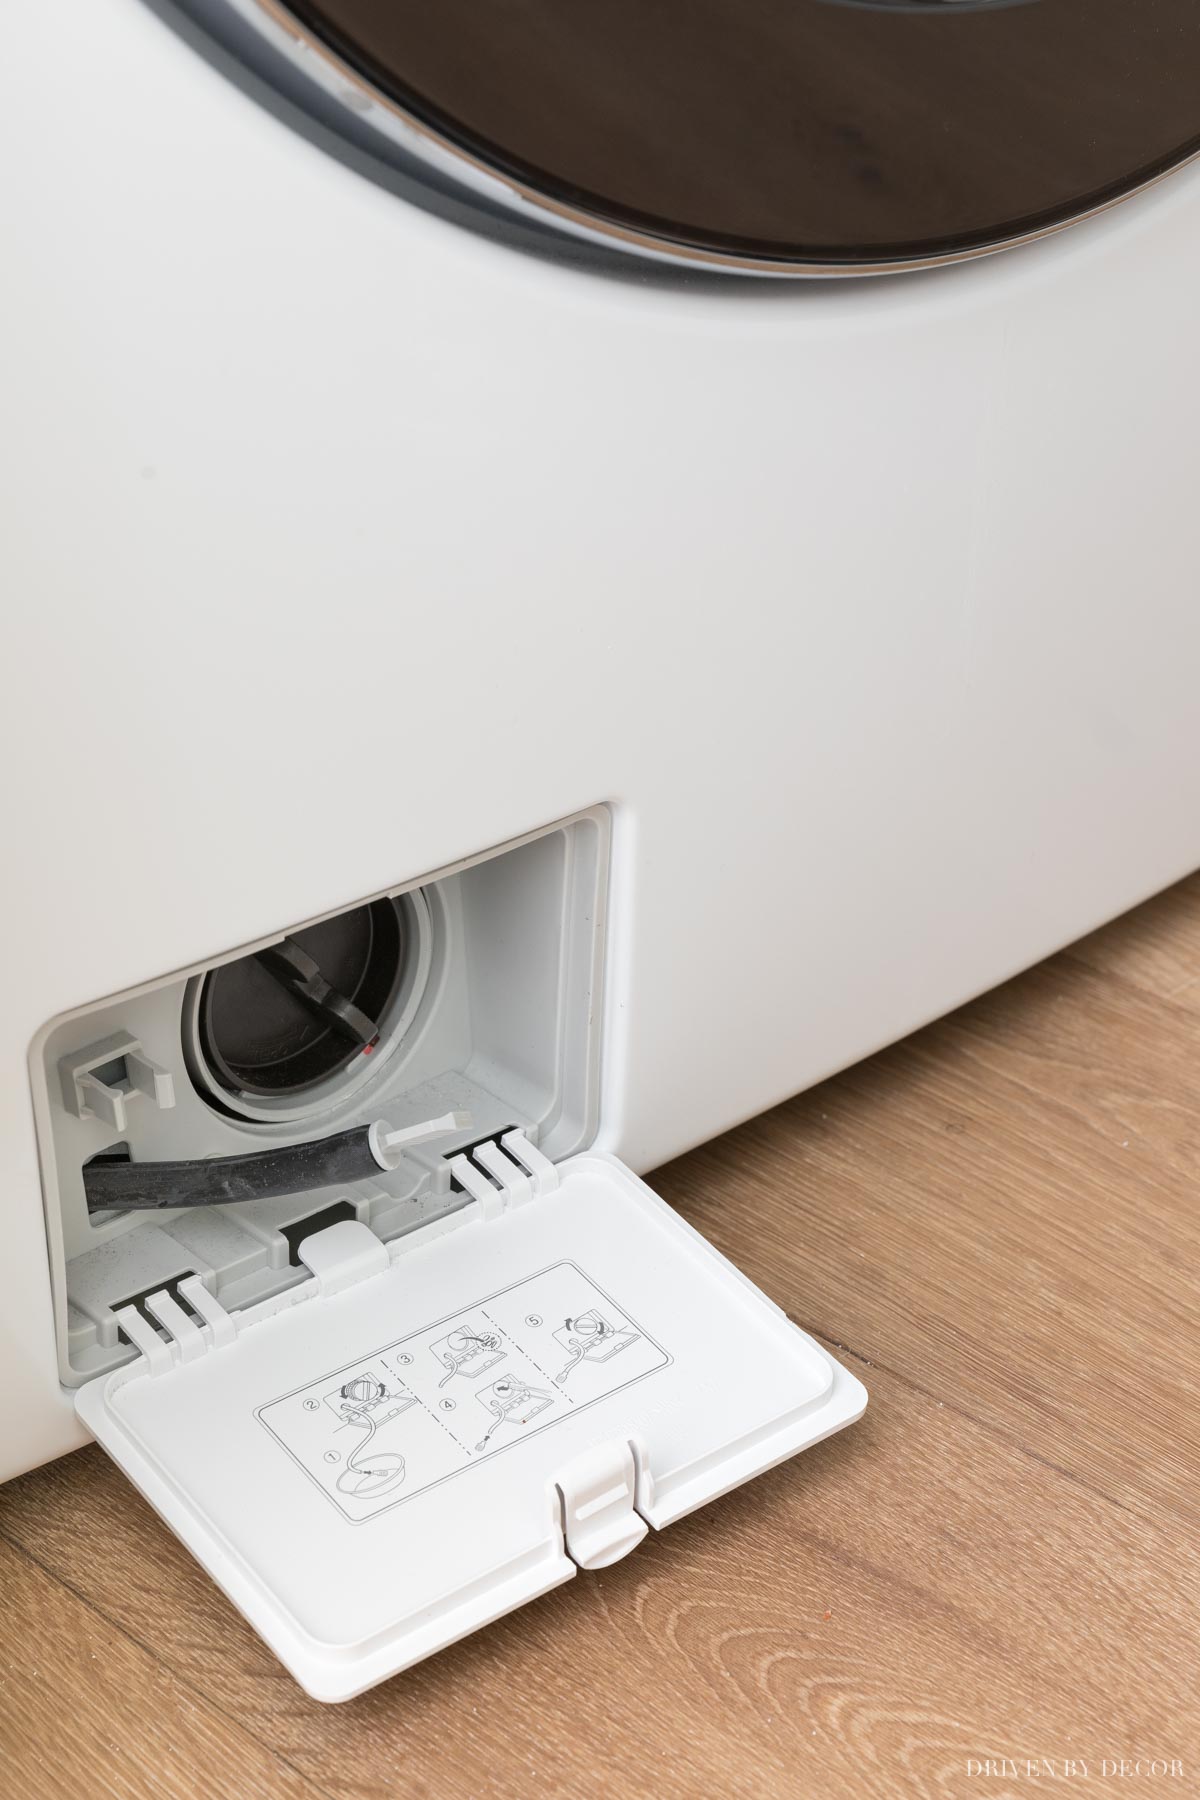
And then to make things easiest, pop off the cover (if your cover is more difficult to take off than mine, it’s ok to leave it on too). Grab a large shallow dish (it’s not a bad idea to put a towel down on the floor too) & place it in front of your opened access door, pull the small hose out as far as needed, twist off the hose cap while holding the open end over the bowl, and let the nasty water drain out:
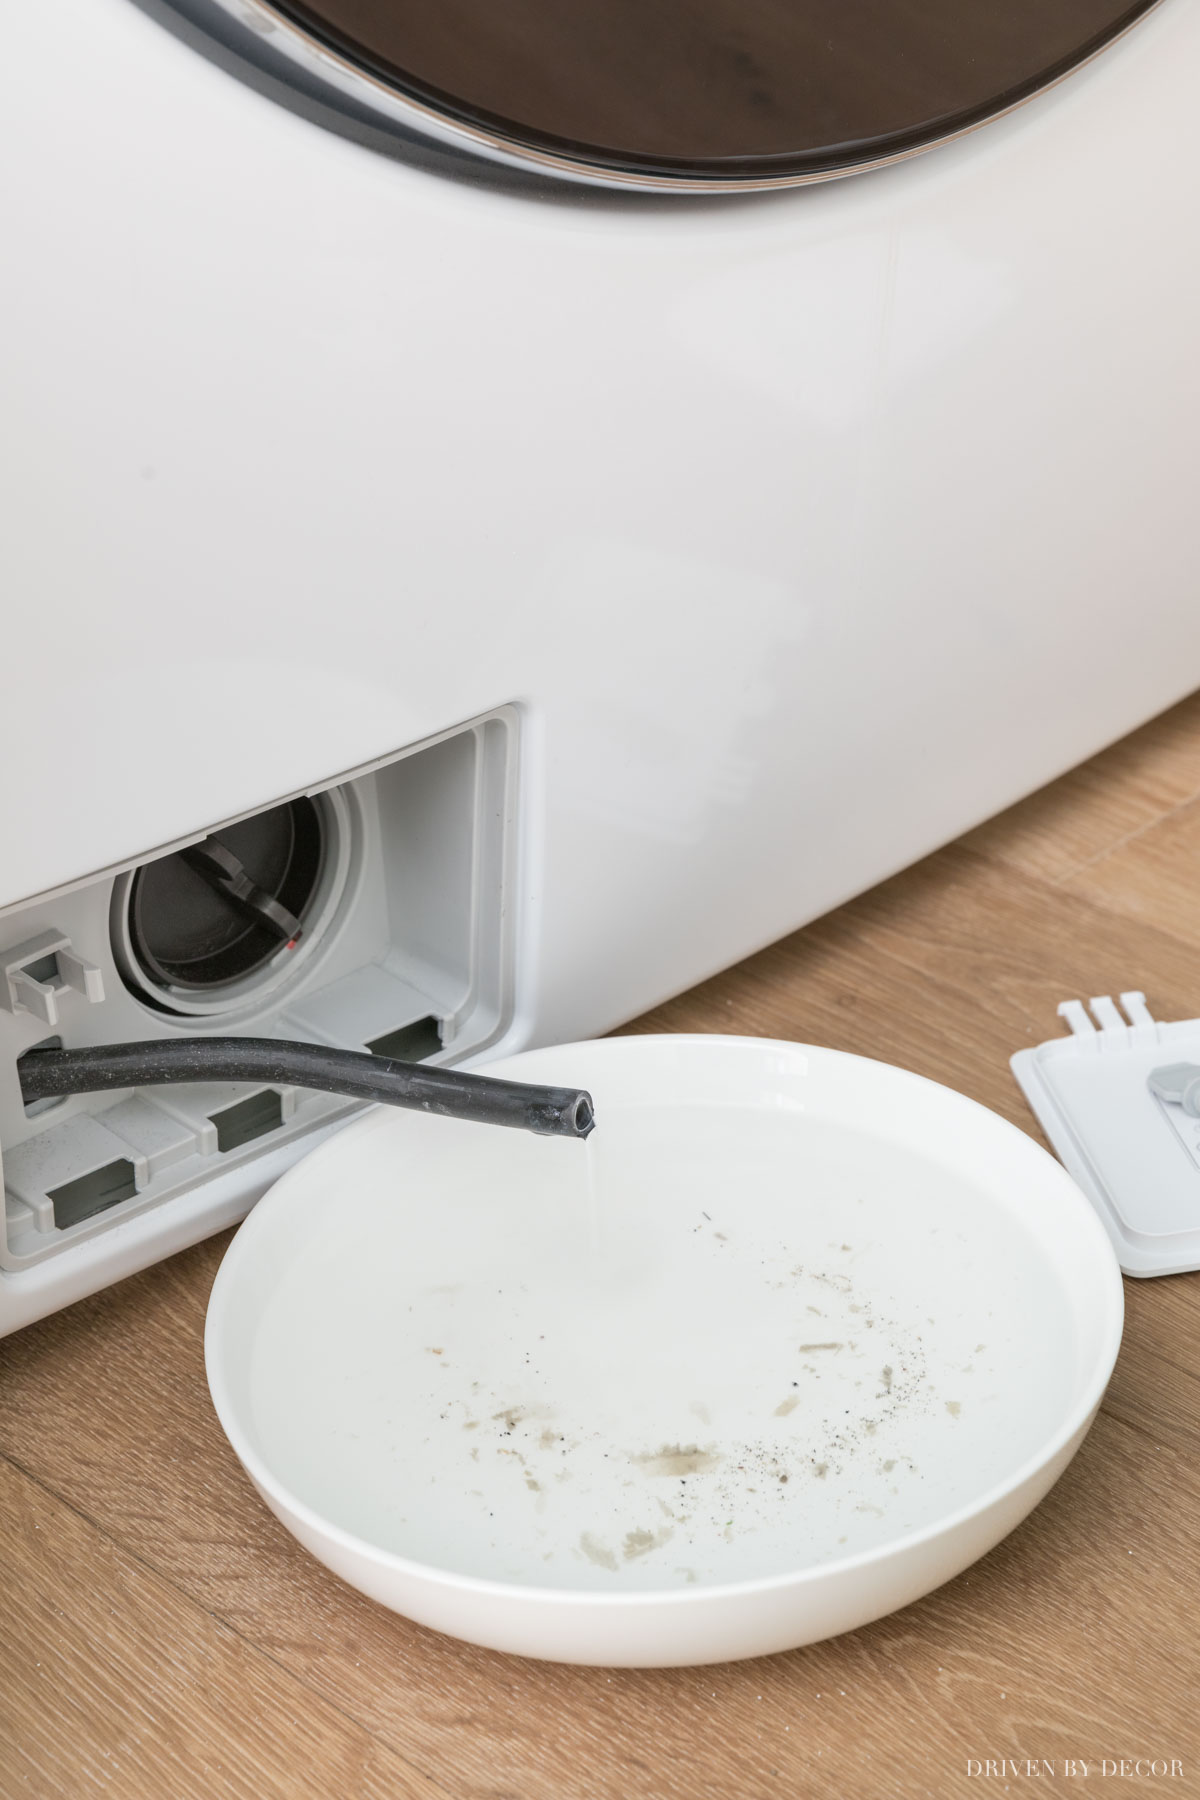
Gross! Now it’s on to the filter – twist the filter to the left to unscrew it. If you’ve never cleaned it before you might find all sorts of nastiness in there! Here’s what mine looked like (it’s been about 6 months since I cleaned it):
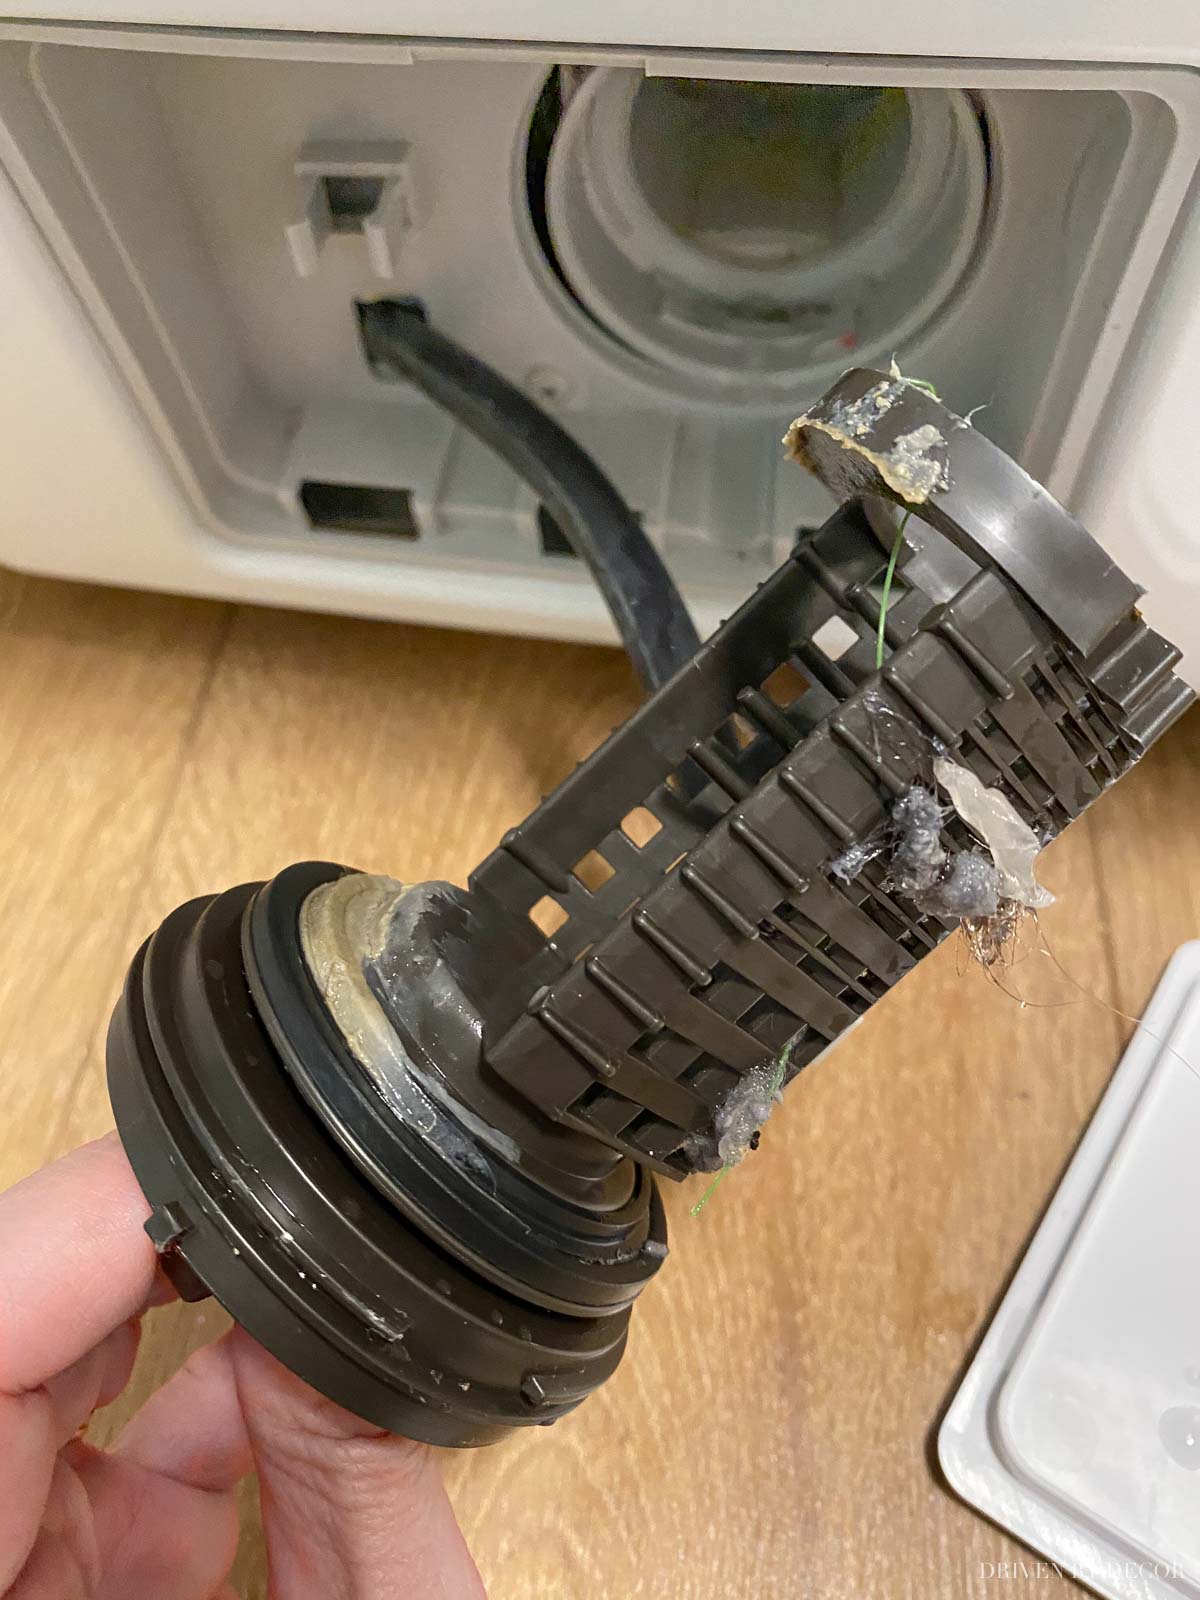
Take it over to a sink, give it a good cleaning with soap and water, and wipe it dry. Before you put the filter back in, take a cleaning cloth to wipe out the filter opening. I simply shove a small microfiber cloth in and twist it around:
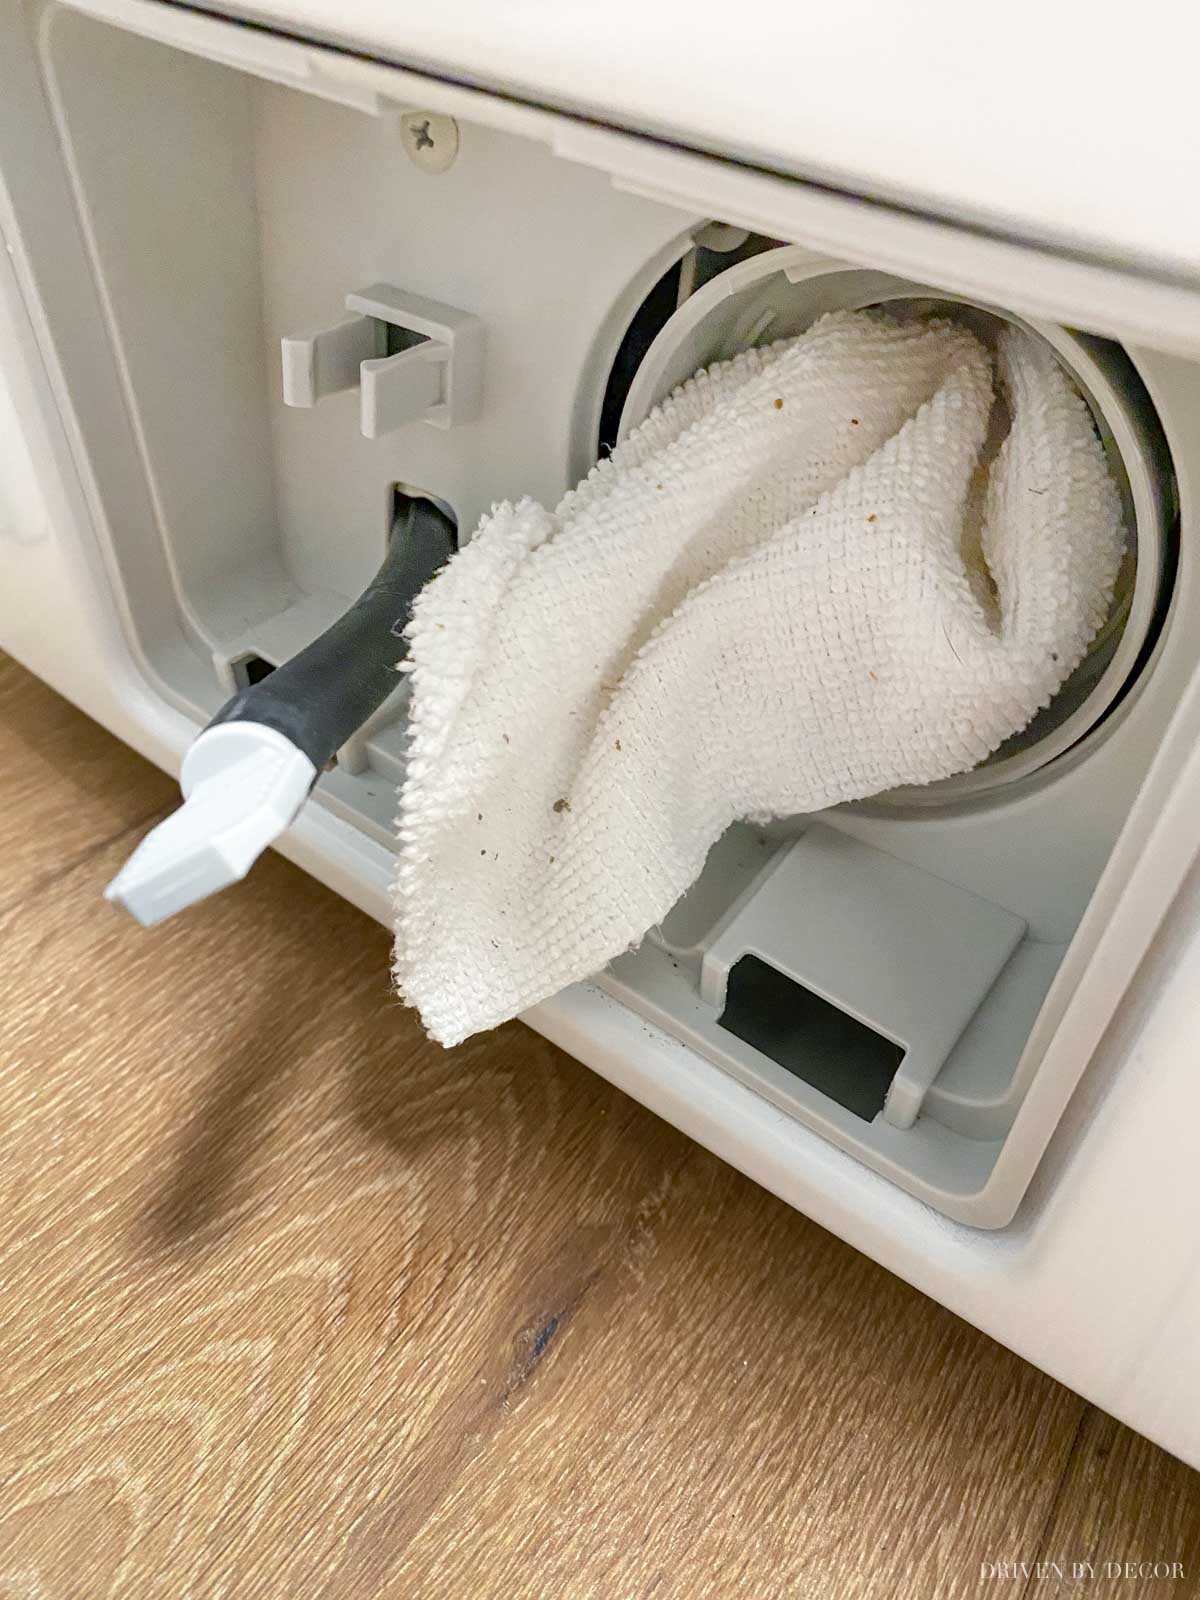
I use these microfiber cleaning cloths throughout my washing machine deep clean – they clean SO much better than paper towels. I switched to using them for all of my house cleaning and will never go back! The exact ones I have are {these 11.5″ square lint free cloths}.
Now we’re ready to move on to the next step…
2. Clean the Detergent Dispenser Drawer
Pull out your dispenser drawer where you should find a tab to push that will allow you to completely pull the dispenser drawer out:
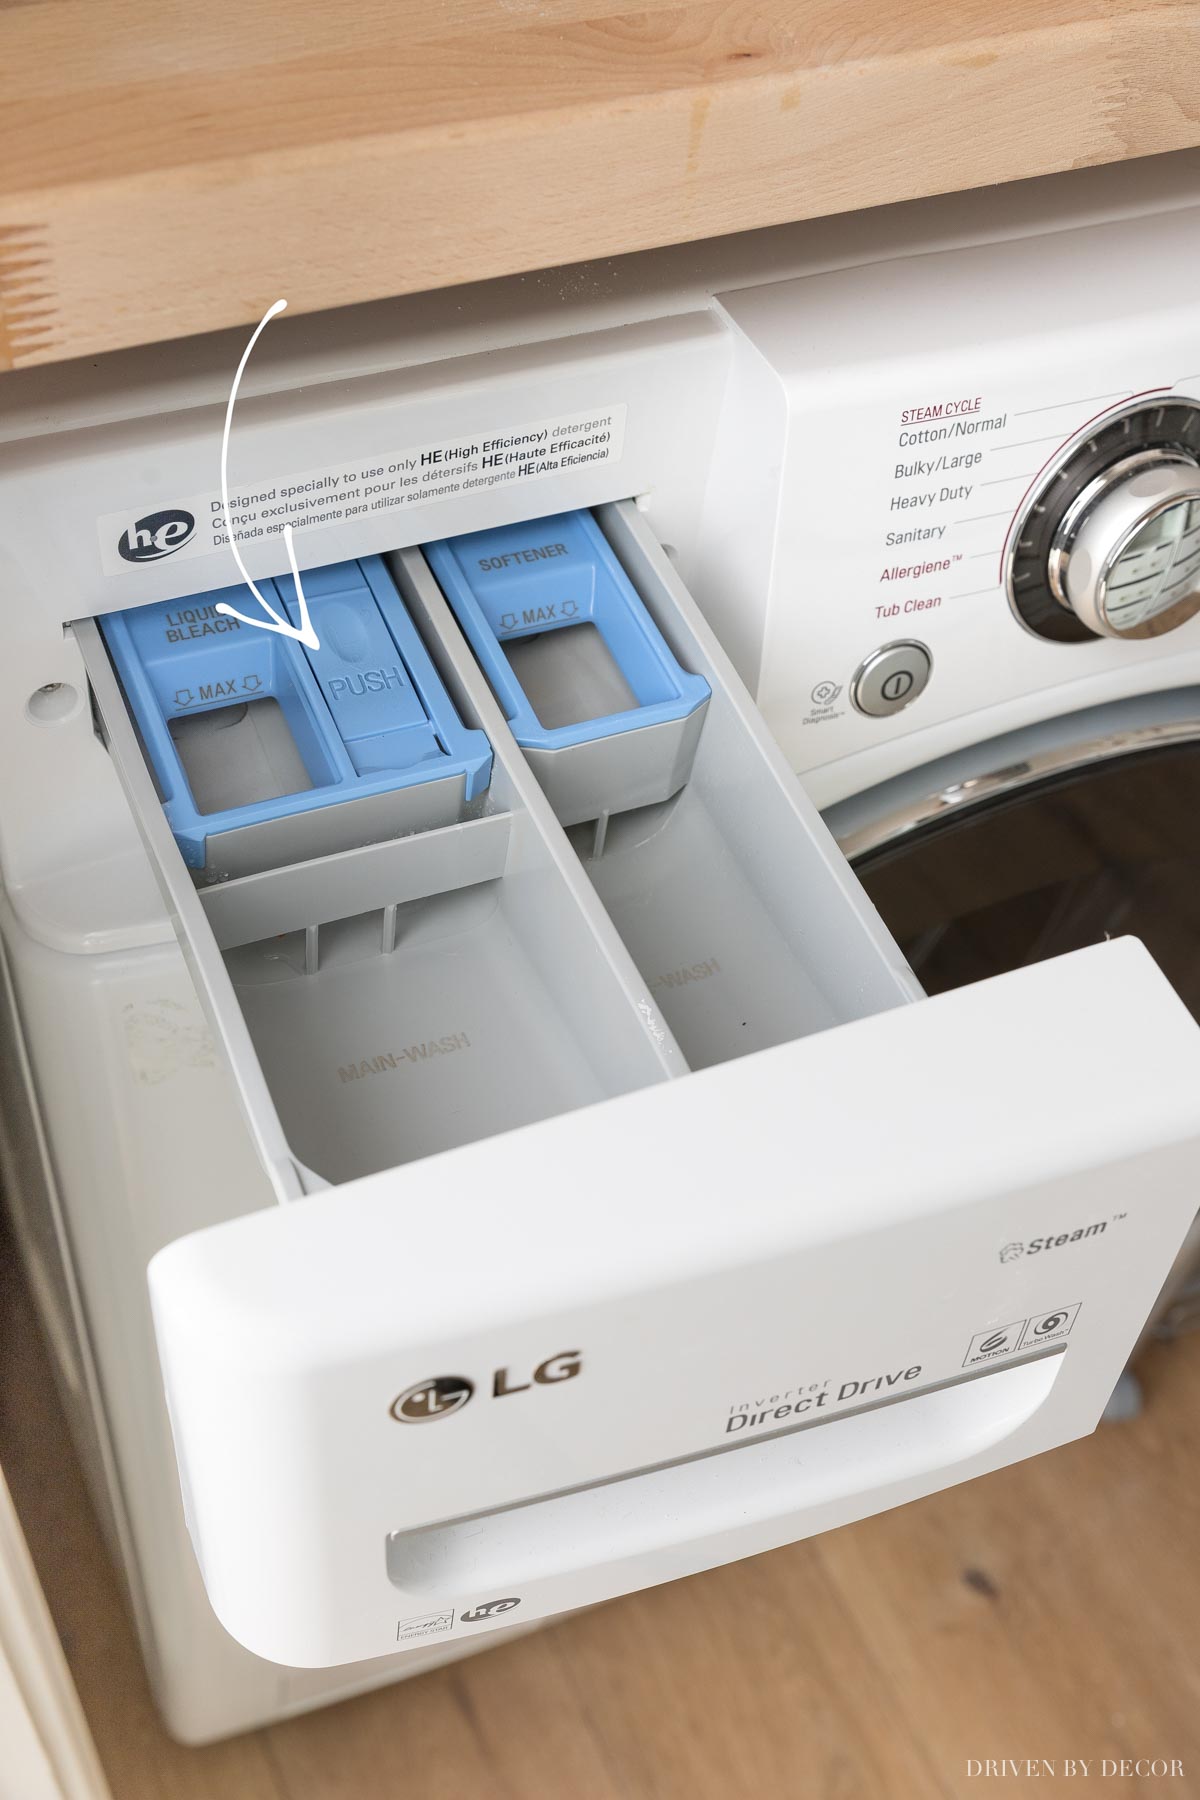
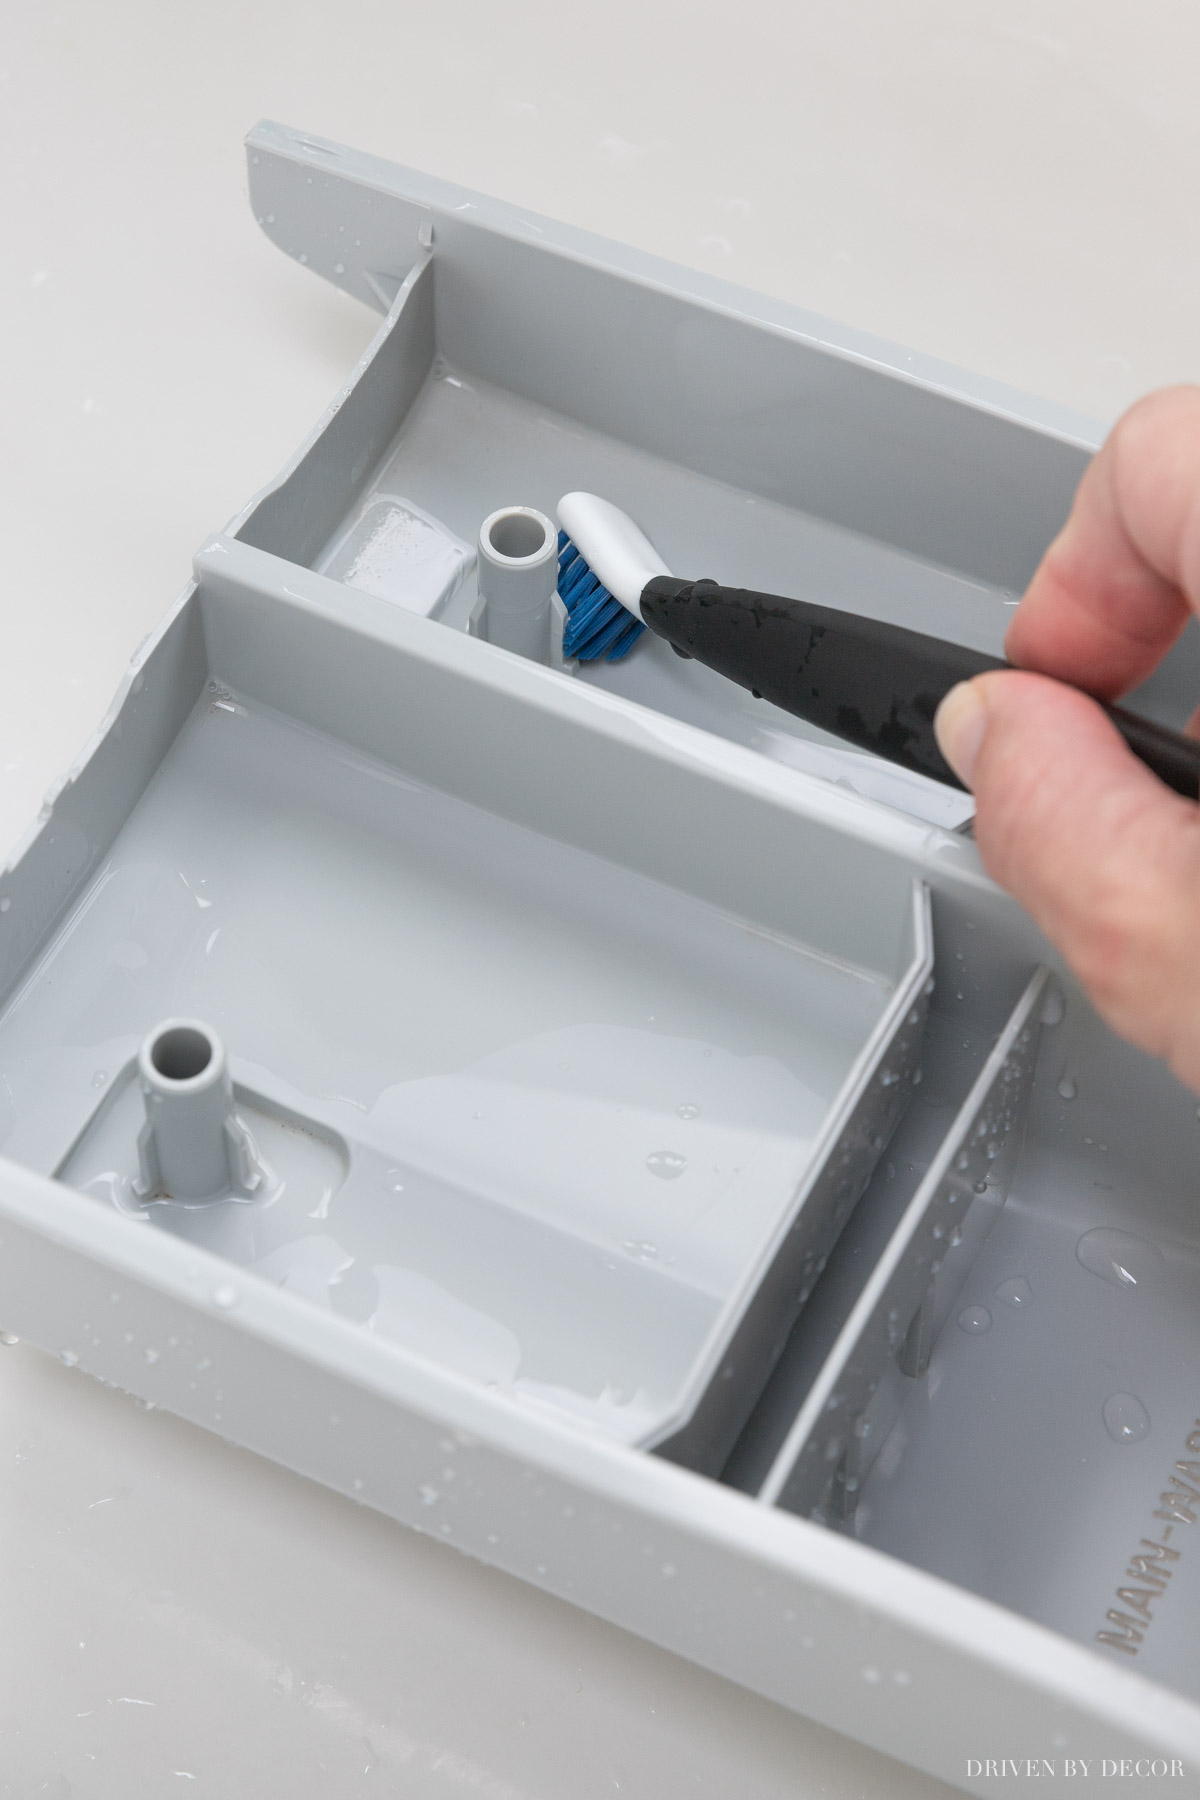
Take the covers off of the bleach and fabric softener bins (if they’re removable like mine) because the inside of these bins are the areas that tend to get the grungiest:
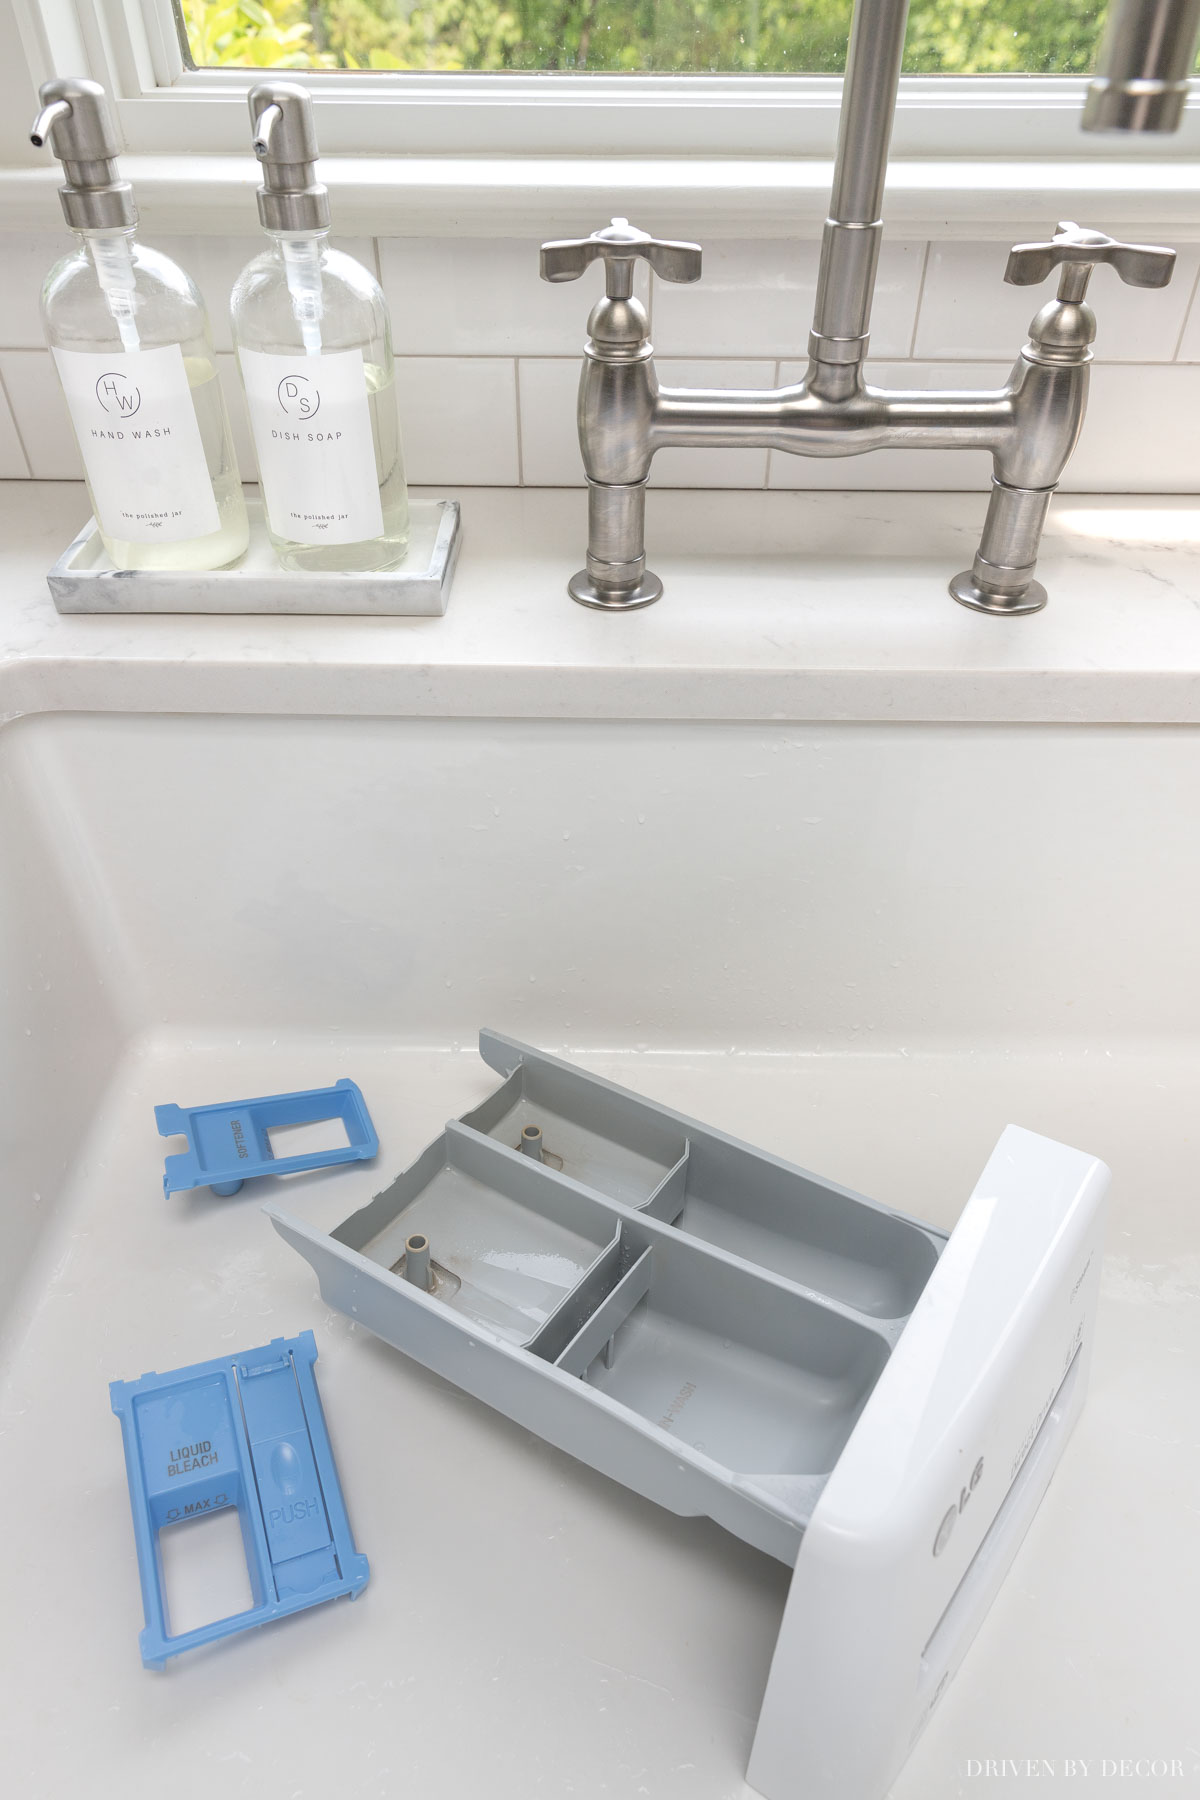
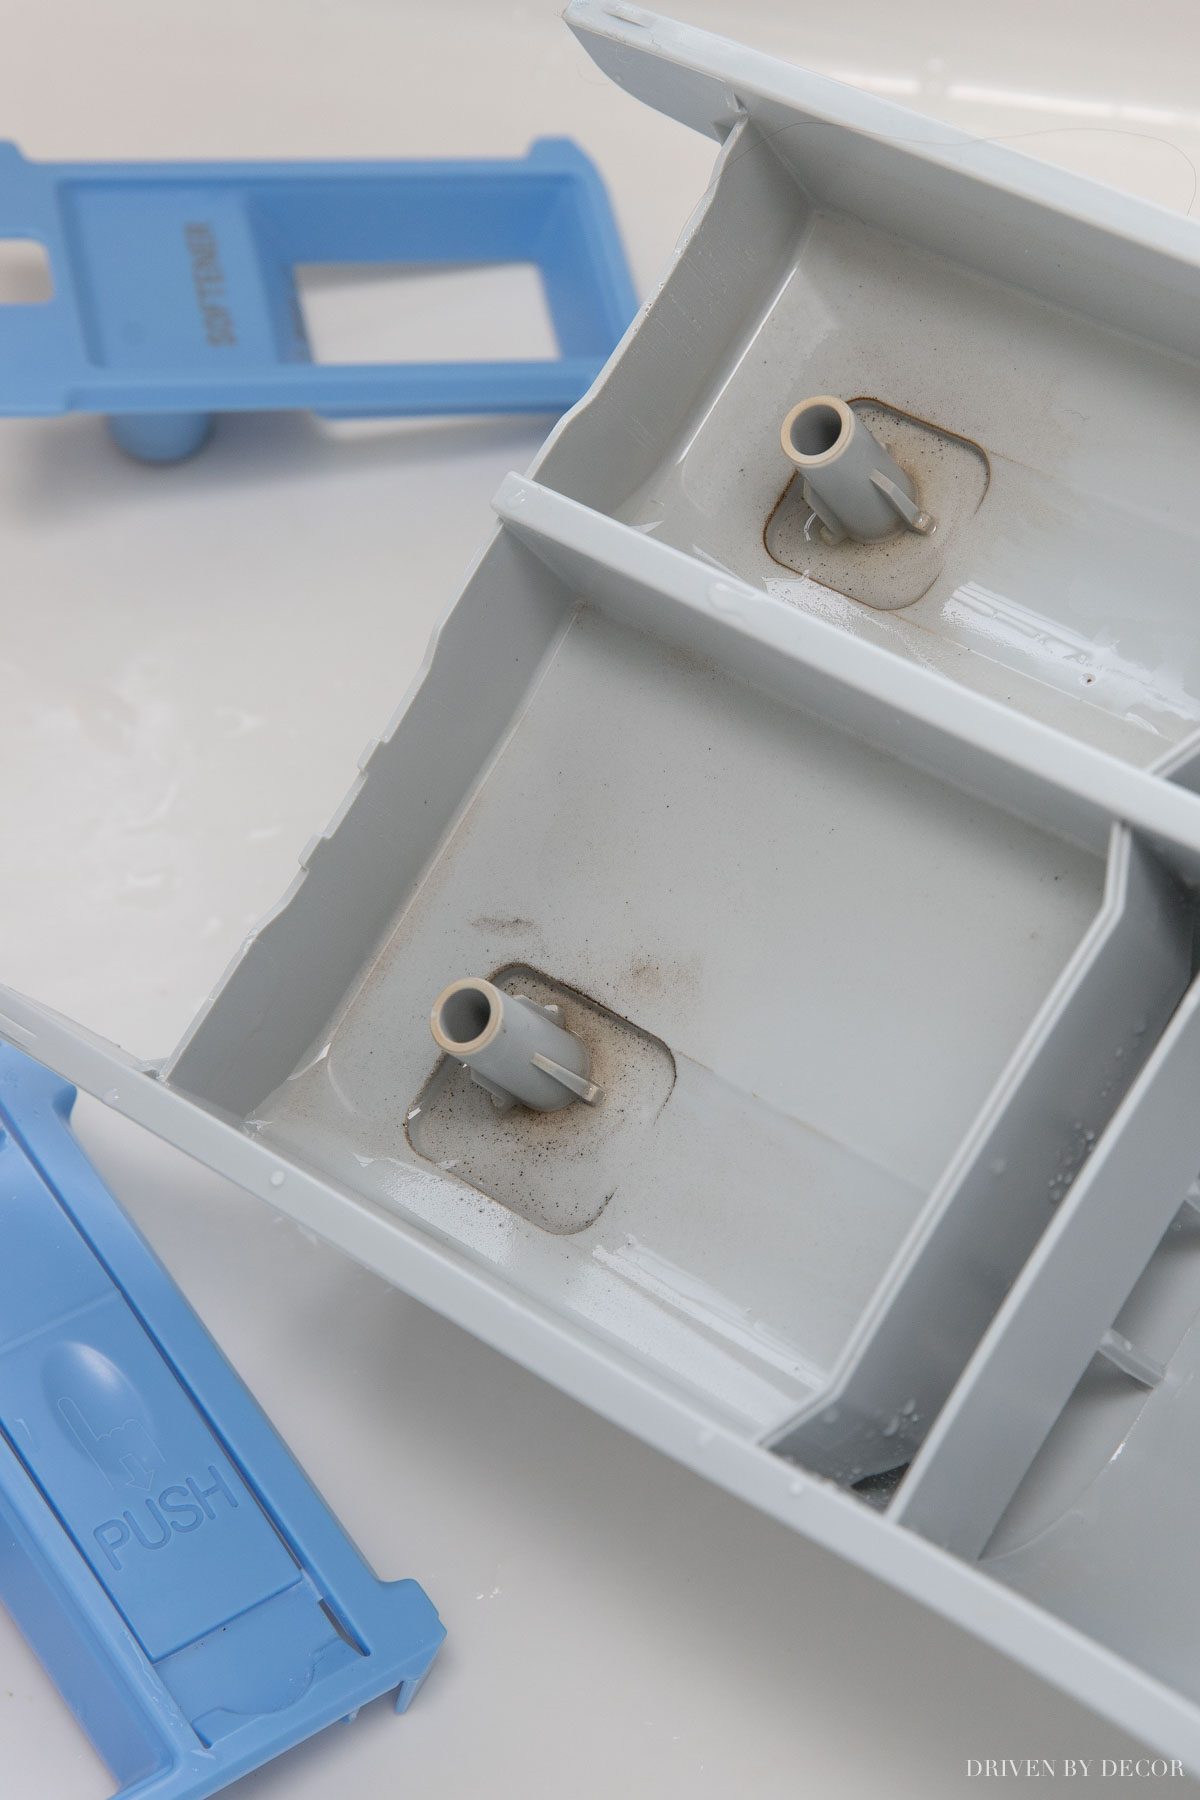
I use a cleaning cloth to give it an overall scrub in the sink with soap and water and then use {this mini deep clean brush} to scrub off the more stubborn spots:
Dry everything off, do a quick wipe-down of the inside of the compartment where the detergent dispenser goes,
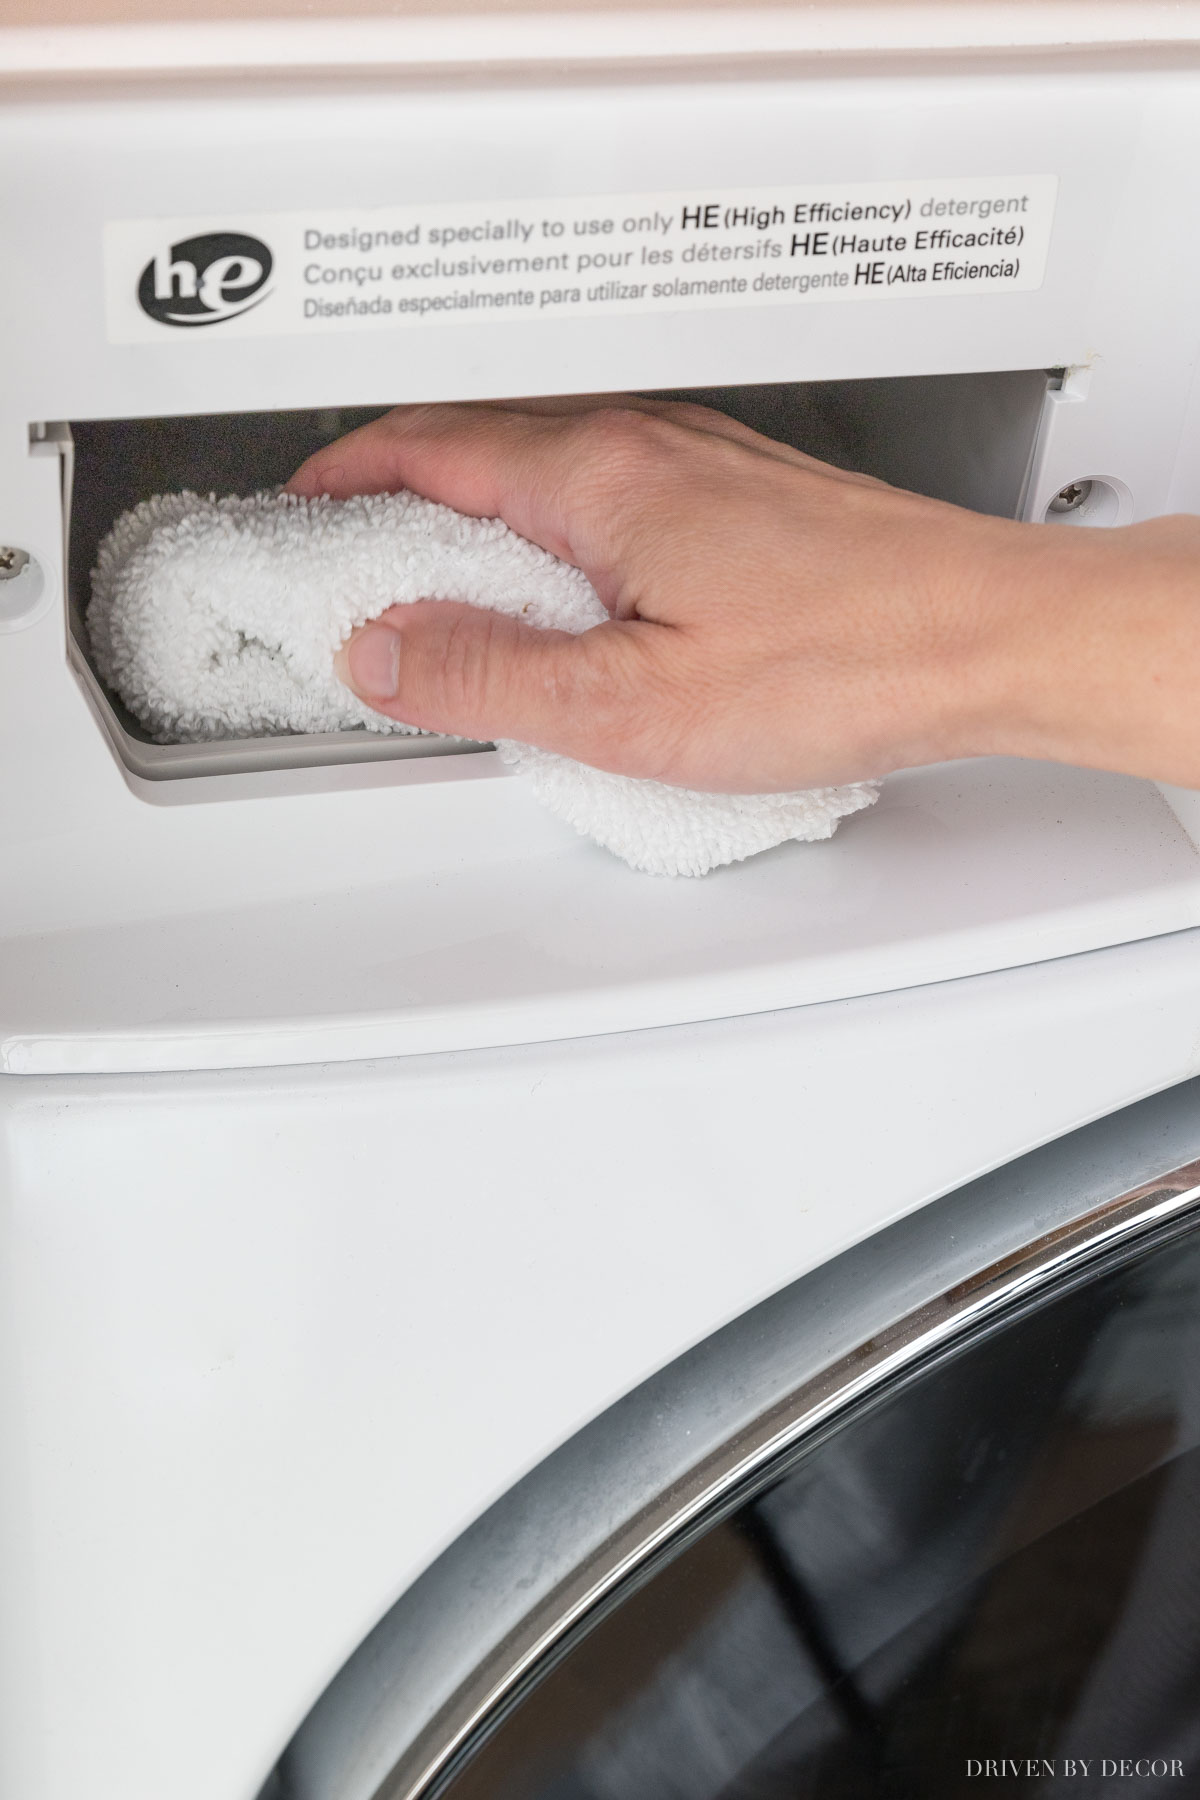
put the covers back on the bleach and fabric softener bins and then insert the detergent dispenser drawer back into the washing machine. Next we’re going to…
3. Clean the Door Seal
The next step in how to clean your washing machine is to tackle the door seal. It’s is the part of your washing machine that typically accumulates the most grime. Along with cleaning this easy-to-reach part of the seal:
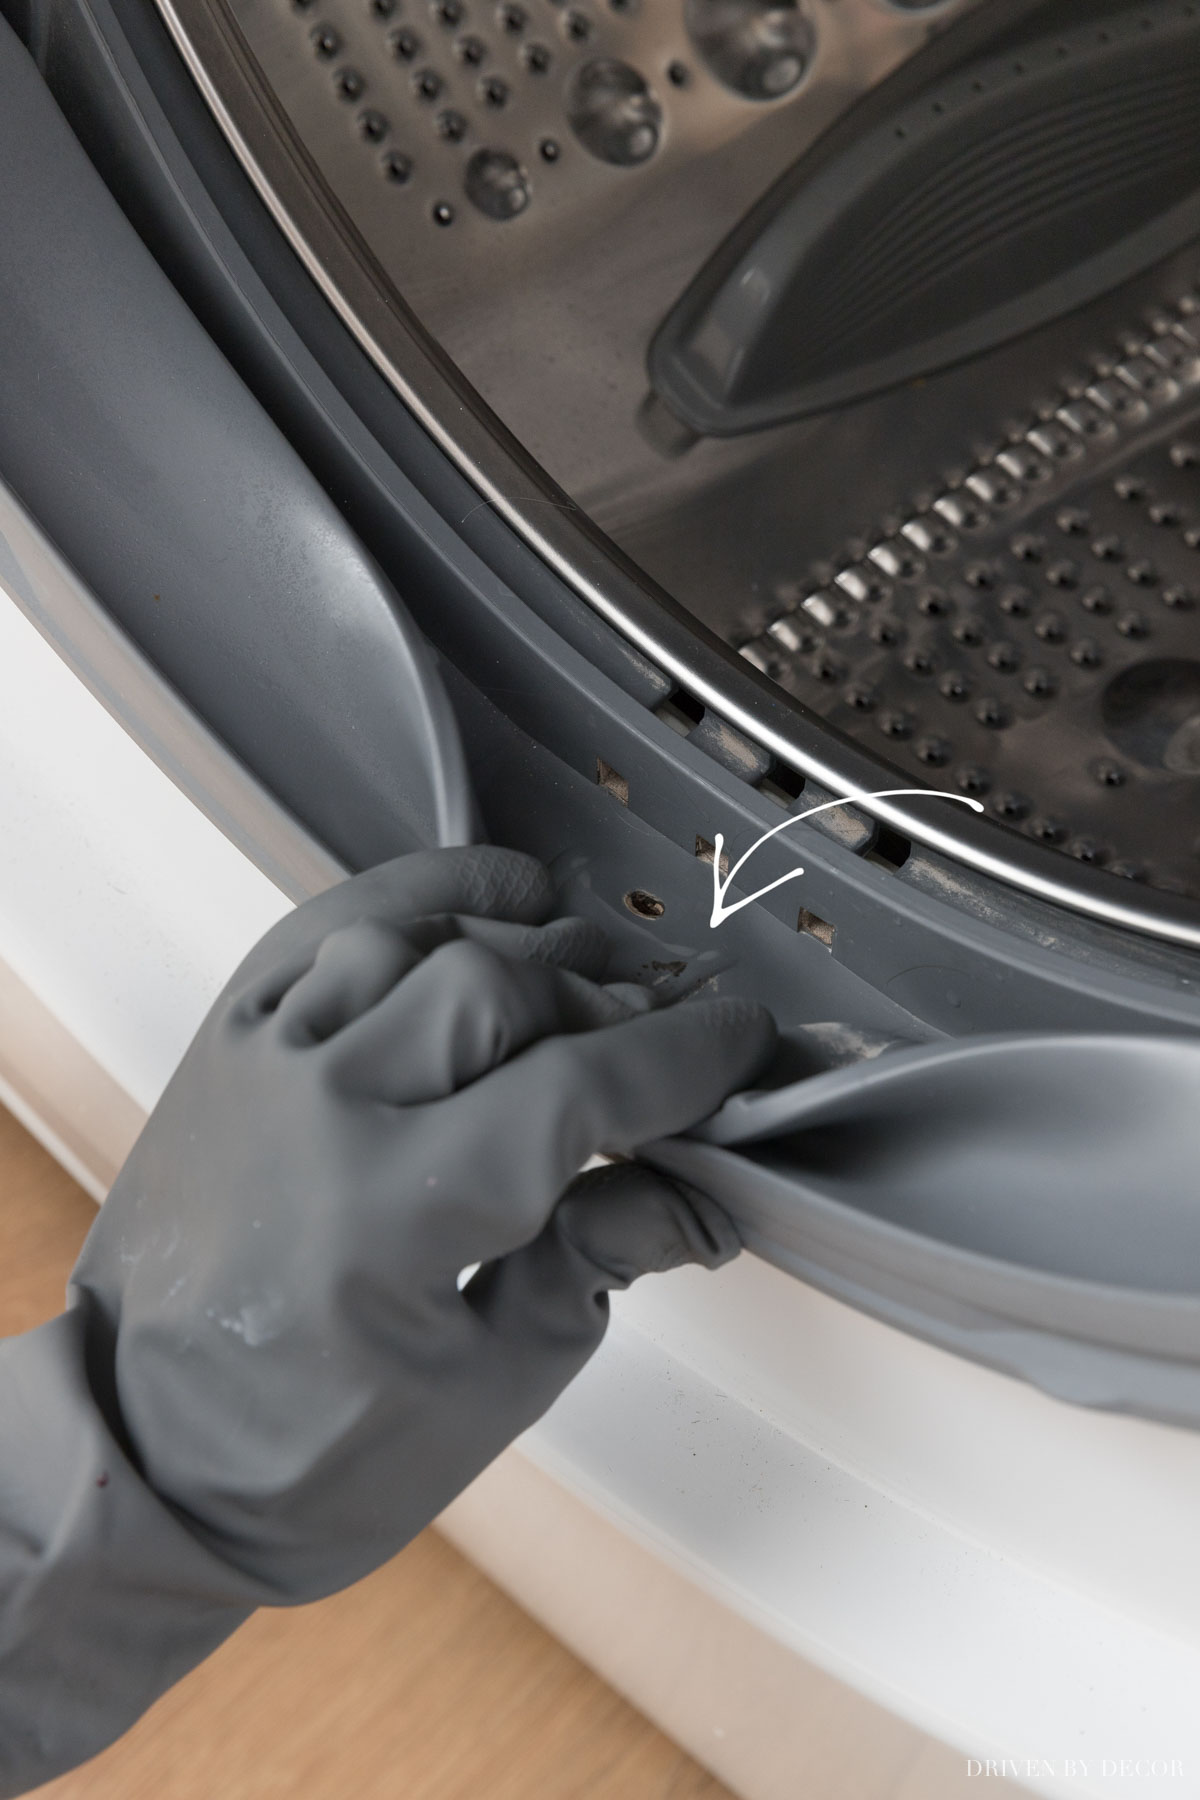
it’s important to peel back the seal from where it meets the metal drum and clean there too:
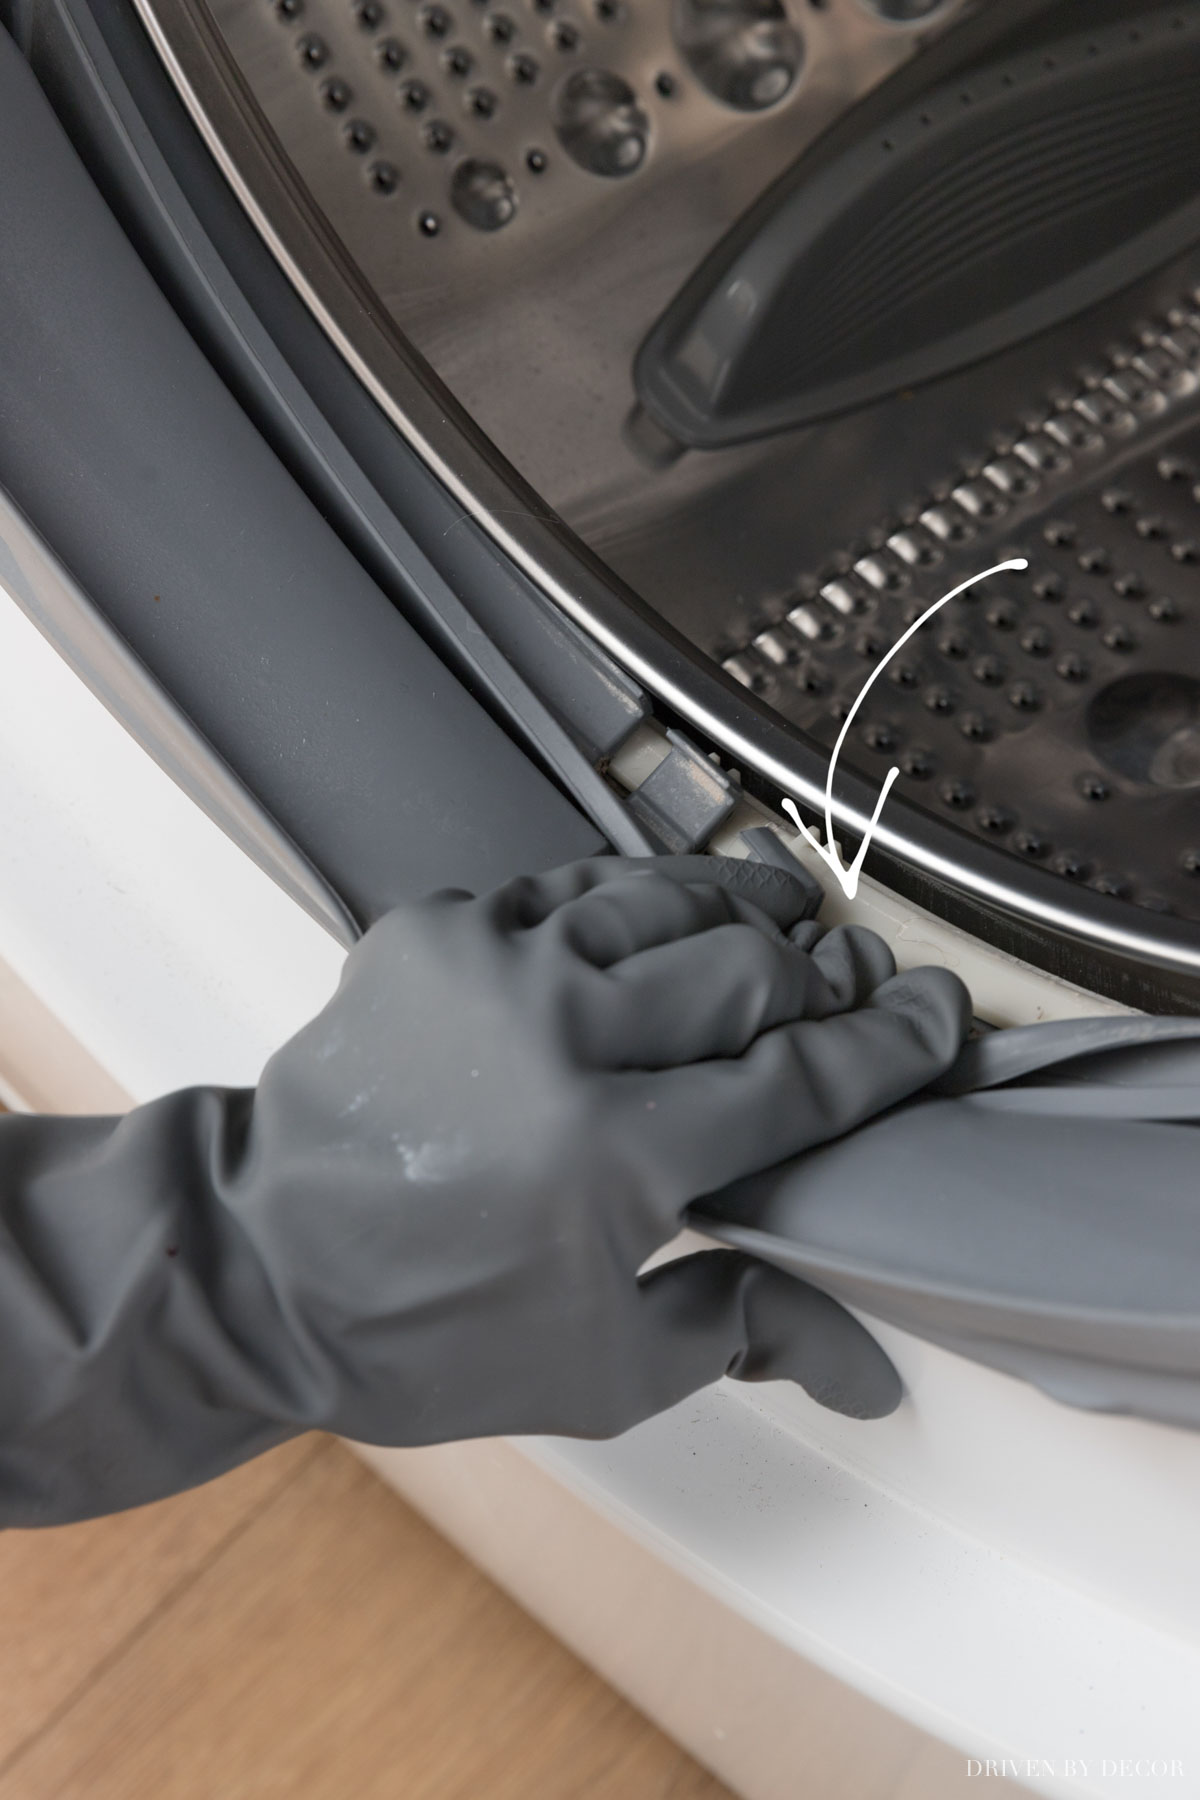
I spray both areas of the seal with diluted bleach (I add about 2 tablespoons of bleach to my 16 oz spray bottle and fill the rest with water),
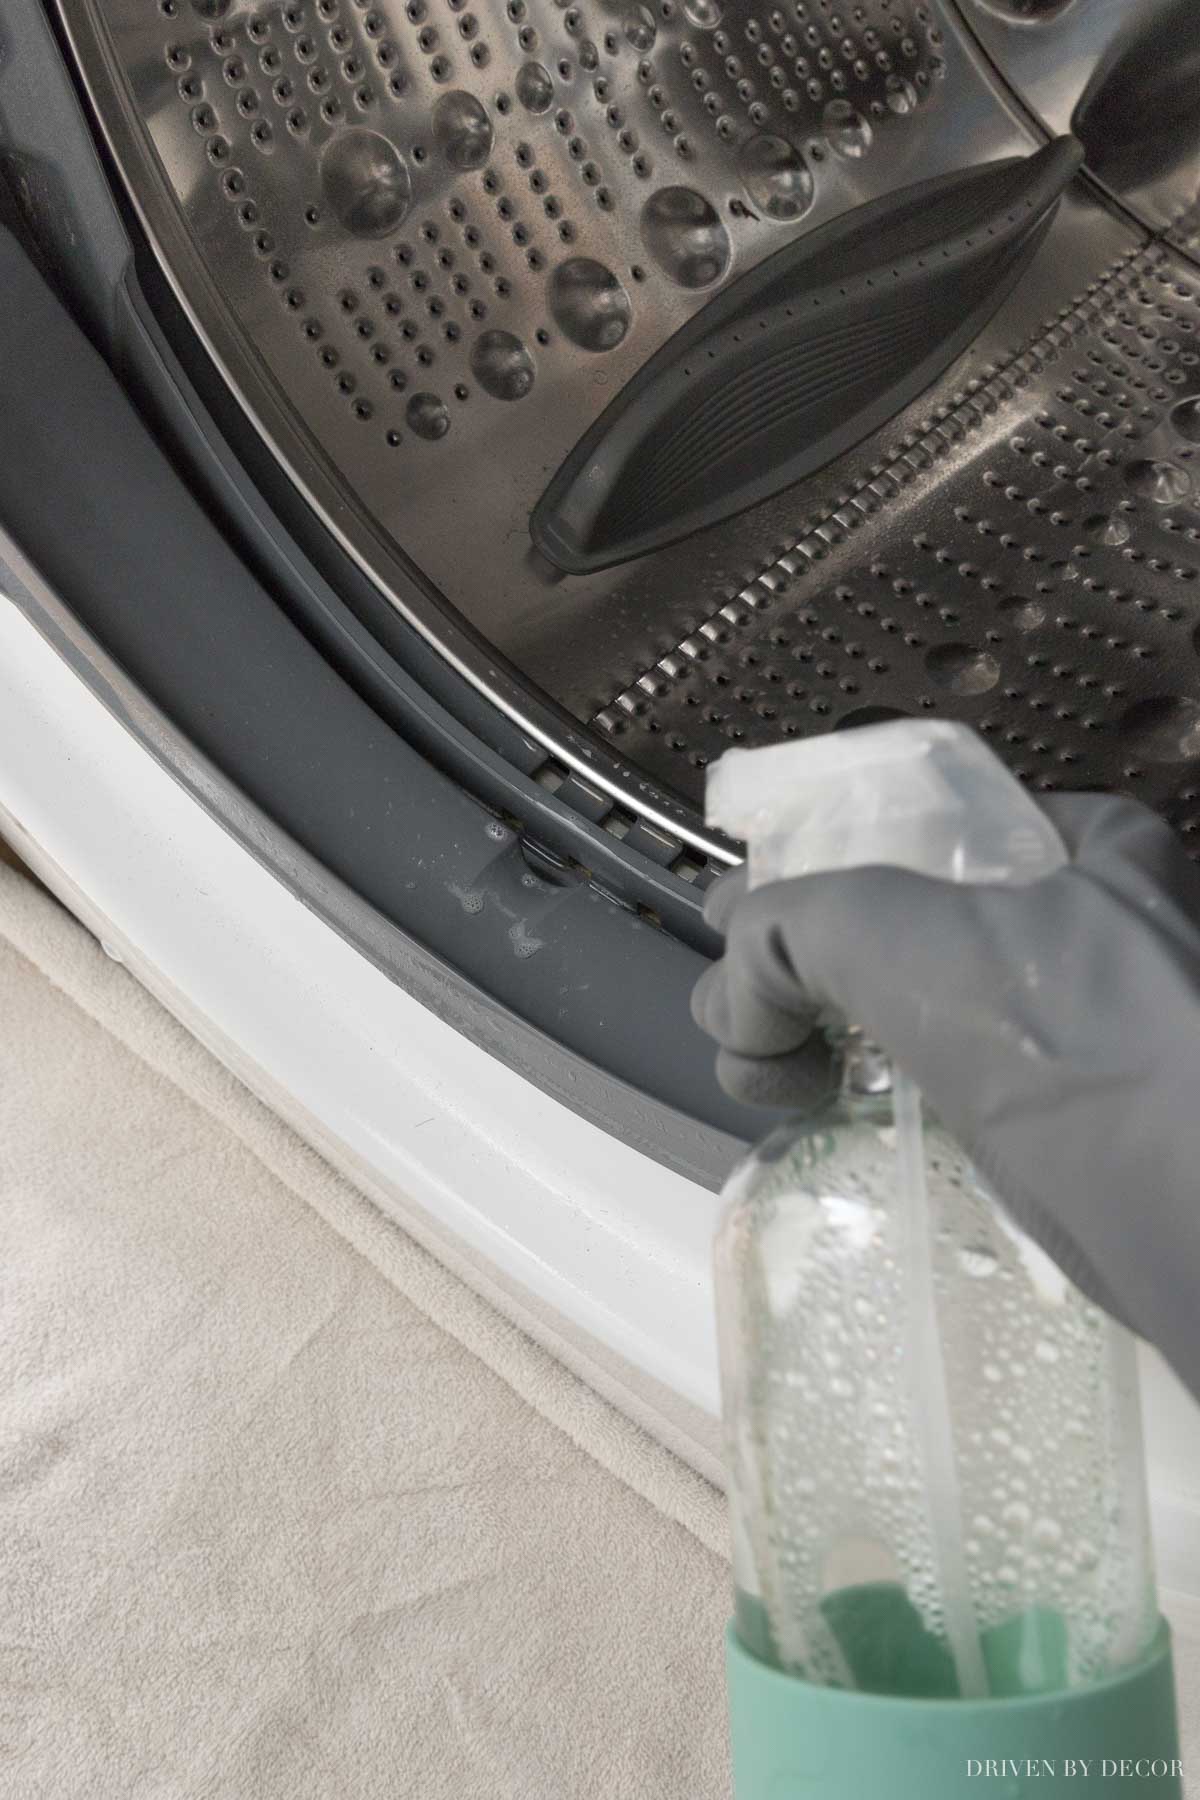
scrub all the way around the drum with {this same mini deep clean brush} we used on the detergent dispenser,
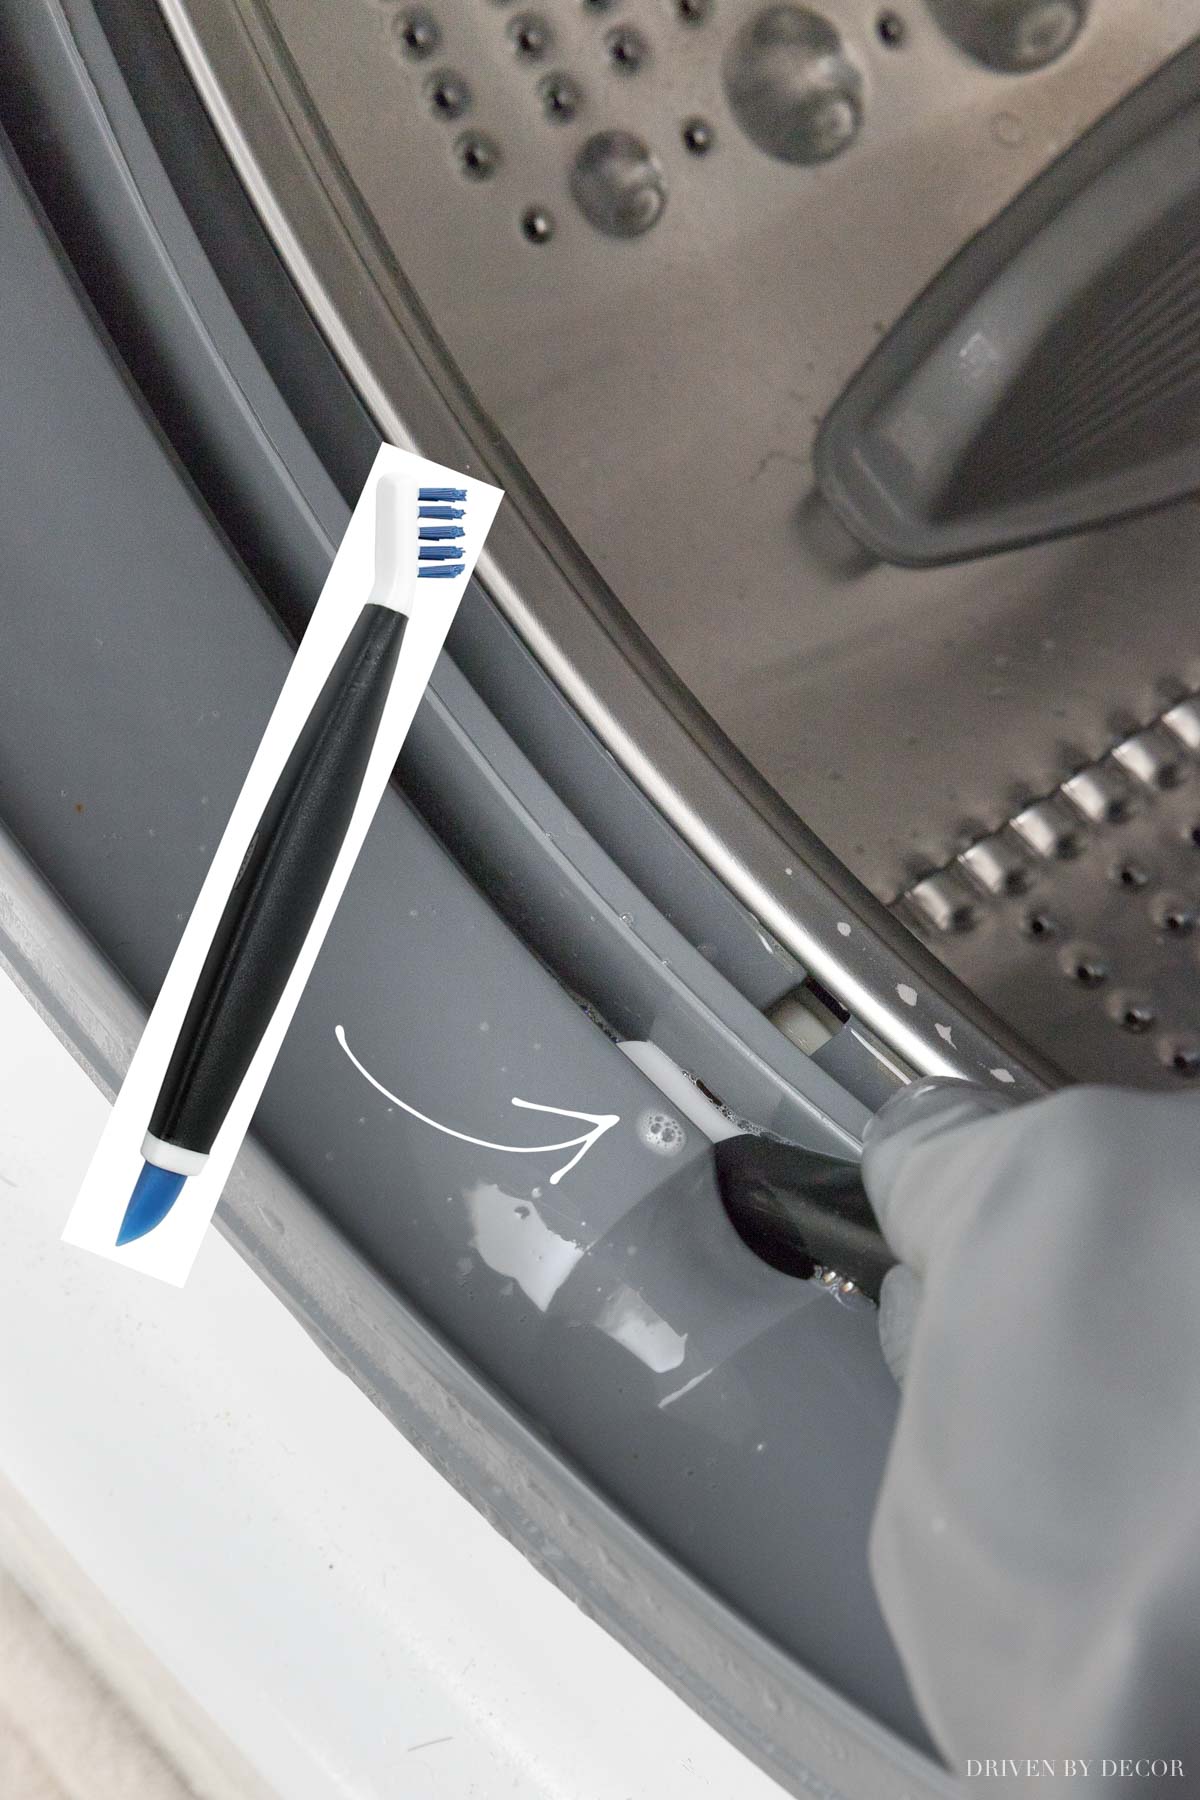
and then use the flexible pointed tip on the other end of the brush to get any gunk out of these holes and crevices:
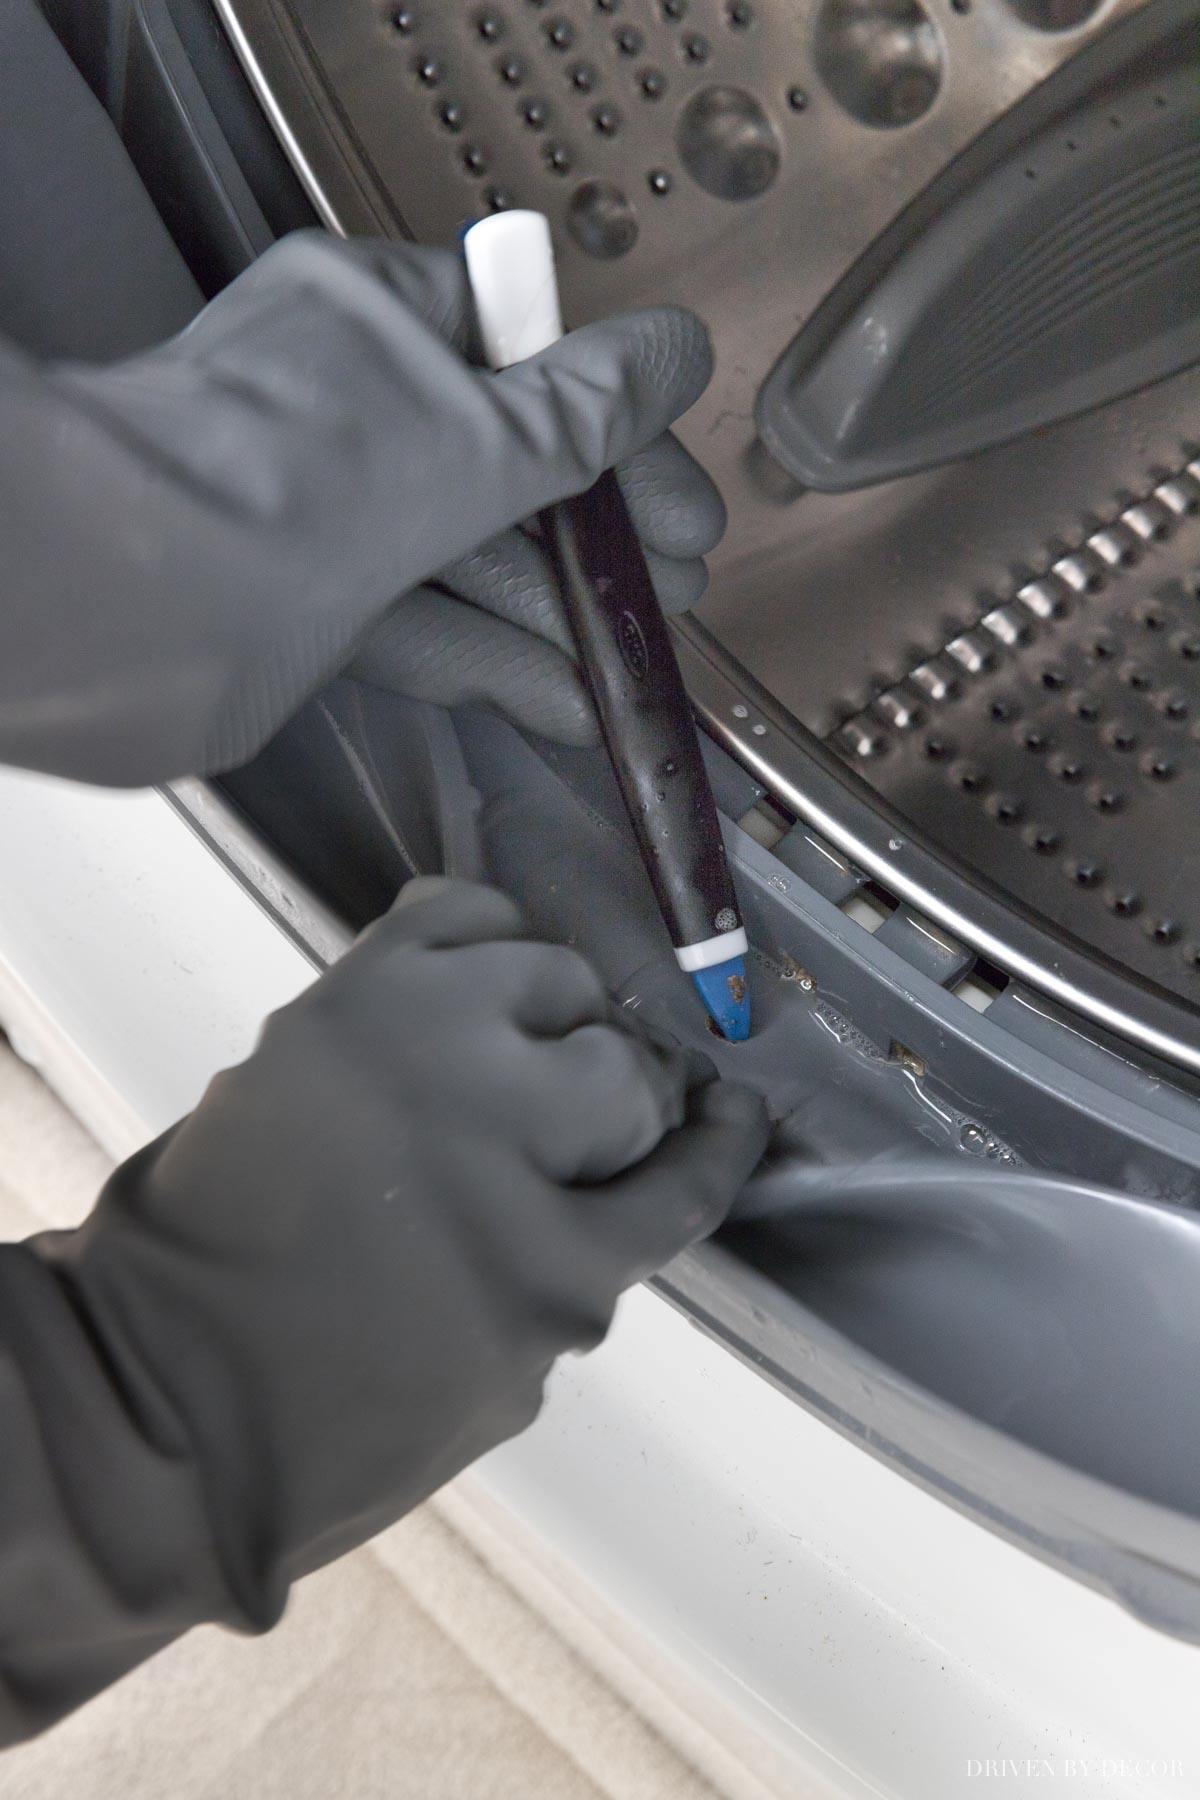
Then wipe the entire seal down well with a cleaning cloth lightly dampened with diluted bleach to clean away any grime that was loosened up by scrubbing.
4. Clean the Inside & Outside of the Glass
Next, scrub the glass on the door – both inside and out! The inside of mine accumulates hard water stains so I clean it by spraying it with vinegar (I put a towel on the floor first to protect it), letting it sit for about 30 mins, and then wiping it off.
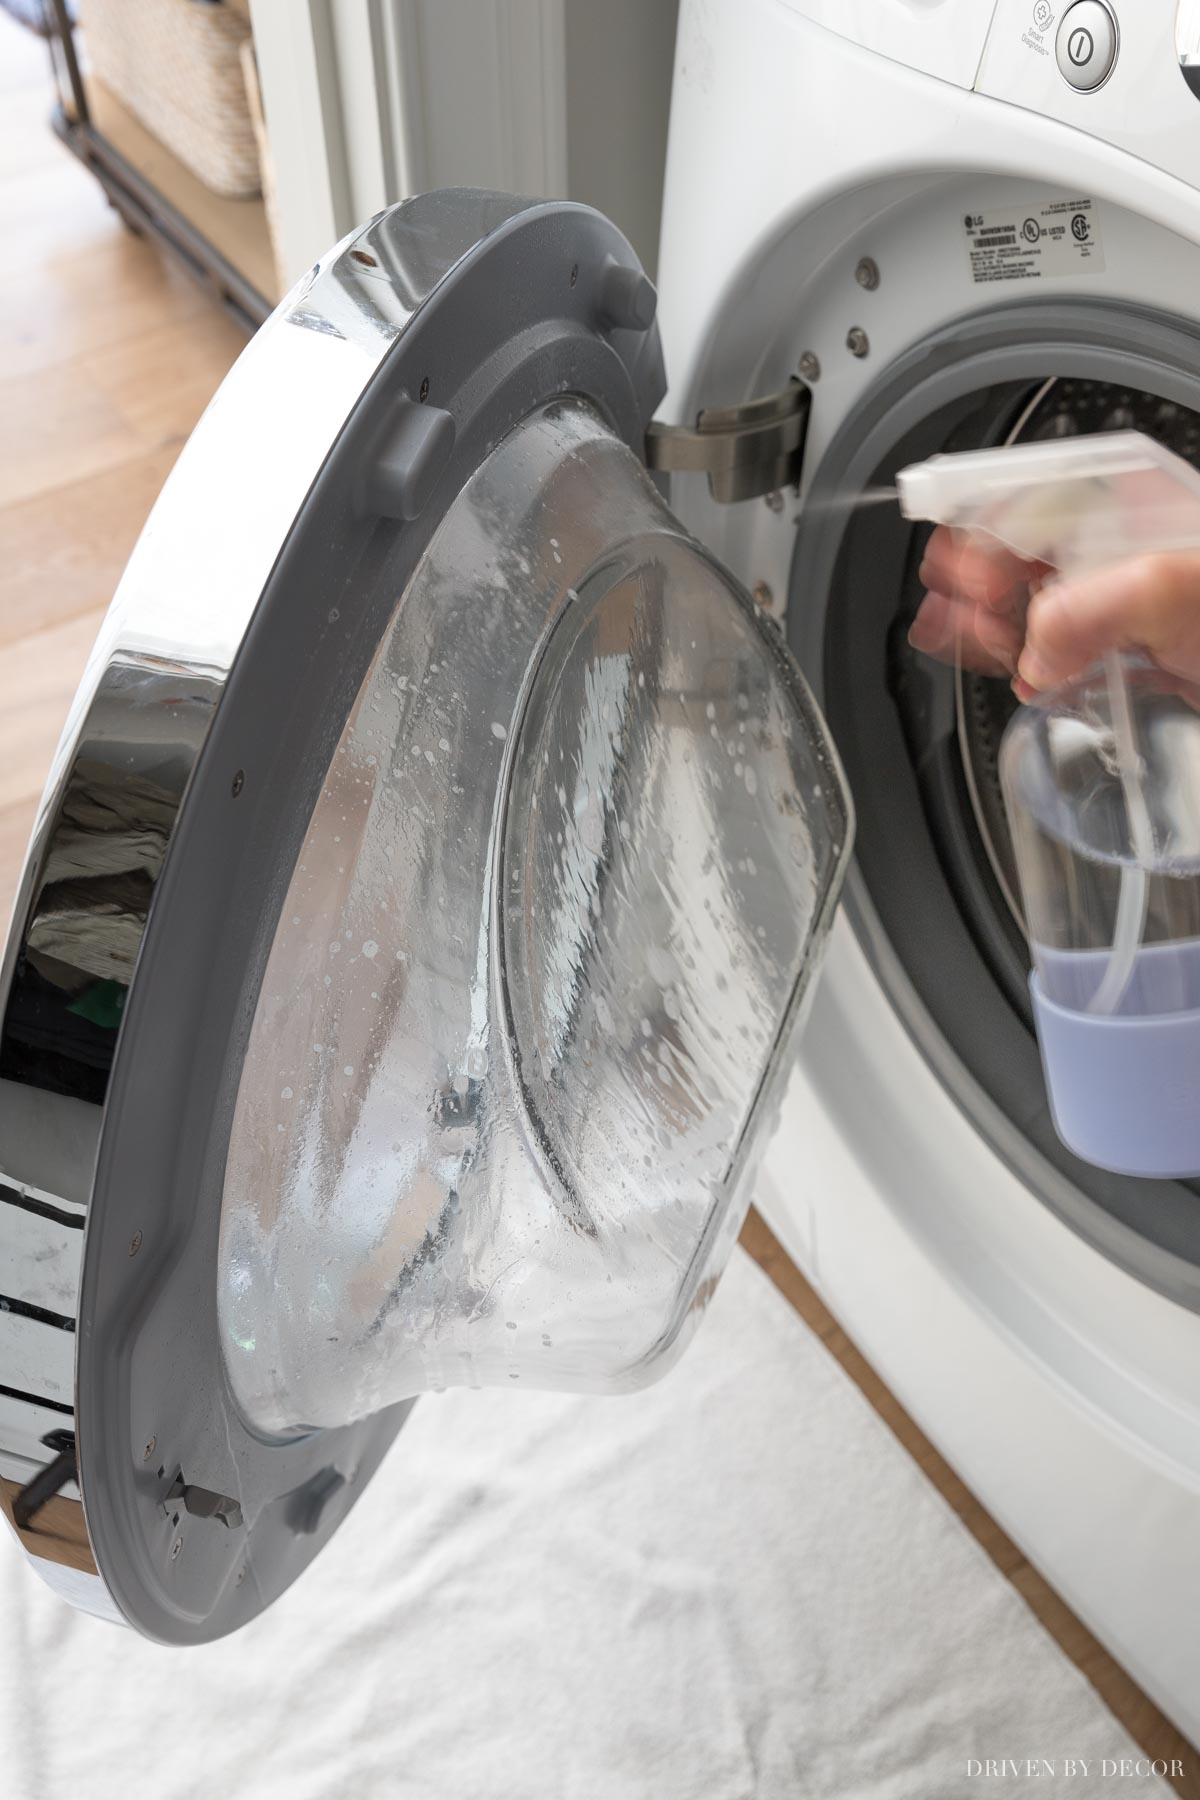
If you don’t have any hard water deposits on yours you can spray the vinegar on and then immediately wipe it off without waiting.
5. Run a Cleaning Cycle
The last thing to do is run a cleaning cycle with a cleaning tablet which is going to help clean any areas you missed or can’t easily reach. A lot of washers like mine have a specific cleaning cycle (mine is “Tub Clean”) but if yours doesn’t, just run it on a normal cycle with hot water. I’ve tried several different cleaning tablets and like {these Affresh tablets} best:
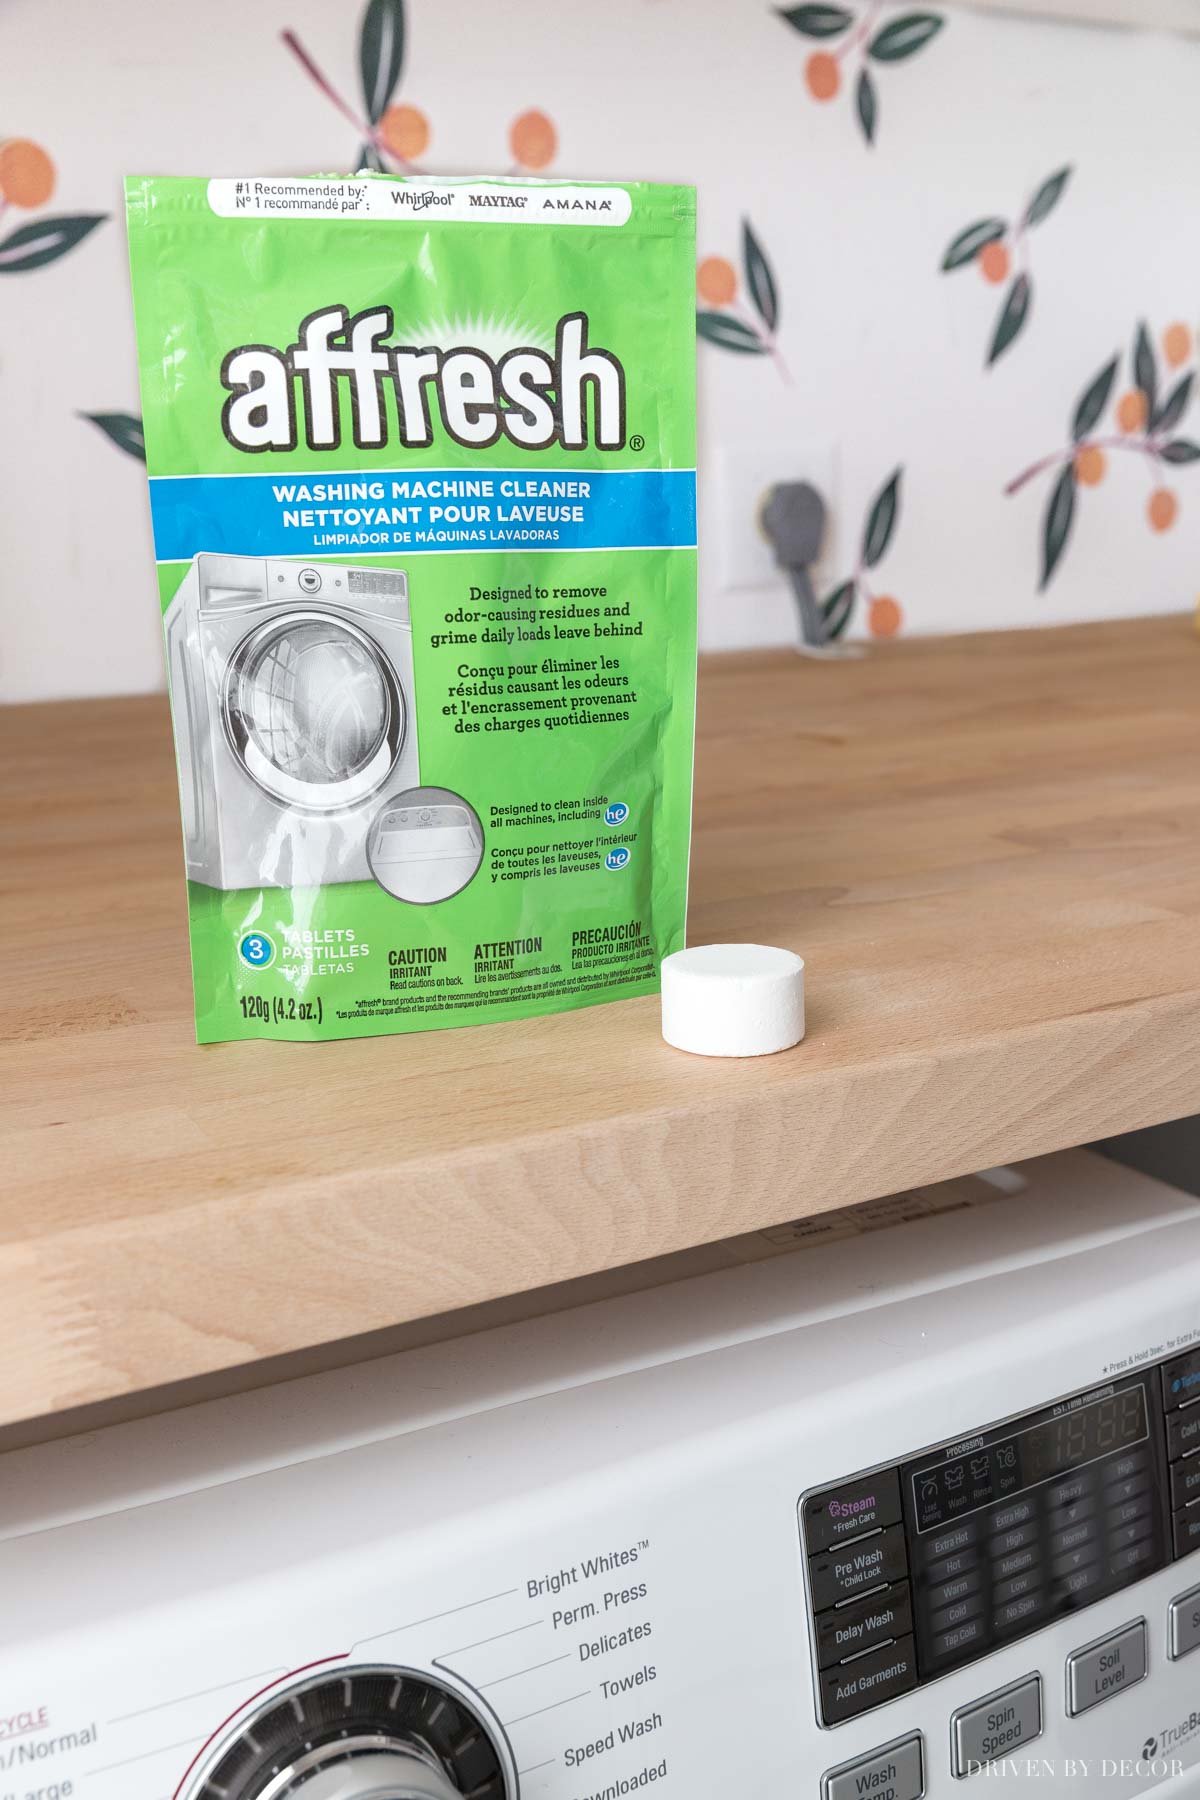
You simply add a tablet to the drum of your washer (not the dispenser) before running your cleaning cycle. And with that… you’re done and your washing machine should be looking and smelling like new! Since I shared every little detail of what I do, it might seem like a really time intensive process but the entire deep clean takes me less than an hour.
How Often Do I Need to Deep Clean My Washing Machine?
How often you need to do clean your washing machine depends on how well you take care of it between cleanings. There are several quick and easy things you can do to keep your washing machine cleaner longer including:
- Leave the door open and give the seal and inside of the door a quick 30 second wipe-down after you’re done with laundry so your washer can dry out.
- Switch from using liquid to powdered detergent (I like Powdered Tide) and don’t use liquid fabric softener. An appliance repair person gave me the tip to switch to powdered detergent a few years back and it definitely helped with odors. Apparently liquid detergents and fabric softeners contain fats that can contribute to the stink often associated with front loaders.
- Run a cleaning cycle every 1-2 months using a cleaning tablet like Affresh. If you have hard water, an occasional cleaning cycle with vinegar in the dispenser can be helpful too.
If you do these things, I’ve found doing a deep clean twice a year to be enough while more frequent deep cleaning might be needed otherwise.
What About the Dryer?
The dryer lint trap and exhaust vent are the two biggest things to maintain on your dryer since trapped lint can be a fire hazard. Along with emptying the lint trap after each load, occasionally use a dryer lint brush or vacuum attachment to clean out lint trapped further in the machine (next time you empty your lint trap, peek down in there with a flashlight and see if you have a build-up of lint). I clean out mine using {this flexible vacuum hose attachment} hooked up to my cordless vacuum:
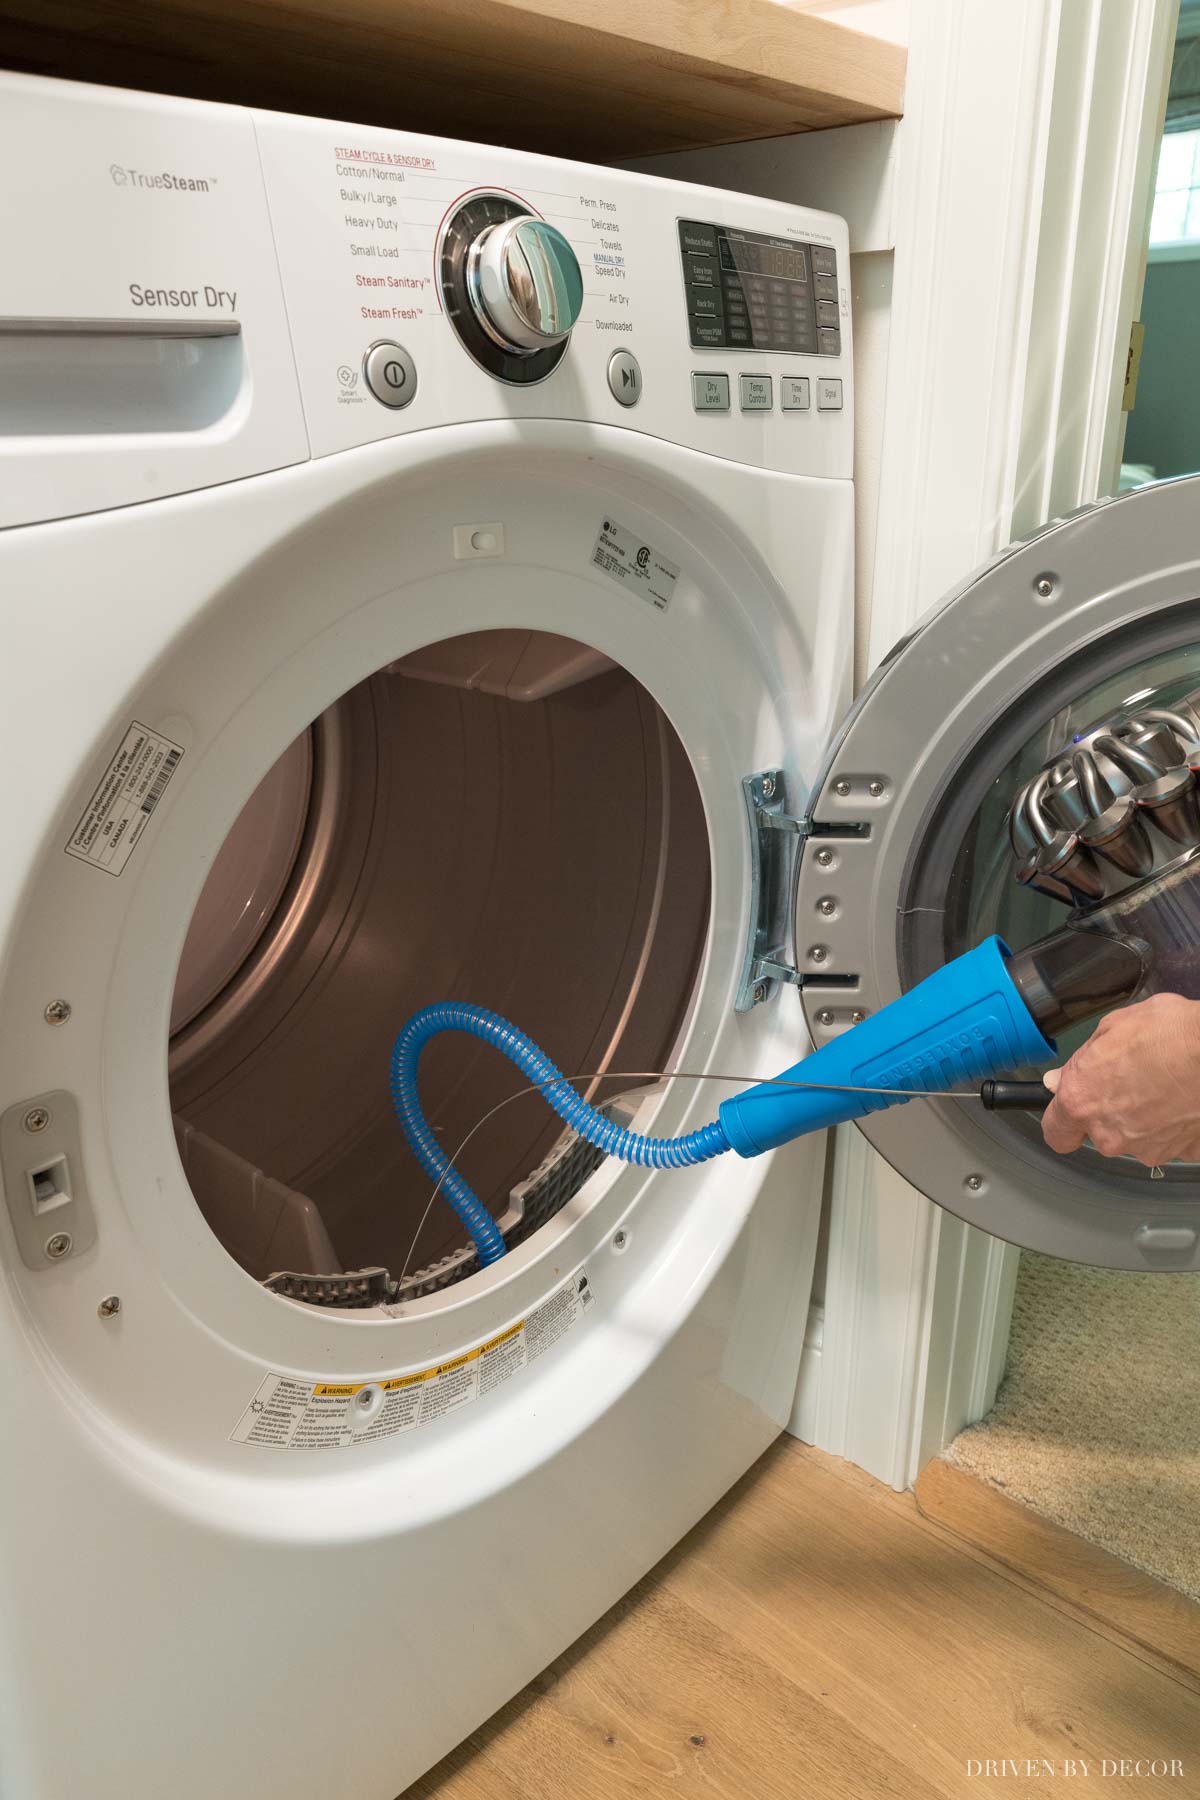
It has a stiff guide wire to help guide the tip of the flexible hose to the spot you want to vacuum. Just like with the washing machine deep clean, I only do this about twice a year. As for the dryer exhaust vent, mine is really short so I can easily clean and vacuum it out from outside but if you have a longer run, consider trying something like {this dryer vent cleaning brush} that cleans up to 30 feet of dryer vent or hiring a professional vent cleaning service once a year.
And with that, I’m off to enjoy what remains of the weekend! If you haven’t already seen it, another laundry-related post that you should check out is my laundry stripping recipe {here}. And some other favorite cleaning posts include:
Shark vs. Dyson Cordless Vacuums
How to Clean Stainless Steel Appliances
XO,


Deborah says
What perfect timing! I have had continuous problems with my LG machine. No smells particularly, but it leaves gunky sludge spots on my clean clothes. Since it was a pretty new machine, I complained to the salesman. He suggested running a cup of white vinegar through the tub clean cycle and repeating it two more times. I tried that and there is still gunk left on the bottom of the drum. Yesterday, after the vinegar treatment, I did 5 hot cycles with the Affresh and the problem remains. I leave the lid open except when I am using it and don’t use fabric softener. I’ll have to try the powder detergent. This machine is a top loader – I bought that because I didn’t want to deal with the problems that I had heard about front loaders. I would just get rid of the machine, but assume the next one would be the same. Wish I still had my old one from 1978!
Anne says
I will use every single bit of information in this post thus week in our laundry room! Thanks for writing such a useful post!
Ystew says
Looks great! Only thing is try using Norwex products with your machine instead! Keeps the odors away for much longer!!
Janice says
Great comment! I wanted to tell her the same thing about the Norwex Ultra Power Plus powder detergent and the Norwex cloths. My front loading machine has NEVER gotten stinky in the 10+ years I have owned it!
Hiluhilu says
Great post! I use a similar process on my front loader (I even have the same brush thingy). Some lessons I learned along the way to combat the stink: 1) Detergent. Measure detergent carefully. Most modern HE machines require far less than the marks on dispensing cups would indicate. I’ve tried powdered detergent, but couldn’t quite get it rinsed out, so I’m sticking with liquid for now, but not in pod form. Pods seem to leave more residue than liquid from the bottle, and it’s difficult to adjust amounts. 2) Rinse. I use a vinegar/water mix in the softener compartment I lieu of fabric softener. 3) Materials washed. My worst episodes of gunkiness stem from washing floor dusters. All the little hairs and whatnots would collect in the area between the seal and the drum and create a stink. 4) After-use. I give the seal and the glass cover a quick wipe with a microfiber cloth and leave the detergent dispenser and main door open after each wash. I know, a lot of attention for a device that’s supposed to make my life easier. Thanks for the post and the helpful pictures. I hope the rest of your weekend will be laundry-free.
Shannon says
Very timely post! I have the same washer as you, and I noticed my laundry had a bit of a musty smell to it recently. A good cleaning fixed the problem, but I didn’t know how to get to a few areas trickier areas. Now I do! A plumber told me about this nifty device for leaving my washer door open. It works well and has eliminated odors. Amazon – Door Doc Front Load Washer Mold and Odor Prevention Rescue Your Washing Machine.
Barbara says
Thank you for this post! A great reminder and tips- time to do it!!
Charisse says
For about a year now I have used the Pure Eco Laundry O3 system. It hooks up to the cold water line. It cleans laundry using cold water and no soap. At first I felt, “no way” can it clean clothes w/o soap, but it does and really, really well. Now I wouldn’t use anything else again. Once in a while, when gardening clothes are really, really bad I will run a pre- wash with a tiny bit of soap, and then run the regular cycle. It has solved my washing machine stink, the machine stays clean, and when I first started using it, my clothes got softer and softer after each wash because all the soap and cleaning products were being washed away. We had been looking into it for some time and finally pulled the trigger. I wished I had done it a long time ago. It is better for my septic system, has more than paid for itself as I don’t buy laundry soap, bleach etc.
Sheri says
How do you clean a top loading machine? Thank you…..,
Sheri says
Do you have tips on cleaning a top loading machine? Thank you 😊
Anonymous says
I want to know how to clean top load washer please.
Christine says
It used to be you shouldn’t use vinegar in your washer as the machine was not designed for the acid in it. When I moved into a new house the previous owner used to run vinegar cycles and it destroyed the machine. The repair man says he sees it all the time. So I had to get a new one. Has the design of the machines changed so you can use vinegar? I know you can use vinegar in dishwashers to clean them but are washers now safe to use it in? I read this advice all the time on blogs but I haven’t seen anything about the washers ability to withstand vinegar. Just curious.