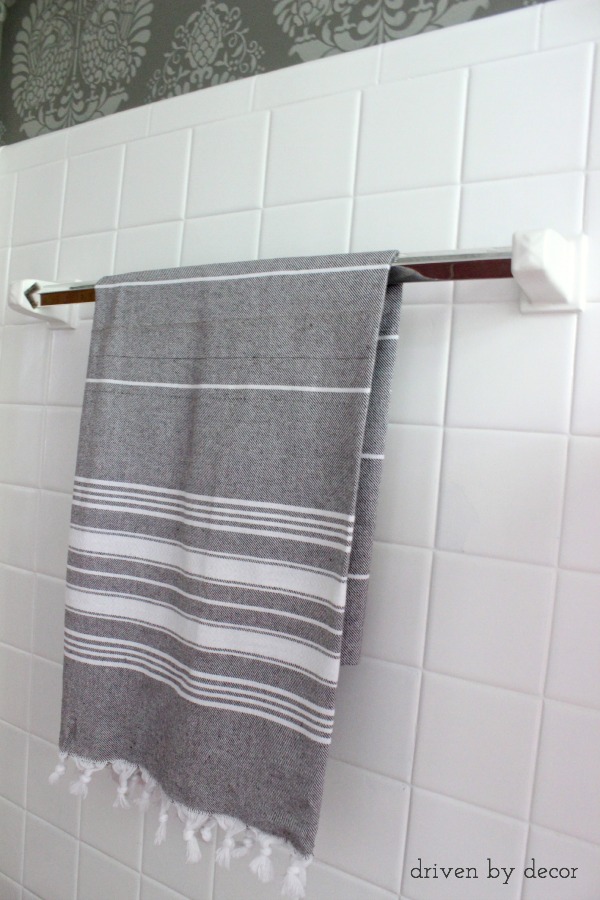
Want to know how to replace your ceramic bathroom towel bar (the annoying ones with the fixed ends!) the easy way? I figured out a super simple how-to fix and am sharing how to get the job done!
post includes affiliate links – see my full disclosure statement {here}
As part of the One Room Challenge budget bathroom remodel, I found a super simple way to replace our old plastic towel bar that had fixed ceramic ends. I’ve had lots of questions about it which kind of surprised me because I figured there weren’t a ton of you who also have these lovely fixed end brackets glued onto ceramic tile (most of you guys have a typical towel bar screwed into drywall, right?). But in other ways I wasn’t so surprised, since I couldn’t find the answer online myself and how to figure my own towel bar replacement out.
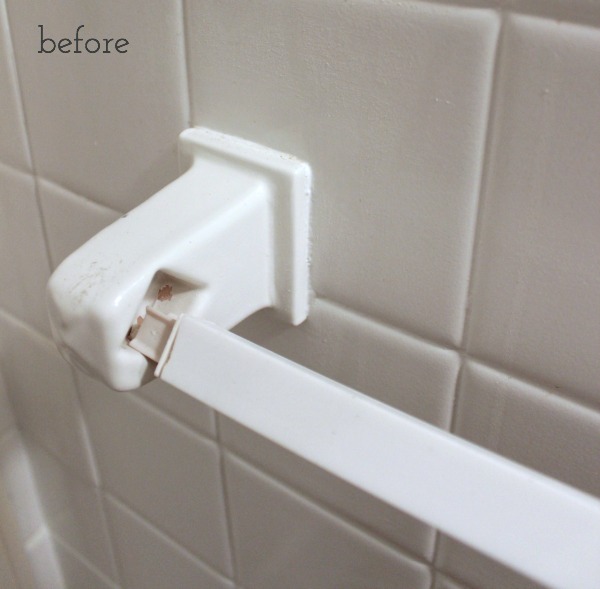
This plastic white towel bar is the lovely one that I started with – it was both too short and small in diameter for my fixed towel bar brackets. The white glazing was also starting to chip away (see that beautiful pink peeking out?!) but luckily that was only in the inside of the holder and was covered up once my new towel bar was in place.
Here’s what I did to remove & replace it:
1. Measure For & Buy Your Replacement Supplies
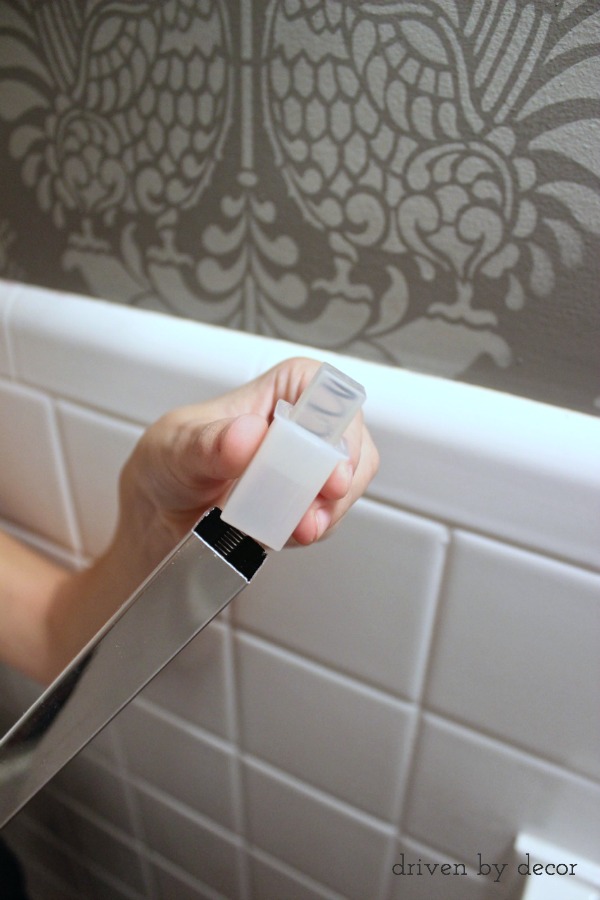
Figuring out the supplies that I needed was the hardest part – once I had them, this was a 10 minute fix. You’ll need two things – a replacement bar and spring-loaded end caps. For the replacement bar, measure to see whether you need a ¾″ or ⅝″ bar and also measure the length that you’ll need and buy a replacement bar that is as long or longer. I needed a ¾″ replacement bar that was at least 22″ long so I ordered {this 24-inch chrome replacement bar}. It’s very lightweight and initially that made me worry that it was cheap and not a good choice but I found that the light weight is necessary to make cutting it to size doable and the bar looks great and is very stable now that it is installed. For spring loaded end caps I ordered {these adjustable towel bar end caps} that just slip right onto the ends of your replacement towel bar:
2. Remove the Old Towel Bar
Now that you’ve got your supplies, it’s time to go to work by removing the old towel bar. I easily pulled my bar out on its own since it was too short to begin with but if yours isn’t, you can remove it by sawing through the middle of it.
Want to save this post?
3. Cut Your New Replacement Bar to Size
When cutting your replacement towel bar to size, it’s important that you not cut it either too long or too short. Here’s what I did – I put a spring-loaded end cap into one end of my chrome bar and then put that end into one of the fixed wall brackets. I pushed the bar into the bracket as far as it would go and marked the other end of the bar at the spot that it needs to be cut off (just a tad shorter than the inside of the fixed bracket). Use a hacksaw to cut it – it’s actually very easy to saw through.
4. Put the Spring-Loaded End Caps on the Bar Ends & Install It!
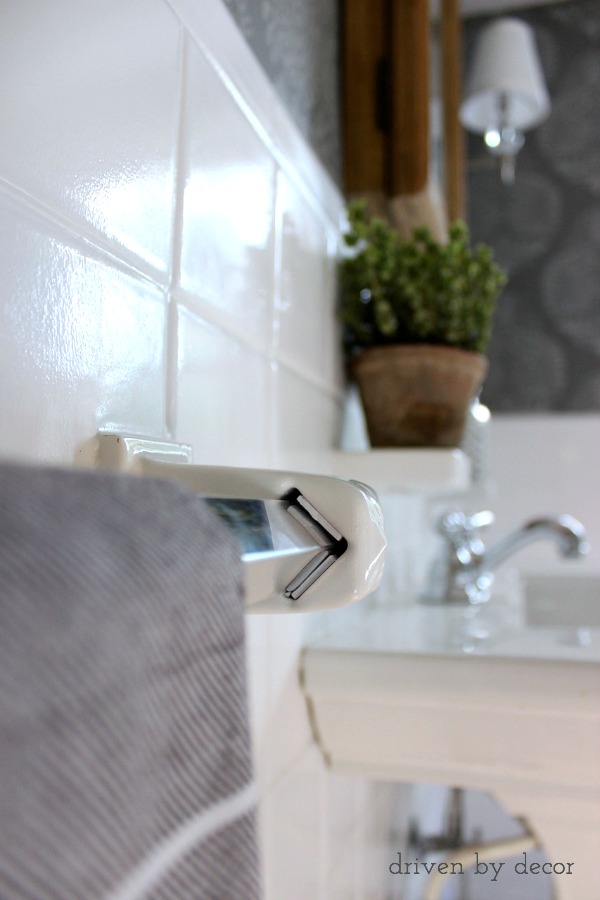
After cutting my replacement bar to the correct size, I put the spring-loaded end caps onto both ends of the bar and installed it between the two fixed brackets. Most of you will be done at this point but my bathroom had the extra kicker of having end brackets that were made for a larger than standard towel bar, causing the towel bar to jiggle around in the holder when using the towel. See those lovely gaps between the bar and the inside of the bracket:
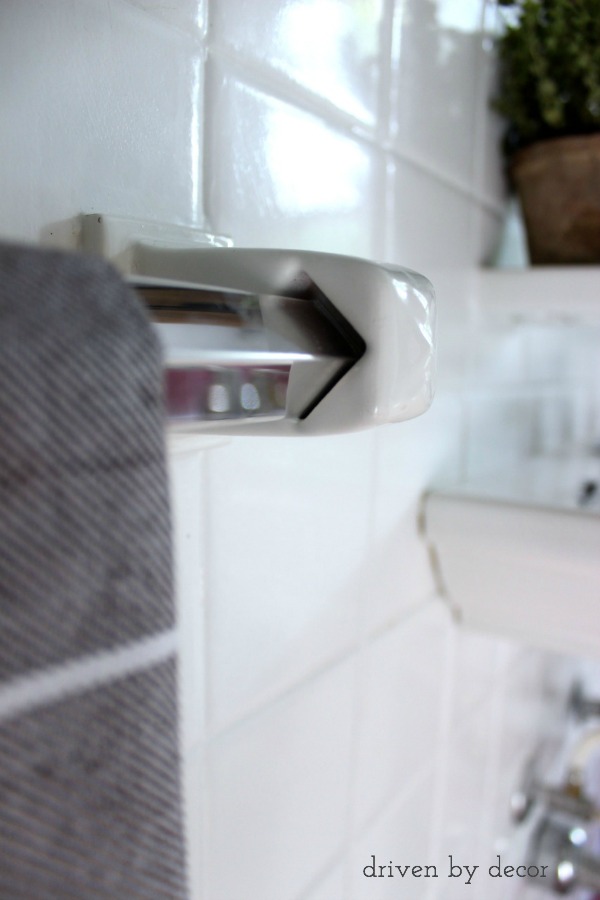
My solution to the jiggling bar was to use a sheet of thin white craft foam that is sticky on one side if you pull off the backing – I got mine at Michaels. I cut out eight ⅝″ squares and put them between the towel bar and the bracket. I didn’t peel off the sticky backing and the foam pieces have stayed in place but if they start shifting I can always stick them down. For now all is good with no more jiggling! And fortunately you can only see my retrofit job if you crouch down low and look into the end of the towel bar. So maybe my dog will roll her eyes at my little hack job but no one else will ever see it.
I hope this was helpful to some of you with the same obscure problem that I had! Since you’re fixing up your towel bar you might need some awesome new towels to go on it! Check out my post on the best bath towels at all price points!
Thanks as always for stopping by!


Jason says
Thank you so much! I was so happy to find this easy solution. Supplies are ordered and can’t wait to install! If you have any similarly clever and simple ideas for repurposing the toothbrush and soap dish holders, do tell! I’m in a rental and can’t knock them out of the wall.
Vintage Chris says
Many thanks for explaining about how to replace this 24″ towel bar – our home was built in 1953 and has undergone many improvements over the years, including this bathroom, but we never replaced the towel bar which finally broke the other day while I was cleaning it. We were able to find a new one at a big box hardware store for about $5.00 and we used a hacksaw to trim it just a little (whoever installed the brackets decades ago cemented them too close together). I thought your method of measuring before cutting was quite clever – bravo! [ By the way, I see from the comments of others that your tiles were originally pink – about 20 years ago I had a company reglaze all the tiles in this bathroom – originally they were Easter basket colors (pale blue, dark blue, yellow, violet! Eeek!) – the white glazing has held up well but the tub has had a 2d glazing and is due for #3.]
Alice E HAMPTON says
What tool did you use to cut the towel bar?
Tracy says
Thank you! This is awesome!
Judith says
Thanks. I have 2 such towel rods and thought I could buy covers. No such luck. I will try your fix and see what happens.
Thanks
SHIRLEY O'CARROLL says
That was excellent information . Thank you
Kate says
Thank you so much!
Had the same gap problem and you have provided a clever solution!
Anonymous says
I’ve been looking for an easy solution to this exact problem! Thank you.
Regina says
What I need is the bar itself…can’t find one
Kris Jarrett says
There’s a link to the replacement bar in the blog post!
Guy Hohenstein says
I too have these permanent ceramic towel bar holders. I would like to utilize them for grab bars for my wife who needs help getting up from the john. Any suggestions for replacing them with a 1 ” diameter bar, spring loaded. The holder ends are very secure and in exactly the space I want to install the grab bar.
Kris Jarrett says
Unfortunately I’ve never had to do that myself so don’t have any advice to share. Hope you were able to figure it out!
Dave Kendrick says
Wonderful. Where can you buy the spring loaded ends?
Kris Jarrett says
The parts are linked in the blog post!
Rachel says
This is brilliant, thank you! I’m definitely going to do this as part of my remodel 😀
Robin Smith says
Thanks for the idea, had the same problem today with the same type of towel bar ends.
Noelle says
SO glad I found your post! Thank you…it is just what I need to solve this challenge in 2 of our bathrooms.
Tracy says
Thank you for the very helpful information I have a broken towel bar that has been glued together but looks like crap. If I sell the house I would like to do just what you did! I’m Not very handy, but I think I can do it. Thank you?
Kris Jarrett says
I’m glad you found it helpful! Good luck!
Eliza says
I can’t believe I waited months to fix my bars! Found this post. Ran to the store. Made magic happen in less than ten minutes. And by magic, I mean I now have a towel rack. Thank you for this – a new homeowner in colorado is very thankful for your post.
Kris Jarrett says
I’m so glad you found it helpful! If it makes you feel any better, it was months after we moved in before I fixed mine too!