Wondering how to protect a wood dining table without darkening this finish? I’m sharing what’s worked for me to protect and seal our Restoration Hardware & Pottery Barn tables.
Over the years, one question I get asked again and again is whether I did something to seal and protect our Restoration Hardware and Pottery Barn wood tables, and the answer is yes! It’s actually something I spent quite a bit of time researching, testing, and figuring out the best approach to keep that beautiful wood finish intact while still making it practical for everyday life.
Today, I’m sharing exactly how I sealed both of our wood tables, including the step-by-step process and the specific products I used to get a durable, long-lasting finish that still looks like the original. (post includes commissionable links; for more information, see my full disclosure statement {here})
The Goal: Protect Without Darkening
There are several different products you can successfully use to seal wood tables but one of the most important things to me was finding something that didn’t significantly darken the natural color of my table or make it shiny. The first table I sealed is Restoration Hardware’s Dumont dining table that we originally had in our kitchen but later moved to our home office (it’s no longer available but {this trestle table} is very similar):
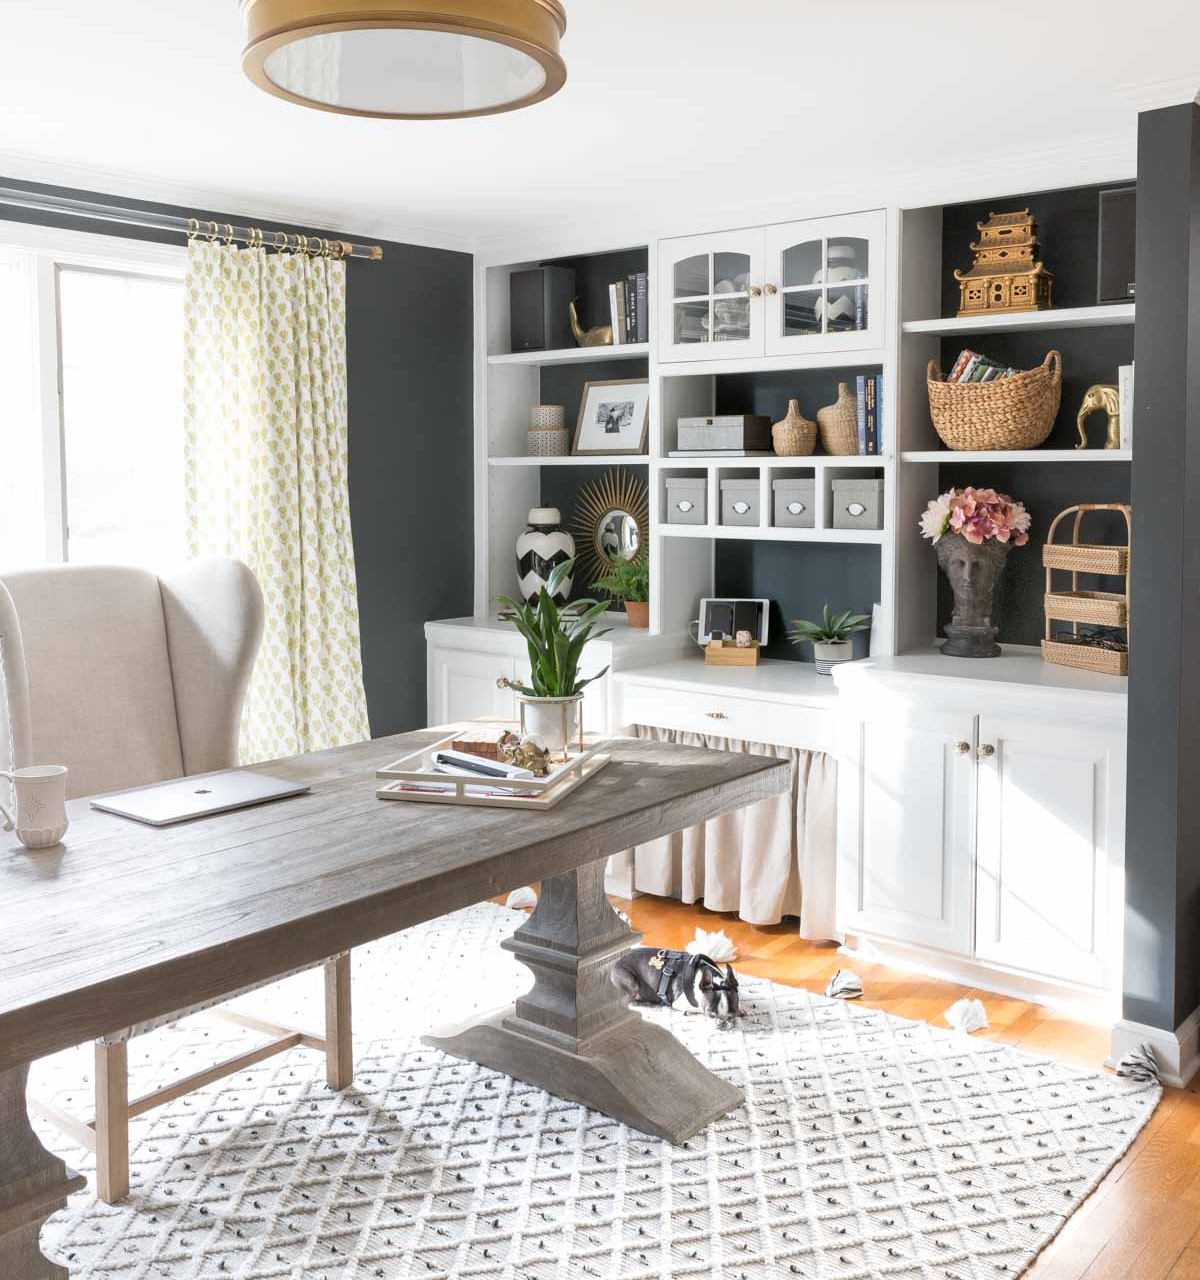
Sources: Wingback armchair (similar) | Ceiling light | Rug |
To try and figure out how to best seal and protect it, I bought a wood sample from Restoration Hardware to test (1) clear polyurethane and (2) Waterlox on it and see how they affected the look of the wood. As I thought they might, both sealers significantly darkened the color of my wood sample so I kept searching for a better solution.
After more research and another wood sample experiment, I found that clear wood furniture wax was my best bet since it helps protect the wood without changing the color hardly at all. Using the exact steps and products I detail below, I sealed our table with wax and after using it for several years, there still wasn’t a single mark or stain on it!
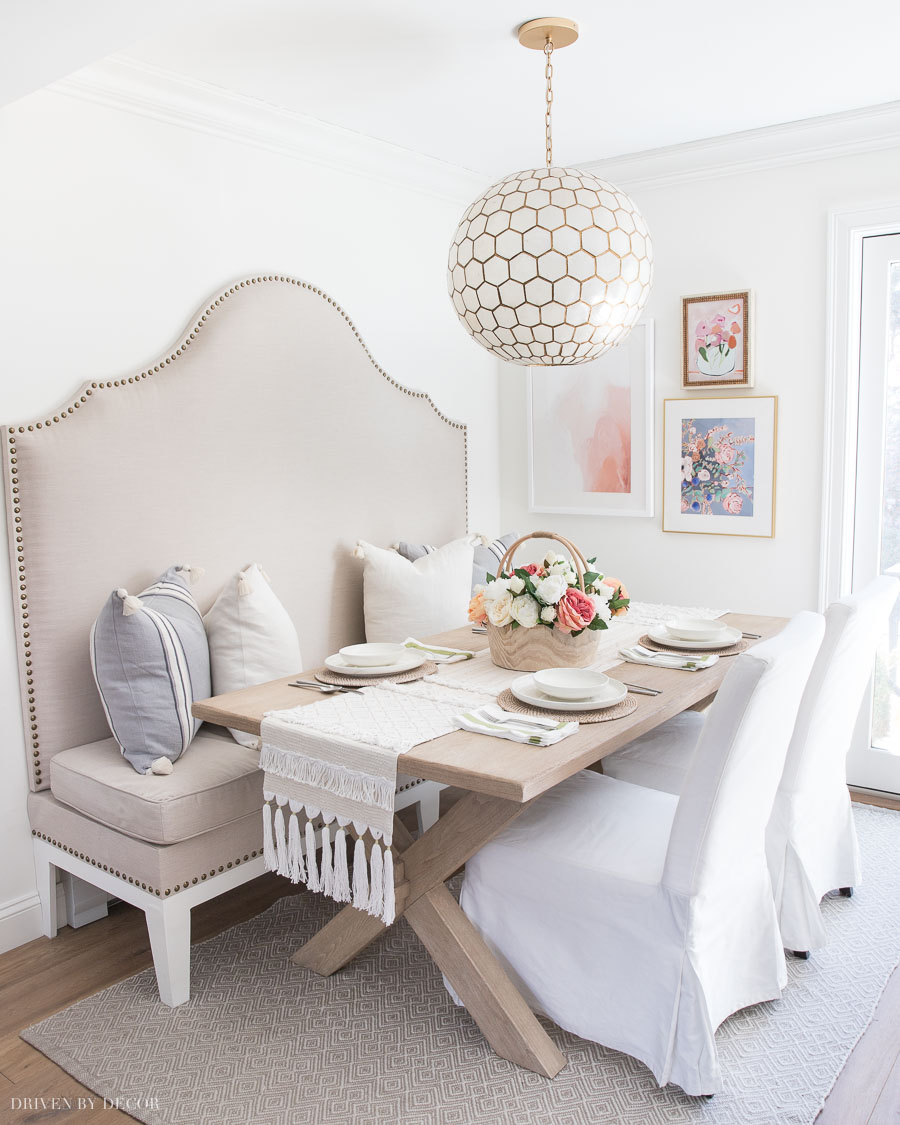
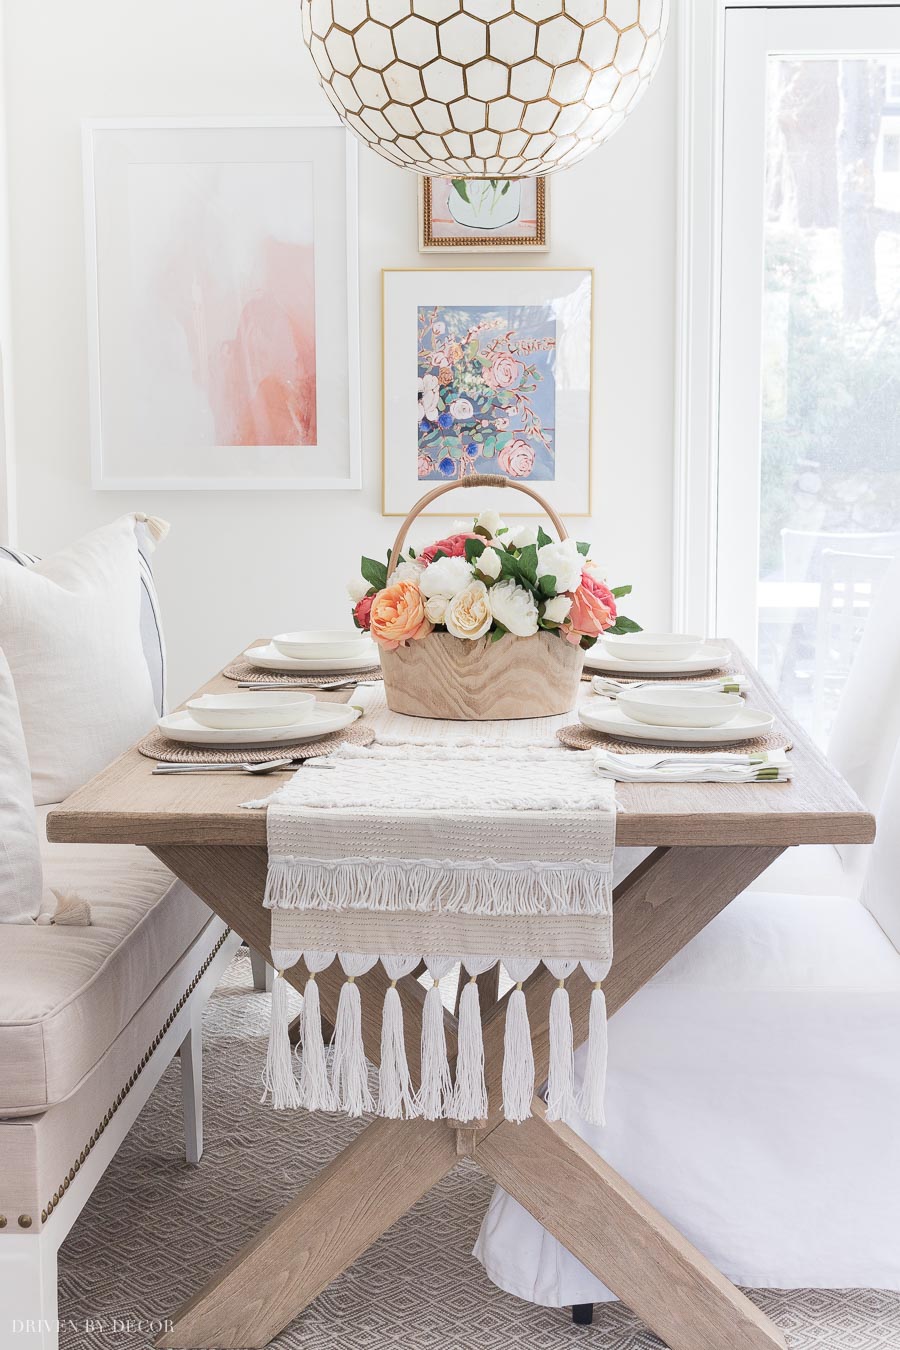
After remodeling our kitchen, I bought a new wood table for our kitchen (Pottery Barn’s Toscana Dining Table in the Seadrift finish) and sealed it the same exact way as our Restoration Hardware table, again with results I was thrilled with:
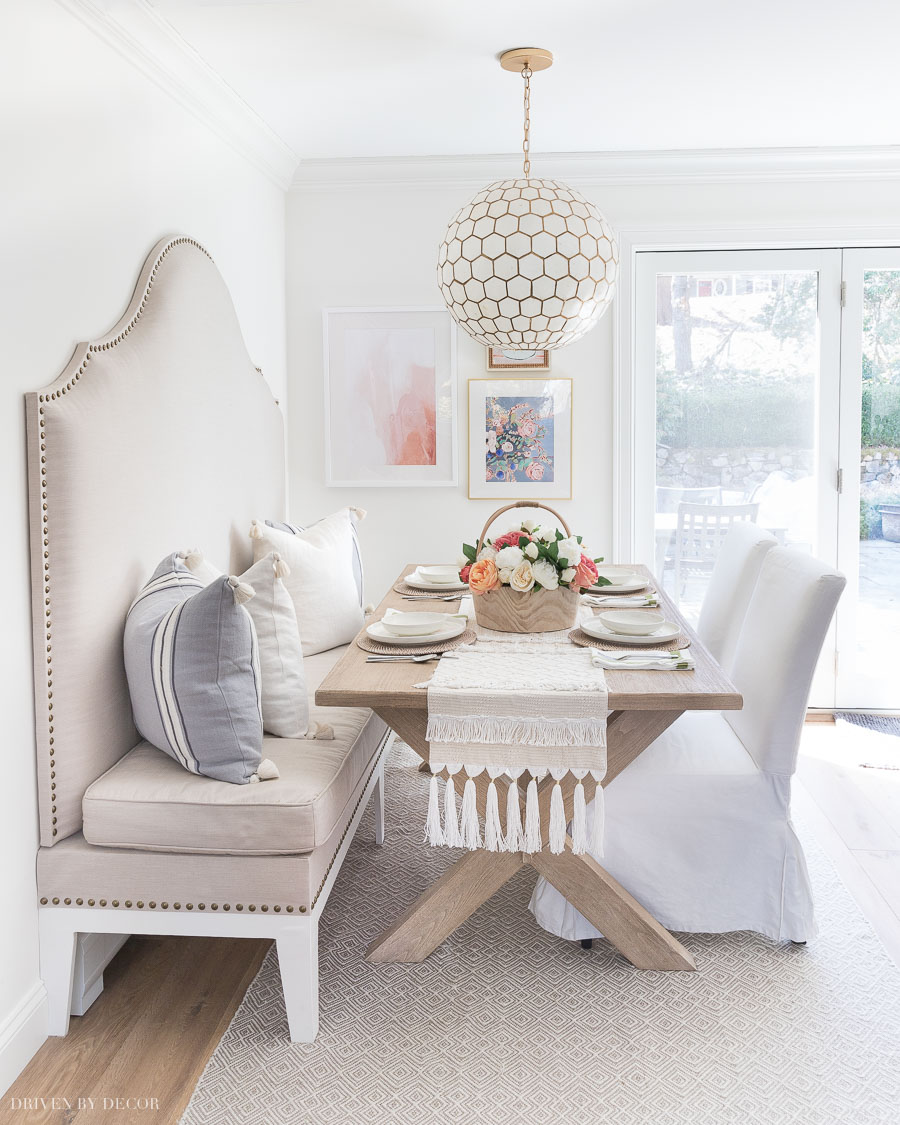
Sources: Capiz pendant | Geometric gray rug | Large blush abstract framed art | Blue floral framed art | Pink floral framed art | Slipcovered dining chairs (similar)
I photographed the step by step of how to get the job done so you know exactly what to do to seal and protect your own wood table…
Step 1. Clean Your Table
Wax will trap any dust or particles on your table so it’s important to give it a good cleaning before sealing it. To clean mine, I mix a drop of clear dishwashing liquid into a bowl of warm water, dampen a microfiber cloth with it, wring out any excess, and wipe down the entire table.
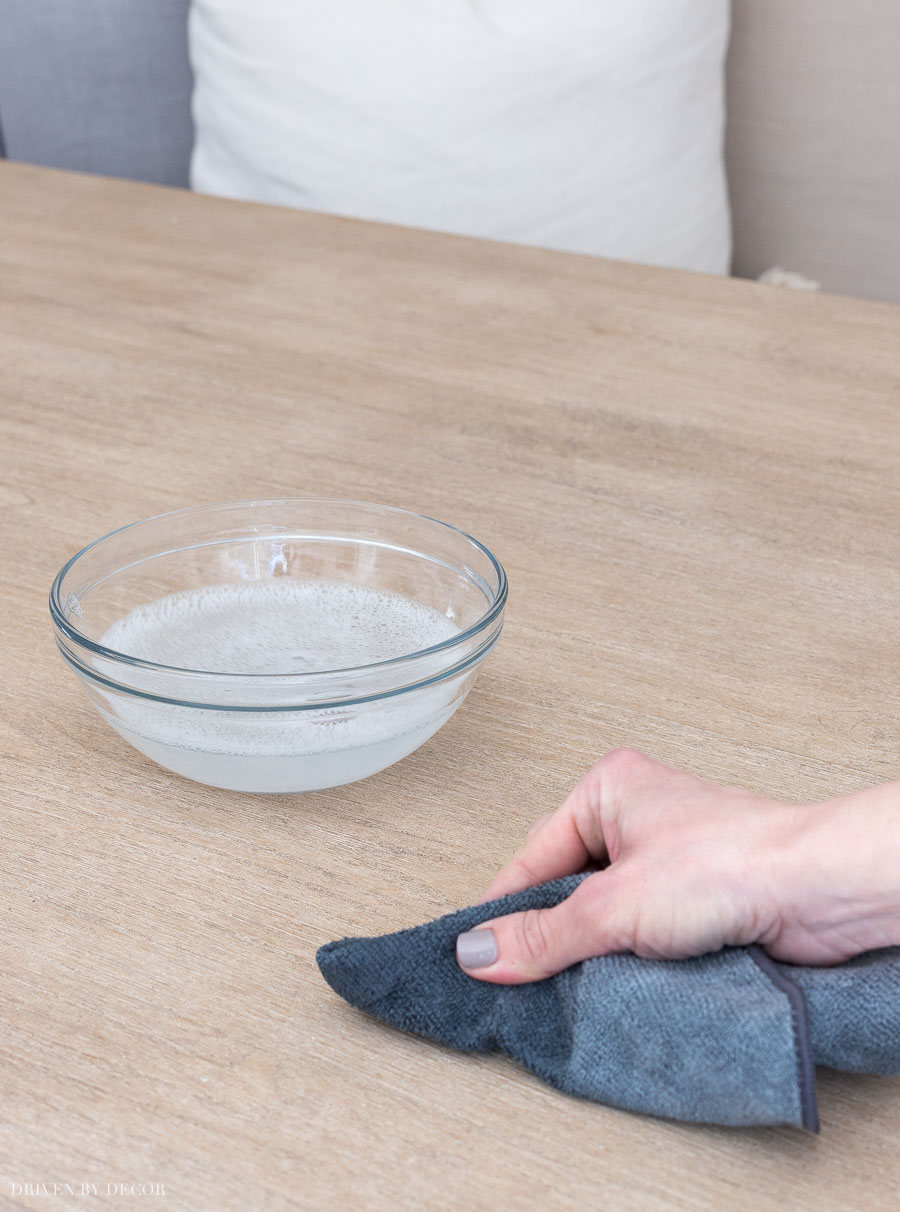
I follow up by wiping the table down with plain warm water, using a dry microfiber cloth to remove any excess water, and then allowing it to completely dry. Once dry, run a tack cloth such as one of {these} over the tabletop to make sure it’s completely dust-free.
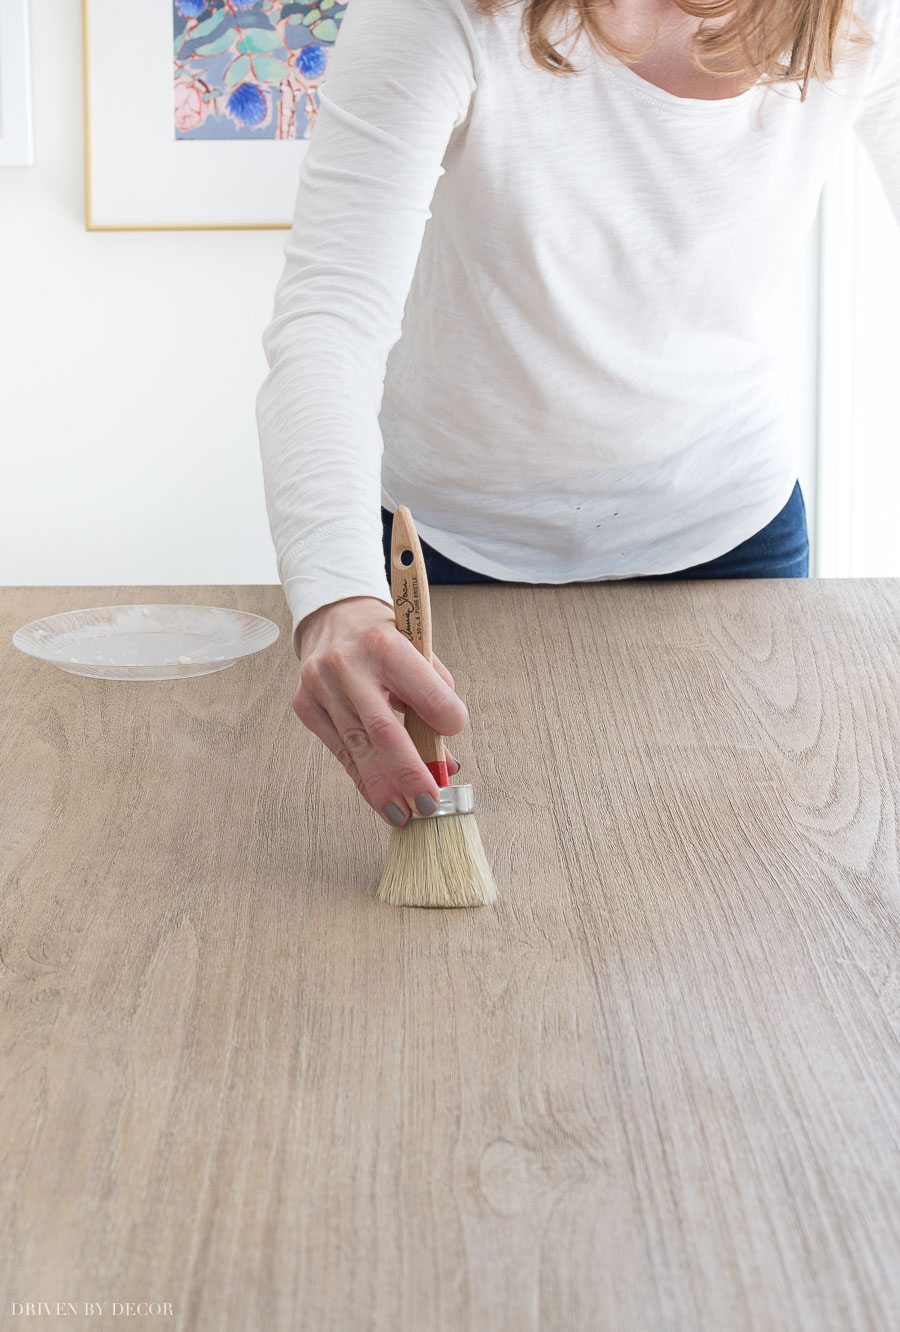
2. Get Ready with Your Wax & Waxing Brush
There are several brands of clear wax to choose from but some don’t actually dry quite as clear as others. My favorite is Crystal Clear paste wax (available {here}) which is a soft wax that goes on easily and dries truly clear. If it is out of stock, {this wax} is a very similar carnauba based wax that should work the same.
To apply the wax to your table, you can use a lint free cloth like an old t-shirt but a waxing brush like {this brush} works best. Prep for waxing by taking a scoop of wax out of the can and putting it on a plastic/paper plate. Then dab your waxing brush on the wax to very lightly cover the end of the bristles and offload any excess by dabbing it on a clean section of the plate:

You do NOT want too much wax on your brush/cloth – applying sparingly to create a thin coat is key!
3. Apply a Very Thin Coat of Wax
Apply a thin coat of wax to your table using your waxing brush in a back and forth motion in the direction of the grain of the wood. Use mild pressure as you apply the wax to work it in and work in small sections, covering each section before you move on to the next.
It’s not uncommon to lose a few bristles from your brush while waxing so pay attention to any lost bristles and pluck them from your waxed table before it dries. Once you’ve coated the entire table (don’t forget the edges!), use a lint free cloth to wipe off any excess wax, applying pressure with your clean cloth in a back and forth motion.
4. Let Wax Dry & Apply 1-2 More Coats
Let the wax dry completely (I let it dry overnight) and then apply a second thin coat in the same way as the first coat, again wiping off the excess and allowing it to dry. Repeat the process for a third coat.
After your last coat of wax, you’re done unless you want a shiny finish (I didn’t want my table shiny so skipped this next step). In this case, once the last coat of wax is dry, buff your table with a clean cloth – the more you buff, the shinier the finish. Then simply wait 2-3 days for the wax to fully cure before putting your table to use!
Waxing our table worked beautifully for me but I do want to make the disclaimer that while we certainly have our share of spills at dinner but we’re not terribly rough on our tables. We don’t have toddlers banging utensils on them or little boys running Matchbox cars up and down them like some of you might. Polyurethane and Waterlox sealers DO offer more hardy protection than wax (you can read more about using Waterlox in {this post}) so you’ll have to decide for yourself whether that extra protection is worth the trade-off of ending up with a much darker table. In my case, it wasn’t.
Maintenance
To keep your table protected, I recommend that you reapply a layer of wax every year or so. The more use your table gets, the more often I’d reapply. All you’ll need if you keep up with it is a single coat that takes 10-15 minutes – quick and easy!
I hope this answers most of the questions that you have about sealing our table but if not, ask away in the comments!


Catherine H says
Hi Kris, Thanks for sharing, I’m so excited to try this! We bought a beautiful table for our kitchen from Home Sense a year ago and I’m tired of keeping covered all the time. With three extension leaves in it is 120 inches long x 54 inches wide. What is your recommendation on how many containers of the wax to buy? – Catherine
Kris Jarrett says
One container should be plenty – a little goes a long way with the wax!
Kimberly says
Hi there – would you mind sharing what color your PB Toscana dining table is? I love it but I can’t decipher whether it is the “seadrift” color or “gray wash.” Thank you!
Kris Jarrett says
It’s the Seadrift finsh!
Michelle Stout says
Thanks so much for the advice as I just bought a pottery barn table and have these concerns. Once I apply the wax, how do you clean the table after meals? Thank you!
Kris Jarrett says
I just use a soft cloth and warm water!
jennifer mulder says
we just bought the banks grey wash dining table from pottery barn 6 mo ago, the grey finish starting chipping off. they just came today to replace it but scared it will do it again. was wondering if that is the table you have, looks like the same one in some of your posts. what can I do to prevent chipping or pealing again? I think if it does happen, I will get a refund but I love the piece.
Kris Jarrett says
No, that’s not the table that we have. I’m honestly not sure how you would prevent chipping and peeling – putting a protective coat on it might help but I’ve never had to deal with that issue before so don’t have any personal experience trying it.
melissa says
Did this method protect your table from spills? Was it easy to clean after meals (we have an infant and toddler)? We have a Restoration Hardware table that was previously in our dining room and it barely got any use but I plan to make it our daily use table.
Kris Jarrett says
Yes, we’ve had our table for over a year and have had our fair share of spills and still don’t have any stains on it. We don’t have young kids like you so it isn’t getting as much daily abuse as yours probably will so I can’t make any guarantees – I can just tell you that I’ve been really happy with how ours has held up!
Cori says
Did this method change the texture of the table? We just purchased the Toscana table in Seadrift and are concerned about the “rough” finish and about crumbs and dust being trapped in the unfinished table. Did applying wax help “seal” some of those cracks and crevices to prevent this?
What do you use to clean your table after applying the wax?
Thanks! 🙂
Kris Jarrett says
Waxing it makes it slightly smoother but not a huge texture change because you’re putting on a really thin coat of wax. I had the same concerns about the texture when I bought mine but it really hasn’t ended up being an issue at all. I simply clean mine with a rag dampened with warm water.
Erin says
Hi Cori! I was scrolling through to see if anyone else had asked this question before I did. I have two toddlers, and while I love the look of this table, it has not been practical for us. It gets so messy and is so hard to clean. :\ Were you able to find a way to smooth yours out some?
Jana Carney says
We are thinking of buying the Toscana in Seadrift. Did you do this to your table? How did it go?
Joanne says
Yes! We have the same concerns – just bought the Toscan rectangular dining table in Seadrift and the table surface is soooo rough! It’s very different from the Toscana buffet we bought along with it . Pottery Barn is not really addressing this – I was also wondering if there was something I could do to seal the surface to make it smoother . It feels like a picnic table !
Anthony says
Hi. I have the Toscana table from PB in Tuscan Chestnut. After a few years, there’s a tiny spot where the original finish is coming off. Will the wax approach work to reseal it if I only do that small spot?
Jennifer Steward says
I’m wondering the same thing. We have the Toscana table in chestnut and the finish is wearing off on one side. I have been using cleaner that probably contributes (though not sure why it hasn’t affected the whole table) . Anyway, I’m wondering the same. The darker color does have a lacquer so I’m wondering what the wax would do to that? Thank you!
Kris Jarrett says
Unfortunately I don’t know the answer to this – I’ve never tried doing a spot treatment with the wax.
Maegan says
Hi there, we’re looking at buying this Pottery Barn table. What size is yours? We’re debating between the 60” extendable and the 70” fixed. Thanks so much!
Kris Jarrett says
Mine is the 70″ fixed size.
Natasha Sponbeck says
Could you please respond to the questions about rings from water glasses since you have don’t wax on two tables now? I just bought a new table and they say I should add wax, but I don’t want to do that if I am going to get rings from water glasses.
Kris Jarrett says
We haven’t had any issues at all with water rings but we don’t leave glasses sitting out overnight either – we clear everything off after eating. I think the waxing would prevent water rings even if a glass was left on it for an extended period of time but I’ve never personally tested it.
Jenie says
Hi! We have a raw wood table from Crate and Barrel called the Dakota. If you seal it with this wax can you set a glass of water down on it? We also don’t have children and we are super easy on our furniture but was wondering if this protects against leaving rings?
Thank you! Love your site!
Kris Jarrett says
Hi Jenie – we haven’t had any issues at all with water rings but we don’t leave glasses sitting out overnight either – we clear everything off after eating. I think the waxing would prevent water rings even if a glass was left on it for an extended period of time but I’ve never personally tested it.
Amy Thompson says
Where did you get the dining bench?
Kris Jarrett says
Hi Amy – it’s a DIY – all the details are in this post: https://www.drivenbydecor.com/diy-upholstered-kitchen-banquette-nailhead-trim/
Margaret says
Your table look great. Years & years ago, I used tongue oil on mahogany . That piece of furniture still looks good. There is nothing like a natural wood finish ….
Mary says
For years, I’ve been using paste wax on painted furniture (usually an alkyd satin finish) to tone down the gloss as well as to protect it — I don’t recall now where I picked up that tip, but it works quite well. It makes so much sense that it would work for these tables, too, and I have one in a condo that could use protecting. I had been told by a furniture maker to use gel paste varnish and a very very dry rag. I was afraid to try it having had no experience with that product, so the table has remained as is for a few years. As I’m headed there this weekend, and I’m accustomed to paste wax, I’m on it. Many thanks!
Jenie says
Hi! I have The Dakota table that is solid European white oak from crate and barrel and it’s gorgeous but I have to cover it with a tablecloth anytime someone comes over for fear they set down a glass of water for too long. If you do this process can you put water / wine down without worrying about it leaving rings. I’ve been using finishers formula natural beeswax polish but it doesn’t last that long And I would like something more permanent so that I can use my table
Thank you.
Sarah says
Perfect timing for this post! I’m curious to see your samples though. Are you able to share those?
Kris Jarrett says
Hi Sarah – I have those samples SOMEWHERE (I made them a few years back). I will share them as soon as I come across them – it’s driving me nuts not being able to figure out where they are!
Sarah says
LOL it’s ok! I totally get it! Thanks for following up, Kris.
Karen Bunch says
This is great information. Your table still looks new. Thank you for always sharing such great DIY tips with us.
Our dining table had to be refinished a few years back (due to a real pumpkin that rotted and the liquid that came from it took the finish off). It was one of those pretty blue-ish pumpkins and I didn’t see the puddle due to several other pumpkins and autumn leaves, until it was too late.
It’s stayed looking like new ever since we had it refinished. Phew!
Karen
Kris Jarrett says
Oh no! Such a bummer but I’m glad refinishing did the trick!
Gail Storti says
Kris, thank you for this great tip. I’ve been refinishing furniture for years but always spray on some sort of lacquer finish to protect it and it never looks like a natural finish, even after using steal wool to deaden the shine. I’ve been wanting to do a few pieces over in the light wood tones and this will be the perfect finish to use to get the look I want. Your home is gorgeous and I always get inspired when you post projects you’ve done.
Kris Jarrett says
That’s so sweet of you to say! Thanks Gail!