We’ve had a lot of action on our home improvement projects lately, including finishing our shiplap ceiling! It turned out exactly as I had envisioned and truly transformed the space! Ready to see?! (post includes commissionable links; for more information, see my full disclosure statement {here})
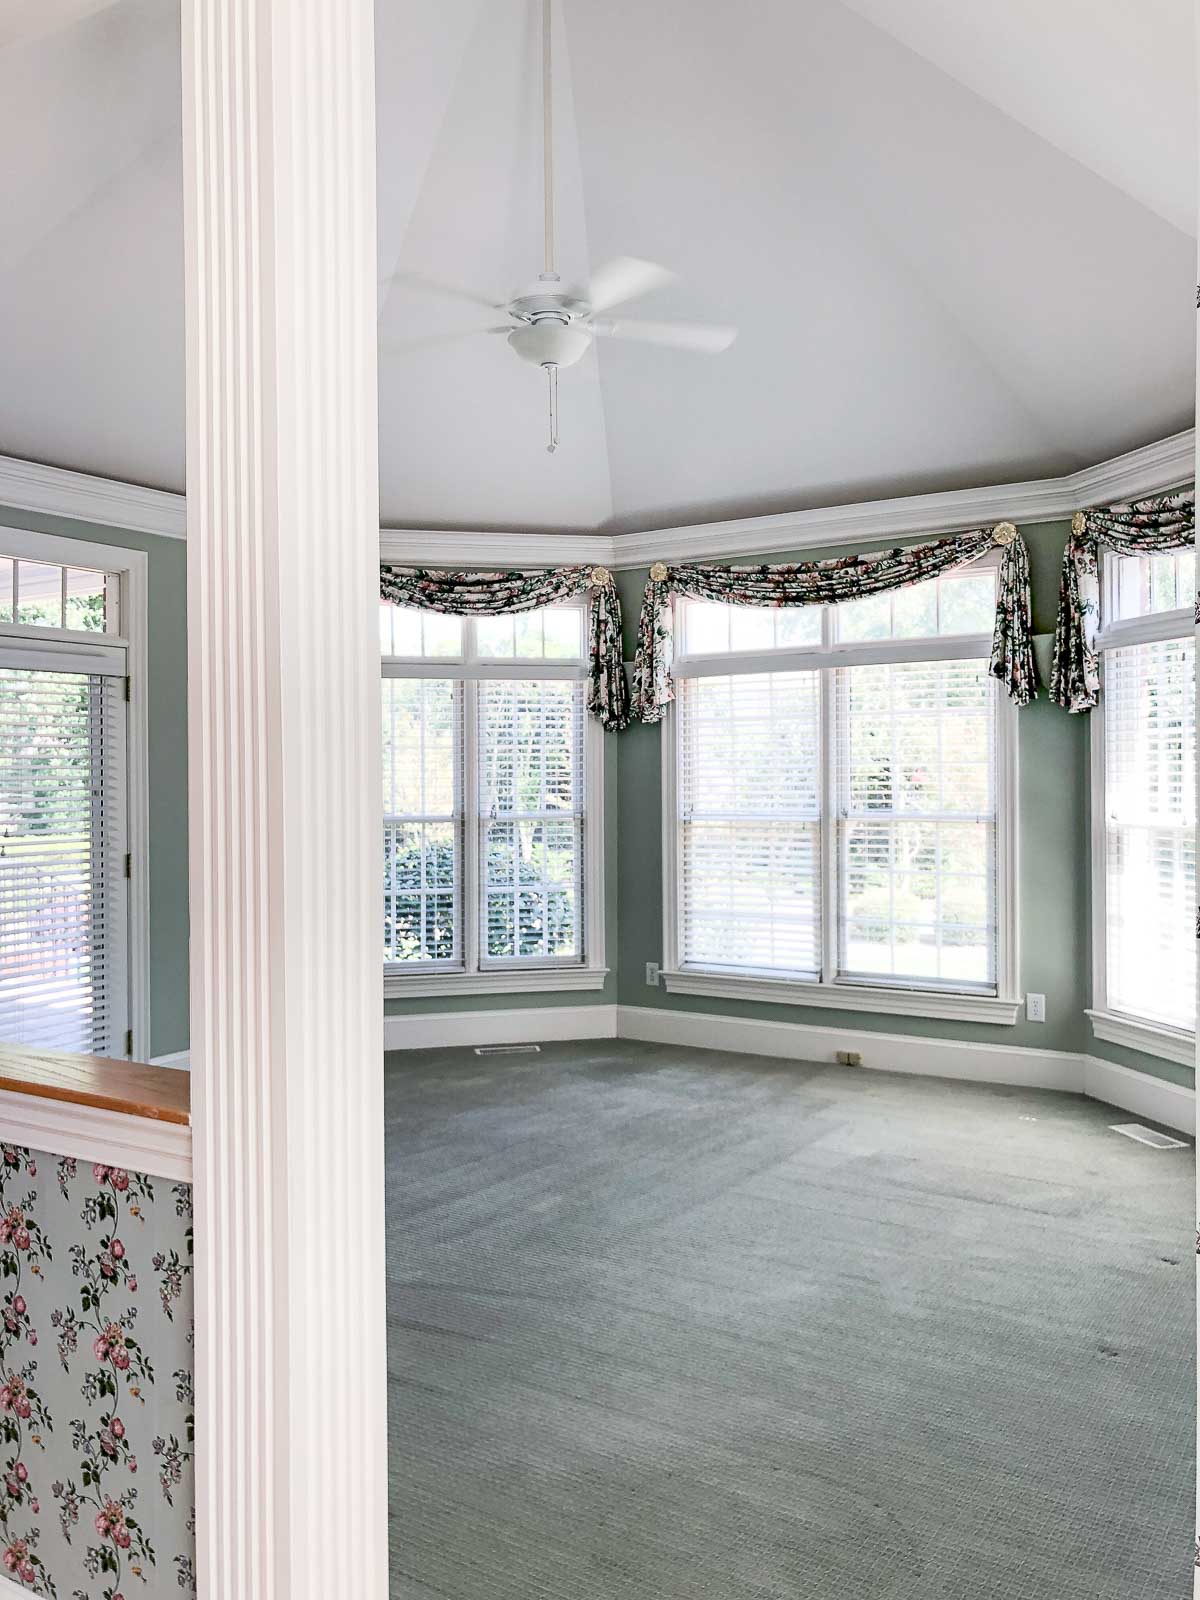
Let’s start with a look at the “before”. Those of you who have been around the blog for a while know that I’ve had plans to remove these columns and load-bearing half wall separating our kitchen and “circus room” (named for its tent-like peaked ceiling) for quite some time now:
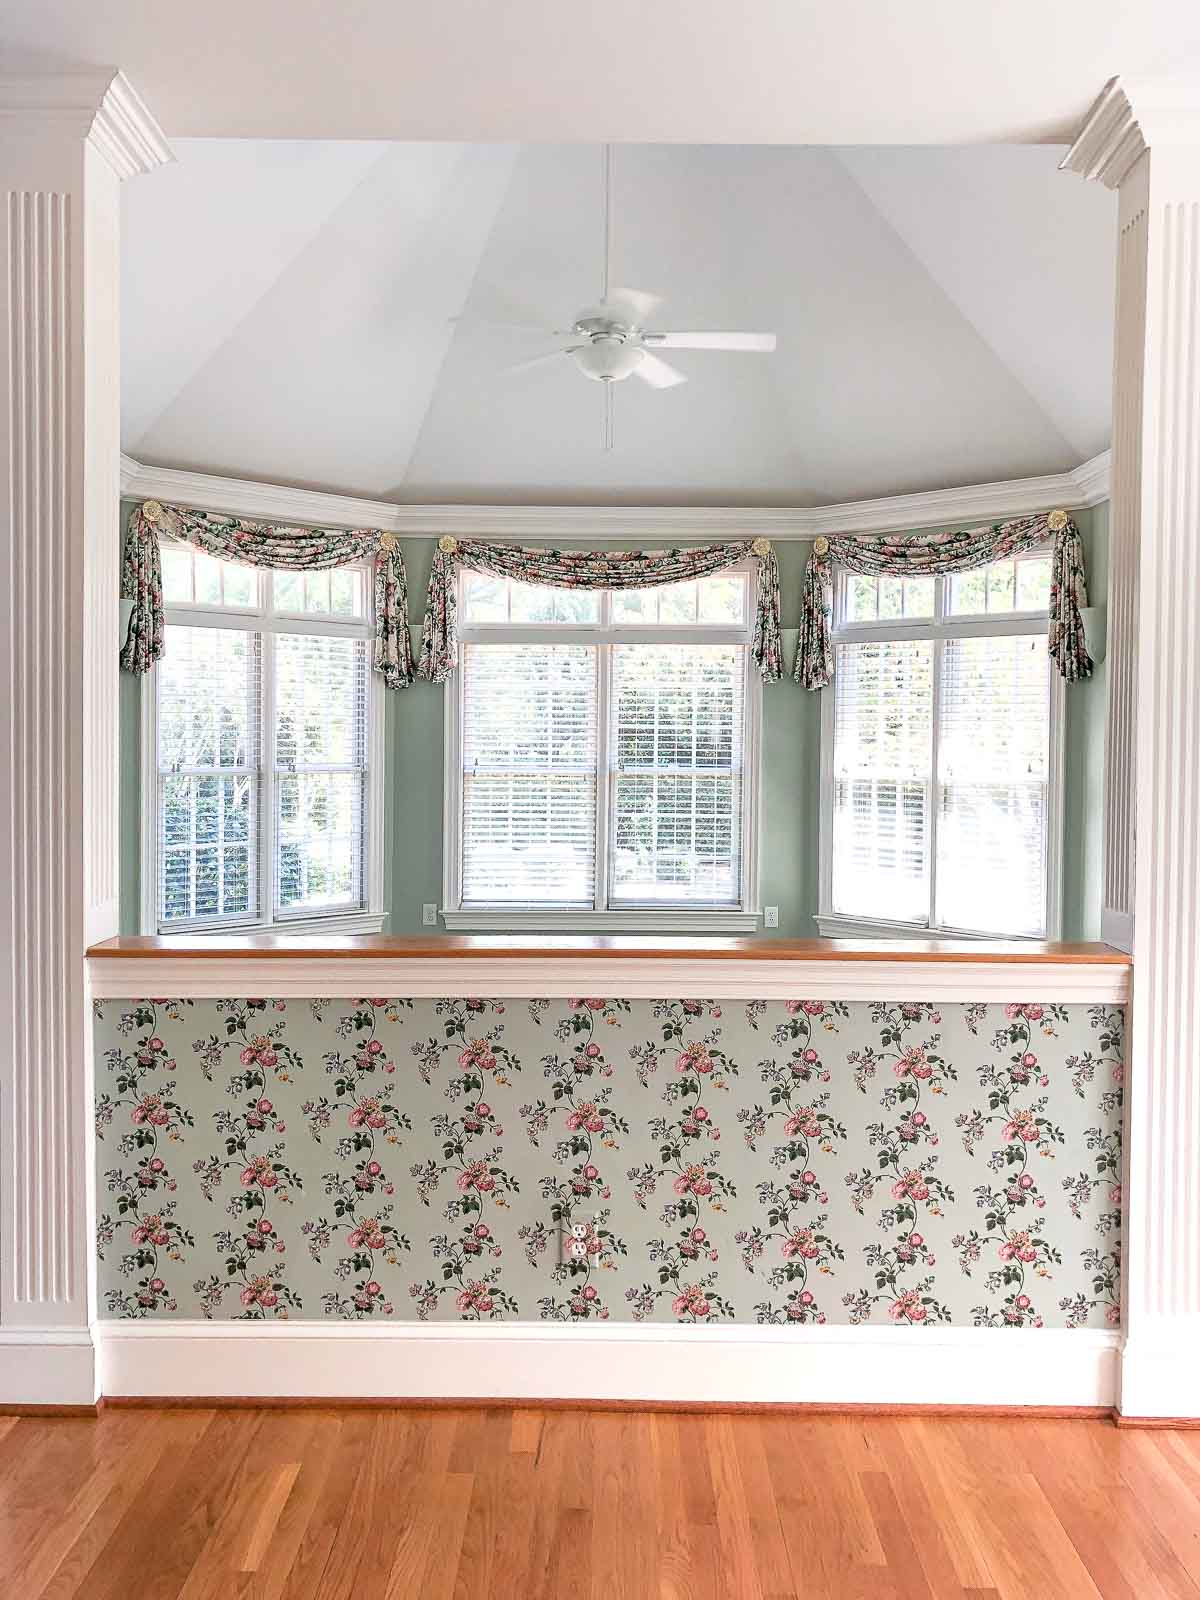
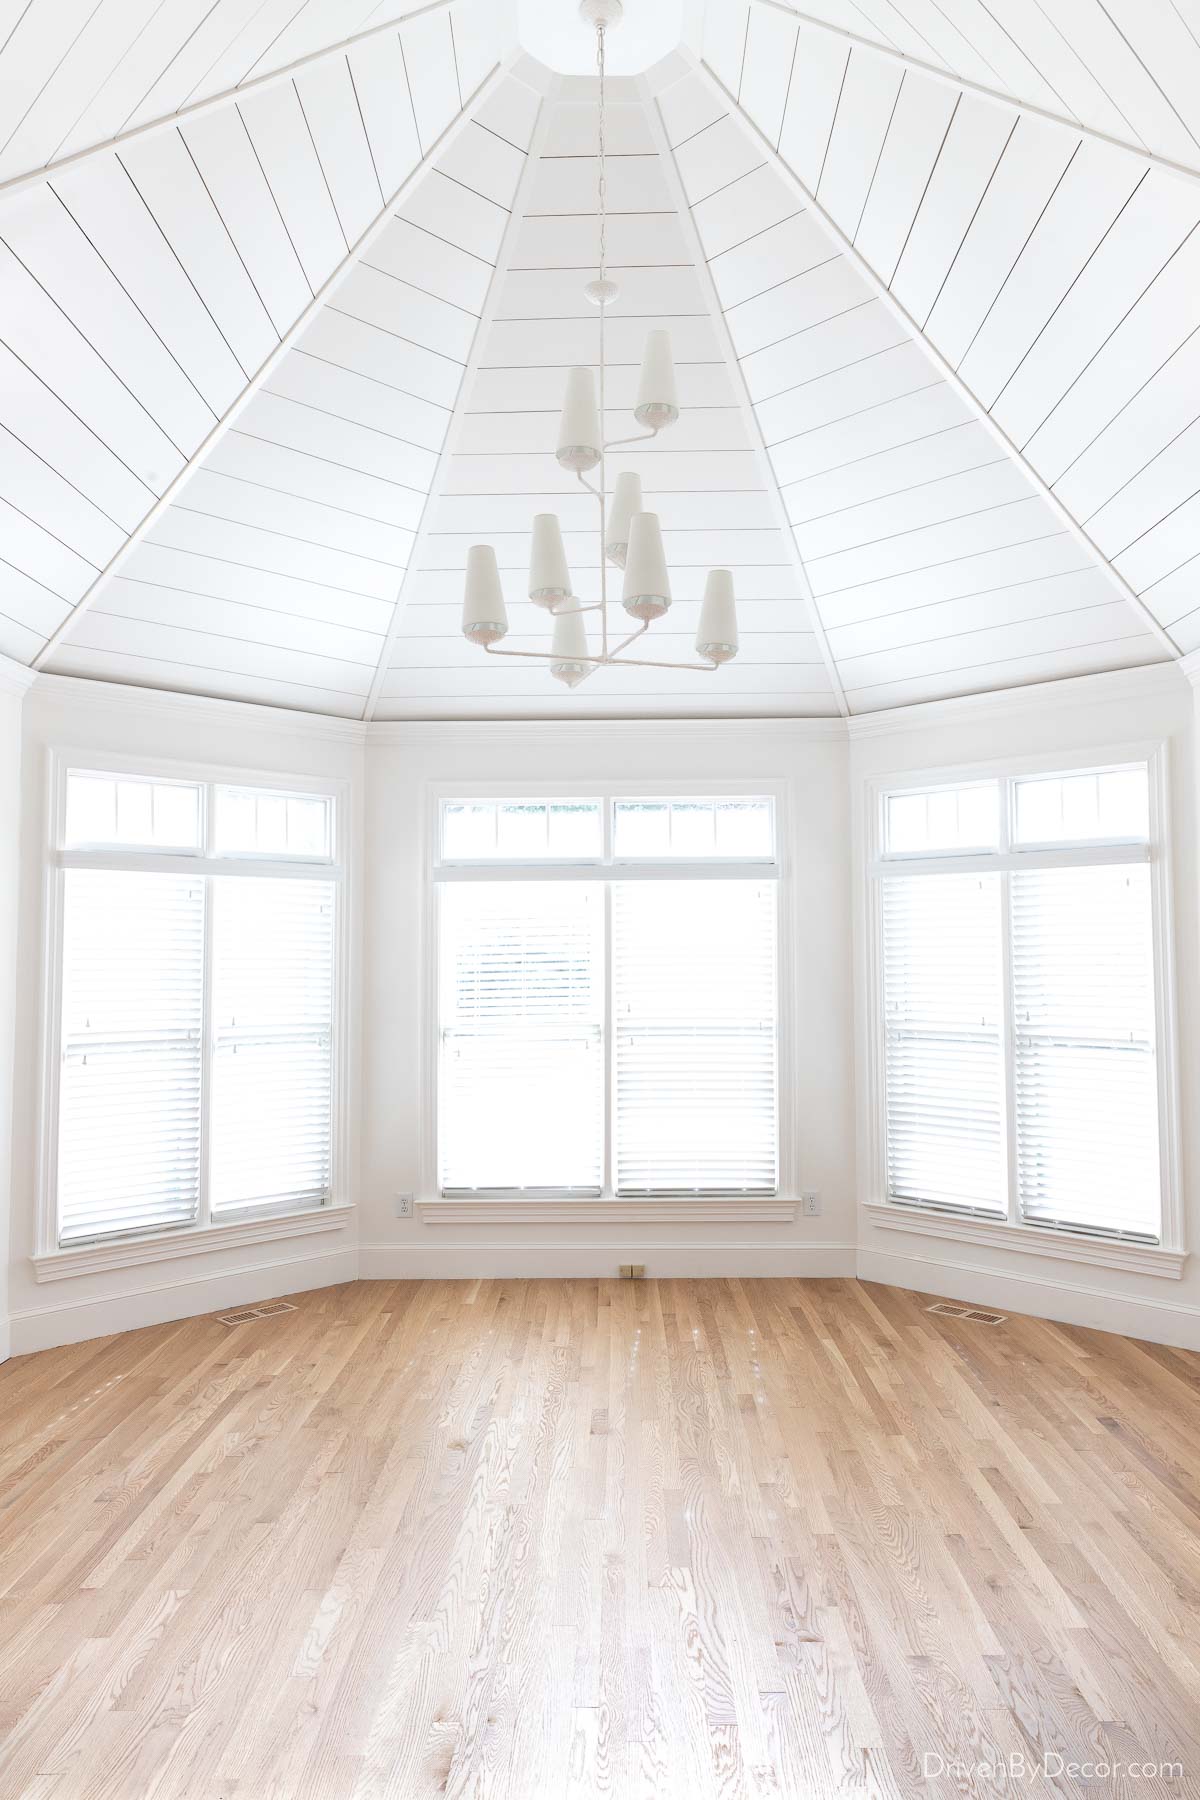
Plus the circus room ceiling was in need of an upgrade. So the half-wall and columns came down (a support beam was added to carry the load) and our shiplap ceiling was completed. Here’s what that same space looks like after remodeling:
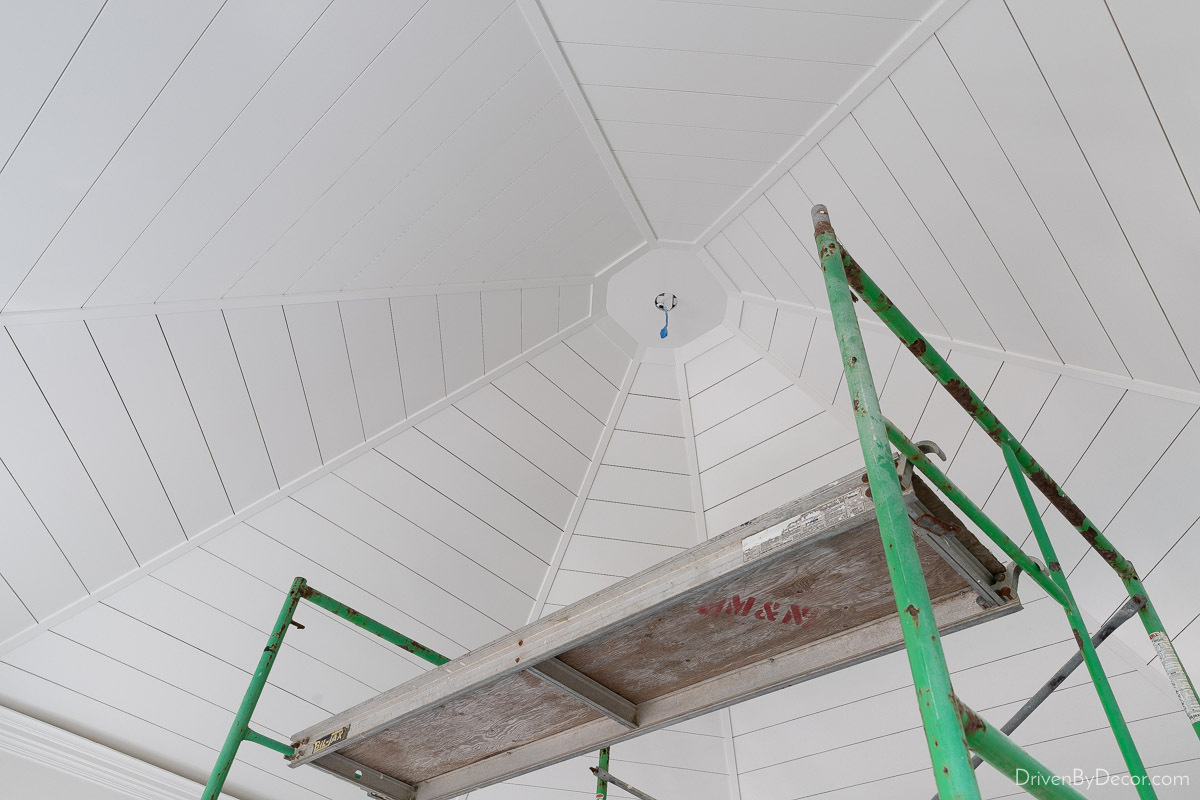
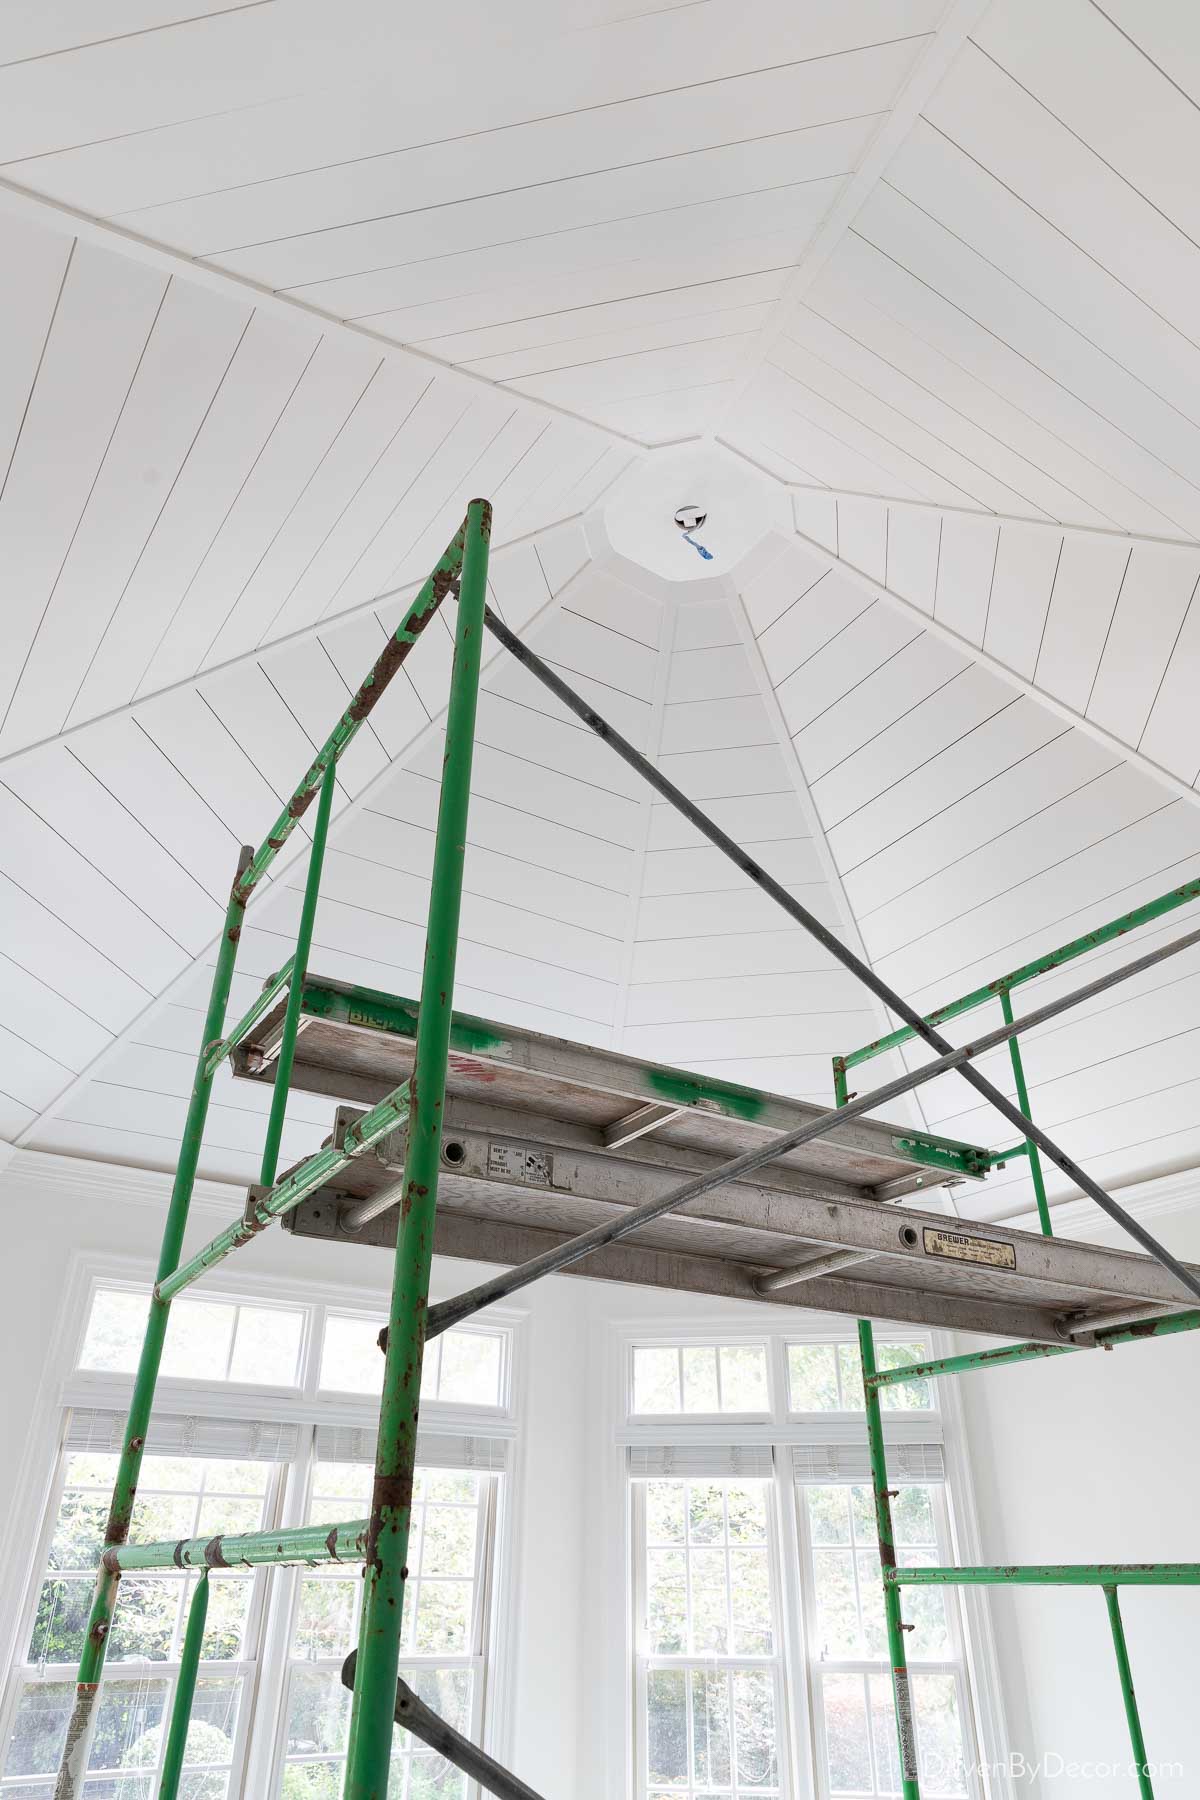
Shiplapping the ceiling wasn’t exactly smooth sailing from start to finish. Initially we had decided on using interlocking tongue and groove wood shiplap planks. But once our contractor started installing it, he realized that the ceiling angles of the eight sides were slightly different from one another. Because of this, the shiplap planks on one angle weren’t lining up with the planks on the adjacent angles. The difference was barely noticeable with the first few planks it would have become more and more obvious as the shiplap reached the top.
So… the first few rows of shiplap were removed and it was on to plan B! Plan B involved using pieces of 2 x 8 lumber for the planks and leaving a gap between the lumbar pieces to mimic the tongue and groove look of shiplap. This is similar to the method that we used for DIY shiplap walls in our bedroom, but with thicker pieces of lumbar that wouldn’t warp when installed on a ceiling. It was fairly tedious work because to get the planks to line up, our contractor had to cut some of them down to a narrower width. While this meant that our boards were slightly different widths from angle to angle, it was a difference of less than ½″ between boards so is not at all apparent.
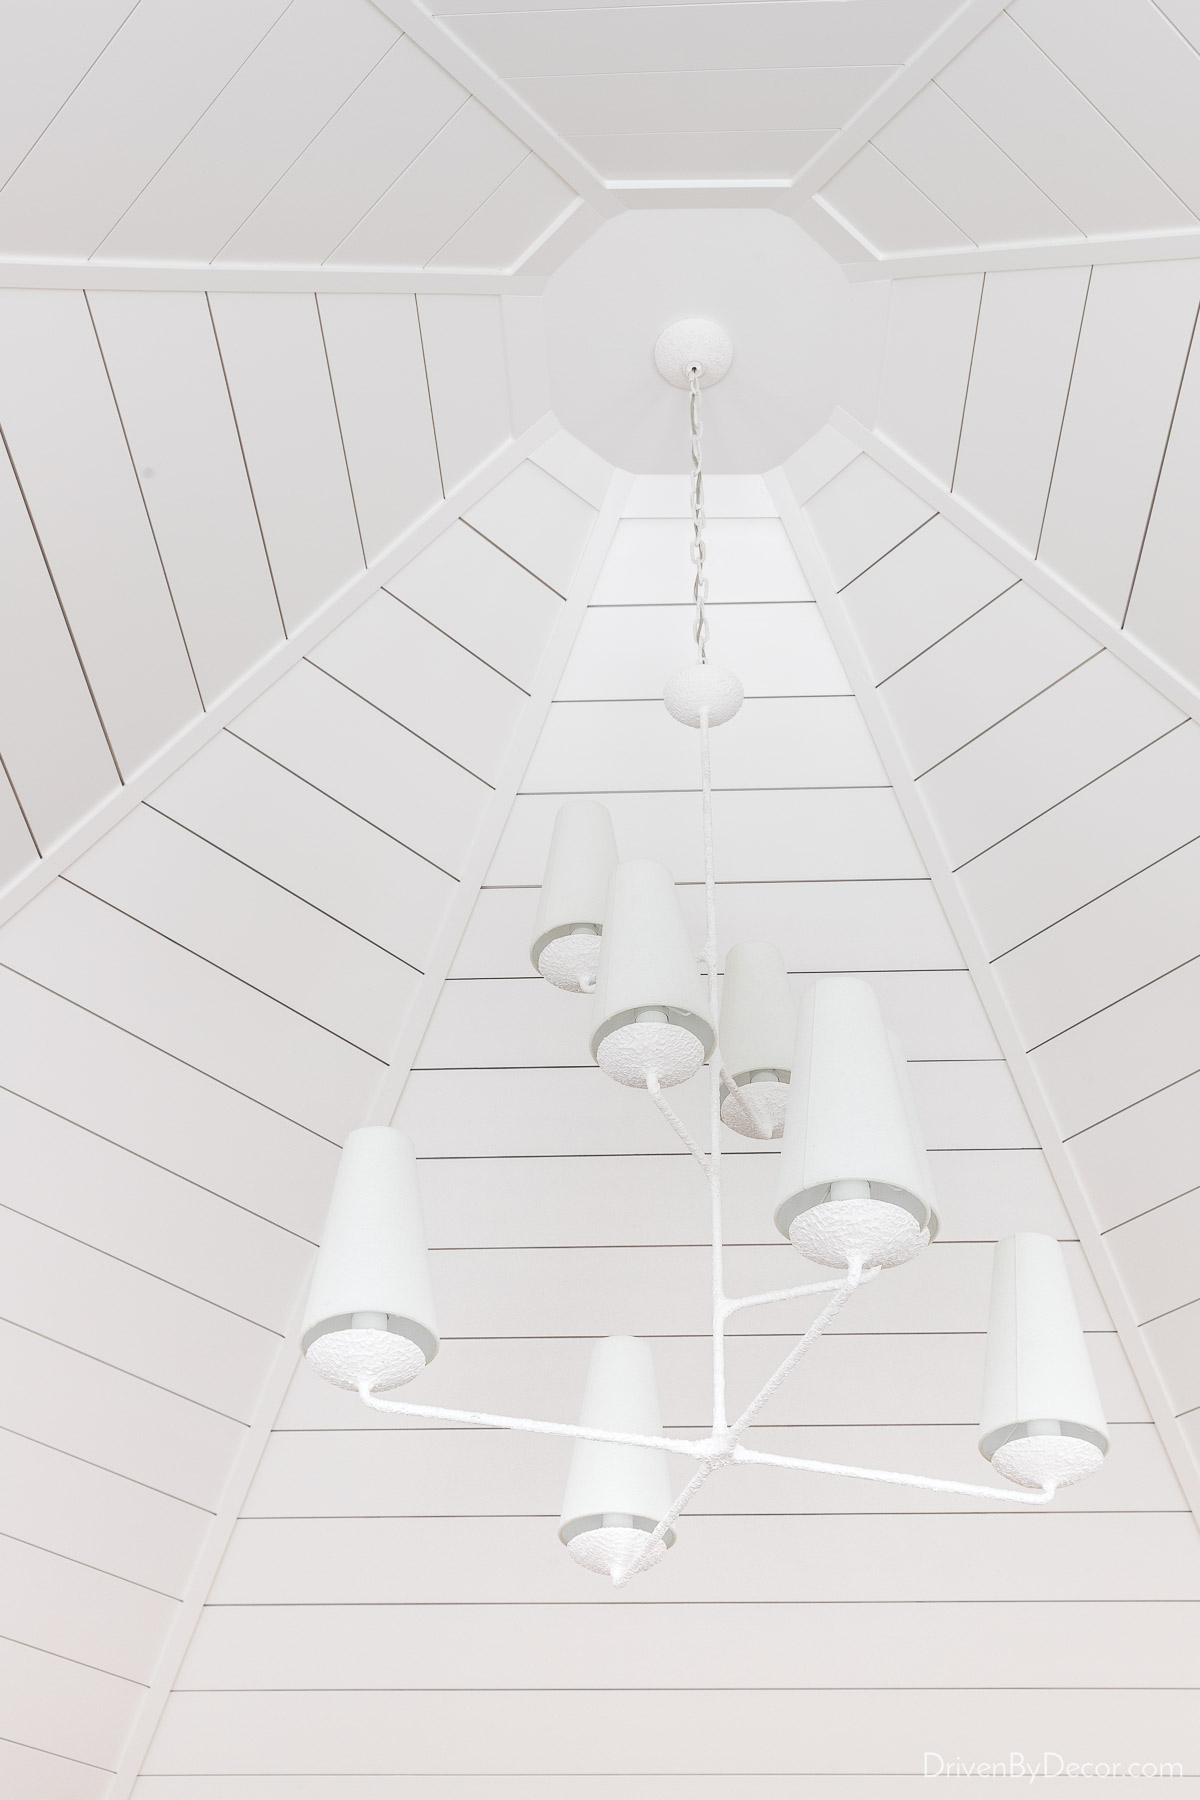
Our contractors did an awesome job with the planking and the final trimwork between the angles and at the top of the ceiling;
It’s hard to express how much bigger the space now feels from the combination of removing the half-wall, adding the shiplap ceiling, and making the floors continuous with the wood floors in our kitchen! Photos don’t do it justice but I think you’ll still see a huge difference from the “before”:
to the “after”:
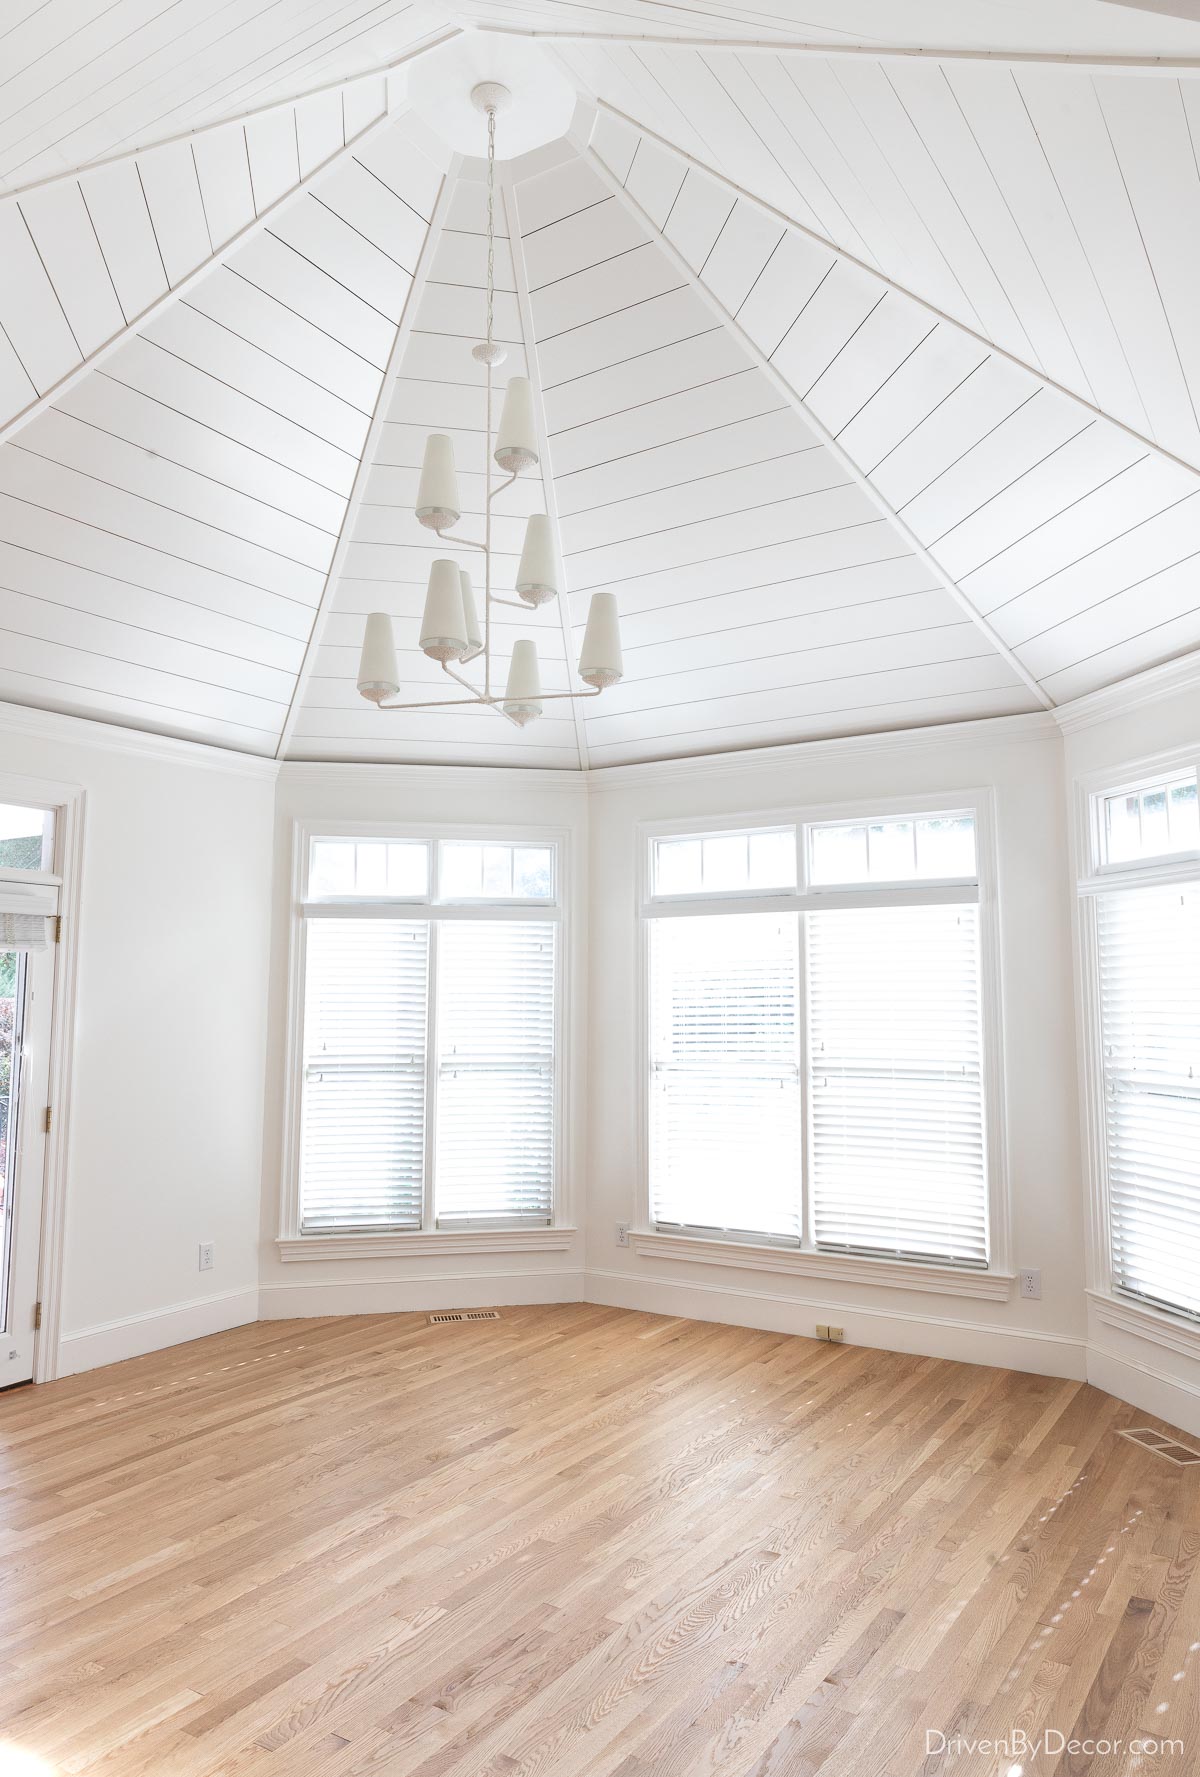
Once our shiplap ceiling was done, the ceiling and room were painted (Benjamin Moore Simply White) and our chandelier was hung. {This tiered chandelier} ended up being the perfect light fixture for our space:
and the old green carpet that was in the room was pulled up and replaced with white oak hardwoods (which is what we have throughout the rest of our first floor).
Want to save this post?
You might also notice that we pulled up the old green carpet and laid new hardwoods that are continuous with those of the kitchen. They “toothed in” the new floors with the old (which involves removing some of the old boards where they join). Believe it or not, the flooring is exactly the same (white oak) in both spaces – it’s just that the old flooring was finished with an oil-based polyurethane that yellowed over time:

We lived with this awkward transition from one room to the other for several months until our kitchen remodel when we sanded and refinished the hardwoods in both the kitchen and circus room to match those in the rest of our house. Now you can’t see this transition AT ALL – the flooring looks uniform throughout both spaces. You can get details on the hardwood floor refinishing {here} that was done throughout our first floor.
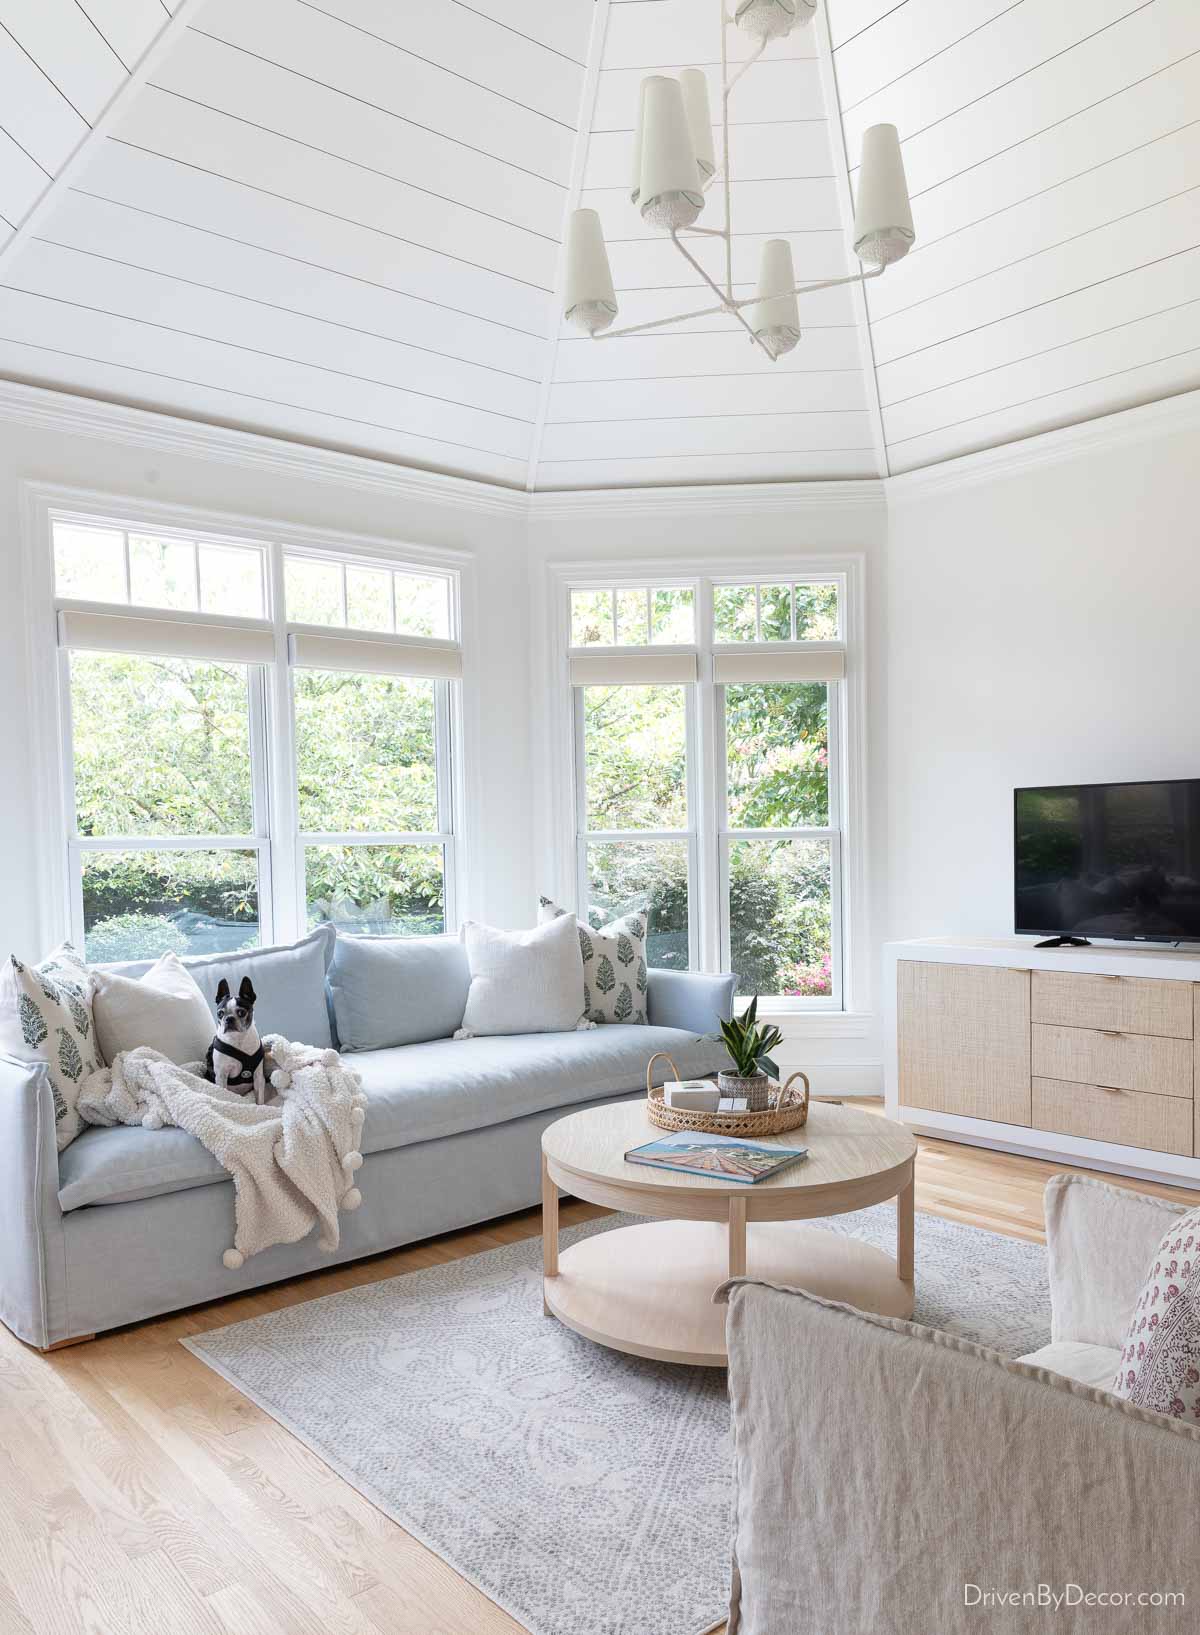
Now I just need to finish decorating! We’ve got the basics in place but need a new (MUCH larger rug) and new coffee table that fit the space better:
For our rug, I’m considering one of {these oushak rugs} from Loom & Co. that come in custom sizes. I ordered yarn samples of three of my favorite rugs (from left to right below, Frida Cream, Amelia, & Everett):

and think I like the Everett rug best:
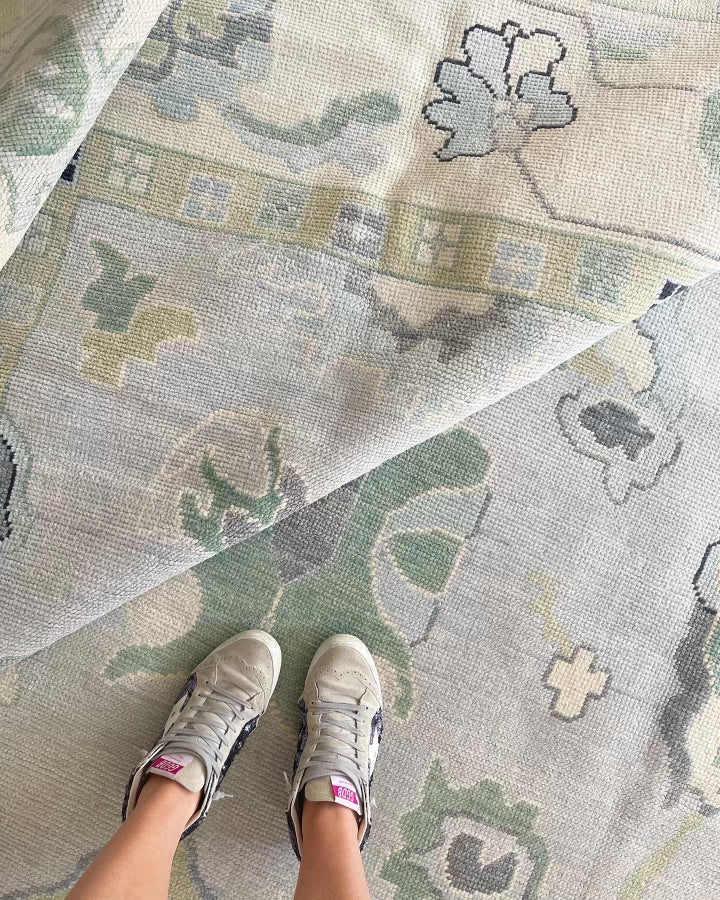
I haven’t pulled the trigger yet but wow, this rug would really make the space!
For furniture in the room, I ordered {this beach house sofa} and I’m using this pair of slipcovered swivel chairs that we had in the living room of our previous home:

We bought these chairs close to 15 years ago when we lived in Cincinnati and I still love them! I bought them from a local design shop but Serena & Lily started carrying them a few years ago {here} (they’re Lee Industries brand who makes all Serena & Lily upholstered furniture). While we’ll normally have them facing into the circus room, I love that we’ll also be able to swivel them around to talk to people in the kitchen.
I also needed to do something about the wood blinds on the windows. I hate that they block so much light even when they’re open and we’re constantly getting up and down to play with the blinds since the sun moves from one window to the next throughout the day. The Serena smart shades that we have on our front doors and in our girls’ room (more on those {here}) were the perfect solution!
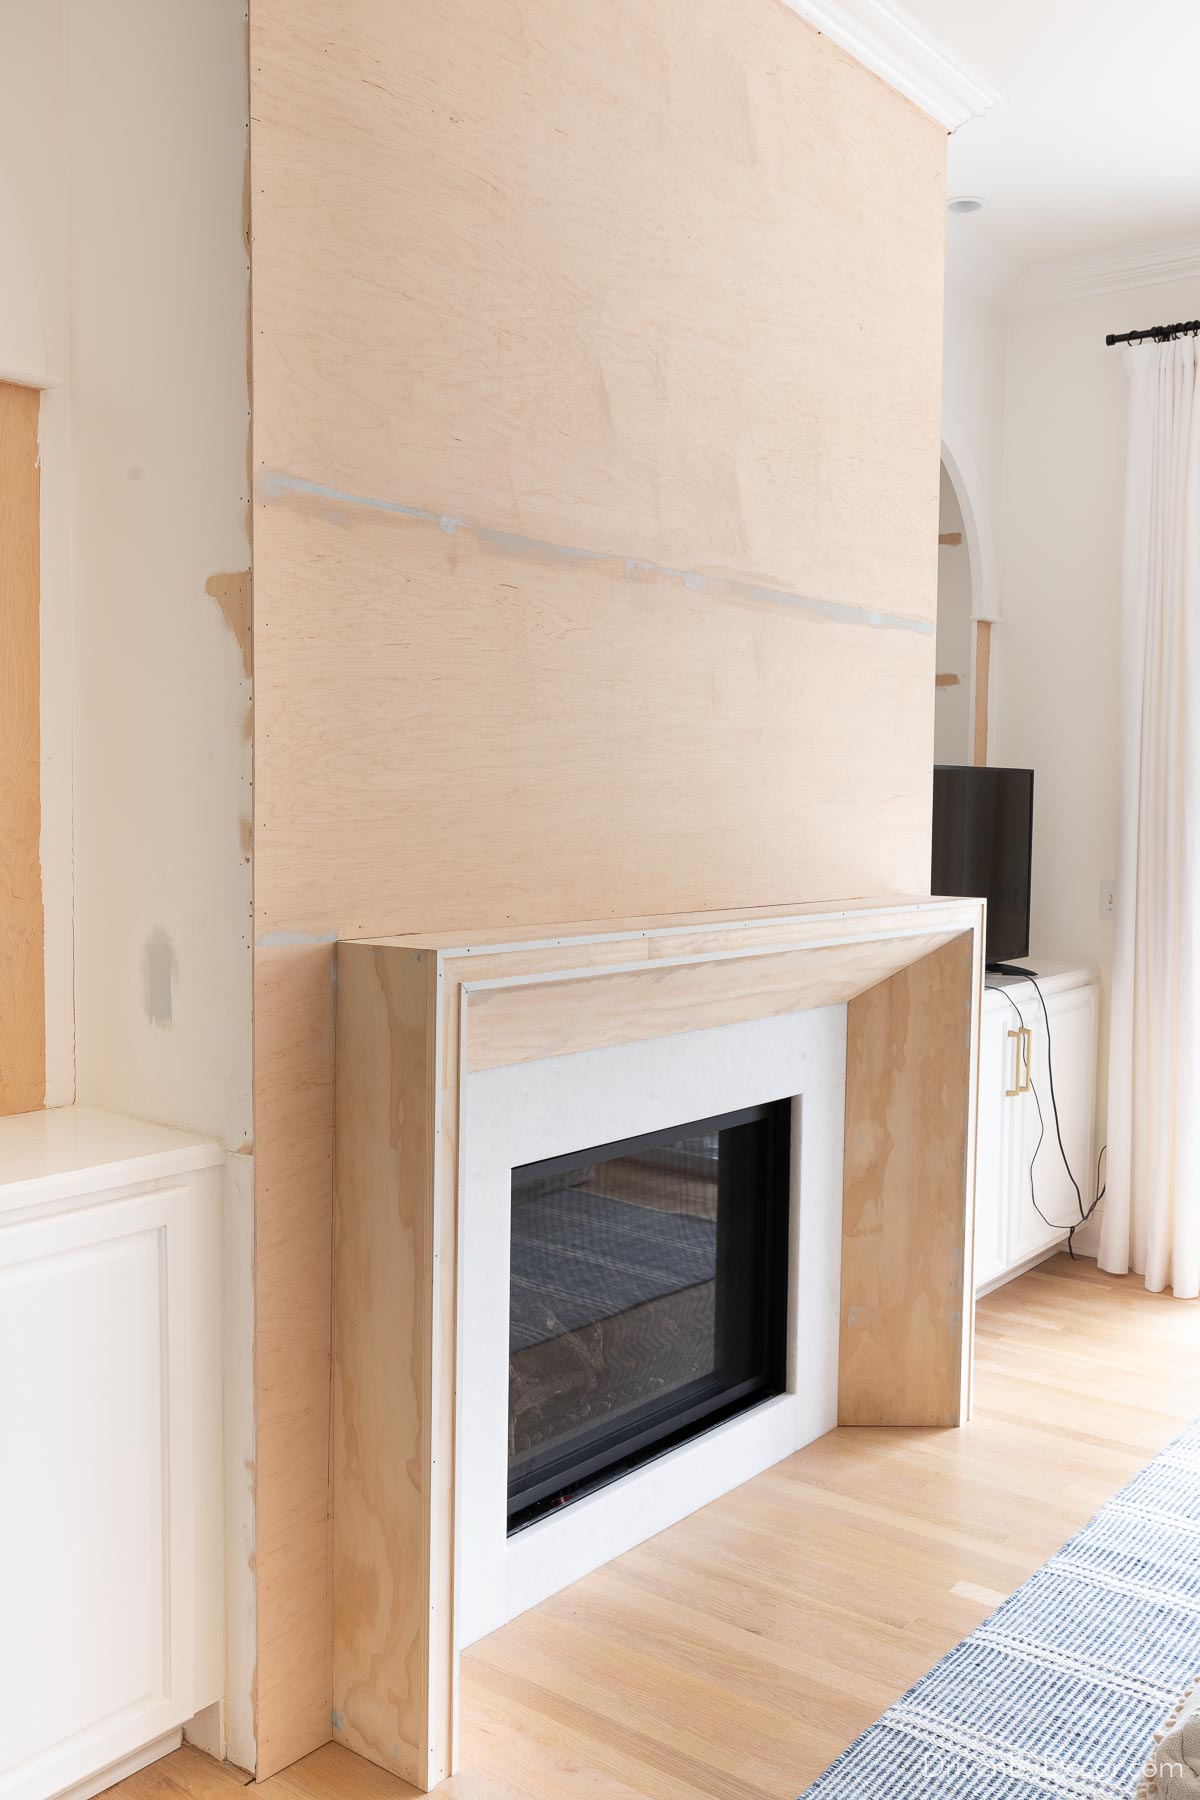
And for those of you want an update on our fireplace reno, my post about mounting a tv above the fireplace has all the details!
Have a great week everyone!


Monica says
We are currently planking our vaulted ceiling in our living room area. Did you paint your ceiling and walls the same paint color? I have tried that but the color on the ceiling (due to light reflection angle) always comes out a darker looking shade. Did you tint the ceiling a lighter color than the walls? Yours looks perfect!!!
Kris Jarrett says
Yes, I painted them the same exact color but did a higher sheen on the shiplap (which helps make it look lighter because it’s more reflective!)
Luisa says
Have you looked into Flor for your rug? Completely customizable at flor.com.
Suzanne Carrier says
That rug is gorgeous!! Does it come in a round size? A round rug in that room might be nice.
Lindsay says
The transformation of the “circus room” is beautiful. Just an idea for the rug….I once had a large sized patterned area rug cut down and rebound. That might be a more cost effective solution.
Barbara says
Every change you make is making your house your home. I admire your ability to have a cohesive vision and to pursue it.
Since your room is similar to a square, would a round rug be a viable option?
The ceiling treatment is lovely. It is so exciting to seen the progress. I’ve seen the type of room with a wood stained ceiling. What was your thought process to determine the ceiling treatment? Would a stained wood ceiling be too rustic or too heavy in the room?
Thank you for allowing us to peak over your shoulder while you make a million decisions. I look forward to continuing this journey with you.
Traci says
Everything is beautiful. I really appreciate how you show the before and ‘in process’ pictures. It isn’t just a reveal and everything is done. Renovating, especially with supply chain shortages the past year have made things so much harder and it is refreshing to see that you live with imperfections while getting it done like so many of us.
I don’t know if you’ve had a frame TV before, but the box that goes in the wall is quite large and getting it where we wanted it was a nightmare, because I didn’t want anything beneath it to have the little wire(?) to sit on.
Thanks for sharing your design and decorating styles. Bravo.
Karen B. says
Kris,
That oushak rug by Loom is amazing. The price seems so worth it. You truly have such a good eye for room planning. Your home is lovely.
Karen B.
Lyn says
I love your rug choice. Expensive, yes, but every room needs one major focal point. It might be a beautiful fireplace, a large piece of artwork, a beautiful mirror and sconces. I always use a patterned rug in our family room and use the colors as inspiration for every room in the house.
Joanne Gassner says
I really like your carpet. I enjoy reading your blog as I can only imagine the upheaval. When I suggest anything to update my home it is geeked with “why there’s nothing wrong” it took 27 years to update my bathroom!
Allison says
I’m looking forward to seeing your fireplace & bookcases finished. I have something similar but with much deeper niches beside either side of the fireplace. I need inspiration. Thanks for all you share!
Lizzy says
I really love everything you did. However, I would have kept the original fireplace surround but ditched the black marble & insert. Thanks for the tip on Lee Industries!