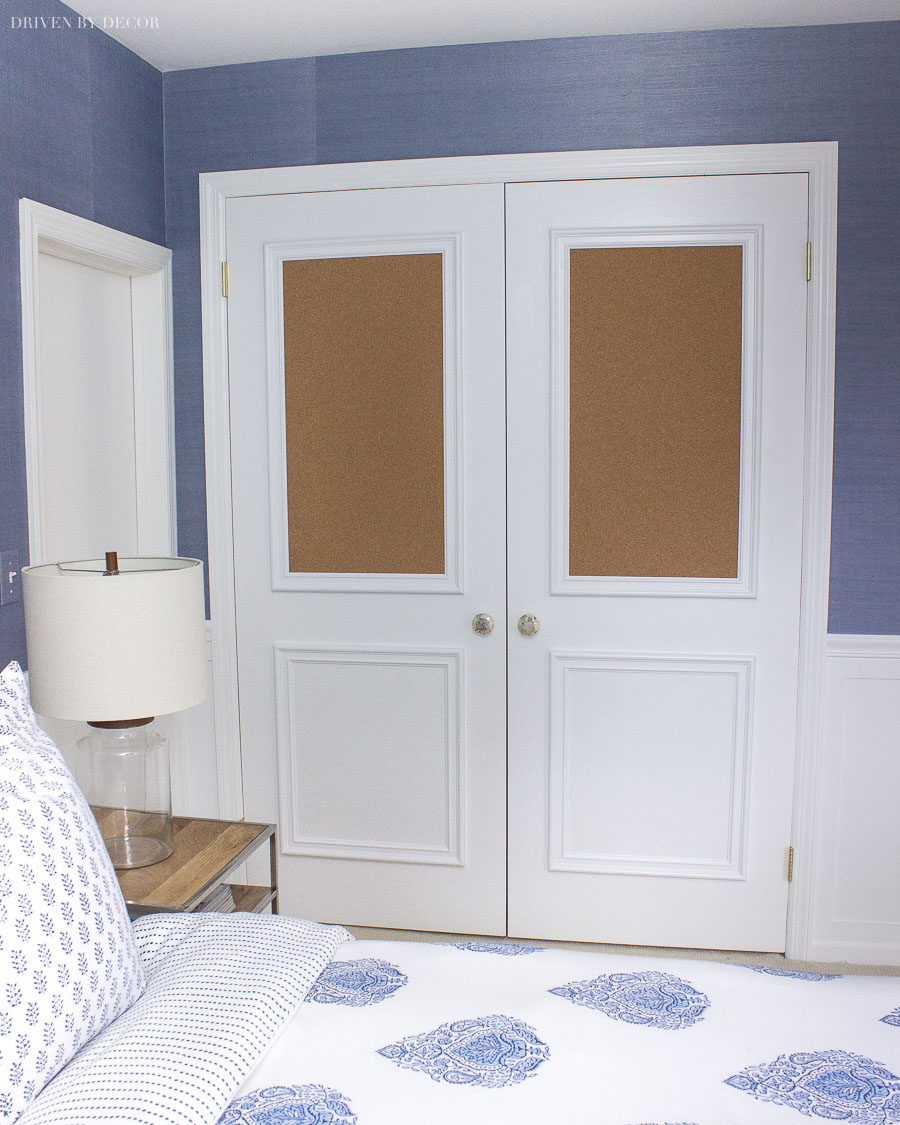
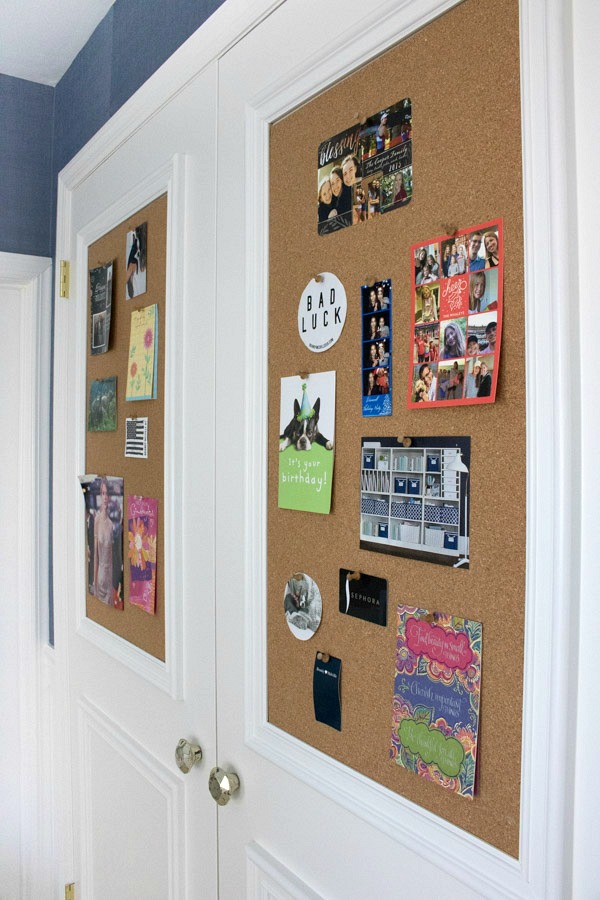
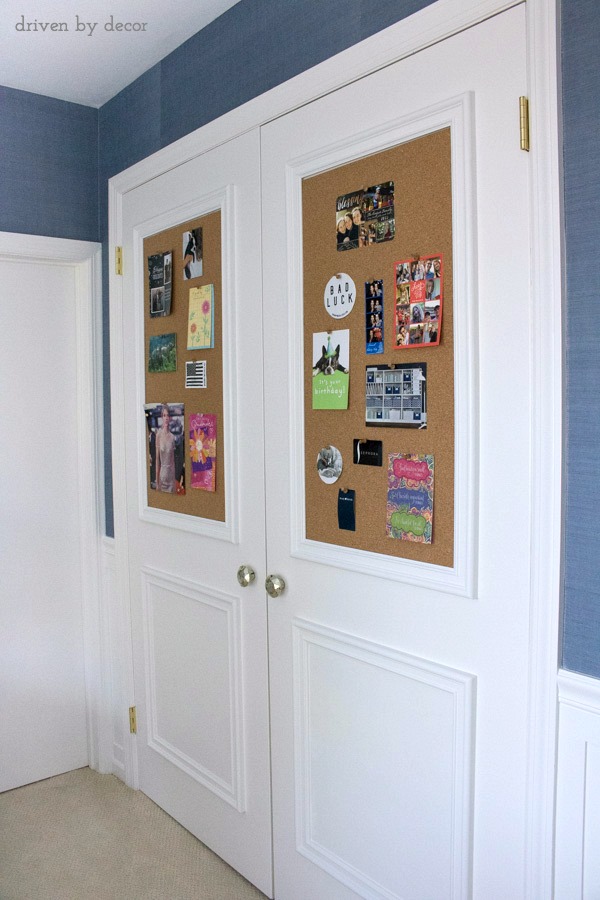
Let’s talk closet doors – exciting stuff right?! Actually I think the ones I’m sharing today are pretty fun 😂 – I’m sharing the details of how I transformed my daughter’s ugly, yellowed, flat closet doors into these beauties with framed cork boards:
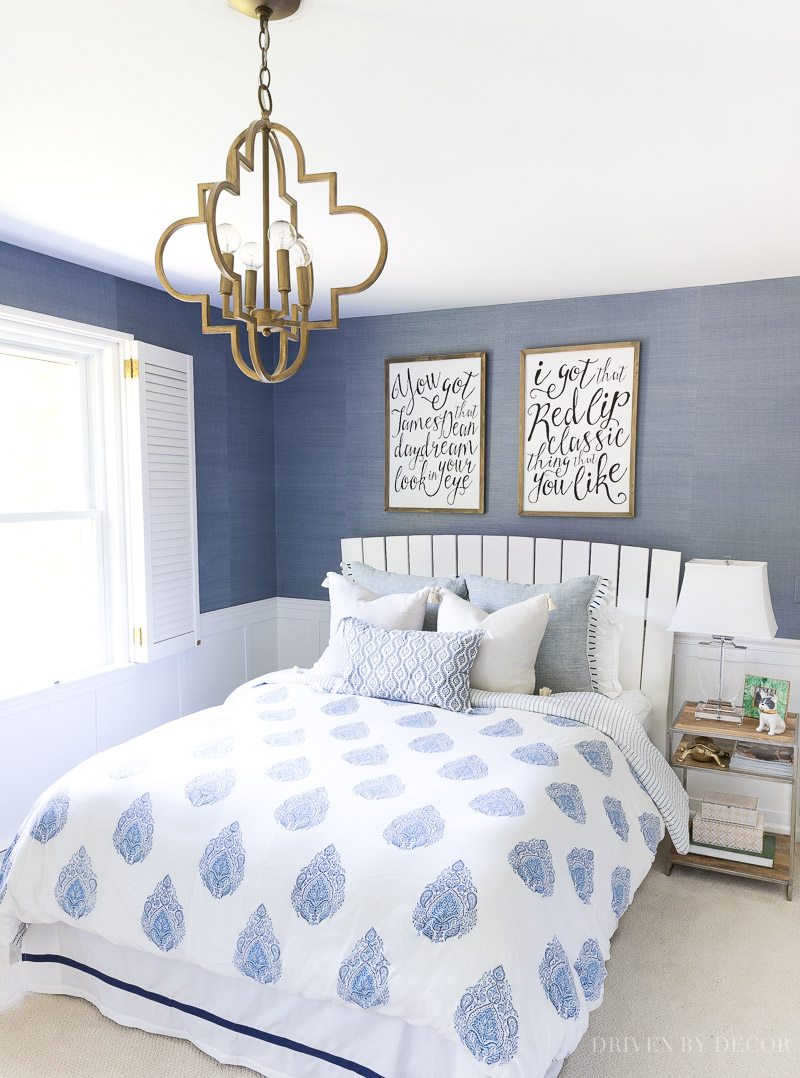
Unless you’re new to the blog (if you are, welcome!), you probably remember that I did this closet door makeover as part of the makeover of my teen daughter’s bedroom a few years ago:
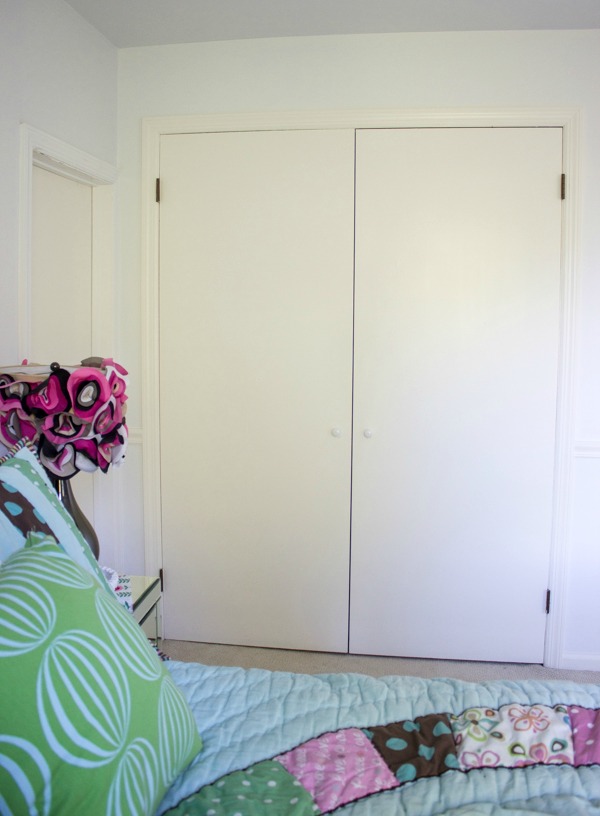
Let’s flash back to what I started with – flat doors that had yellowed with time (due to oil based paint), rusted hinges, and the tiniest little cabinet knobs as pulls:
Prettying up these doors took just a couple of hours (it’s a good weekend project) and the following supplies (includes affiliate links – see my full disclosure statement {here}):
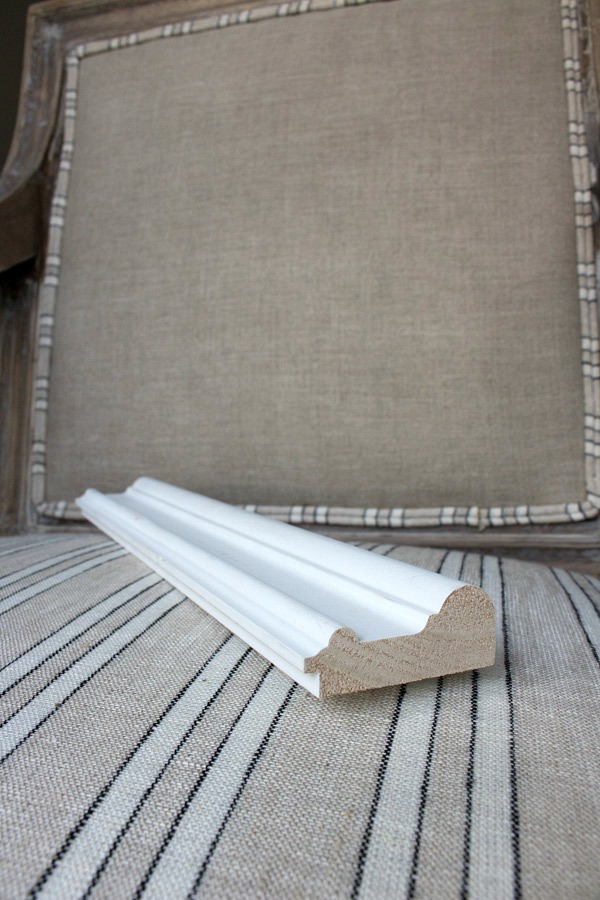
- Low profile molding (more on that below)
- ¼″ plywood sheet
- Two 24″ x 36″ ¼ cork sheets
- Double sided duct tape
- Compound miter saw (or a simple miter box and saw)
- Tape measure & level
- Liquid Nails adhesive
- Brad nailer (I recently bought {this one} and love it) and compressor or you can hand nail molding with brad nails
- Wood filler, sandpaper, paintable caulk, painter’s tape, scissors, and paint
The molding I used is a type of chair rail molding that has a ¼″ high notched out area at the bottom that is perfect for the ¼″ cork sheets to fit right underneath and be held in place on the door:
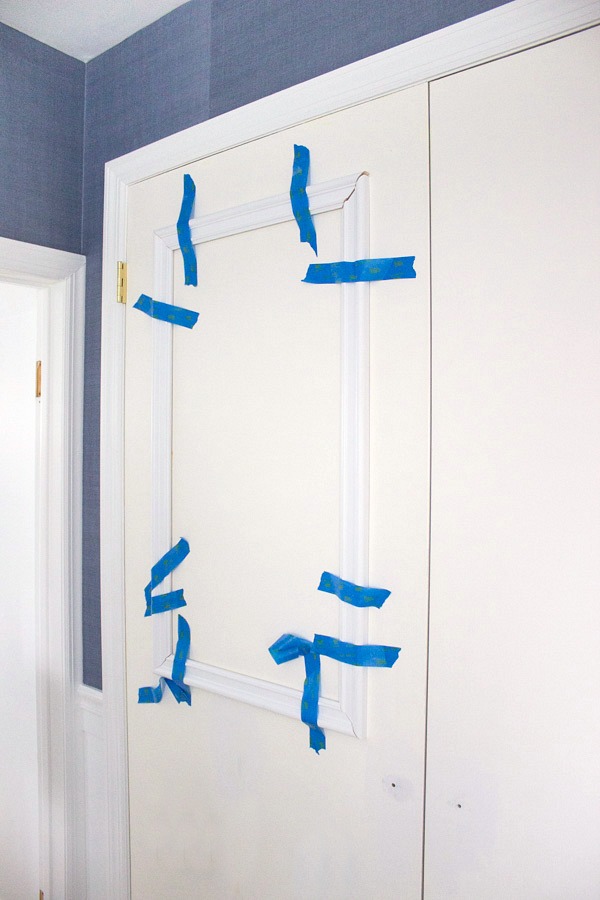
The first step in the project is deciding on the size of your molding boxes (my cork board boxes were 36″ tall measured from the outside edges, the bottom boxes were 24″ tall, and all four boxes were 21″ wide) and then cutting the molding to size with mitered corners. Then cut the cork sheets (I found that scissors work better than a razor for cutting them) and the ¼″ plywood sheets to the exact size for them to tightly fit under the notched edge of the molding. Handle the cork sheets with care – they’re thin so would likely crack if bent. Use painter’s tape to tape the molding into place on the door, using a level to ensure everything is straight. Once in place, trace the outline of each molding box with a pencil.
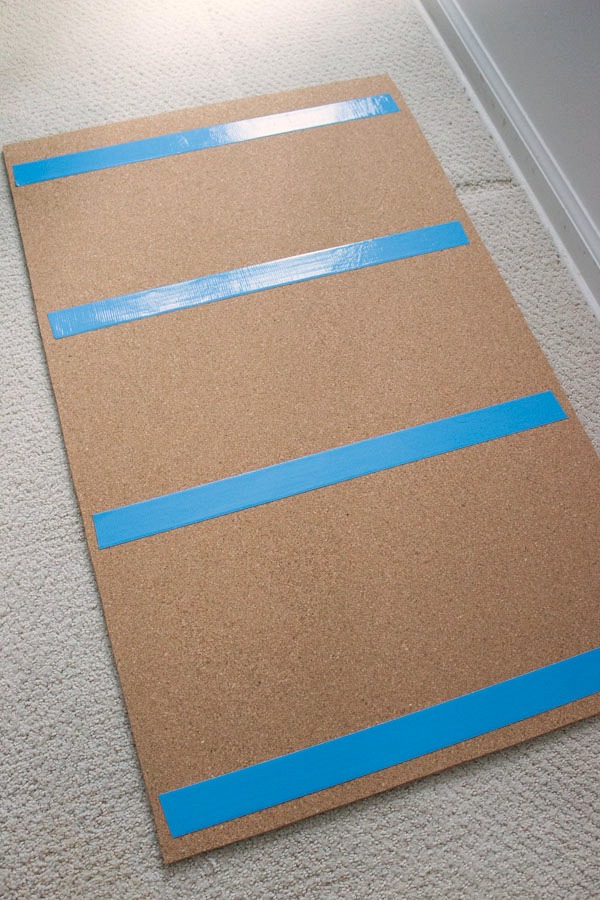
Remove the taped molding from the door. Place double sided duct tape on the back of each of the two cork sheets and adhere them to the doors, centering them in the middle of the outline that you traced. Update: after about a year of pinning and repinning to the corkboards, one of them isn’t adhered to the door as well any longer – if redoing this project I would brush a small amount of glue or liquid nails to the back of the cork boards or use a spray adhesive to make them adhere more strongly than with the tape alone.
Once your cork sheet is in place, place the molding back on the door (follow the lines you outlined) and nail it in place with a nail gun. Do the exact same thing with the bottom two molding boxes, using ¼″ plywood instead of cork sheets. Now all that’s left is to fill and sand the nail holes, caulk the corners and edges of molding, and paint the entire door (you can see just how yellow our old doors were when you compare it to the new white molding!).

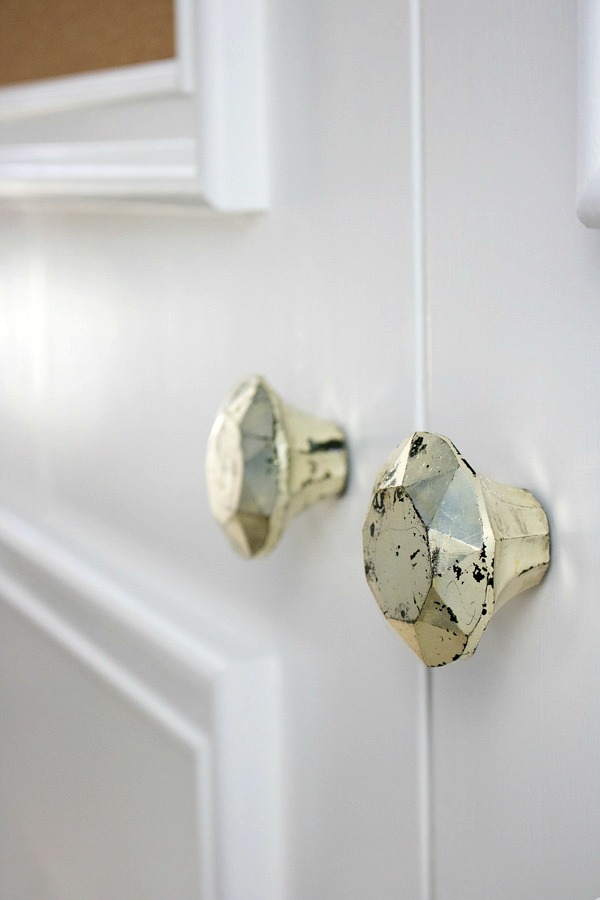
And don’t forget about new door hardware if you have anything crazy strange like our little bitty cabinet knobs. I switched out our old hinges and found some new knobs from Hobby Lobby:
And…done!!
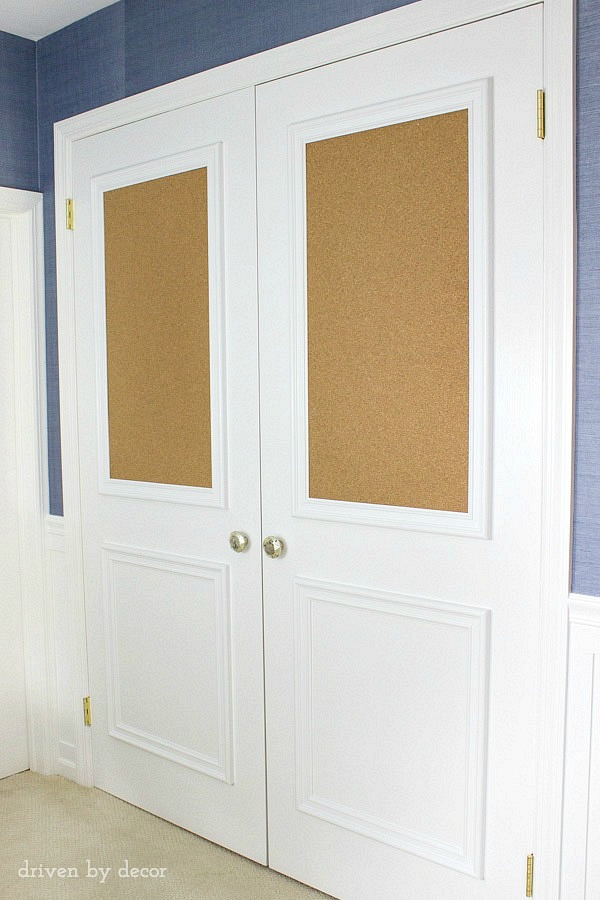
My daughter loves it and has slowly been filling the cork boards up. And I love it because having the cork boards on the closet doors means one less thing to hang on those grasscloth walls!
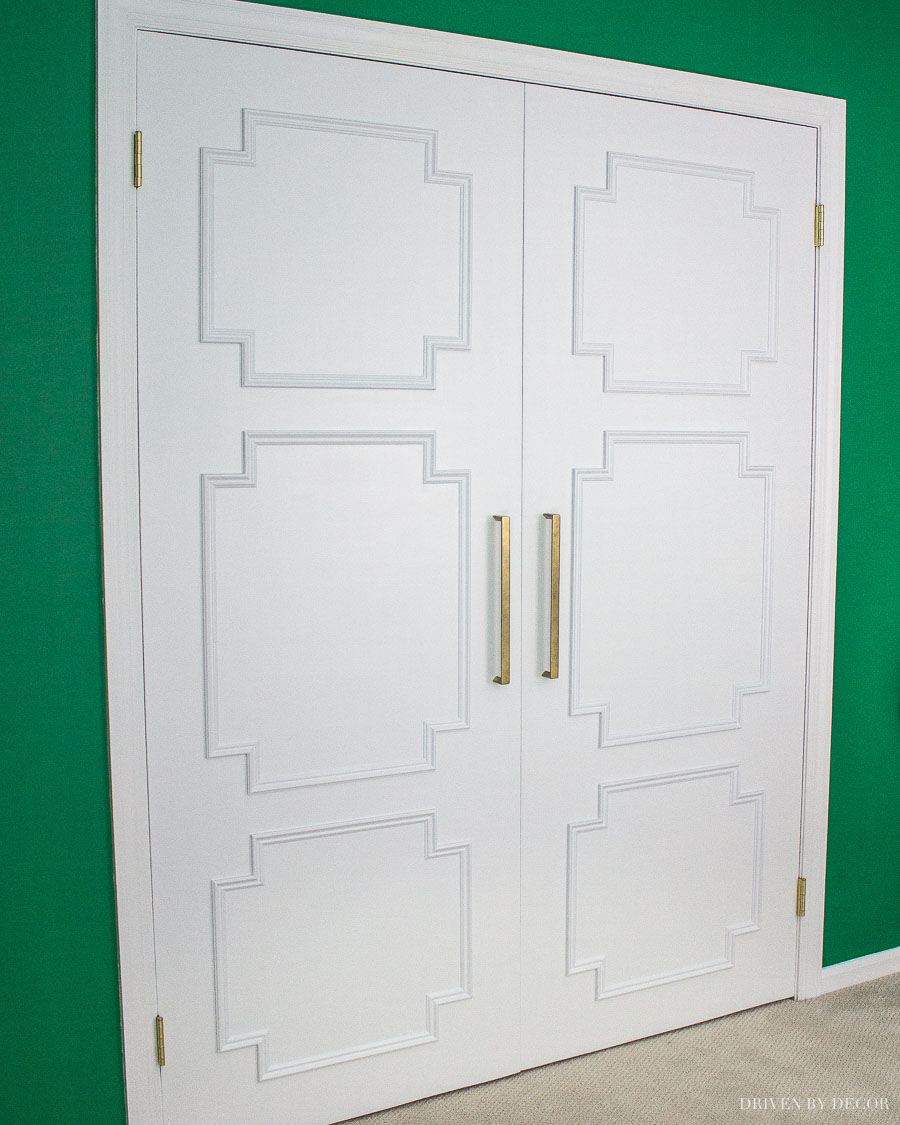
Want another idea for dressing up plain, flat doors? Check out {this post} on the door makeover I did in my other daughter’s bedroom that involved small panel molding in a fun geometric design:
You can also find other teen, tween, and kids room decorating ideas in {this post}.
XO,


