Got old, ugly closet doors? I’m sharing three DIY closet door ideas for making them beautiful on a budget!
When we moved into our Connecticut home, it was a mixed bag of high and low grade finishes. One of the low grade finishes that stood out was the design of the closet doors. While almost all of the doors throughout our home were typical six panel doors, the closet doors in both of our girls’ rooms were flat slab doors. The closet doors in our master bedroom were cheap bifold doors that were difficult to open and close and blocked access to a chunk of our closet.
We upgraded all three sets of closet doors in different, unique ways so I thought it would be fun to share all three closet door ideas in one place! They’re all DIY upgrades that made a huge difference without costing a lot of money! (post includes commissionable links; for more information see my full disclosure statement {here})
Closet Door Idea #1: Cork Board + Molding
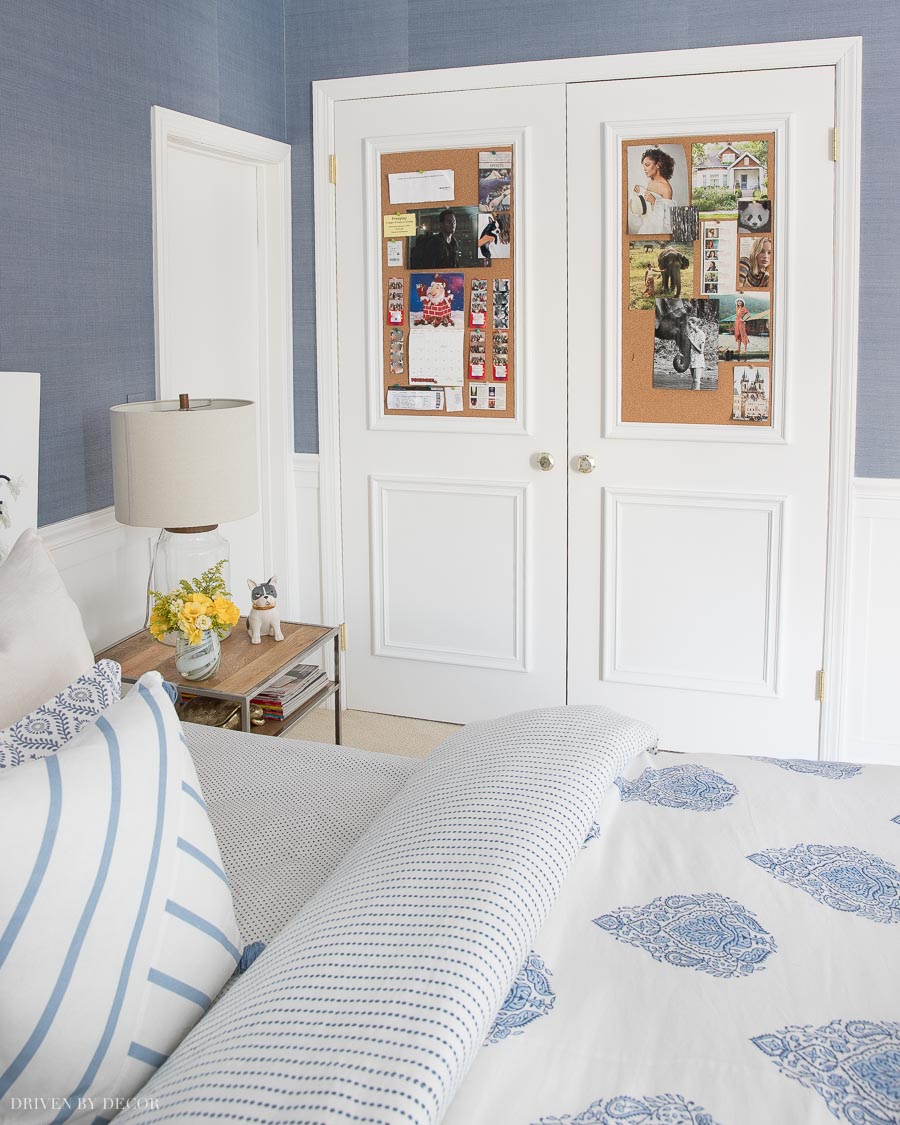
Let’s kick things off with the most fun closet door idea of the bunch: the molding + cork board closet doors in my oldest daughter’s bedroom:
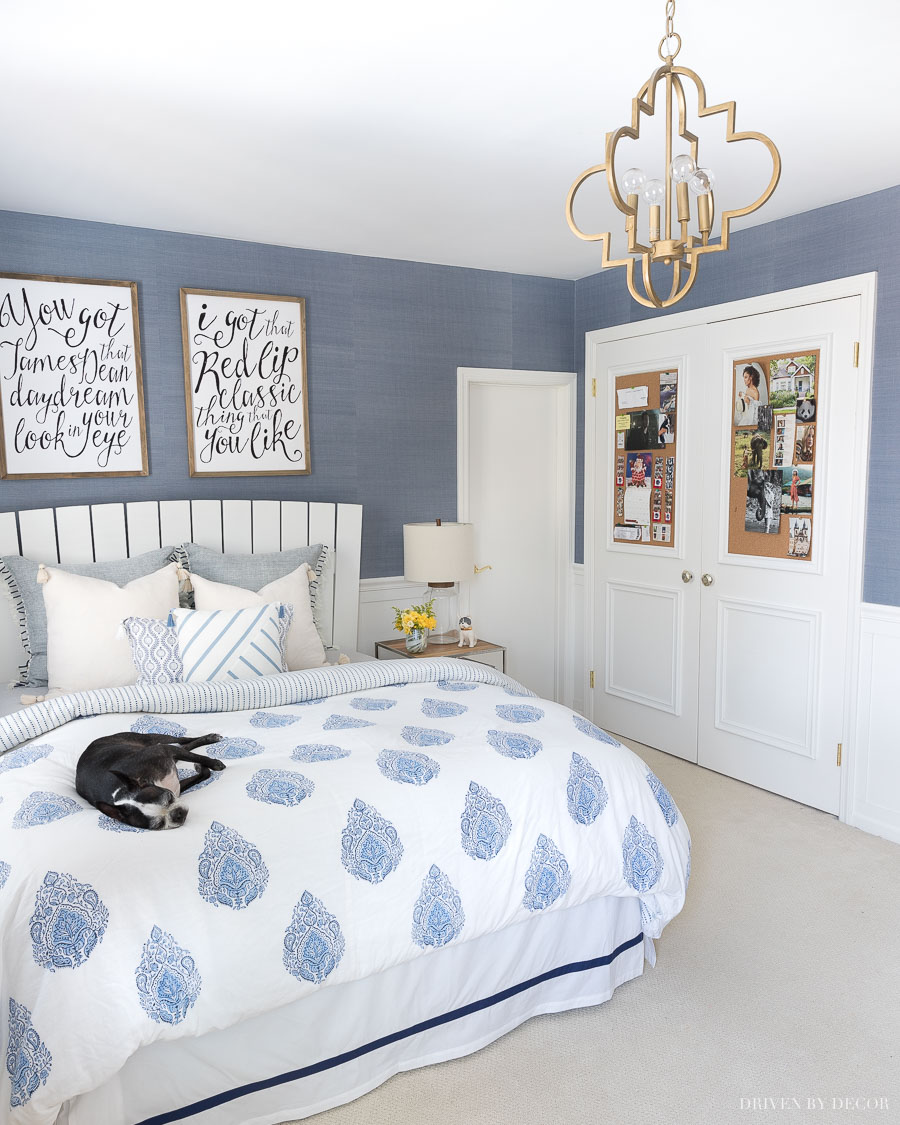
Room Sources: Grasscloth wallpaper (similar) | Gold quatrefoil pendant | Duvet cover | Wood frames above bed (similar)
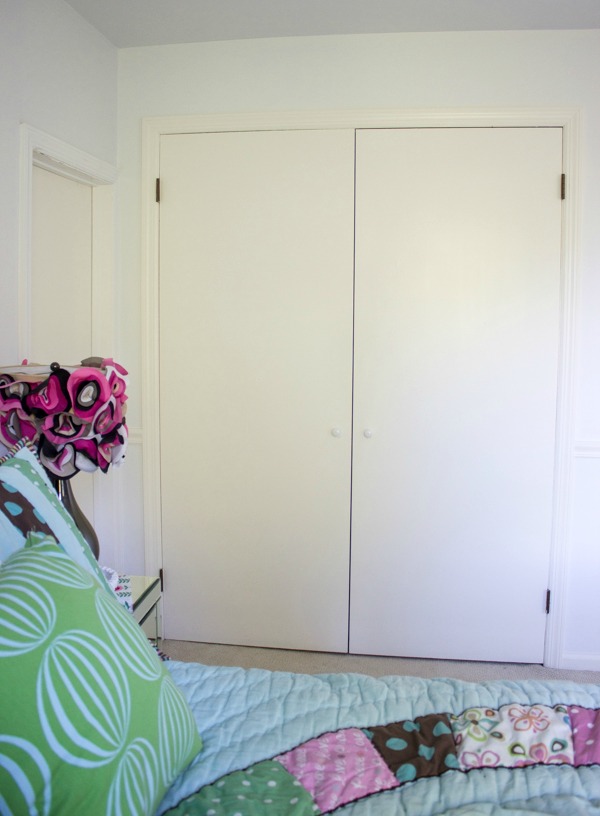
When we moved in, these bedroom closet doors were nothing but flat, yellowed wood slabs with rusted hinges. And they had two teeny wood cabinet knobs as door knobs:
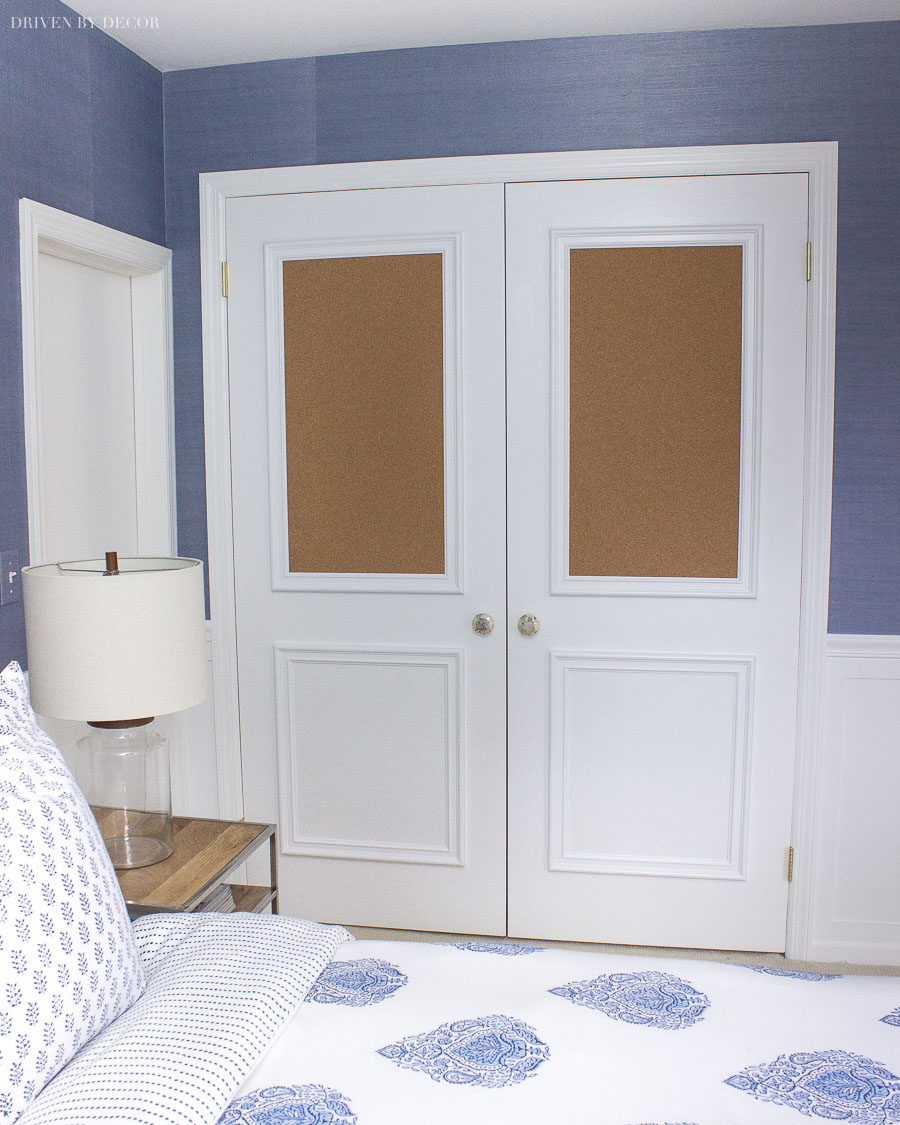
My daughter had been asking for a bulletin board in her room right when I was planning a door makeover so I decided to incorporate the bulletin board into her closet doors! Here’s how it turned out:
Prettying up these doors took just a couple of hours (it’s a great weekend project!). Read on for all of the details on this DIY or jump to closet idea #2 {HERE}.
To knock this project out, you’ll need the following supplies:
- A small ¼″ plywood sheet
- Two 24″ x 36″ x ¼ cork sheets
- Super 77 spray adhesive
- Compound miter saw (or a simple miter box and saw set)
- Brad nailer (I recently bought {this one} and love it) and compressor or you can hand nail the molding with a hammer and brad nails
- Tape measure, level, wood filler, sandpaper, paintable caulk, painter’s tape, scissors, and paint
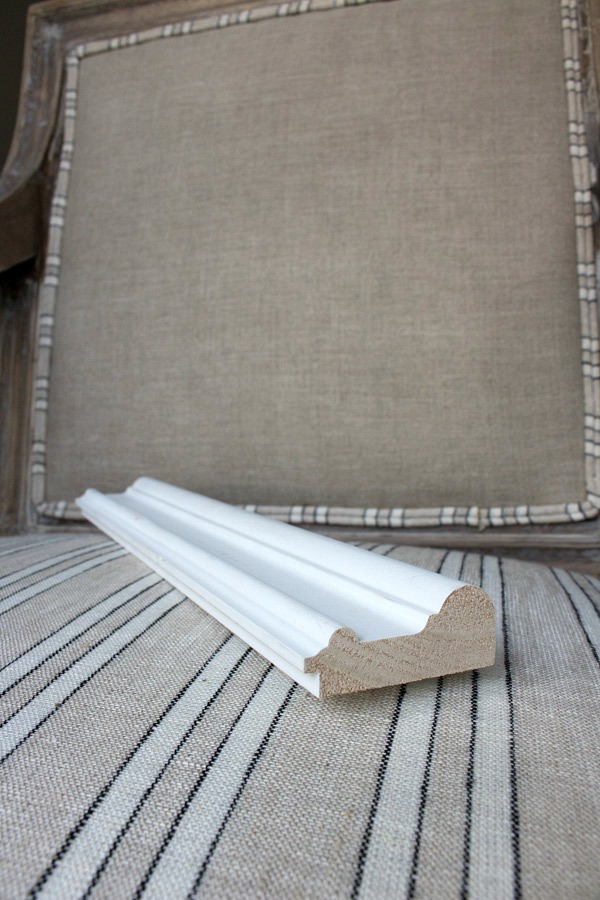
- Low profile molding
The molding I used is a type of chair rail molding that has a ¼″ high notched out area at the bottom that is perfect for the ¼″ cork sheets to fit right underneath and be held in place on the door:
My cork board boxes on top were 36″ high x 21″ wide and the bottom boxes were 24″ high x 21″ wide. The first step is to cut your molding with mitered corners to create your desired box sizes. Use sharp scissors to cut the cork sheets to the exact size for them to fit tightly under the notched edge of the molding. Then use a saw to do the same with the plywood sheets that will go inside the bottom boxes.
Use painter’s tape to tape all of the molding into place on the door, adjusting as needed until it’s positioned where you want it and everything is level:
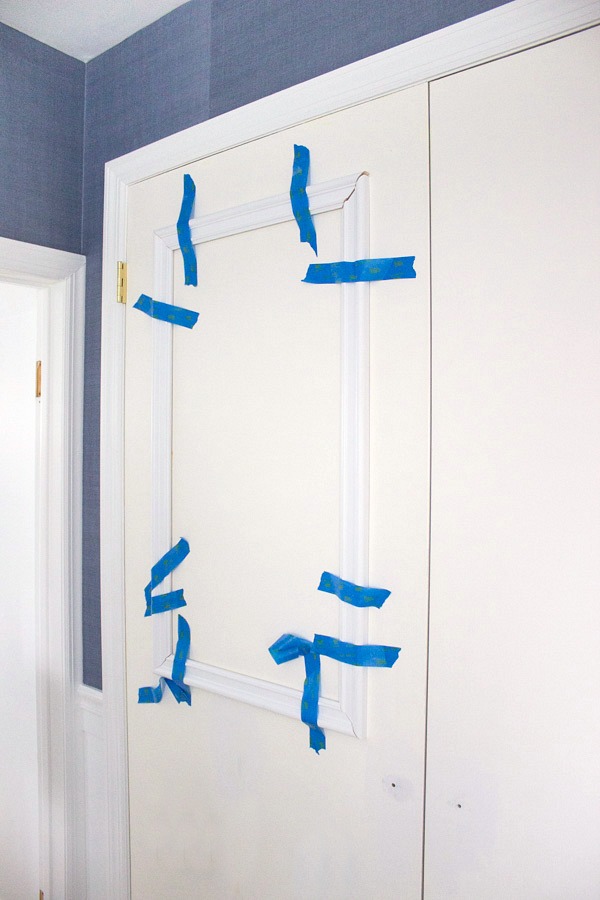
Trace the outline of each molding box on the door with a pencil. You can then remove your taped-on molding. Next, spray the back of your two cut cork sheets with the spray adhesive and adhere them to the doors, centering them in the middle of the outlines that you traced on the top part of the doors. Do the same with the plywood sheets, centering them on the outlines at the bottom of the doors.
Now that your cork and plywood sheets adhered to the door, place the molding back on the door using the penciled outline as your guide and nail it into place.
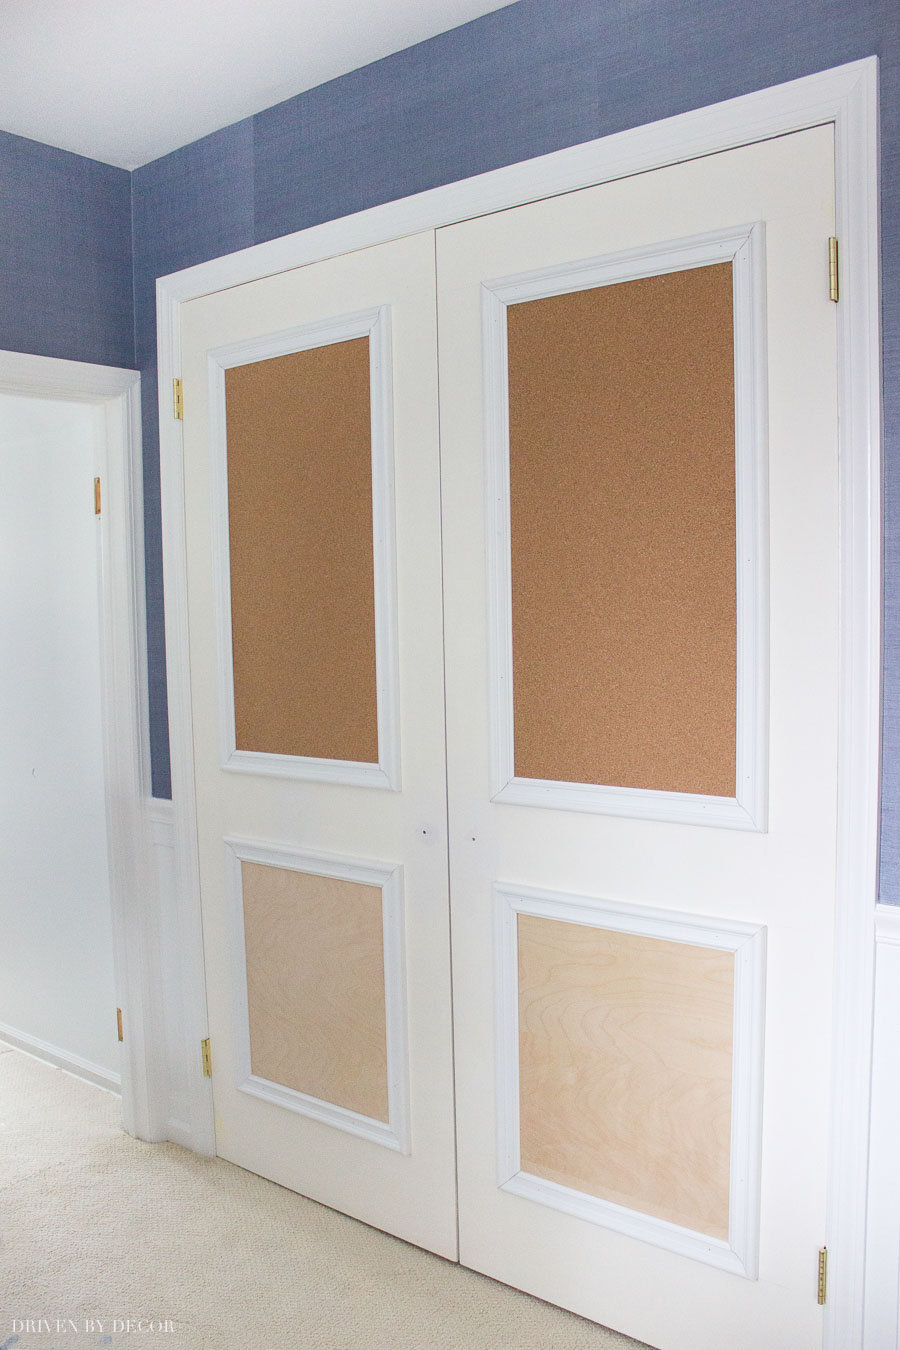
Now all that’s left is to fill and sand the nail holes, caulk the corners and edges of the molding, and paint the entire door. You can see just how yellow our old doors were when you compare it to the new white molding!
Want help choosing the right paint for your doors? See my post on how to paint a door for helpful tips!
I switched out the old hinges, added new knobs and they were done!
Closet Door Idea #2: Creating a Pattern With Molding
My second DIY closet door idea is from my youngest daughter’s bedroom. You might remember that I made over her bedroom to get rid of the green walls she had grown tired of and decorate it in a boho chic style (you can see more of this space in my post on boho bedroom colors if you missed it):
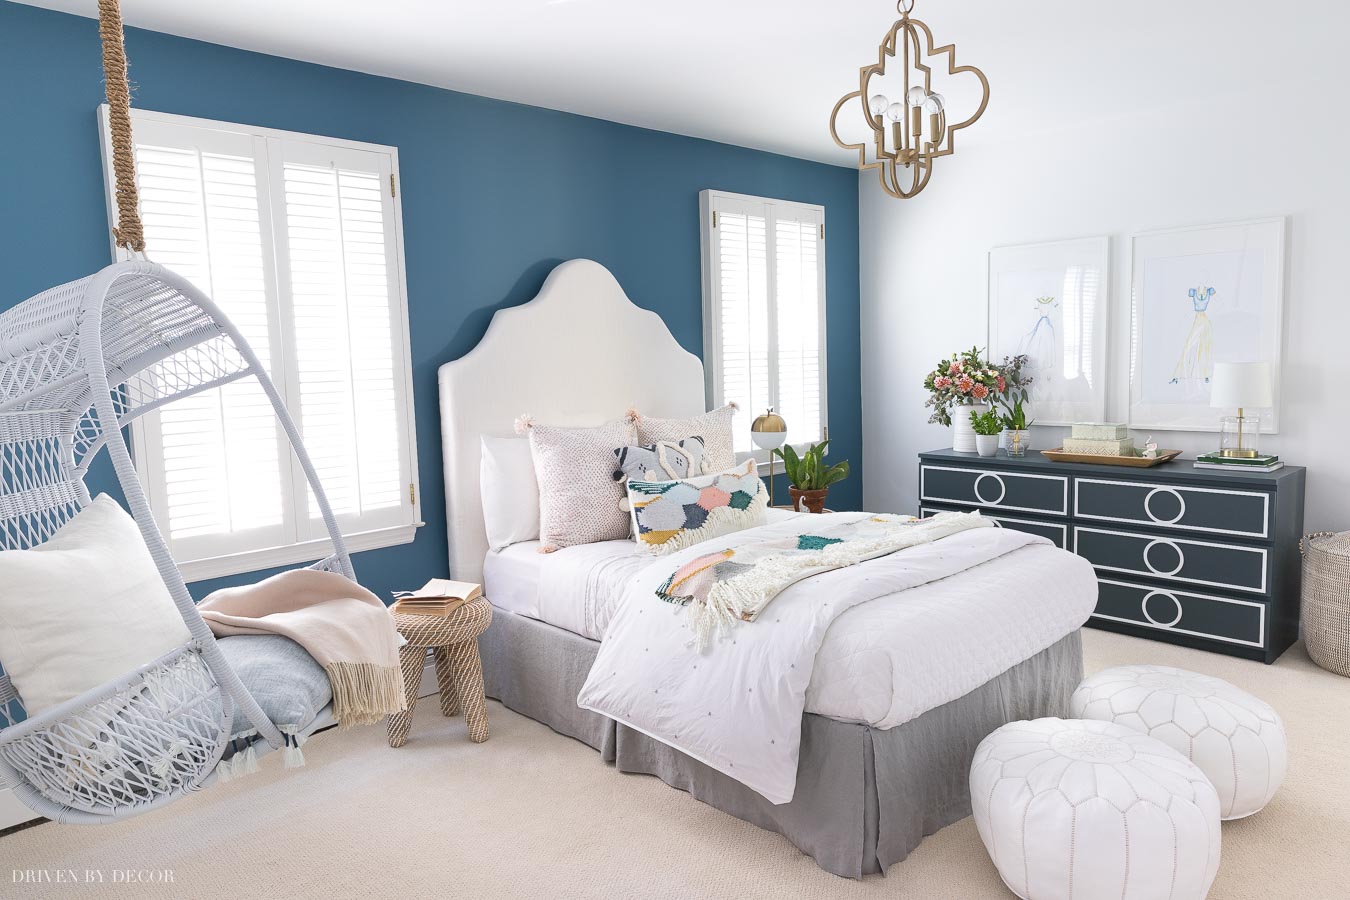
Room Sources: Gold quatrefoil pendant | DIY upholstered headboard | Moroccan leather poufs | Woven lidded laundry basket | Small acrylic lamp | Hanging swing chair (similar) | White linen quilt
One thing I didn’t need to touch during that recent makeover was her bedroom closet doors since I had already glammed them up a few years back:
Just like in my other daughter’s bedroom, her closet doors were previously plain, flat wood slabs with those same teeny cabinet knobs and rusted hinges:

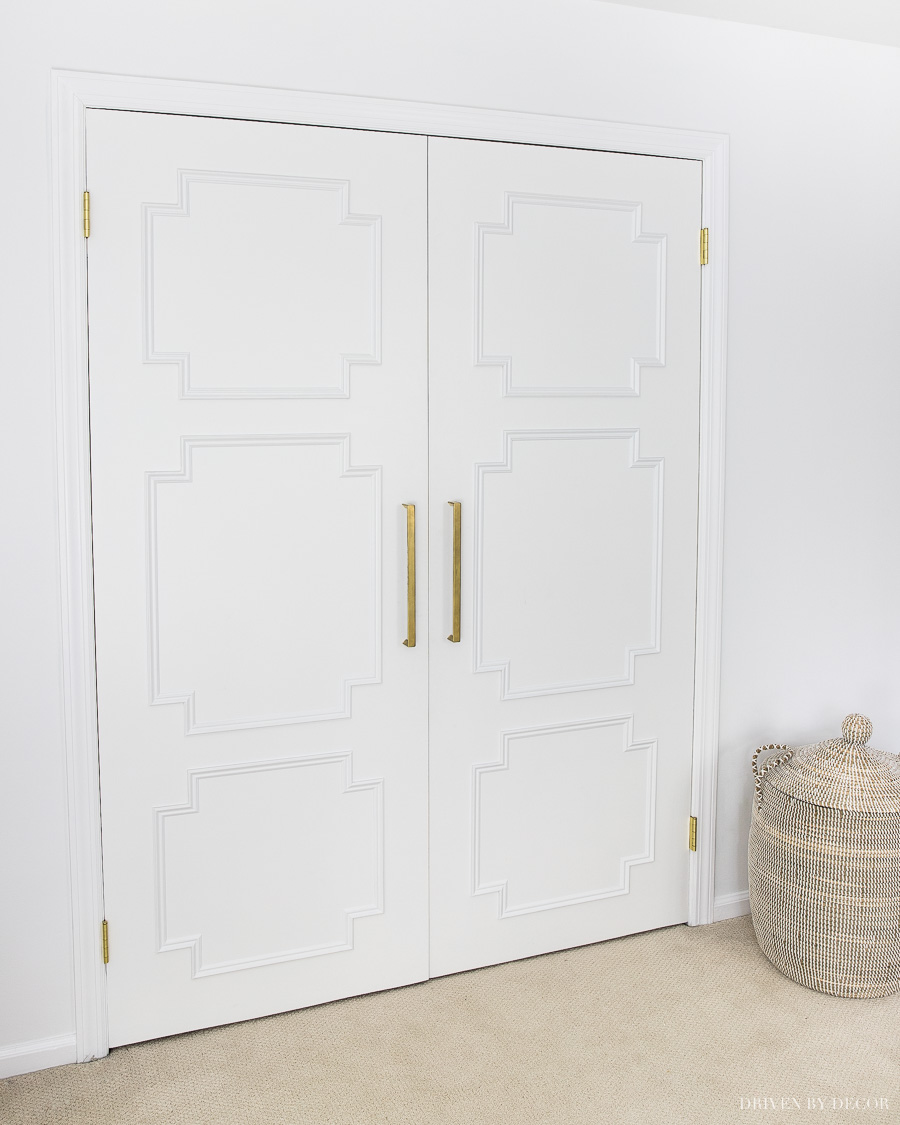
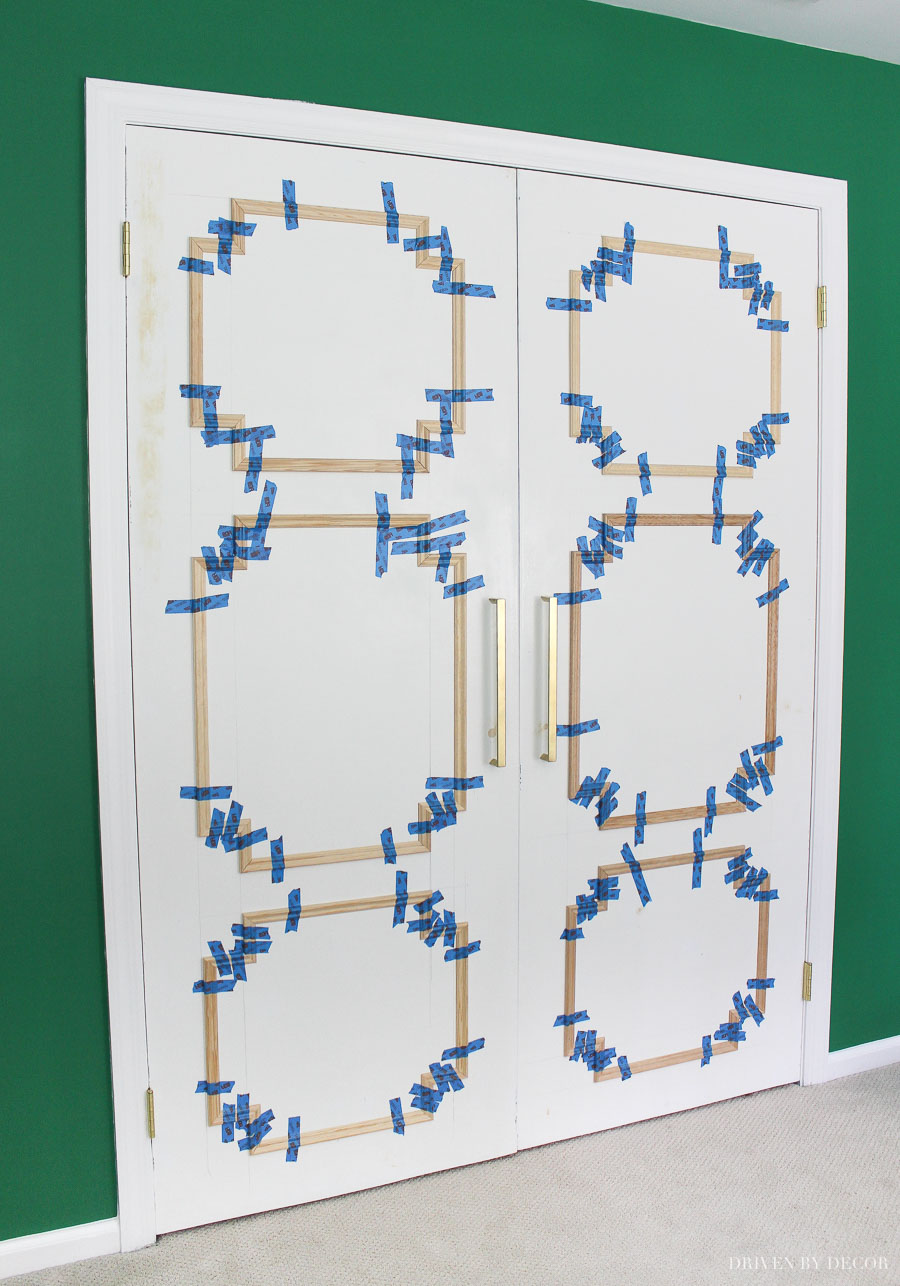
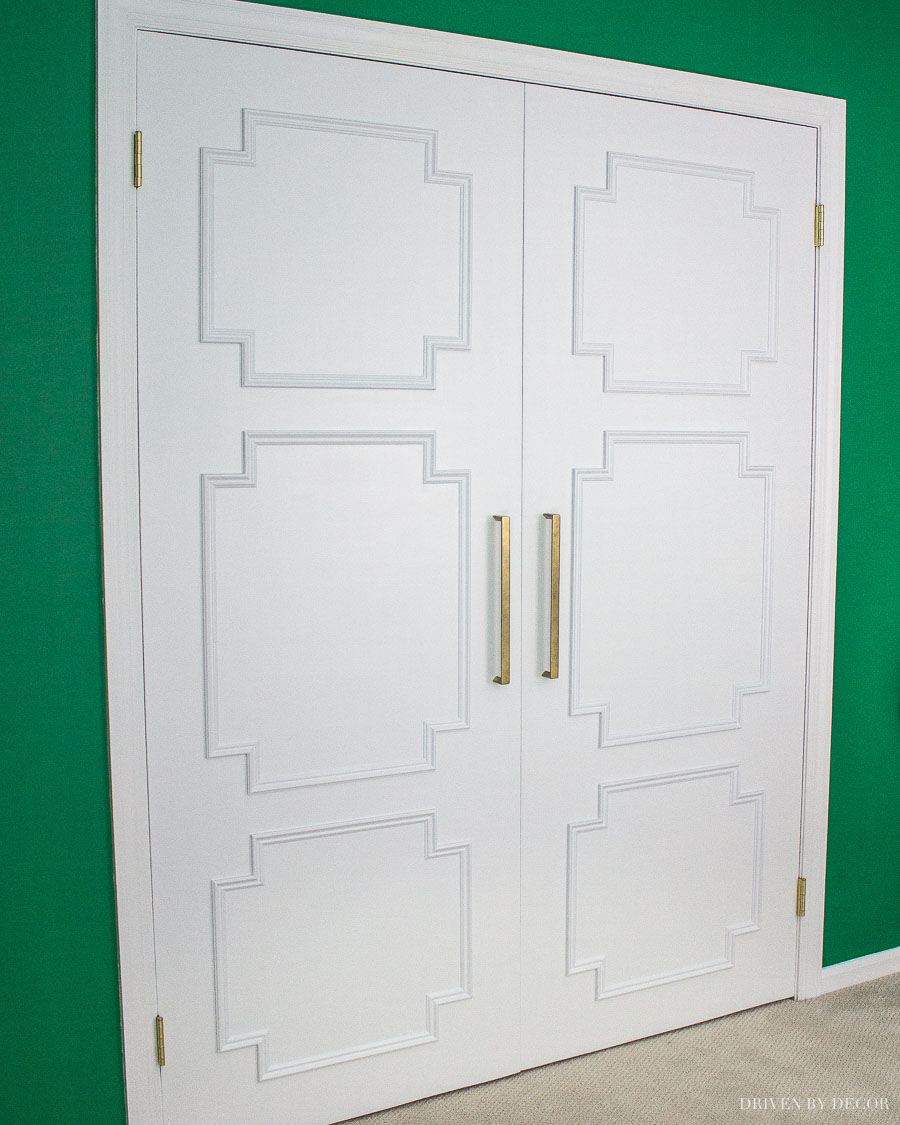
I decided to dress them up by adding inexpensive molding in a stylish geometric pattern. I drew out my idea on paper and figured out the sizes of molding I’d need to make my idea come to life. After a couple of hours of sawing with a miter box (this was before I bought a miter saw that would have made it go a lot faster!), I taped everything onto the door in the final pattern to make sure I had the spacing correct, and then glued each piece on:
After finishing the doors off by caulking, painting, and adding a pair of spray painted IKEA pulls (they’re no longer available but {these pulls} in the 12″ size would give you the same look), my daughter’s room got the glam upgrade we were looking for:
For the step by step tutorial for upgrading these doors, see my full post on this flat panel door makeover. I included the measurements for all of the pieces needed to recreate this exact molding design but the design possibilities using this same closet door idea but with different molding patterns are endless!
Closet Door Idea #3: Swapping Doors for Drapes
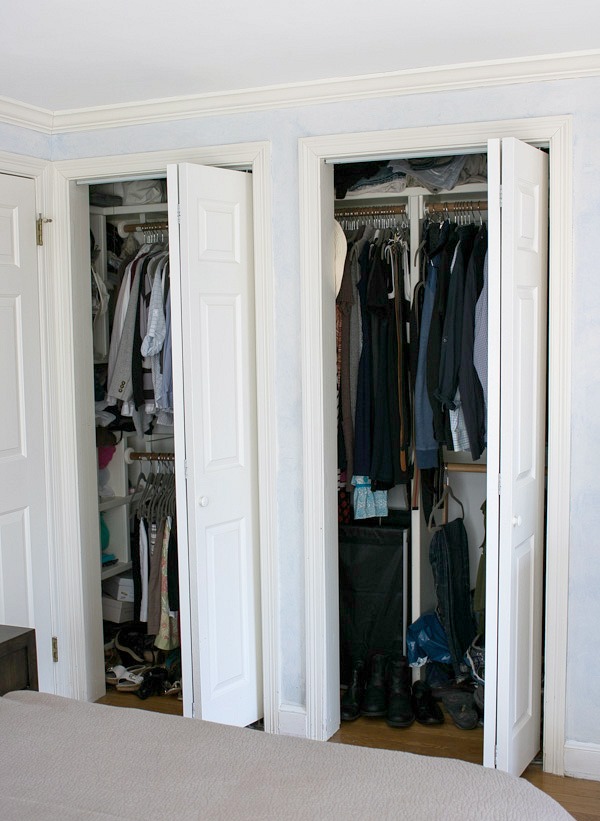
Our primary bedroom was the last of the three bedrooms to get a closet makeover (for more details on this space, see my post on our master bedroom):
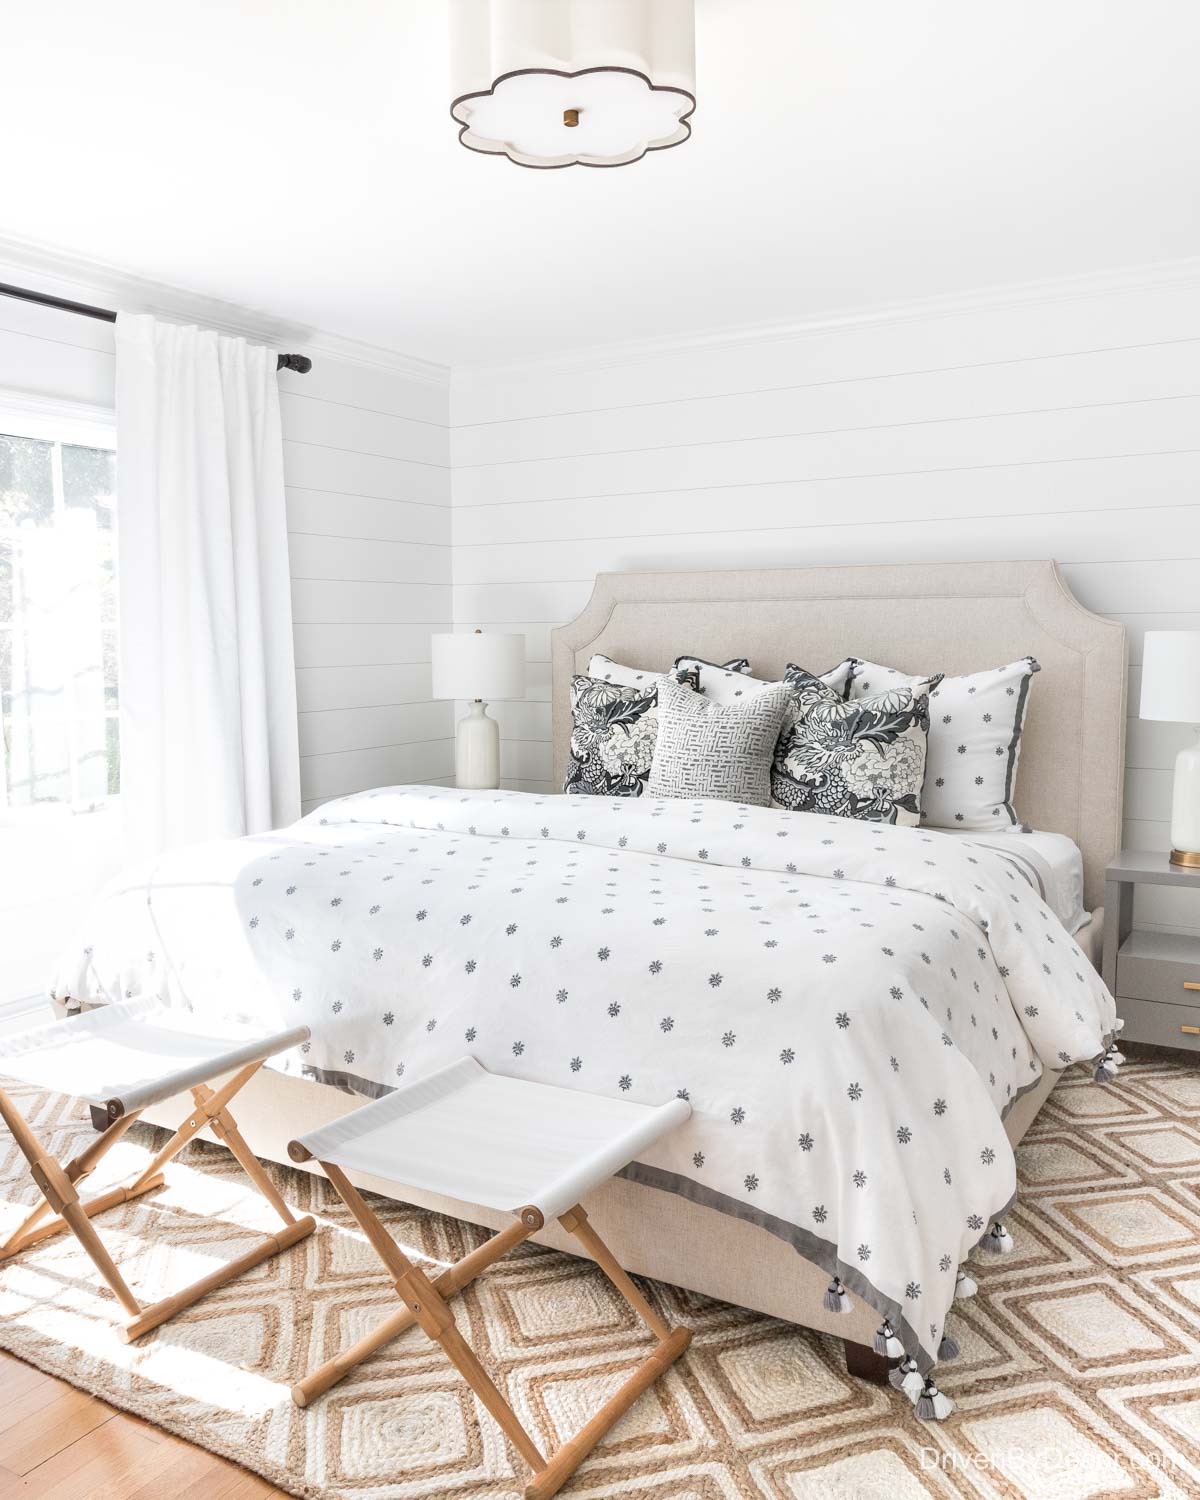
Bedroom Sources: Upholstered Bed (similar) | Gray nightstands | Camp stools (similar) | White table lamps (similar) | Semi flushmount light | Gray & white patterned linen duvet – no longer available | Gray & white dragon/floral pillows | Quilt (color is Flagstone) | Drapes (mine are single-width blackout lined) | Diamond jute rug
Our old closet drove me CRAZY. It was one continuous space behind the two pairs of bifold doors but between the center divider and the space taken up by the bifold doors, less than half of the closet was easily accessible:
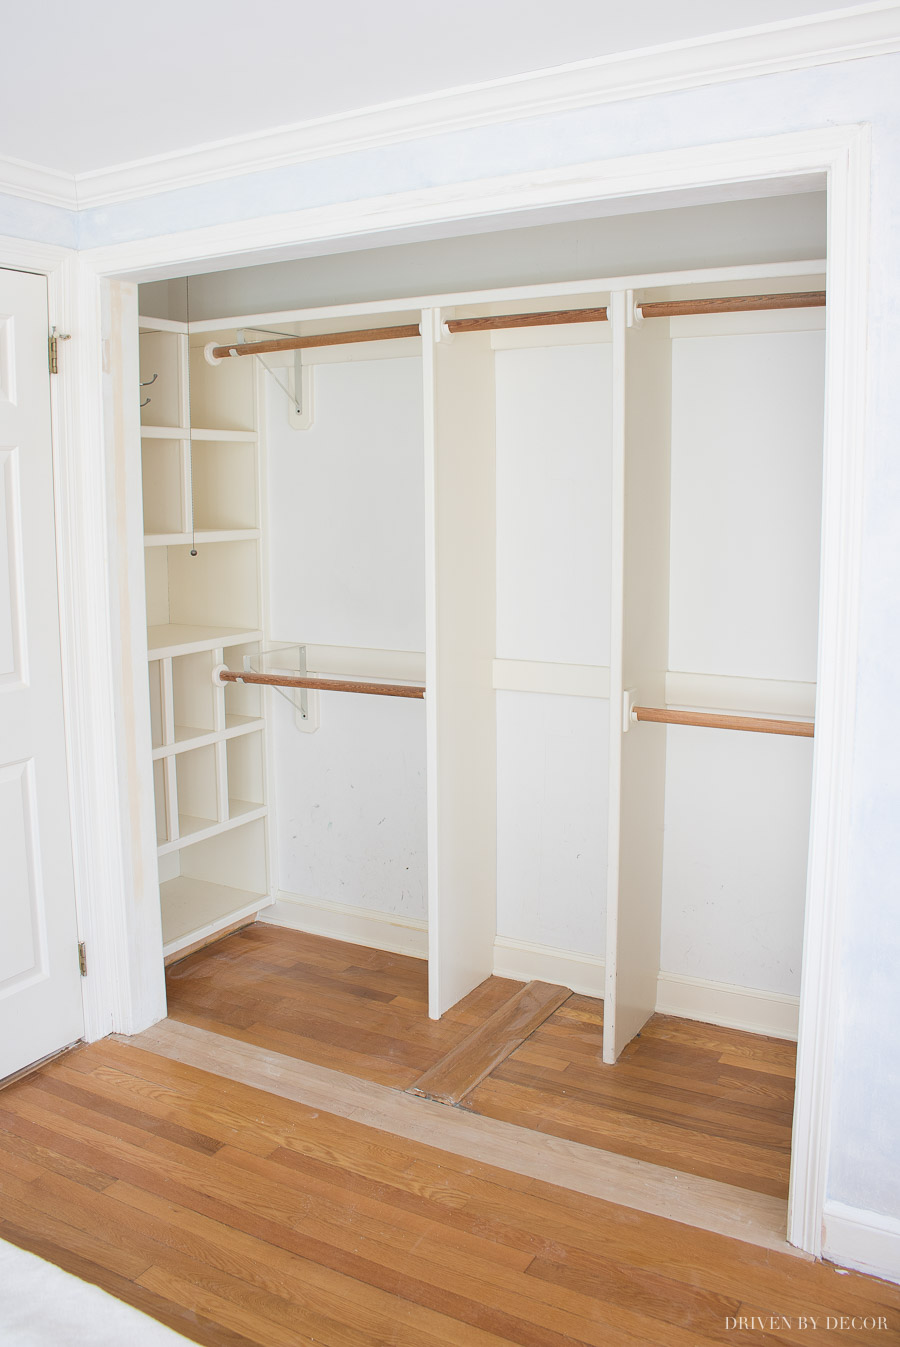
My solution was to remove the bifold doors, tear down the center partition and add new molding framing the top (the storage cubbies to the left were already there – love them!):
I replaced the doors with inexpensive Ikea drapes hung by a rod and rings that I spray painted gold. And I prettied up the inside too with a beautiful wallpaper and acrylic rods. I was honestly not so sure whether I was doing the right thing when I decided to remove the doors but I absolutely LOVED it. It made every inch of our closet accessible and I love the look of it too!
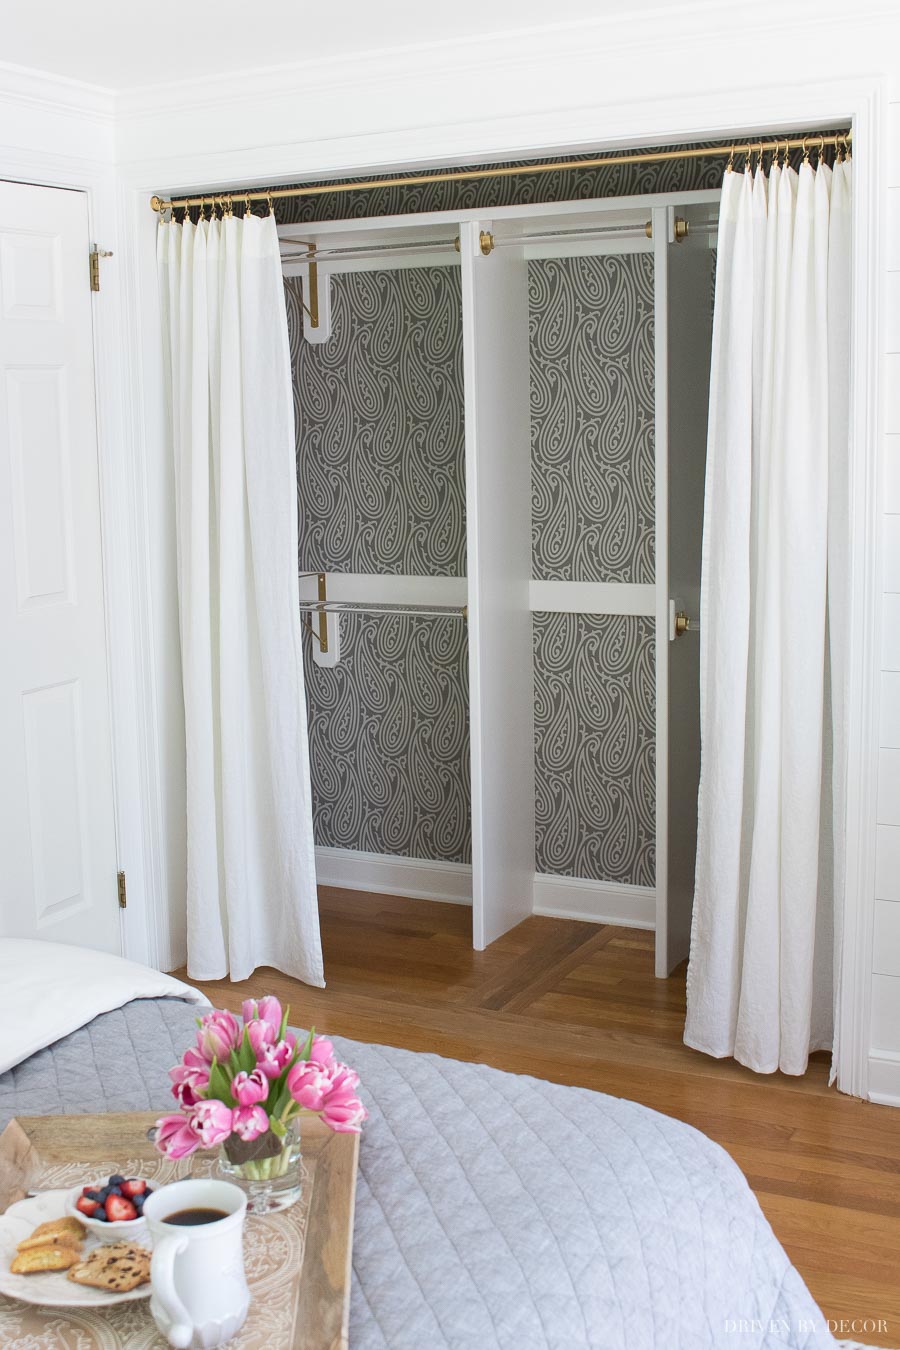
You can get the step by step of about how I replaced my doors with curtains in my post on curtains instead of closet doors.
And what about our fourth bedroom that we used as a guest room?
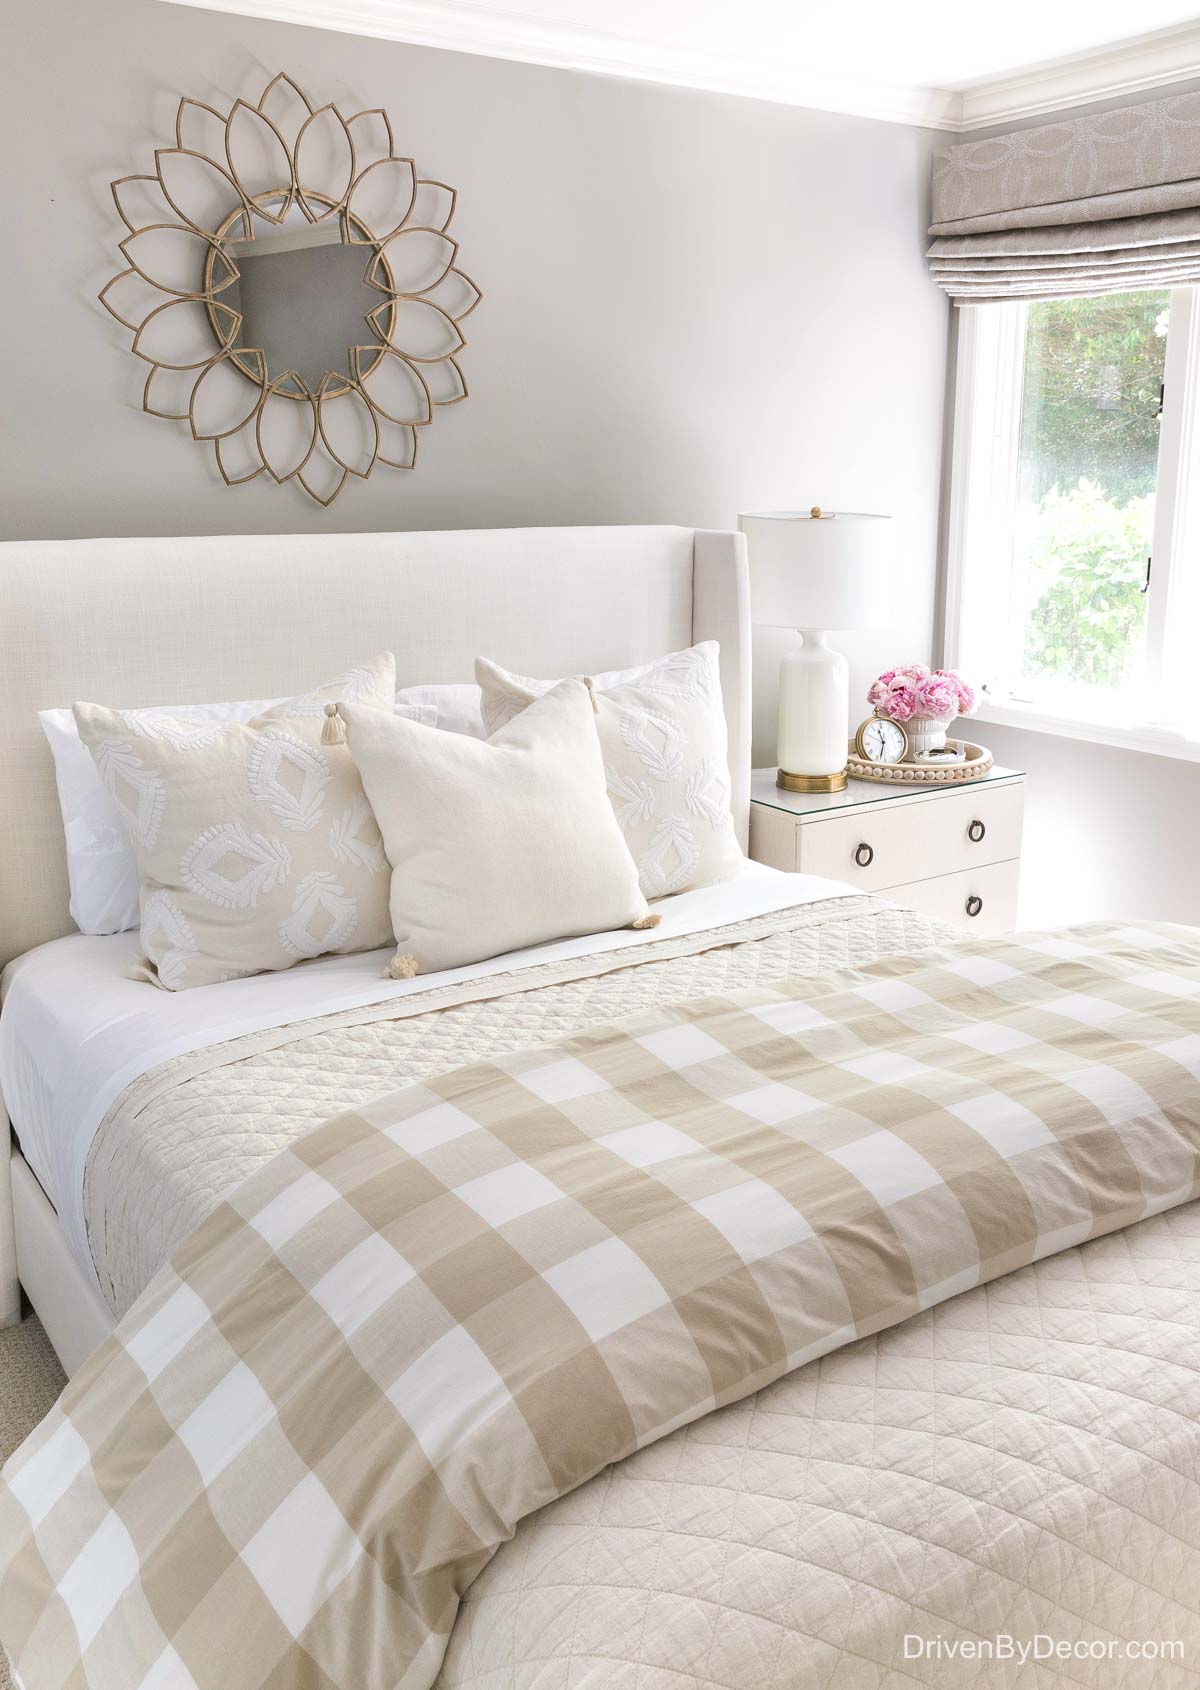
Guest Room Sources: Mirror over Bed | Upholstered Wingback Bed (fabric is Zuma White) | Quilt (color is flax) | White and beige check duvet (similar) | 24″ Embroidered Medallion Pillow covers | White bedside lamps (similar) | Round Wood Beaded Tray | Clock
Strangely enough, this room has no closet at all. We could have added a built-in closet but based on the design of the room, there isn’t a way to add one without making the space look awkward. Instead, I decided to convert this armoire into freestanding closet space:
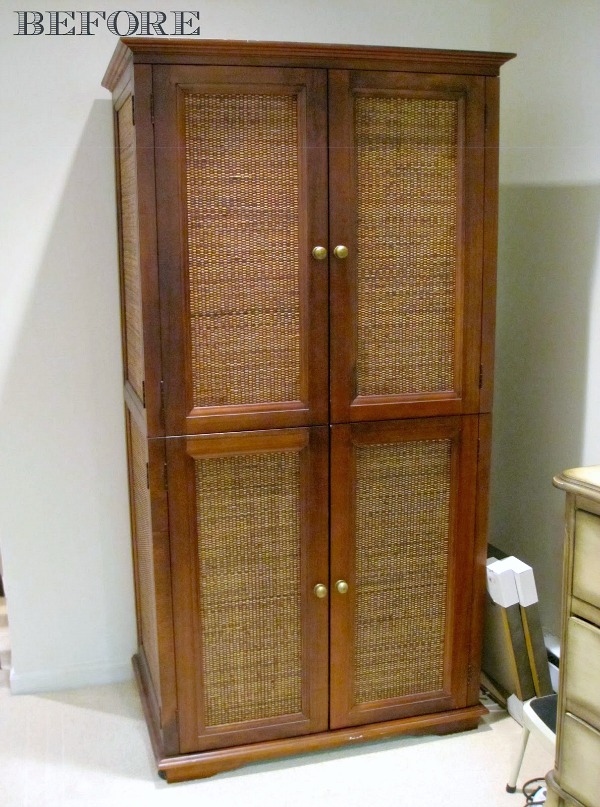
I modified the interior of the armoire by removing the TV shelf and adding a bar for hanging clothes. Then on the outside, I removed the four knobs, filled the bottom pair of knob holes with wood filler, and added brackets inside to make the top and bottom doors move as one piece. Lastily, I painted the entire armoire with Annie Sloan Chalk Paint and added new rope pulls:
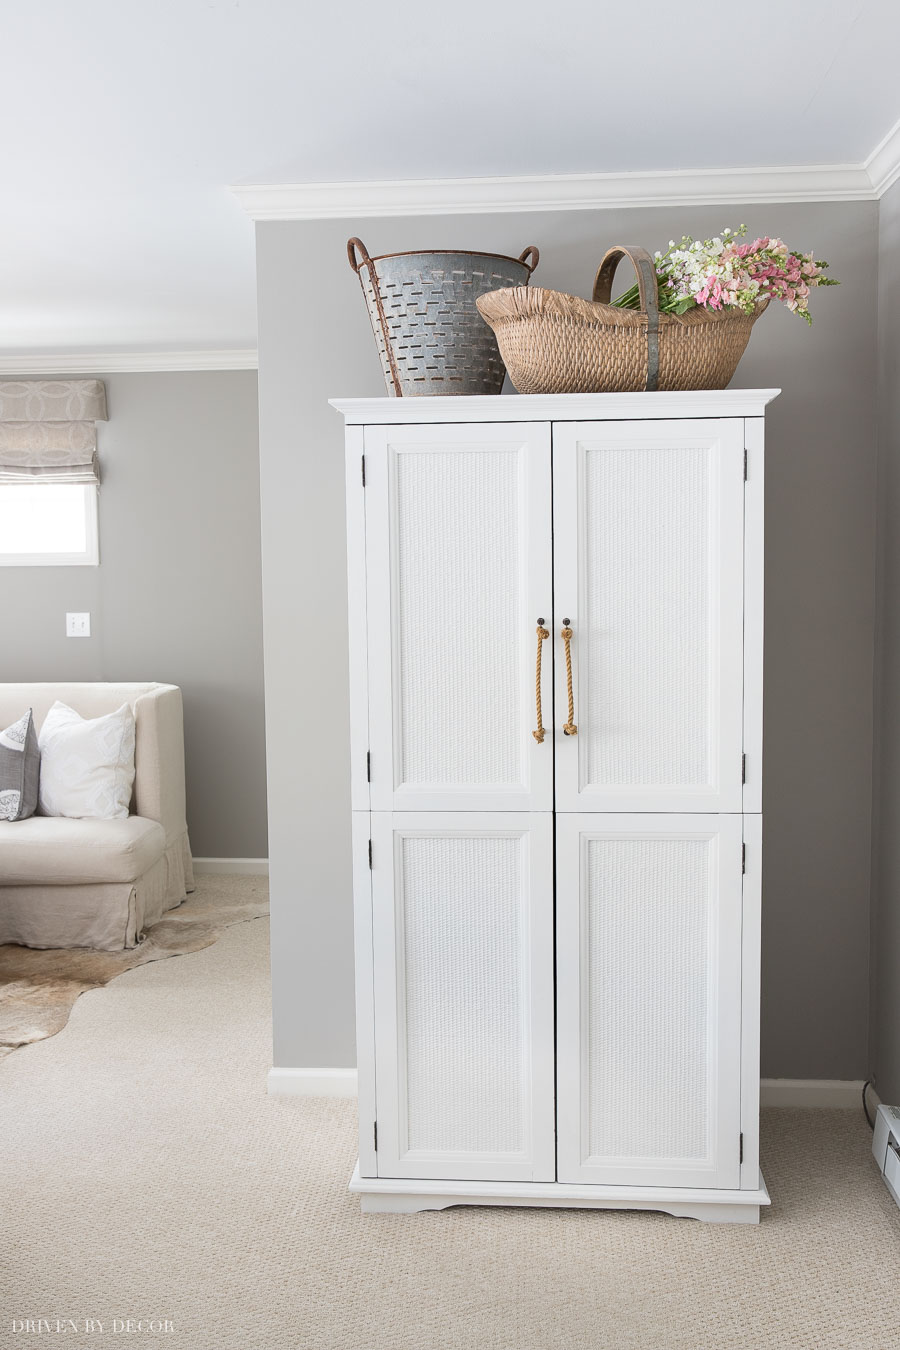
I ended up loving it more than anything that I could have bought new and the only costs were a quart of paint and new pulls. You can find all sorts of painting tips in my post on Annie Sloan Chalk Paint and see more details of this space in my post on our guest room.
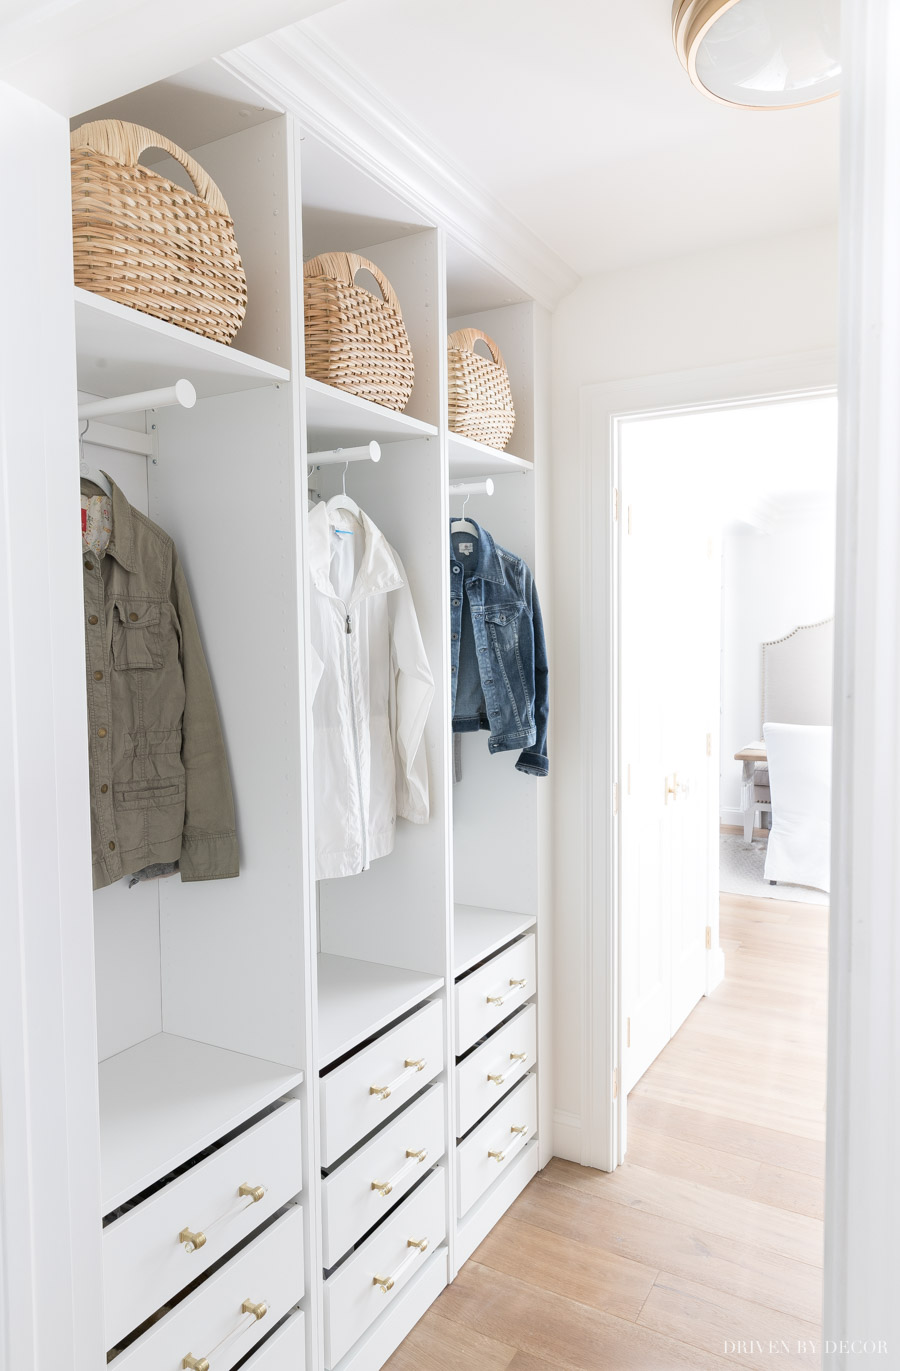
If you’re looking for more closet inspiration, check out my post on our IKEA mudroom using PAX wardrobes! We had no coat closet on the first floor so I took the small recessed space across from our washer and dryer and used shallow IKEA PAX units to create a closet space with three floor to ceiling cubbies:
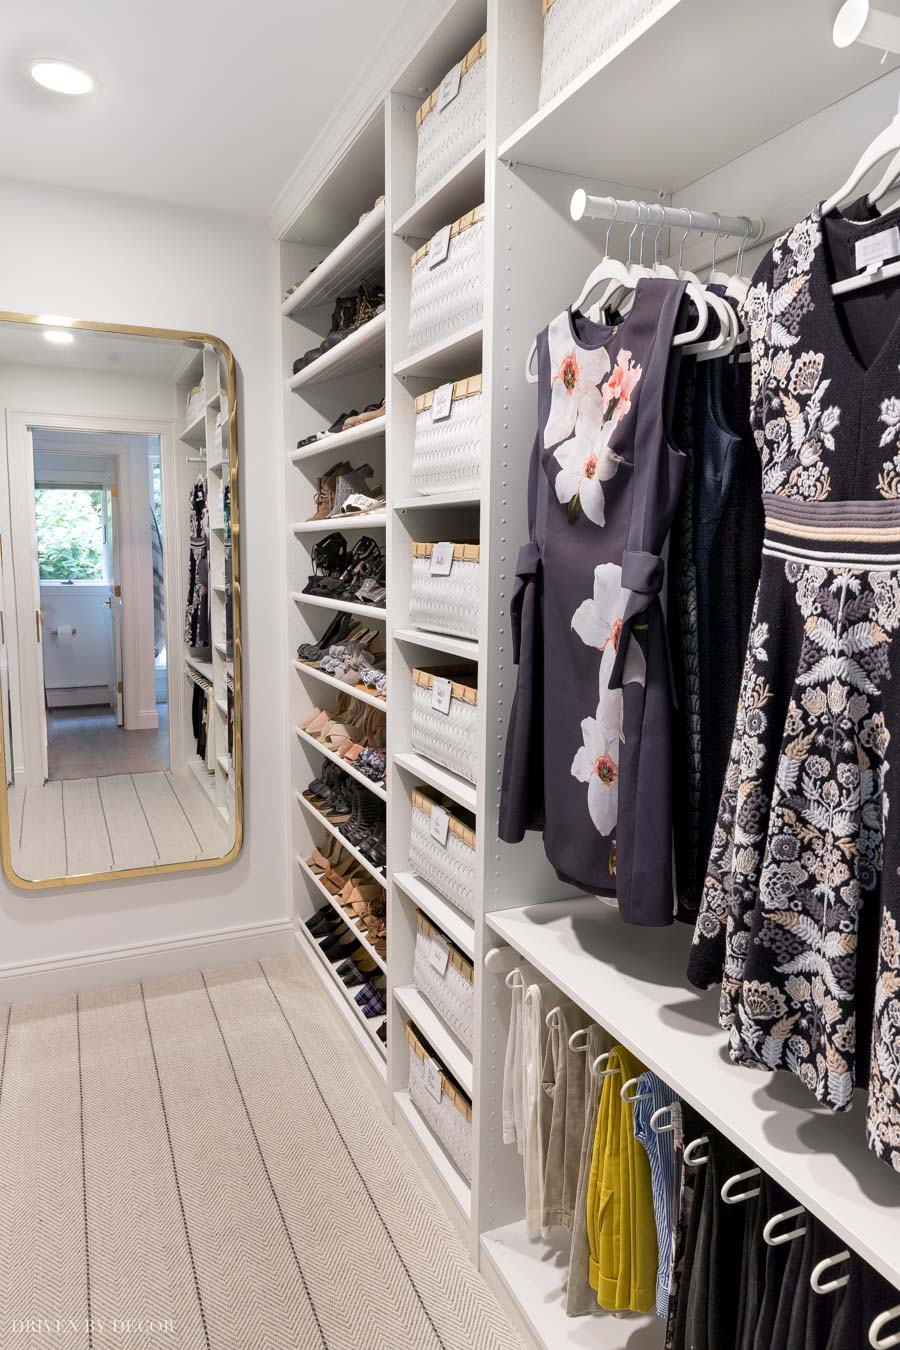
You can also take a tour of our primary closet and get my IKEA PAX closet system review for more pics and details:
I hope you guys took a few closet door ideas away from this post! If you love hearing about DIYs like this one that go a long way in upgrading the style of your home, subscribe to Driven by Decor by email (it’s usually just 1-2 posts per week and you can unsubscribe at any time) for more DIY and decorating inspiration. CLICK {HERE} TO SUBSCRIBE!
I’ll see you back on the blog soon!


Laura says
Where did you purchase the Taylor Swift Lyrics Wall Art?
Siobhan Gray says
I’d like to know as well!
Kris Jarrett says
I bought the artwork from an Etsy Shop but unfortunately that particular shop has since closed…
heather says
Impressive!
Wendy H says
Please tell me the brands of the 2 cute dark (navy, black?) floral dresses in your clothes closet, I love them!
Lakesha says
Gosh, everything is so beautiful and well done. I love all of your ideas. I wish I had just a small amount of the vision you have 🙂
Jill Paterson says
You are simply amazing. Do you provide consulting services online?
Jill says
Great ideas and beautiful rooms. I’ve taken the folding doors off and used curtains, but hadn’t considered removing the partition between the two closets. Putting that on my list. I love the hanging chair in Closet #2 makeover room, but the link is dead. Do you remember where it is from? Love your site.
Thanks!
Ann says
I took down my annoying closet door like you did… now I can see everything in my closet . I’m so happy.
Kris Jarrett says
Doesn’t it make such a huge difference?! Wish I had done it years earlier!
Lis says
Love the closet!!! Awesome job!
Kris Jarrett says
Thank you so much!
Jean says
I love your Beautiful Remodel so clean. Really help give me so ideas. Beautiful!!!!!! Jean
Kris Jarrett says
Thank you so much Jean!
Gail Storti says
Hi Kris, WOW, you’ve done a fabulous job working with those flat slab doors and they look amazing with not much work. And I LOVE how you made your closet over with wonderful wallpaper and curtains. Getting rid of the center post sure makes all the difference when it comes to using the closet. Your daughters bedrooms are gorgeous (well, your whole house is gorgeous) and I love the armouir makeover for your guest room. Thank you for sharing sources for things you’ve done, it really helps when I think, gee, I wonder where I can get that!
Kris Jarrett says
Thank you so much for the sweet comment Gail – I appreciate it so much!
Julie says
OMG TOTALLY LOVE THE CREATIVE TRANSFORMATION! I see these armoires in my favorite resale shop and so cheap and keep telling my hubby the things buyers could do to these in making it their own. If only people look past what they see!! BEEEUTIFUL Kris!!
Kris Jarrett says
Thank you so much! They are definitely diamonds in the rough!
Janet Carlton says
Also, love your bedding linens choices. Where do you shop for those?
Kris Jarrett says
I get a lot of my bedding from Pottery Barn but also pieces from Serena & Lily, Etsy, and a few other places. If you click the images of the bedding pieces, pillows, etc. under each bedroom pic, it will take you right to the source 🙂
Janet Carlton says
Wonderful, creative solutions and decor. Thanks for sharing!
Kris Jarrett says
Thank you so much Janet!
classic casual home says
There are so many good ideas here…really love the bulletin boards on your daughter’s closet doors.
Kris Jarrett says
Thank you so much Mary Ann!!
Karen Bunch says
The cork boards as part of your daughter’s closet was such a great idea. I think all of the closet door solutions you came up with, including the armoire are great.
Happy St. Patrick’s Day. I’ve got Irish stew in my slow cooker. That’s about as much celebrating we’re doing this St. Paddy’s Day. 🙂
Karen
Kris Jarrett says
Thank you Karen! I’ve never made Irish stew but what a great idea – I’m going to try to remember to do that on St. Patrick’s Day next year!
Mom says
Don’t forget ^^^