

Today’s the day… our bathroom remodel “before” and “after” reveal is here!!! My pregnancies took about as long as it did to birth this new space but my new baby is everything I was hoping for and more! Ready to see? (post includes affiliate links – full disclosure statement available {here}).
Let’s start by throwing it back to what our master bathroom looked like before. It was tiny, as in ‘I can spread out my arms and almost touch all four walls’ tiny with a small corner shower, toilet and pedestal sink:
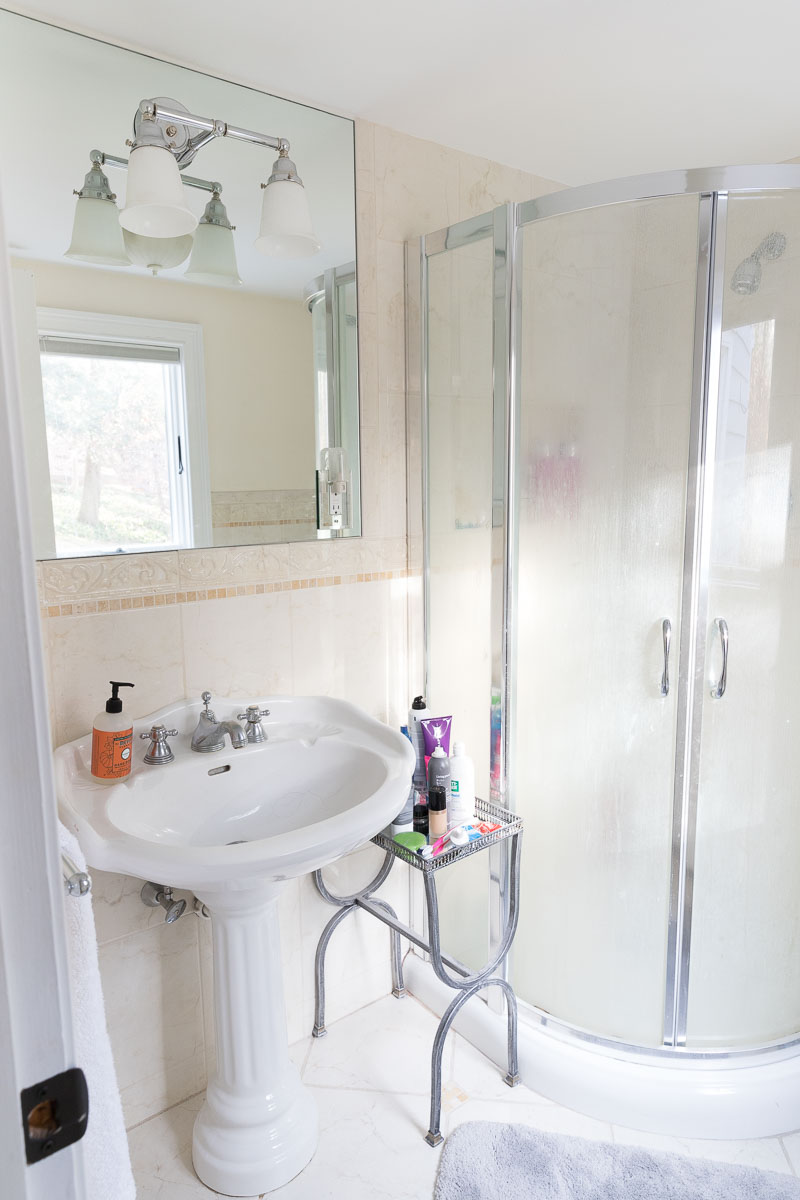
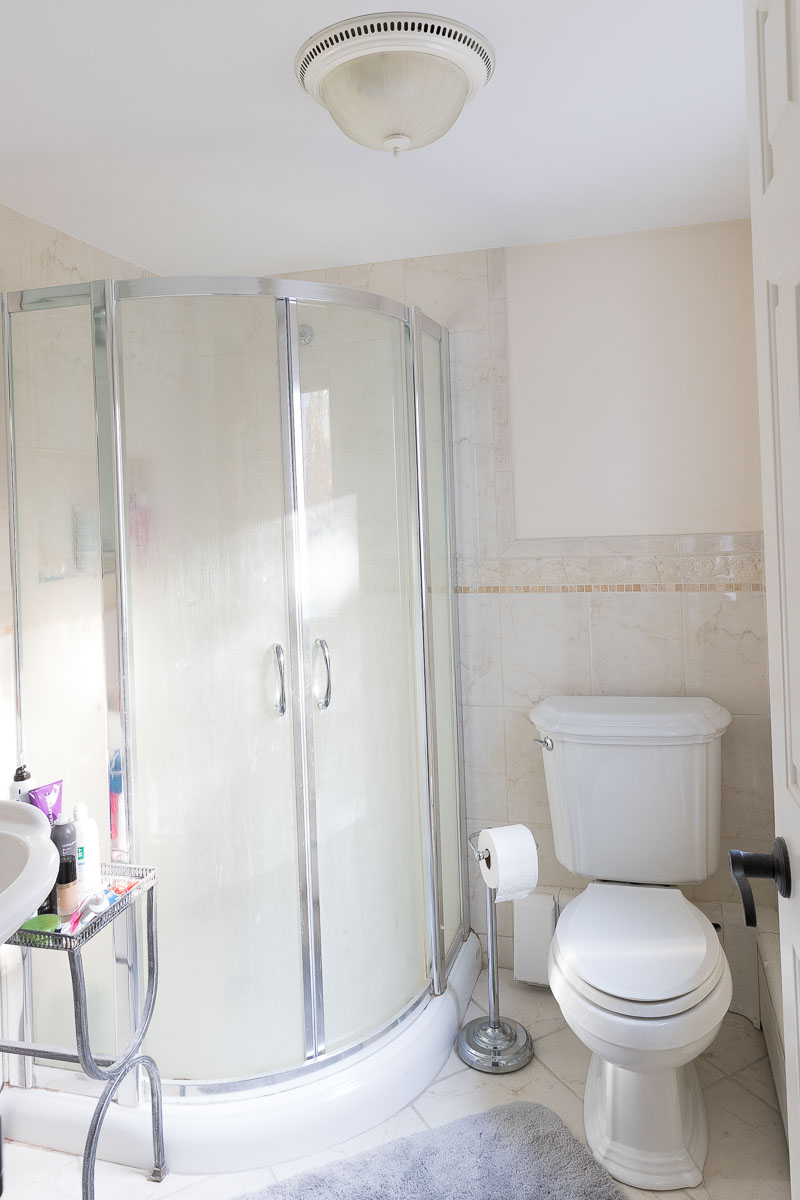
Our bedroom is on the first floor and fortunately we had space right off of it to put an addition so that’s what we did! Our old bathroom got completely gutted (it’s actually now part of our new closet) and an entirely new 190 sf space was added onto it. These are our final plans (done by Kathleen Poirier) – I shaded in the portion that was our old master bathroom so you could see what a HUGE difference we’re talking about:
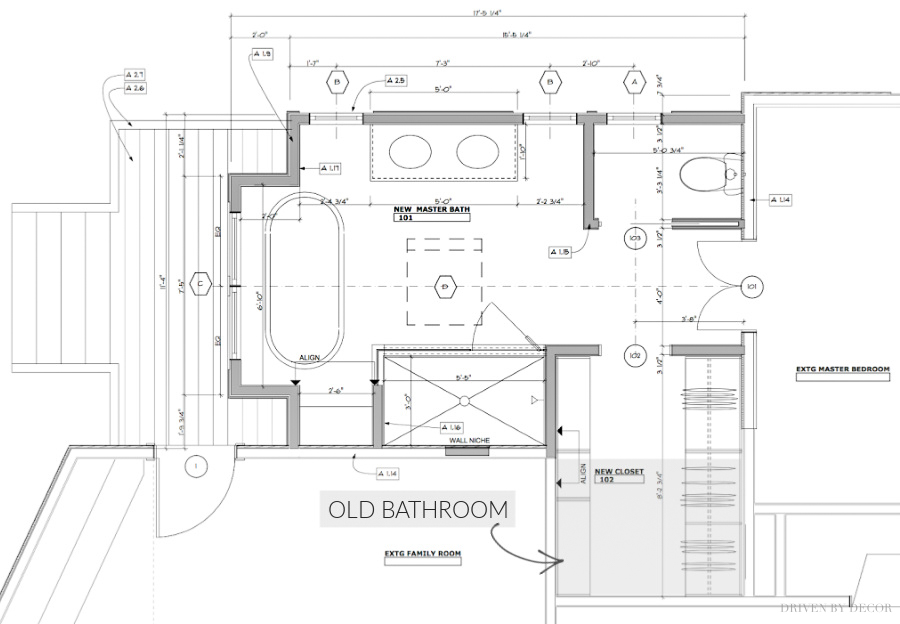
We were limited in the size & shape of the addition by the setback to our septic system and the ability to still have a door leading outside from our family room but we used every square inch that was available to us. Come on in and see…
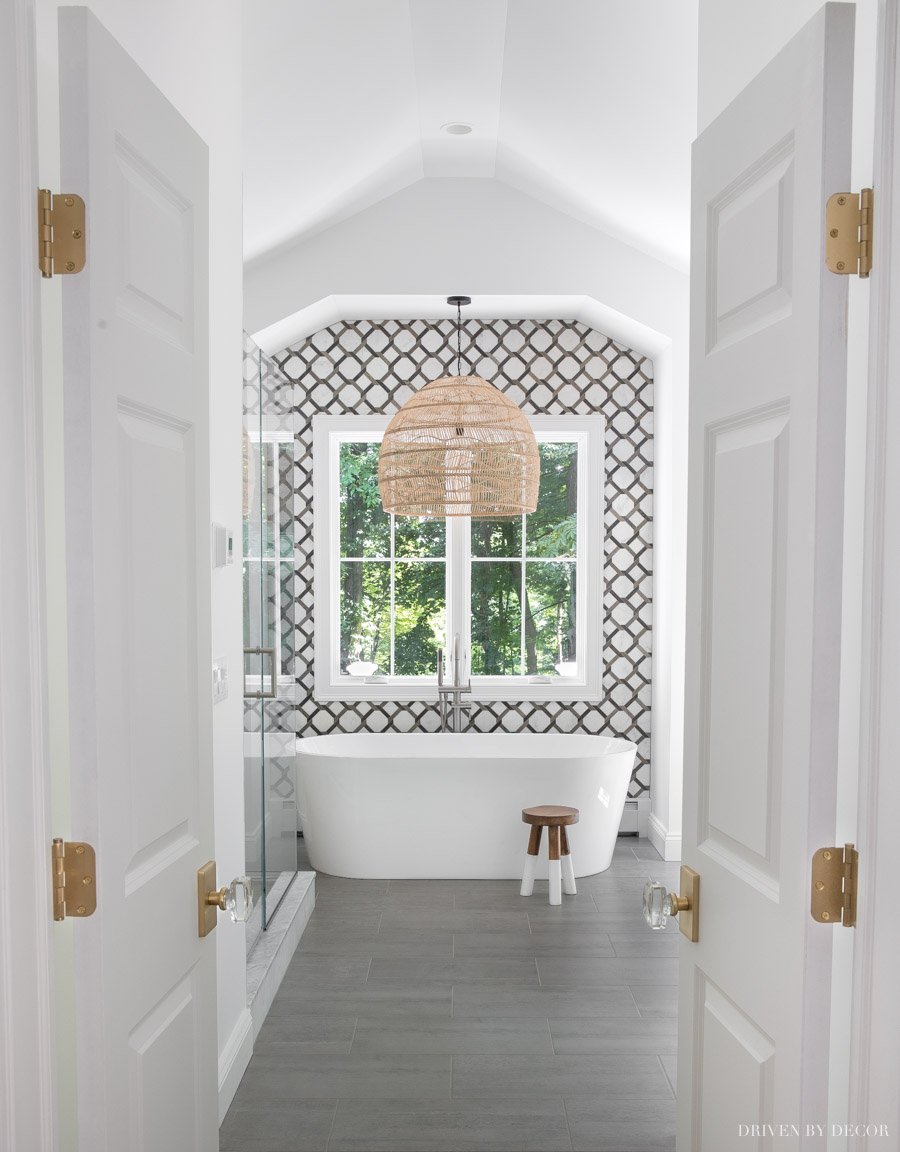
(crystal & satin brass doorknobs c/o Emtek – available {here})
Soaking Bathtub + Tile Wall
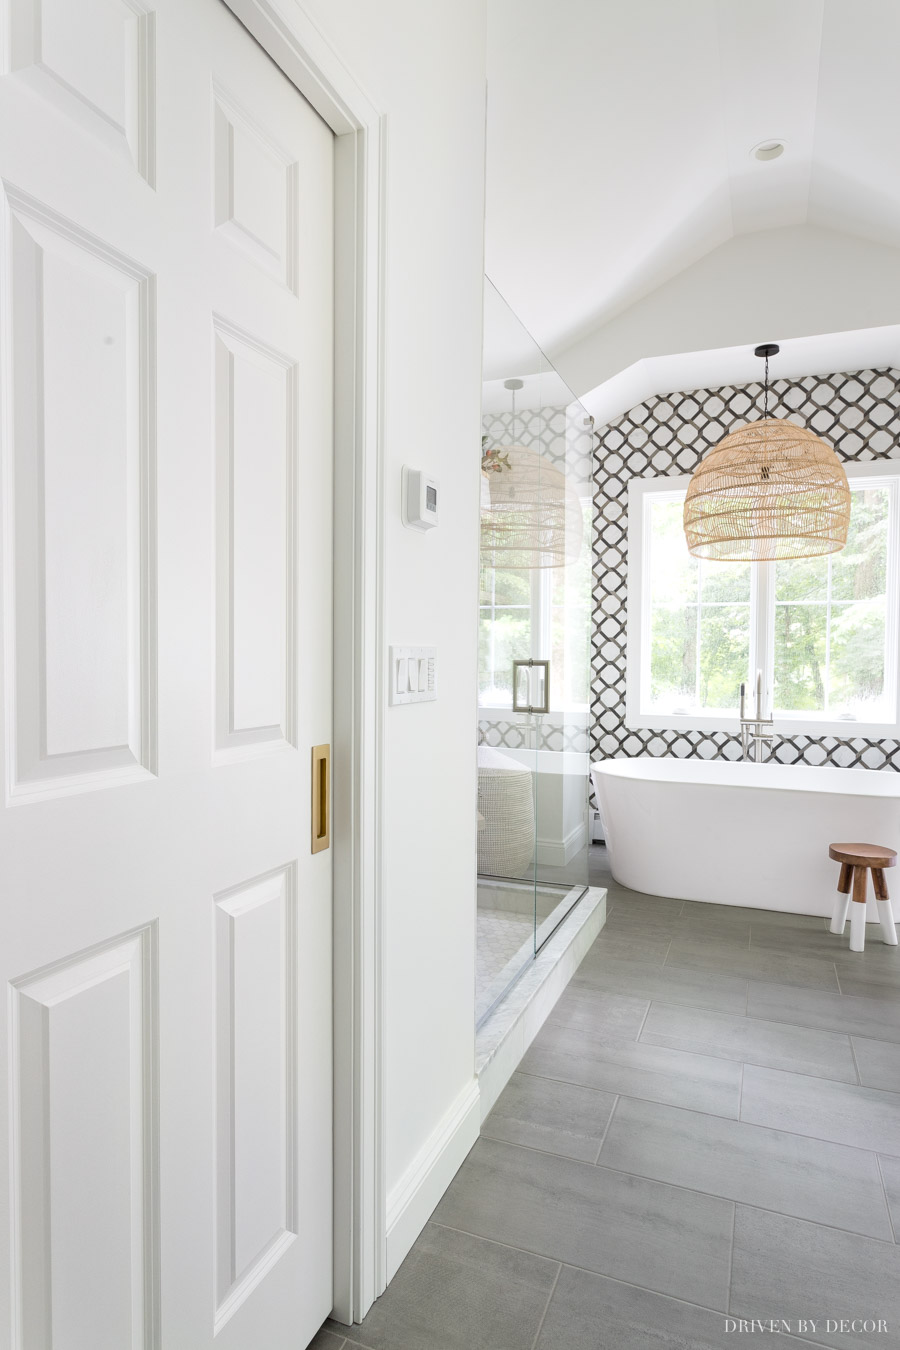
The first thing that you see when you enter through the double doors of our master bedroom is our freestanding tub with statement-making tile wall:
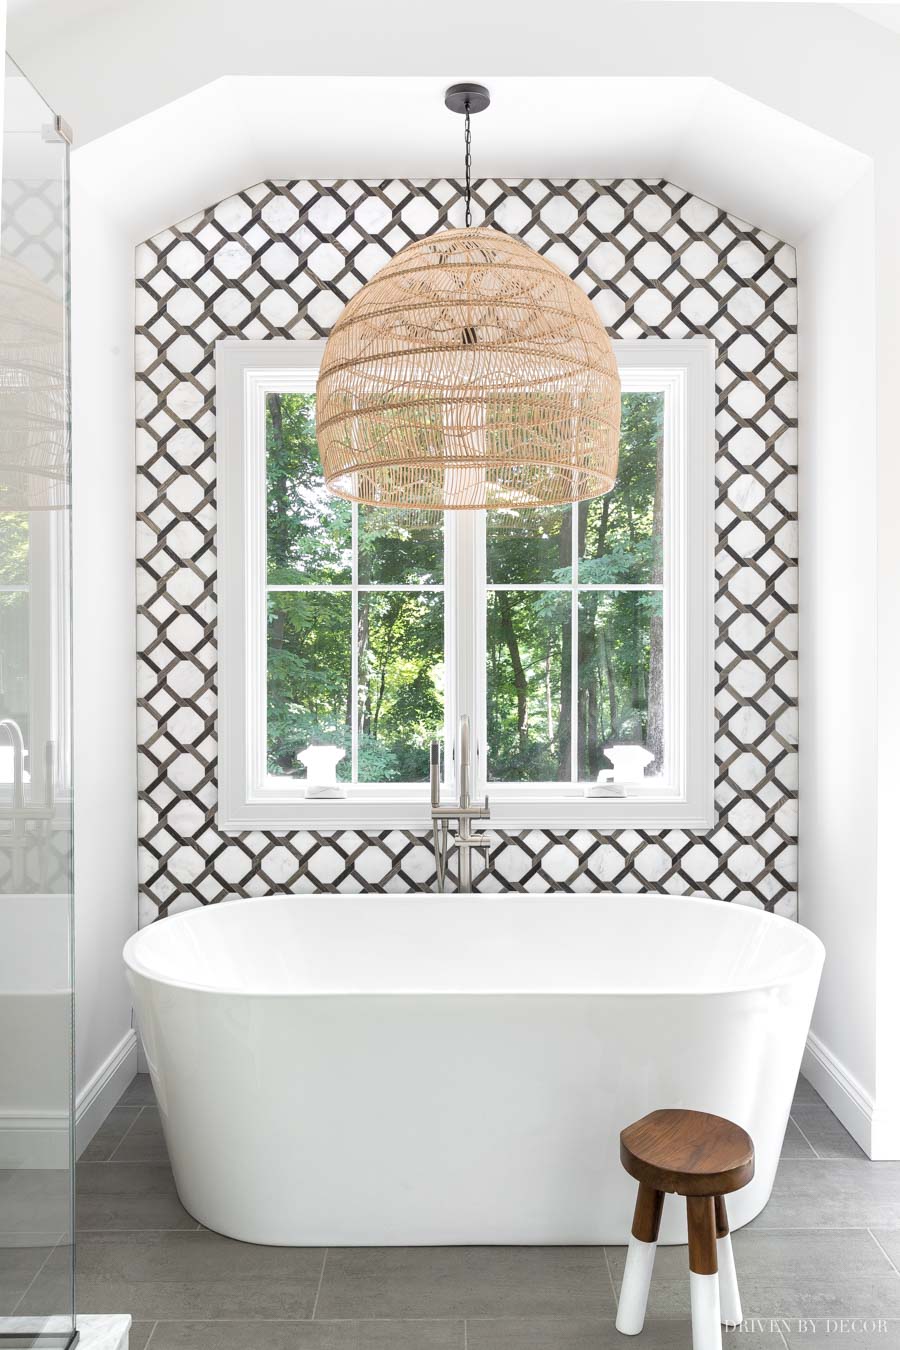
The wall tile c/o Walker Zanger is EVERYTHING – I couldn’t love it more! Definitely one of my favorite things about our bathroom remodel before and after! It’s their “Rattan” tile found {here} and is a mix of porcelain and marble:
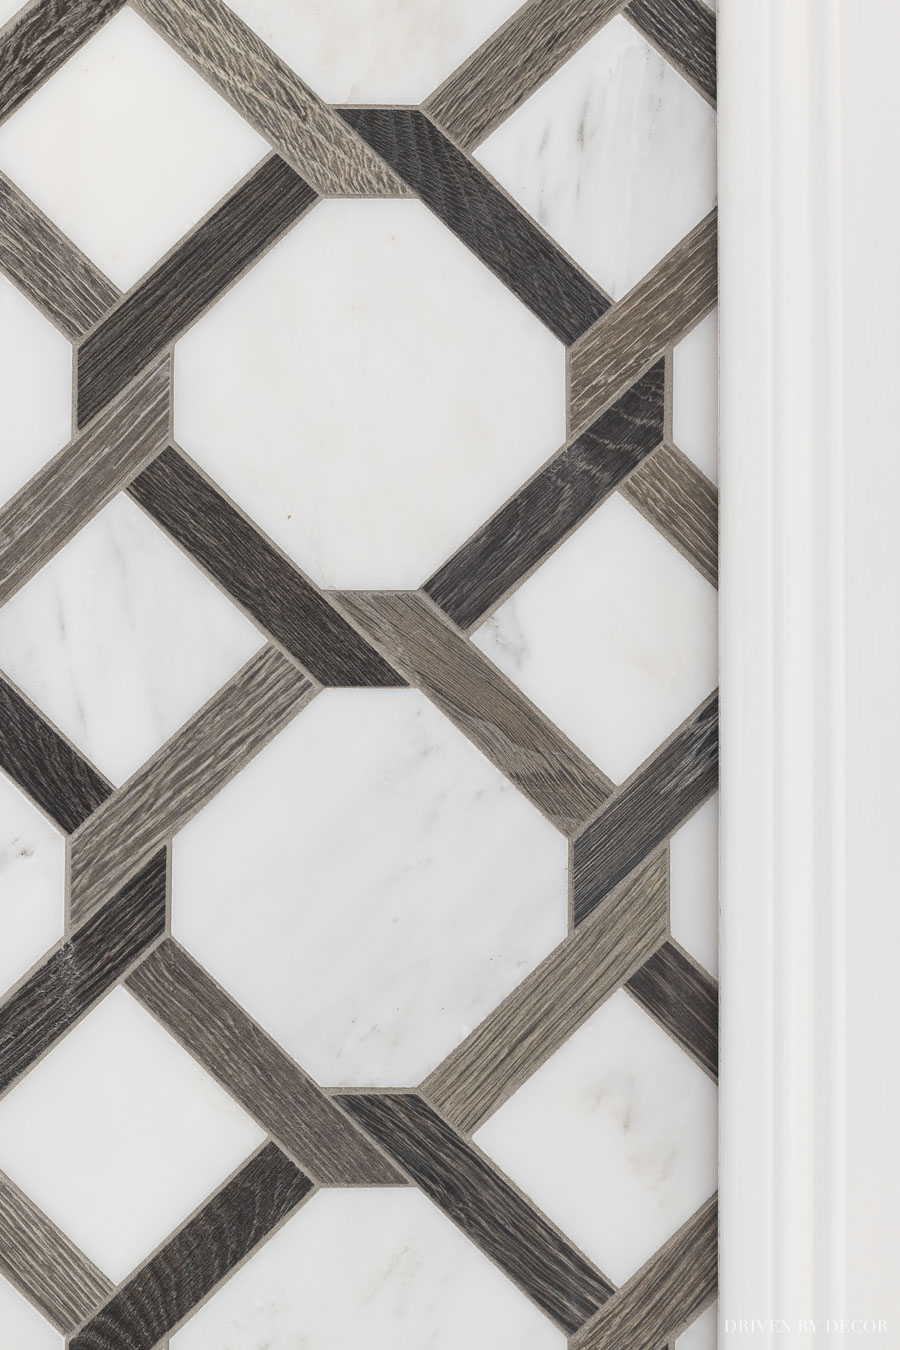
I fell in love with it early on in the planning stages for our bathroom and used it as the jumping off point for the rest of the space. Originally I was planning to use it on the shower floor but had to regroup after my tile guy told me it wouldn’t work well there (I needed something smaller to get a good slope to the shower drain). It was a blessing in disguise because I think it was meant for this spot!
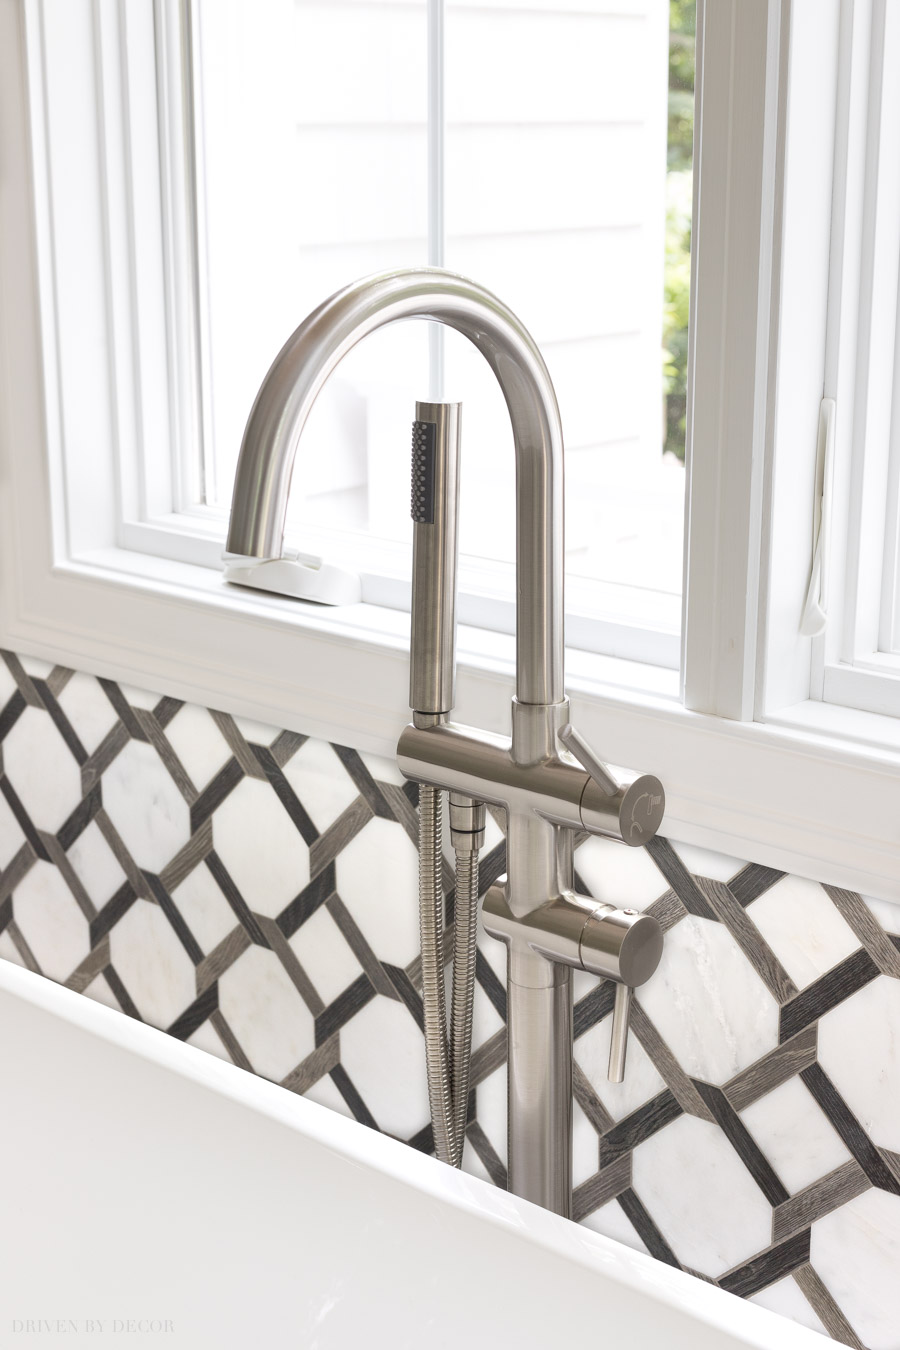
For our freestanding bathtub and tub filler, I wanted pieces with simple, clean lines so the tile wall could be the statement-maker. I ended up choosing {this 67″ soaking tub} which has a nice depth and a not too small but not too big size and {this tub filler} in a brushed nickel finish:
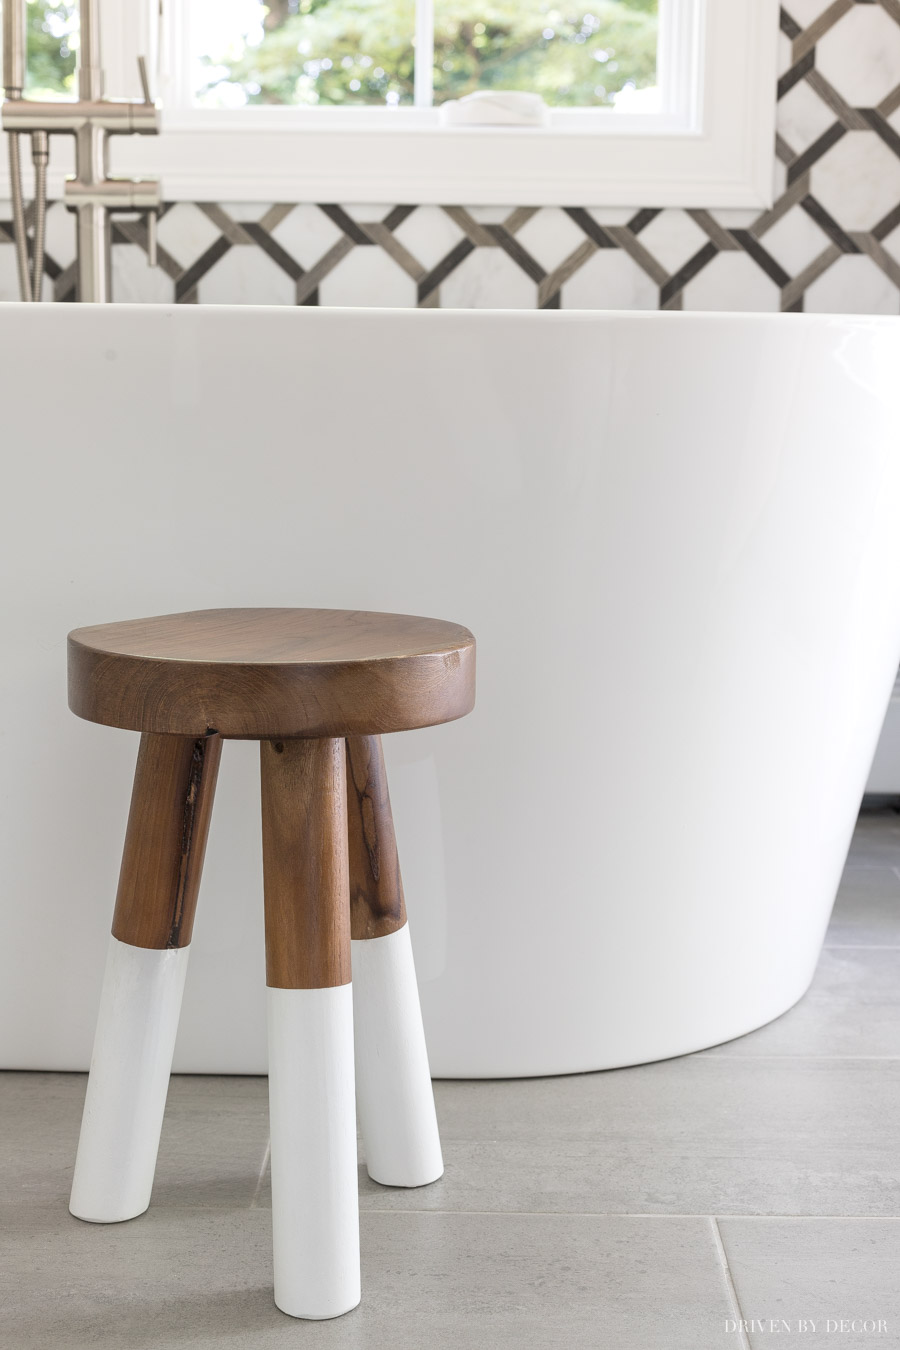
And I added {this small wood stool} in front of the tub to hold a drink or towel:
For floor tile throughout the space, I chose {this gray ceramic floor tile} grouted with MAPEI Pewter grout. We placed a Nuheat nVent electric floor heating mat under our tile floors so they’re heated, which has been amazing!!
On to the pendant over the tub – it’s large and in charge and I love it (it’s available both {here} and {here})! It’s 30″ in diameter which is huge but since it’s an open weave it doesn’t take up much visual space and doesn’t block the view out our window:
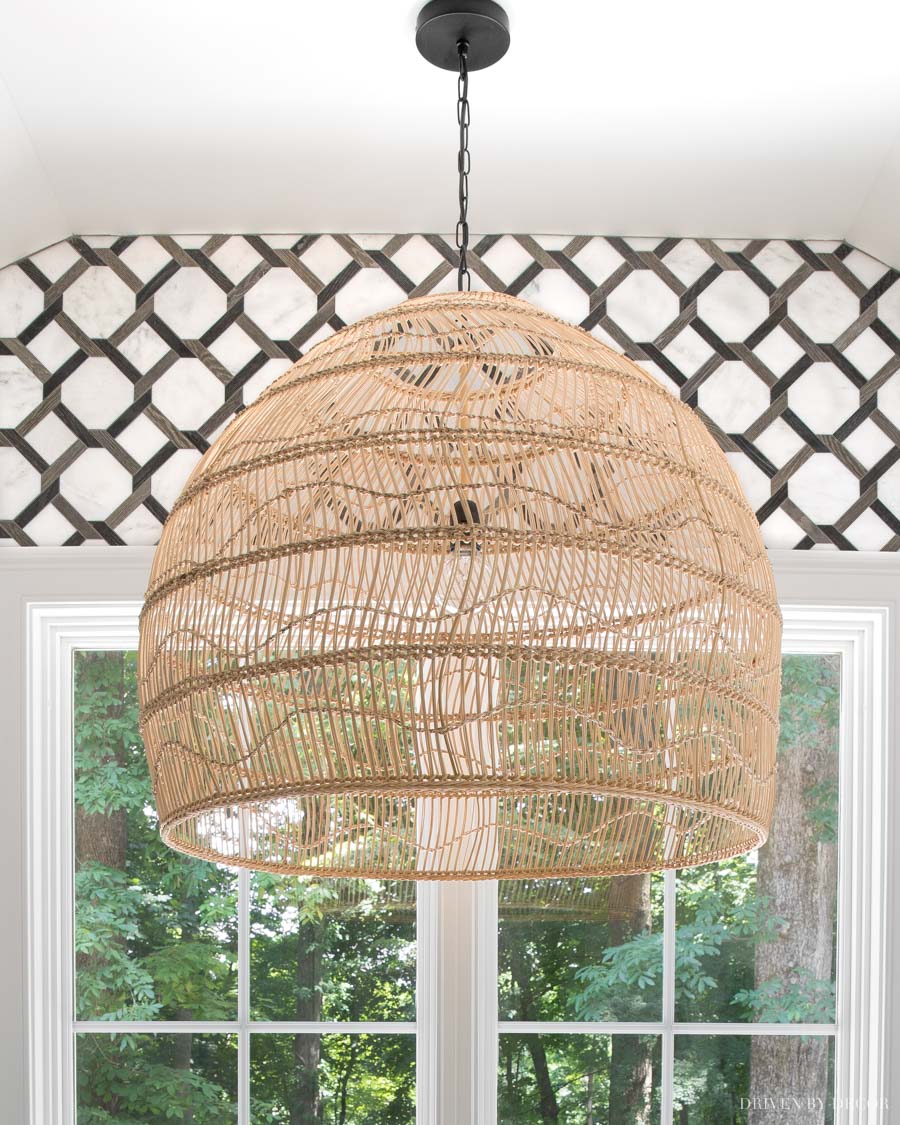
If you love the look of this pendant but want a slightly smaller size, {this rattan pendant} is very similar.
Bathroom Shelves
Turning to the left of our tub nook, you’ll find the floating wood shelves that I installed to the right of our shower:
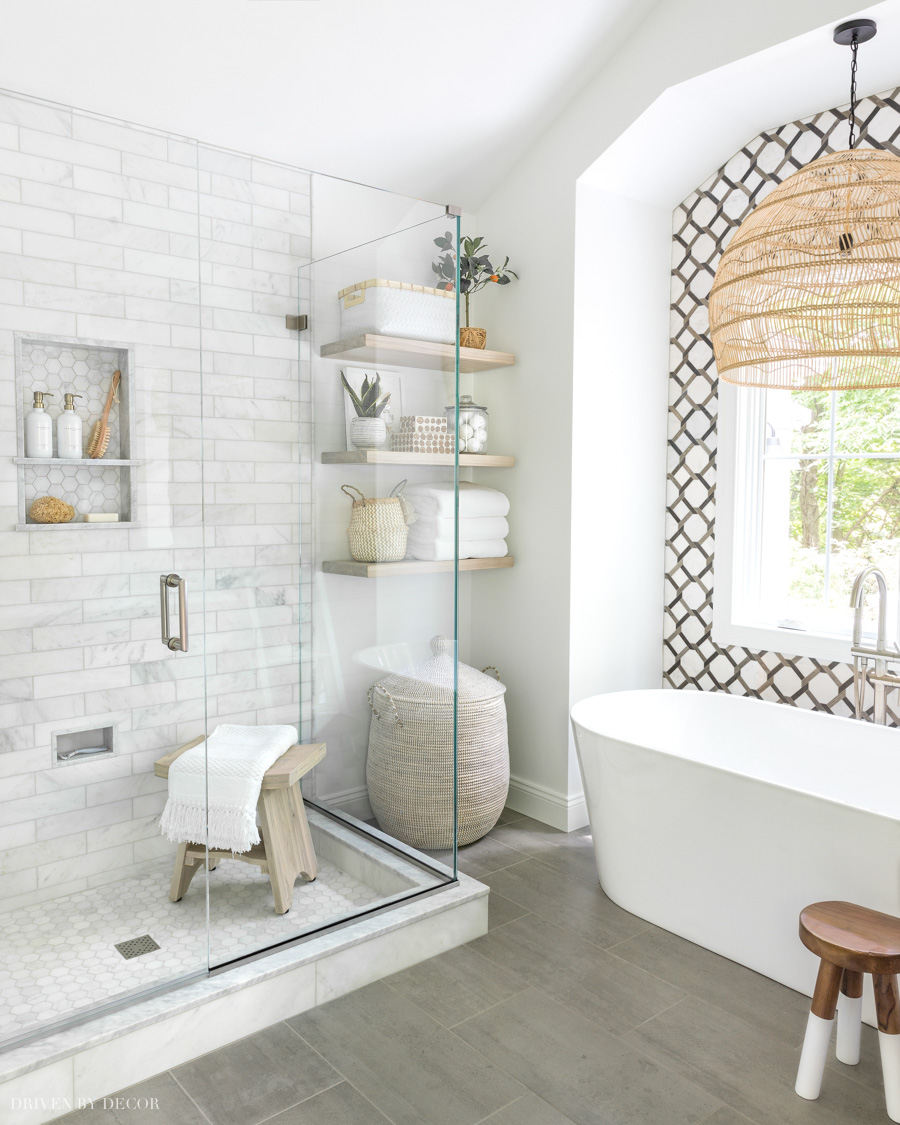
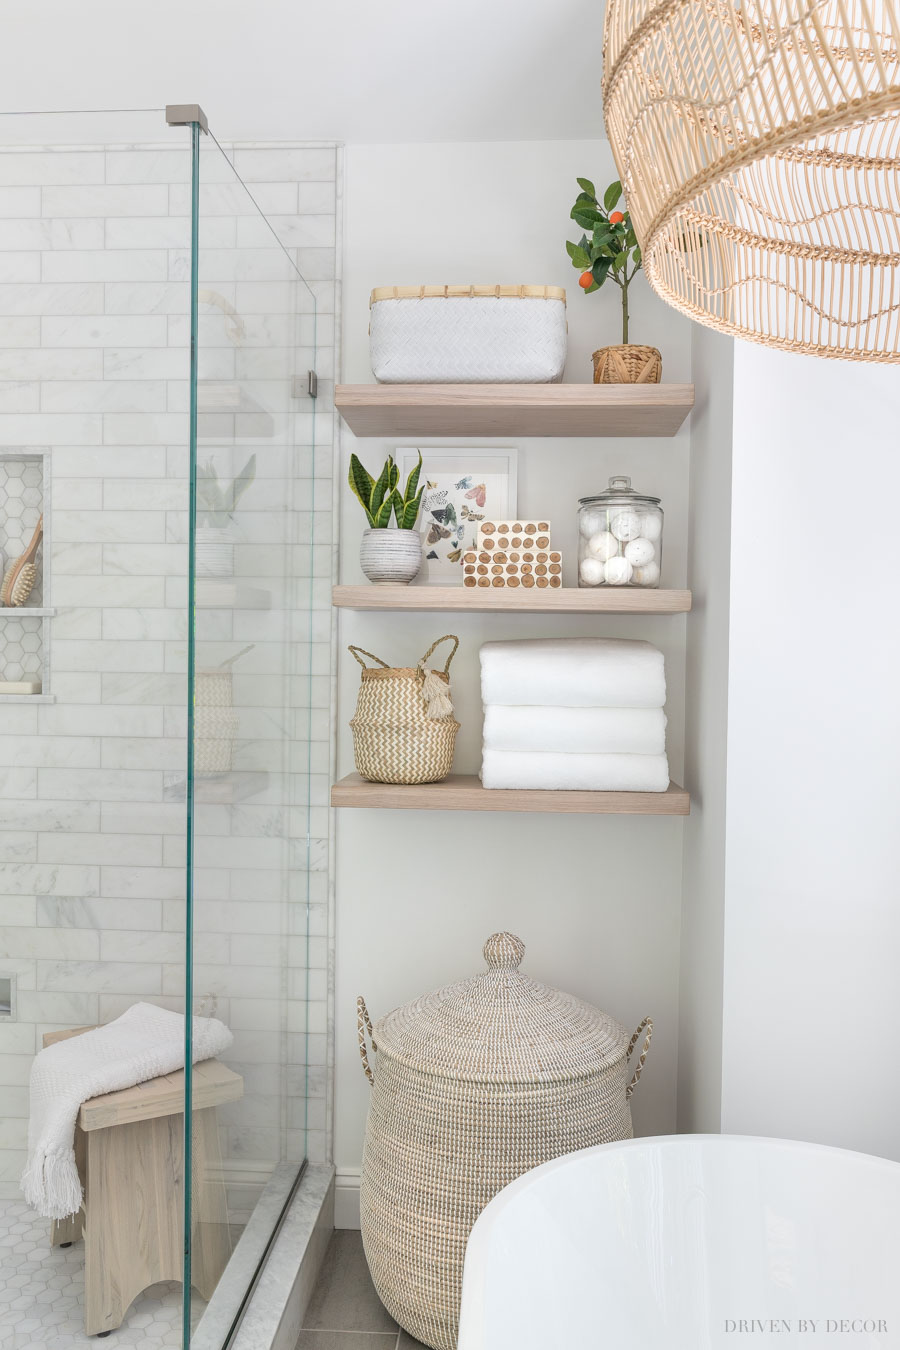
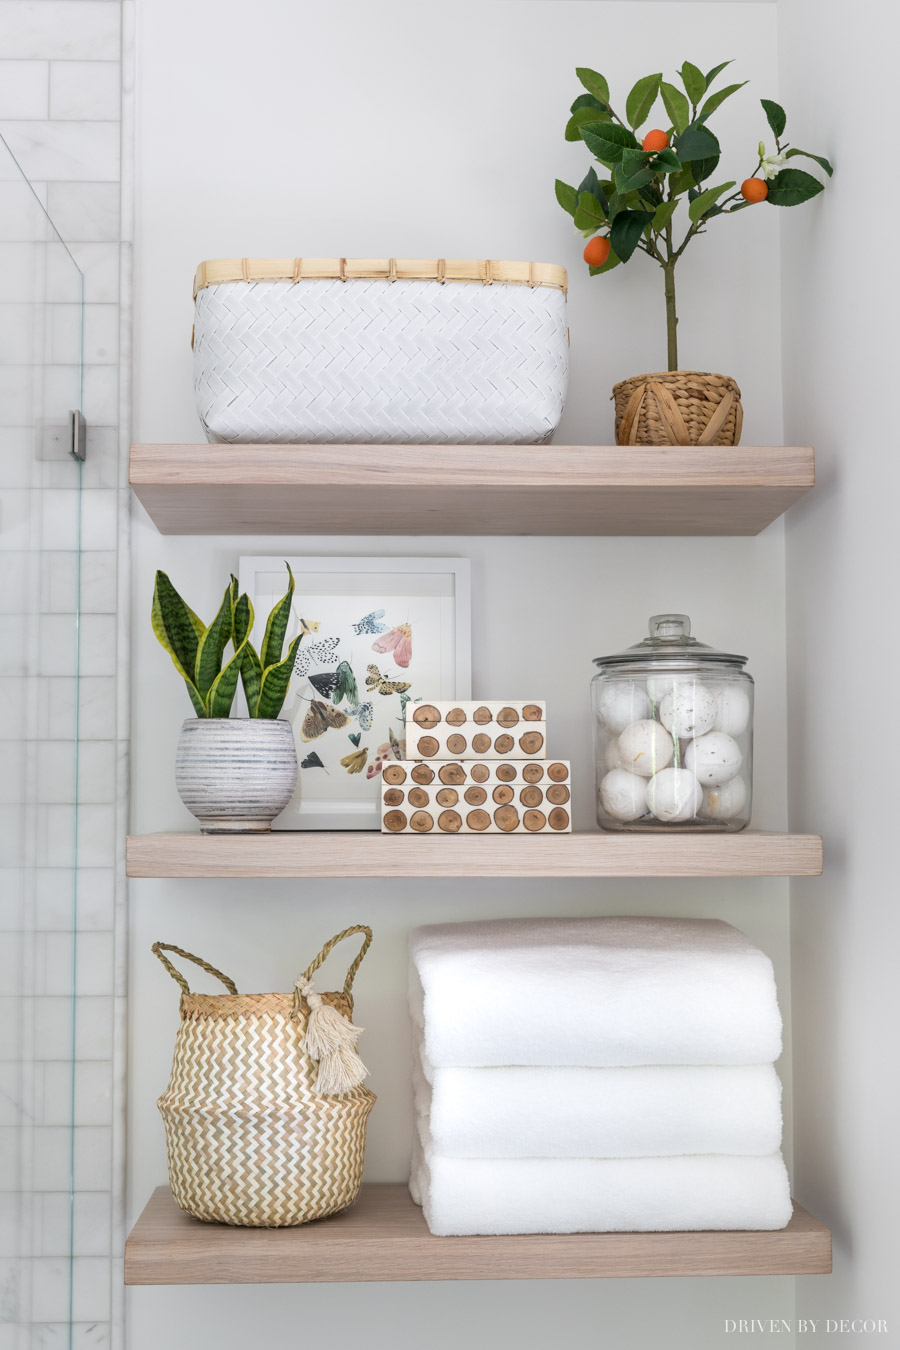
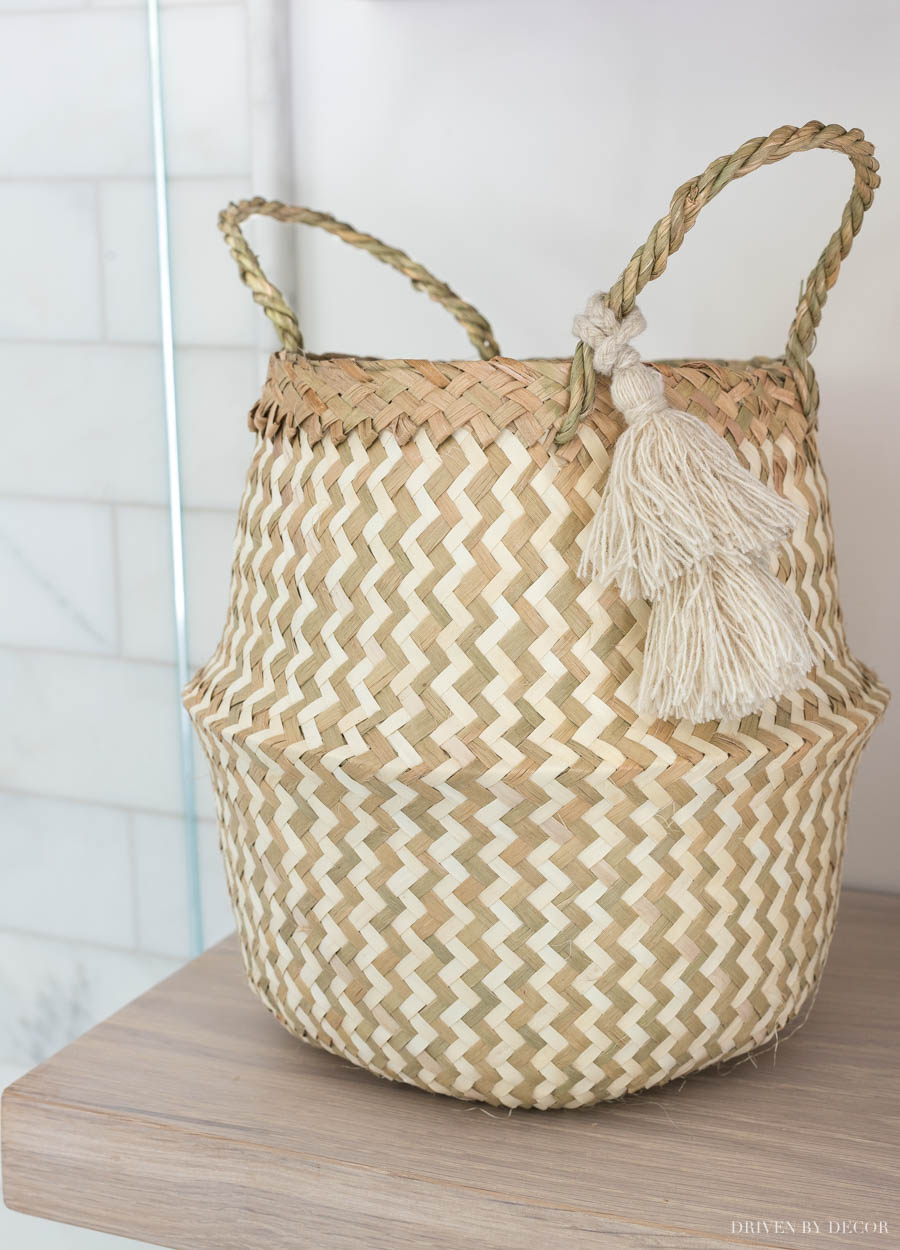
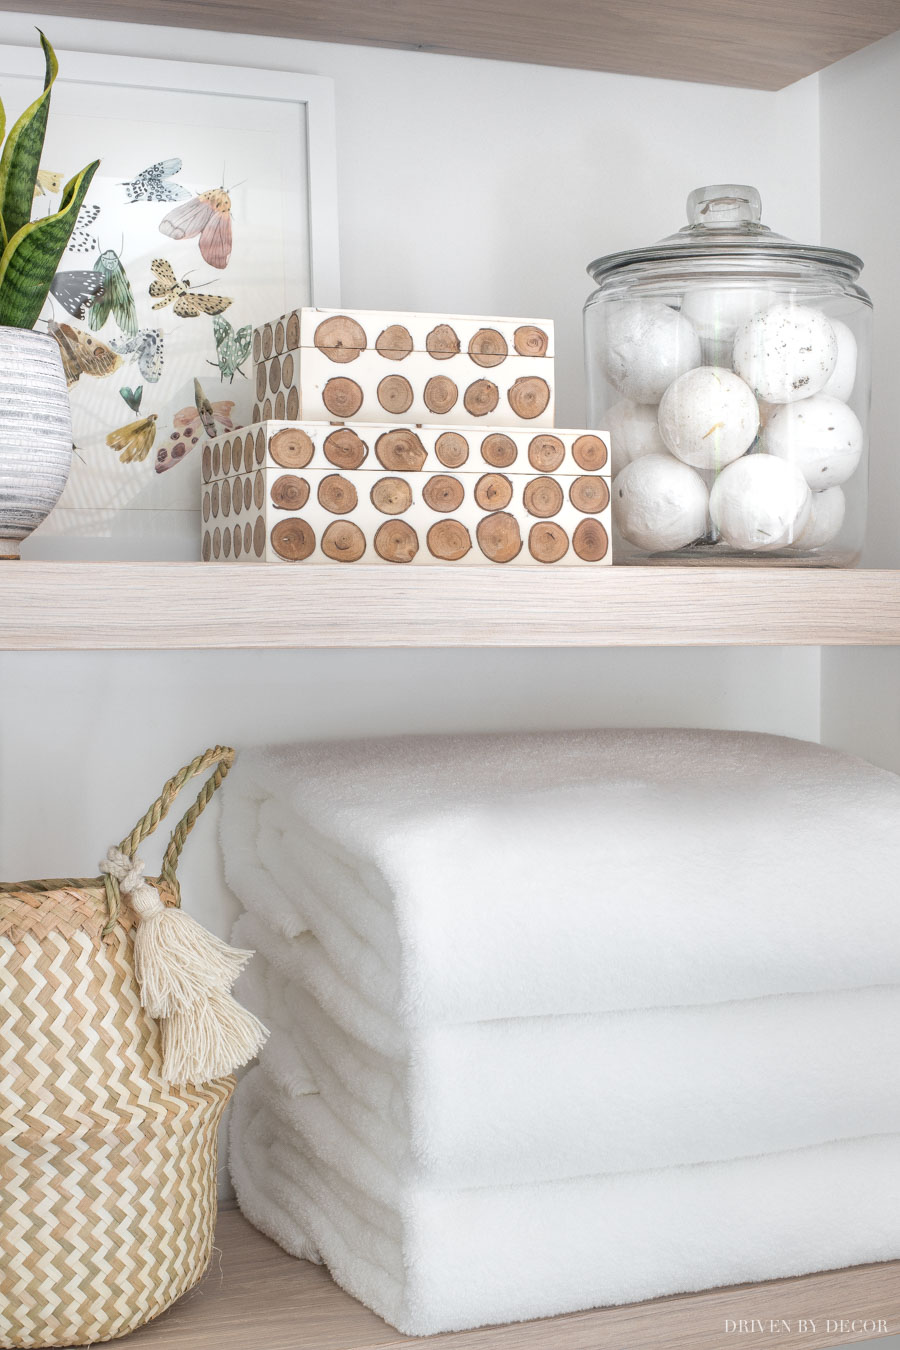
Shelf sources (from top to bottom): White woven basket (medium) | Gray & white striped planter (holding snake plant) | Colorful moth art print | White wood frame | Glass canister (1 gallon size) | Bath bombs | Belly basket (similar) | Favorite bath towels | Other accessories no longer available
I’ll share the details on our floating shelves in just a minute but first let’s talk about some of the pretties on them – the white woven basket up top holds extra rolls of toilet paper & this cute belly basket holds our washcloths:
We also have a jar of bath bombs and a spot for our favorite fluffy bath towels:
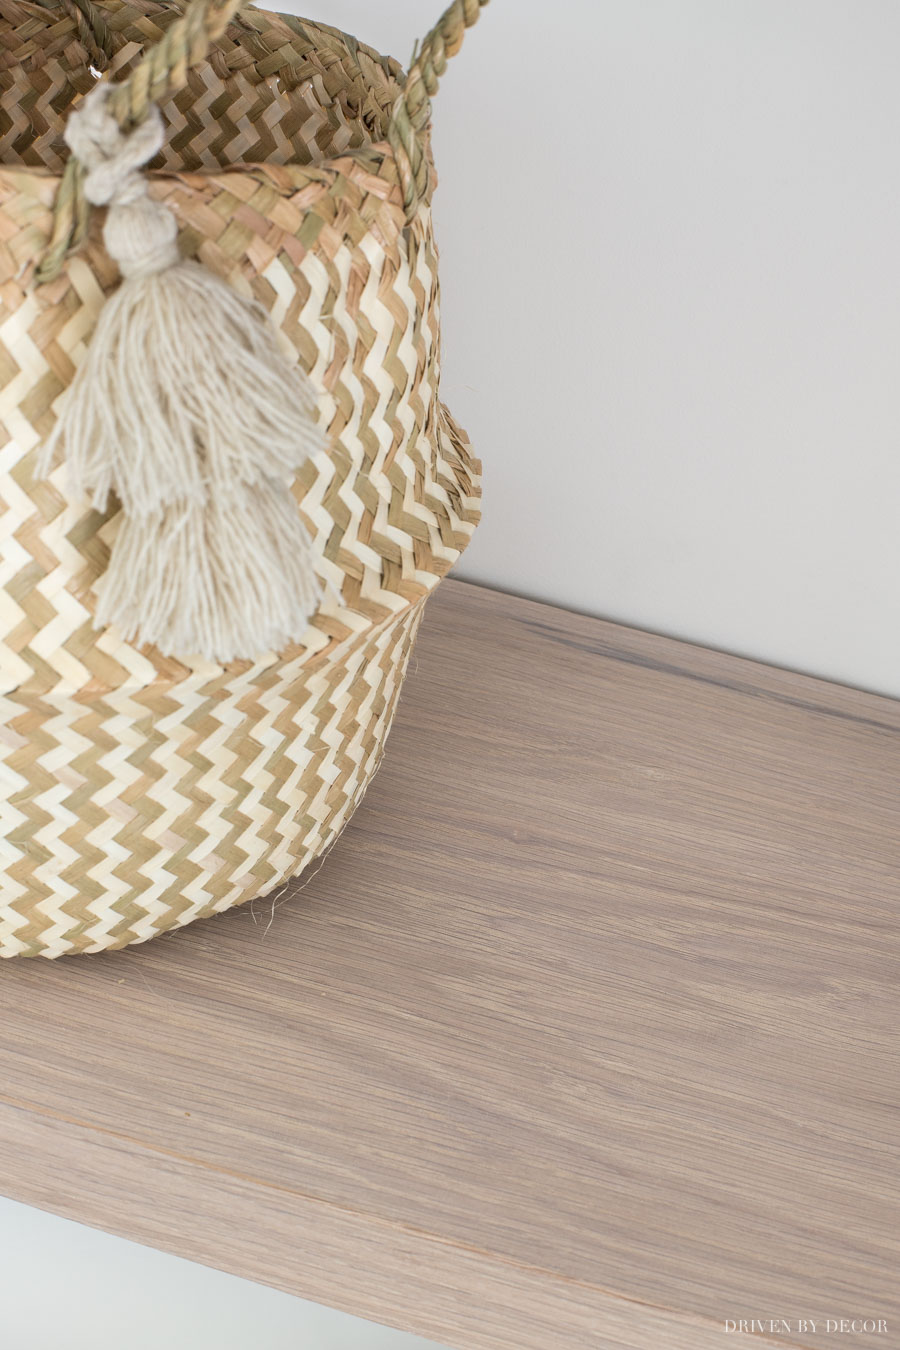
My floating shelves are c/o UltraShelf – they are 12″ deep white oak in the pickled white finish and are available {here} (they are generously giving my readers 25% off when you use this link and enter code DRIVENBYDECOR at checkout!). They came complete with all of the hardware needed to hang them and are beautifully made – I absolutely love the finish:
You can get all of the nitty gritty details (installation tips, cost vs. DIYing your own, specifics on shelf heights, etc.) in my full post on our bathroom floating shelves. Under our floating shelves is {this lidded seagrass basket – size large} that we’re using as our clothes hamper:
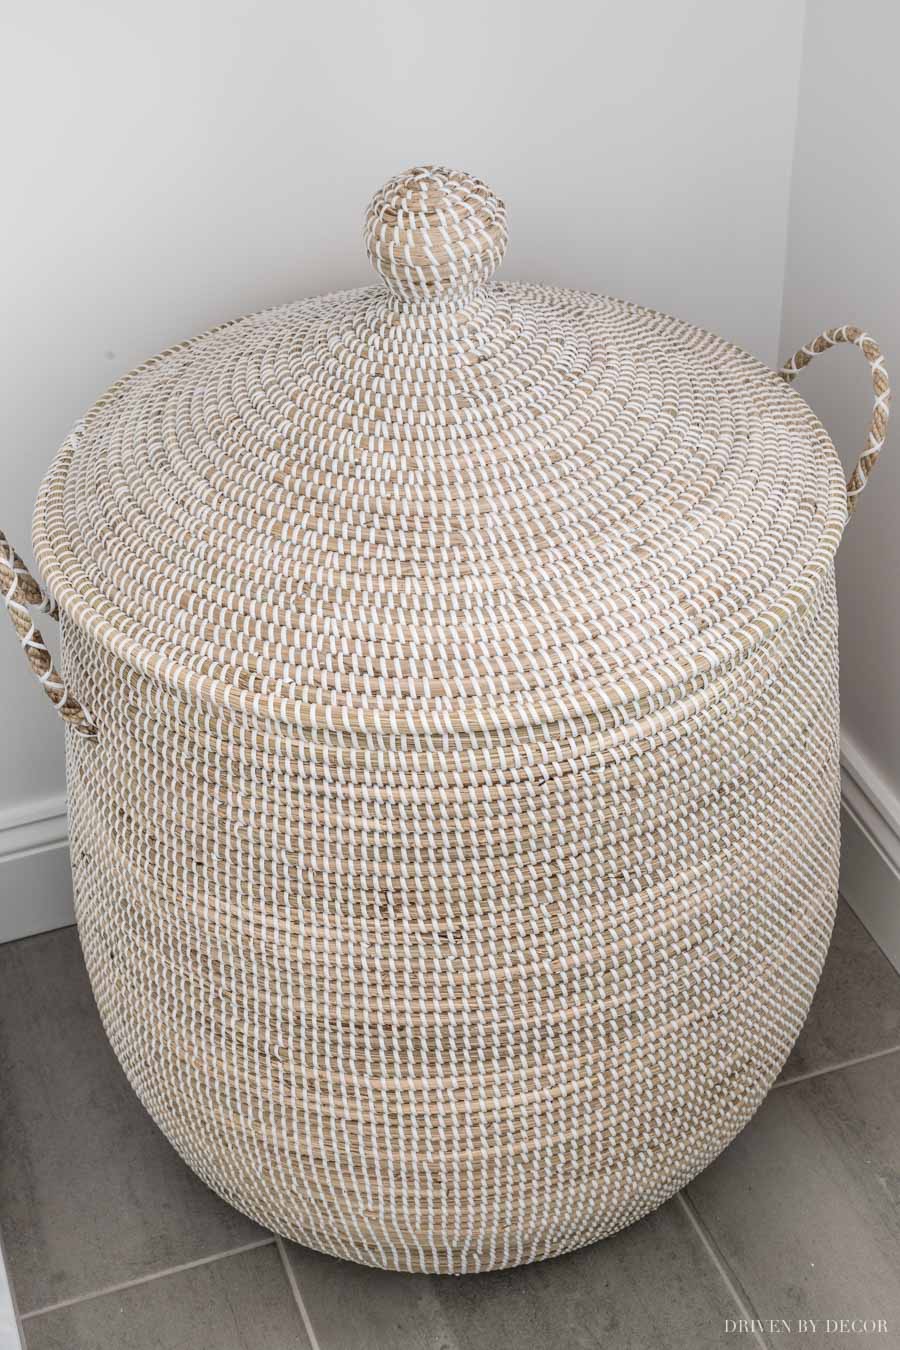
For more details on this stylish laundry hamper and other similar options, check out my post on laundry hampers with lids.
Marble Shower
Right next to our open shelving is our new shower which is a huge upgrade from the Mork from Ork shower pod in our old bathroom:
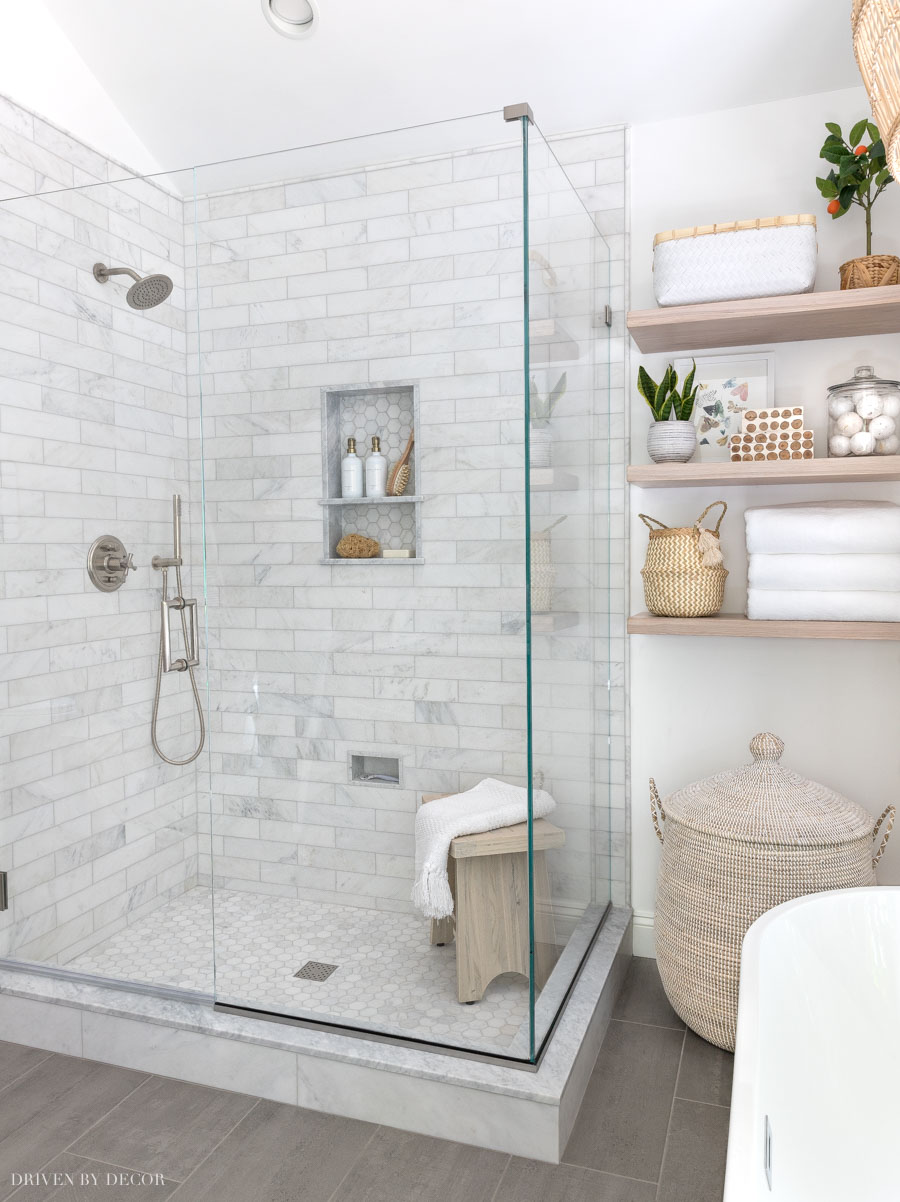
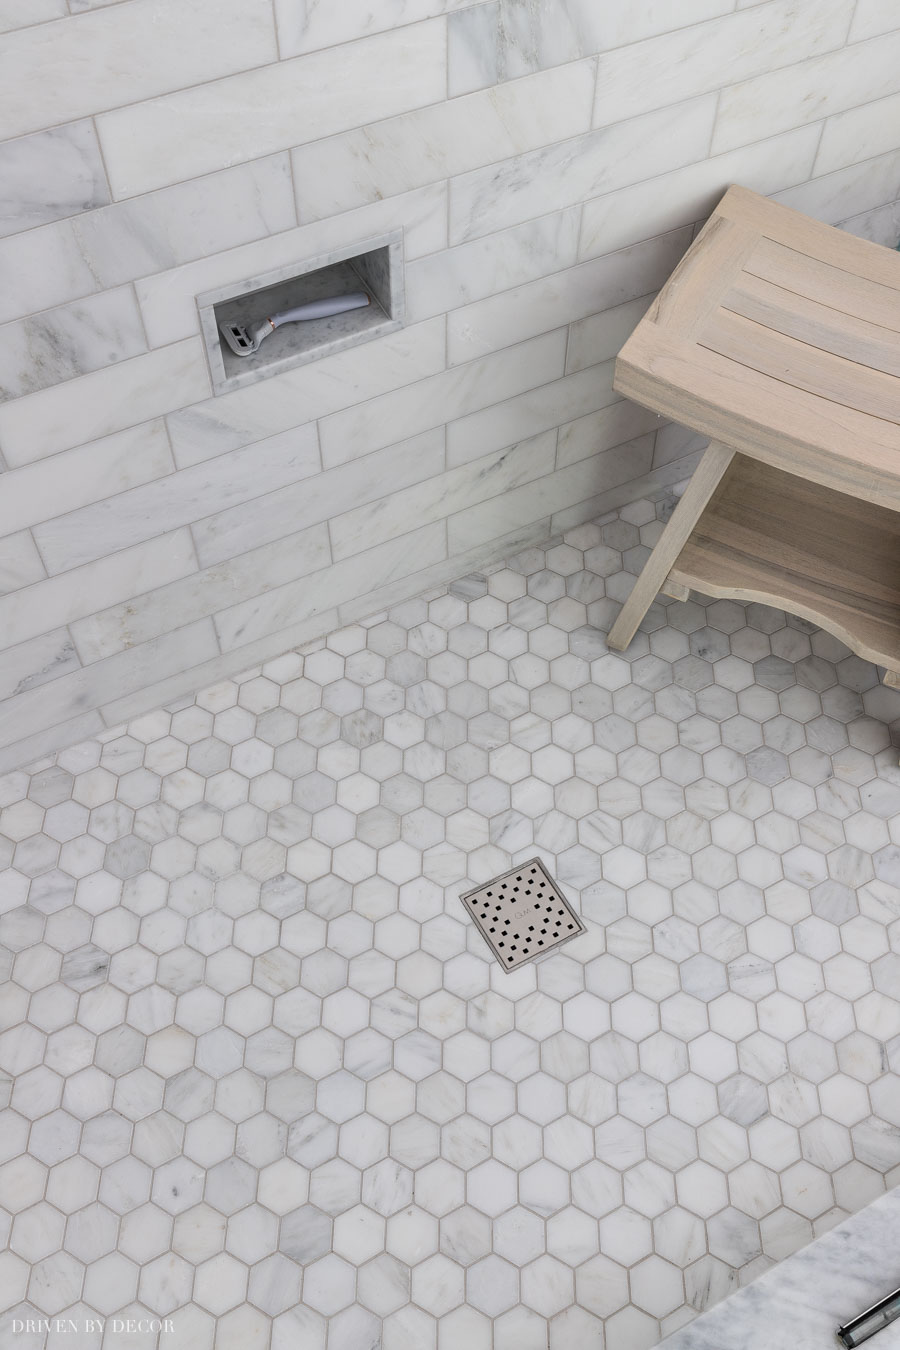
I chose {this 3″ x 12″ Bianco Bello tile} for the shower walls and {this Bianco Bello 2″ hexagon tile} for the shower floor – both are c/o Walker Zanger and are grouted with Mapei’s “Frost” grout. I fell in love with this particular marble because it’s the perfect not-too-blue, not-too-yellow tone and while it’s so very simple, it’s also really stunning once installed:
My shower niche is definitely one of my favorite things about my bathroom remodel before and after. It was created with the same Bianco Bello tile with Carrara marble shelves that were remnants supplied by my tile guys:
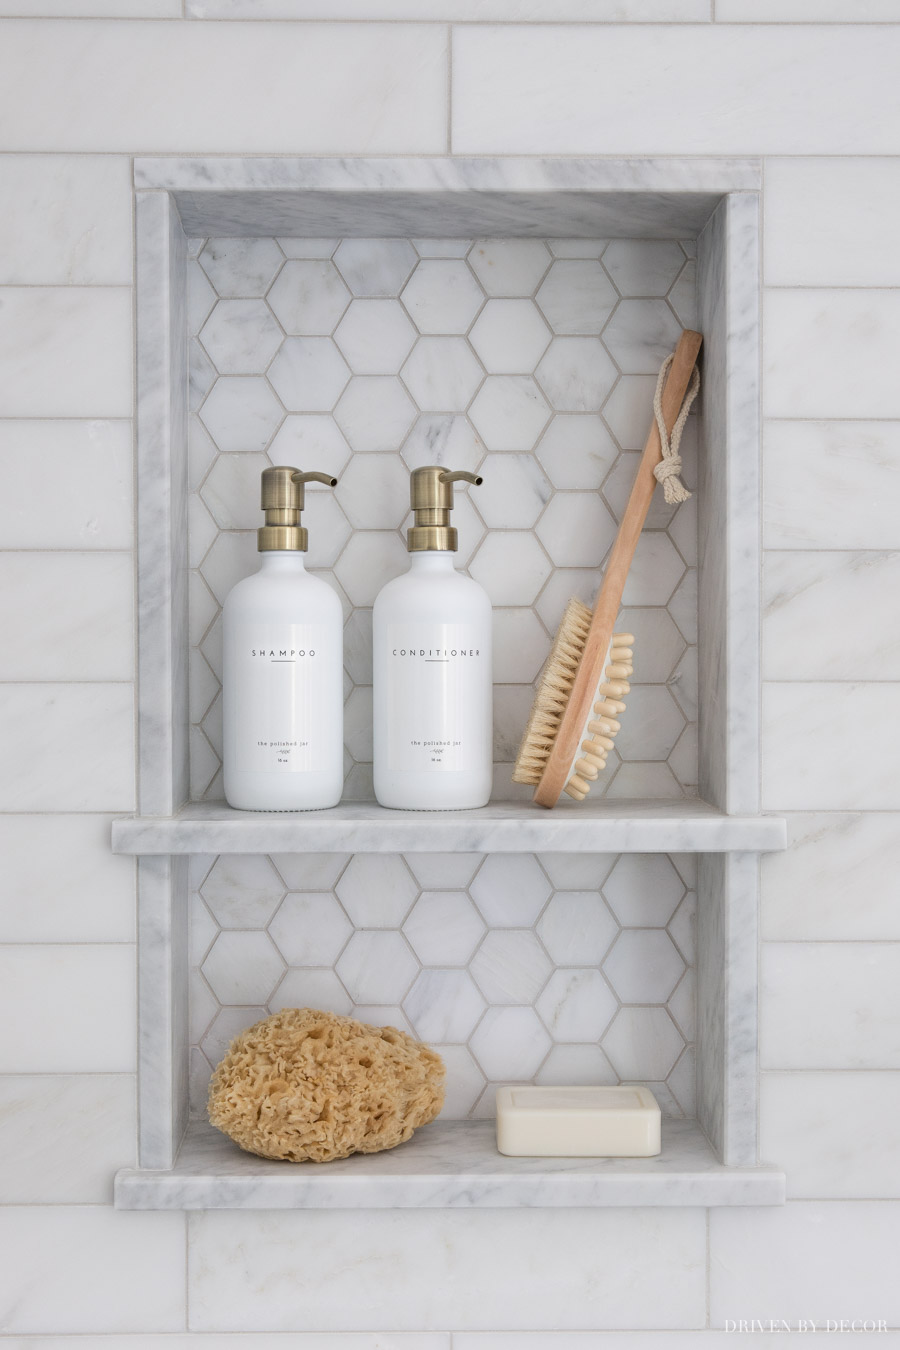
On Shower Niche Shelves: Shampoo & Conditioner Pump Bottles (16 oz white/gold) | Body brush | Sea sponge
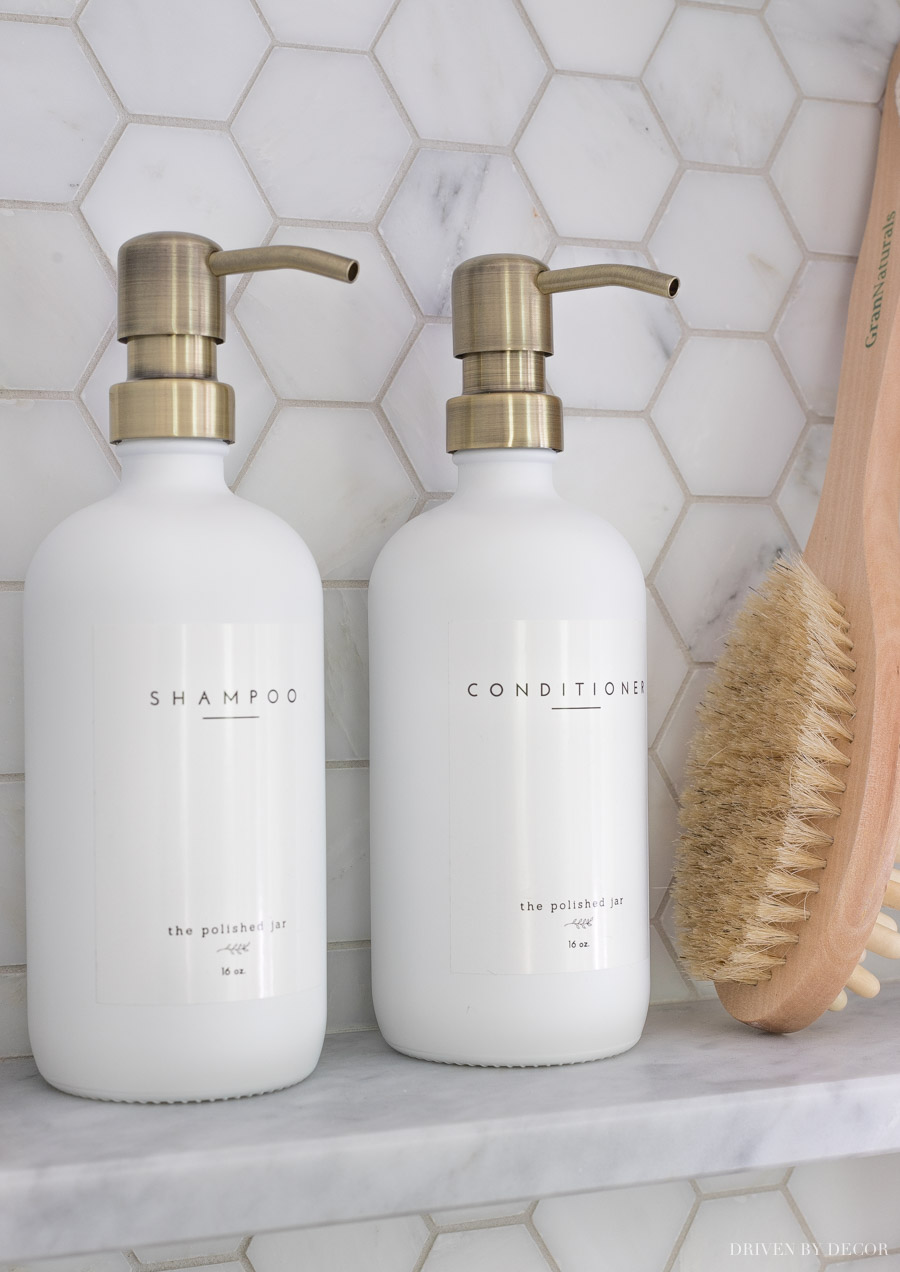
With such a pretty shower niche, it didn’t feel right to slap some bright plastic bottles on them so I found {these shampoo and conditioner pumps} that are exactly what I was looking for:
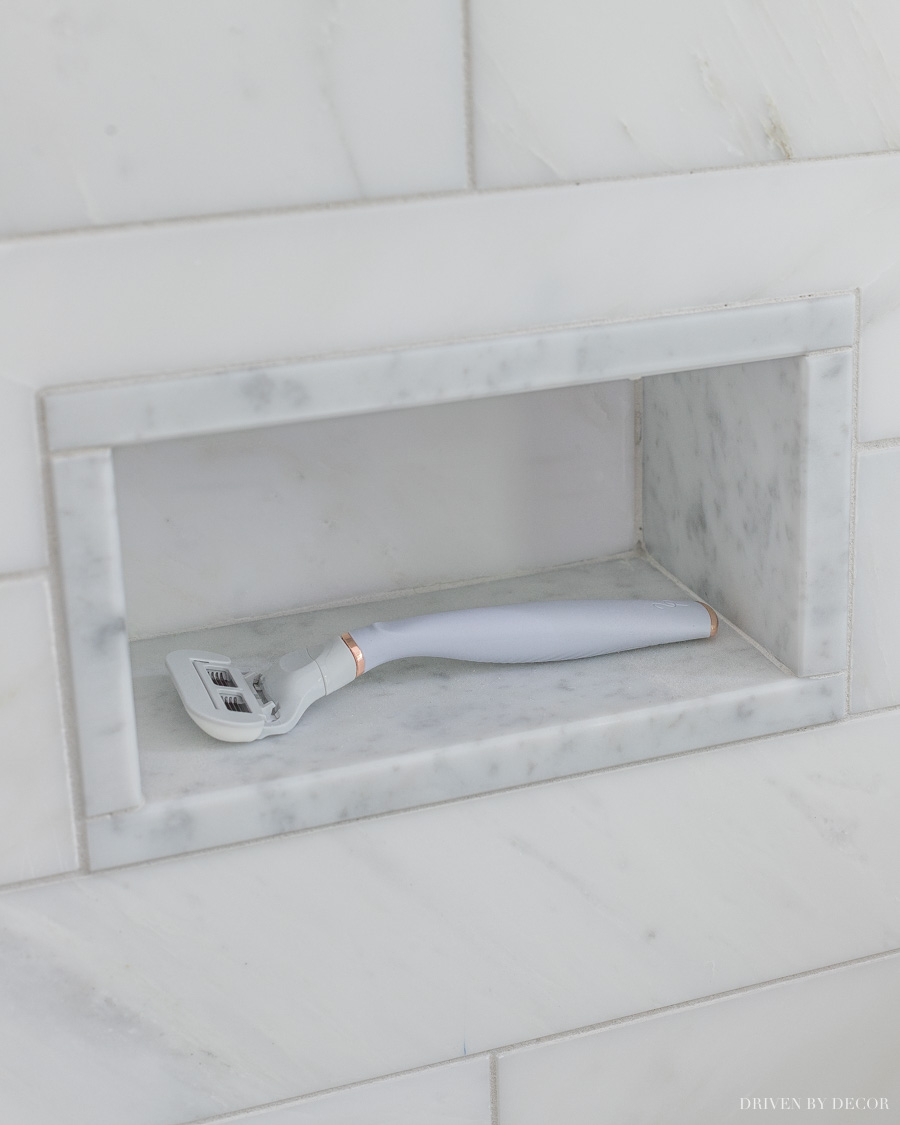
We also have a smaller niche centered under our large niche that’s a foot rest for shaving (and also the perfect spot to keep my razor):
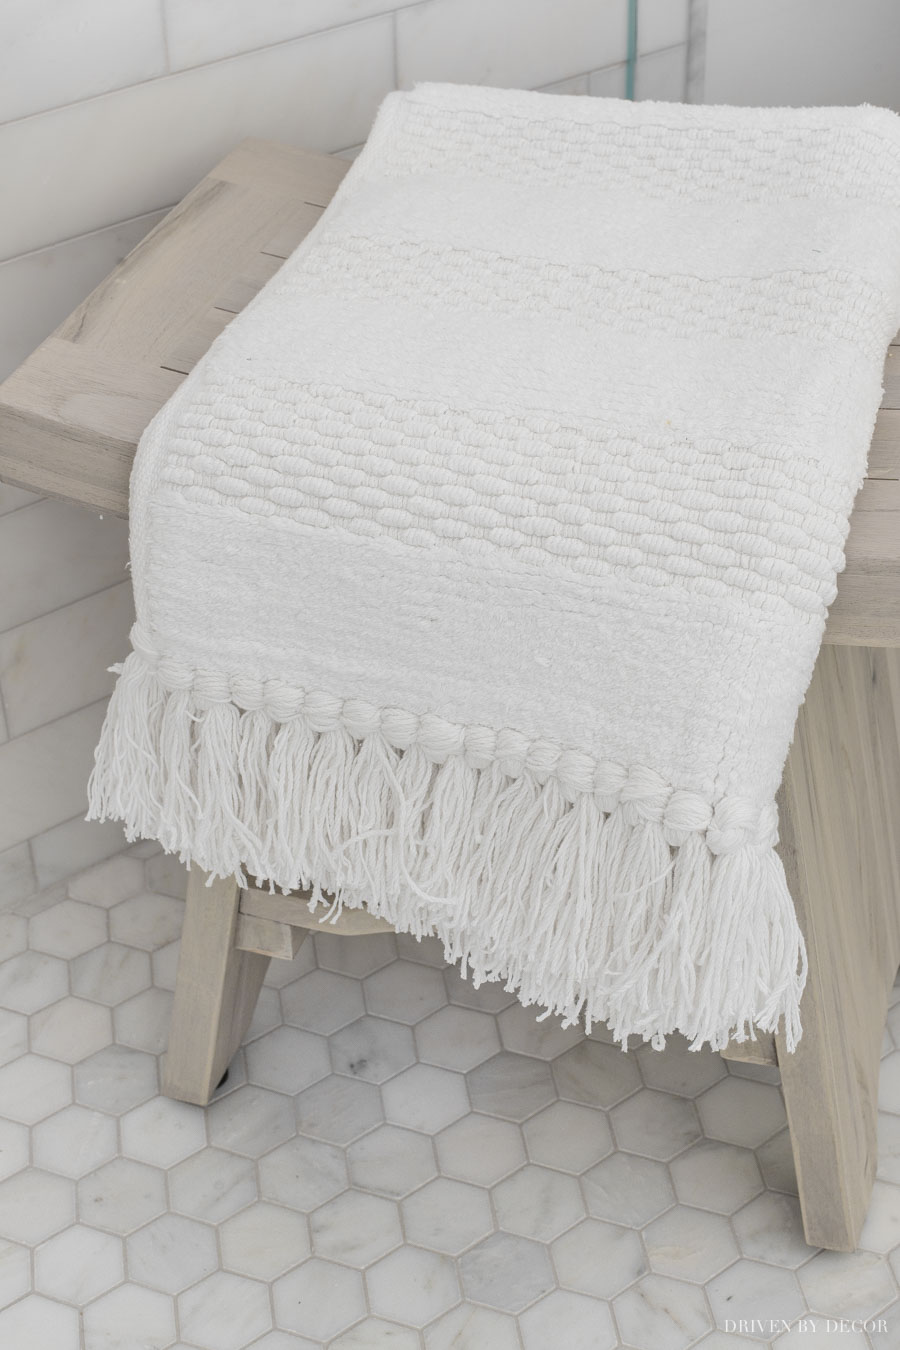
I put {this small teak shower bench} in the corner of our shower as a spot to keep our towel while showering since I elected not to add a towel bar or hooks to our shower enclosure. Right now I have our tasseled bath mat resting on it:
For our shower hardware, I was initially planning to use Kohler’s Purist shower trim set but was able to find a similar look for a bit less:
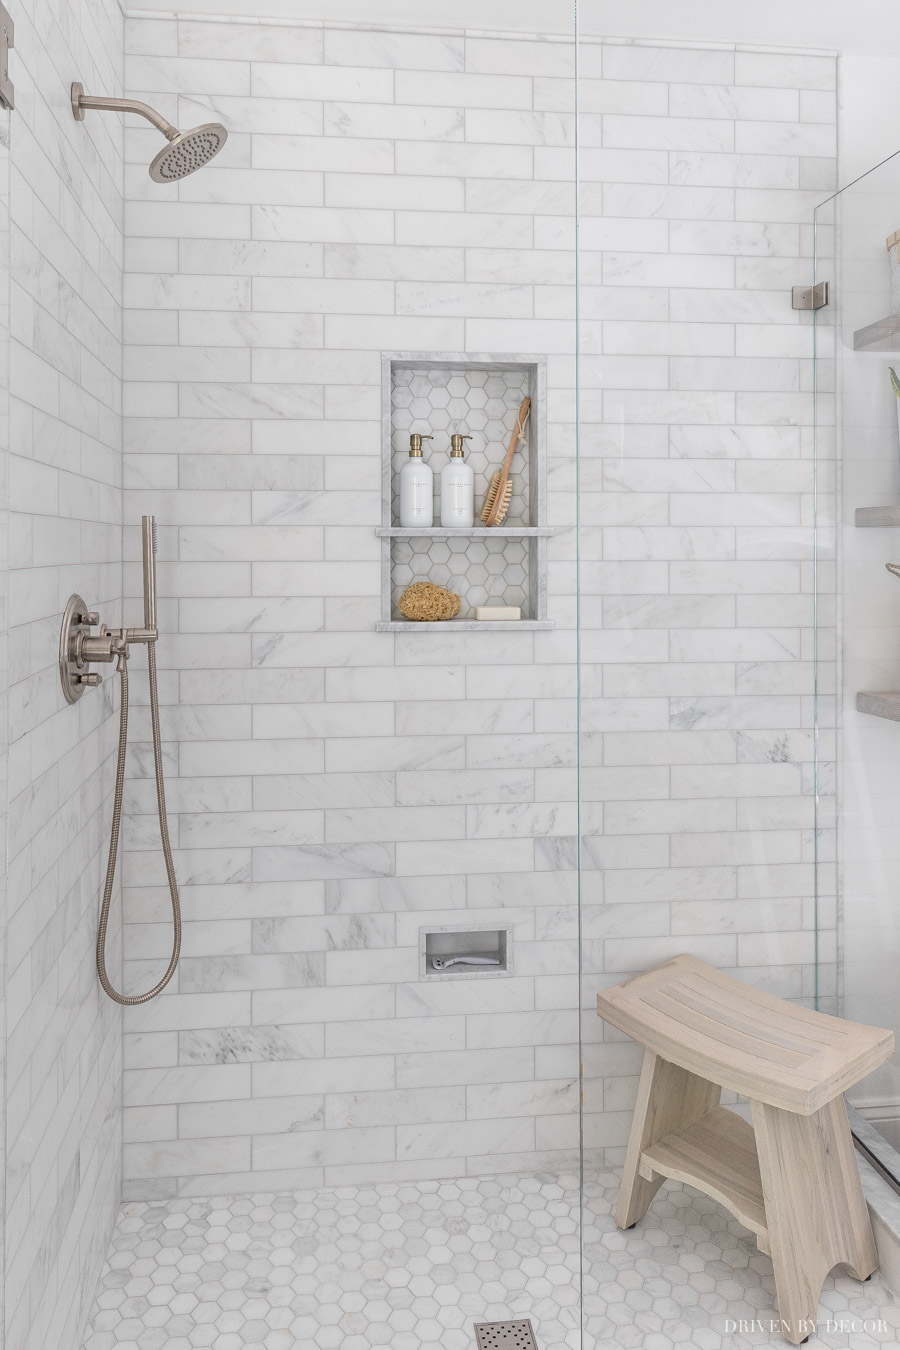
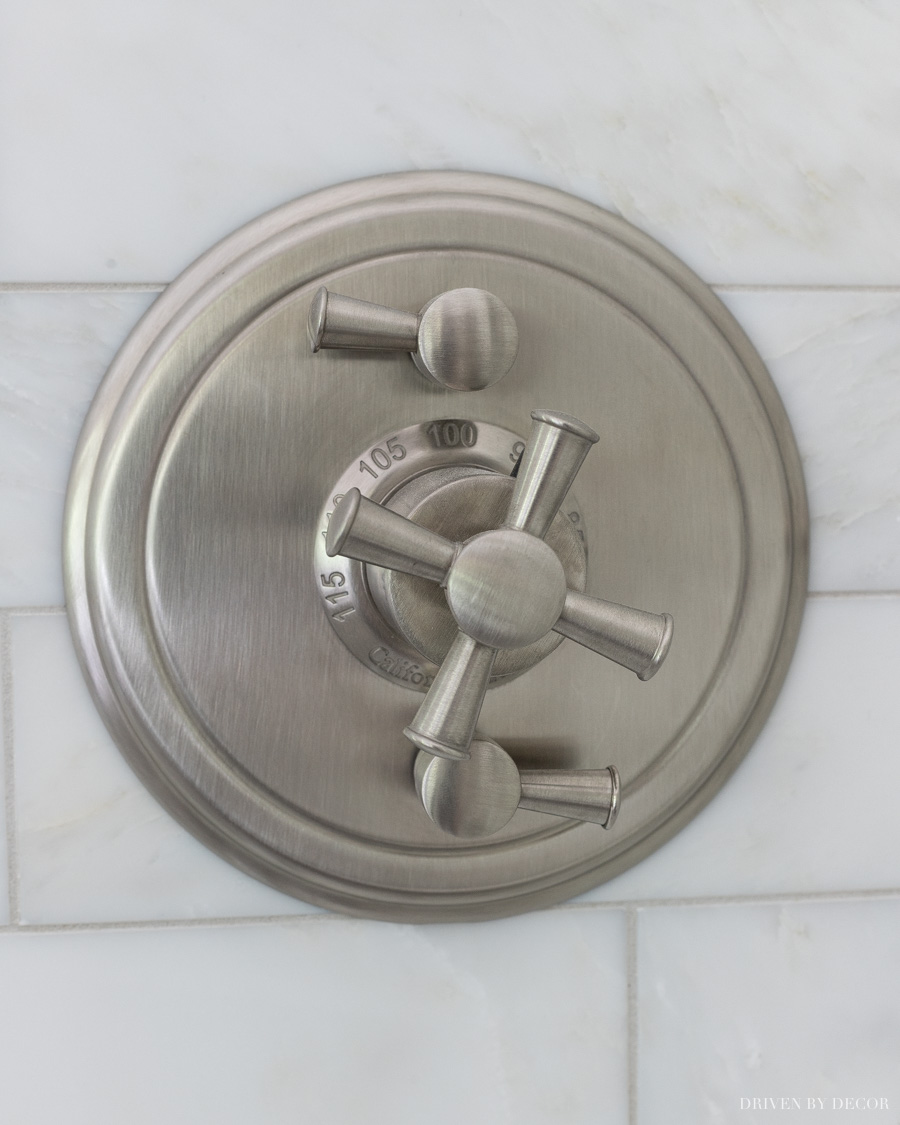
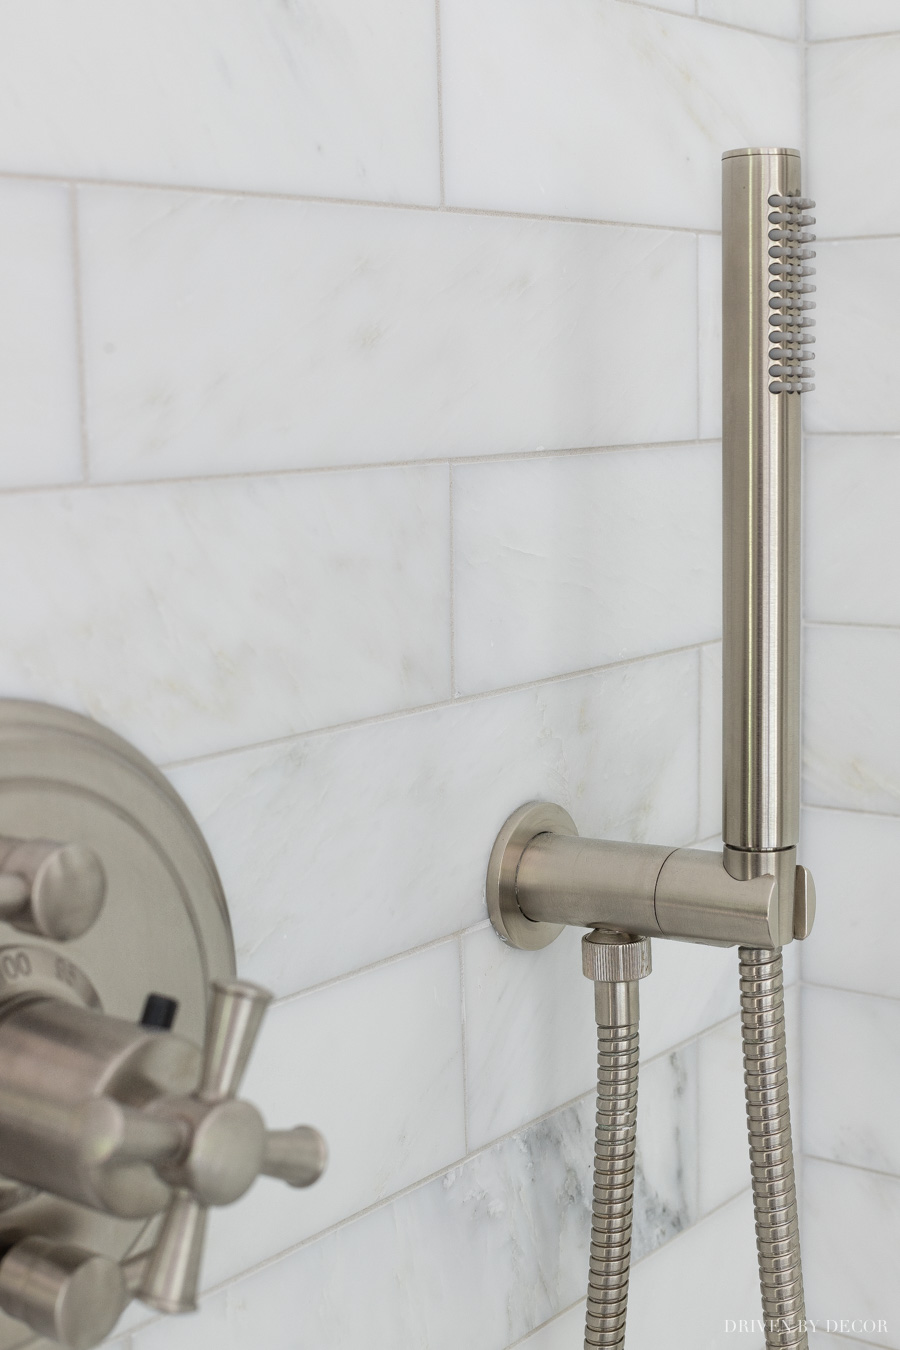
I chose {this thin shower head} on {this shower head arm} with {this flange} along with {this shower valve trim} in Satin Nickel. They coordinate really beautifully with our vanity faucets:
I wanted to have a hand shower for cleaning the shower but didn’t want the clutter of a shower bar so chose {this hand shower} that rests on a simple hook:
I kept the glass shower enclosure super simple with straight, clean lines. I wrote an entire post on choosing my glass shower enclosure that has a ton of additional details.
Bathroom Vanity
Ready to move on and check out our vanity area on the other side of the bathroom?
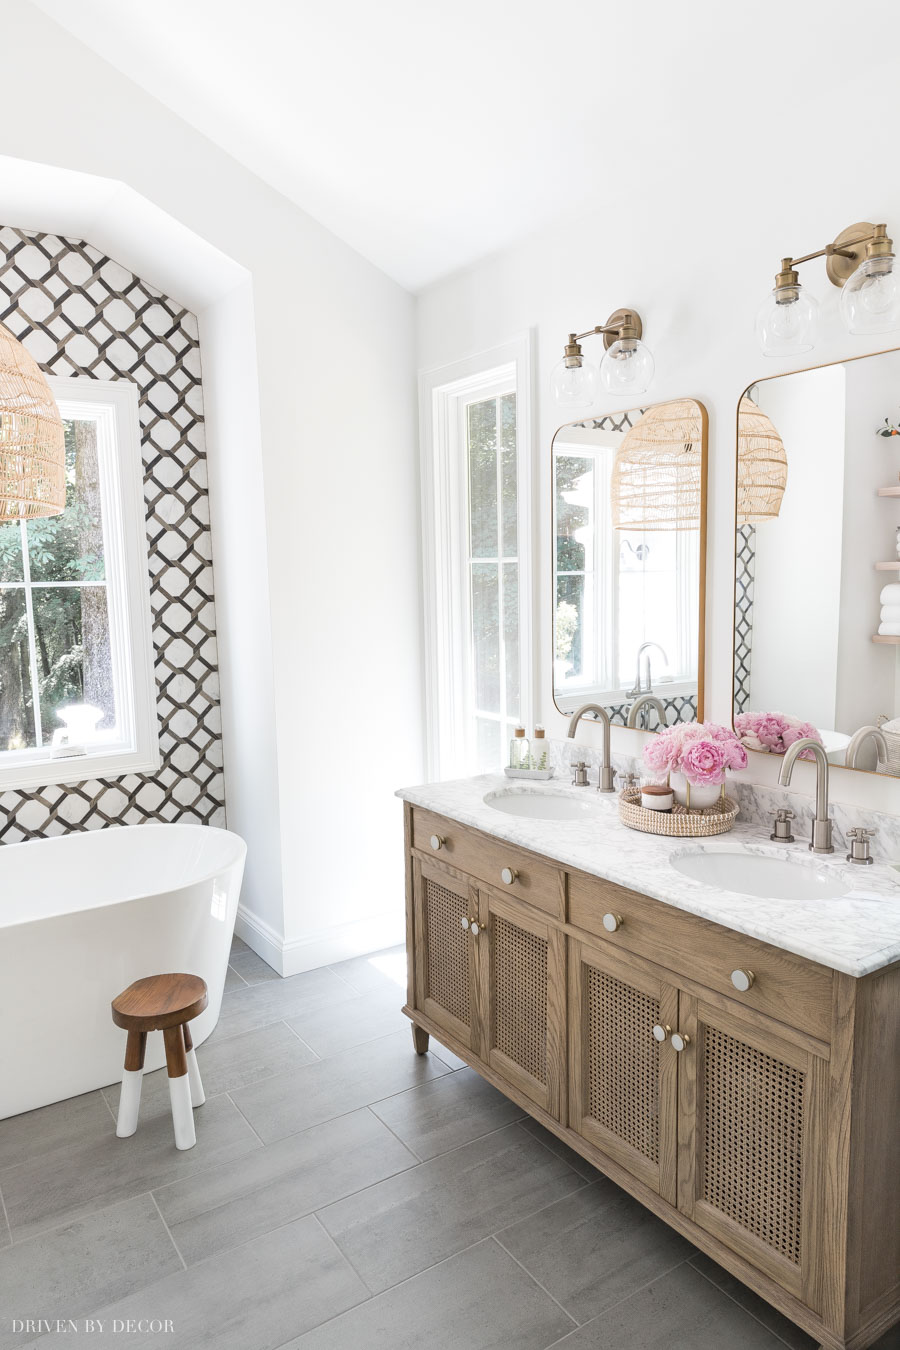
In order to have two long windows flanking our master bathroom vanity, we had a max of 60″ of space for our double vanity and went with {this double vanity with a weathered wood finish and caned doors} that filled it perfectly. I love how the caning on the front mimics the design of the tile wall:
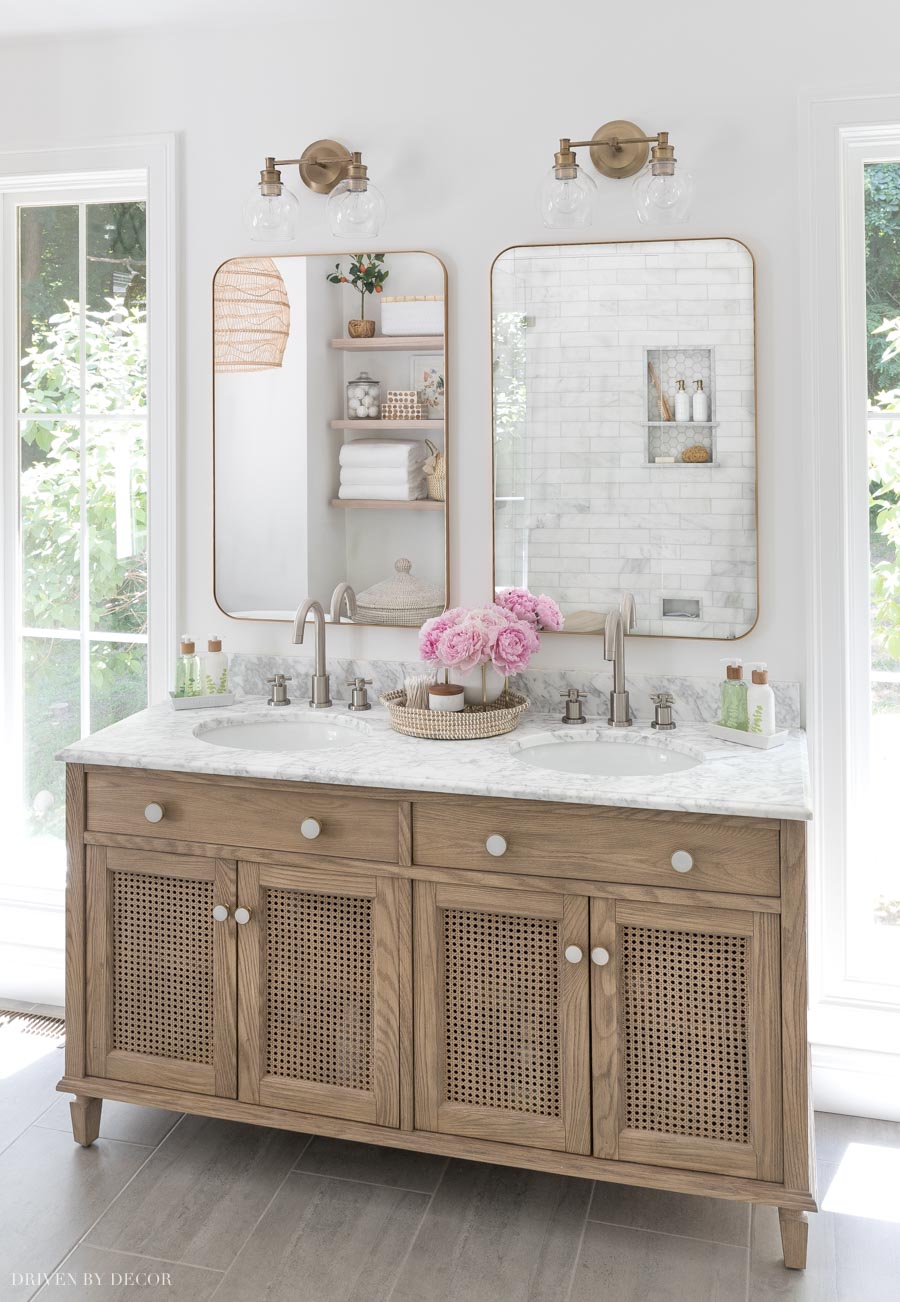
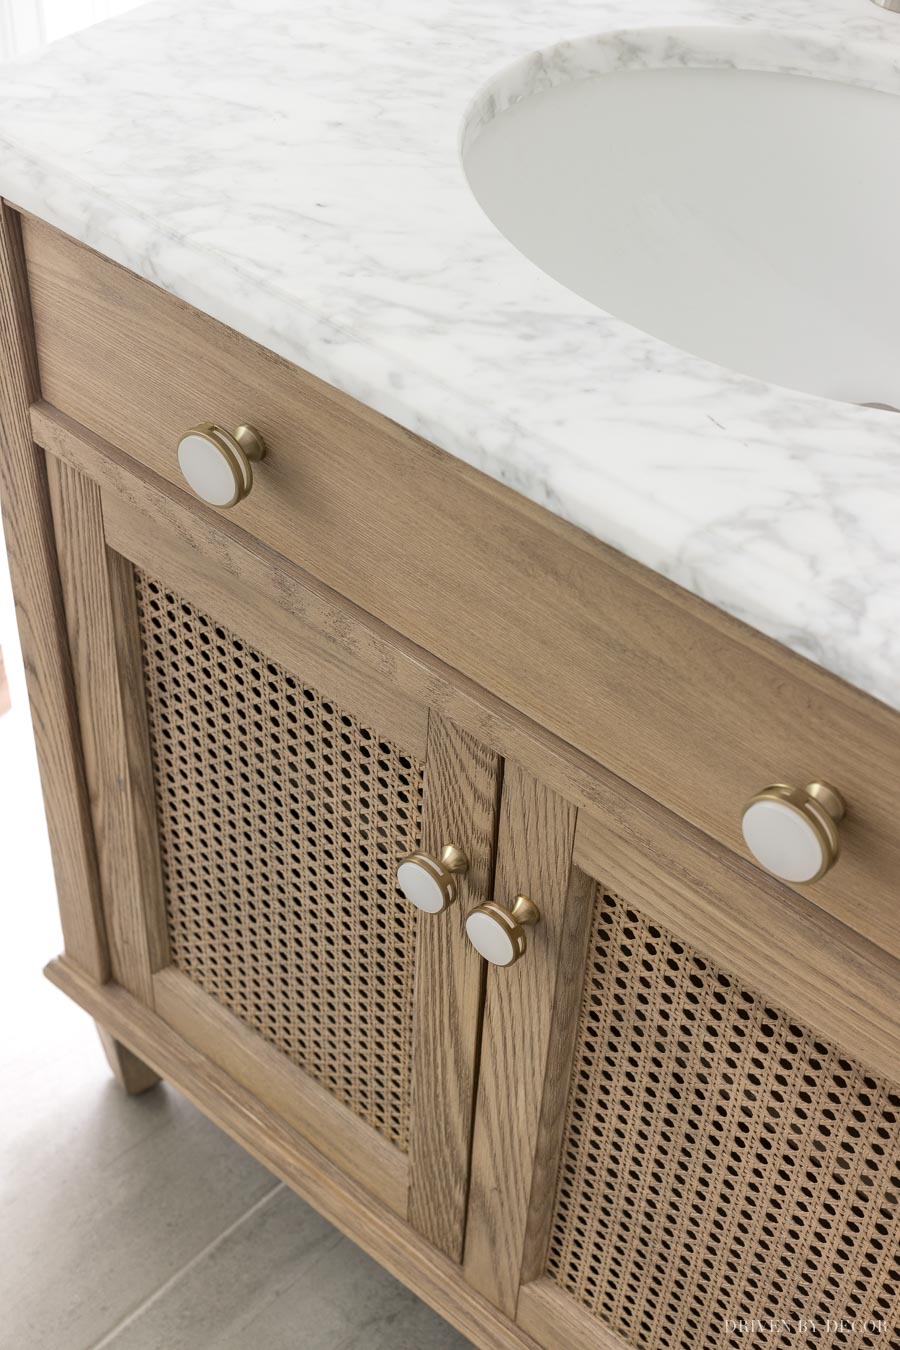
The vanity came with small silver knobs that I thought looked kinda wimpy so I swapped them with {these frosted acrylic/champagne gold knobs}, using the larger size for the top faux drawers and the smaller size for the doors:
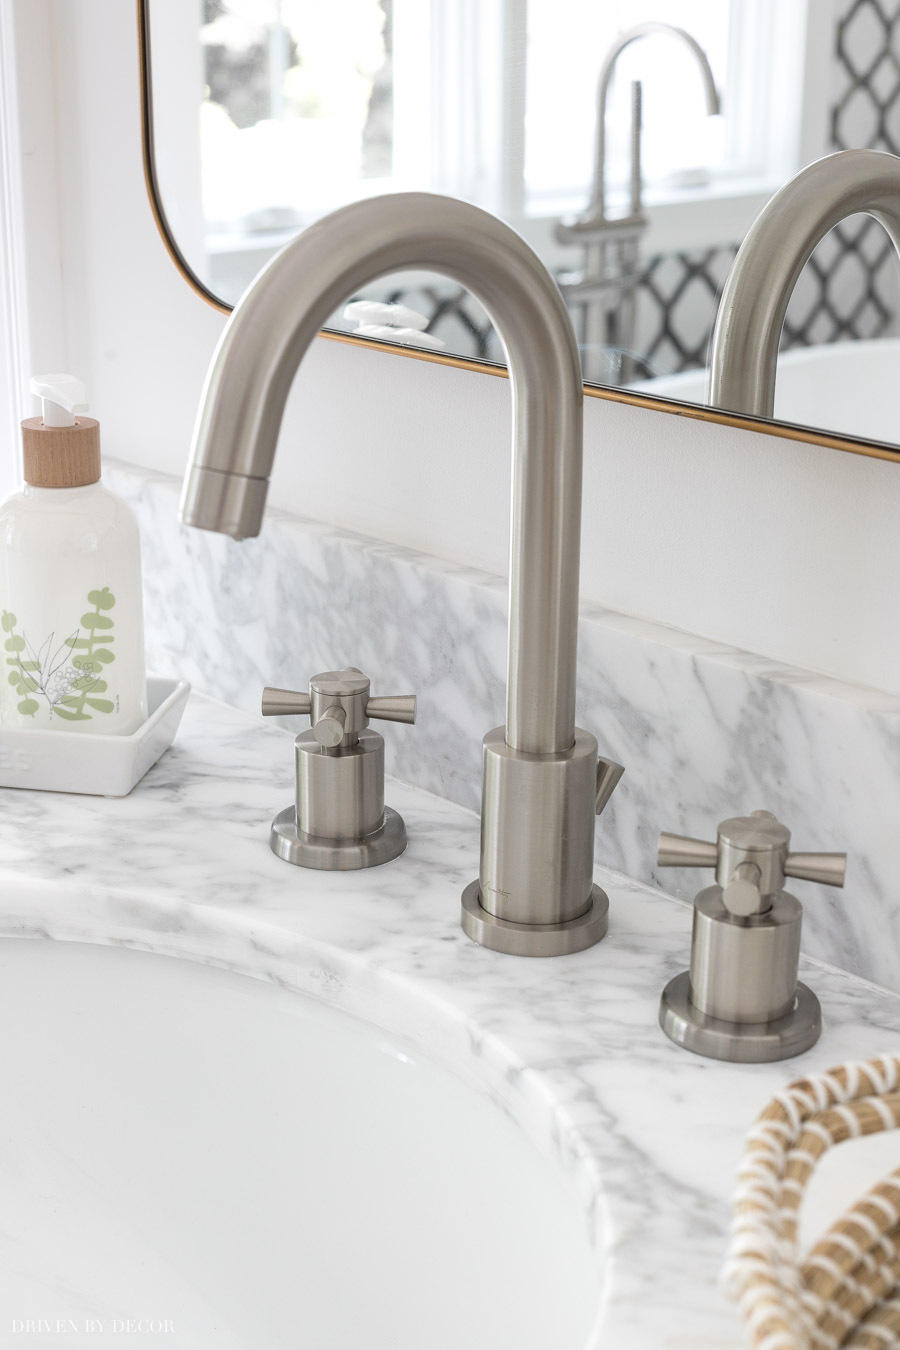
The vanity came with a marble vanity top and sinks so I was good to go there. I simply added two of {these high arc bathroom faucets} in the brushed nickel finish – I love the style of the cross handles:
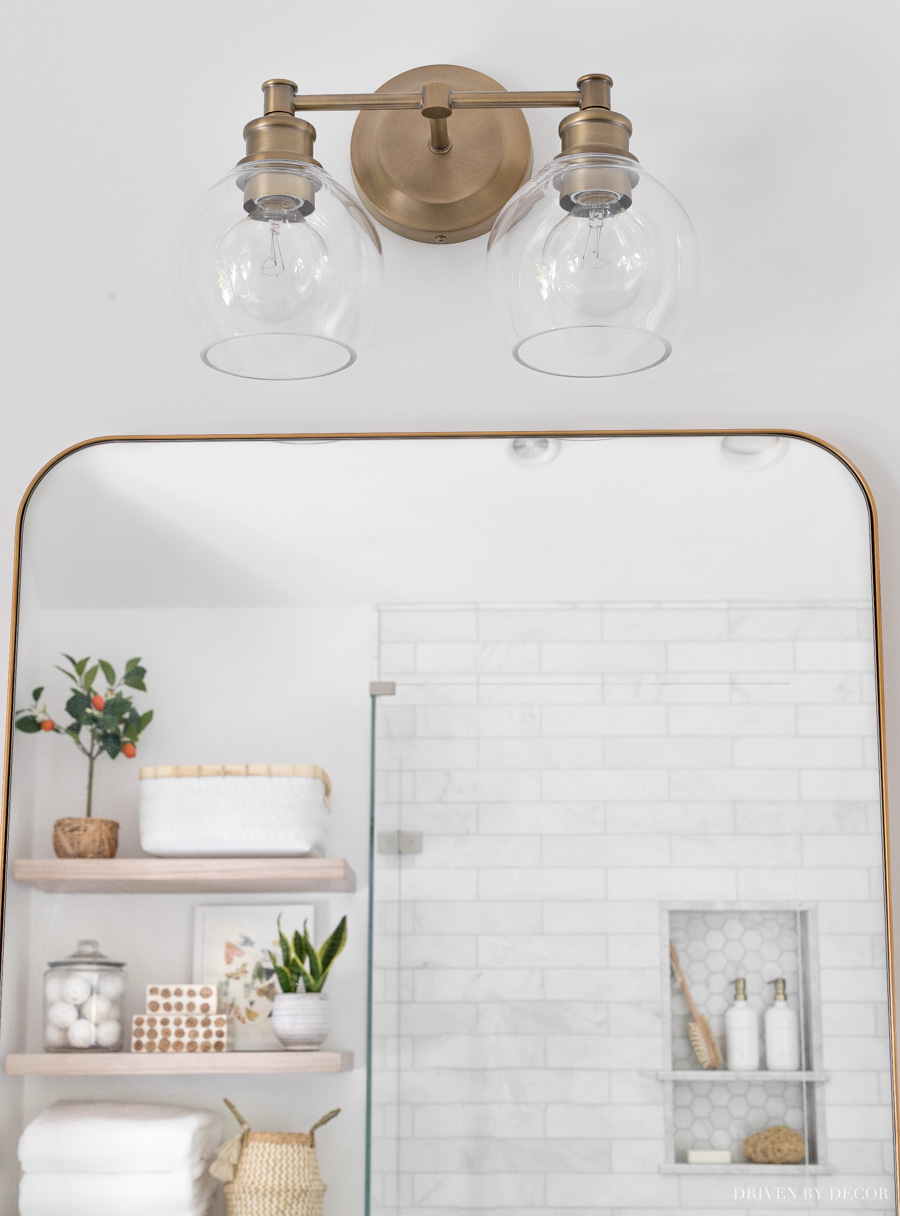
For lighting, I chose two of {these vanity lights} with glass globe shades placed above the mirrors:
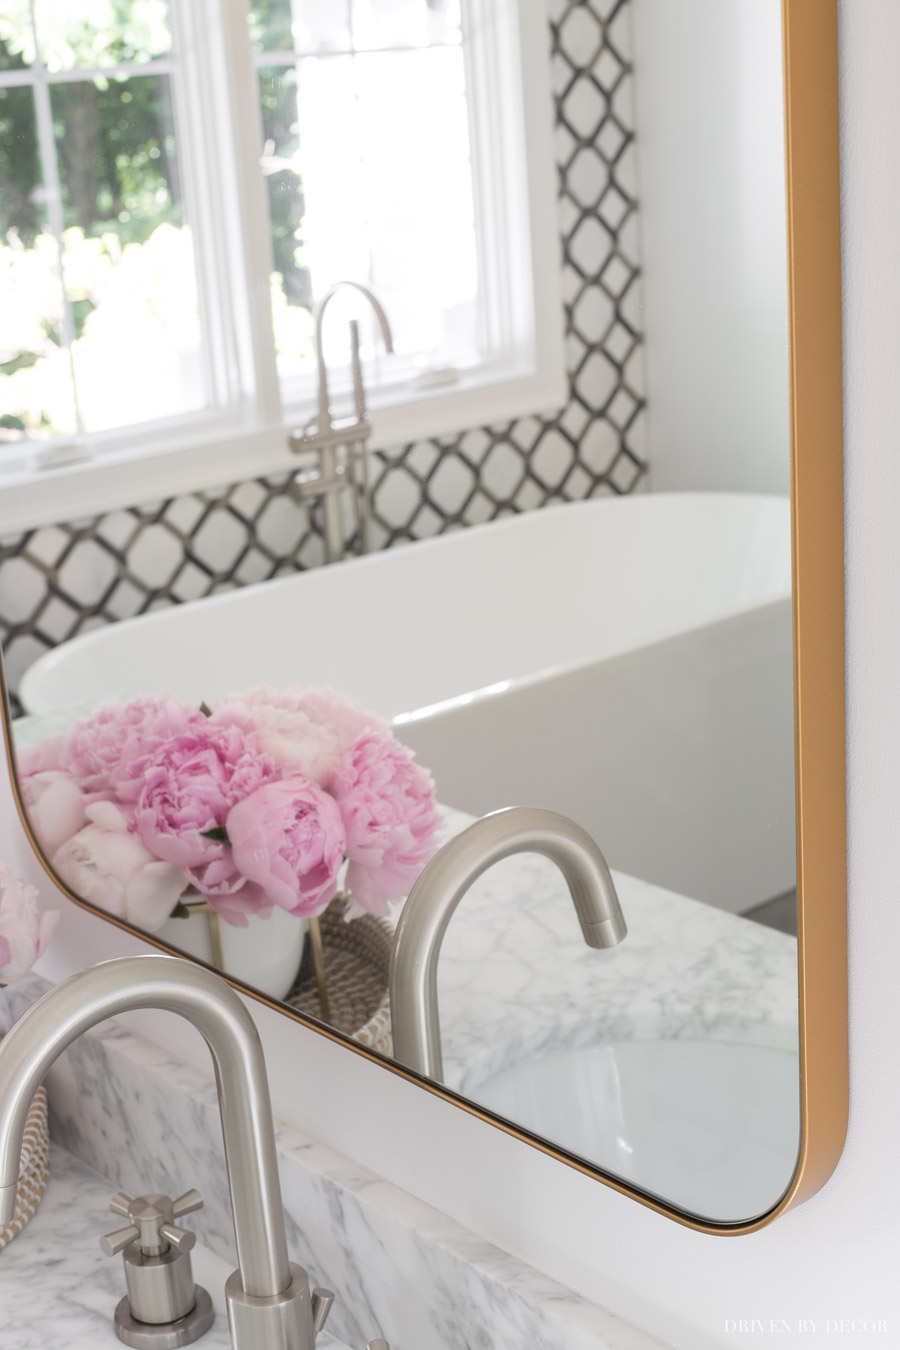
Above each sink I used {these large rectangular mirrors}. I love that the frame is so thin that you can see a good bit of gold from the side but only a small amount from the front which allows for subtle mixing of metal finishes with the brushed nickel faucets:
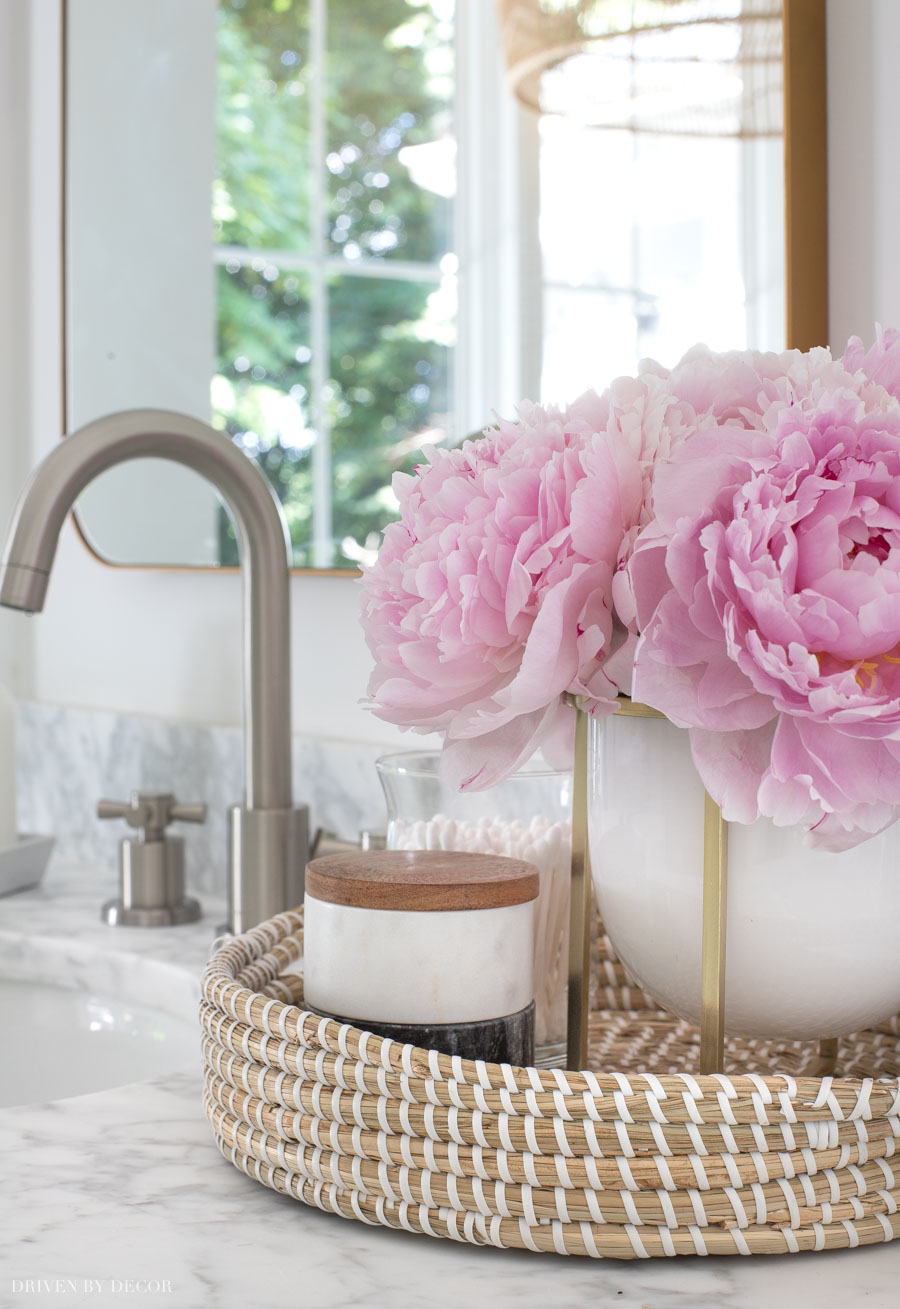
I found a small woven seagrass tray for the middle of the vanity – it’s the perfect small size to fit in between our sinks! Inside the tray, I have flowers in a cross base planter similar to {this one}, a decorative glass jar with Q-tips, and {marble stacking pinch pots} that have dental floss in the top and hair bands in the bottom:
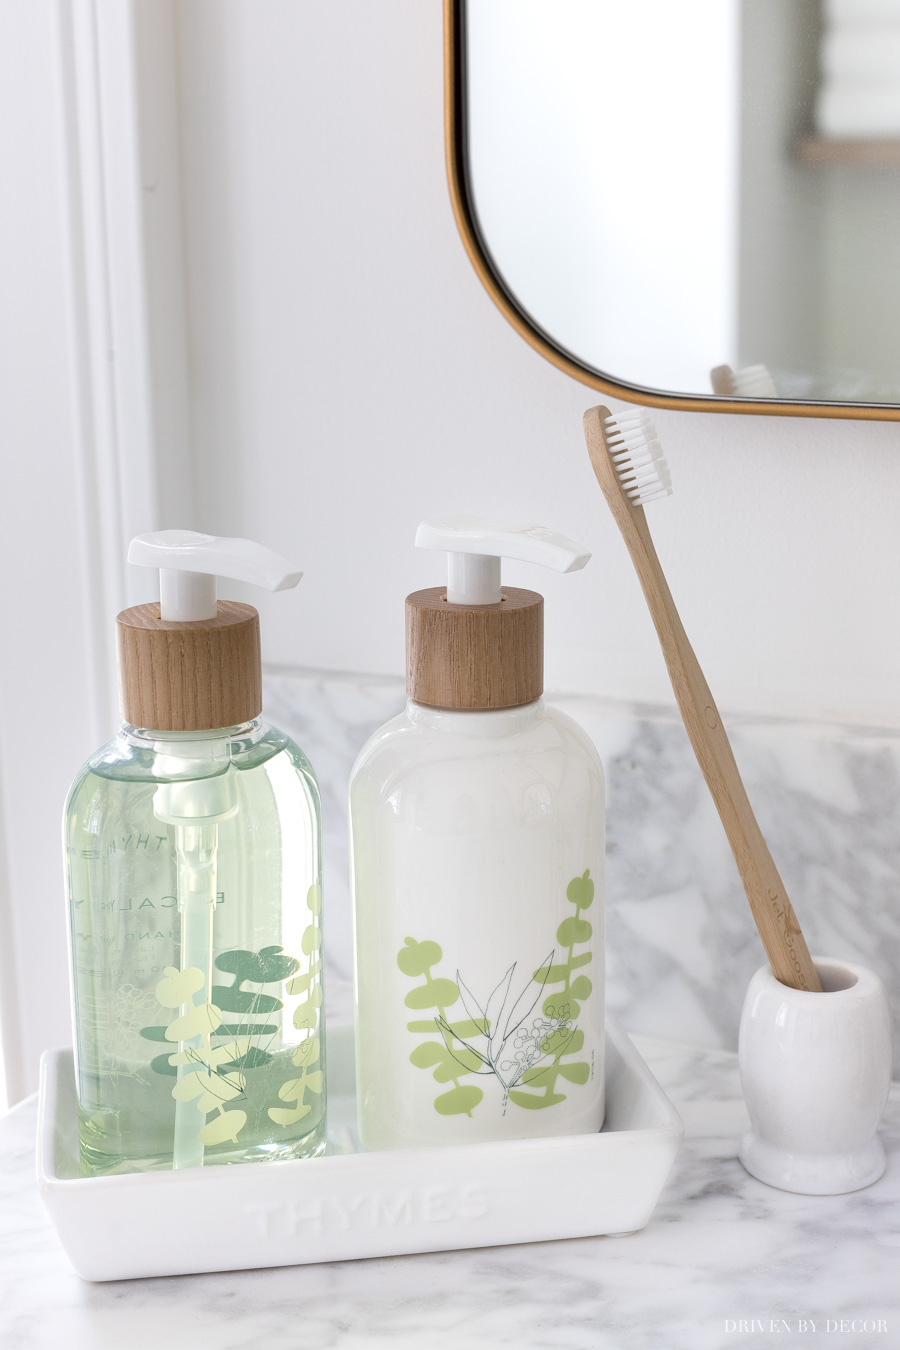
On each side of the vanity, we have {this soap & lotion sink set that comes in a cute white tray}. I put lotion on my hands constantly so I’m loving having it right at hand. I also added one of {these small toothbrush holders} to each side of the sink which takes up so much less counter space than your typical large toothbrush holder:
Towel Hooks
Looking at the wall to the right of our vanity, I added three of {these golden champagne robe hooks} for towels:
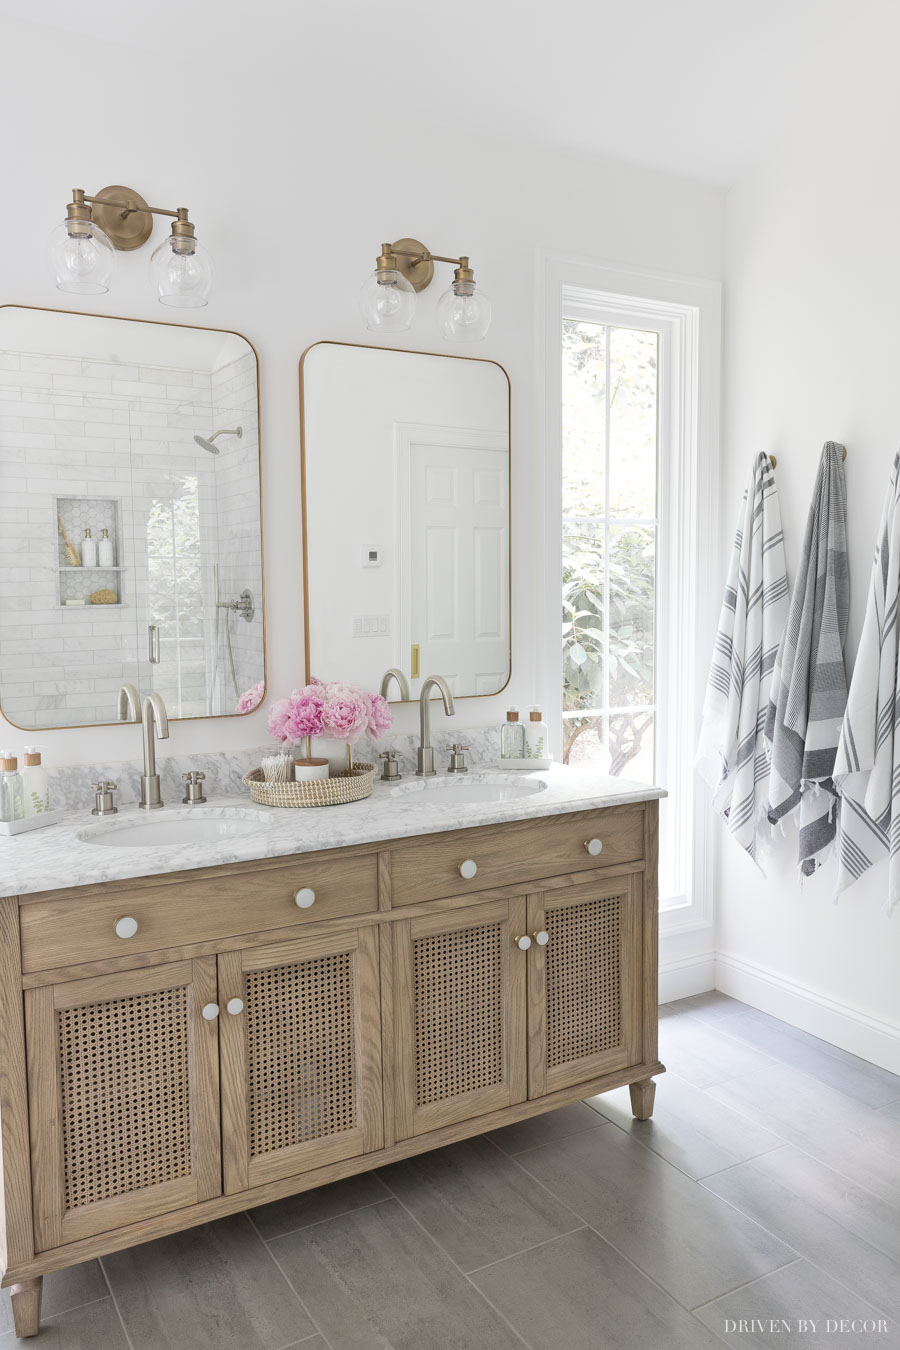
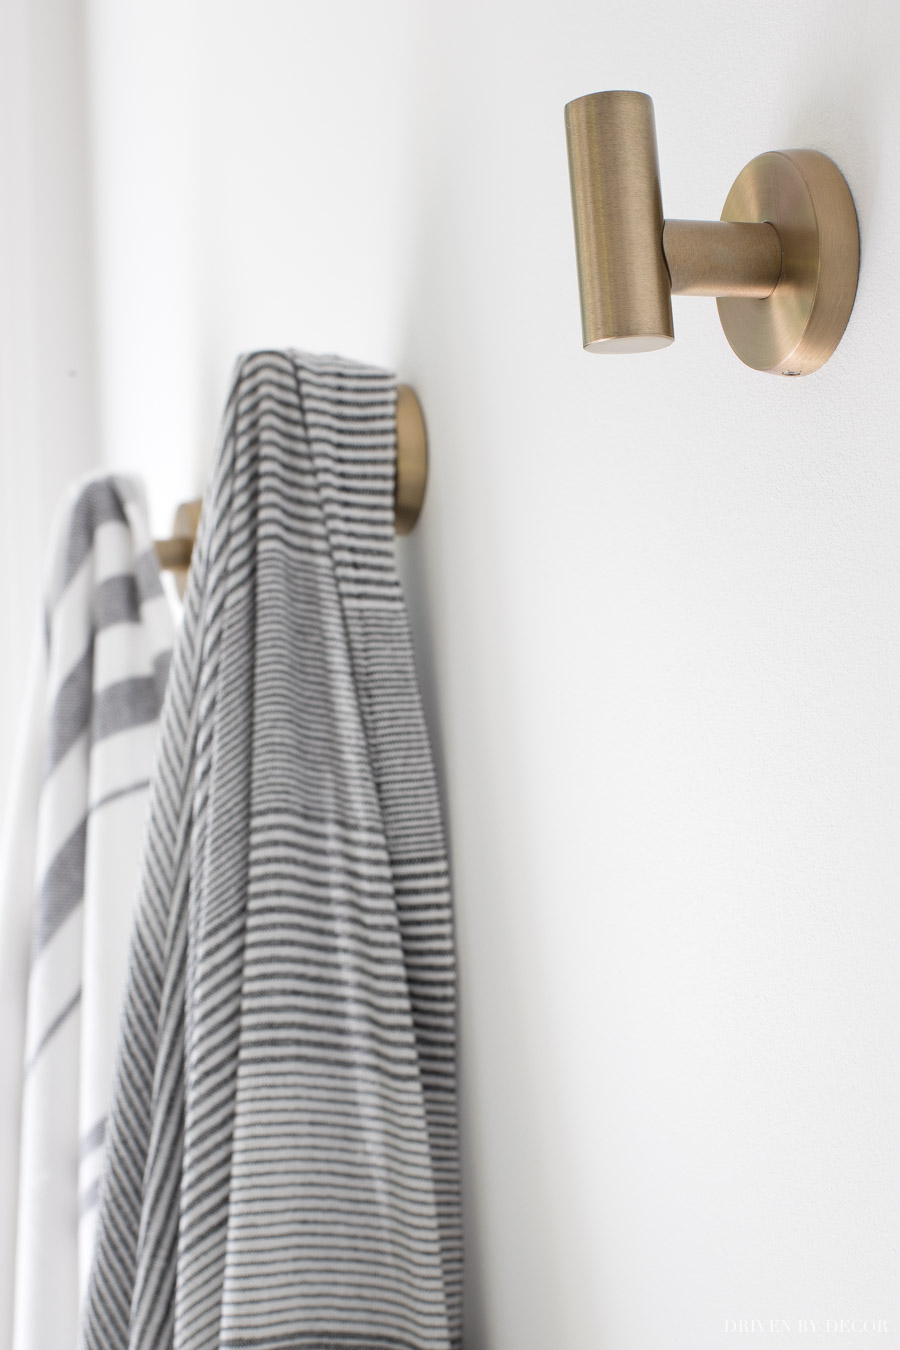
The hooks are pretty deep so each one can hold both a white bath towel and one of {these gray & white striped towels} I wrap around my head after showering:
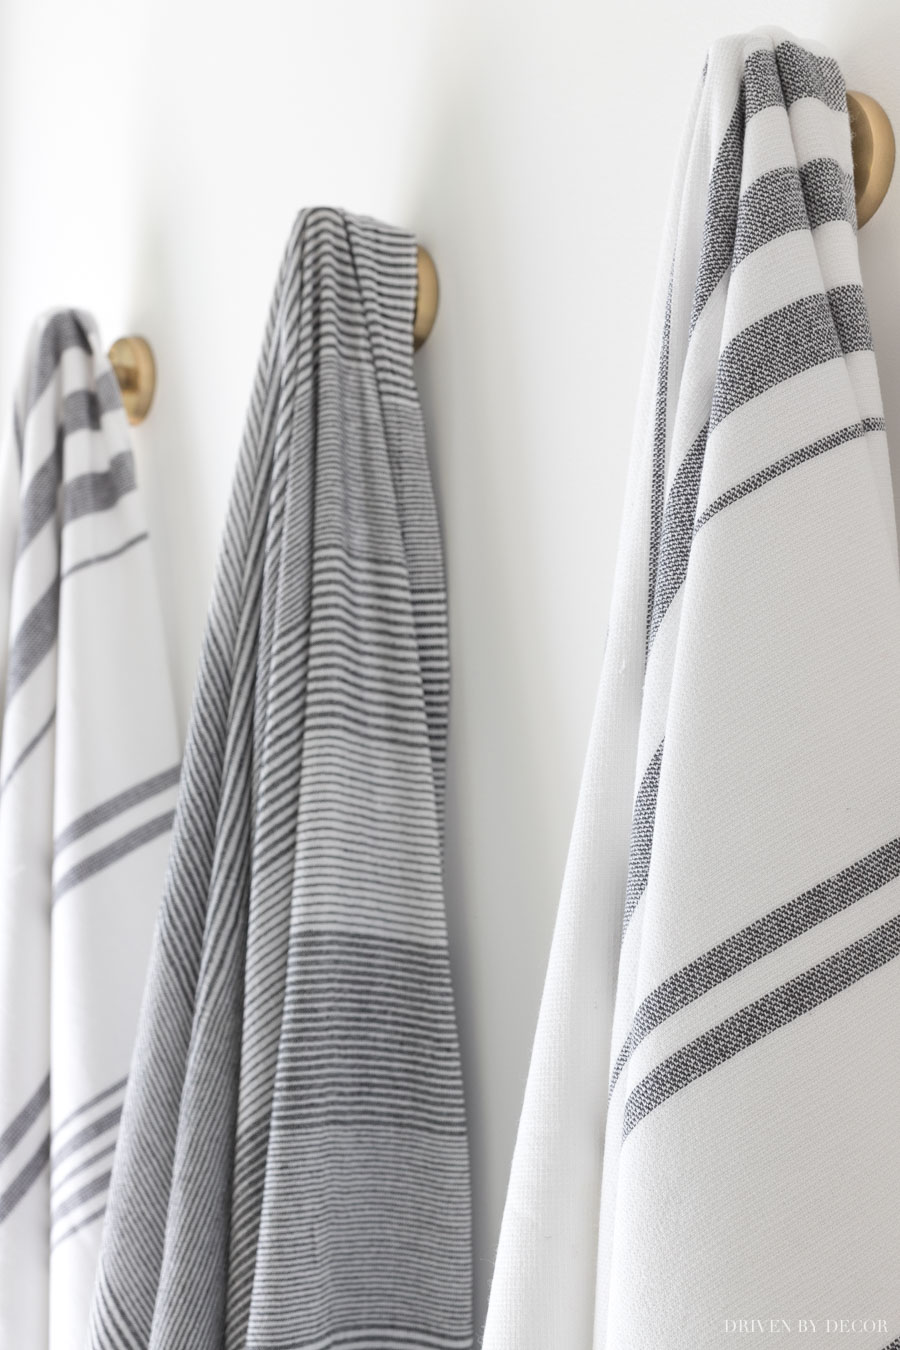
These close-ups give you a great look at the paint color that I chose for this space, which is Chantilly Lace. I used it throughout the room, including the walls, ceiling, & trim. Get all the details on this paint color and how it compares to similar whites in my full post on Benjamin Moore Chantilly Lace.
Our Water Closet
And finally we’ll pay a quick visit to our little water closet:
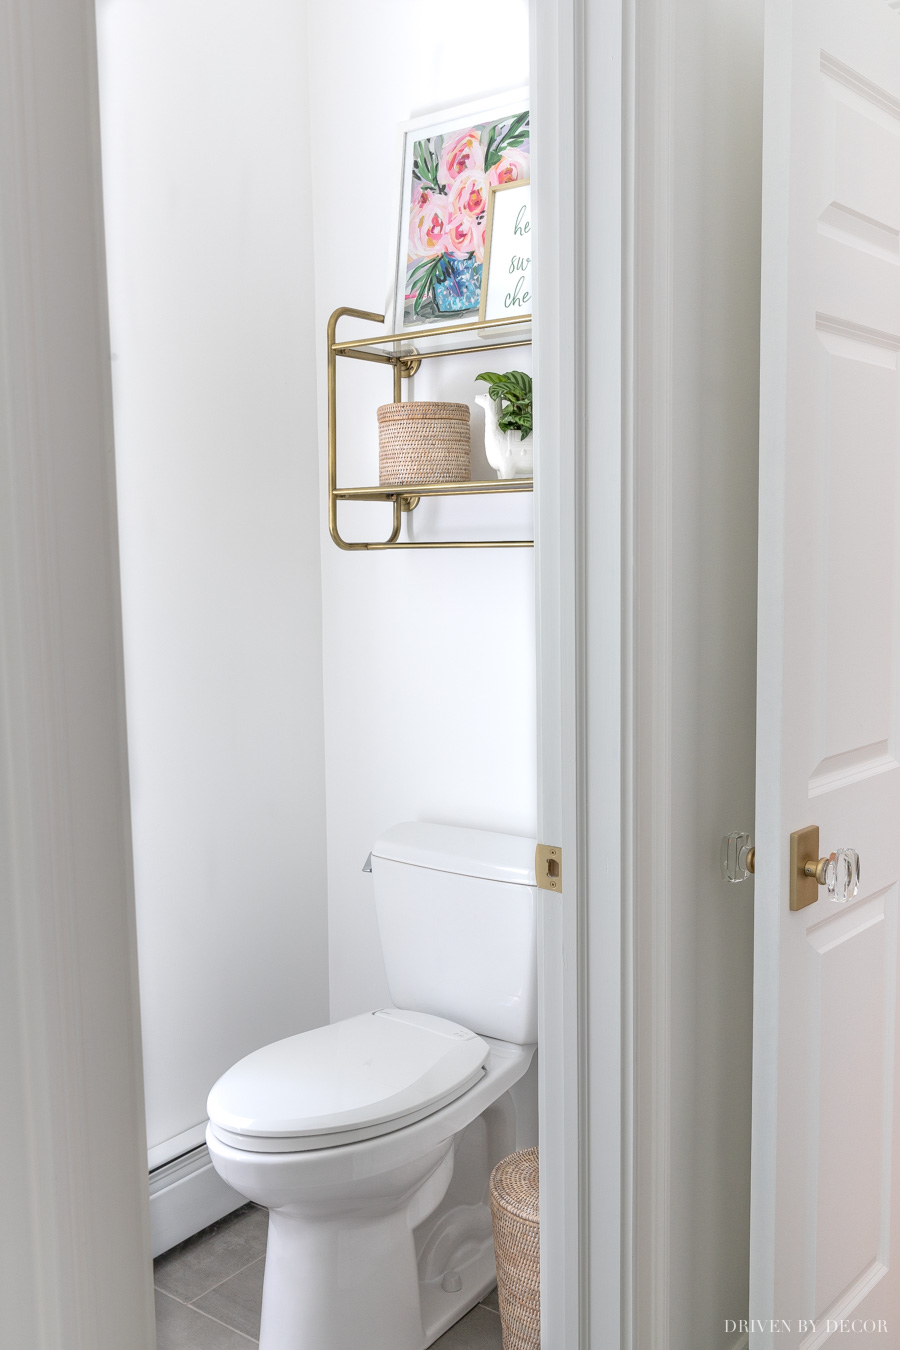
I put a brass wall shelf above the toilet that holds a few pretty things plus has a bar on the bottom where I can hang our wet washcloths before putting them into the hamper (my exact one is no longer available but {this shelf} is super similar):
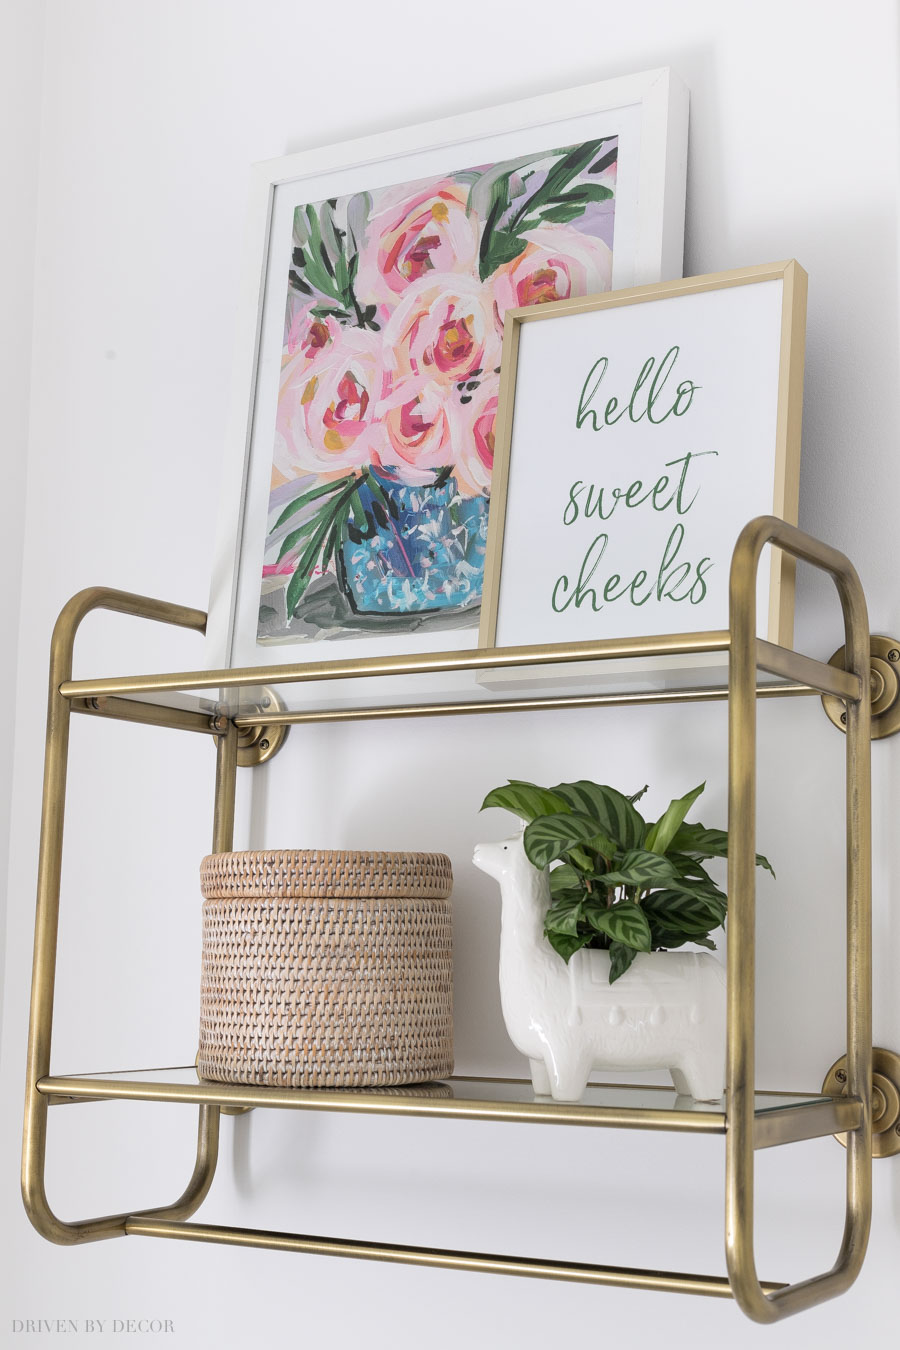
On the top shelf I framed {this 11 x 14 rose print} in a white wood frame that I already had and I created a “hello sweet cheeks” printable that I framed in {this brass frame}:
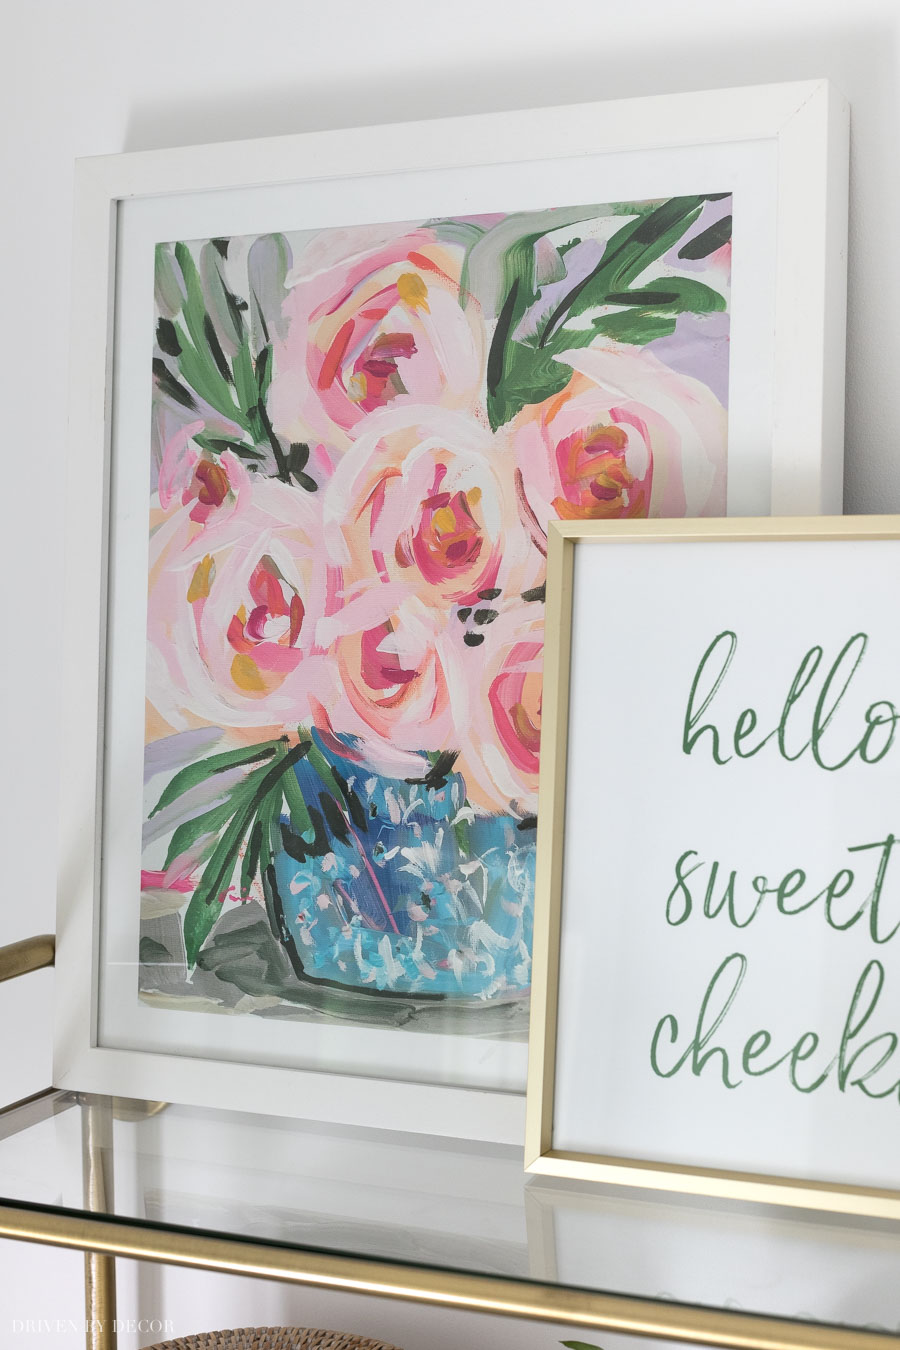
I’ve saved my “hello sweet cheeks” {here} as a free printable exclusively for Driven by Decor email subscribers (check your latest DBD email for the password to access it). Just print it on a standard 8 x 11 ½ sheet paper and cut it down to fit a 8 x 10 frame. If you want to become a Driven by Decor subscriber to be notified of new posts and get this and other subscriber-only perks, subscribe for free here:
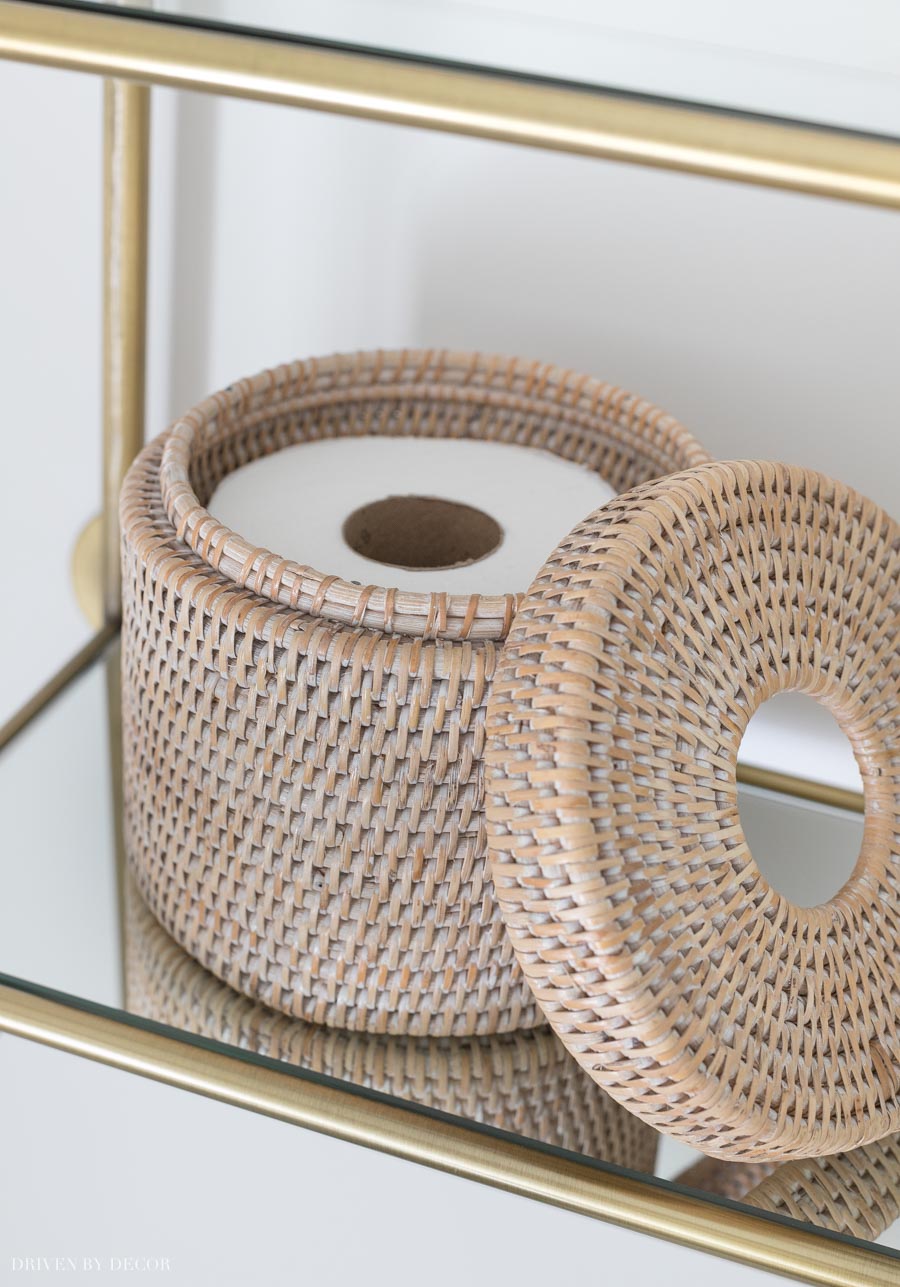
Moving to the bottom shelf, I found {this round rattan holder for an extra roll of TP} – how cute is that?!:
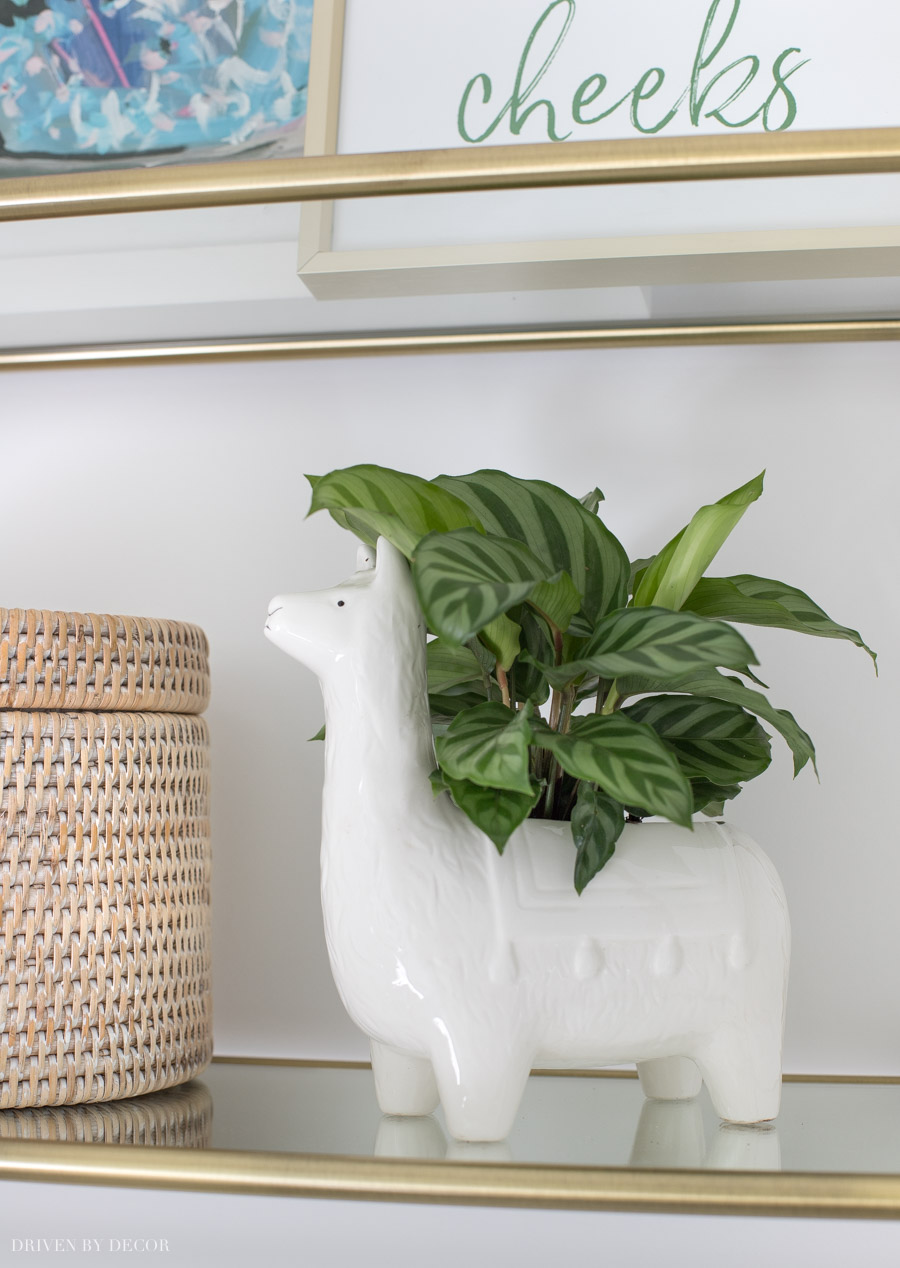
and to the right of that I added {this new llama planter}:
For a toilet, I chose {this toilet} which is pretty no-frills but then added {this heated toilet seat} which was actually a parting gift from our contractor 🙂
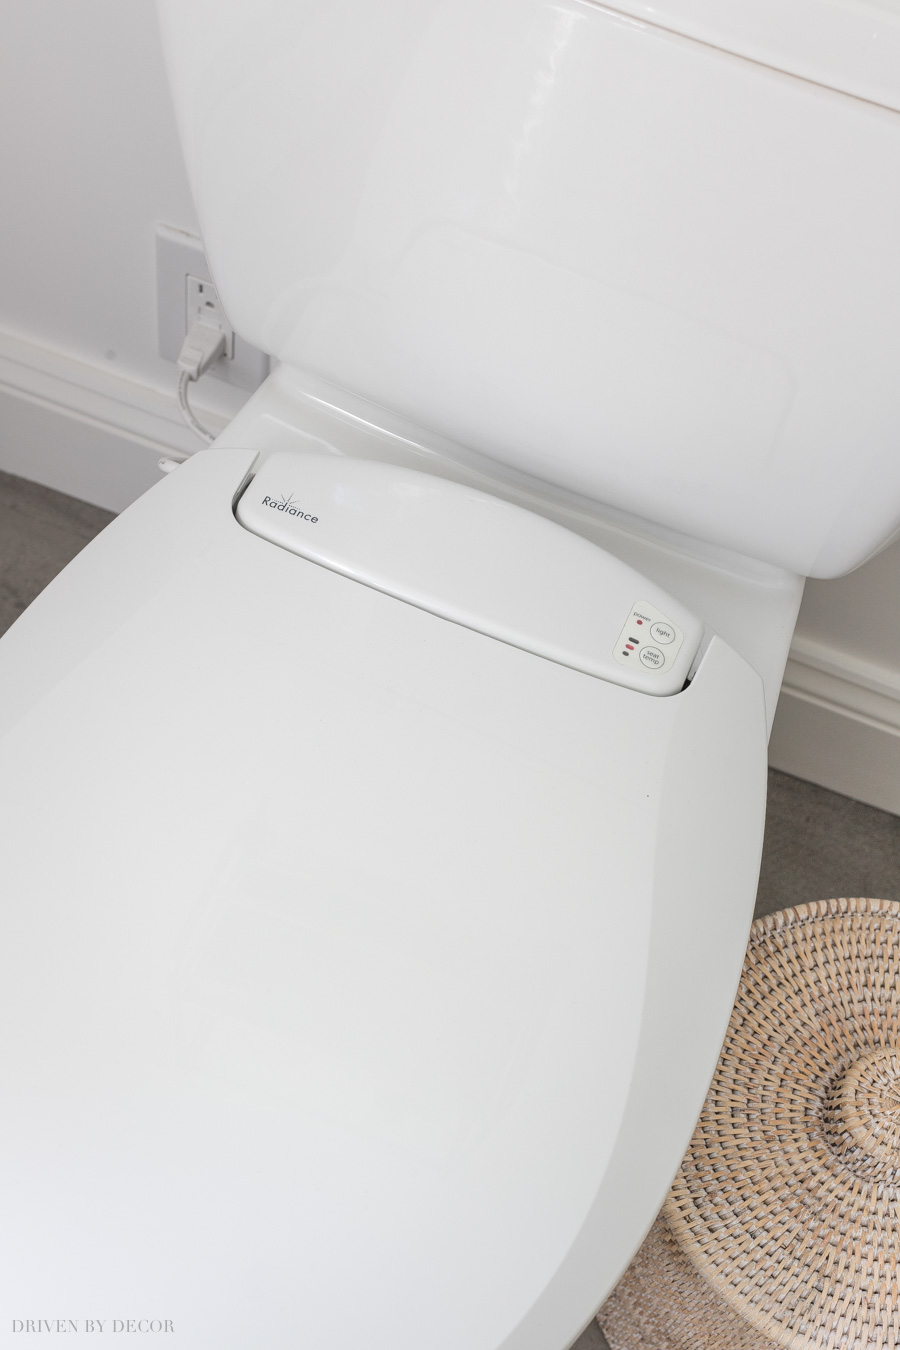
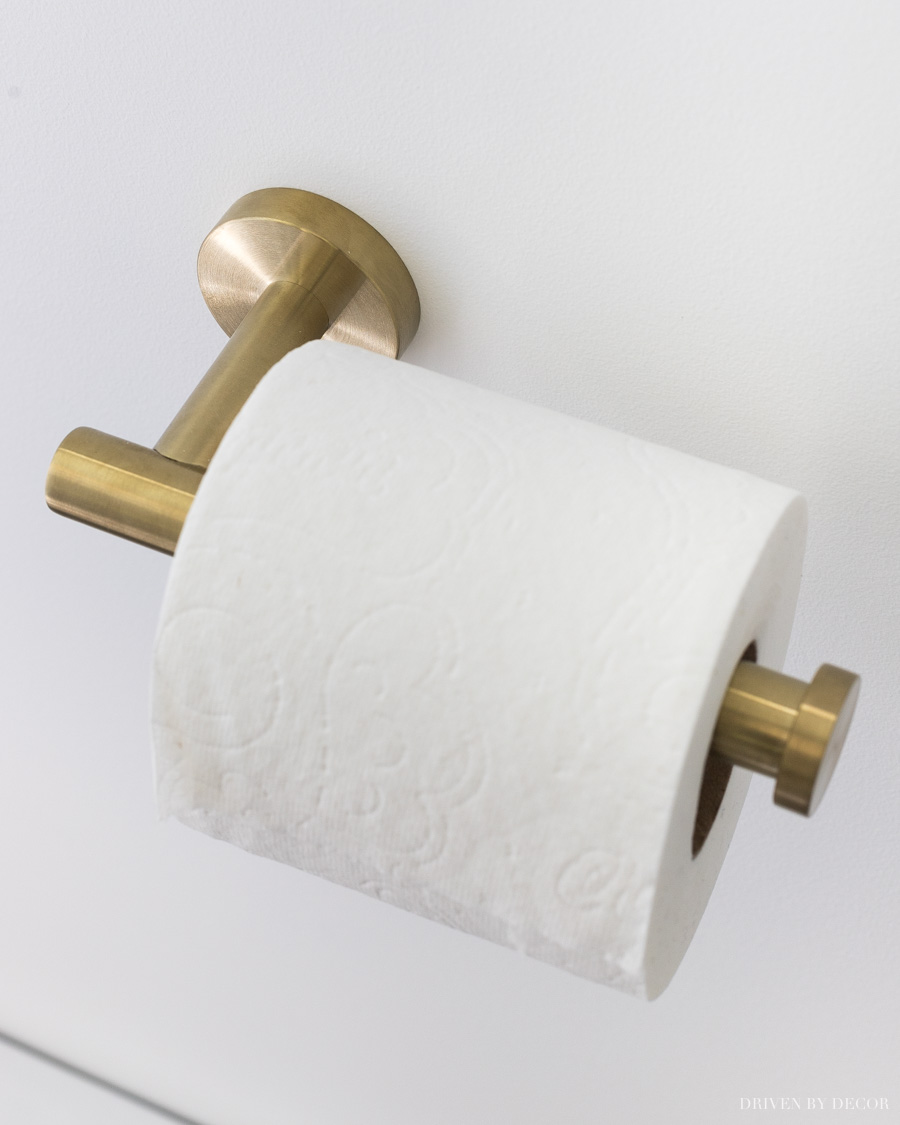
You can use it on almost any toilet but need an electrical outlet on the toilet wall to plug it into so we planned for that with this space. I also added{this brass toilet paper holder}:
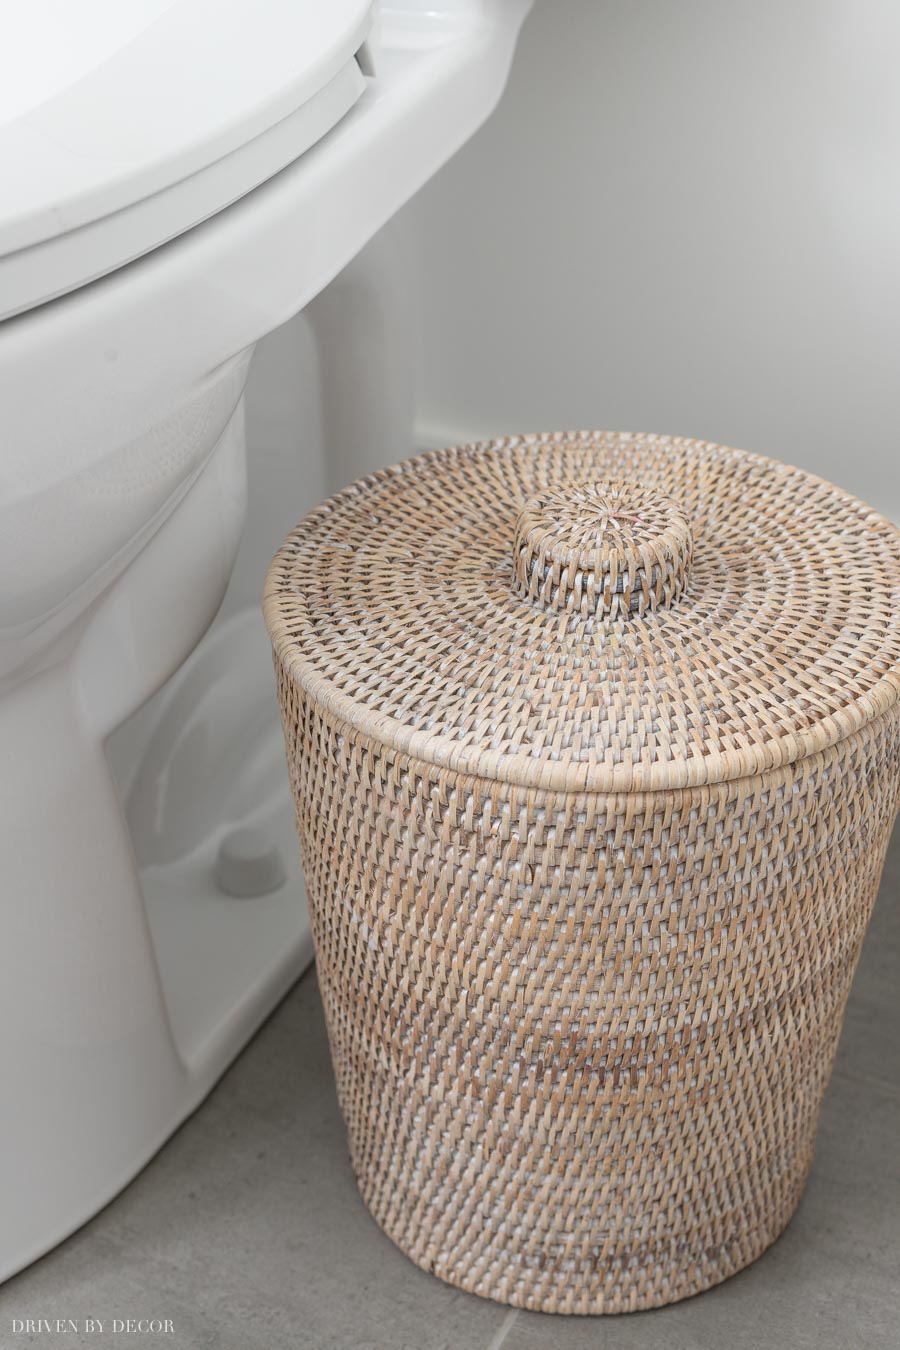
and {this small rattan trash can}:
There’s one other space that you still haven’t seen and that’s our master closet that’s to the left when you enter our bathroom:
Since I’ve already shared a zillion and one photos with you guys today I’m sharing the closet tour as a separate post. You can check out our new IKEA PAX closet system {here} – we LOVE how it turned out! Thanks so much for stopping by and sharing in my excitement over our new space!
Update! I wrote a follow-up post on my ten favorite ideas from my master bathroom renovation that has some really helpful details if you’re about to embark on a bathroom remodel! Check out my favorite master bathroom remodel ideas {HERE}!
These are a few other bathroom posts that you might also find helpful:
Glass Shower Enclosures: Cost & Options
Must-Have Bathroom Measurements
Marble in a Bathroom: Would I Do It Again?
XO,



Carrie says
Love the bathroom, I patterned my remodel largely on yours! Question – how did you handle all of the extra chain that comes with the rattan pendant above the tub?
Kris Jarrett says
The electrician just cut out the extra chain!
Isabella says
Hi Kris, did you have to purchase the shower arm for the shower head separately? I purchased the same one but just realized that I just have the shower head. Mine is the satin brass color and I am afraid it will be hard to find a color match.
Kris Jarrett says
Yes the shower head and arm are purchased separately but the arm is pretty inexpensive – I believe this is the one I chose:
California Faucets 9104-SN 8″ Brass Shower Arm – Satin Nickel
Ruth says
I love the your remodel! Thank you for sharing so many details. How have the faucets, shower head and controls, and tub filler held up? Have they worn well? Thanks!
Kris Jarrett says
Yes, no problems!
Pamela says
Hi Kris!
First than you for sharing the whole process of your work! What I love most about your bathroom Reno, is the feel of it. I’ve been wanting a spa feel to ours, and yours helps so much to put a finger on all the details!
I wanted to ask you about your tiles. I already get that we must go through a local store to find the Bianco Bello tiles, but I’m running into a $300 shipping from supplier to the store cost that I was not expecting. Was this normal for you? Should I try a different store? It does increase the price a bit, and the stores are all 2-3 hours from me, so I wouldn’t necessarily see the tiles in person. With shortages the stores don’t even have the tiles in stock. All are awaiting arrival from docks. But it would be worth it for the right tiles. Any tips relating to this? I would so appreciate it! We start our project in January. 🙏🏼
Shannon says
Does the 3” x 12” tile with this reno look different than what’s linked on the Walker Zanger website? I know every piece is different, but I want to ensure I’m ordering the exact tile that’s being featured. Thanks!
Kris Jarrett says
I actually drove and picked up the tile myself so unfortunately don’t have any info on shipping costs!
Erin Poci says
I fell absolutely in love with your bathroom. So much so, that it was my inspiration for my master bathroom remodel. Thank you for sharing your sources and tips. It was invaluable in helping me narrow down my choices. Now my friends are all saying my bathroom looks like a designer bath and I tell everyone I just got ideas from someone who did it even better.
Thx, Kris. Love your style.
Kris Jarrett says
That’s so nice to hear and so sweet of you to take the time to comment! 🙂
Carey Mowrey says
Hi – which stool did you buy the “small” one or “large”? Thanks!!
Michelle L says
I have been waiting for the moment to reno a bathroom and copy some of these details!! What are your thoughts on a 3 wall shower with a glass wall/door having the accent tiles as the main wall?? Would you do like marble tiles for the 2 smaller side walls? Or the accent all around? Or too much? I will do the hex tiles on the floor. Thanks!
Kris Jarrett says
It’s all totally personal preference. I really like simplicity in my designs so I prefer all the walls to have the same tile but I’ve also seen some beautiful accent walls in showers!
Sarah Johnson says
Absolutely gorgeous design! Definitely bookmarked for our upcoming master reno. Quick question — what tile is around the base of the shower? Is it the same tile that is on the wall? It just looks a bit bigger.
Thanks!
Kris Jarrett says
Yes, it’s actually the same tile – just in a larger size that was cut to fit the space!
Kim says
Could you provide the link for the satin nickel shower trim? I absolutely love it and the link listed above does not work.
Thank you!
Kris Jarrett says
I’ve updated the links so they should work now!
Anonymous says
I absolutely love everything about this bathroom! I have been looking for inspo and this is SO me and so perfect in every way!
Barbara Stazko says
Love the paint color !
Meghan says
What color did you paint the walls?
Also is that brass light with a gold mirror for the vanity. I bought the vanity and I’m doing something similar mixing the gold with polished nickel. Thank you!
Kris Jarrett says
They are painted Chantilly Lace
Judi Davis says
I did not see the grey master bath tile flooring info. Did I miss it?
Kris Jarrett says
It’s from Floor and Decor – there’s a direct link to it in the Source List at the end of the post 🙂
Kat Leon says
Hi, whats the size of your shower enclosure? It looks fantastic!
Kris Jarrett says
It’s about 3′ x 5 1/2″
Dana says
I have used your beautiful
Bathroom as inspiration for my 2 tiny pea sized masters in my condo.
I just received the teak bench- yours looks beautiful in the pictures. The one I received has yellow streaks. Did your have them and go away over time?
Kris Jarrett says
No mine didn’t have any yellow streaks when I got it. I would ask from them to exchange it for you!
Rebecca Neeley says
Thank you SOOOO much for sourcing everything and the other detailed posts you did on your bathroom. This has helped me immensely. Have your bathroom faucets performed well? The reviews are good but a few people complained about the water not shutting off fully right away. Interested to know your thoughts. Thank you!
Kris Jarrett says
I’ve been very happy with our faucets! The water doesn’t stop immediately when turned off but it only takes literally two seconds – it’s not like it keeps running for 30 seconds or anything like that. We have another faucet in our house that’s exactly the same so it hasn’t been an issue at all.