Tile or natural stone might be the dream for a kitchen backsplash, but if it’s not in your budget, there’s a beautiful, budget-friendly alternative you might not have considered… wallpaper! With just a single leftover roll, we gave our kitchen a fresh pop of color, turned our backsplash into a show-stopping focal point, and did it all without the cost, mess, or permanence of tile.
In this post, I’ll share exactly how I pulled it off, made the wallpaper water-resistant, and created a durable, designer look that held up beautifully for years. Whether you’re looking for a quick refresh, a temporary upgrade before a bigger remodel, or a way to bring more personality into your kitchen, this project is proof you can have style, function, and affordability all in one roll of wallpaper! (post includes commissionable links; for more information, see my full disclosure statement {here})
The “Before” & Why We Went for Wallpaper
When we bought our house, the kitchen (like most of the rest of our house) was filled with dated, stained wallpaper:
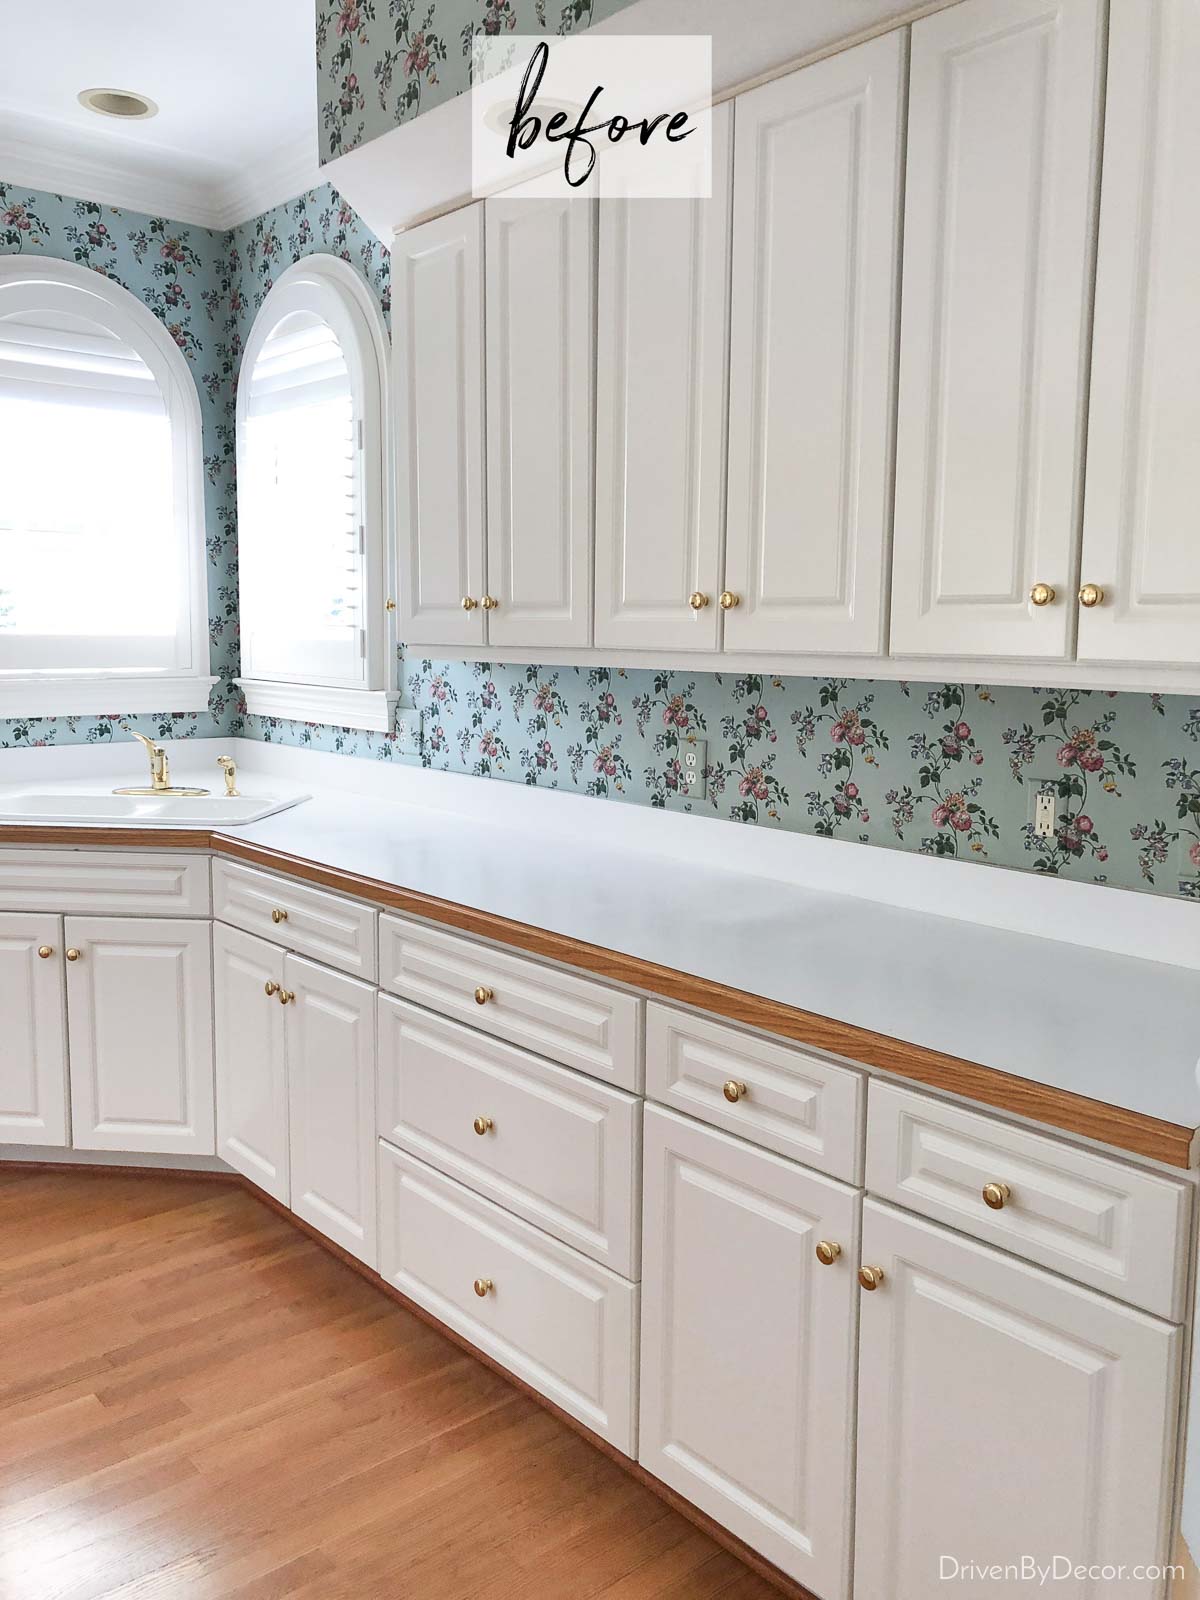
Removing it gave our kitchen an instant update (see my post on how to remove wallpaper for a detailed how-to), but all that fresh white space ended up feeling a little too ultra-white and sterile. I already had some of {this patterned blue wallpaper} left over from another project, so I thought… why not try it on our backsplash?!
Wallpaper Installation
If you’re new to wallpapering, the backsplash isn’t a bad place to start because you’re working with shorter pieces of wallpaper. Unless of course you have arched windows like I did – they put my wallpapering skills to the test! If you’re tackling a tricky install yourself, check out my wallpaper installation tips for lots of helpful tips and tricks.
Once the paper was up, I was really happy with how it turned out. It added a fun dose of color and really made my white cabinets and windows pop:
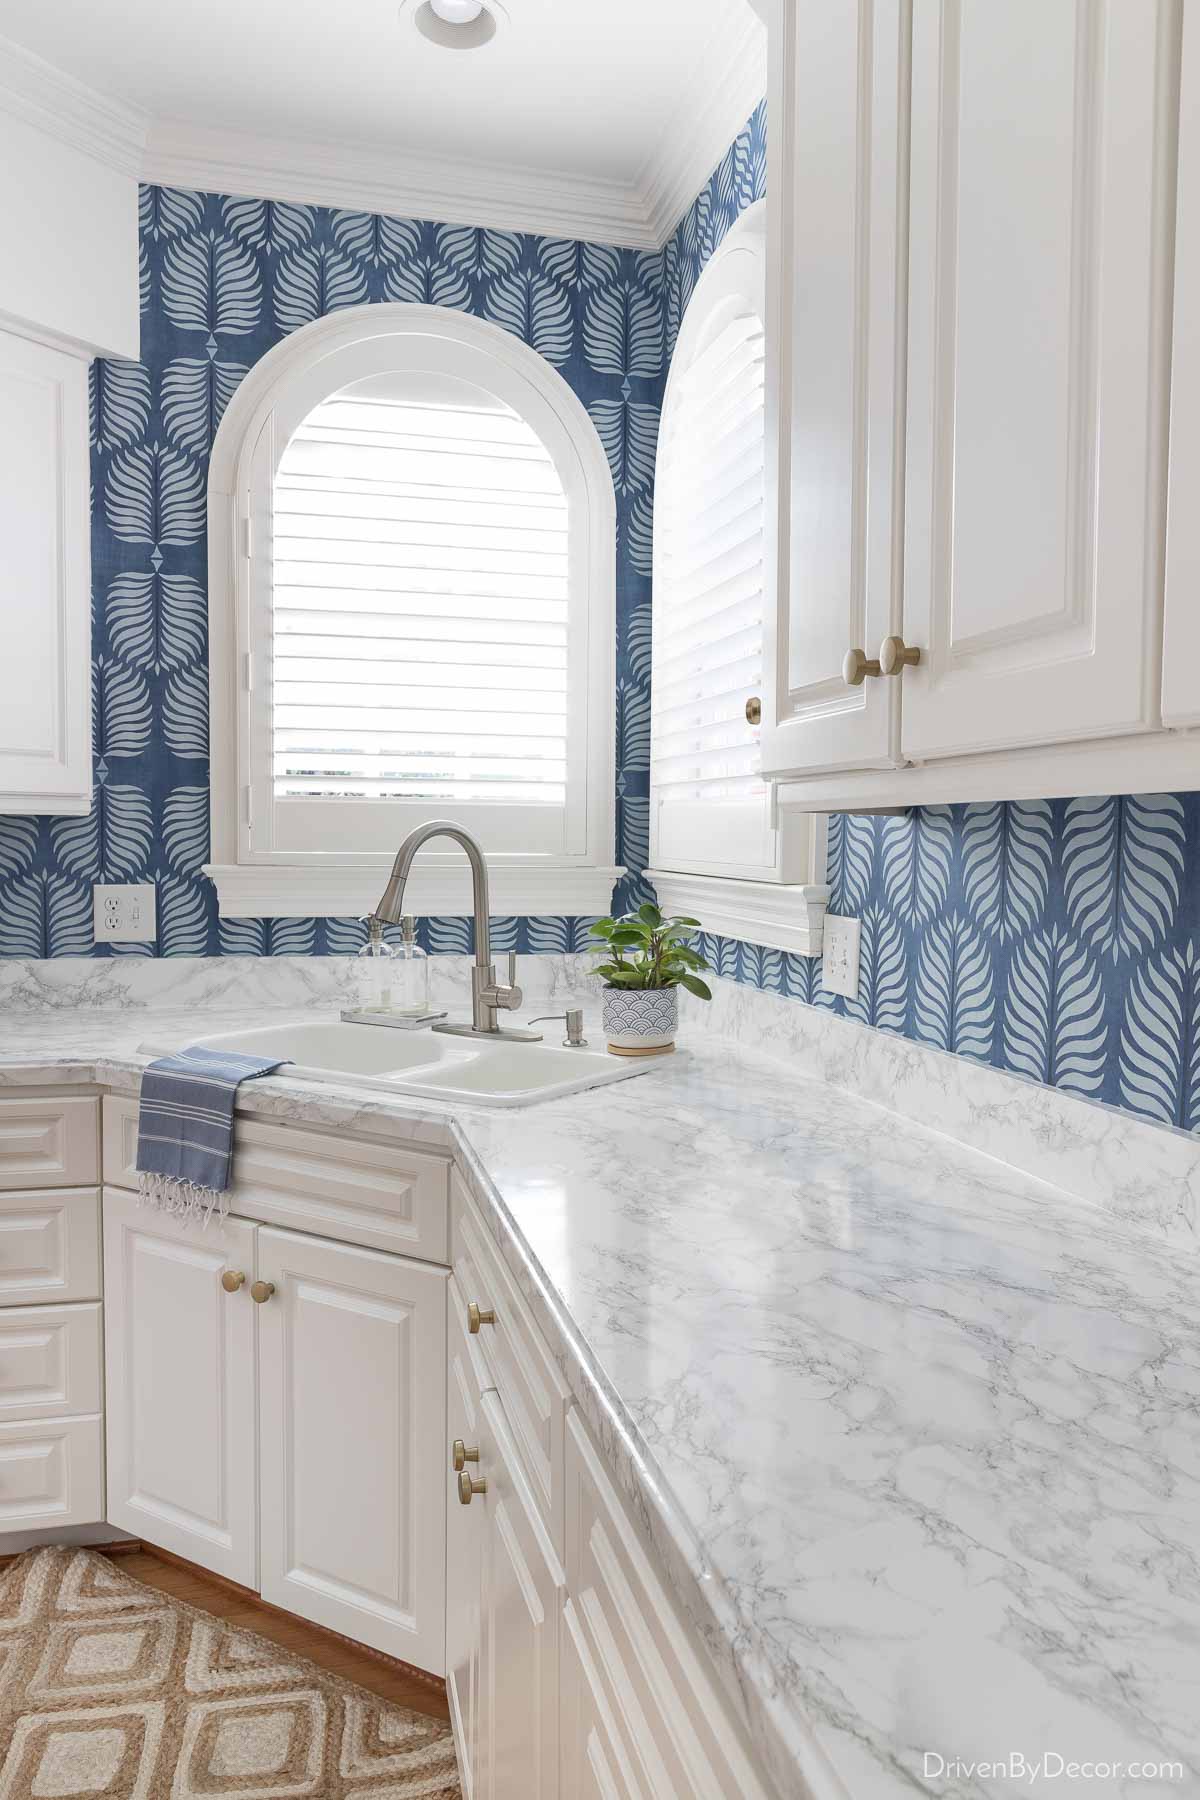
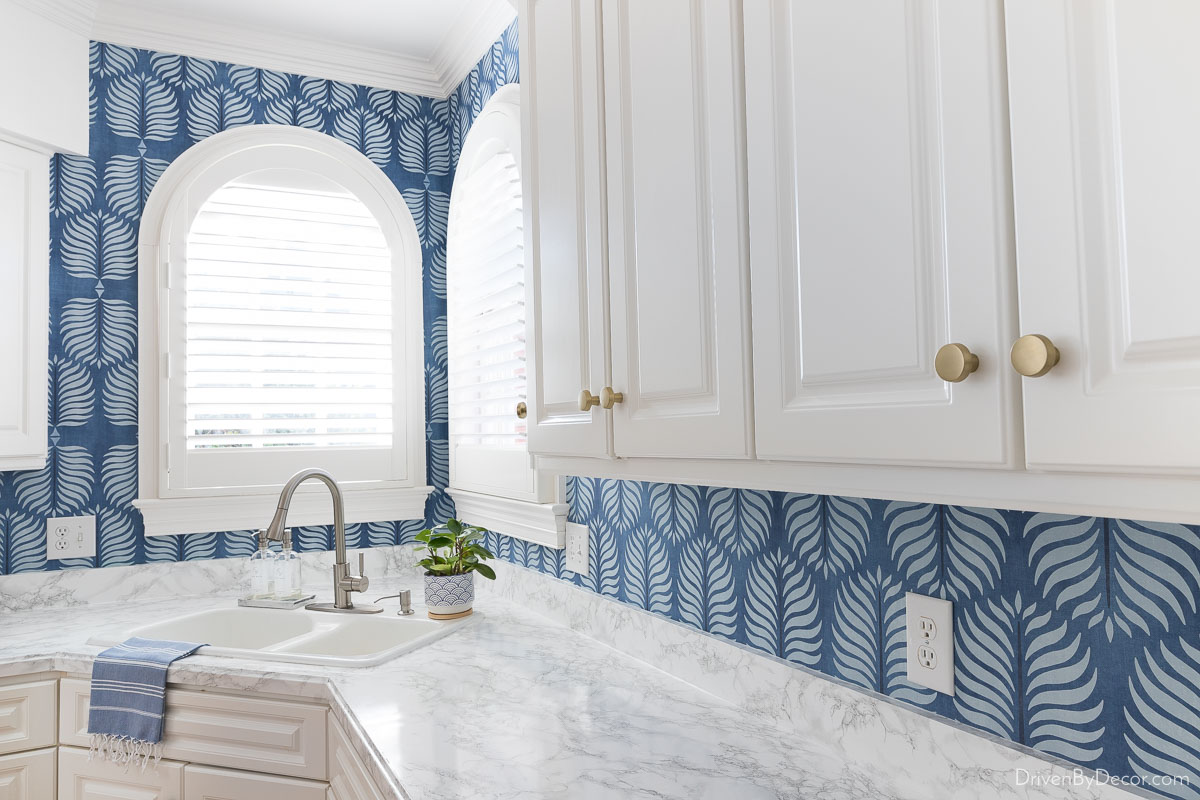
And I only used a single roll of wallpaper! Your backsplash is actually a great spot to splurge on a wallpaper you love but might be too pricey for an entire room where multiple rolls are needed.
A Few More Kitchen Updates
While I was at it, I made several other budget-friendly changes to freshen up our kitchen:
- Swapped out the cabinet hardware, faucet, and pendant light
- Used marble contact paper on the countertops
- Painted the soffits Benjamin Moore Simply White (flat finish) instead of wallpapering them, which helped the space feel airy and open
You can see all the details in my post on kitchen remodel ideas on a budget.
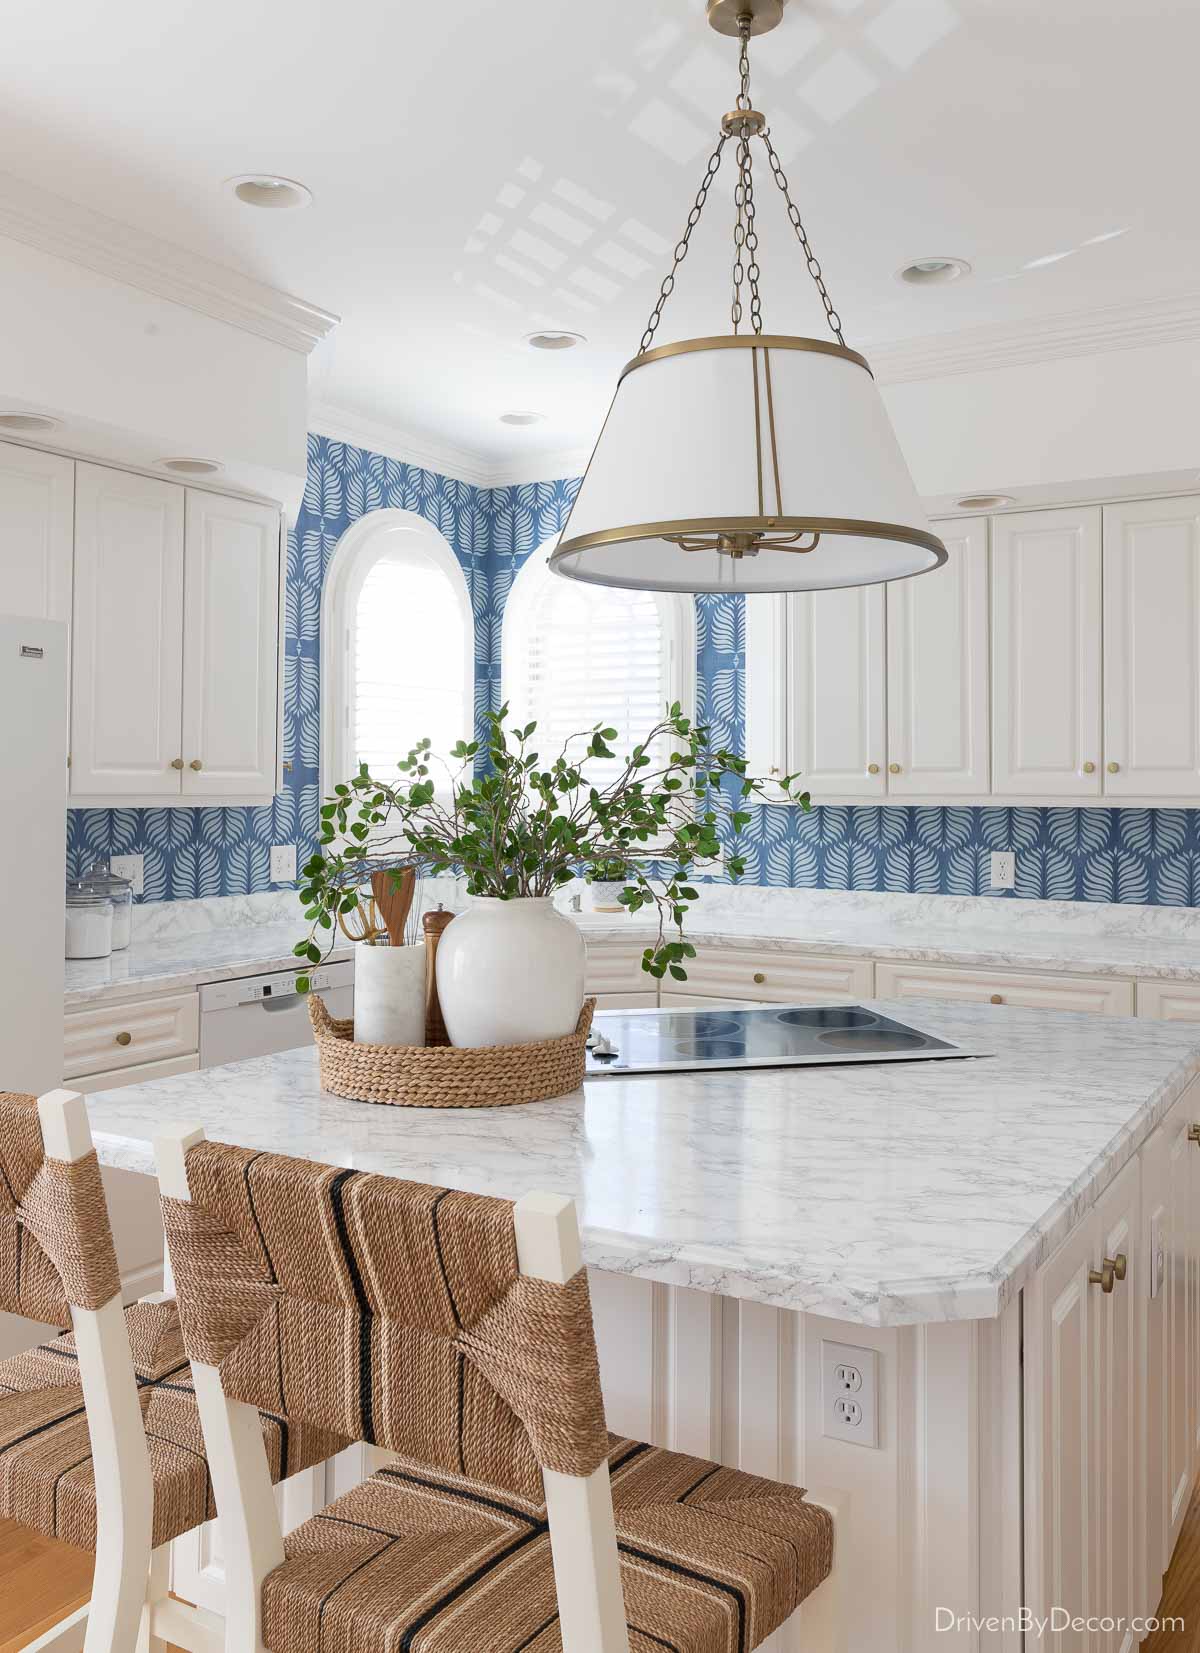
Sources: Island pendant | Round woven tray | Faux leafy branches | Utensil holder
How to Protect Your Wallpaper Backsplash
You can use almost any wallpaper as a backsplash if you protect it. I double coated mine with {this flat varnish} that’s perfect for wallpapers in kitchens and bathrooms that could be exposed to water and moisture.
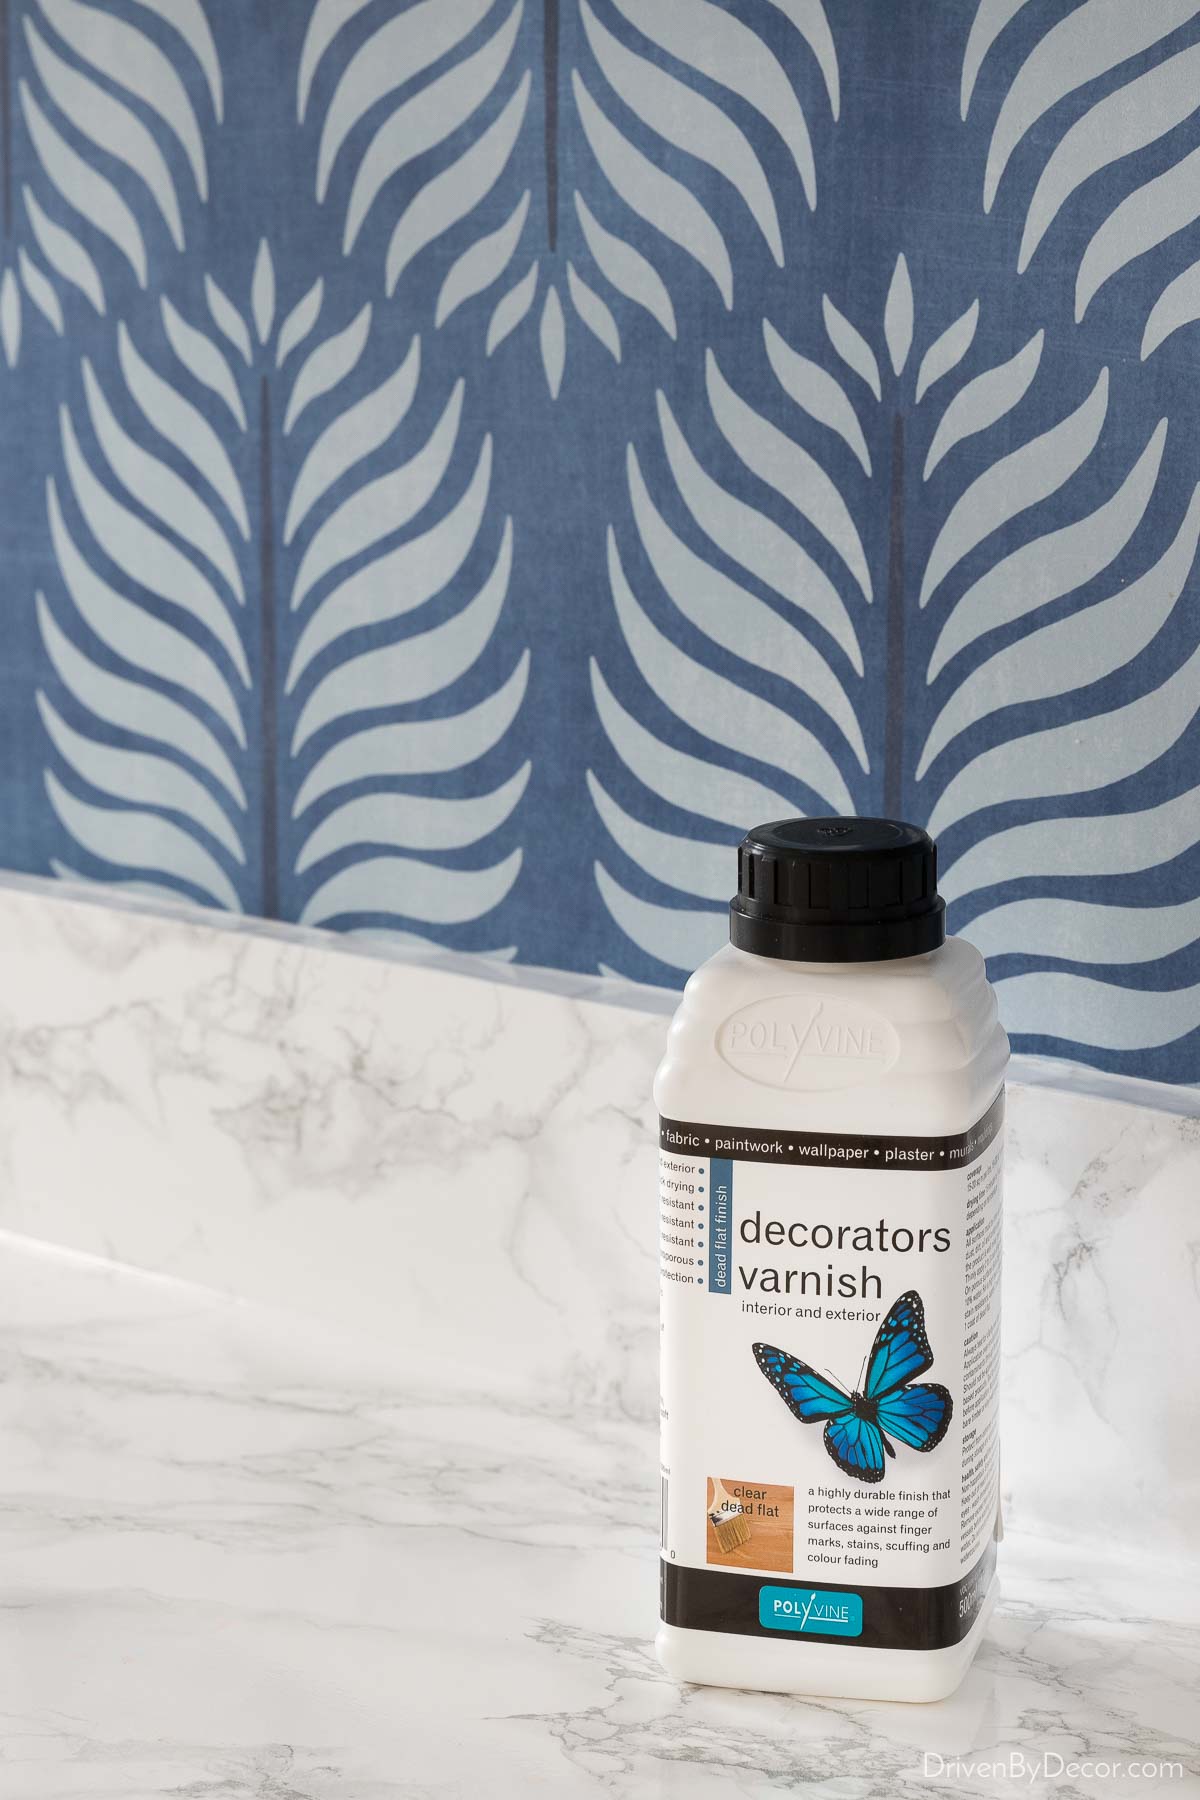
I love that it’s truly dead-flat, so it doesn’t make matte wallpaper look shiny. As with any coating, test it on a scrap of your wallpaper first to make sure you’re happy with the finish before applying it to your entire backsplash.
Update! We had our wallpapered backsplash for four years before we did our complete kitchen remodel and it held up beautifully, without a single stain!
Want to save this post?
Other Options for Durability:
- Vinyl performance wallpaper – Durable and moisture-resistant, now available in beautiful designs from brands like Schumacher and Phillip Jeffries (check them out {here}. Just be aware that vinyl wallpaper can’t be exposed to high heat, so skip it if your backsplash goes behind your range or cooktop.
- Acrylic sheets over wallpaper – Adds serious protection but typically only seen in higher end homes because the materials + installation costs can get pricey!
Why Wallpaper a Backsplash?
There are several reasons why you might choose to wallpaper your kitchen backsplash:
- Budget-friendly – Much less expensive than tile and easier to replace.
- Endless style options – From bold prints to subtle textures, there’s something for every taste. It’s a great way to add personality to your kitchen!
- Low commitment – Easy to swap out if your style changes.
- Perfect for temporary upgrades – If you’re planning a bigger remodel down the road, this is a great in-between solution.
And you don’t have to limit your wallpaper to the backsplash – you could use it on all of the walls of your kitchen like they did here with Serena & Lily wallpaper:
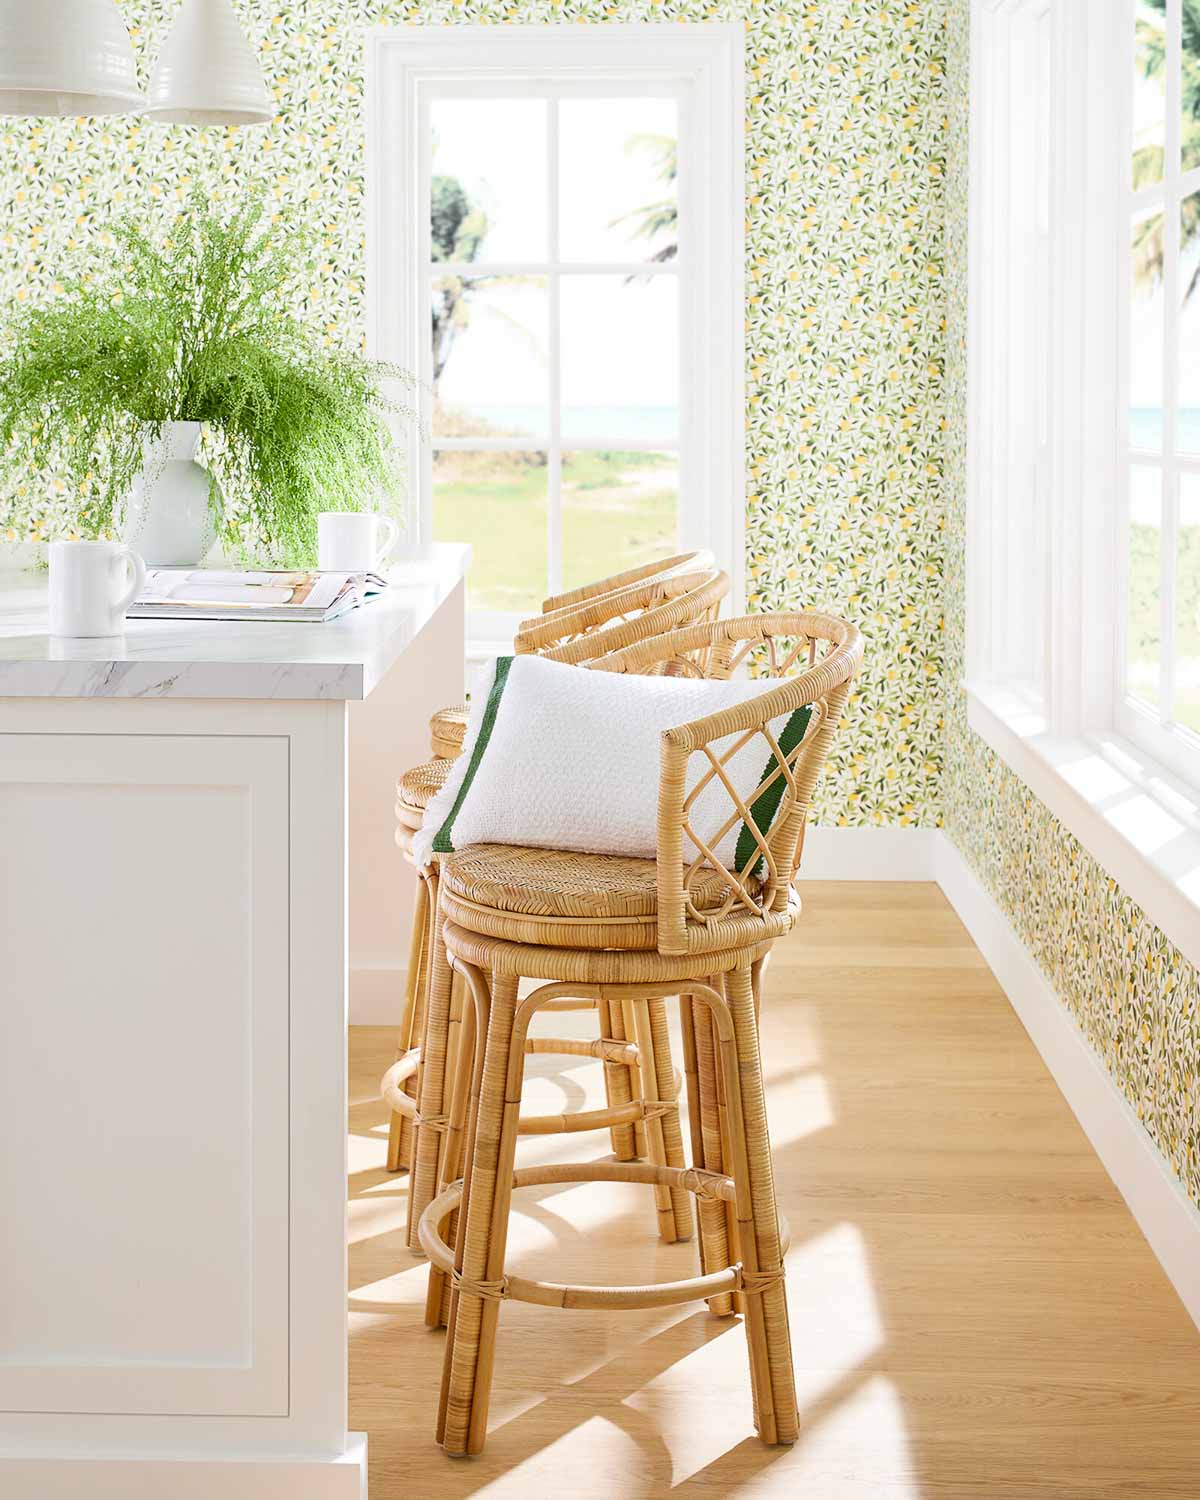
Other sources: Rattan swivel stools
Budget Alternatives to a Wallpaper Backsplash
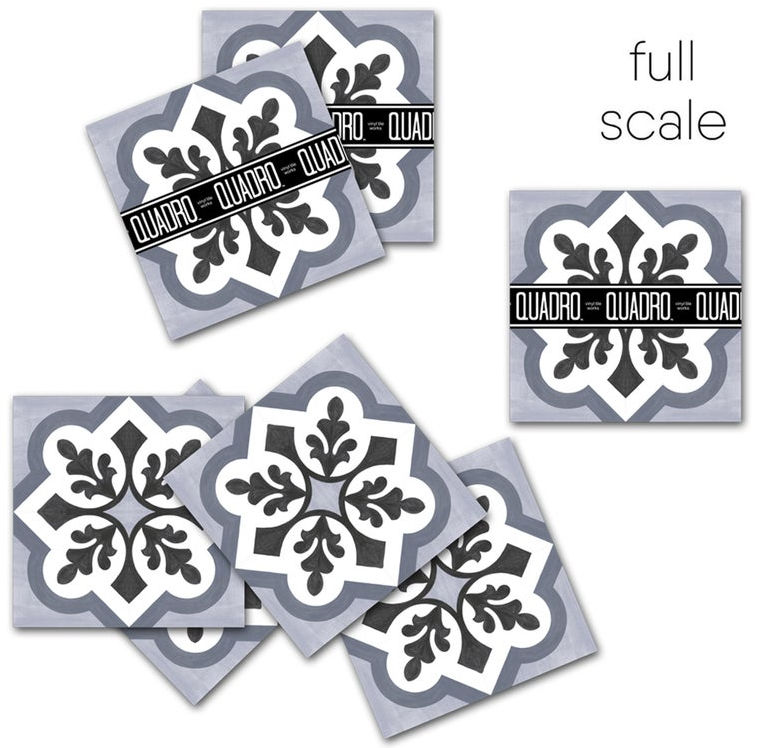
Other ideas for updating your kitchen backsplash on a budget are to use peel and stick subway tile stickers like {these} or tile stickers like you can find {here}. My favorite tile stickers that I’ve come across are {these beautiful tile stickers} that mimic Moroccan tile:
You can check out my post on vinyl wall decals where I share details on applying them to our laundry room walls.
Peel and Stick Wallpaper for a Kitchen Backsplash?
Yes! Peel and stick wallpaper is definitely an option for a kitchen backsplash. Check out my post on how to hang peel and stick wallpaper for links to some of my favorite wallpapers and installation details.
Any other questions? Let me know! Thanks for stopping by today!


Paige Clarke says
I had a question, let’s say your kitchen has higher ceilings like mine does, so not all of it has to be protected with varnish… is it possible to varnish part of the paper near the counters, and then stop at a certain point? Or does it change the tint of the wallpaper too much that you would notice a “stopping point”? i hope that makes sense, thanks!
Lin Andis says
I need a backsplash but I cannot afford tile…Help!
Renae says
Absolutely gorgeous, my friend.