Recent Posts
See more recent posts →
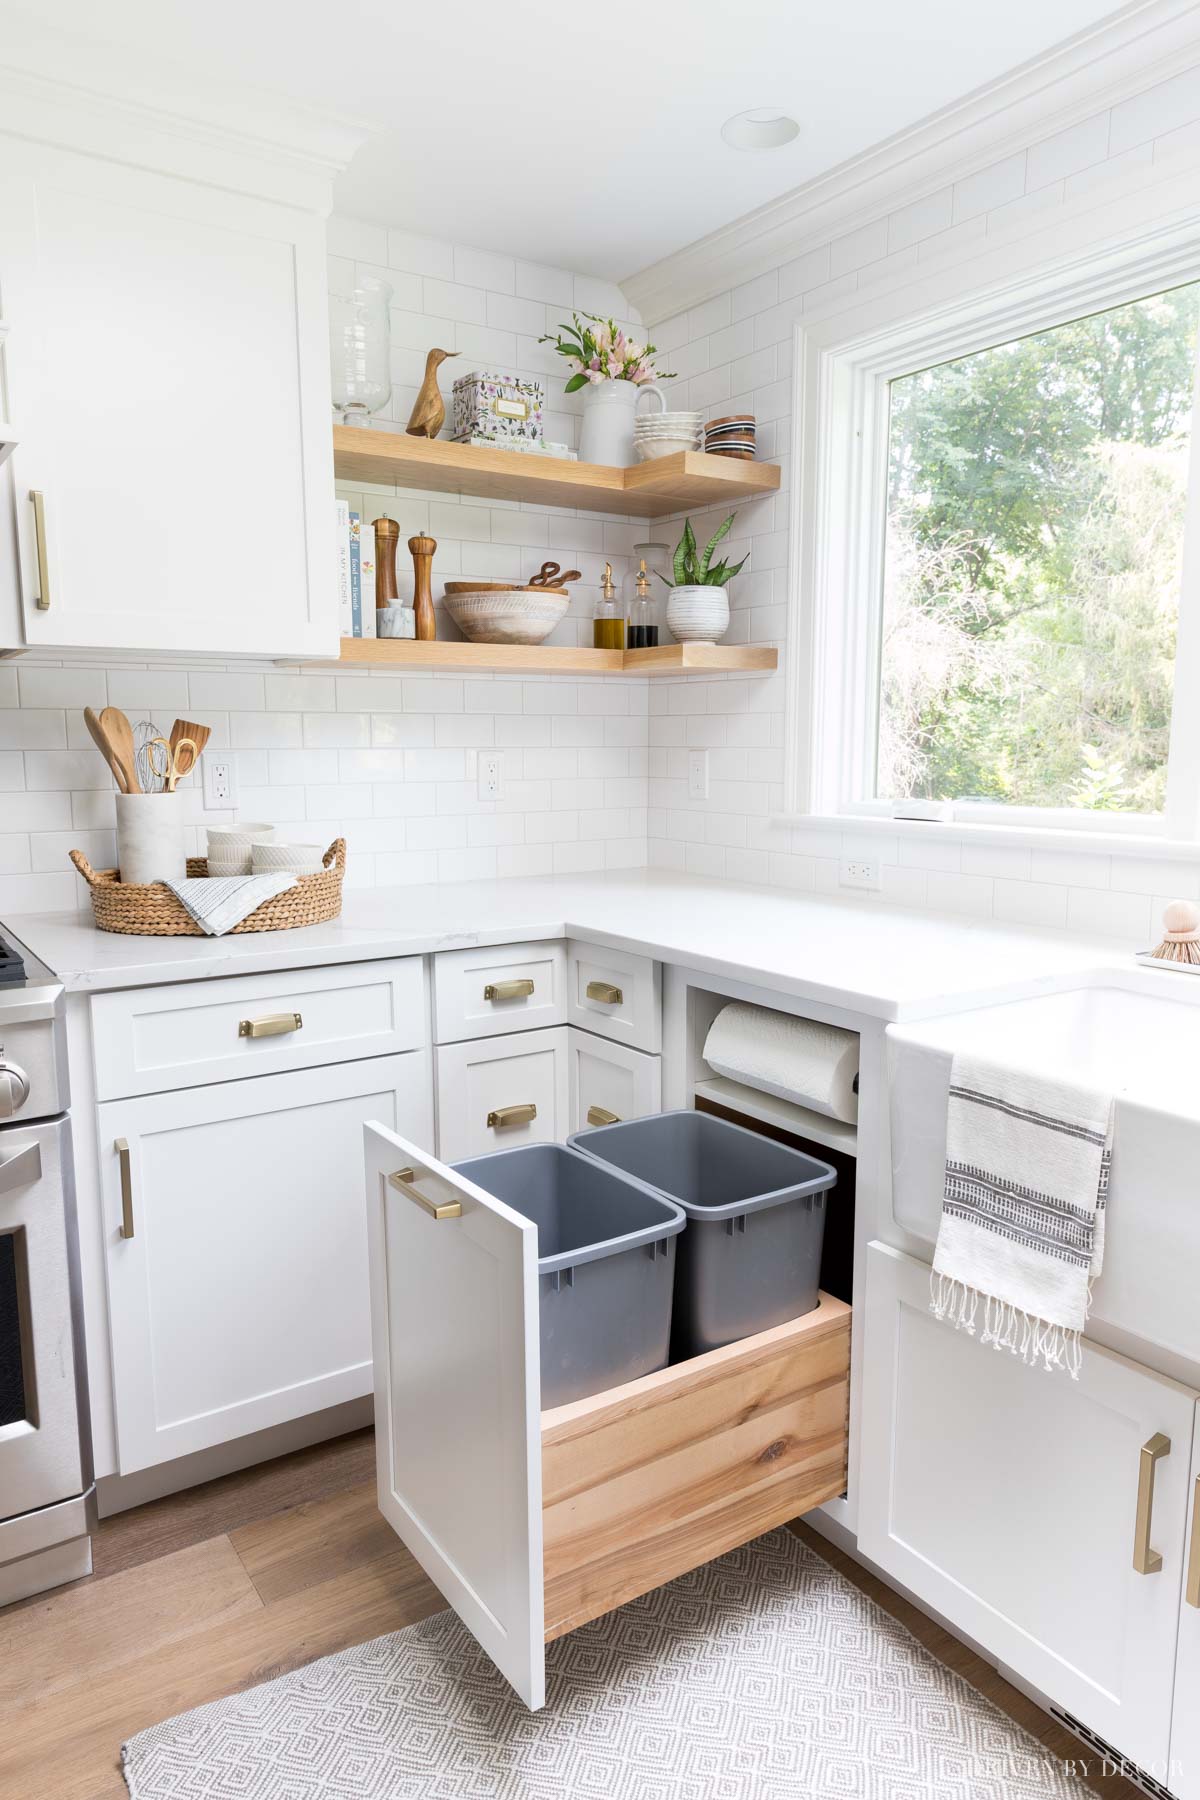
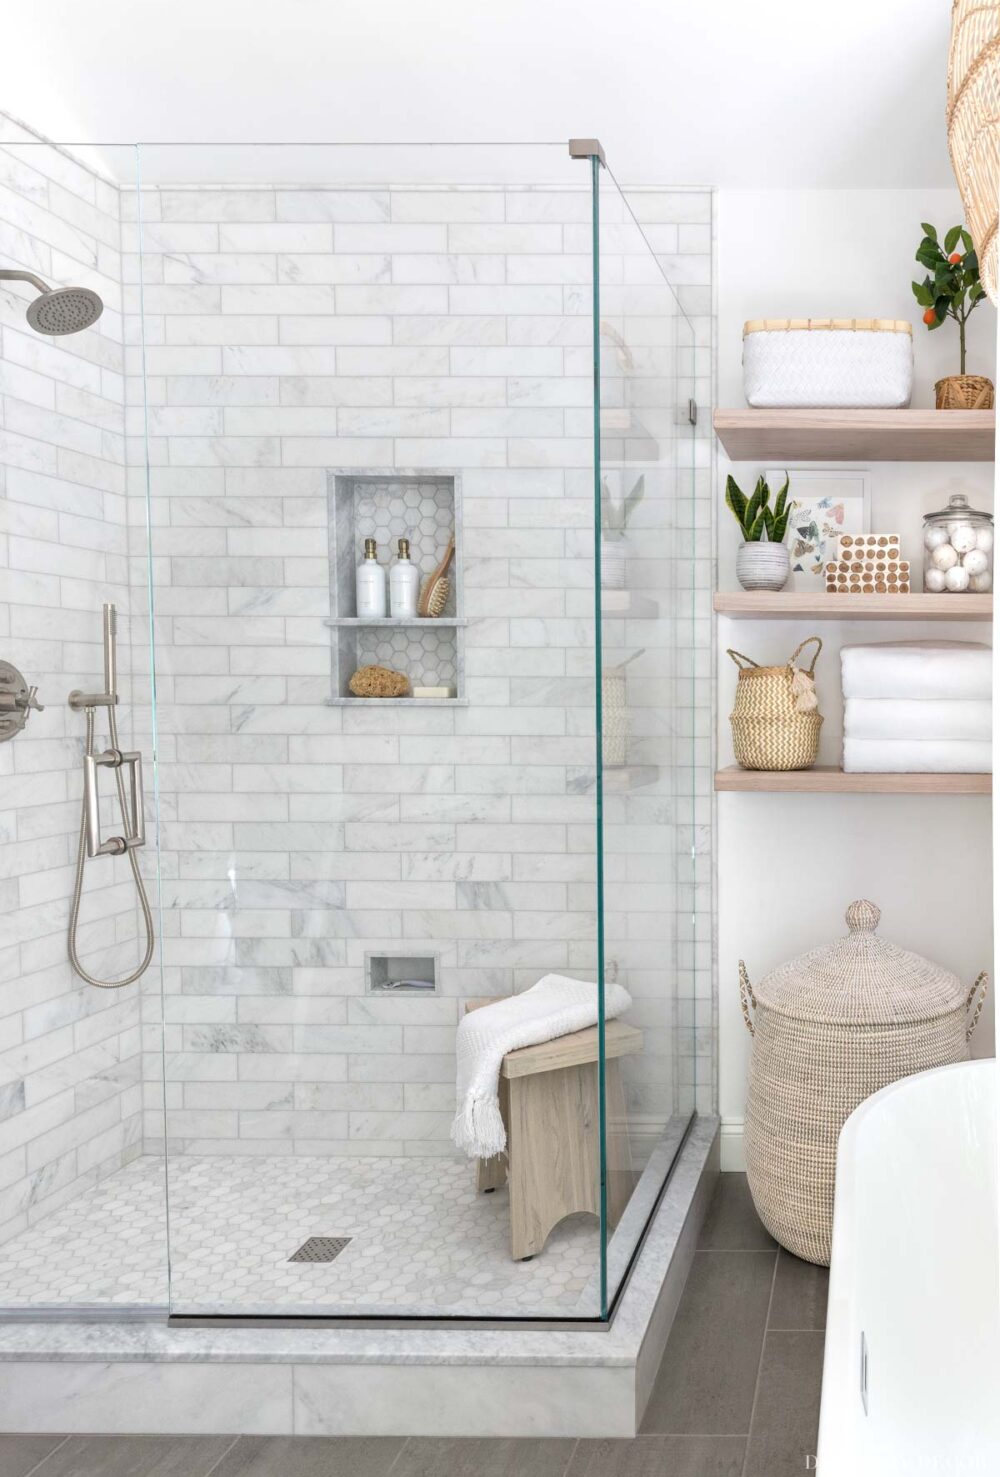
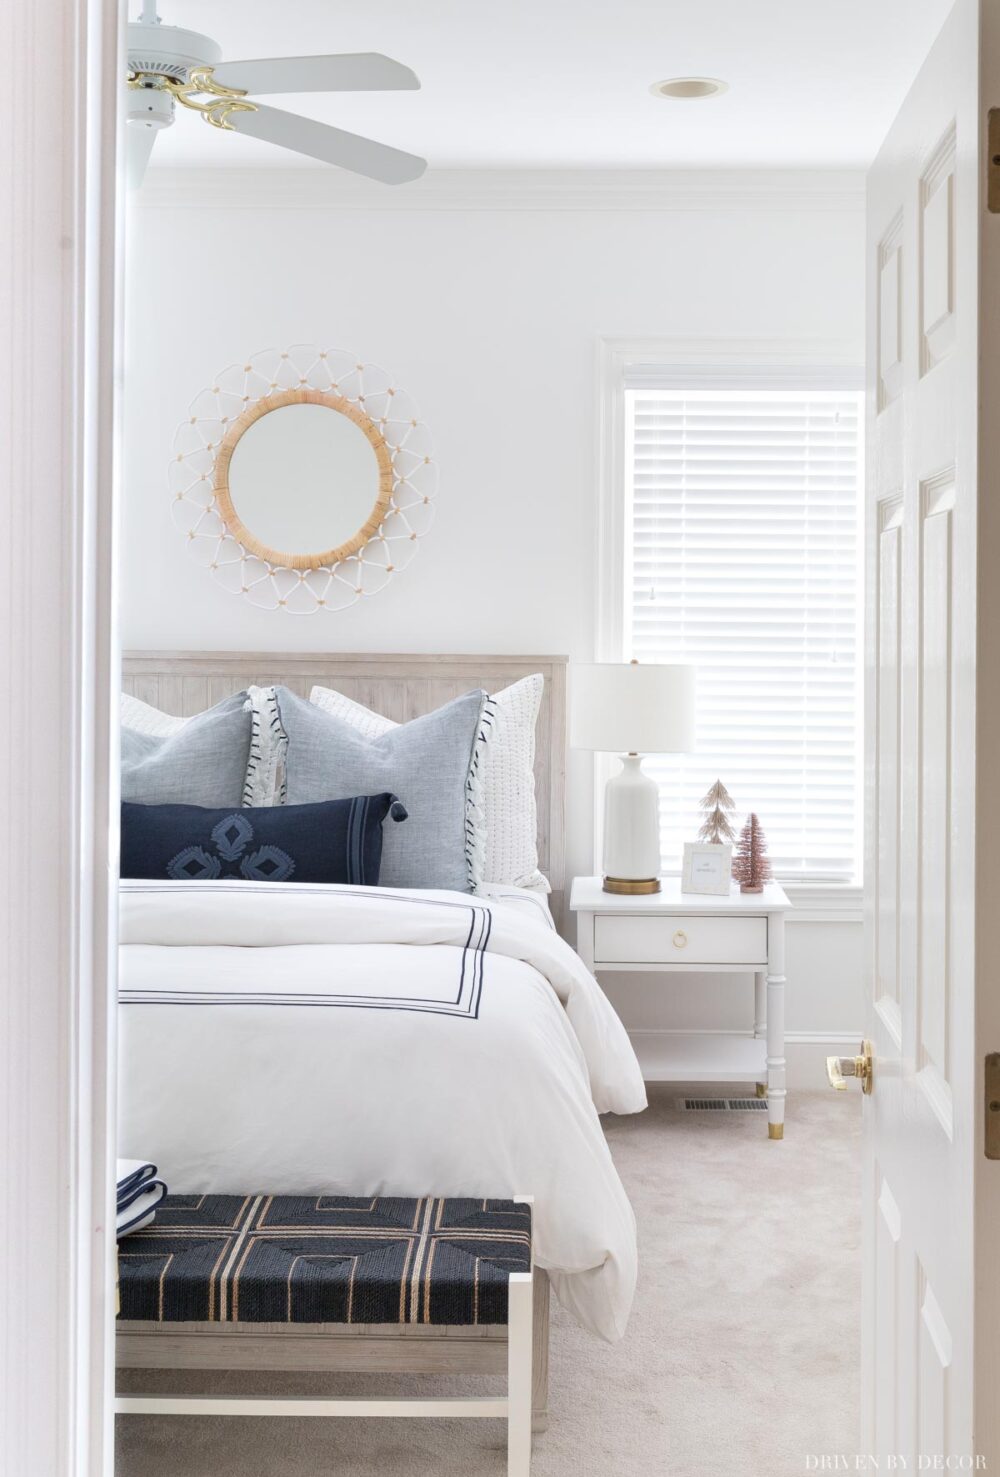
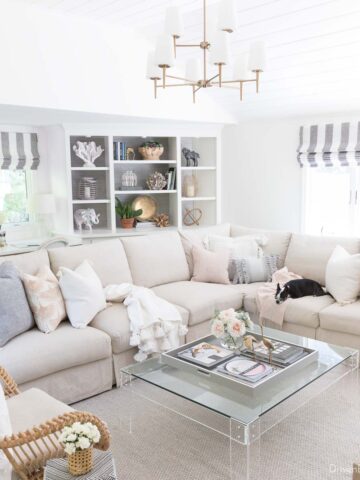
ROOM REMODELs
See more room remodels →
DIY Projects
See more diy projects →
Decorating Tips
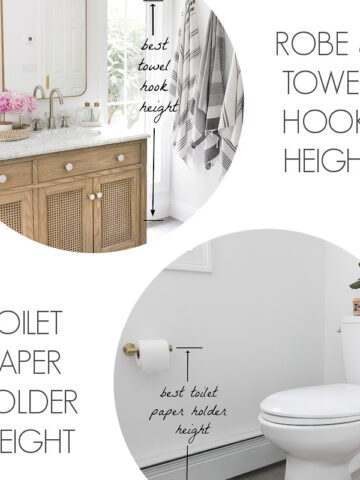
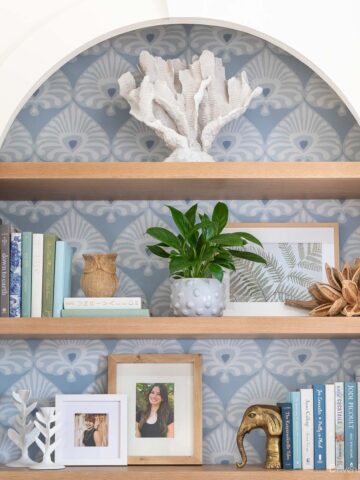
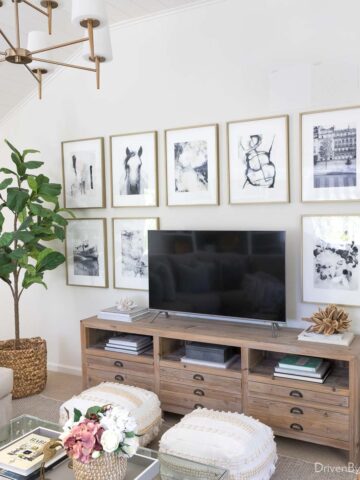
See more tips & tricks →
Organizing
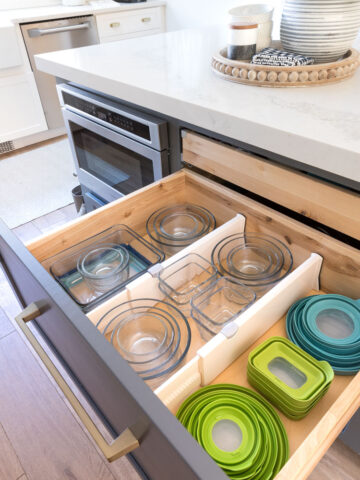
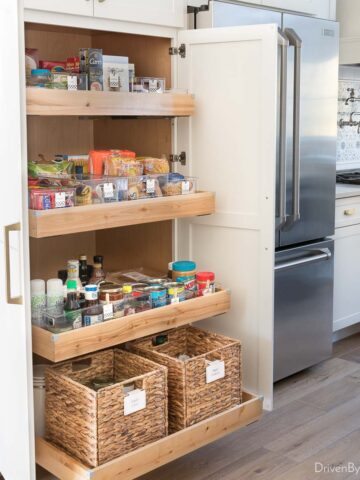
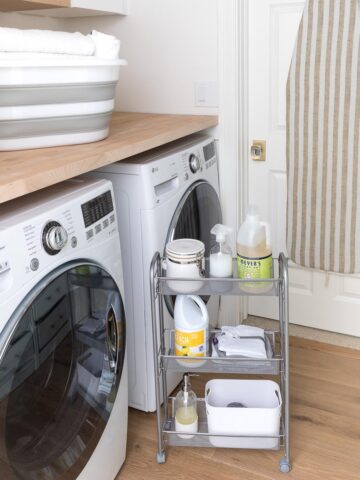
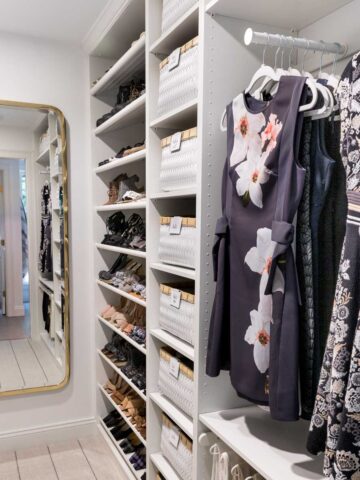
See more organizing posts →
Cleaning
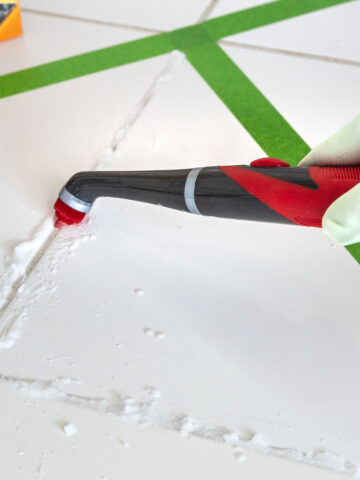
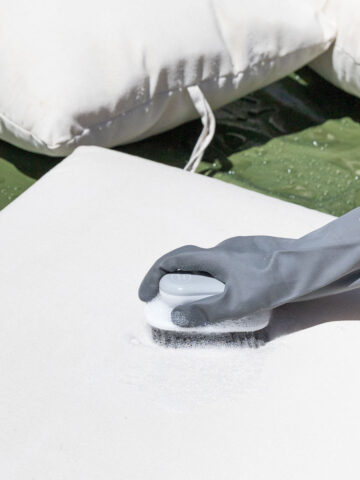
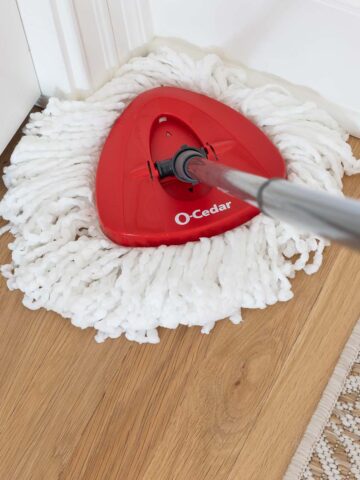
See more cleaning posts →
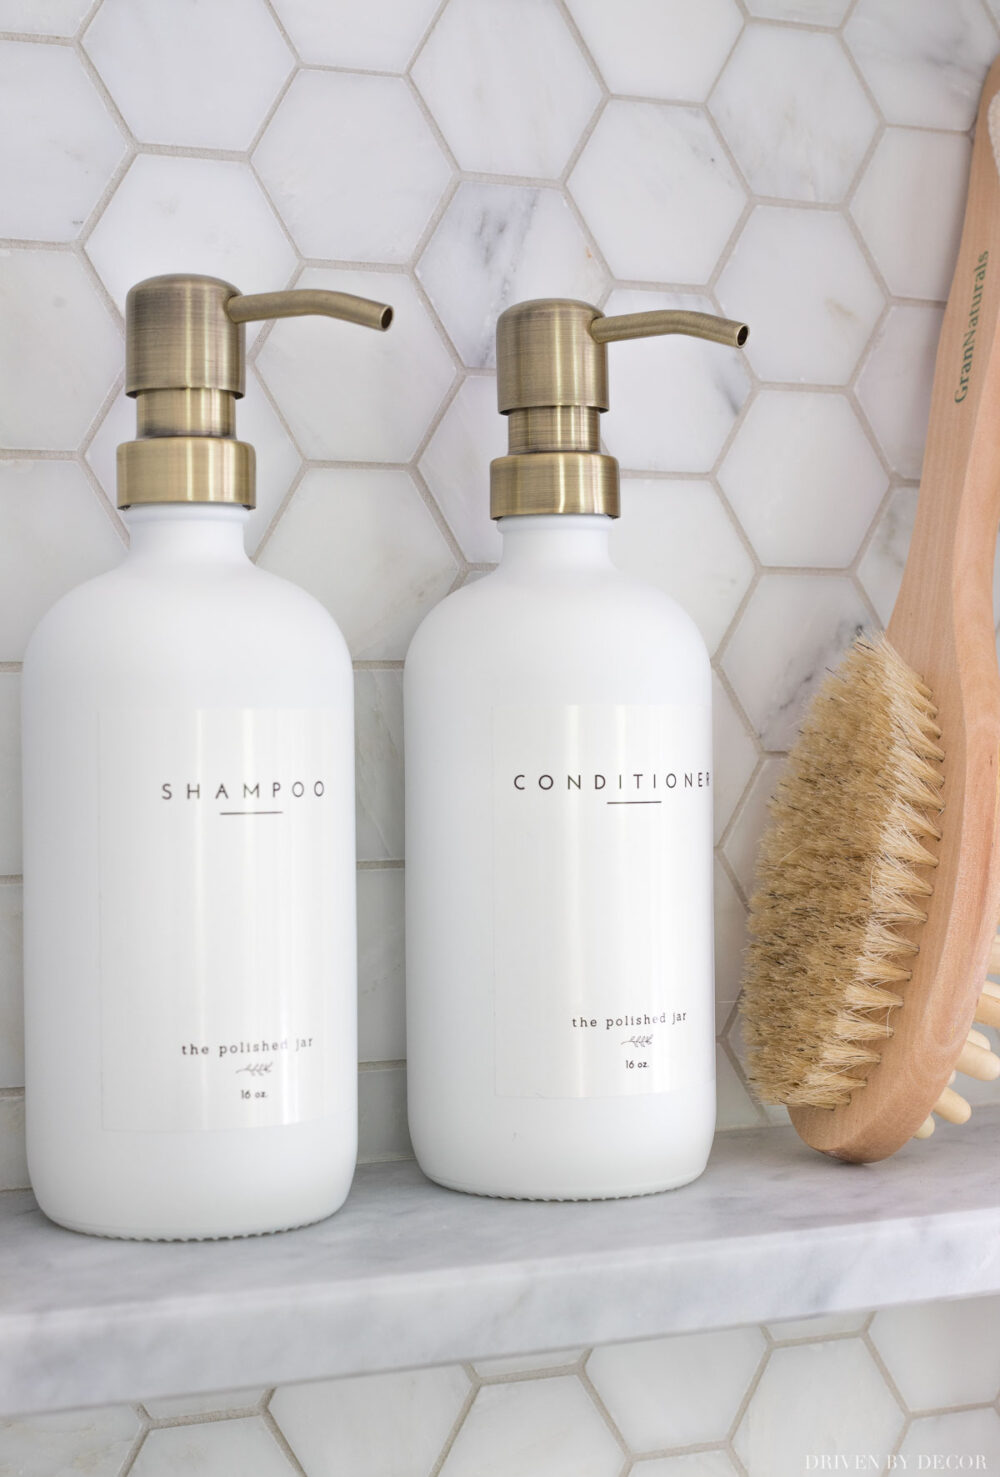
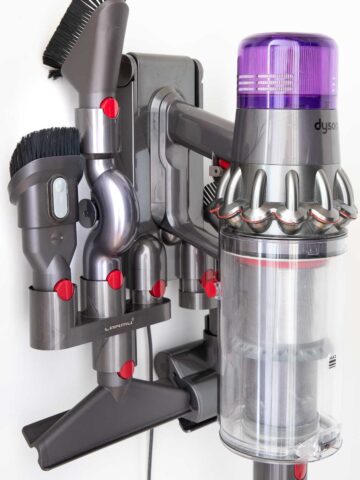
Favorite Things

See more favorite things →

Meet Kris
Hi! I’m so glad that you found me here at Driven by Decor, where I share room makeovers, DIY projects, stylish buys, and anything and everything that I’m passionate about. Along with being driven by decor, I’m also driven by a love for…