Skip to primary navigation
Skip to main content
Home
Home Tour
Master Bathroom
Kitchen
Kitchen Eat-In Area
Family Room
Living Room
Home Office
Laundry Room
Master Bedroom
Craft Room
Dining Room
Garage
Guest Room
Guest Bathroom
Patio
Powder Room
Teen Blue & White Bedroom
Teen Boho Chic Bedroom
Projects
Room Remodels
DIY Projects
Decorating Tips
Cleaning
Organizing
Subscribe
Shop My Faves
Instagram
About
Contact
Meet Kris
FAQs
Media
Disclosure
Privacy Policy
Search
menu icon
subscribe
search icon
Search
Home
Home Tour
Master Bathroom
Kitchen
Kitchen Eat-In Area
Family Room
Living Room
Home Office
Laundry Room
Master Bedroom
Craft Room
Dining Room
Garage
Guest Room
Guest Bathroom
Patio
Powder Room
Teen Blue & White Bedroom
Teen Boho Chic Bedroom
Projects
Room Remodels
DIY Projects
Decorating Tips
Cleaning
Organizing
Subscribe
Shop My Faves
Instagram
About
Contact
Meet Kris
FAQs
Media
Disclosure
Privacy Policy
Search
Facebook
Instagram
Pinterest
×
DIY Projects
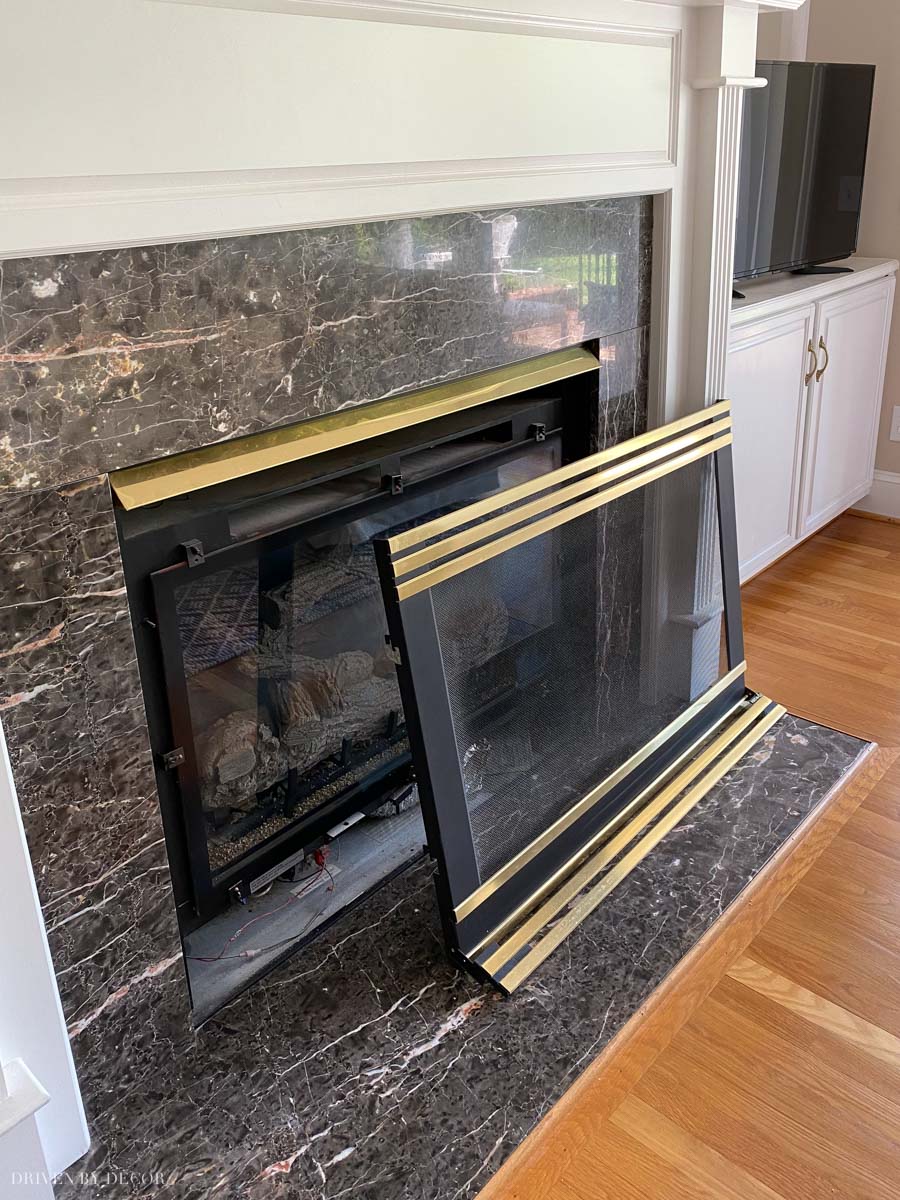
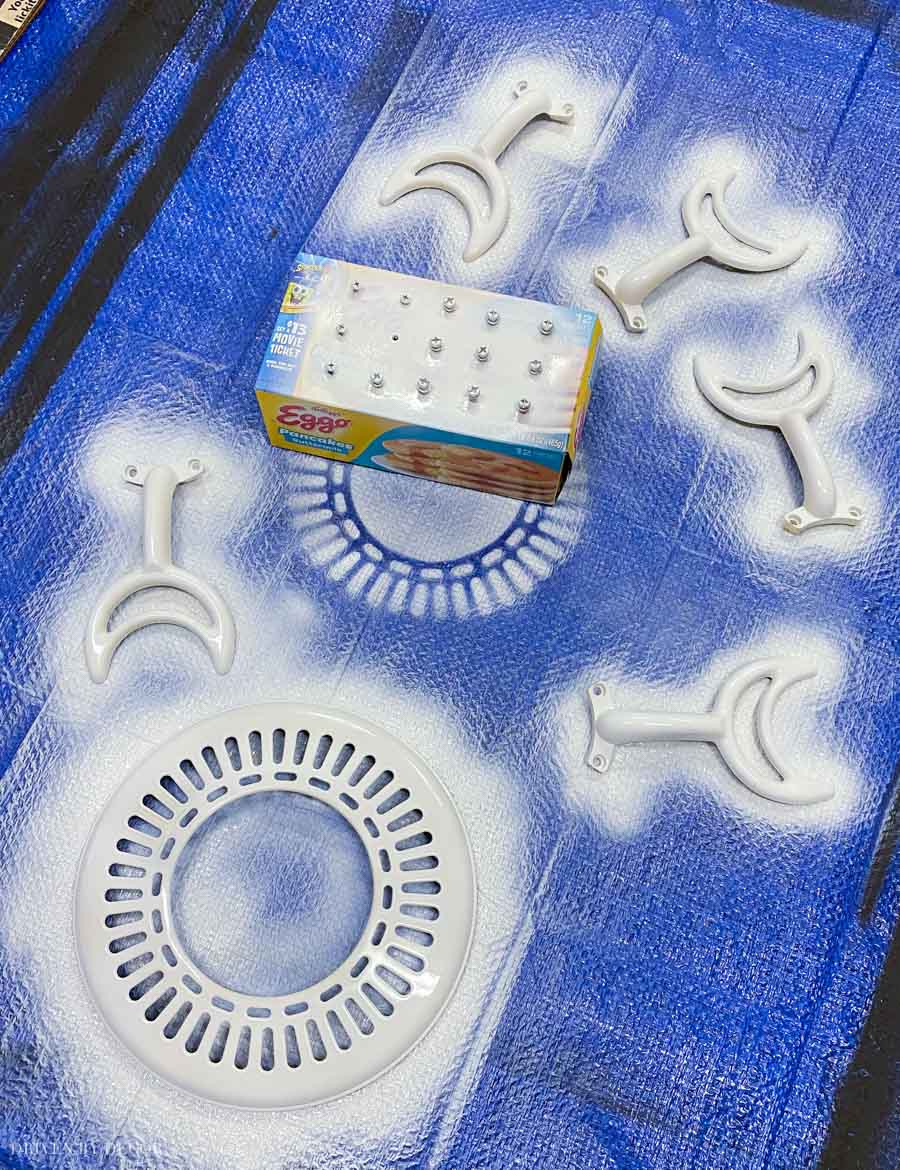
How to Spray Paint a Brass Fireplace For an Instant Update!
How To Paint a Ceiling Fan To Make It Look Like New!
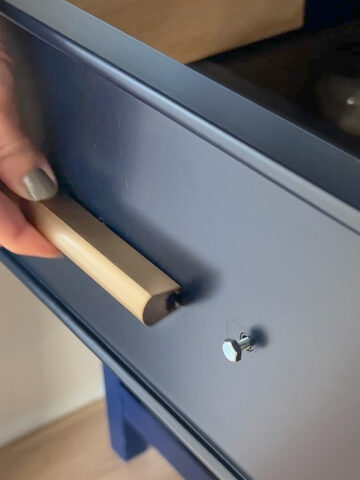
Cabinet Pull Holes Slightly Off? Here’s What to Do!
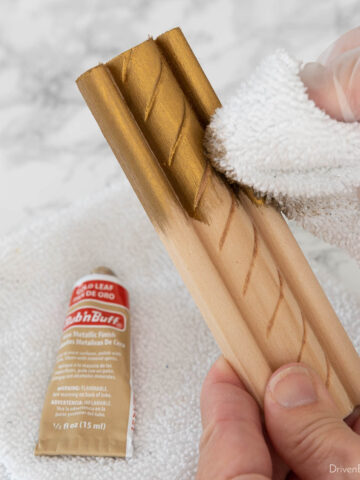
Rub ‘n Buff Colors & Tips: Changing Metal Finishes the Easy Way!
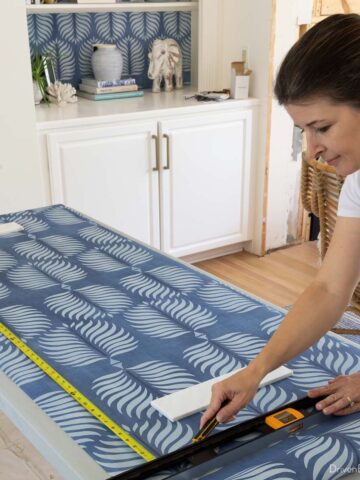
Wallpaper Installation: 10 Tips For Newbies!
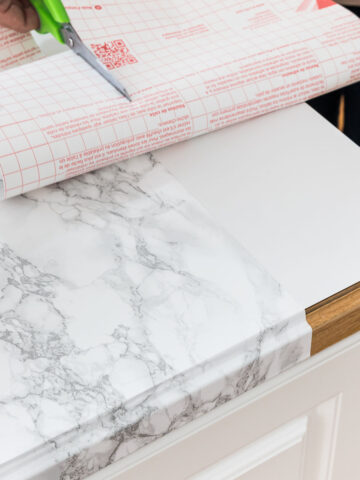
Marble Contact Paper For Countertops: A Simple Fix for Ugly Countertops!
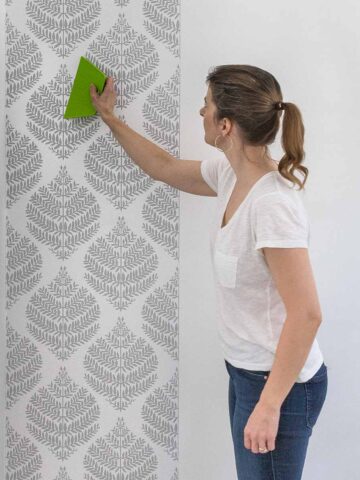
How to Hang Peel and Stick Wallpaper
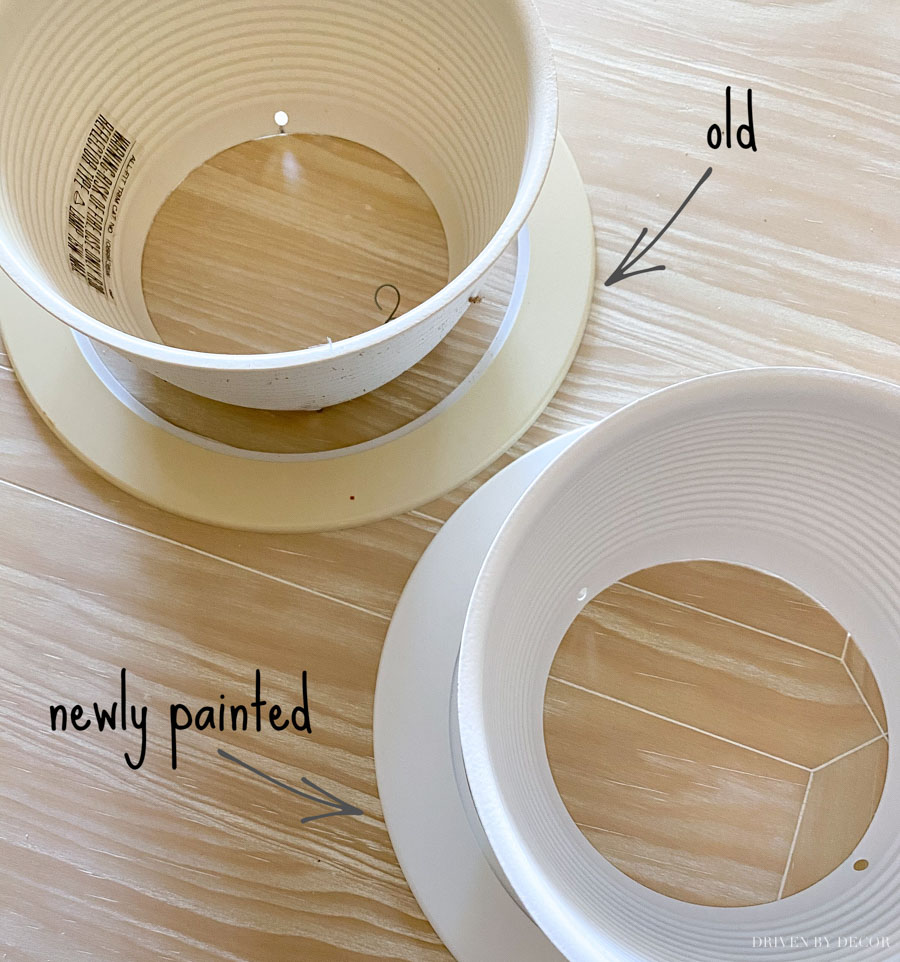
How to Paint Recessed Light Trim: An Easy Home Upgrade!
DIY Home Projects: 10 of My Favorites!
Our Painted Bathroom Vanity: The “Before” & “After” and How-to Guide!
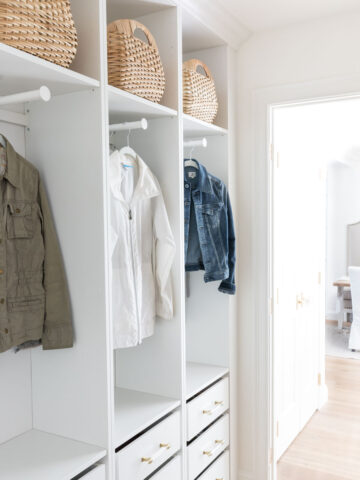
Our IKEA PAX Mudroom
Do Painted Floor Tiles Last? My Four Year Update!
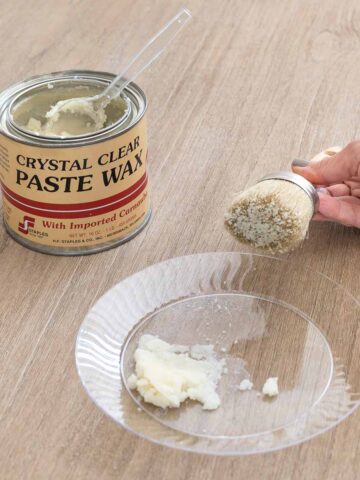
How to Protect a Wood Table: How I Sealed Our Restoration Hardware & Pottery Barn Tables
3 Closet Door Ideas You Can DIY!
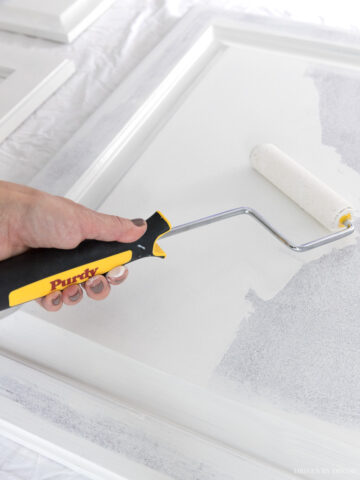
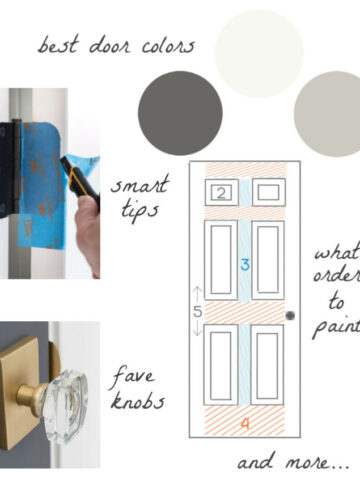
How to Paint a Door: My Best Tips for Painting Interior Doors!
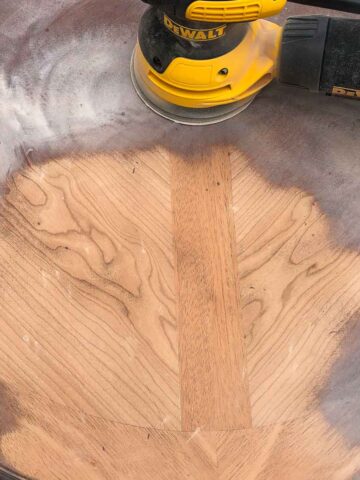
How to Refinish A Table: Bringing My Beat Up End Table Back to Life!
How to Paint a Tile Floor: The Tools & Tips that Work!
DIY Banquette Seating
Make Your Own Art: 5 Simple Ideas!
How to DIY Shiplap Walls on the Cheap!
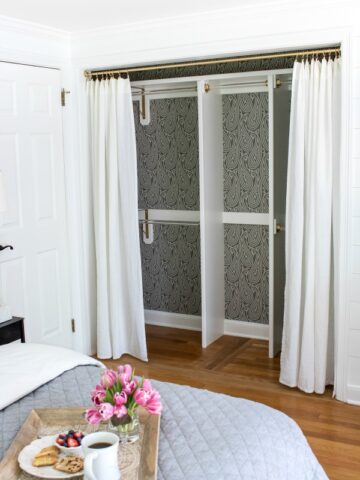
Curtains Instead of Closet Doors: Our Simple Makeover!
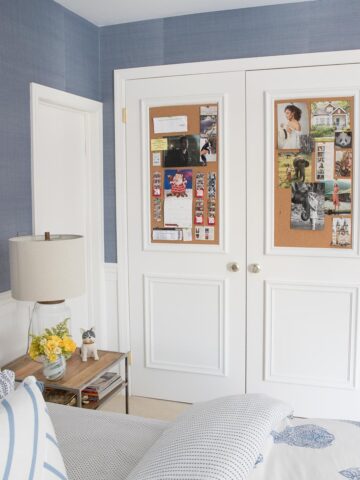
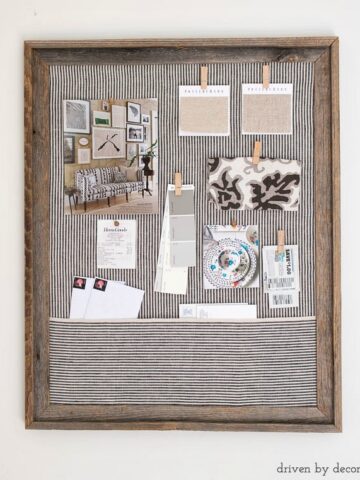
DIY Framed Cork Board
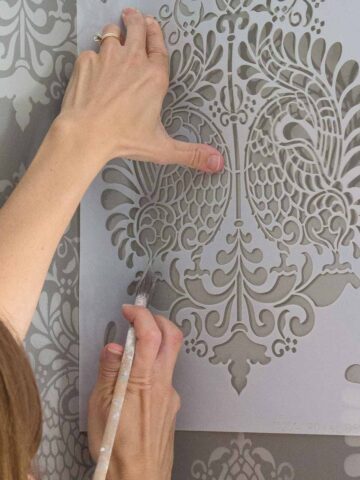
How to Stencil a Wall to Create a Stunning Space!
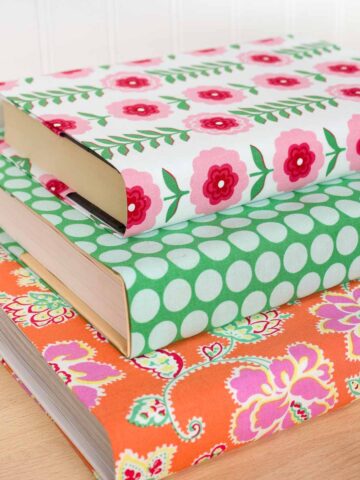
Fabric Book Covers (Without Any Sewing!)
How to Remove Print Off Glass Bottles
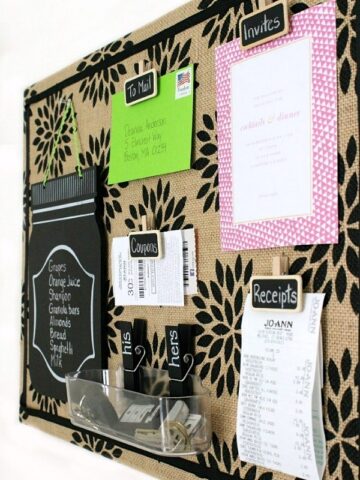
DIY Burlap Bulletin Board
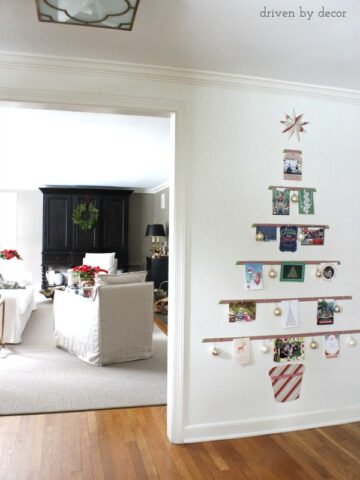
Displaying Cards with a DIY Christmas Card Tree
DIY Resized Jute Rug (From Standard to Custom!)
Next Page »